The Conversation (0)
Sign Up
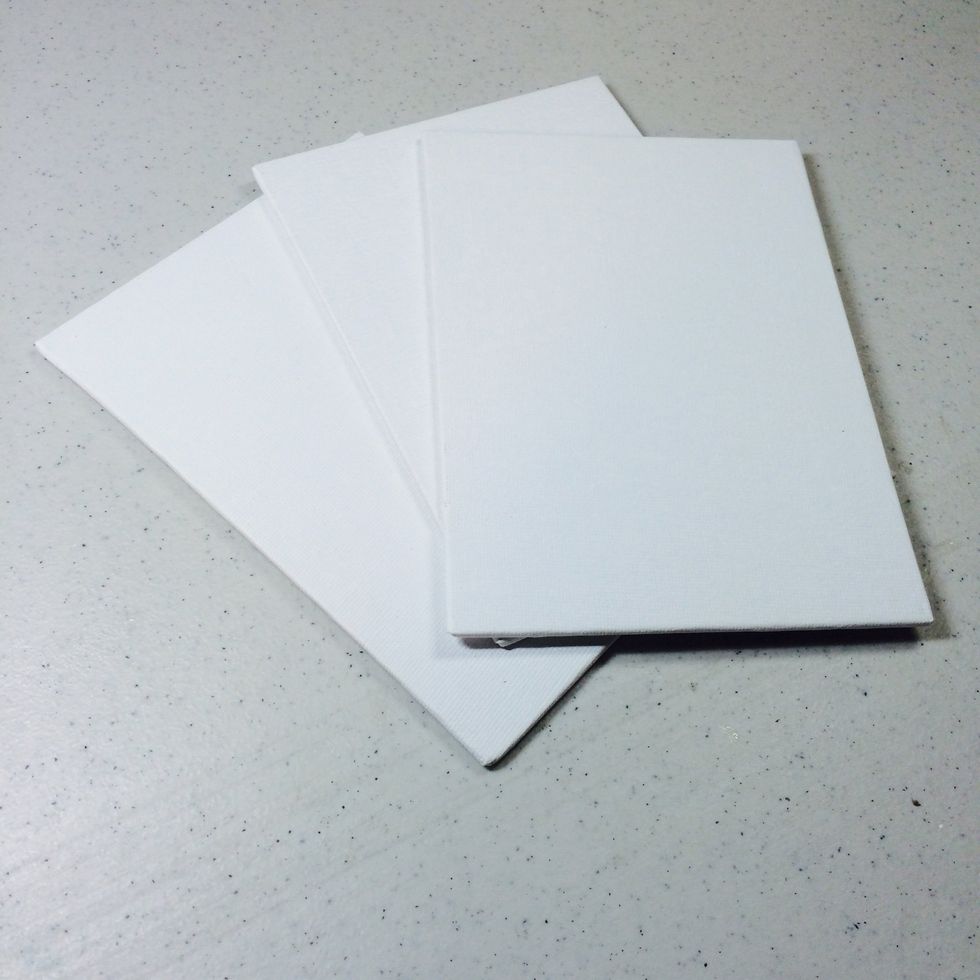
Start with three plain 5" x 7" flat canvases. You can find these in craft and art supply stores.

Paint the outer portion of each with a medium brown paint. Do the same to the back sides.
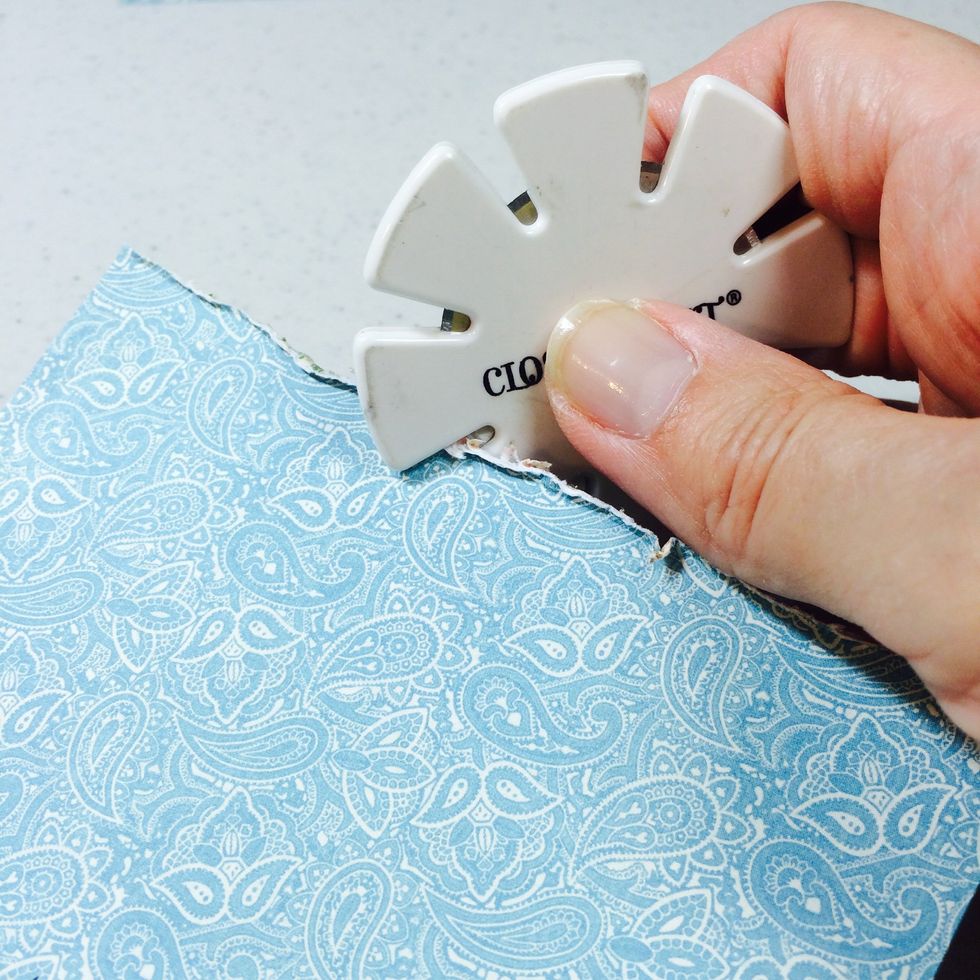
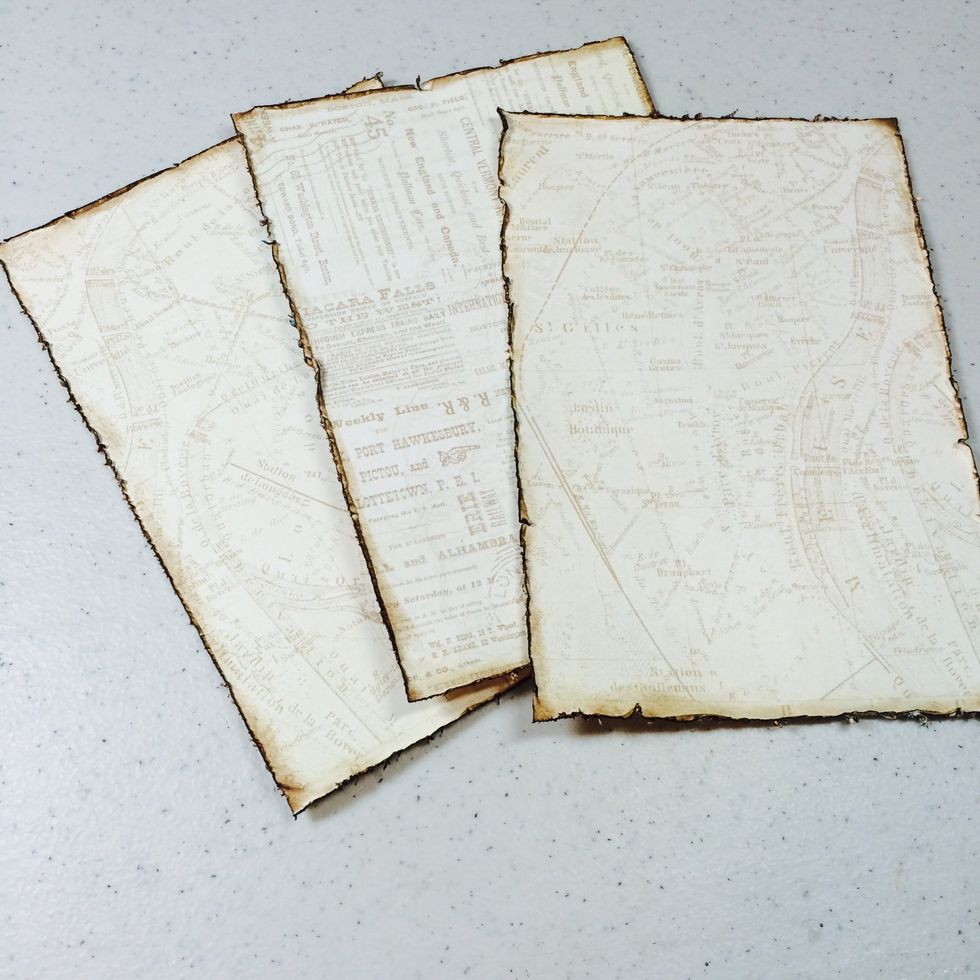
Cut three pieces of decorative paper 4 7/8" x 6 7/8". I used "Look Out World." (See details in supply list) Distress edges with scissors or distress tool.
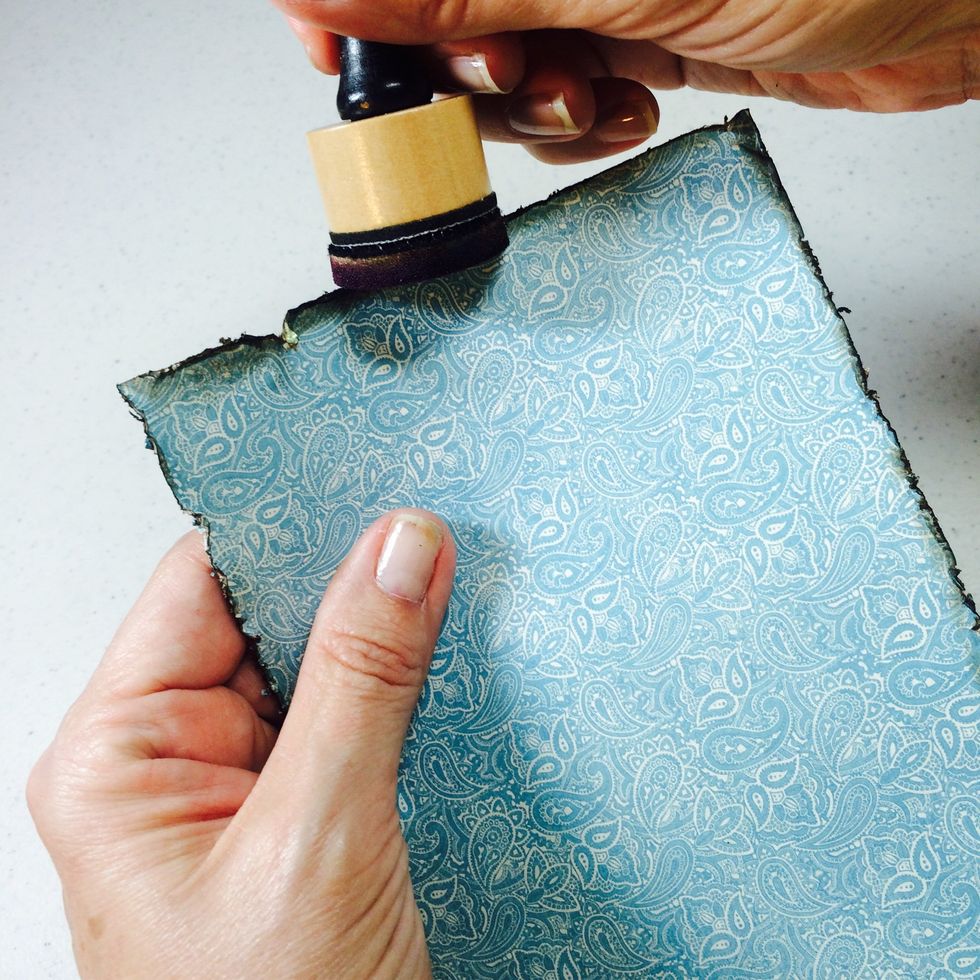
Ink edges of distressed papers with brown ink.
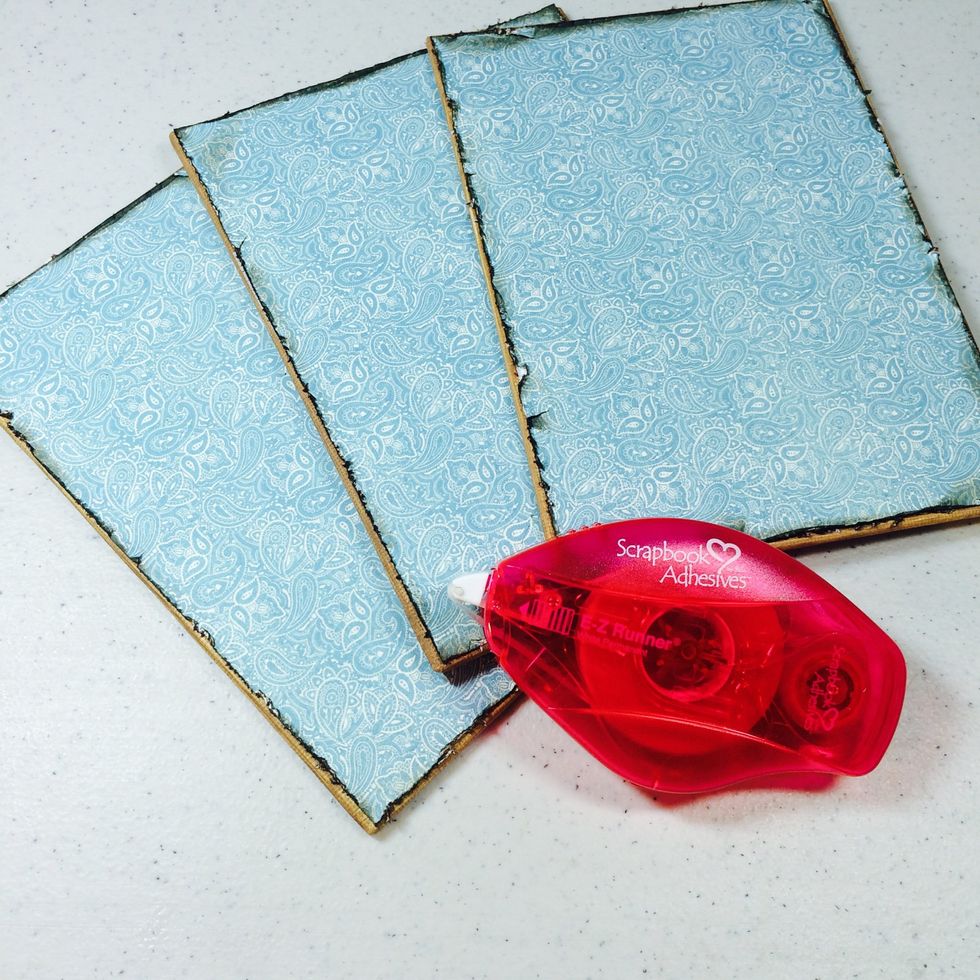
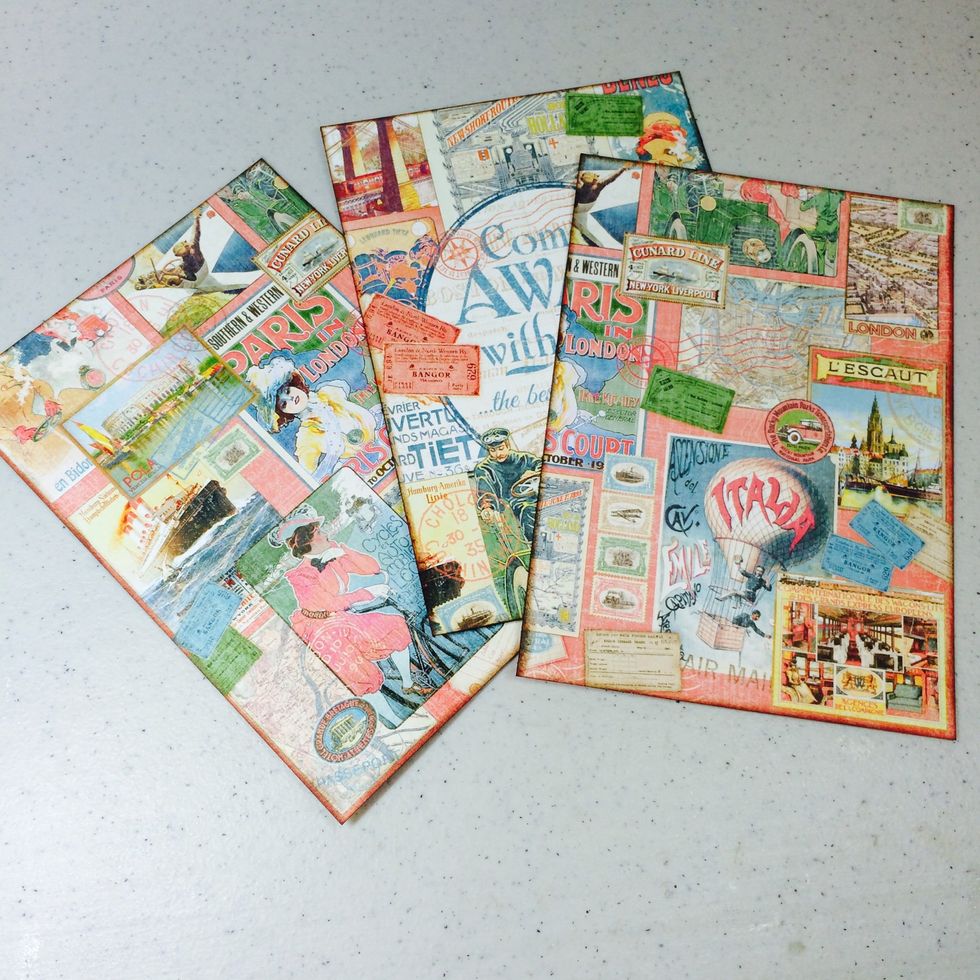
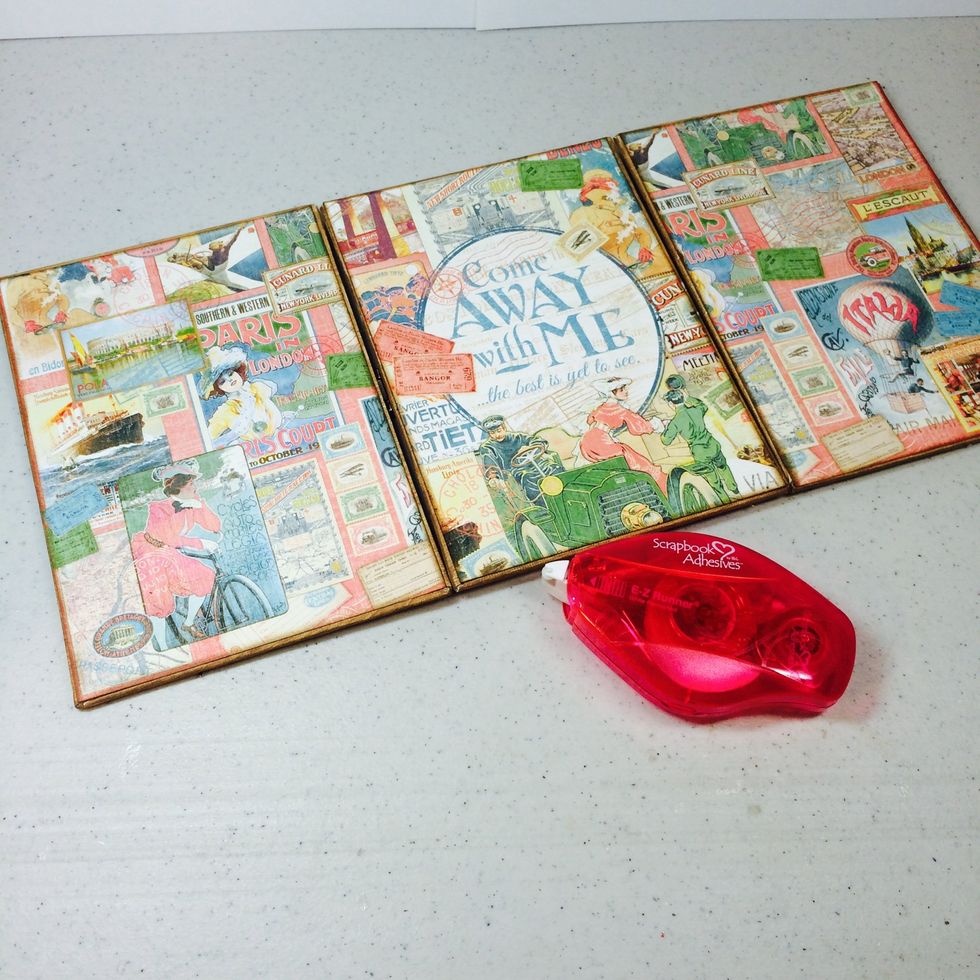
Use strong adhesive to adhere papers to canvases.
Cut three coordinating papers 4 1/2" x 6 1/2" and repeat the distressing and inking steps.
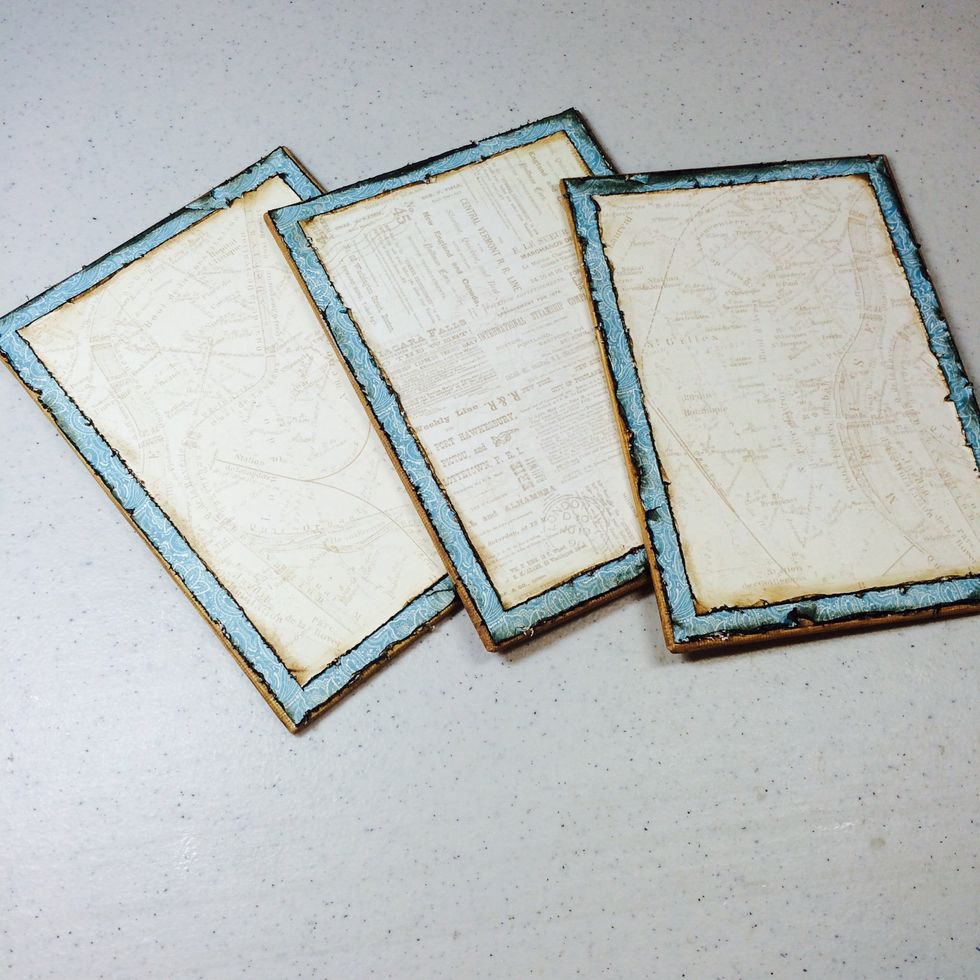
Adhere these to the canvases.

Position the hinges centered between the canvases then mark the holes with a pencil.

Use a strong hole punching tool like a Crop-a-dile to punch your marked holes. Use the smallest hole setting when punching.

This is what you'll have. Now you're ready to add the hinges.

For added strength, you can add a dab of strong metal glue (like E6000) to the hinges. Let it dry completely before inserting the brads.

This is how it will look at this point.
For the back side of the canvases, cut three pieces of decorative paper 4 7/8" x 6 7/8", ink edges.
Adhere to the backs of the canvases. Not only is this pretty, it also covers the brad prongs neatly.
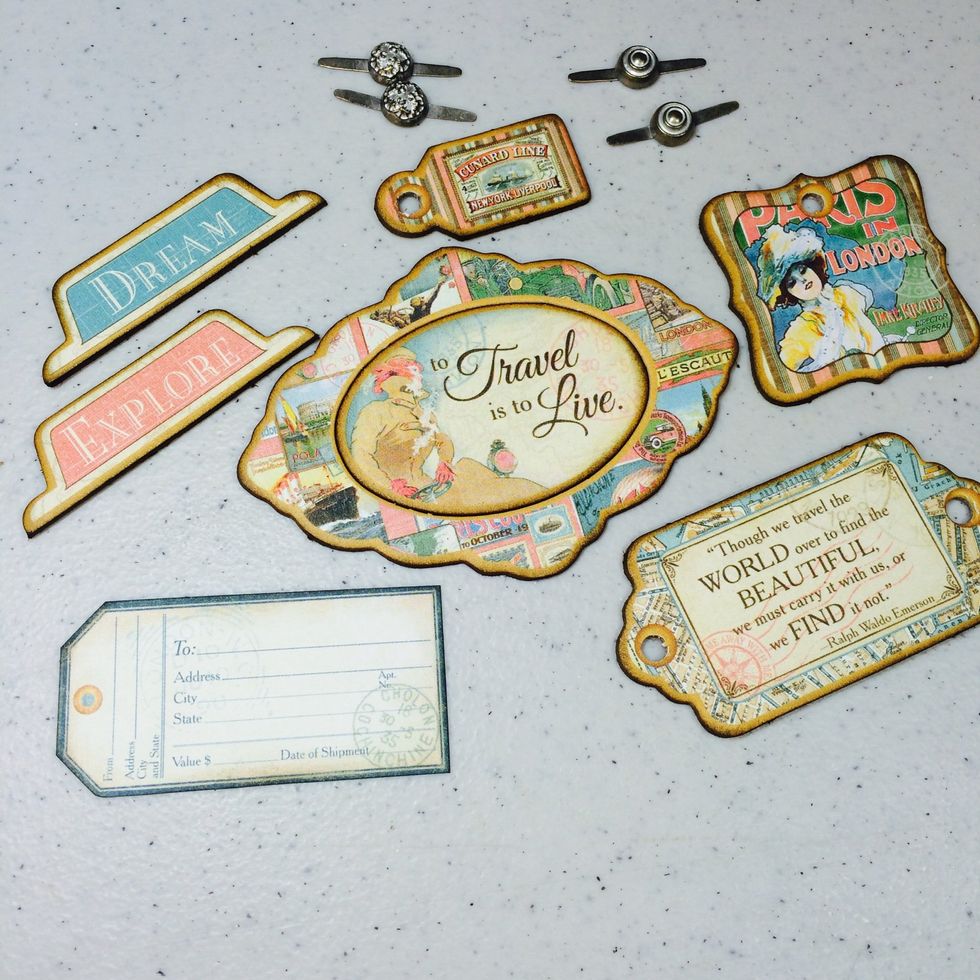
Select desired chipboard pieces, paper cut-outs and brads. Ink edges of chipboard and paper.
Cut double photo mats according to the size of your photos. Start placing elements around your piece to see where you like them before adhering them in place.

This is the dark brown cardstock layered over the peach one, for my photo mats. Switch them up according to your own photos.
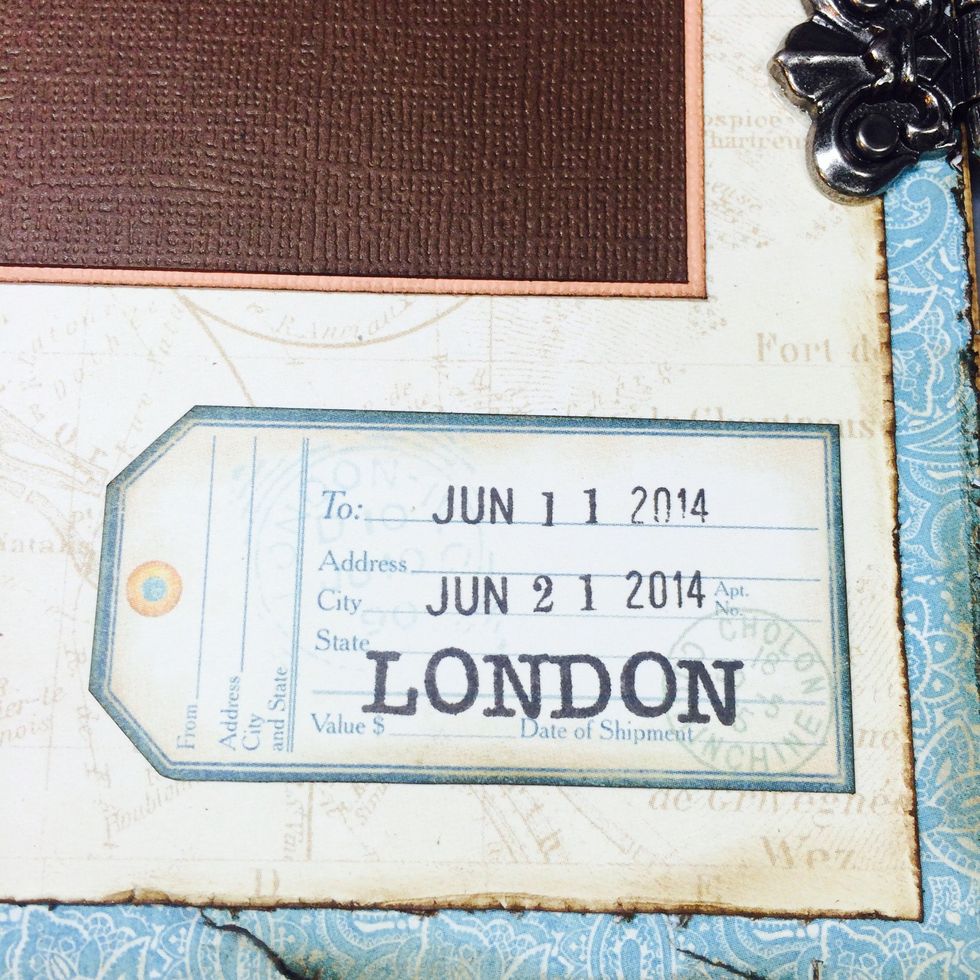
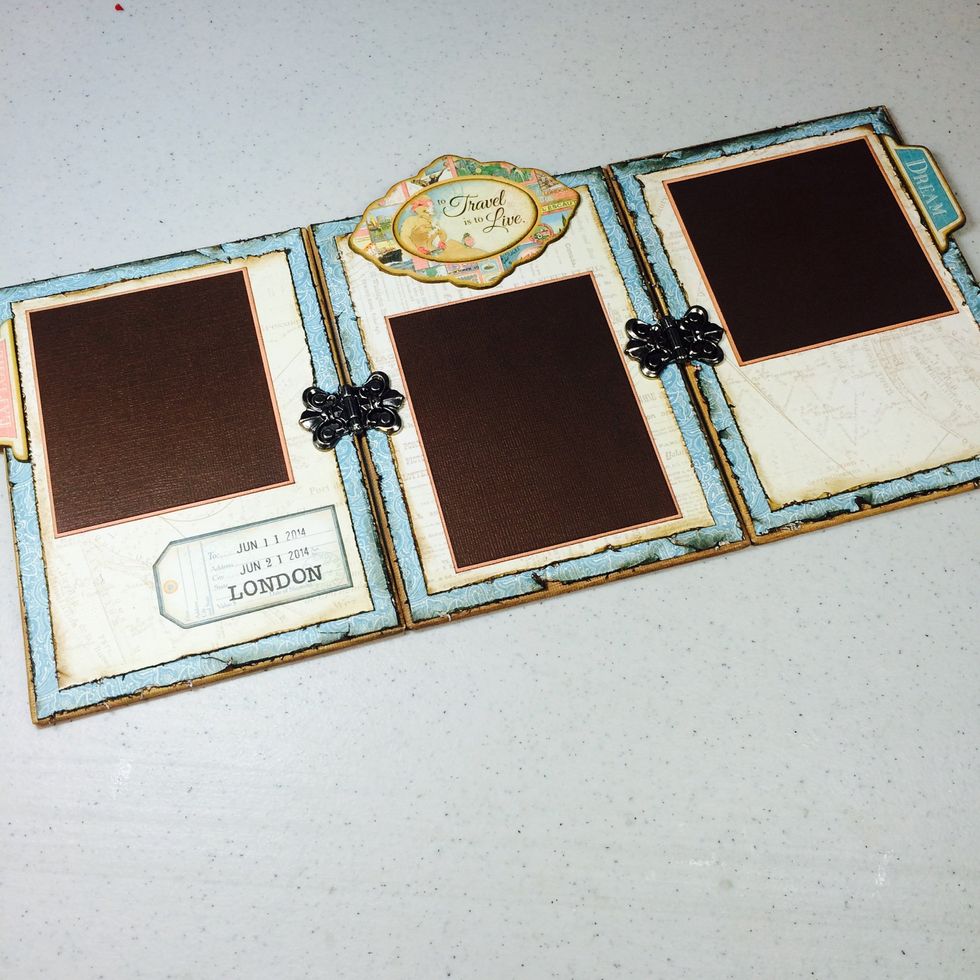
Use stamps to personalize or title your piece.
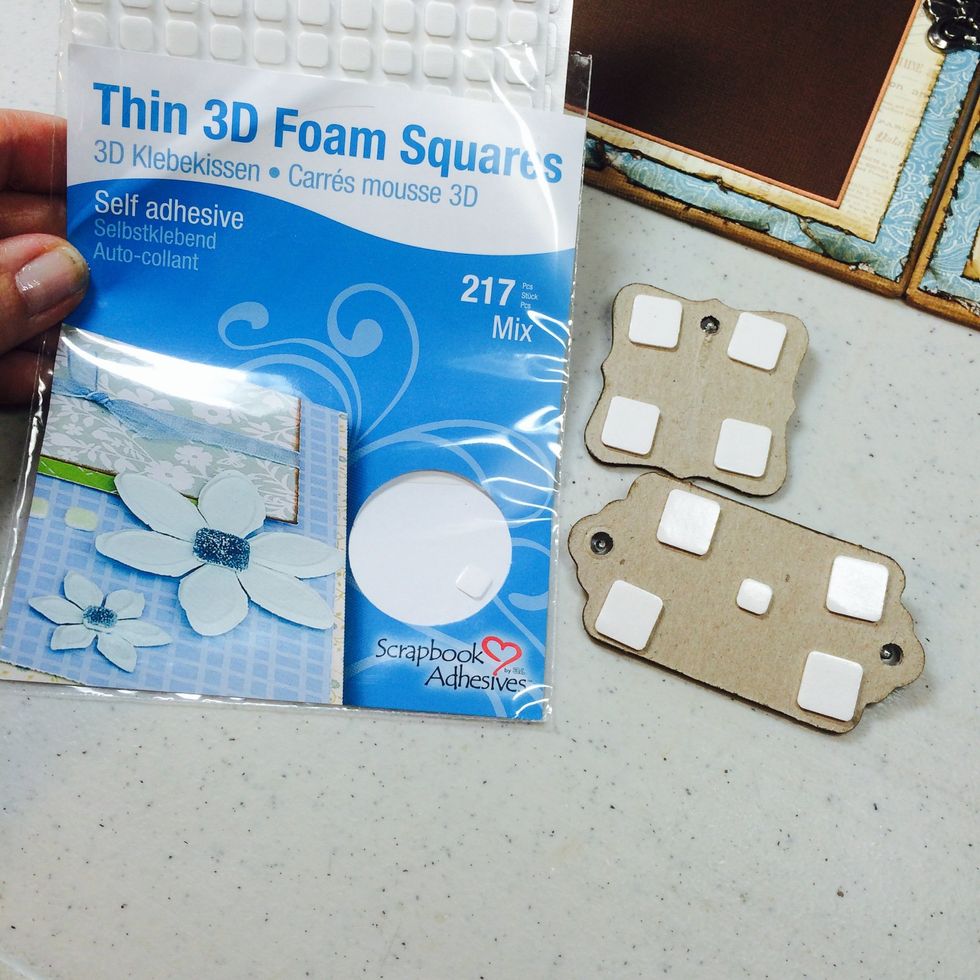
Use foam squares to adhere certain chipboard pieces.

See how it adds a bit of dimension? For the Shabby Chic brads, I like to pull off the prongs with pliers first then adhere them with metal glue.
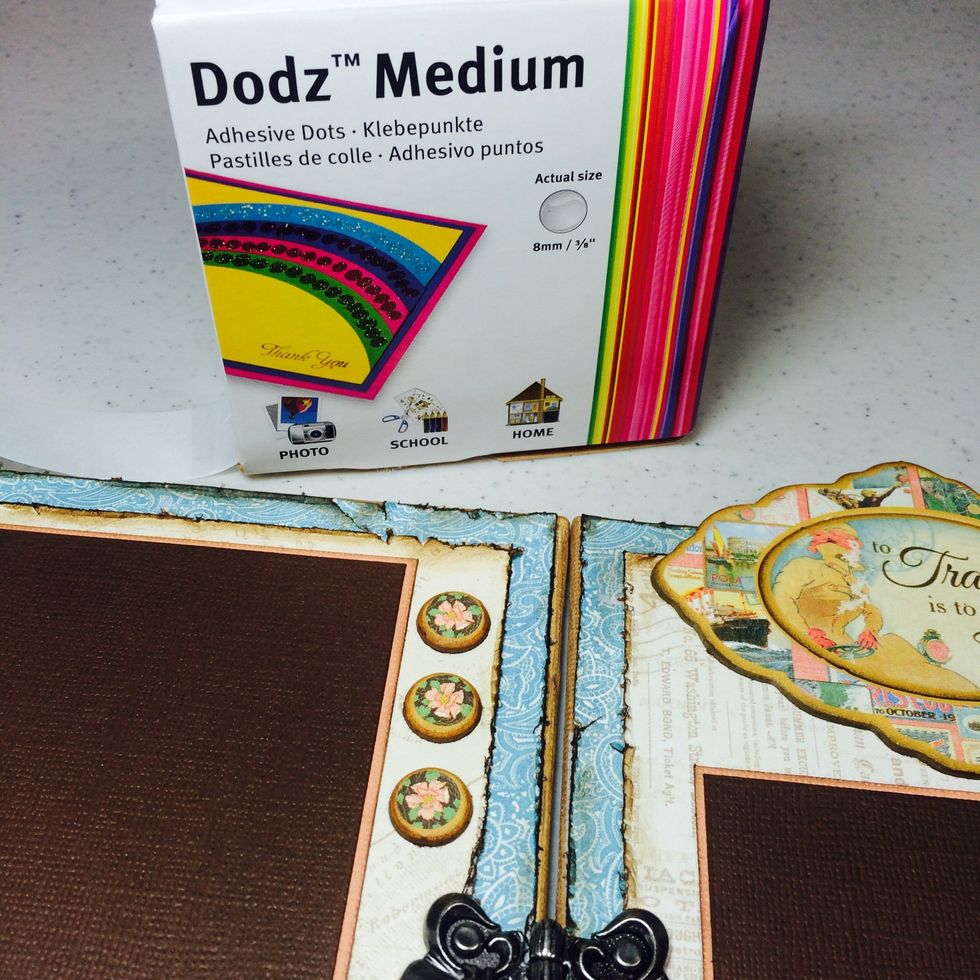
Use sticky glue dots for smaller chipboard pieces you want flat on your piece.

It's almost finished. Let's take a closer look at each panel.
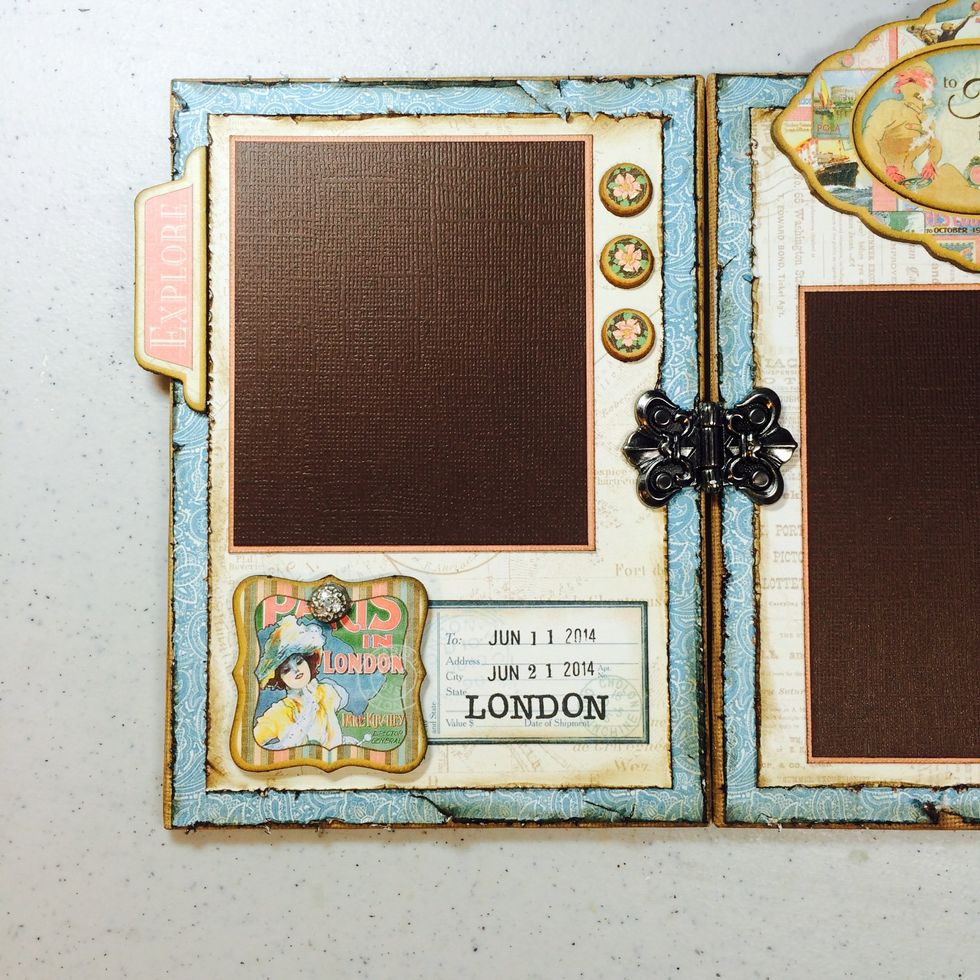
Left panel.
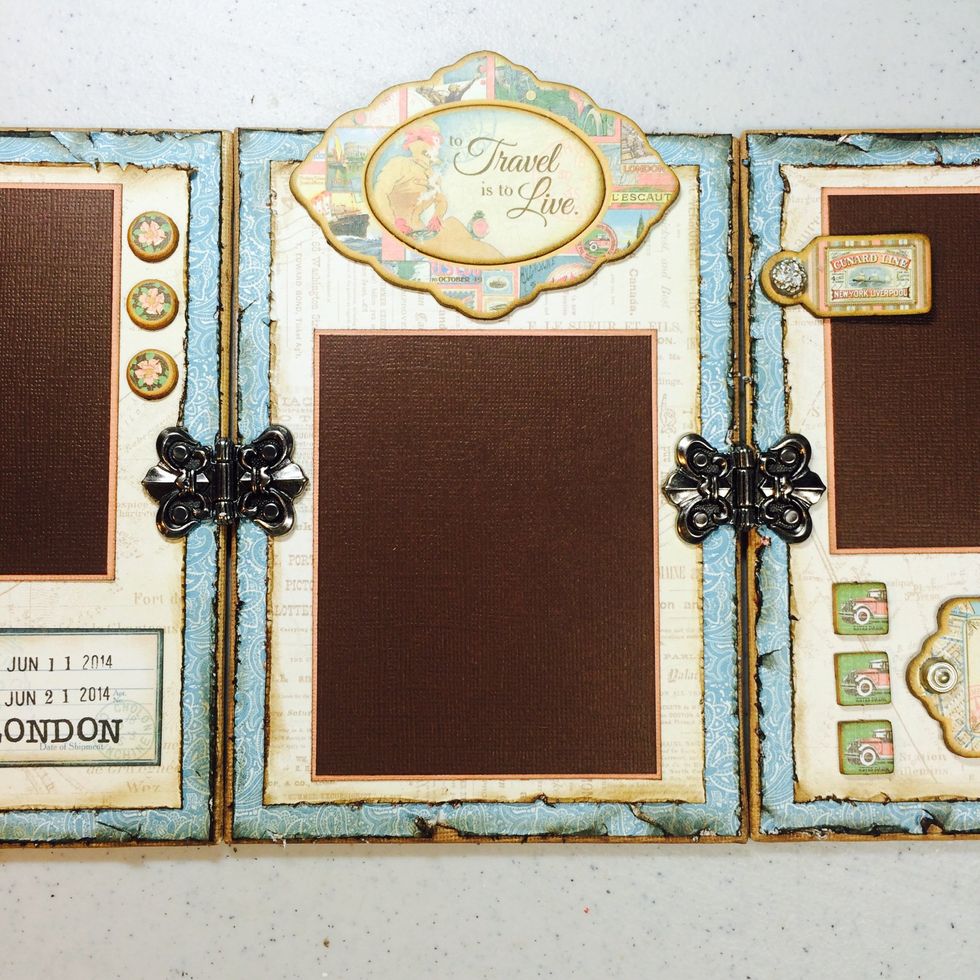
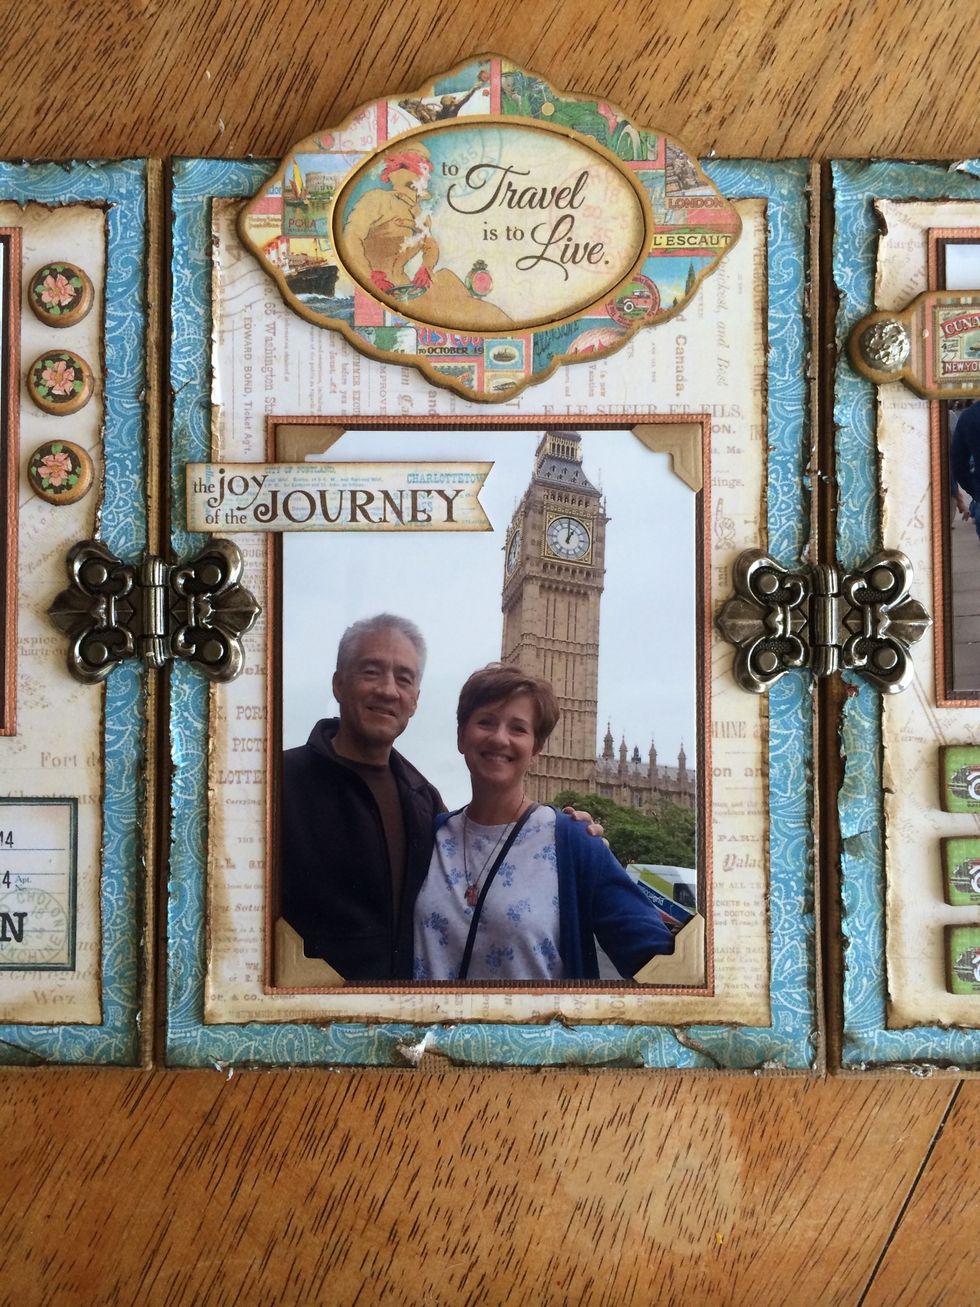
Center panel.
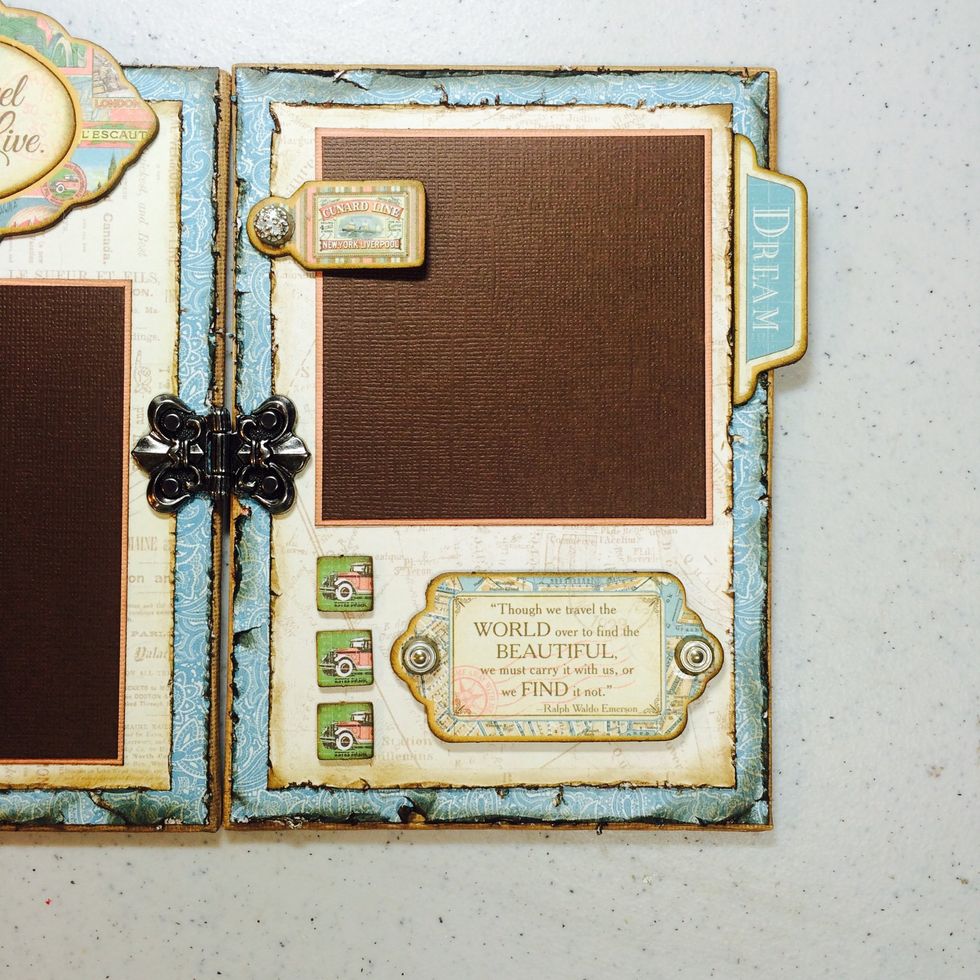
Right panel. (Note: don't put adhesive behind the small chipboard tag until you adhere your photo in place.)
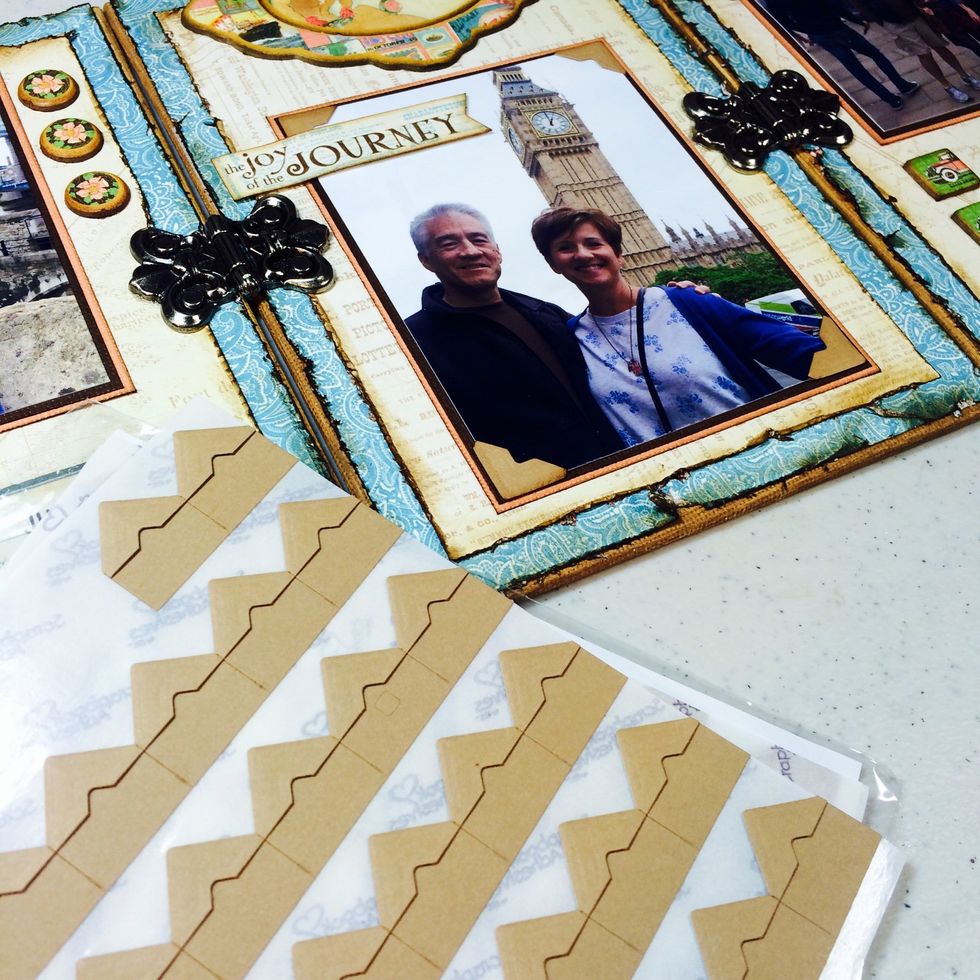
Okay, let's add some photos. It's fun to add some photo corners to dress it up a bit.
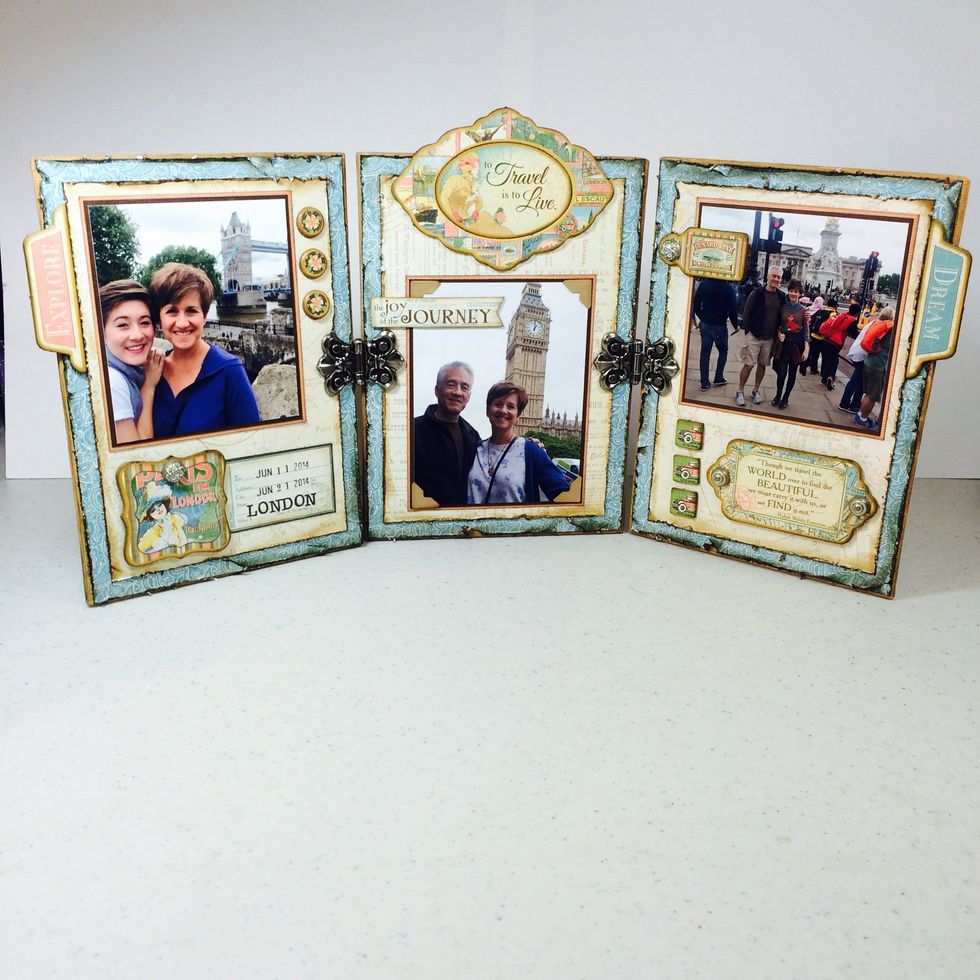
All my photos are now in place.

Display your piece for all to see and enjoy.
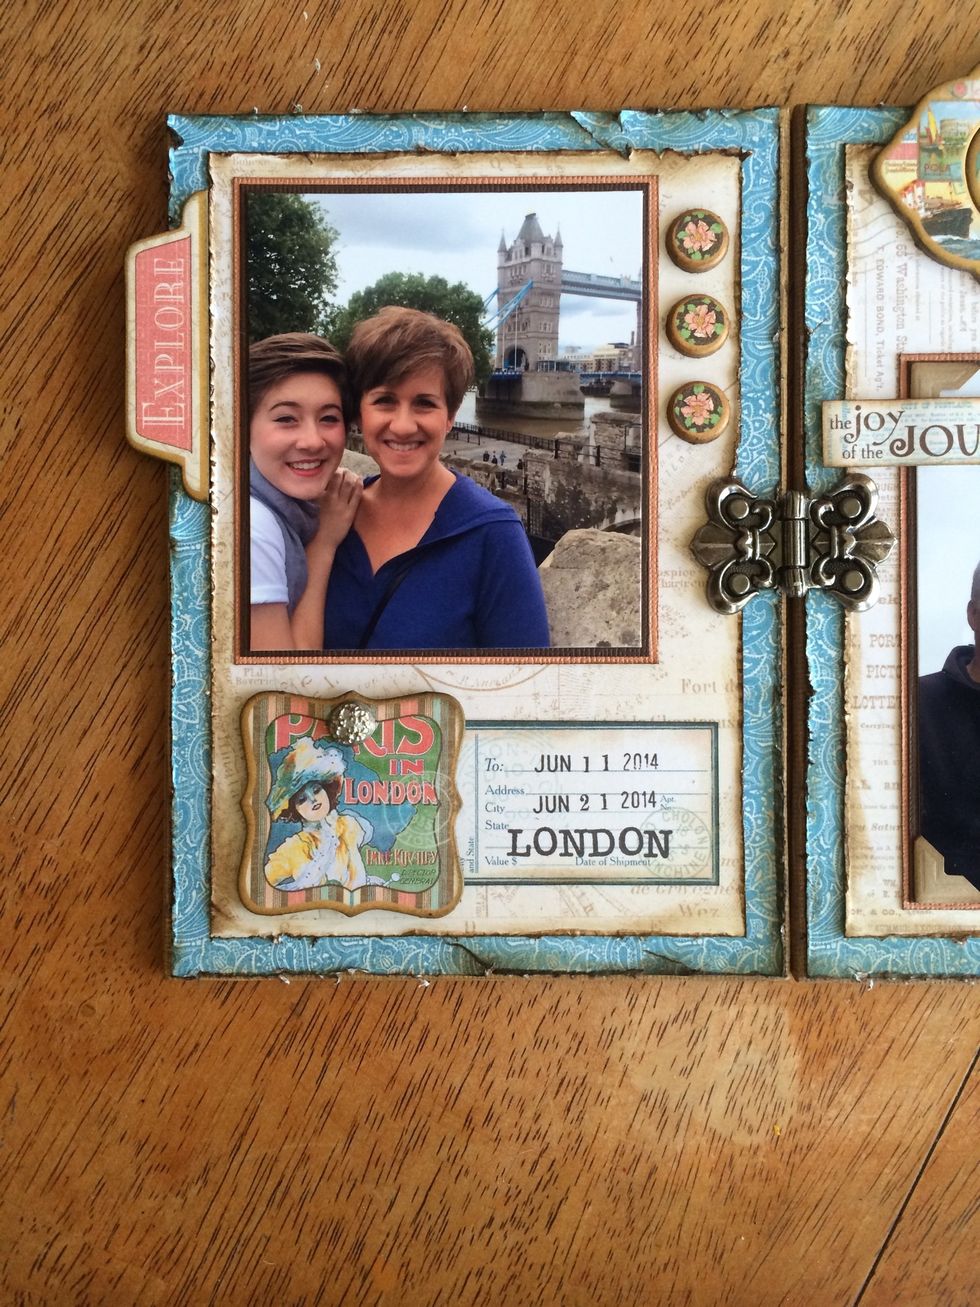
Close-up of each completed panel.
I cut-out a phrase from the paper collection for the strip overlapping my photo. This helped cover up a big blank space in the sky of my photo.
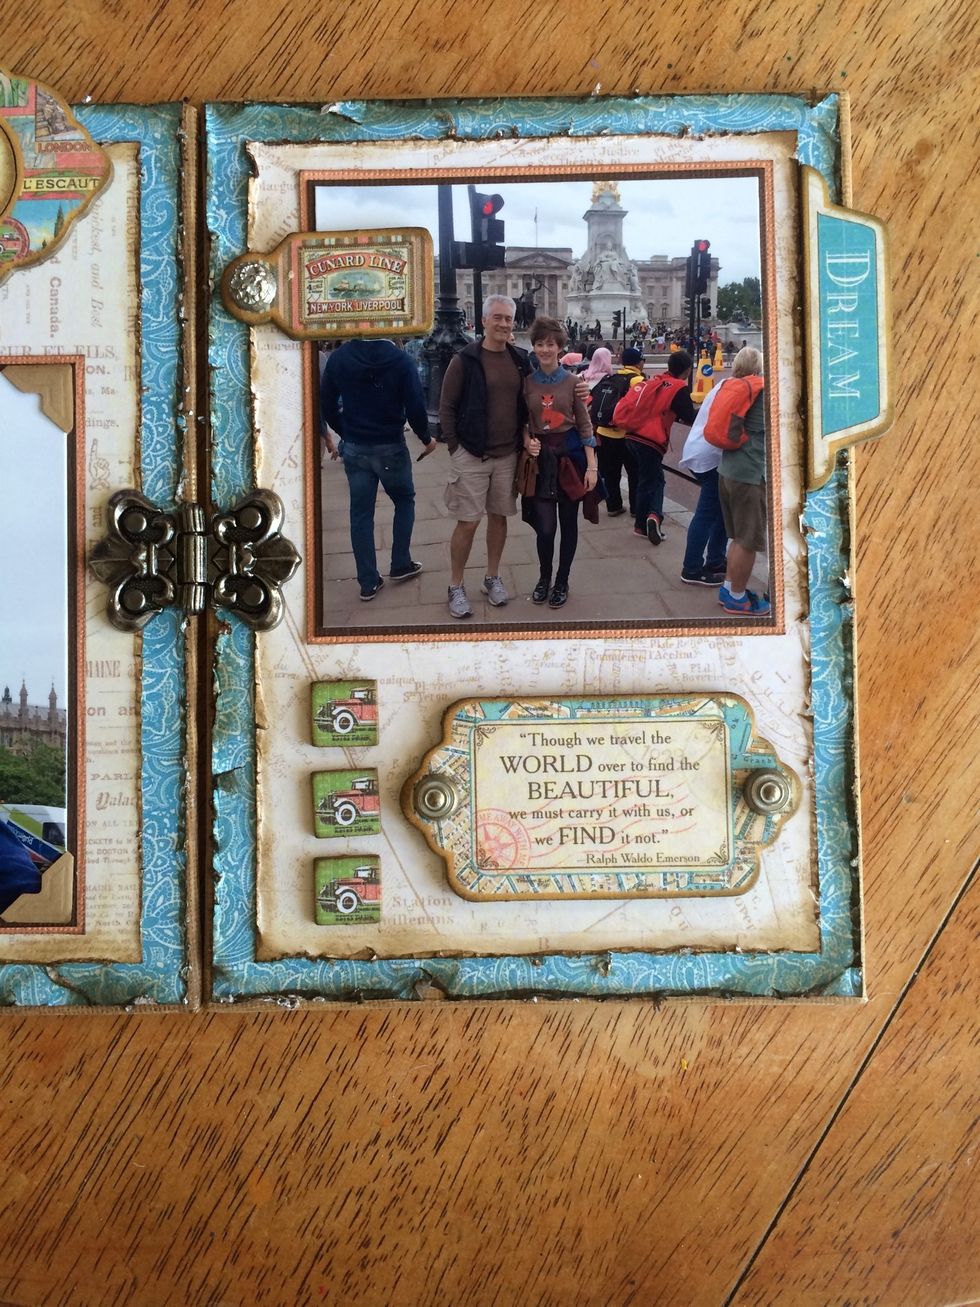
Right panel.
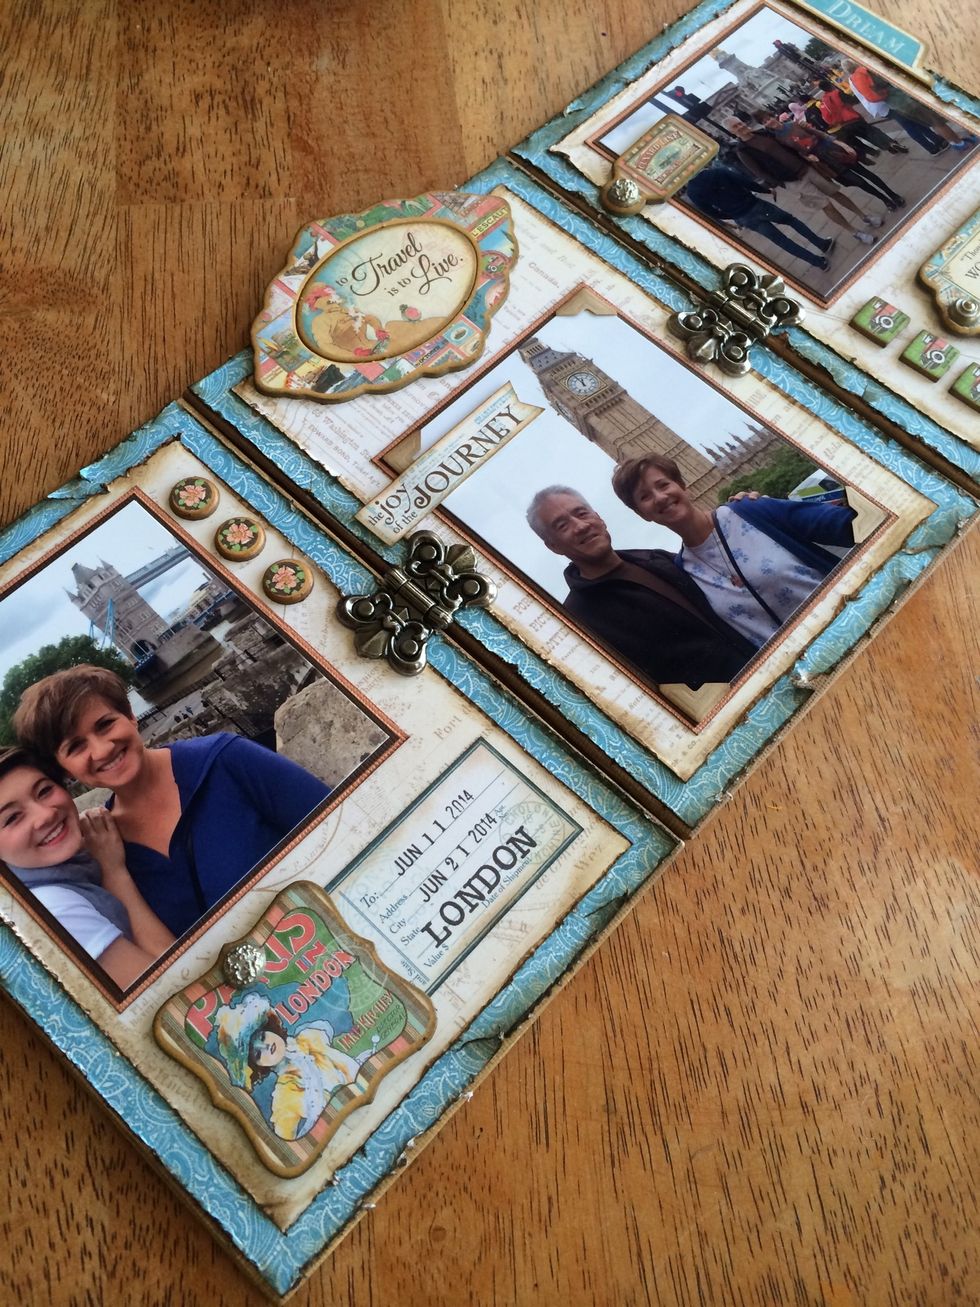
It's great to have memories from our recent trip displayed in our home like this. For more ideas and inspiration, please visit my blog at AnnettesCreativeJourney.blogspot.com