The Conversation (0)
Sign Up
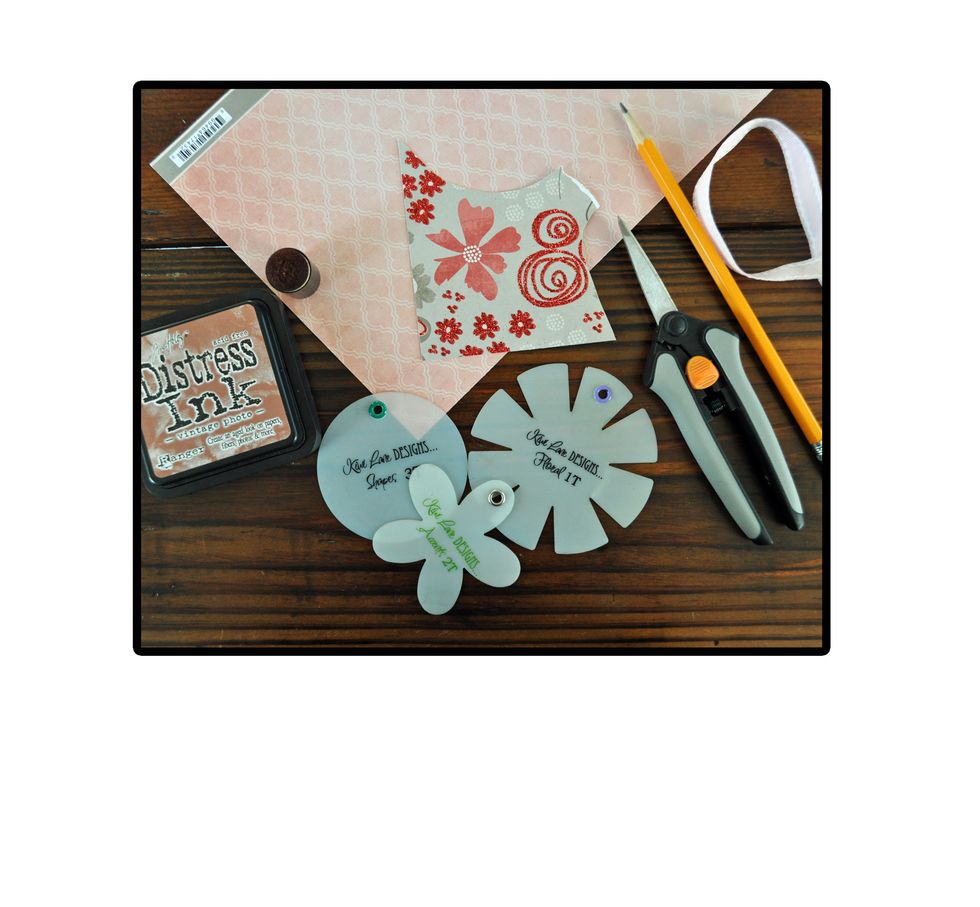
Here is a look at the tools that I used to create my pen topper. I also used a basic pen, clear packing tape, & a craft stick.
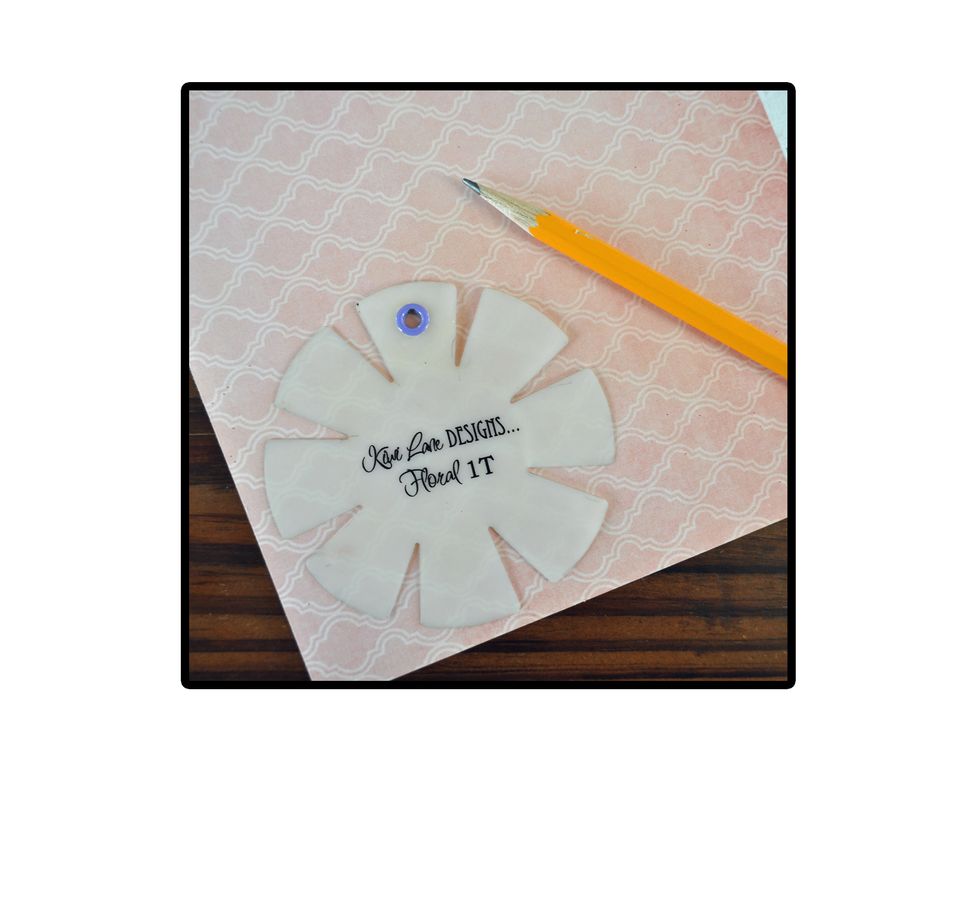
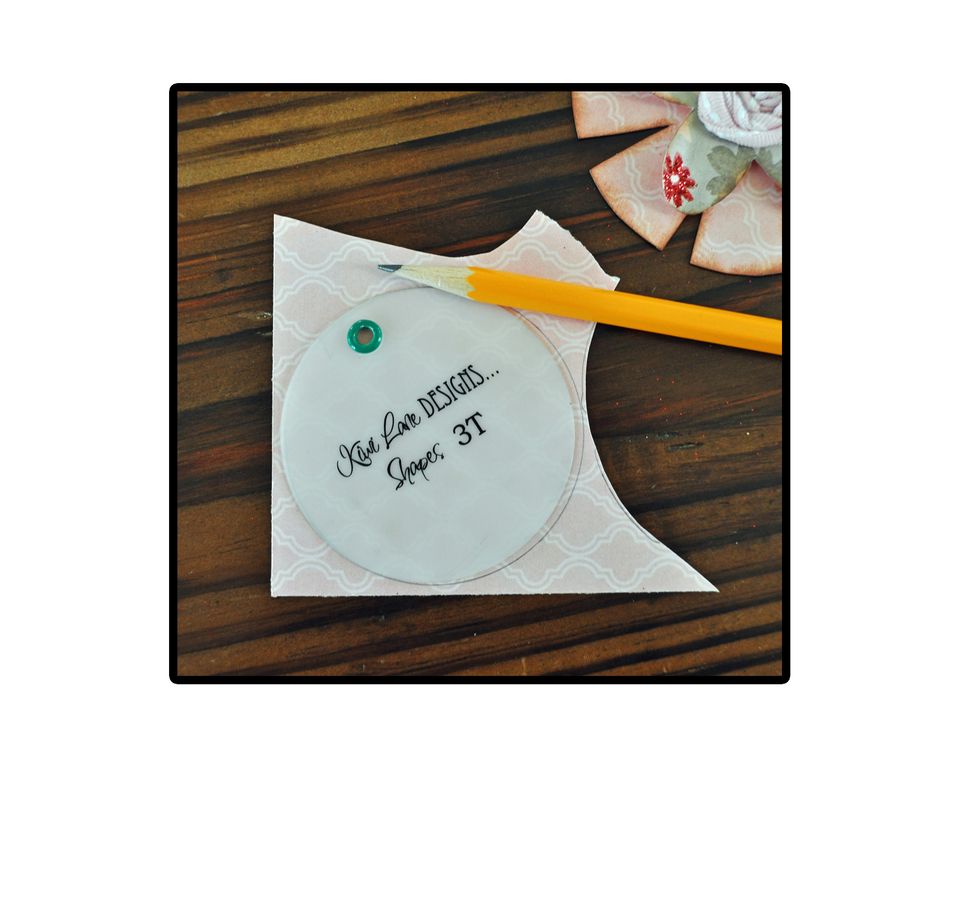
The first step is to choose some flower or other shaped Designer Templates to use for the top of the pen. Then using your patterned paper, trace and cut each one out.
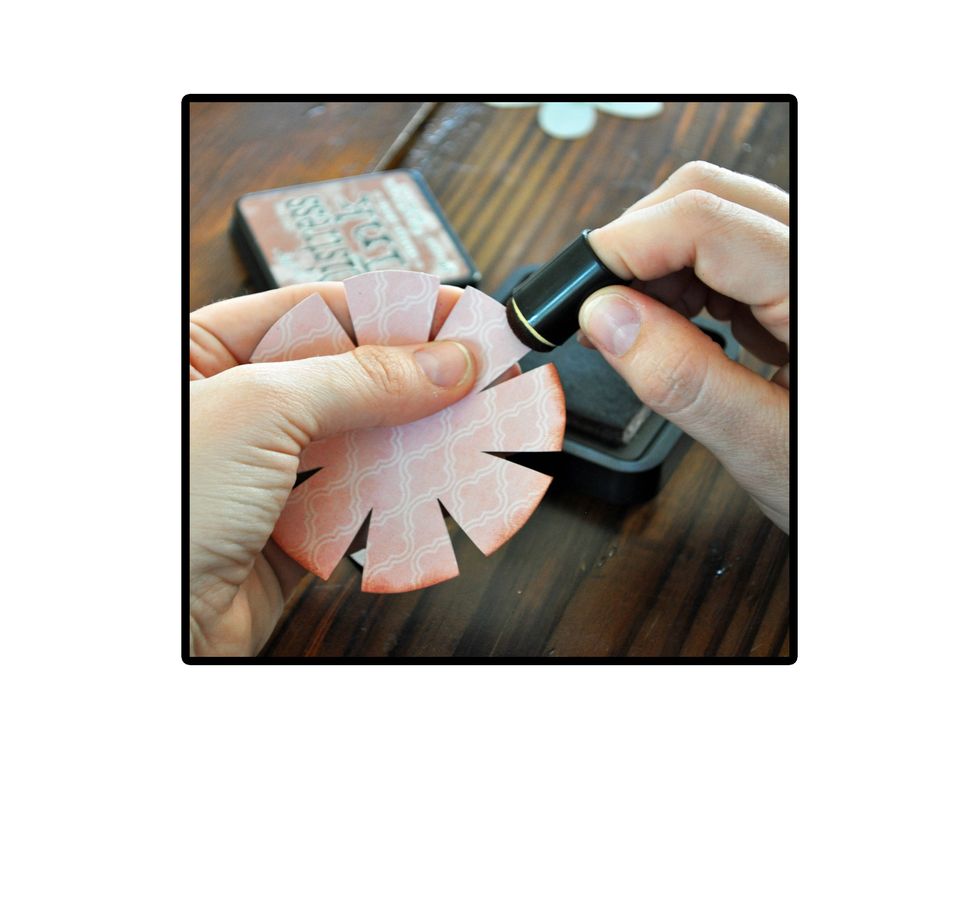
After cutting, make sure to ink the edges to give it a nice finished look. This will also hide your pencil marks so don't worry about erasing if you go off the lines.
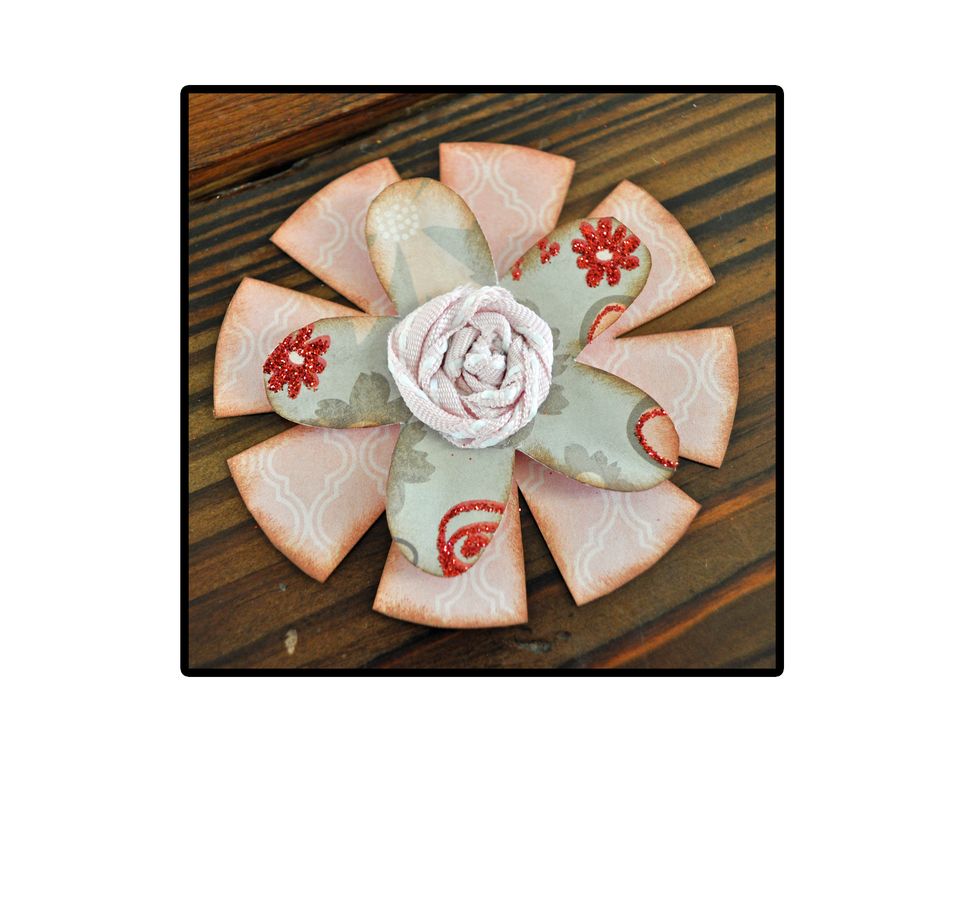
Adhere the layers of your flower together and add a center. Use buttons, brads or ribbon. If you like the ribbon one above, make sure to check out our Make a Ribbon Center for Paper Flowers guide.
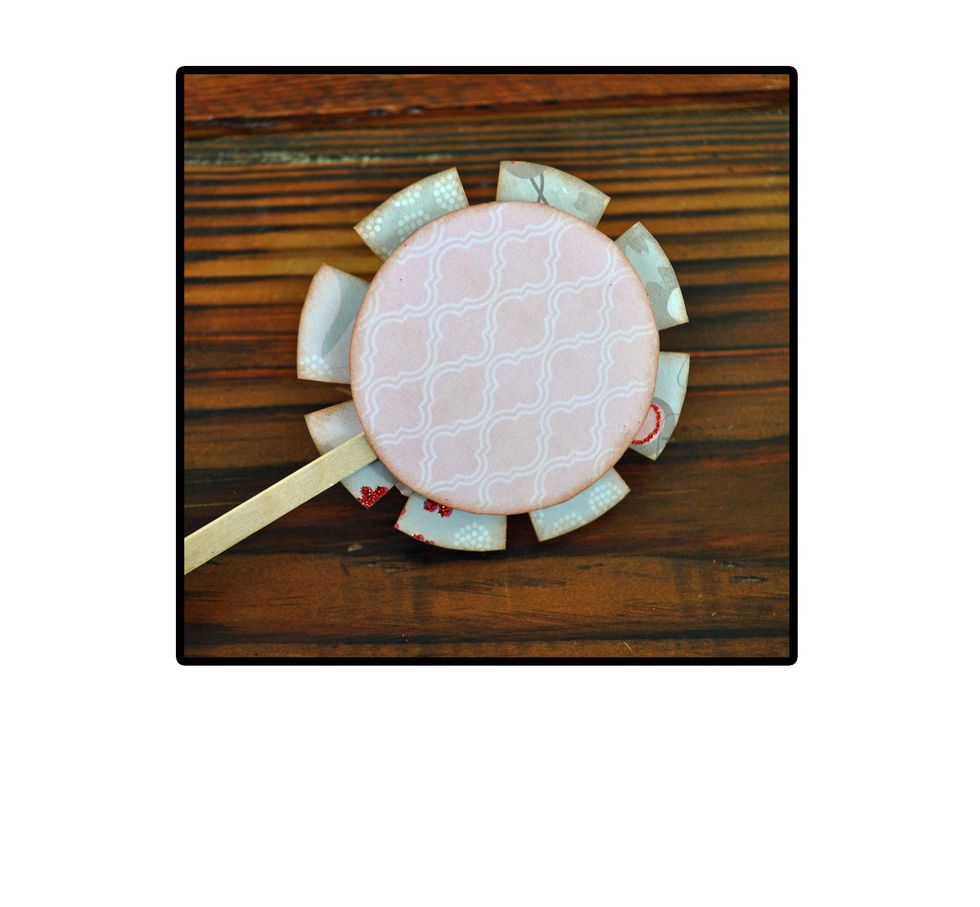
After your flower is done, cut a small circle that will fit on the back of your layered flower. Make sure to ink it as well.
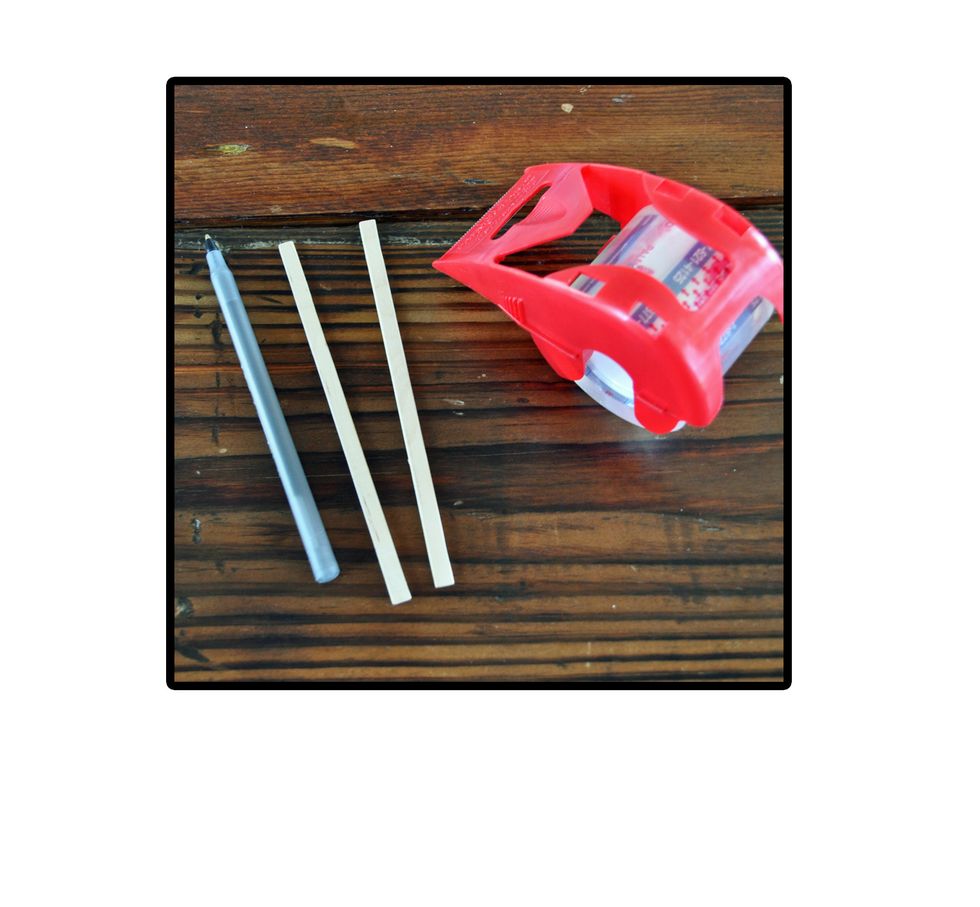
Next you are going to need your craft stick, pen, and tape.
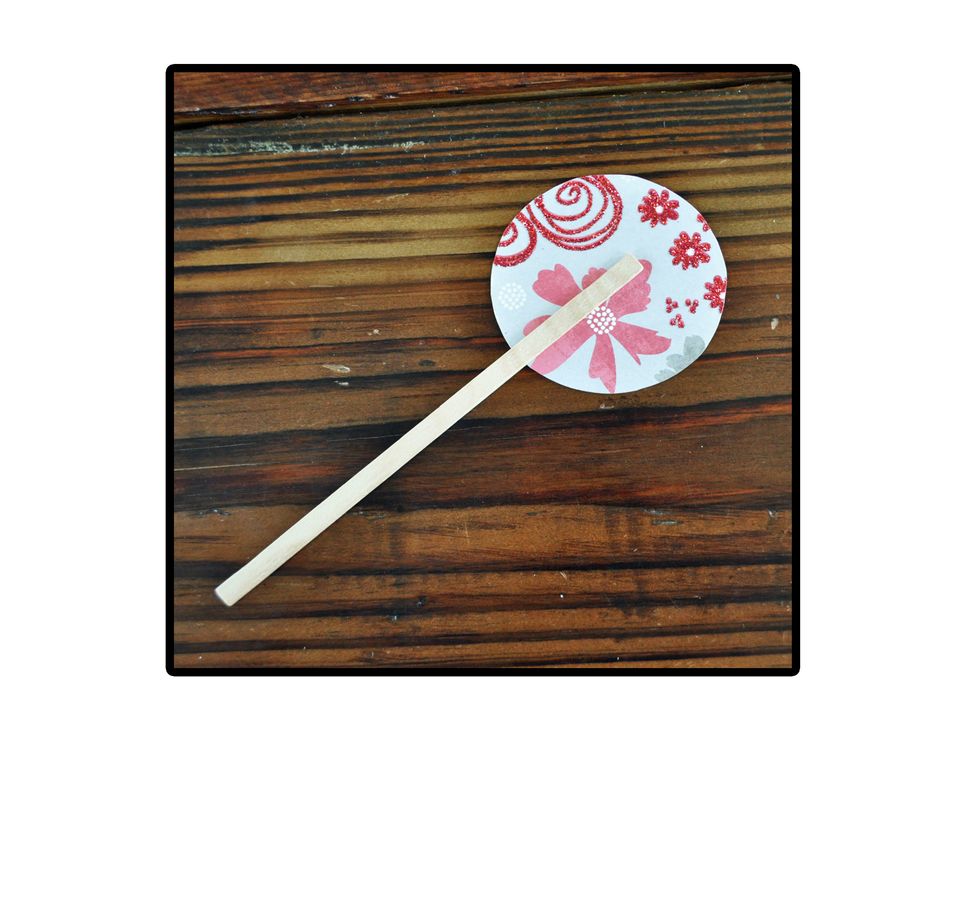
Using hot glue, adhere the craft stick to the circle. Make sure to stick it to the side you don't want showing.
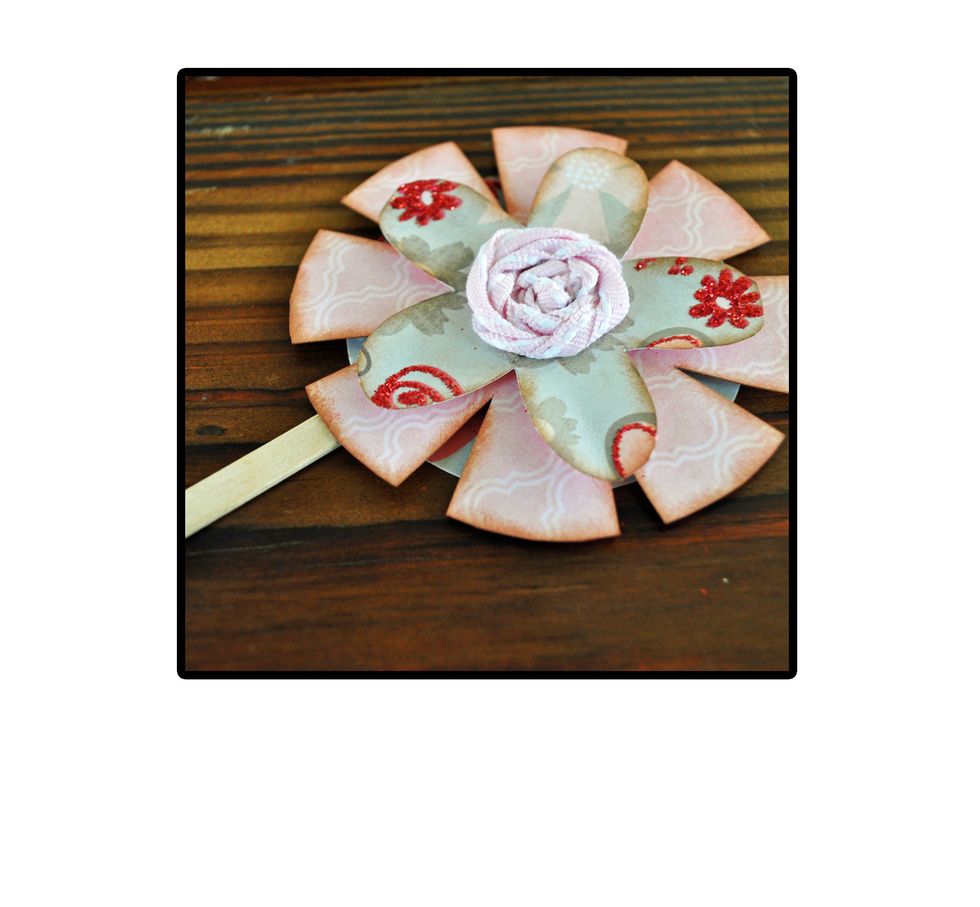
Then hot glue your layered flower on top of that. Note: I add the hot glue to the stick and then press the flower down on top.
Putting it together this way will hide the stick and give a fun pop to the layers.
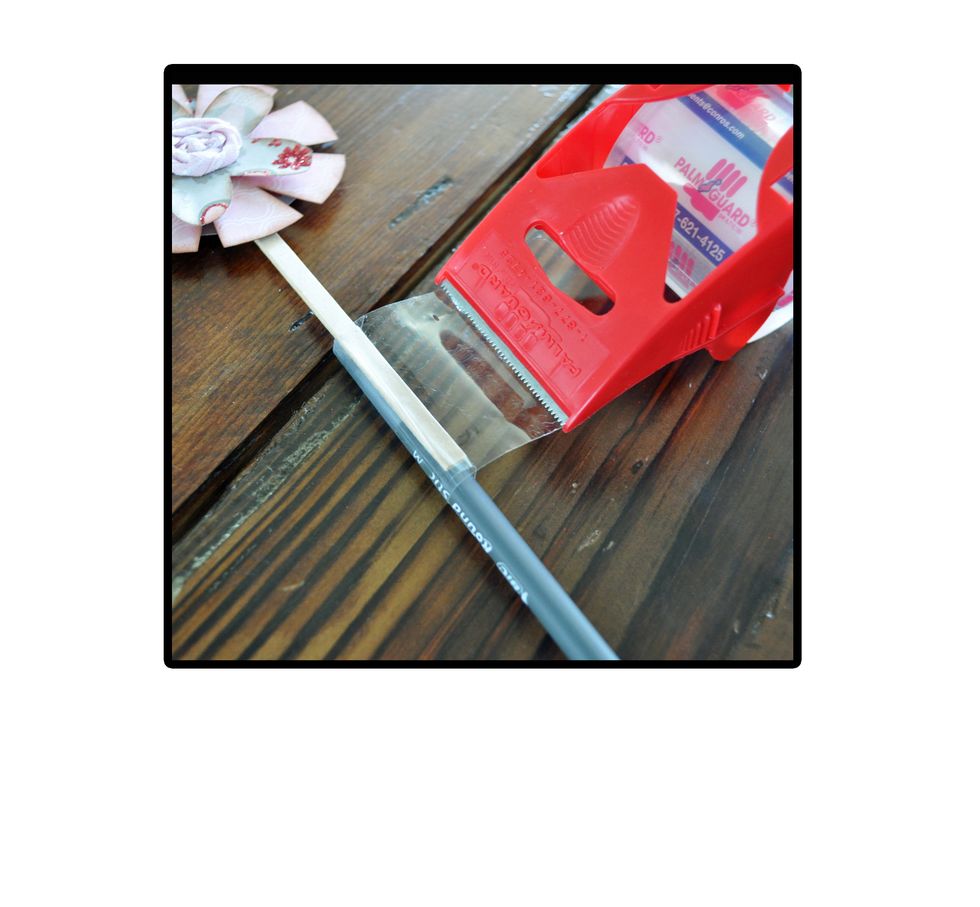
Last thing to do is add it to the pen. Place the top few inches of the pen against the bottom few inches of the craft stick and tape in place.
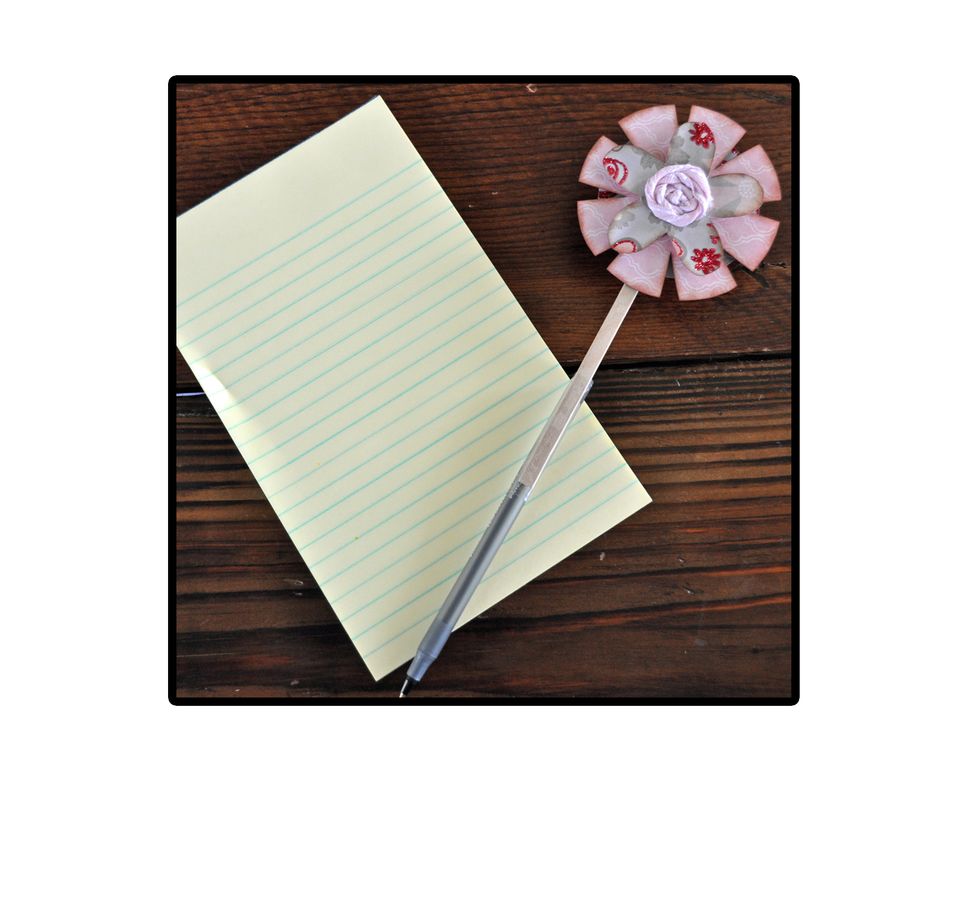
These are so cute and easy to make with just your scraps!

www.kiwilane.com