The Conversation (0)
Sign Up

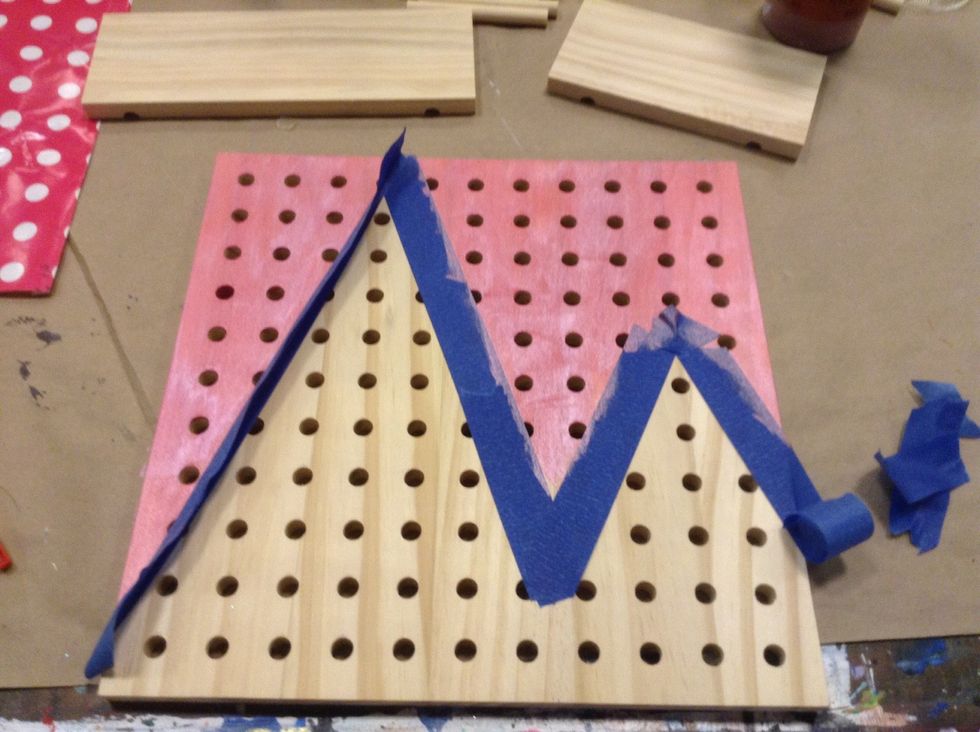
Gather peg board kit Paints/ tape/ sandpaper/ foam brushes

Place tape in pattern as desired Or paint freely the background and other designs
Peel off tape and continue painting. Paint shelves if you wish. Plan out where you would like your pegs.
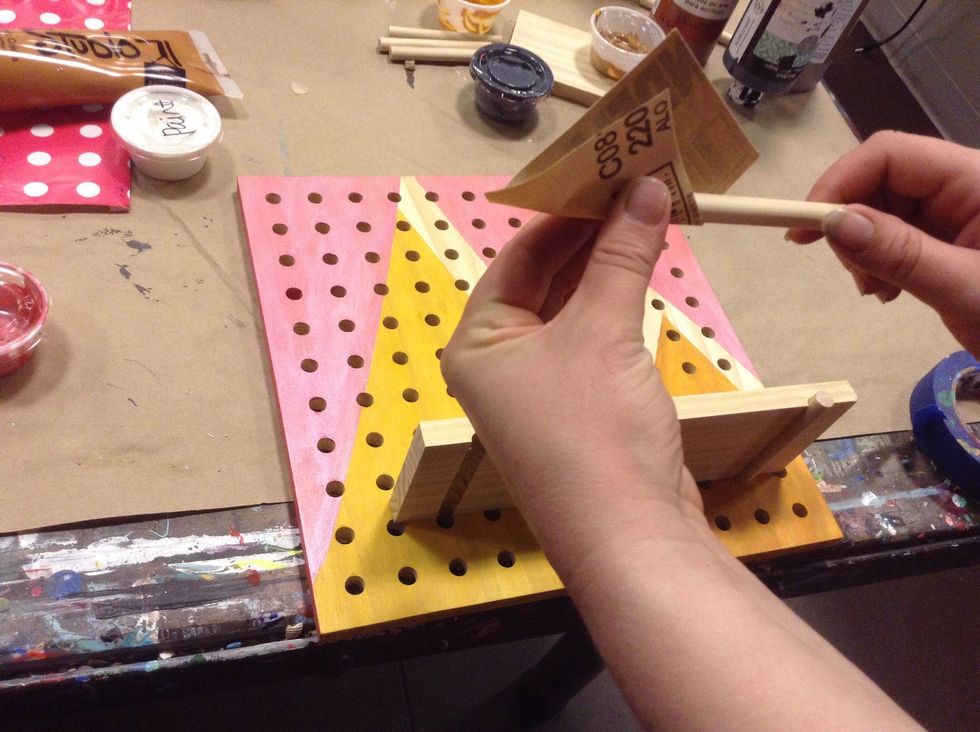
After you have chosen where pegs will be inserted begin sanding down the peg, the peg board hole, or both. Try placing peg into the corresponding hole to see if it fits. If not continue sanding.
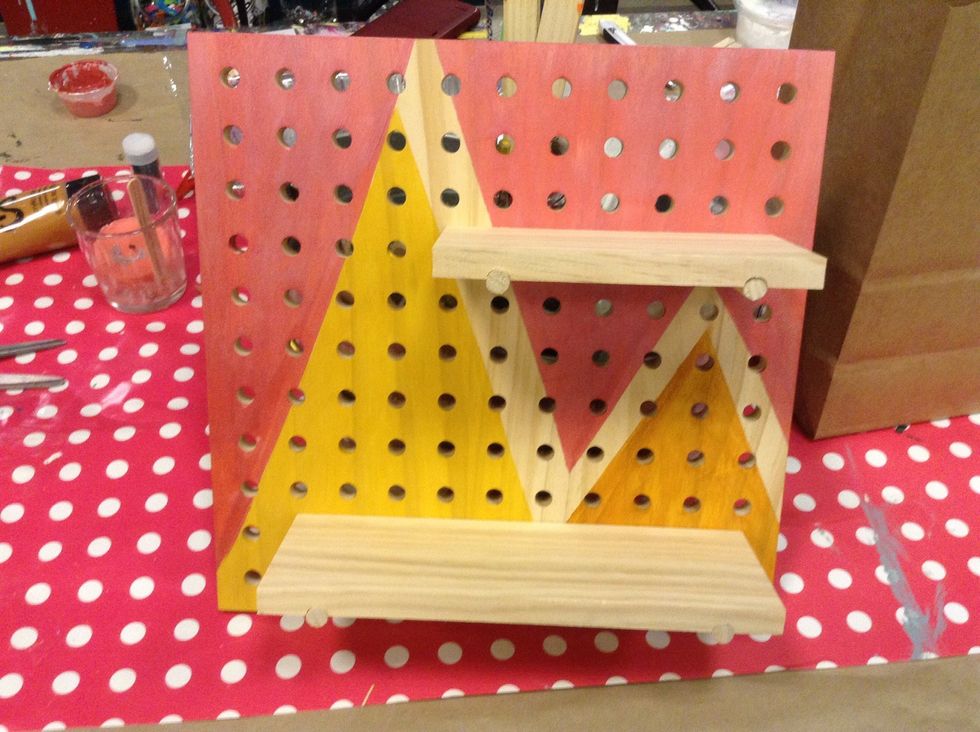
Once pegs can be situated into the corresponding holes, then you can place shelves on top of pegs. No need for wood glue unless you want to be permanent. The shelves/pegs can be moved as you wish.
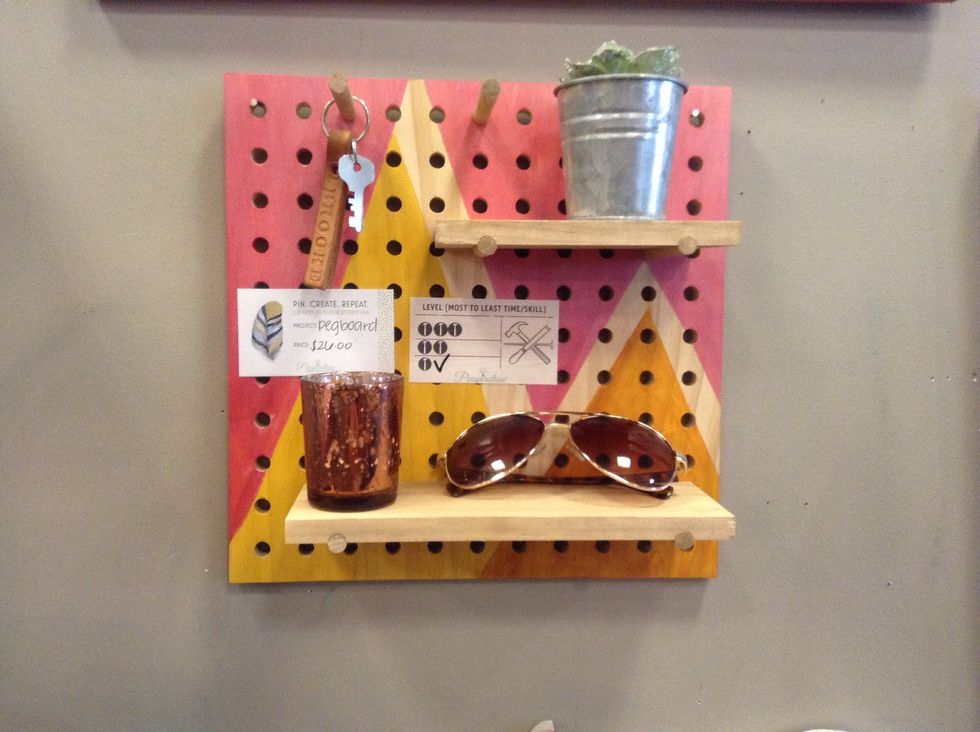
Add embellishments if you wish. Then hang on your wall and decorate with you accessories.