The Conversation (0)
Sign Up
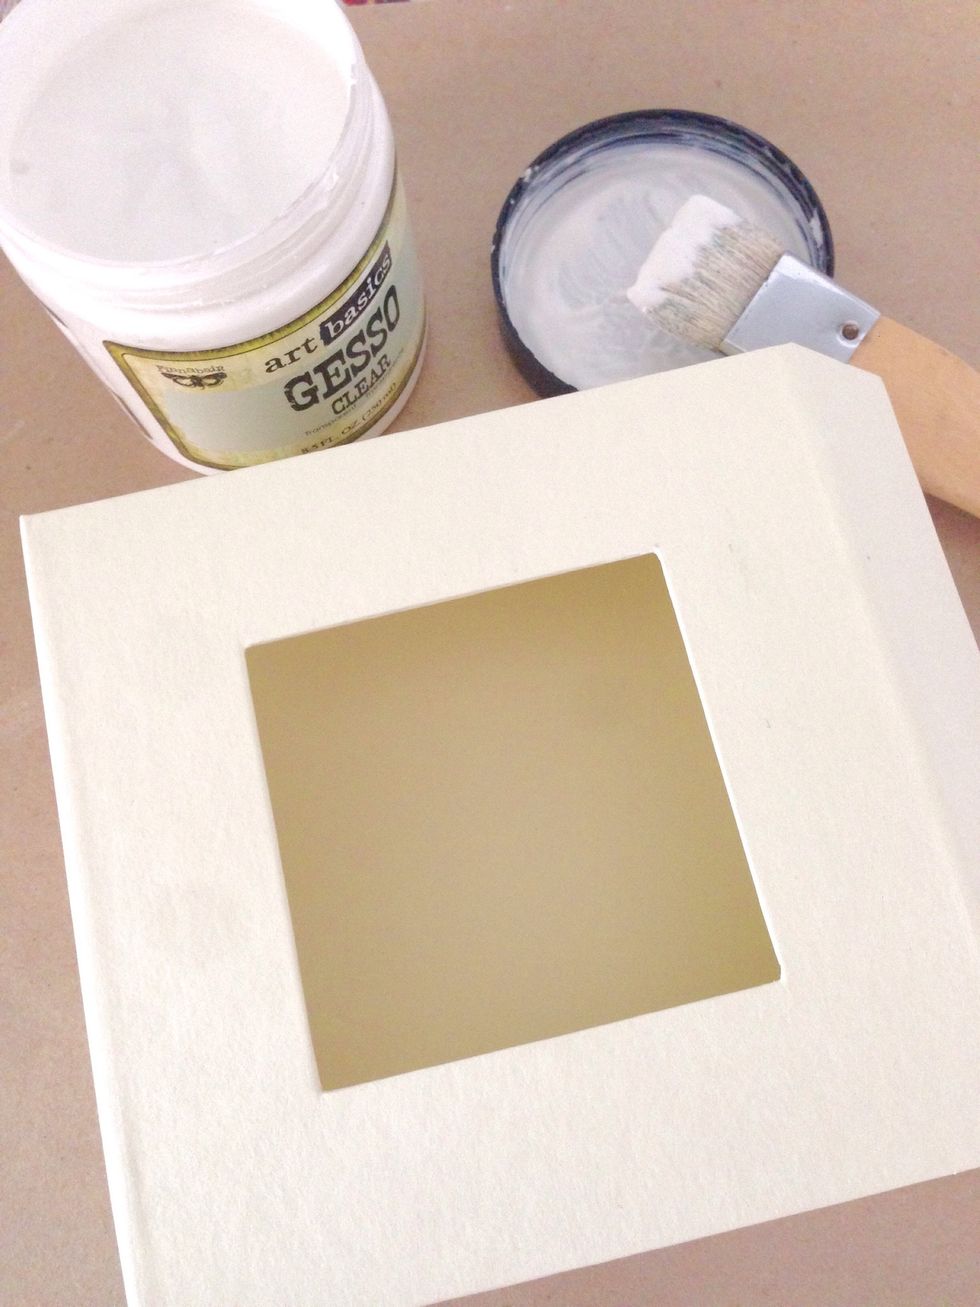
Apply a layer of clear gesso all over the box including the inside... This is to create a "teething" surface so that mediums can etched onto it...
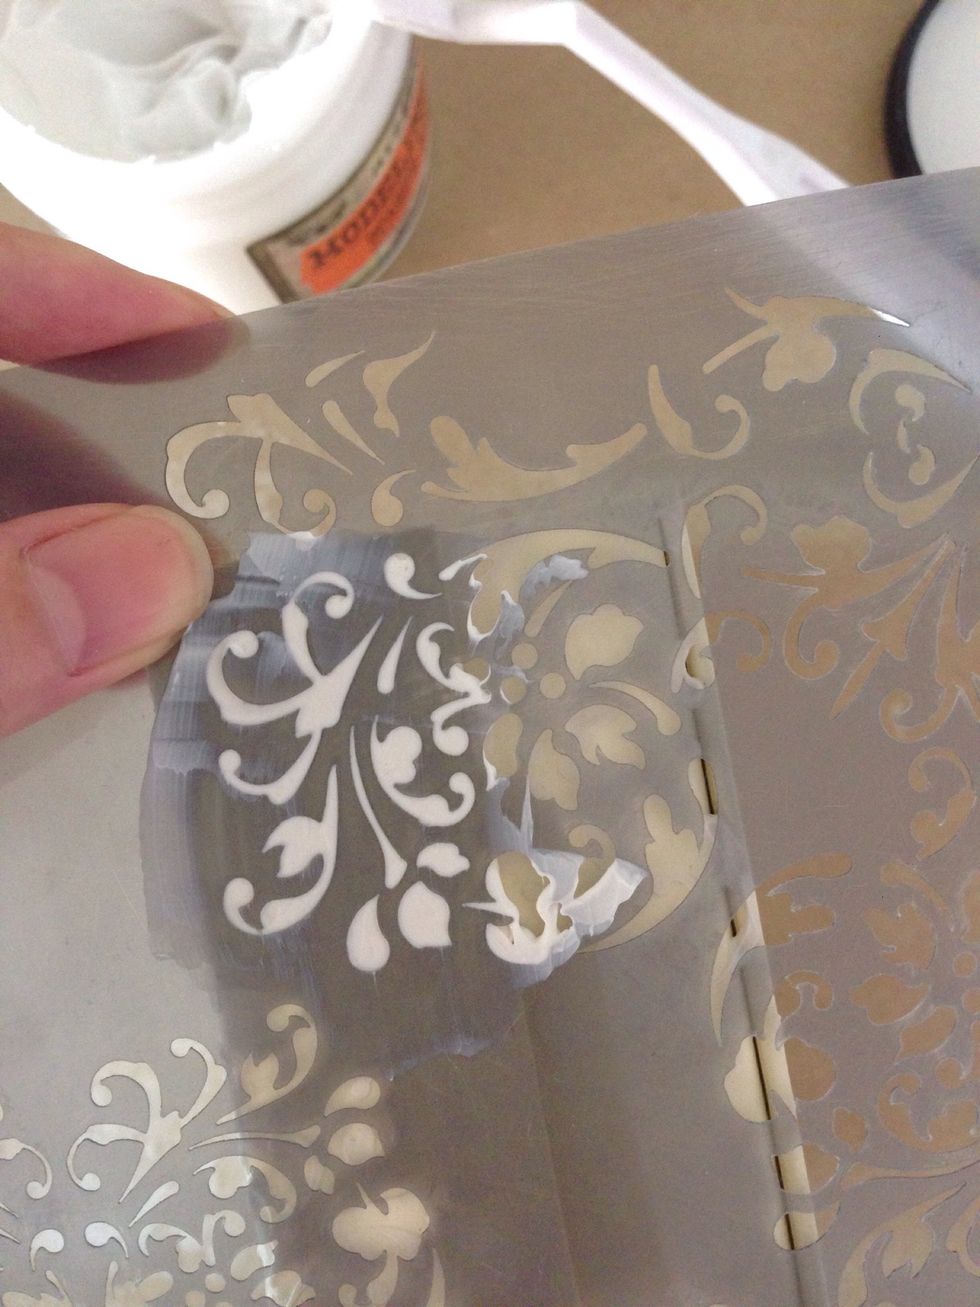
Use a flourish stencil, apply modeling paste over it randomly around the box...
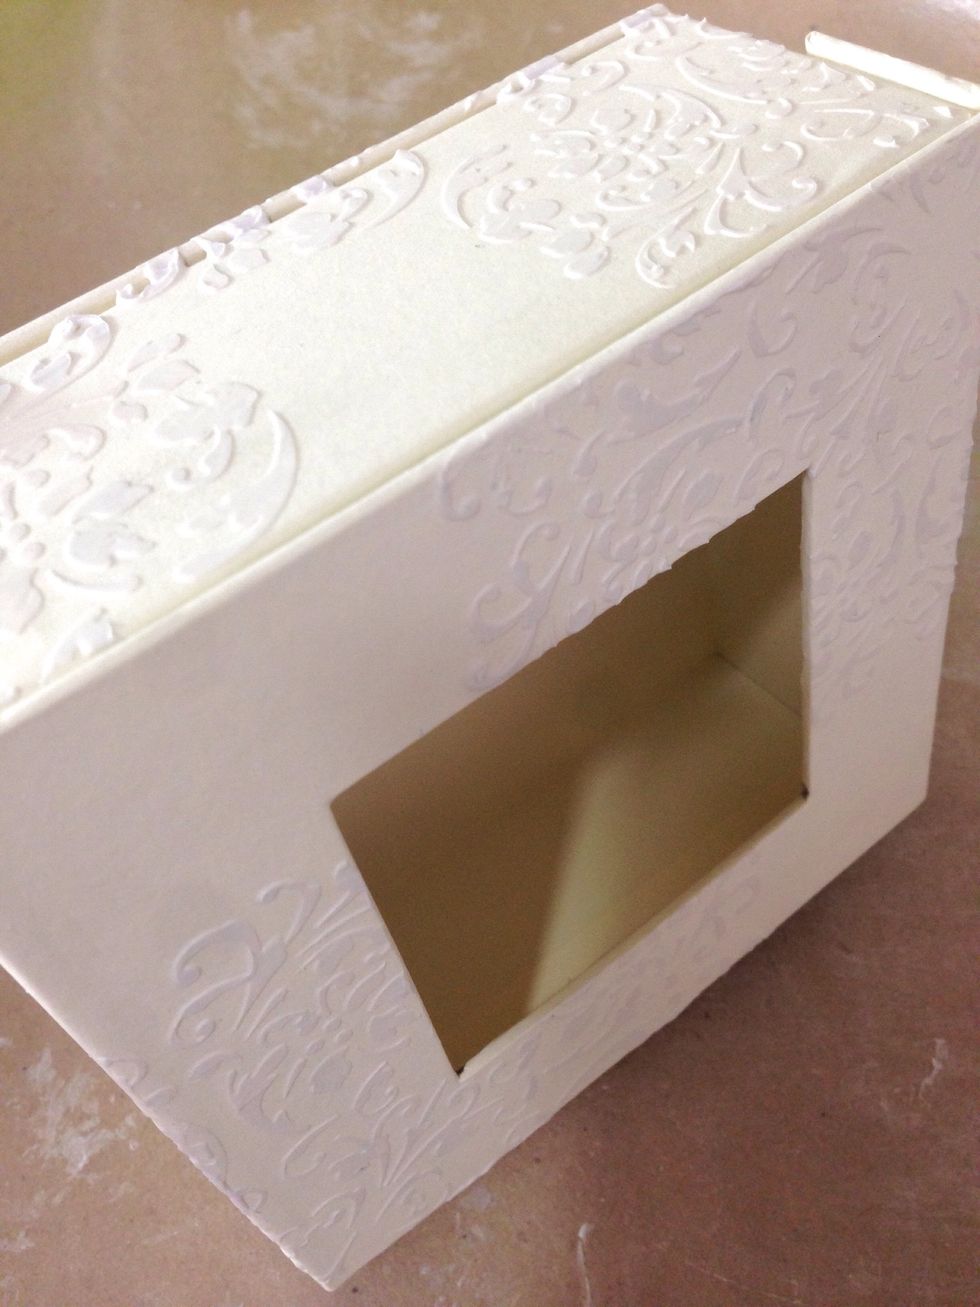
Apply to all exterior surfaces of the box...
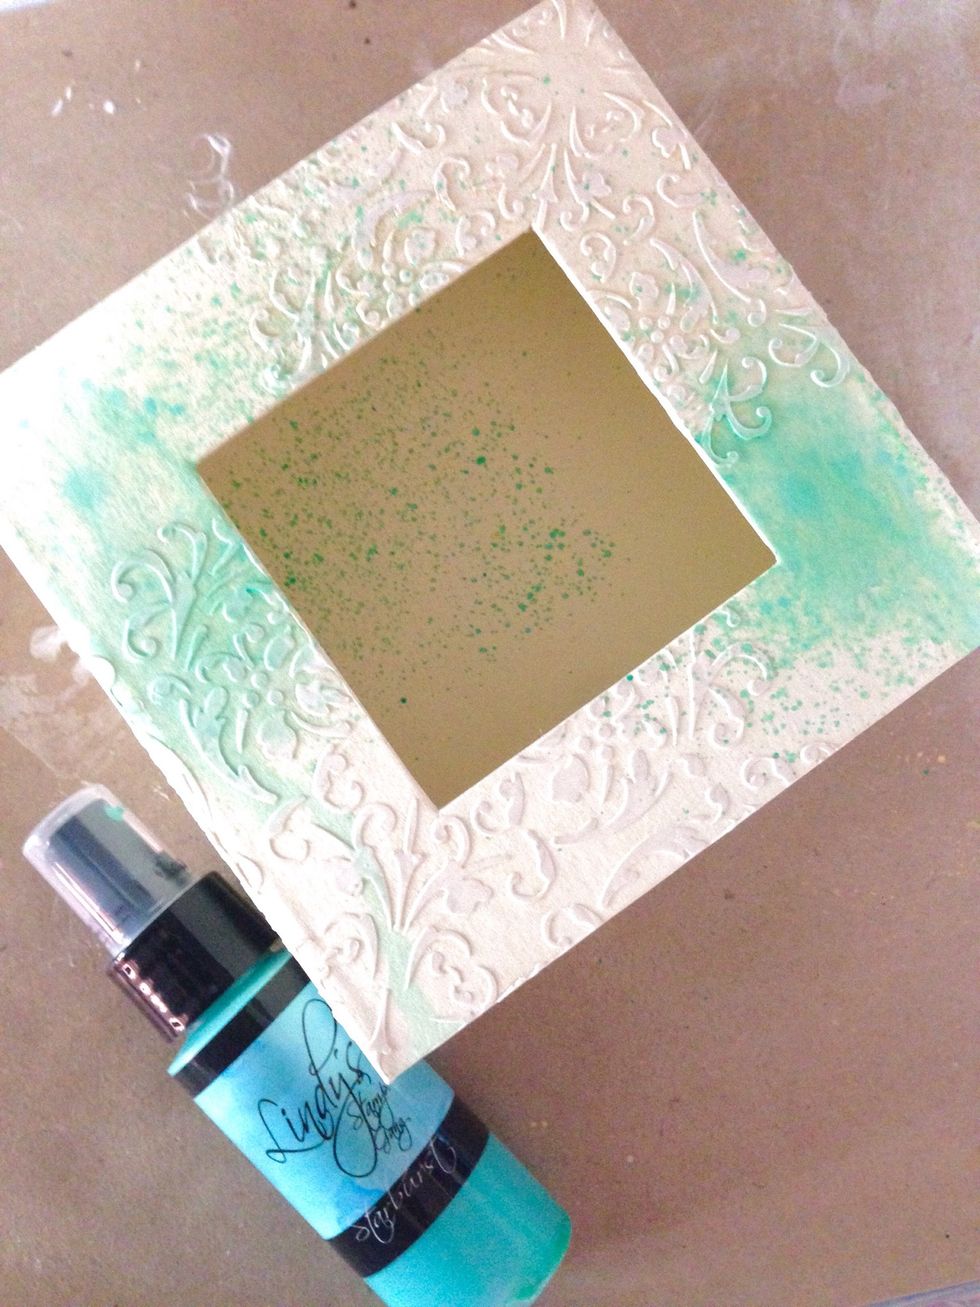
Depends on choice of colours, you will need at least 2 different blue shades for the patina effect... I'm using LSG Starburst in Tiffanylou Blue as a start... Spray randomly at corners of the box...
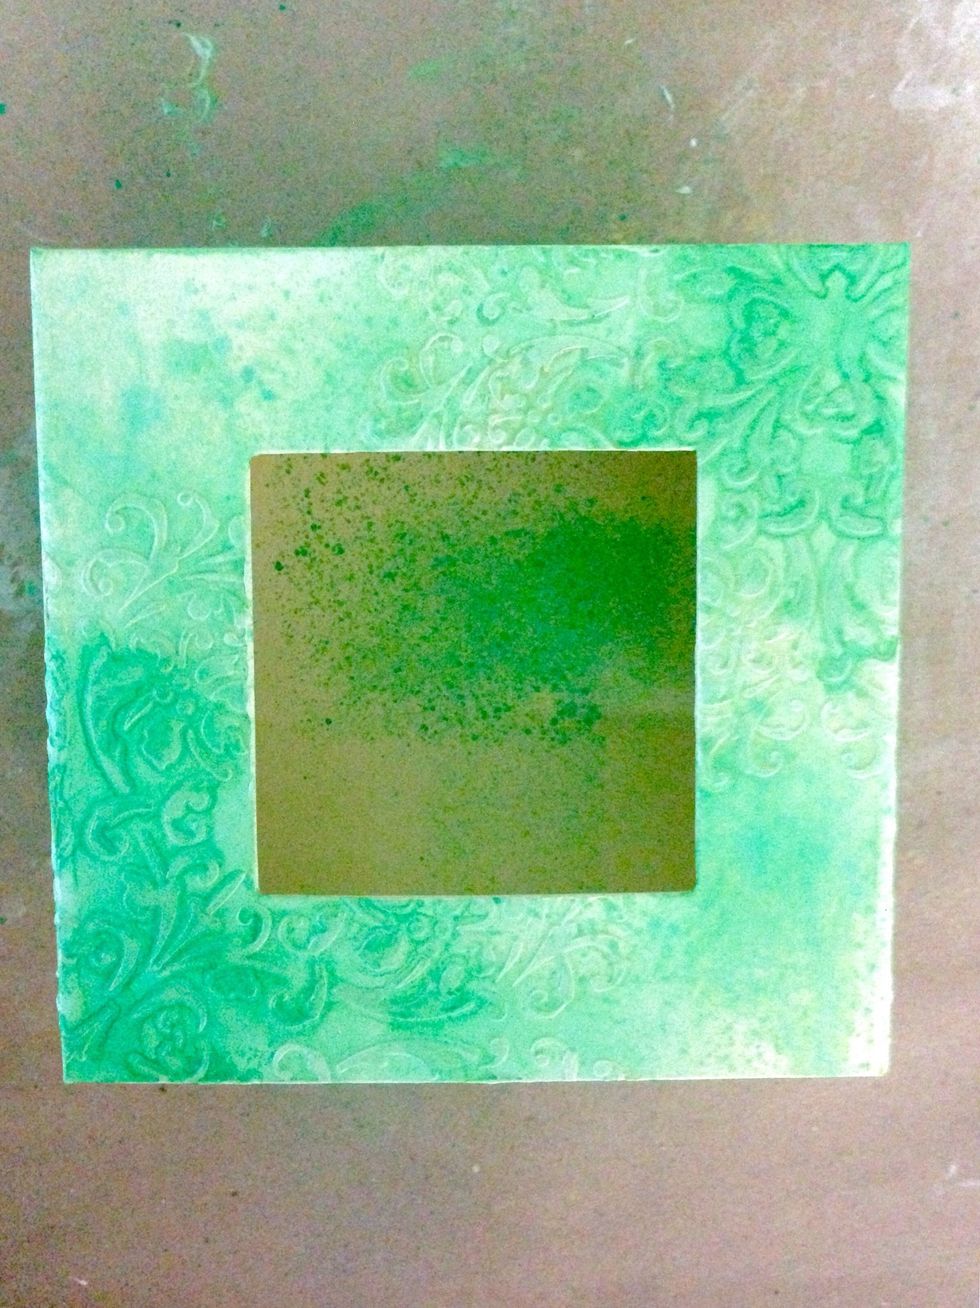
Spray onto the flourishes again to darken the intensity...

Remember to spray on the inside as well...
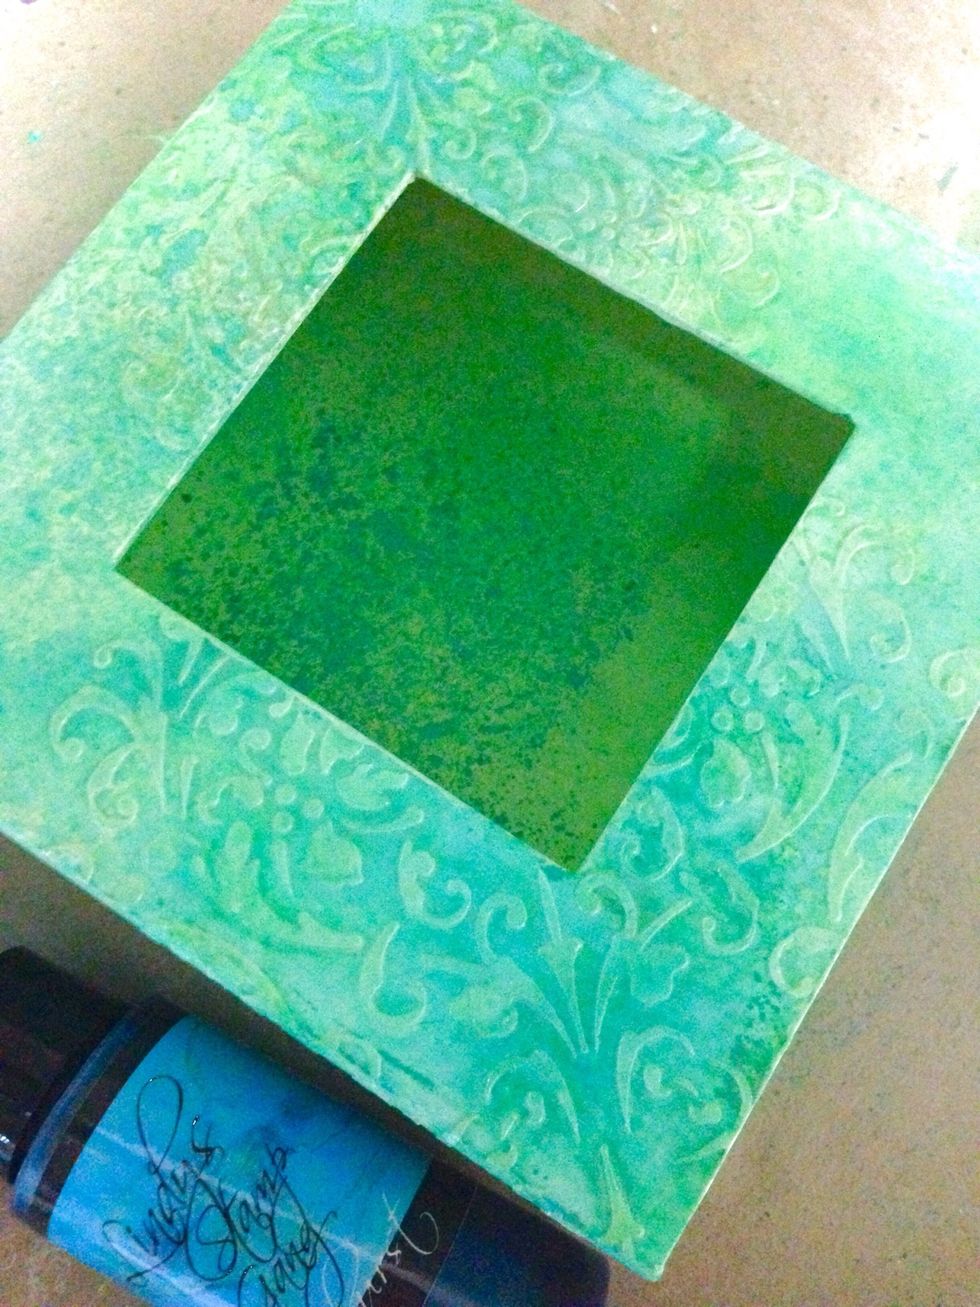
Use a darker shade of blue as an overlay... I'm using LSG starburst Delphinium Turquoise here... Spray over randomly throughout the box...
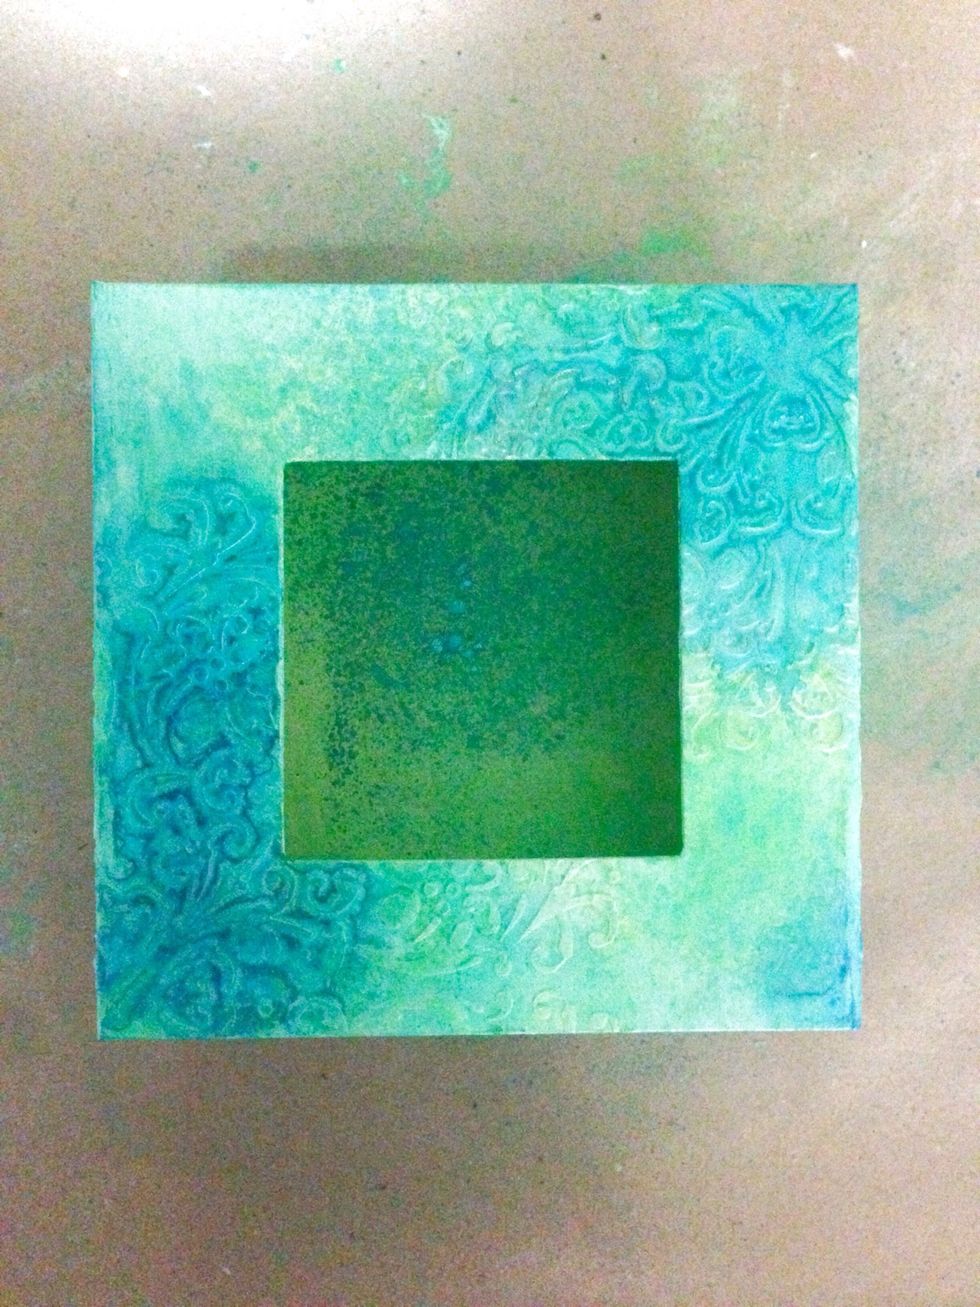
Again, intensify the colour by spraying it over the flourishes...
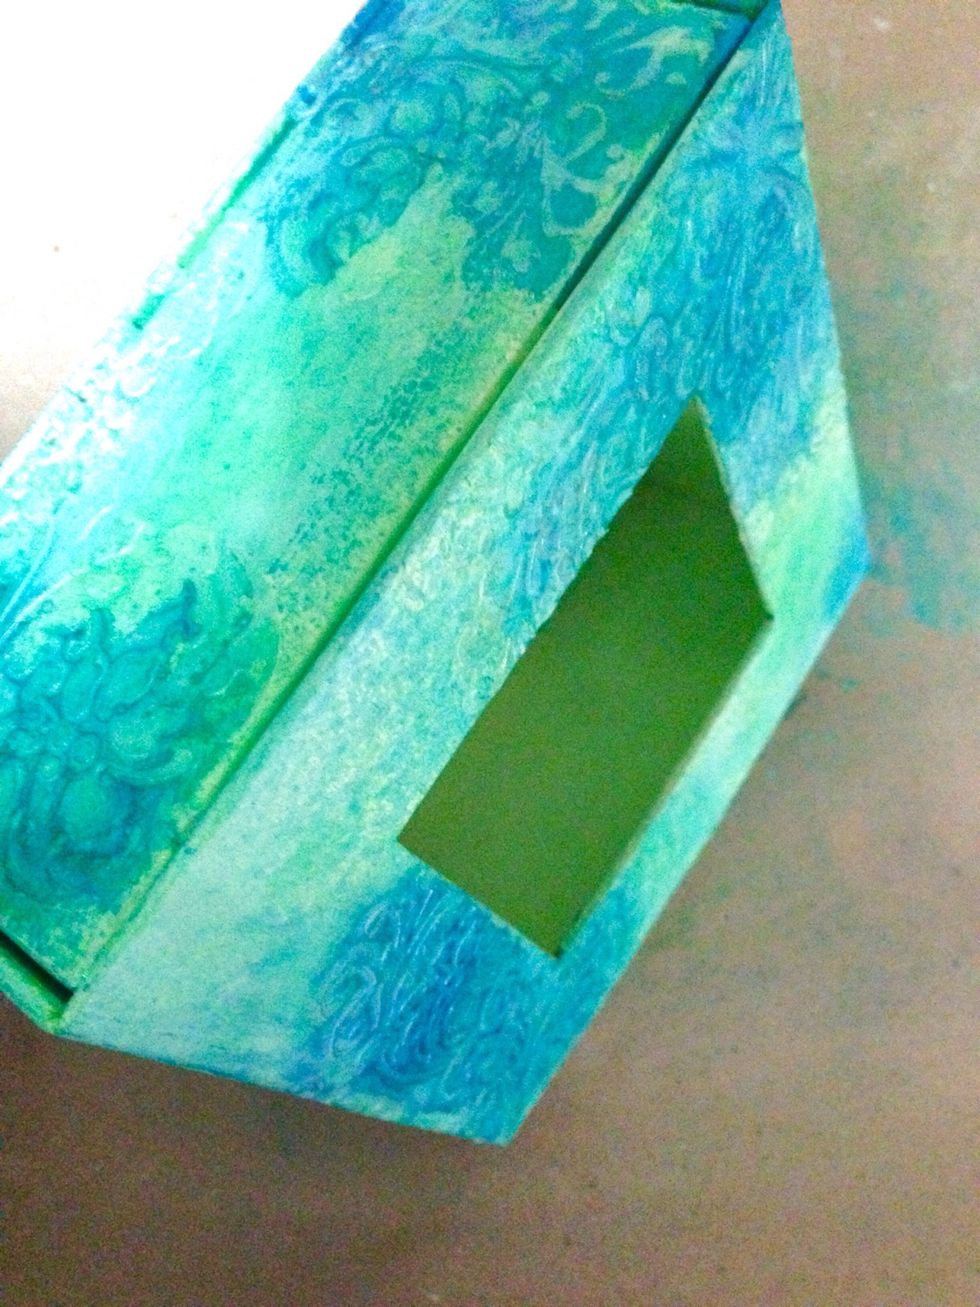
Repeat if necessary till you are happy with the intensity...
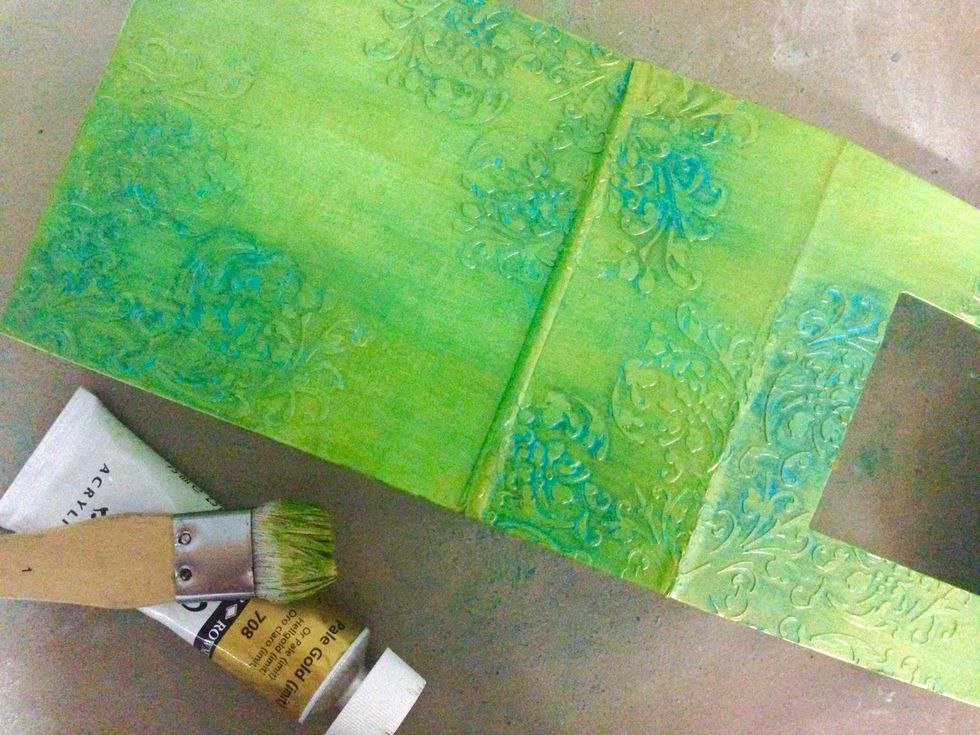
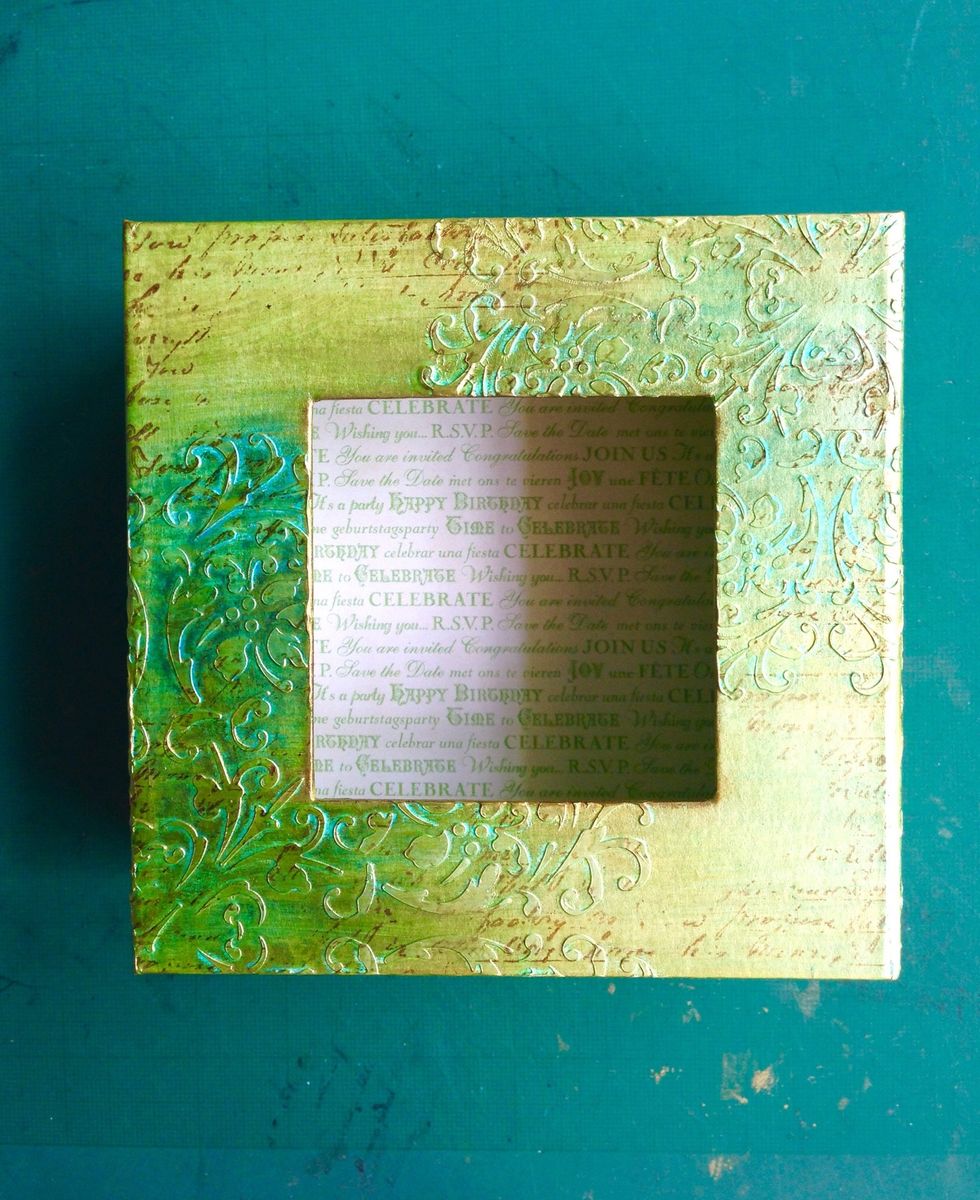
Apply a coat of tinted gold paint over the entire box... DO NOT apply with water as it will wash off the colours you've misted earlier...
The water in the paint itself will blend in well with the mists giving a very nice vintage green... When painting, try not to cover the entire surface and leave some blue to show the patina effect...
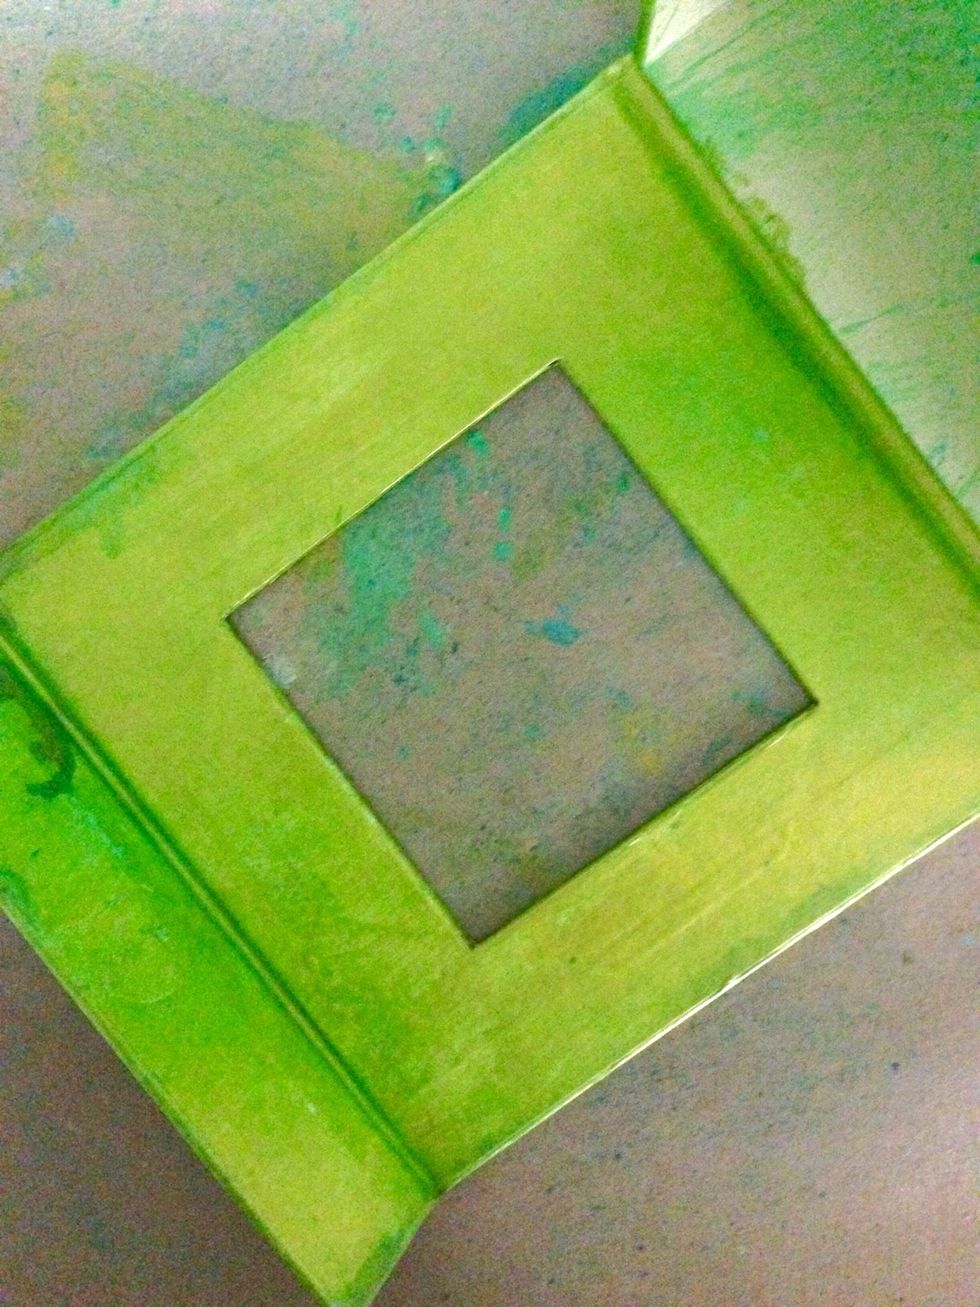
Apply the tinted gold paint on the inside as well...

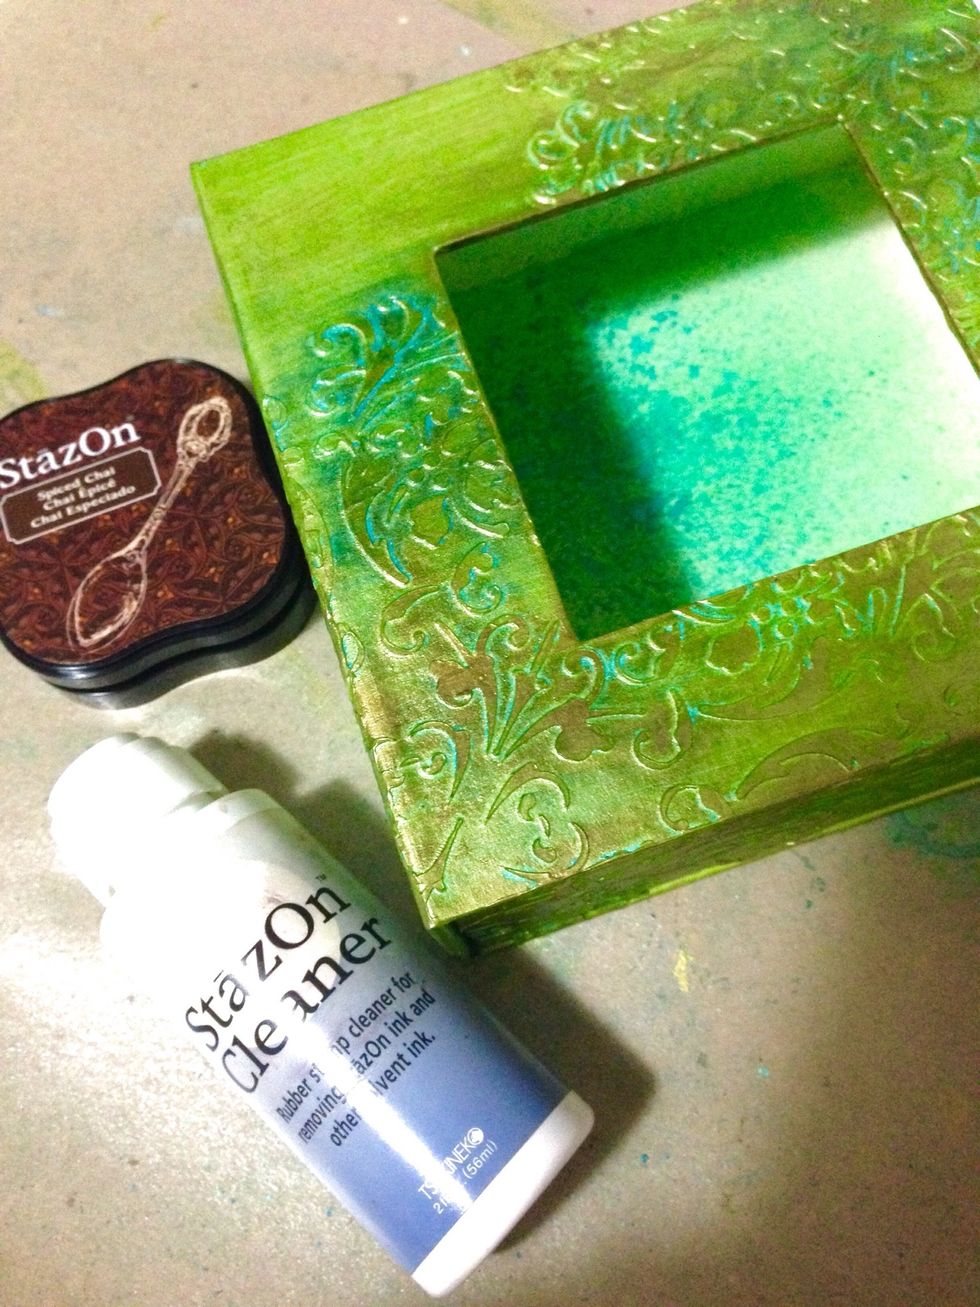
Intensify the flourishes with StazOn (spiced chai) using your finger by dabbing onto the surfaces... Rub and blend well with a small dab of StazOn cleaner to spread the ink...
StazOn is a solvent based ink which tends to dry quickly before you could rub evenly onto the surface... Hence you need a little help with StazOn cleaner to dissolve and spread the ink further...
TIP: Not happy with the results? You can always rectify by cleaning the surface with StazOn cleaner and redo... The layer of paint serves as a protective layer hence it won't wash off the colours...
When it's blended in, this is how it will look like... When dried completely, it will give a very nice vintage gold...
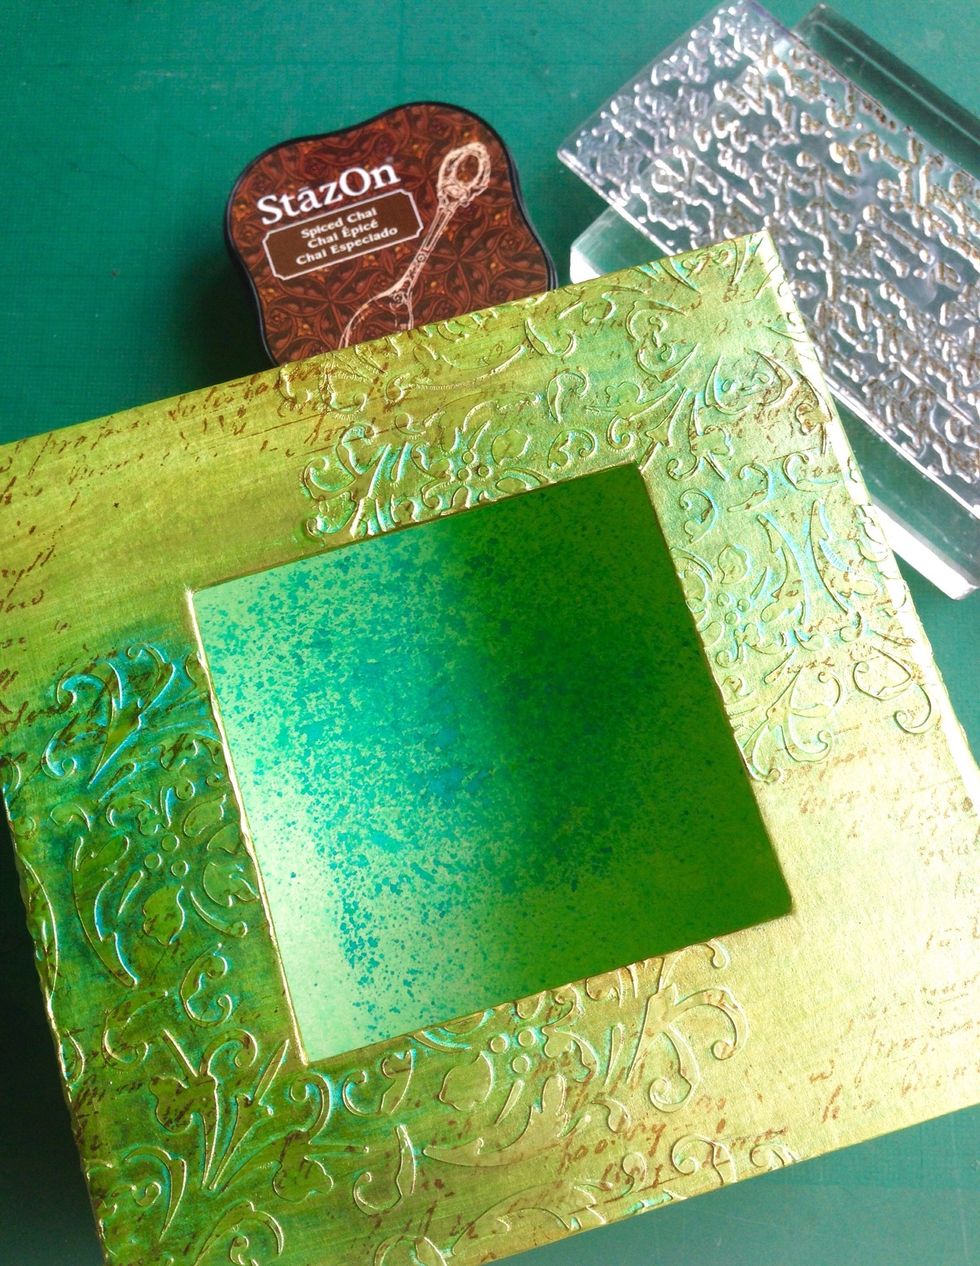
Using a script stamp, stamp onto the surfaces randomly with StazOn...

At the back as well...

At the corners and around the box as well...
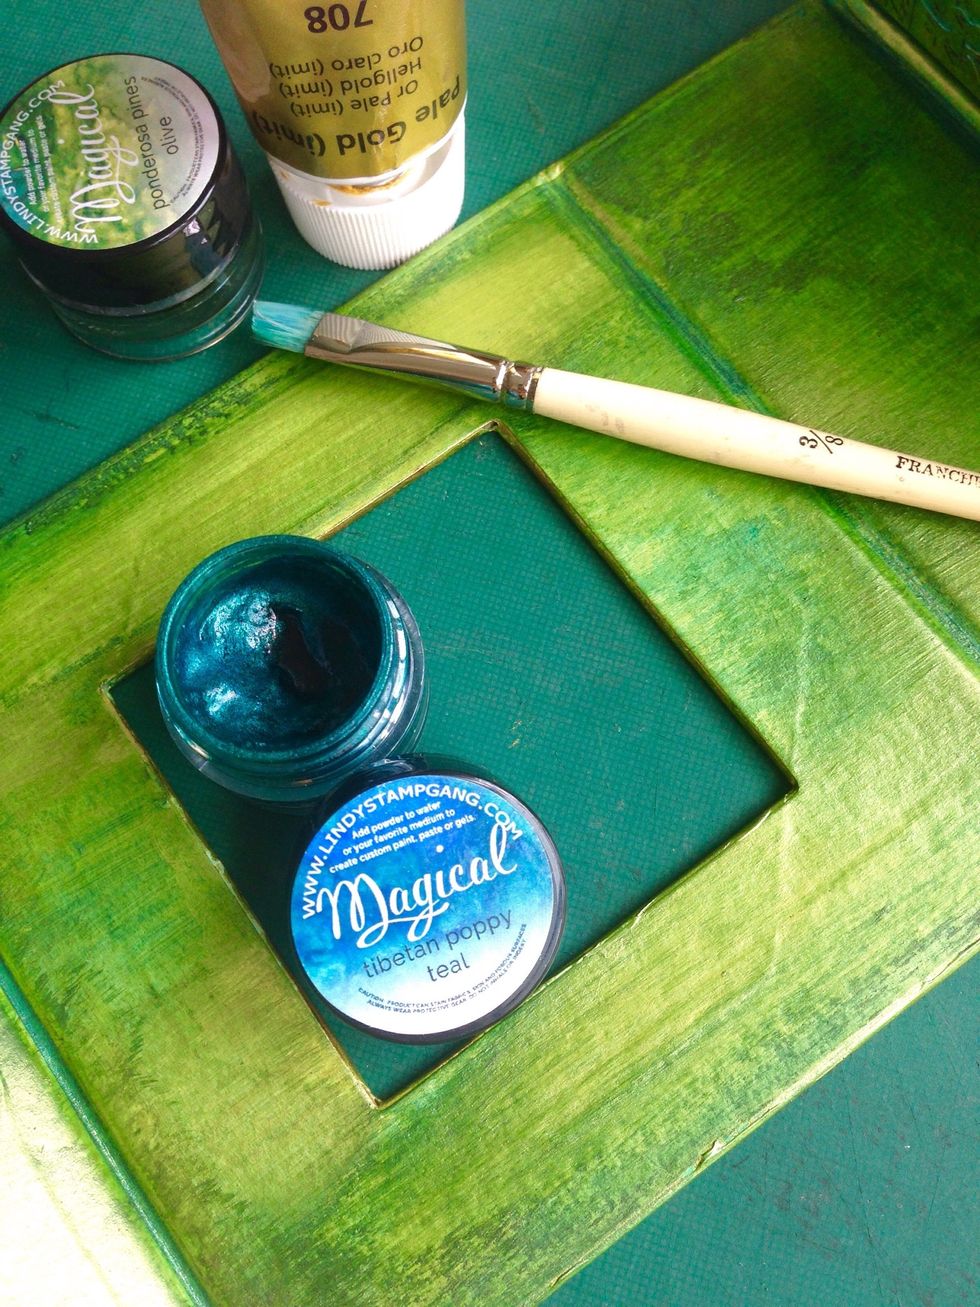
Intensify and distress the inside using some LSG magicals... I'm using Ponderosa Pines Olive & Tibetan Poppy Teal here...
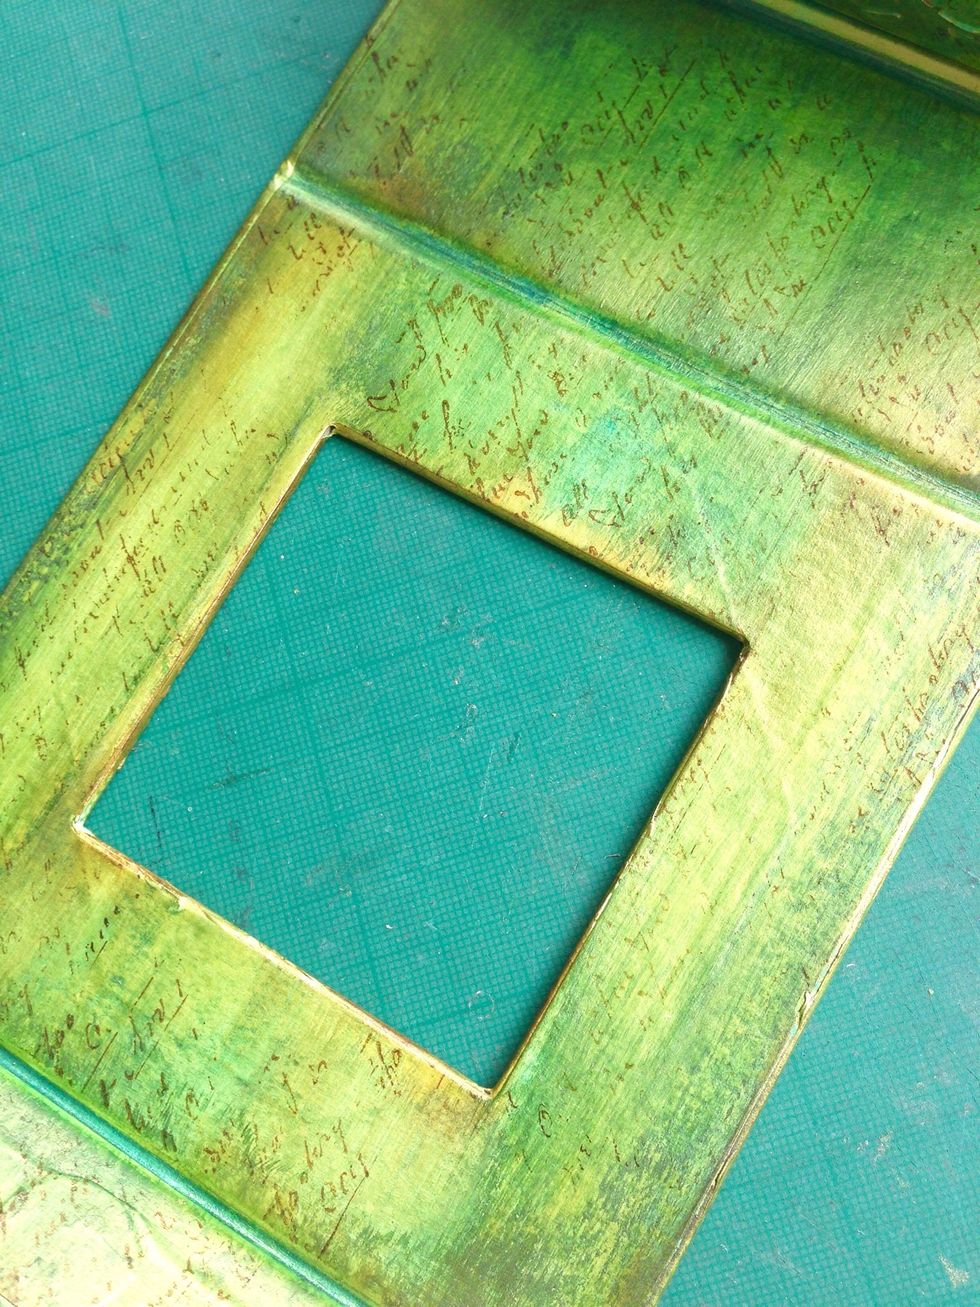
Once you are happy with the intensity, stamp the surface with randomly like what you've done on the exterior of the box...
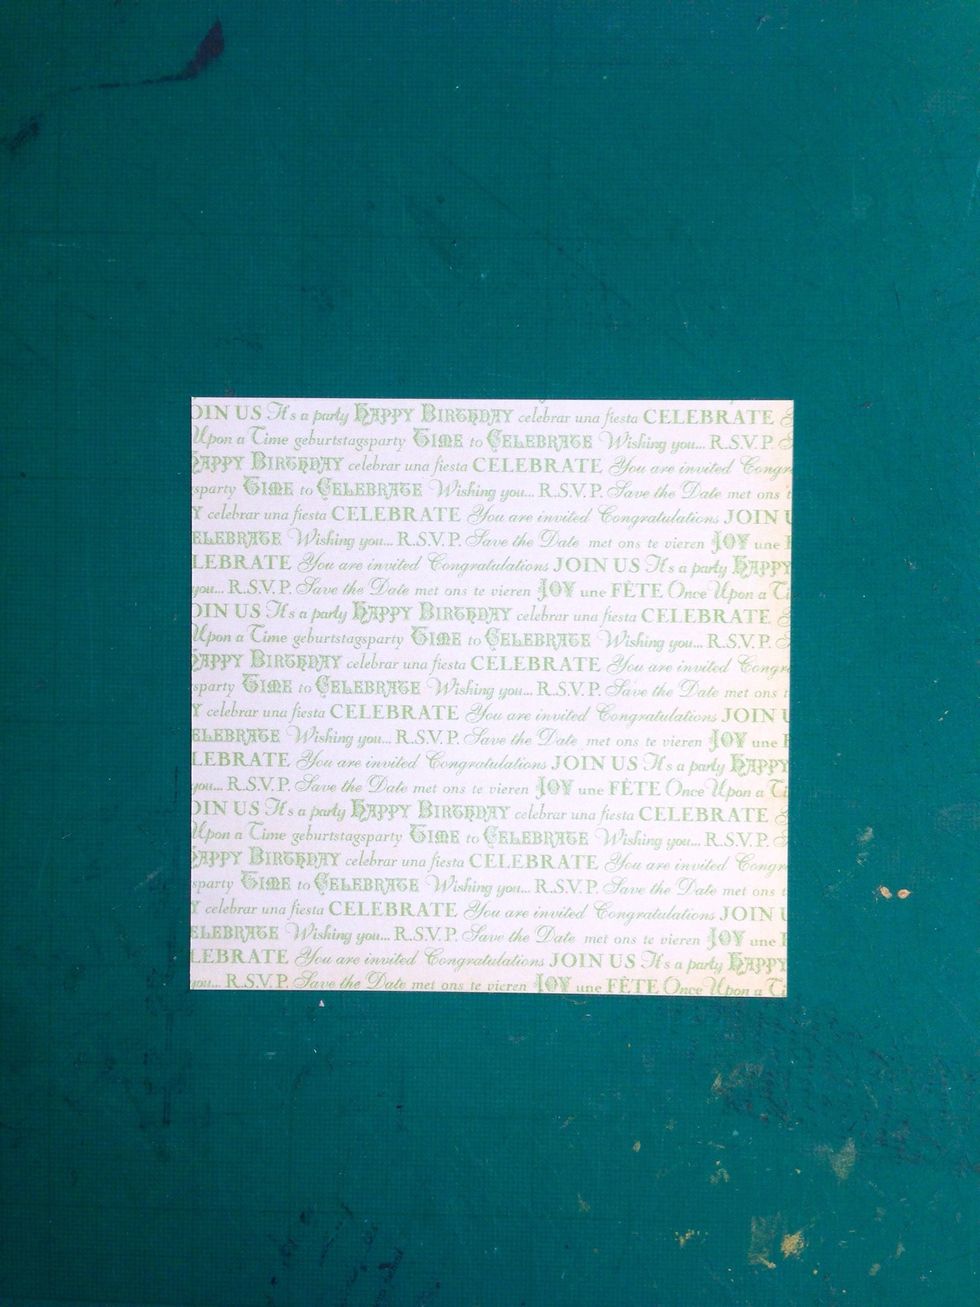
Trim a 5" x 5" paper as shown... This will be for the centre of the box interior... I'm using one of papers from Graphic 45 Time to Celebrate 8" x 8" paper pad...
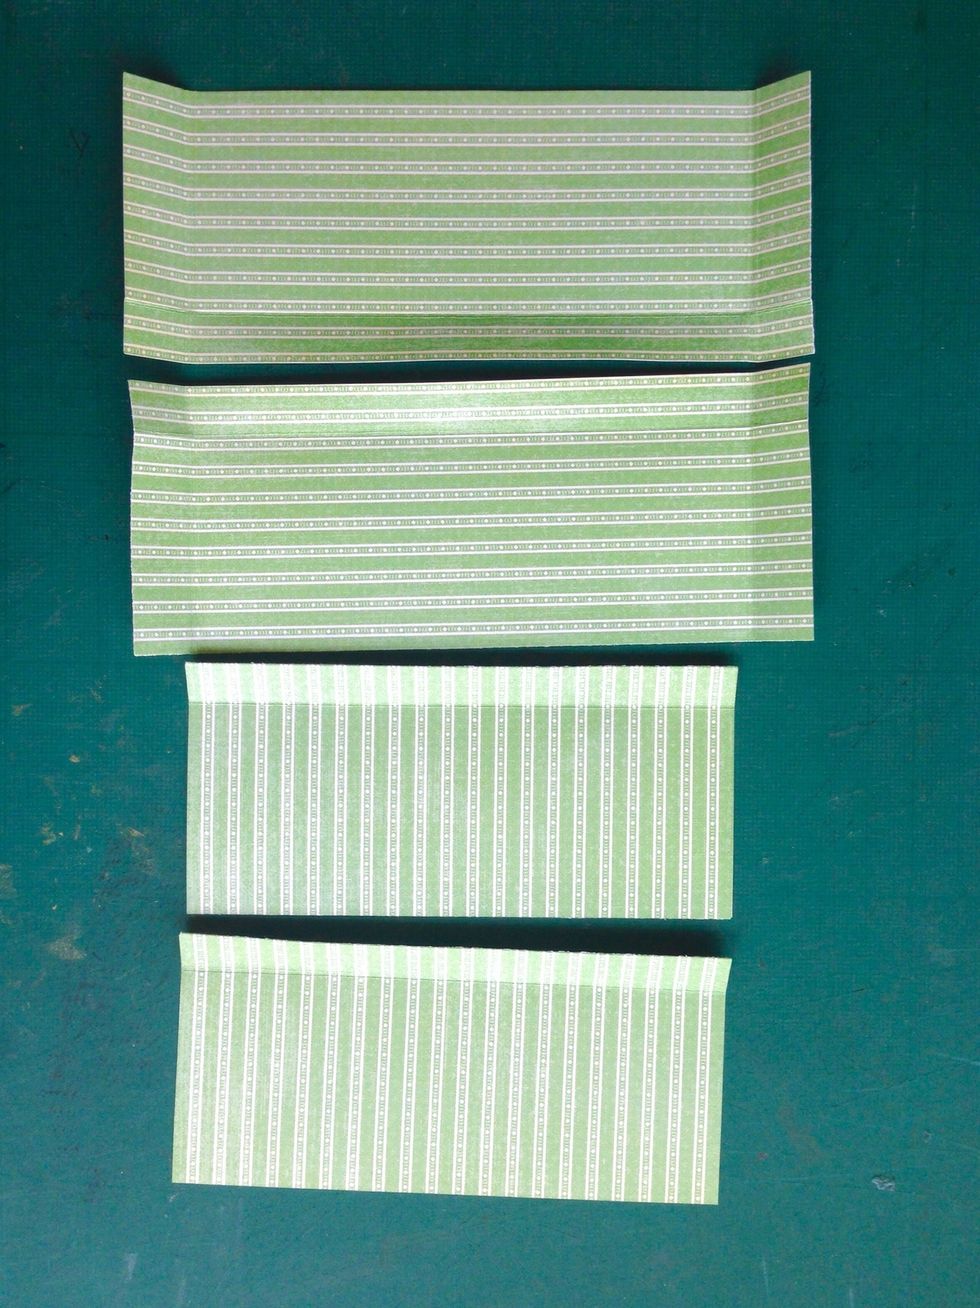
Trim pattern papers to 6" x 2.5 and 5" x 2.5"... You will need 2 each to fit into the box interior... I've left a 0.5" bleeds here...
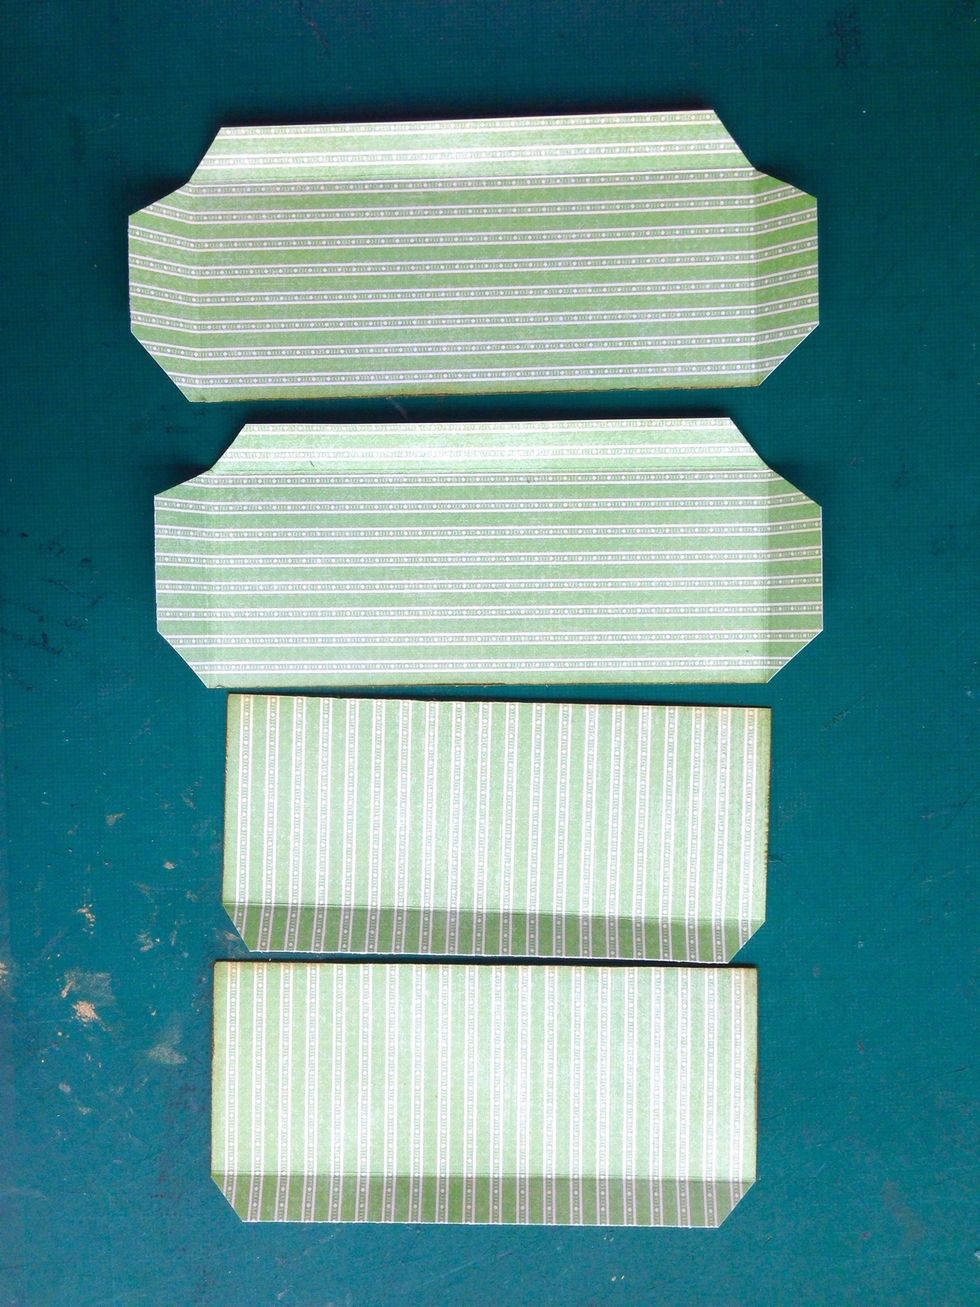
Make sure they do fit well to the sides of the box, trim and adjust when necessary... Once done, angle off the bleeds as shown...
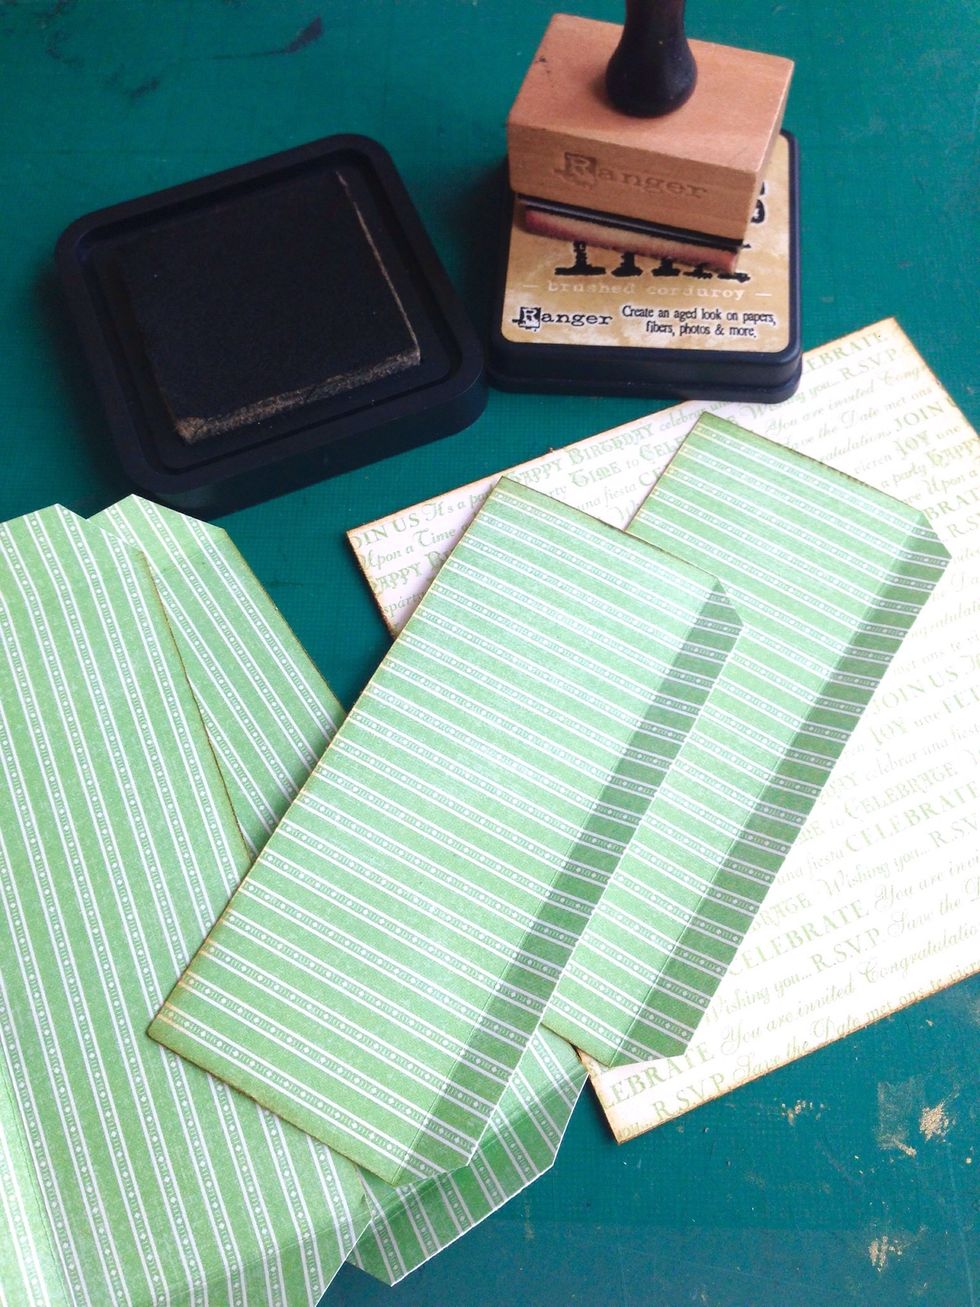
Distress the edges if preferred...
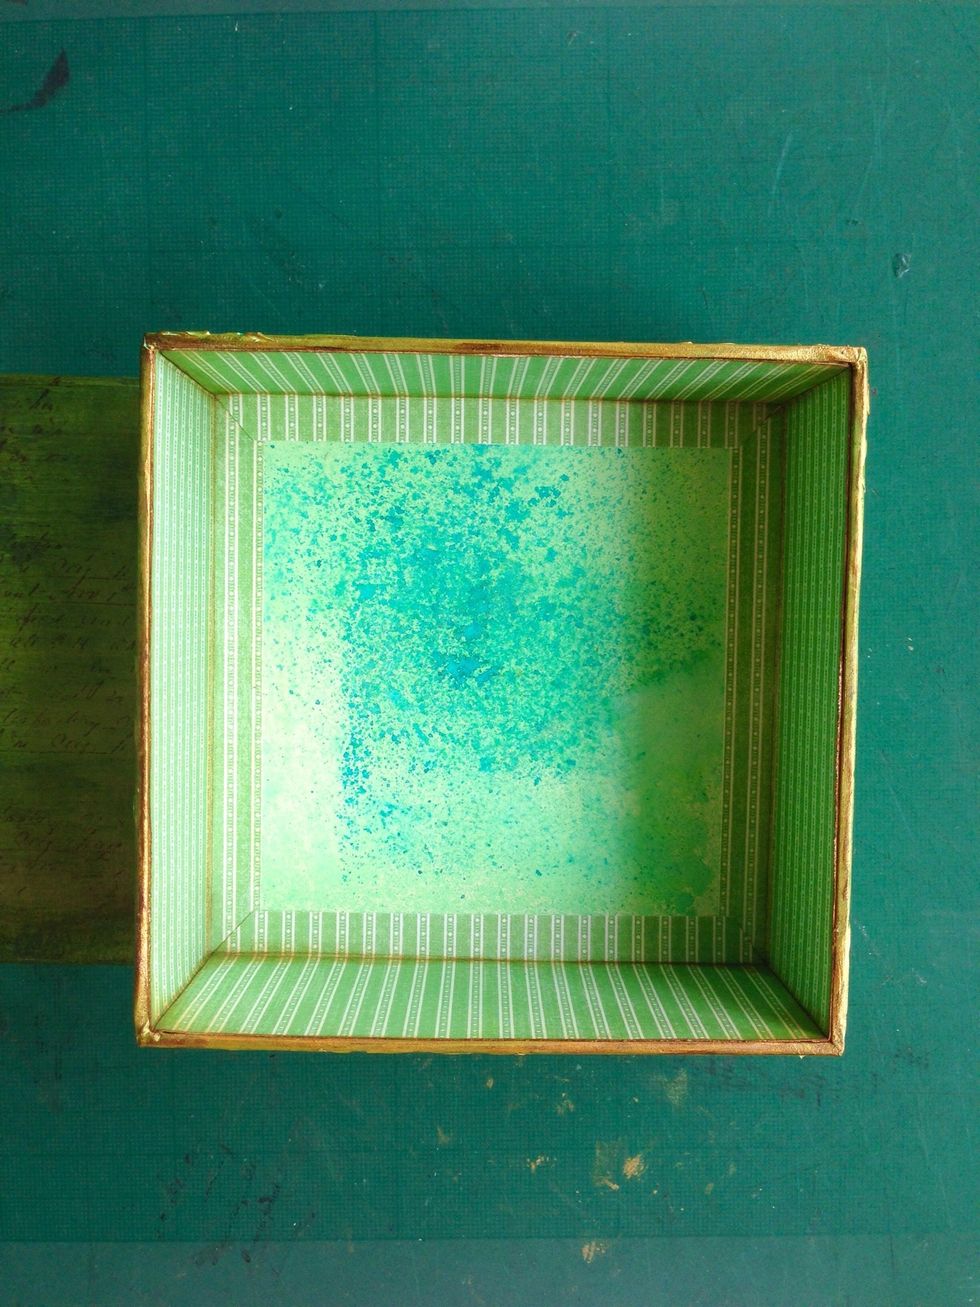
Glue down the sides as shown...
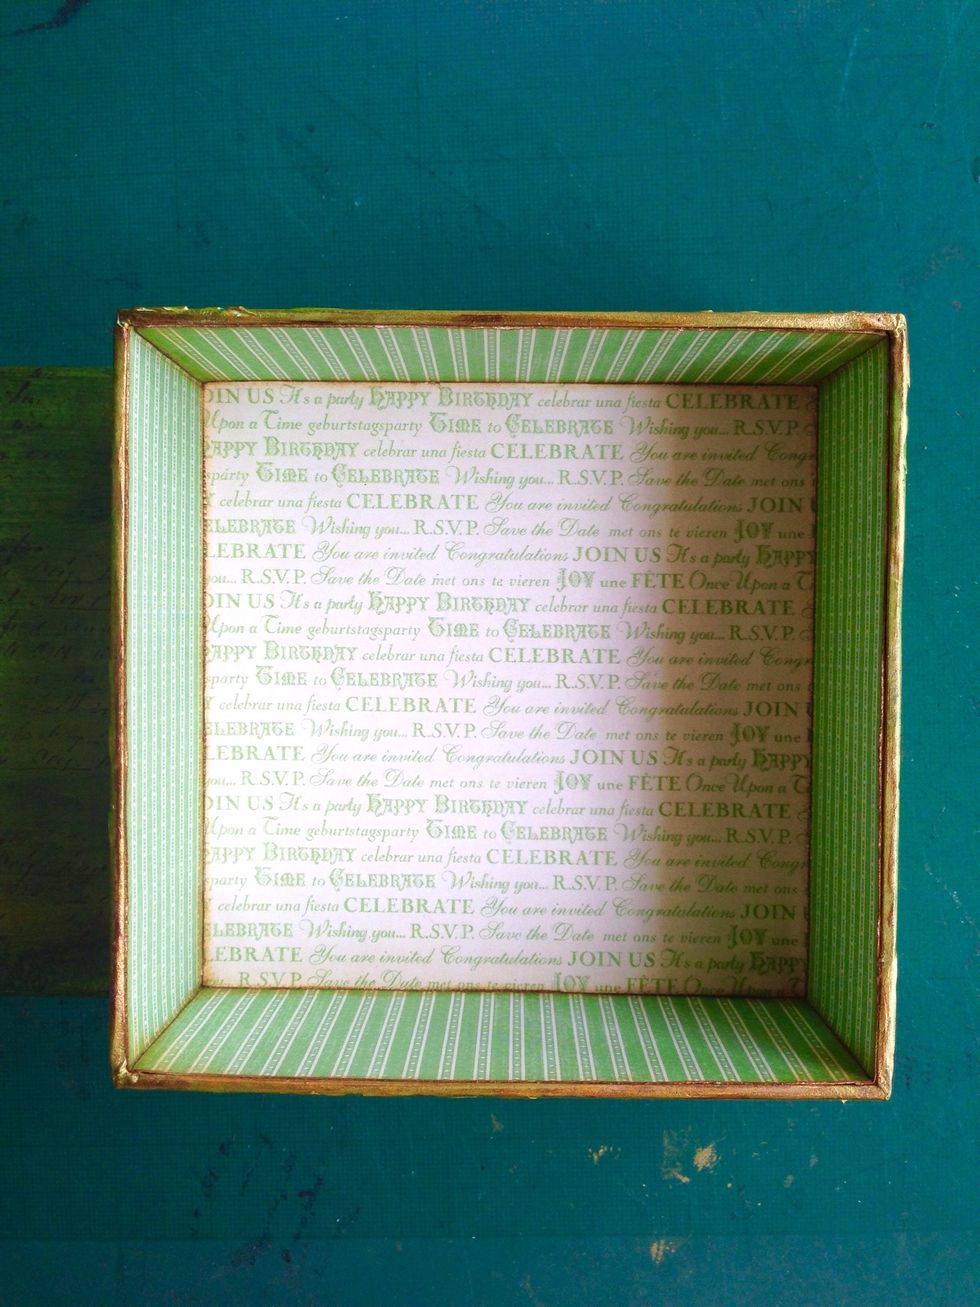
Then finally glue down the centre piece...
And you are done!!!
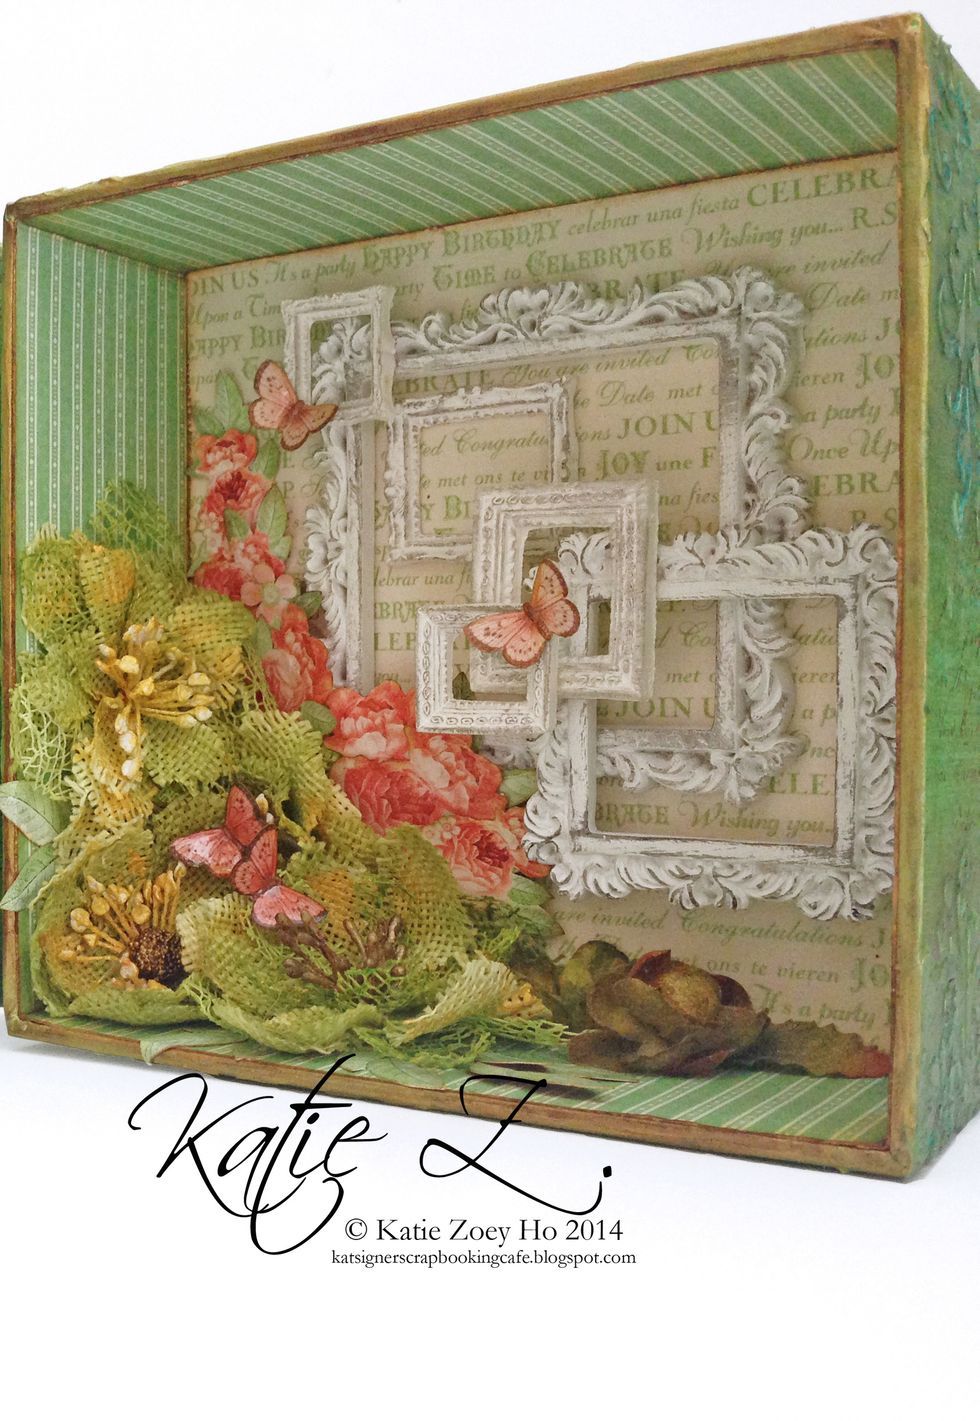
I created this layered frames sentiment on the inside for this... Feel free to let your imagination flows in and create your very own sentiment...