The Conversation (0)
Sign Up
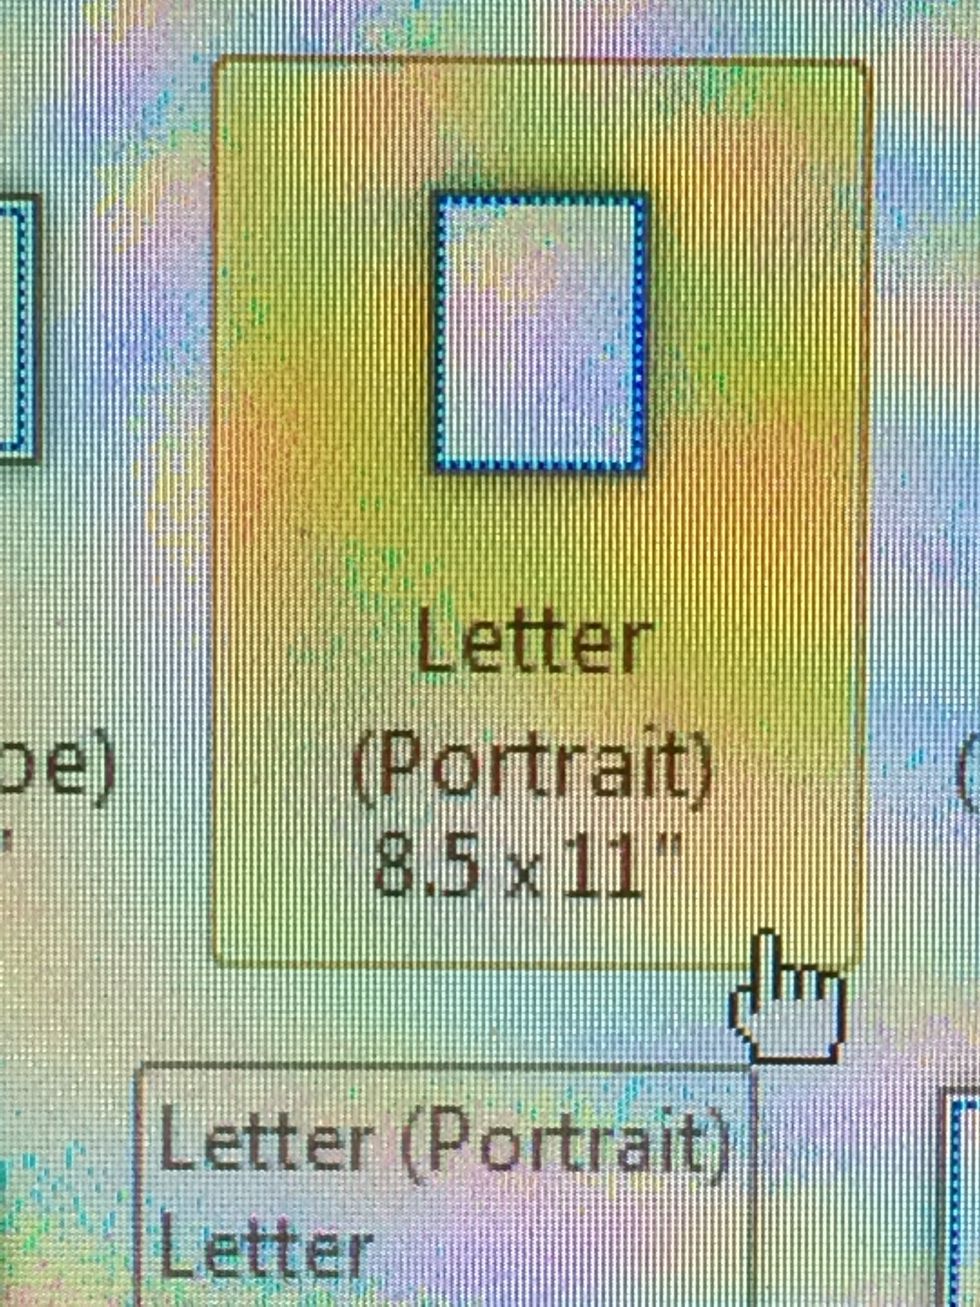
Use your word document creator on your computer to make a template. Start with a regular letter sized piece of paper.

Choose to add a shape. Add a rectangle that is 4 inches wide and about 8 inches tall.
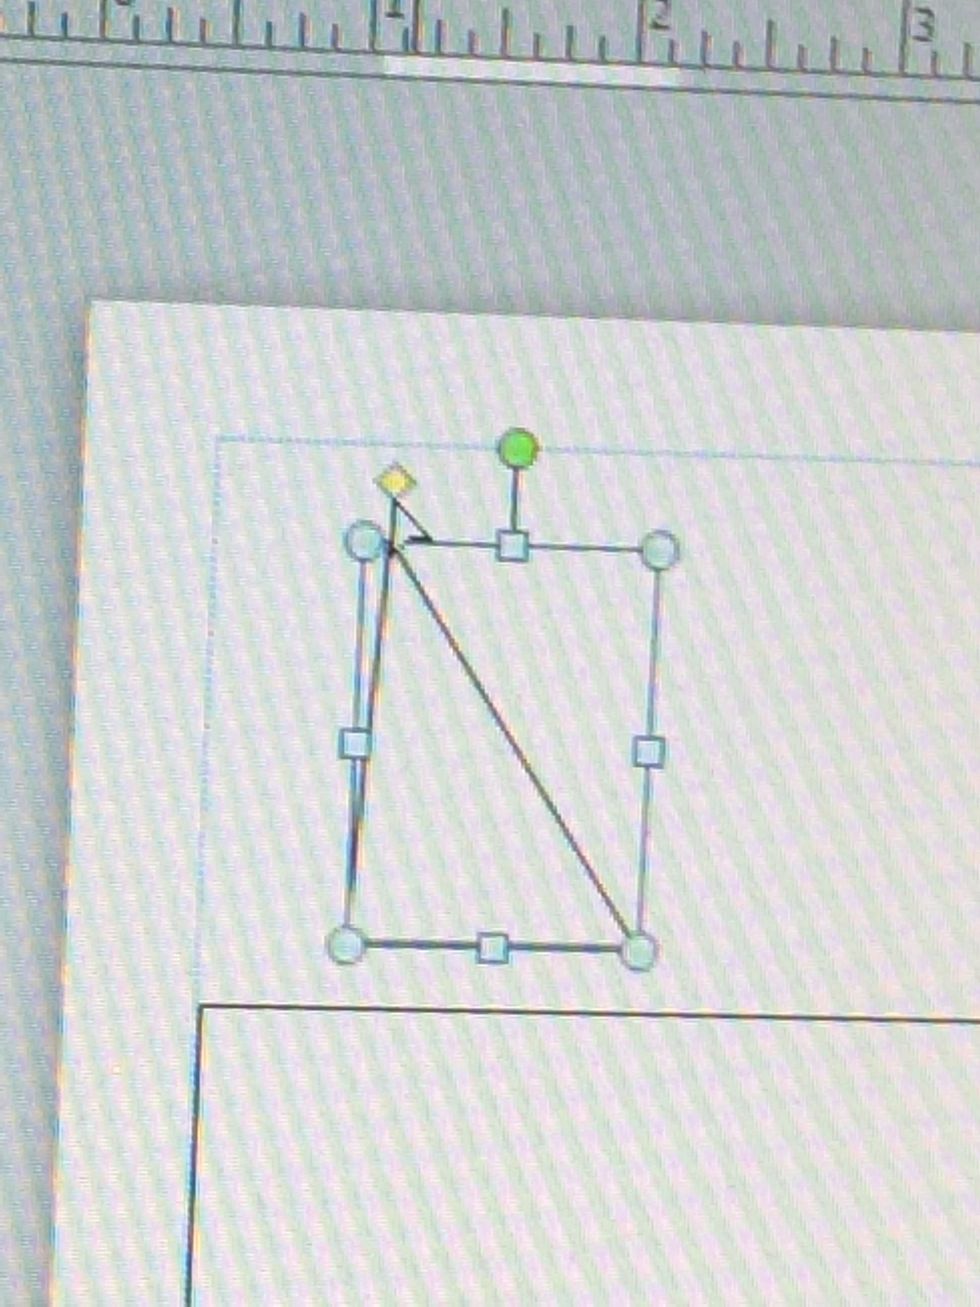
Add a triangle. Use the yellow diamond at the top of the triangle to change the angle of the triangle.
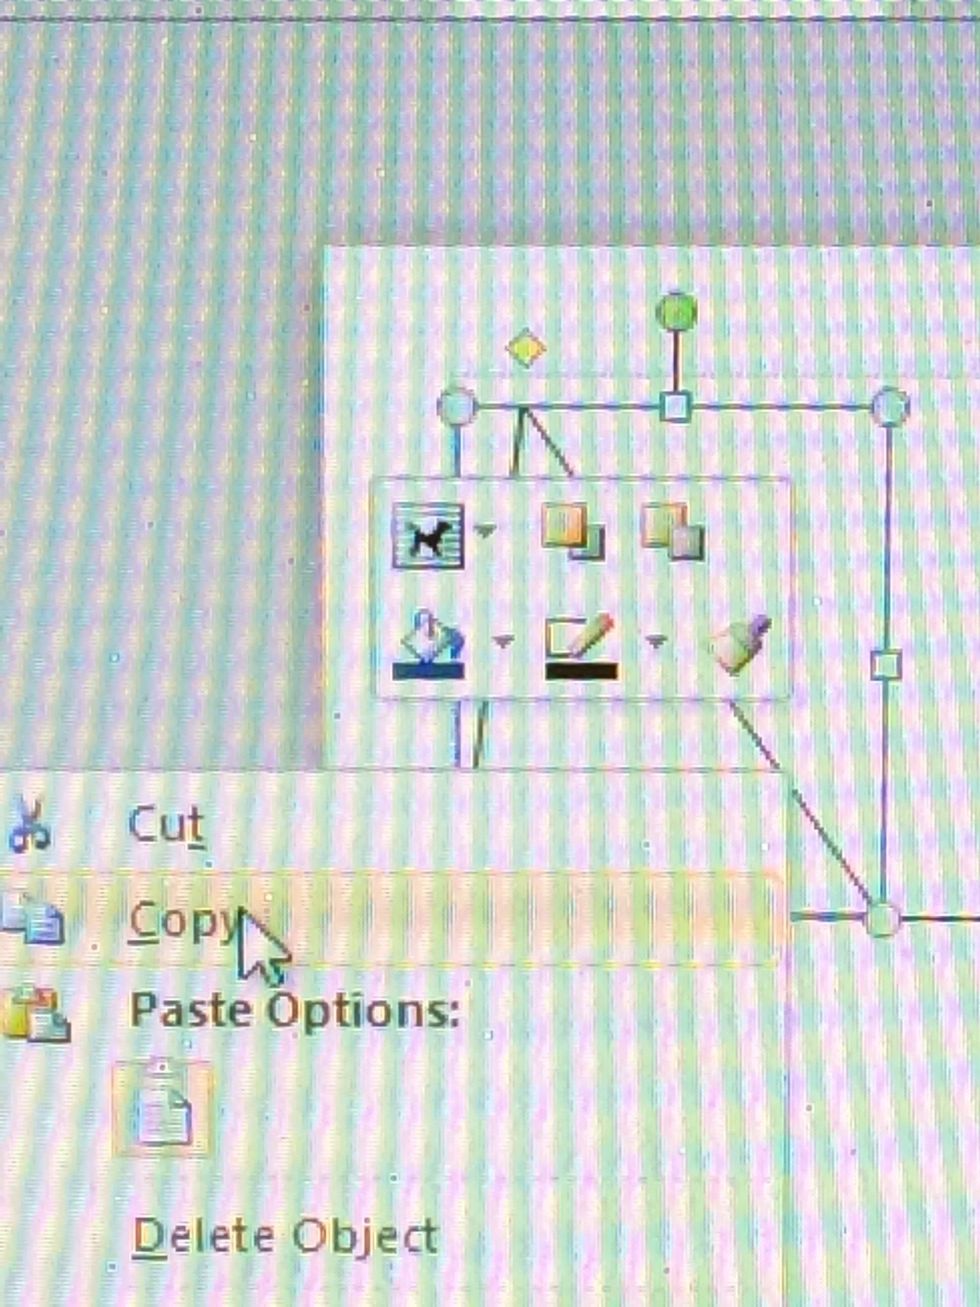
Copy the triangle.
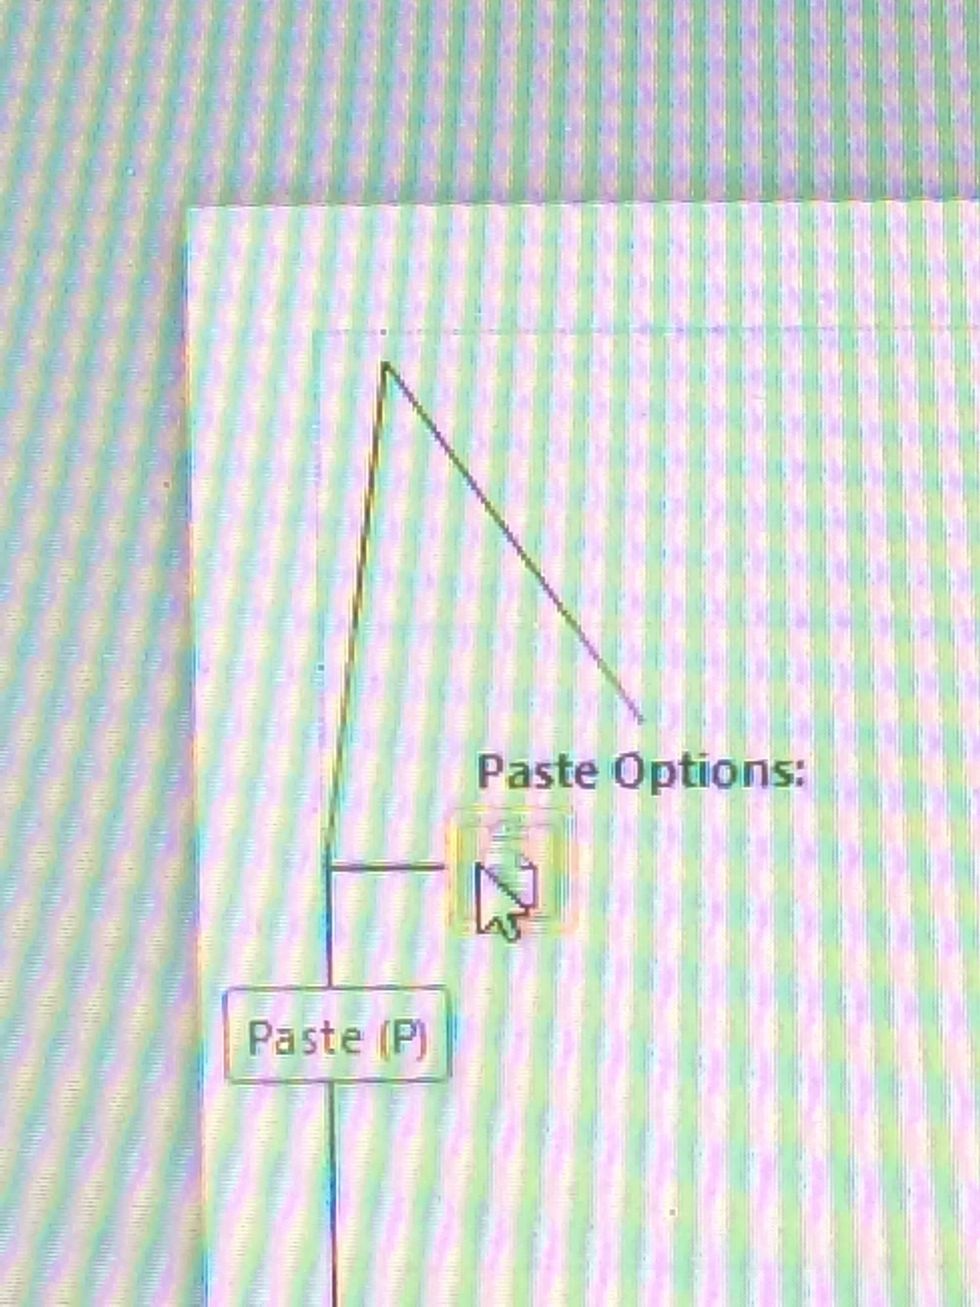
Paste it.
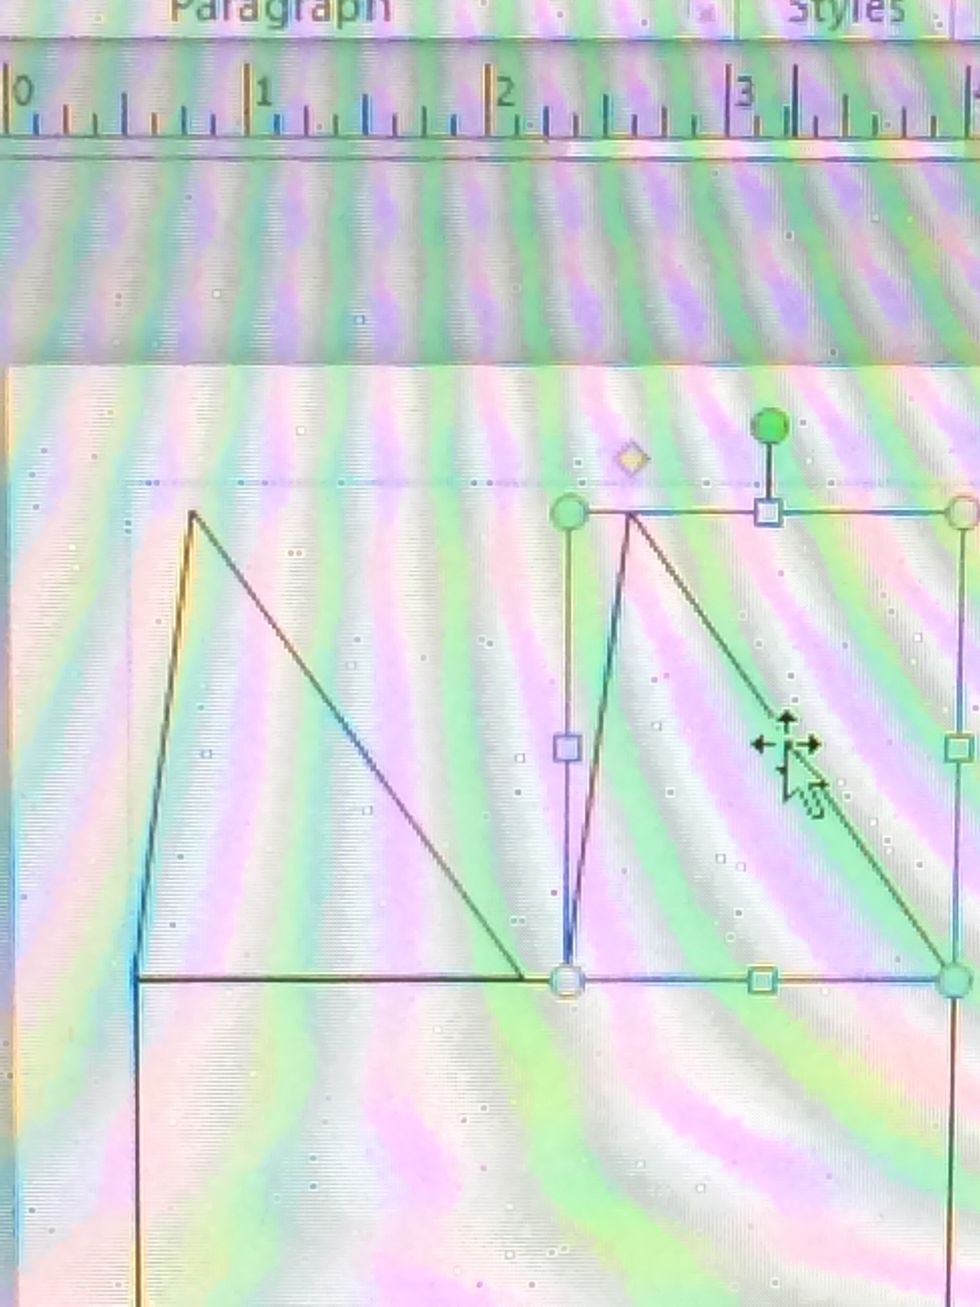
Select the new triangle.
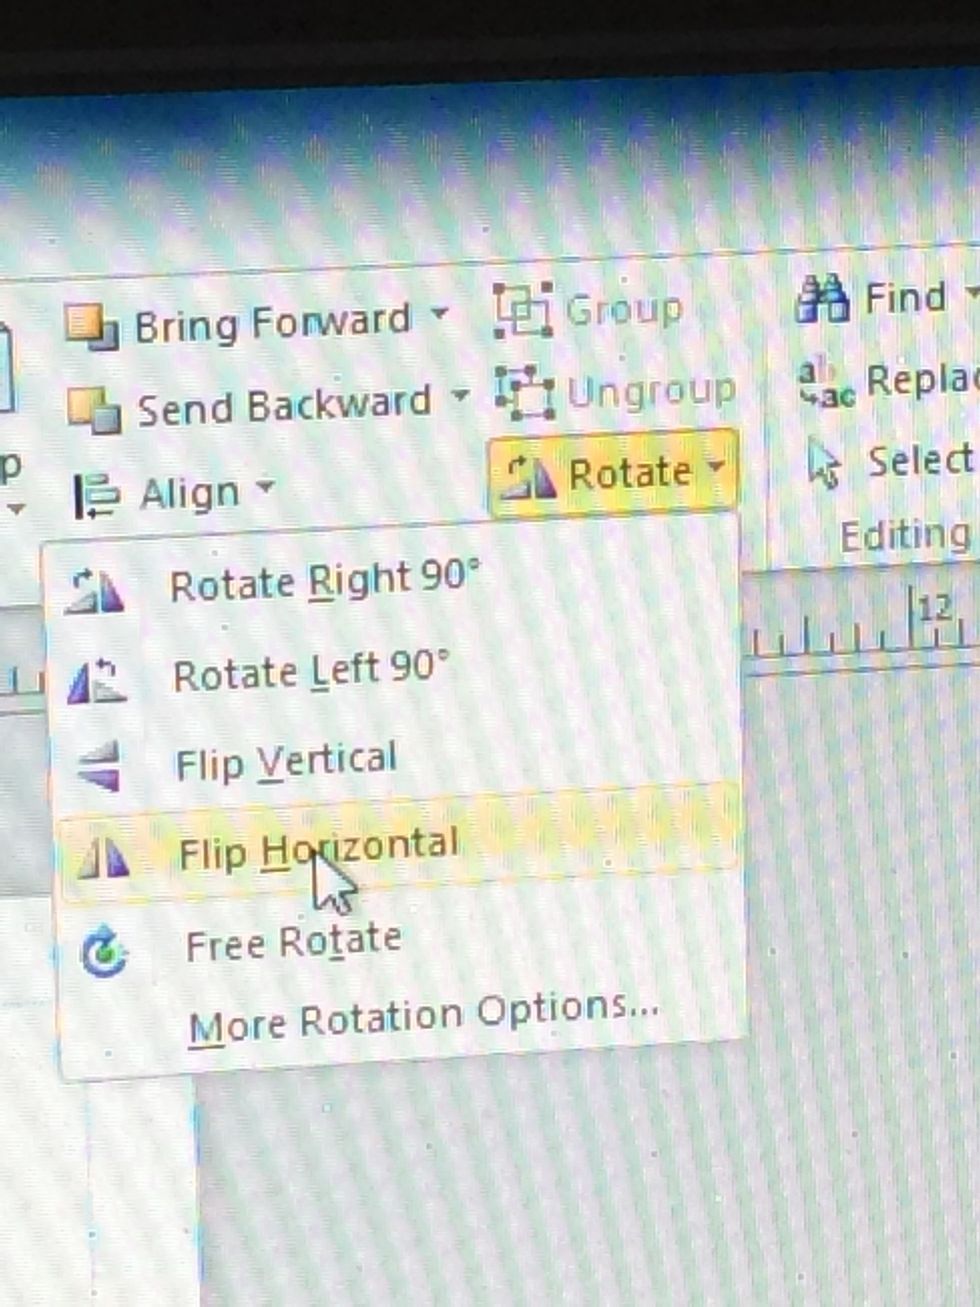
Choose rotate and flip the triangle horizontally.
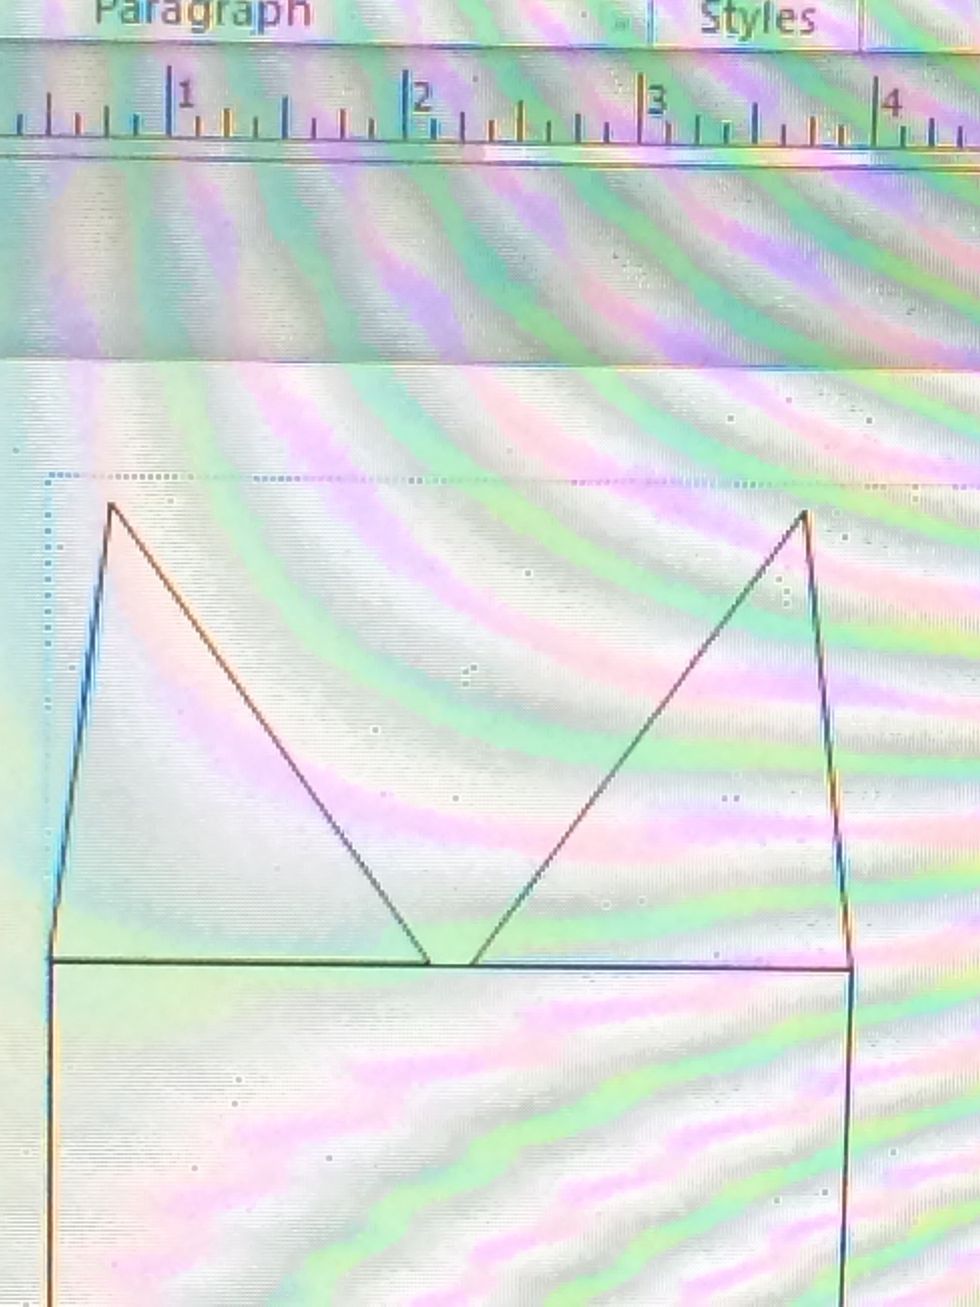
Like this.
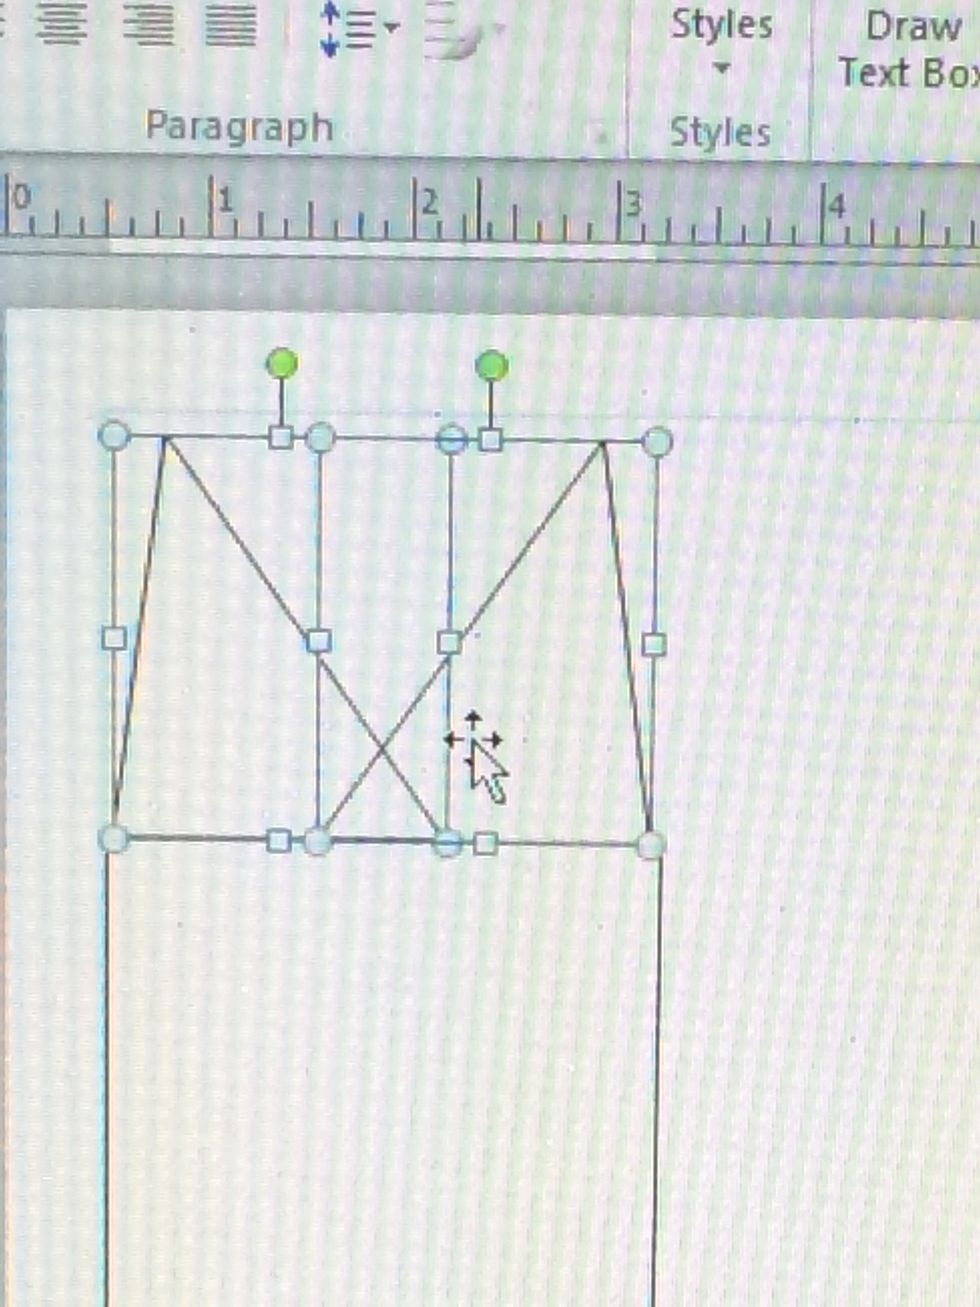
Select both and group.
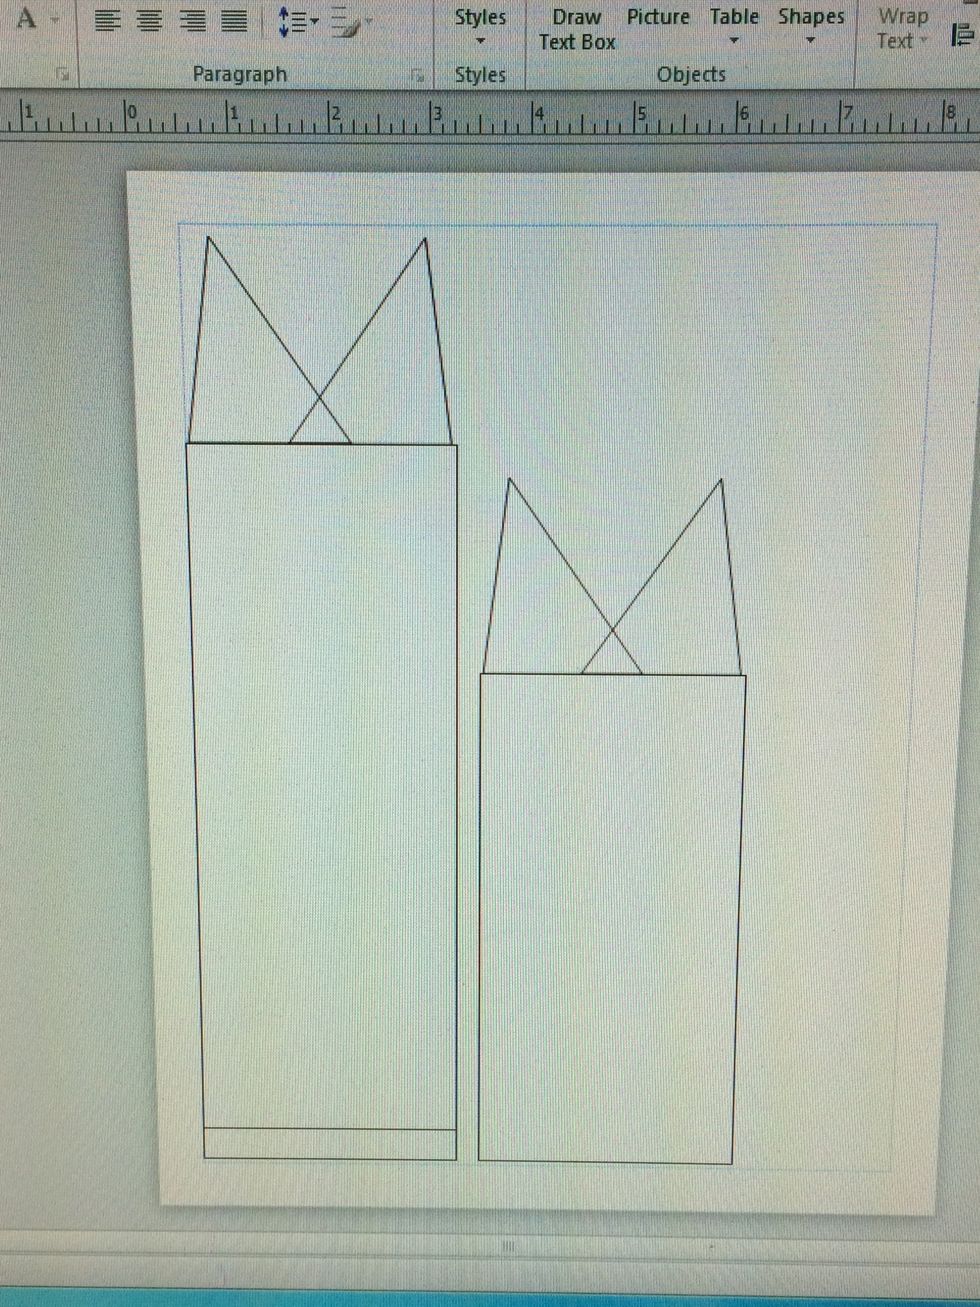
Make a new rectangle that is 4 inches wide but shorter. Somewhere between 4-6 inches tall. Paste a set of triangles to the top of it.
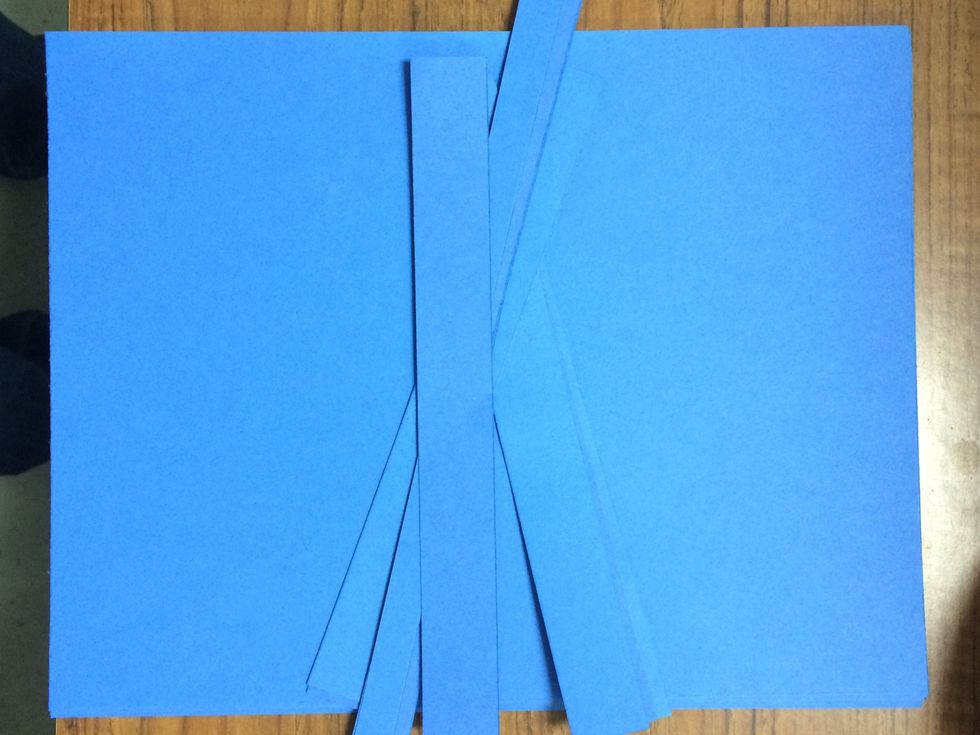
Get your blue paper. I only had construction paper so I had to trim it to fit my printer.
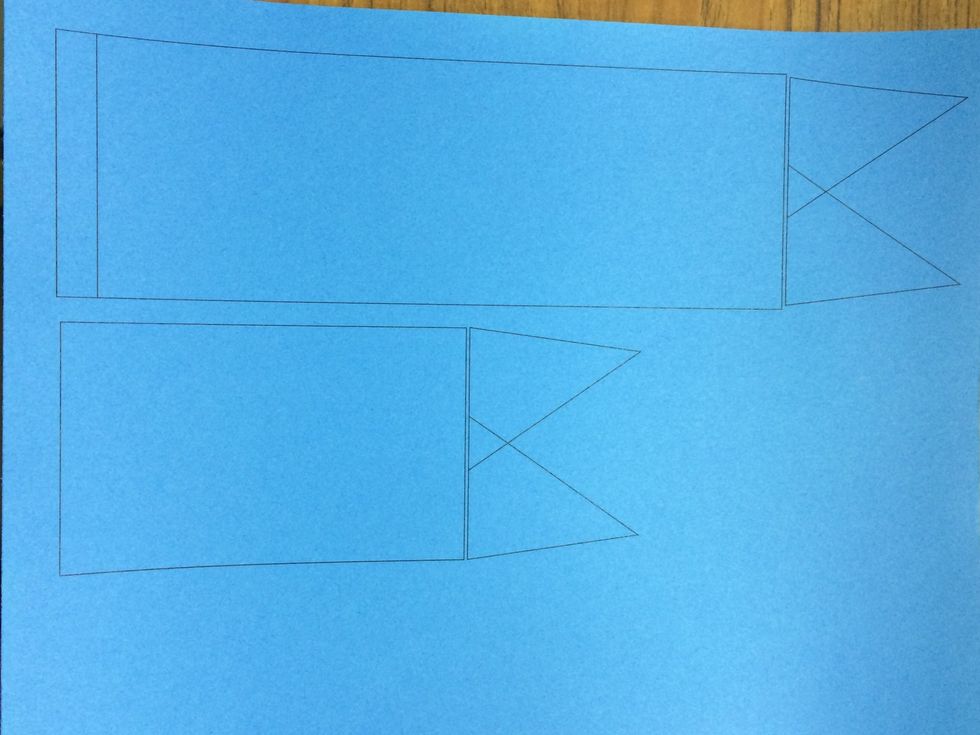
Print your template.
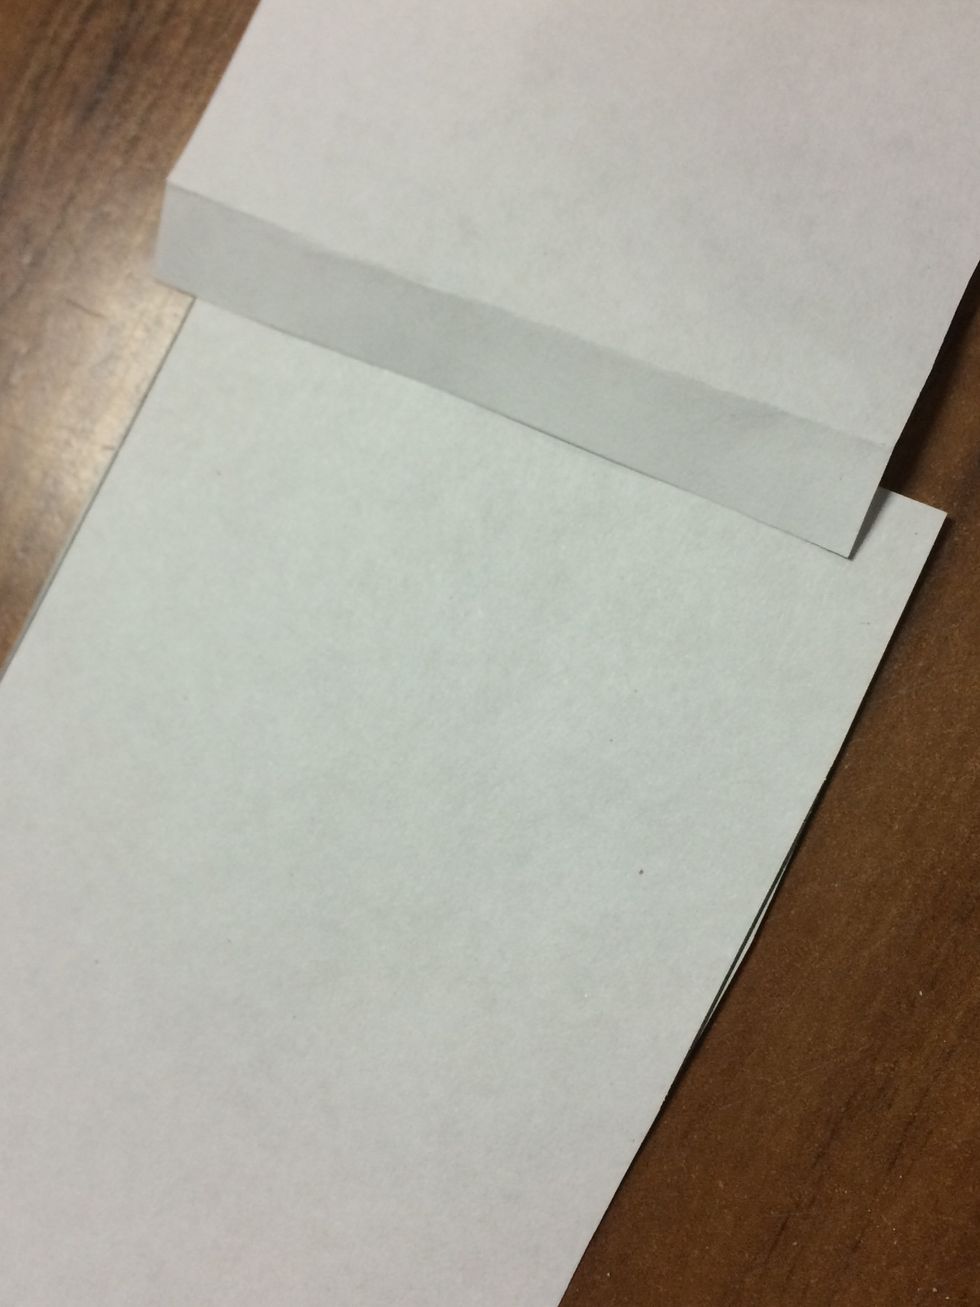
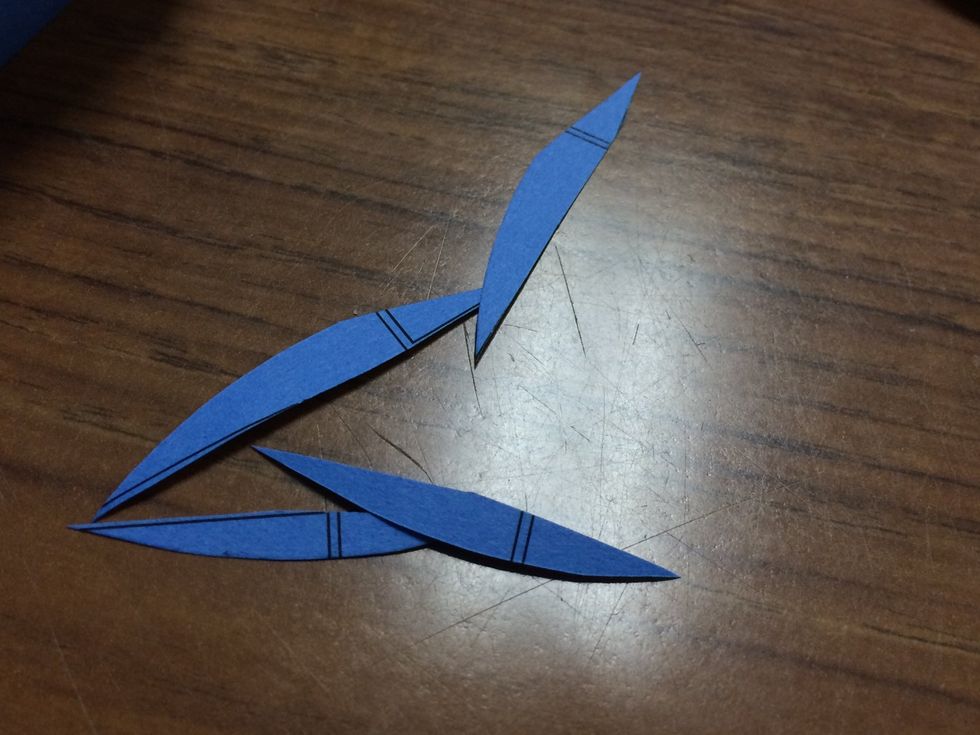
Cut out the rectangle and triangles as one unit each.

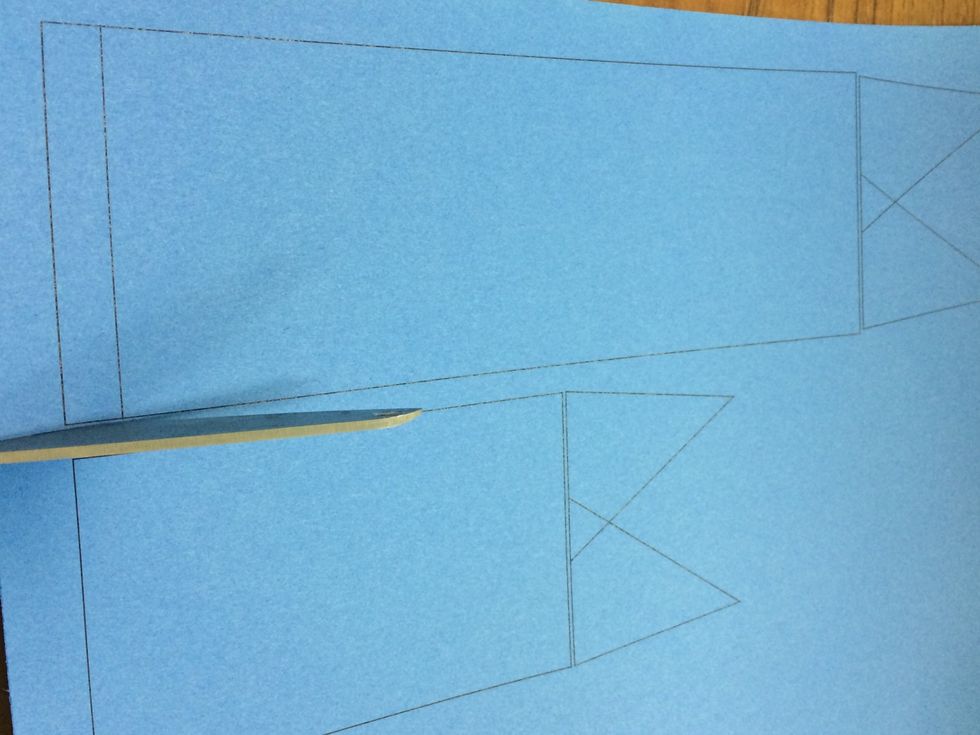
Like this. Notice that I did not cut the bottom of the paper off the larger rectangle. I am using this bottom line as my fold line.
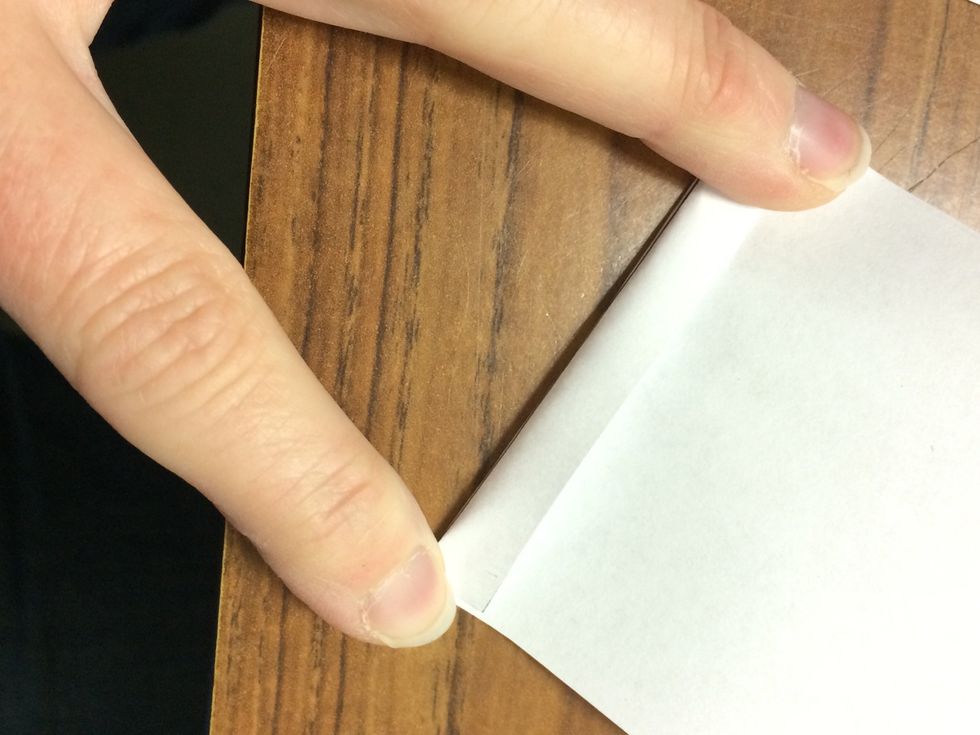
Fold the paper on the fold line.. If you put one in..Or about 1/2 inch from the bottom of the larger rectangle.
Tape the folded edge to the smaller rectangle.
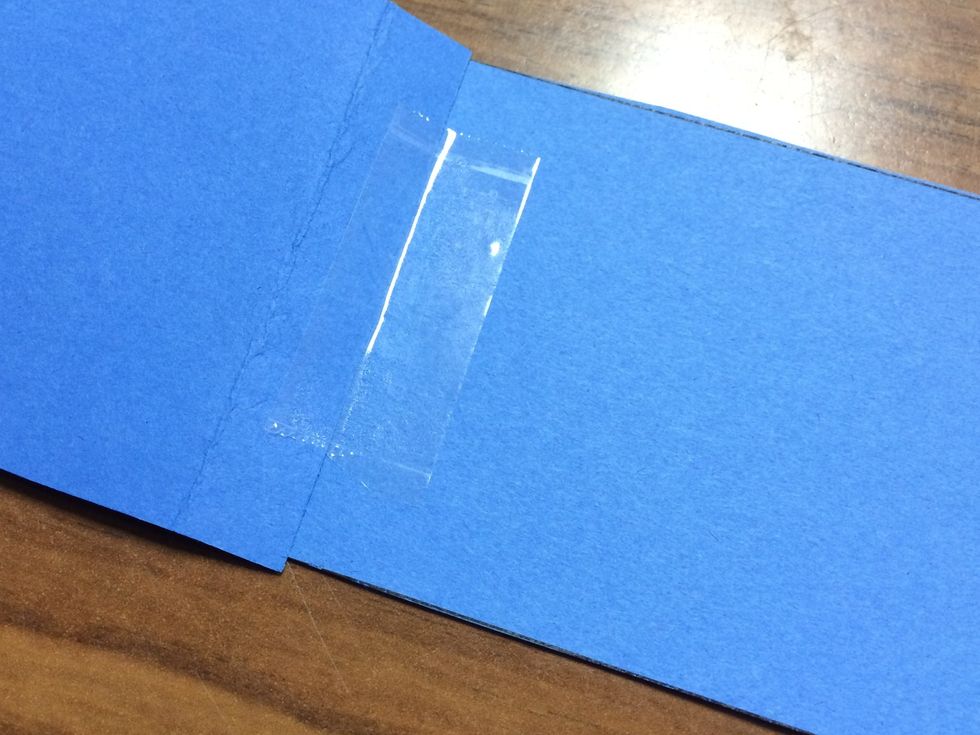
This is the BOTTOM of the whale. You will see the print on the bottom rectangle, but not the printing on the large piece from this view.

Flip over and tape this side too.

Add tape to the points.
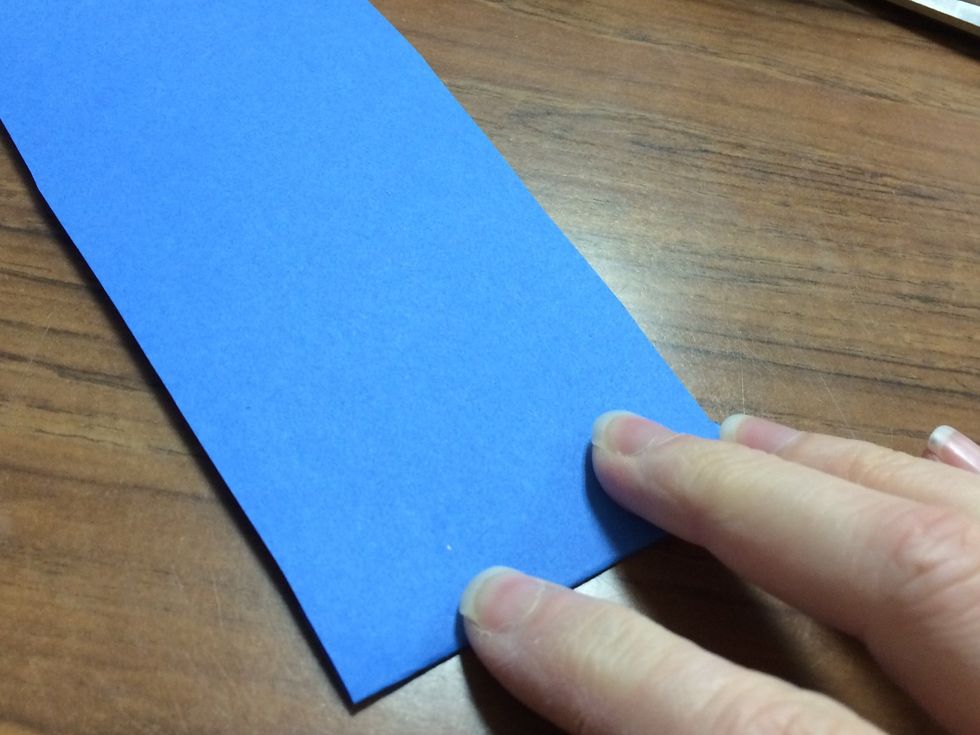
Crease the fold line.
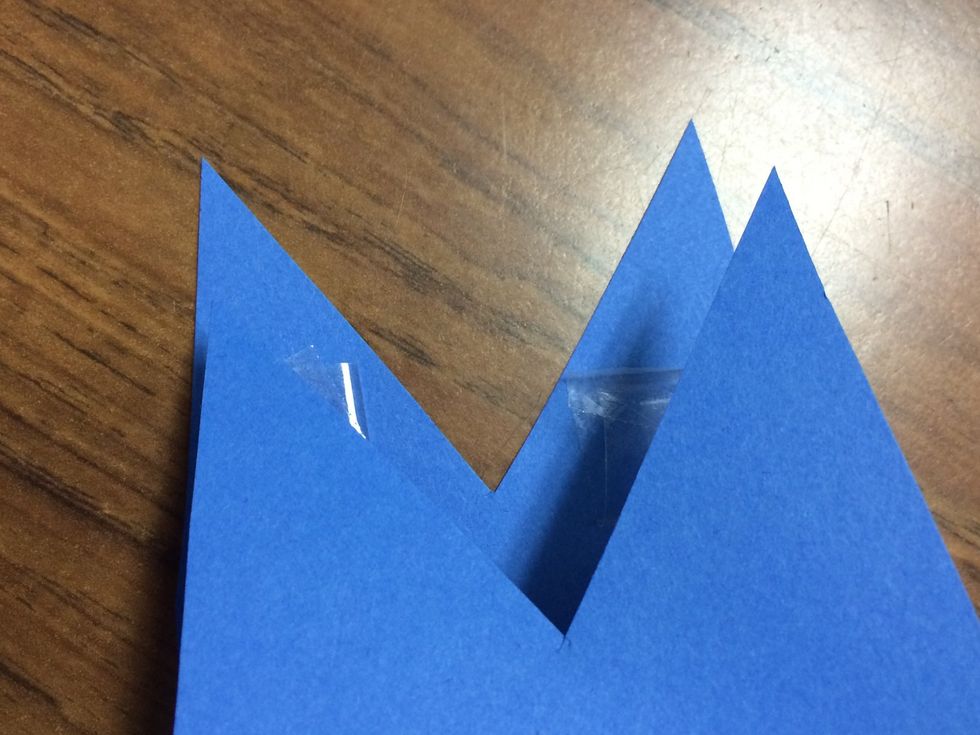
Line up the points or "fins."
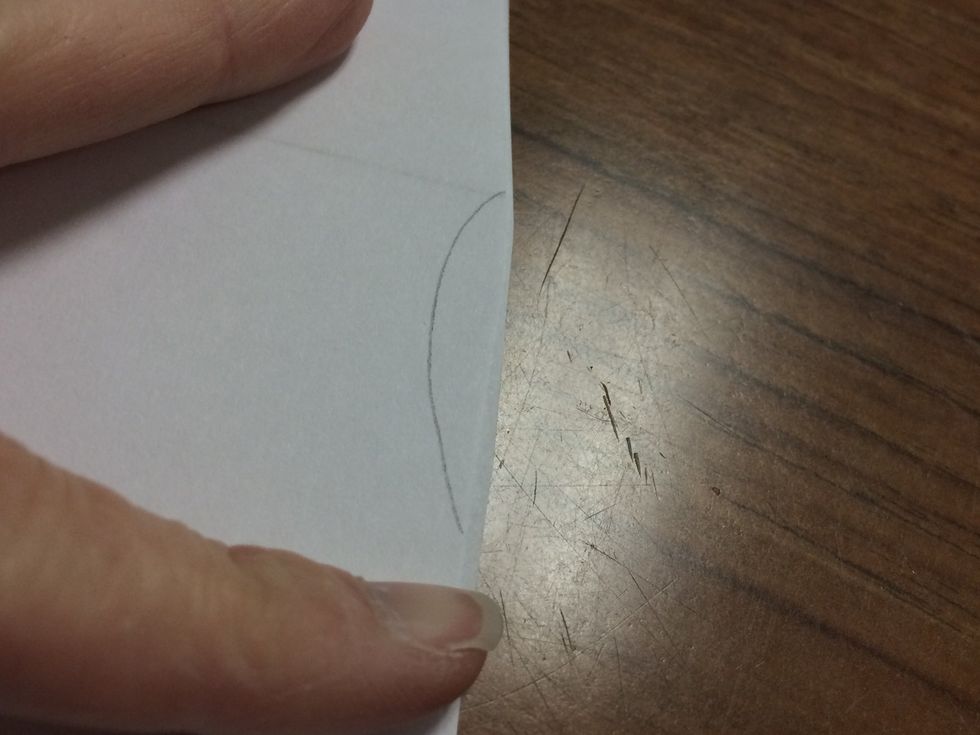
Draw a curve on the side of the rectangle.

Hold both pieces together and cut out.
Do this on both sides.
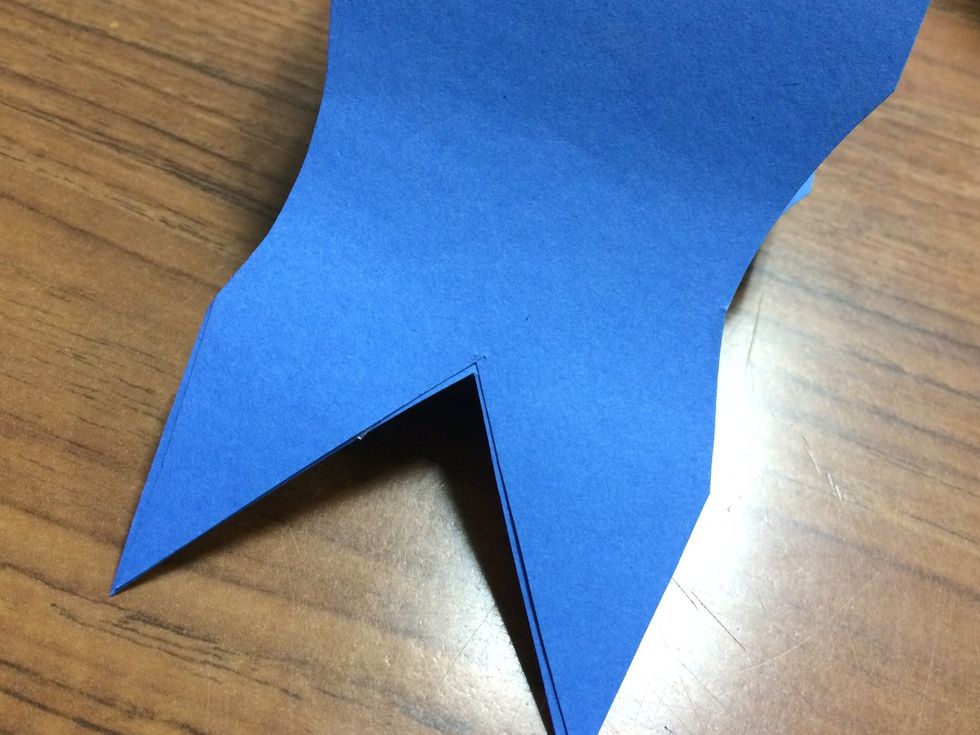
This gives the whale an indention.

Give your whale eyes.
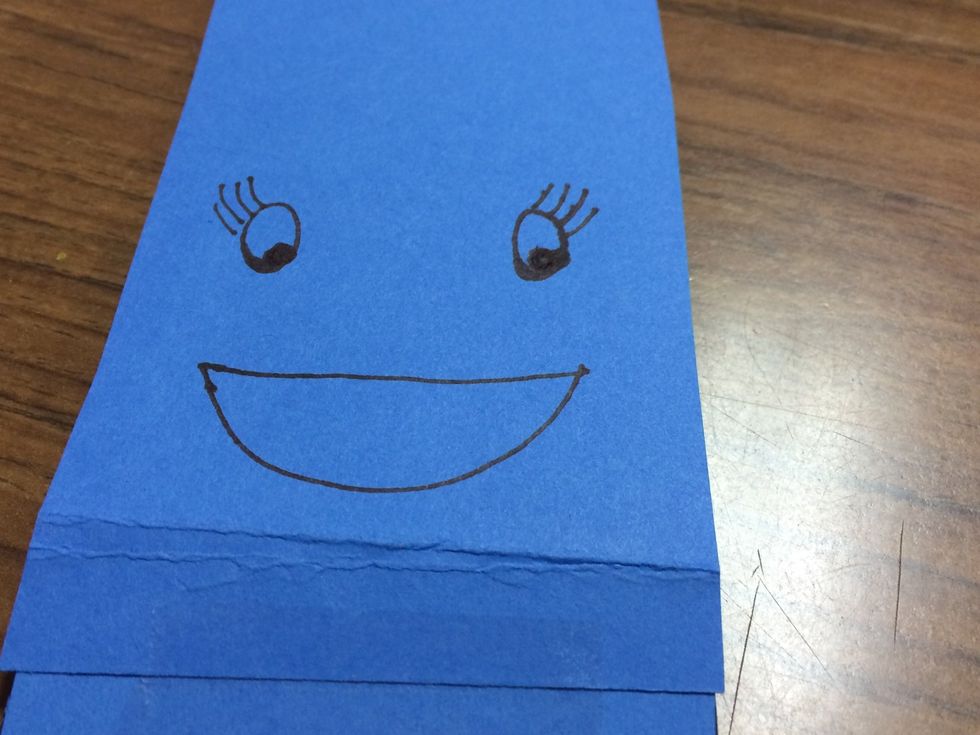
And a mouth.

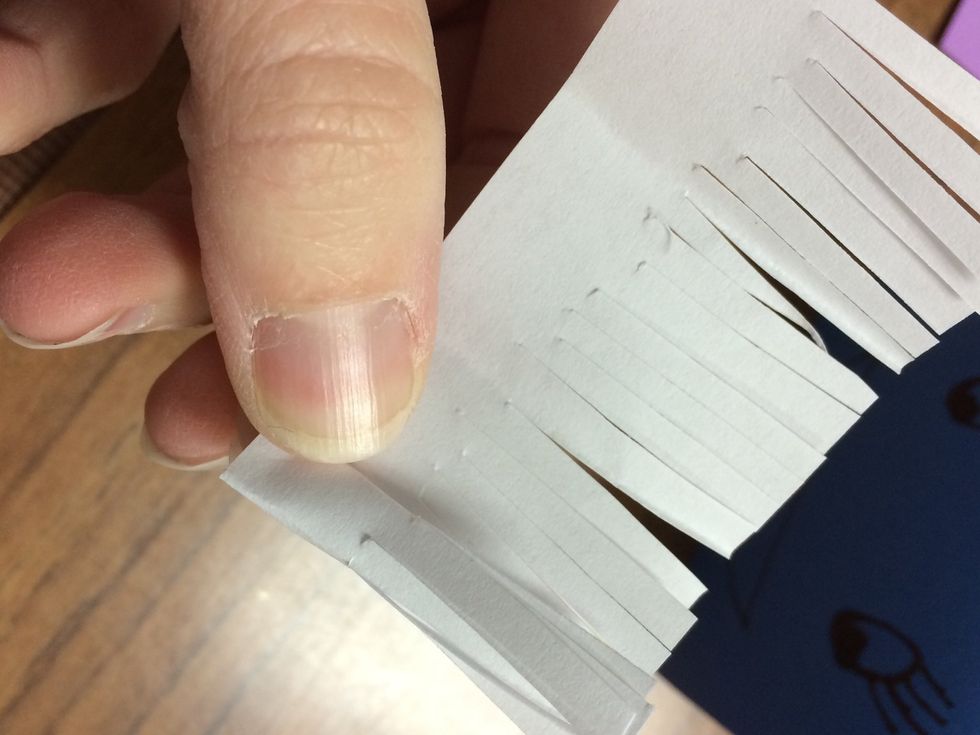
Now cut a piece of white paper about an inch by 3 inches
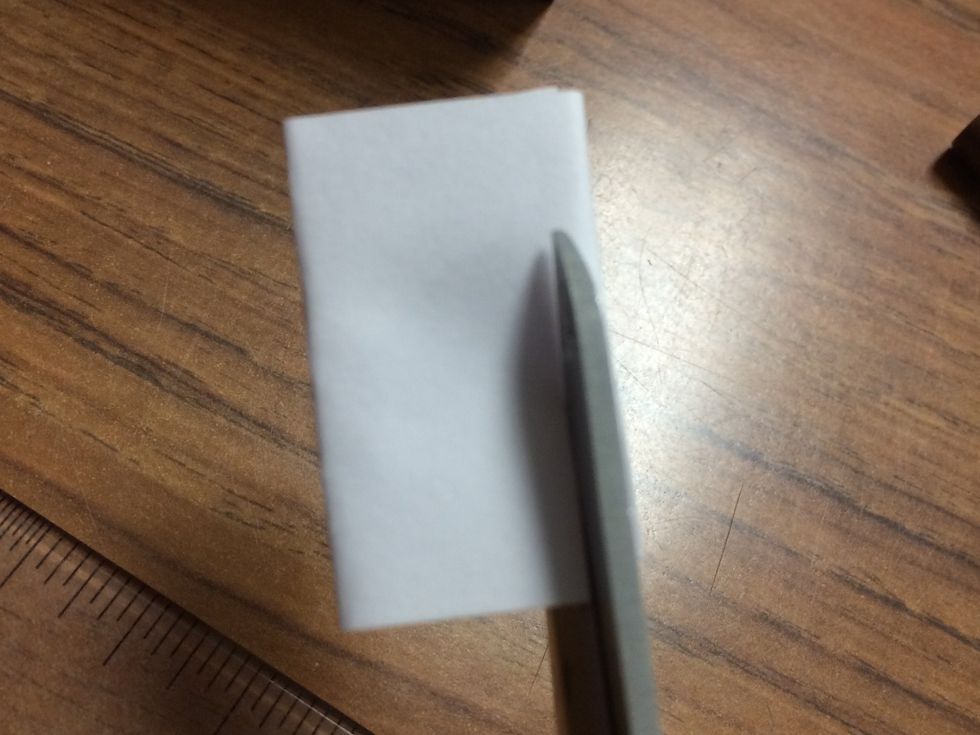
Fold the paper into fourths and cut up about 3/4ths.
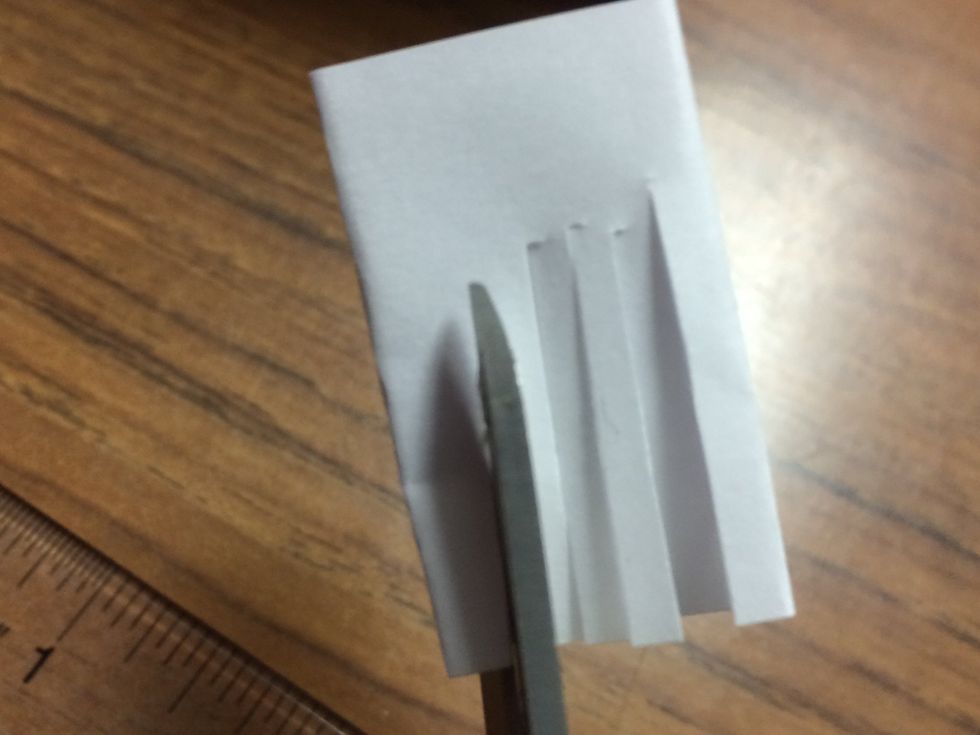
Make lots of little slits.
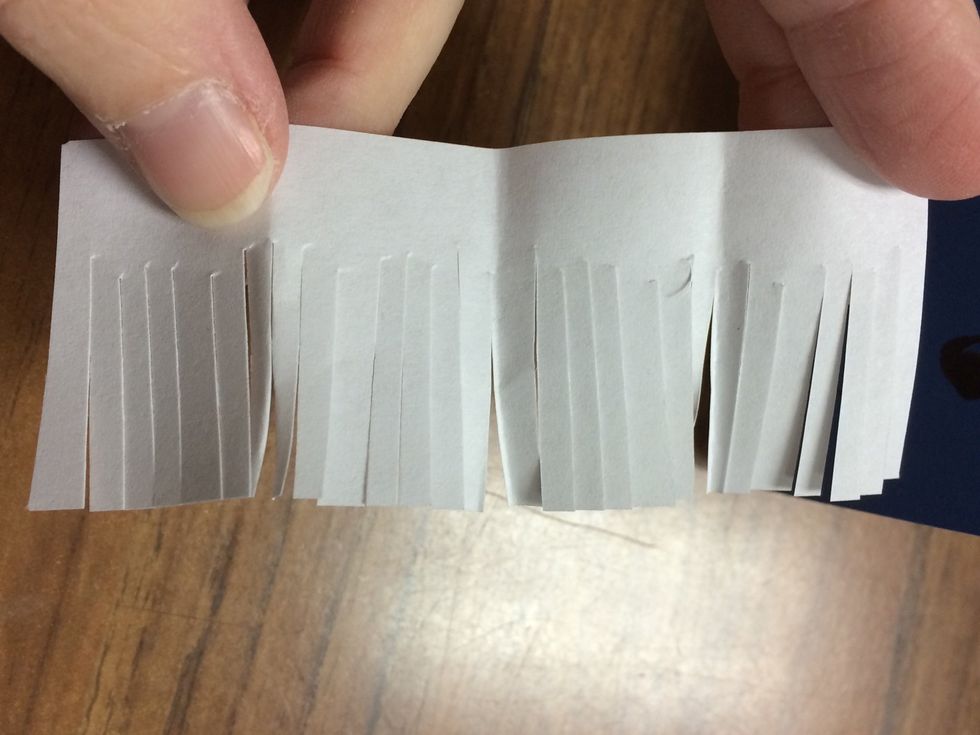
Open your fringed paper.
Roll it tightly together.
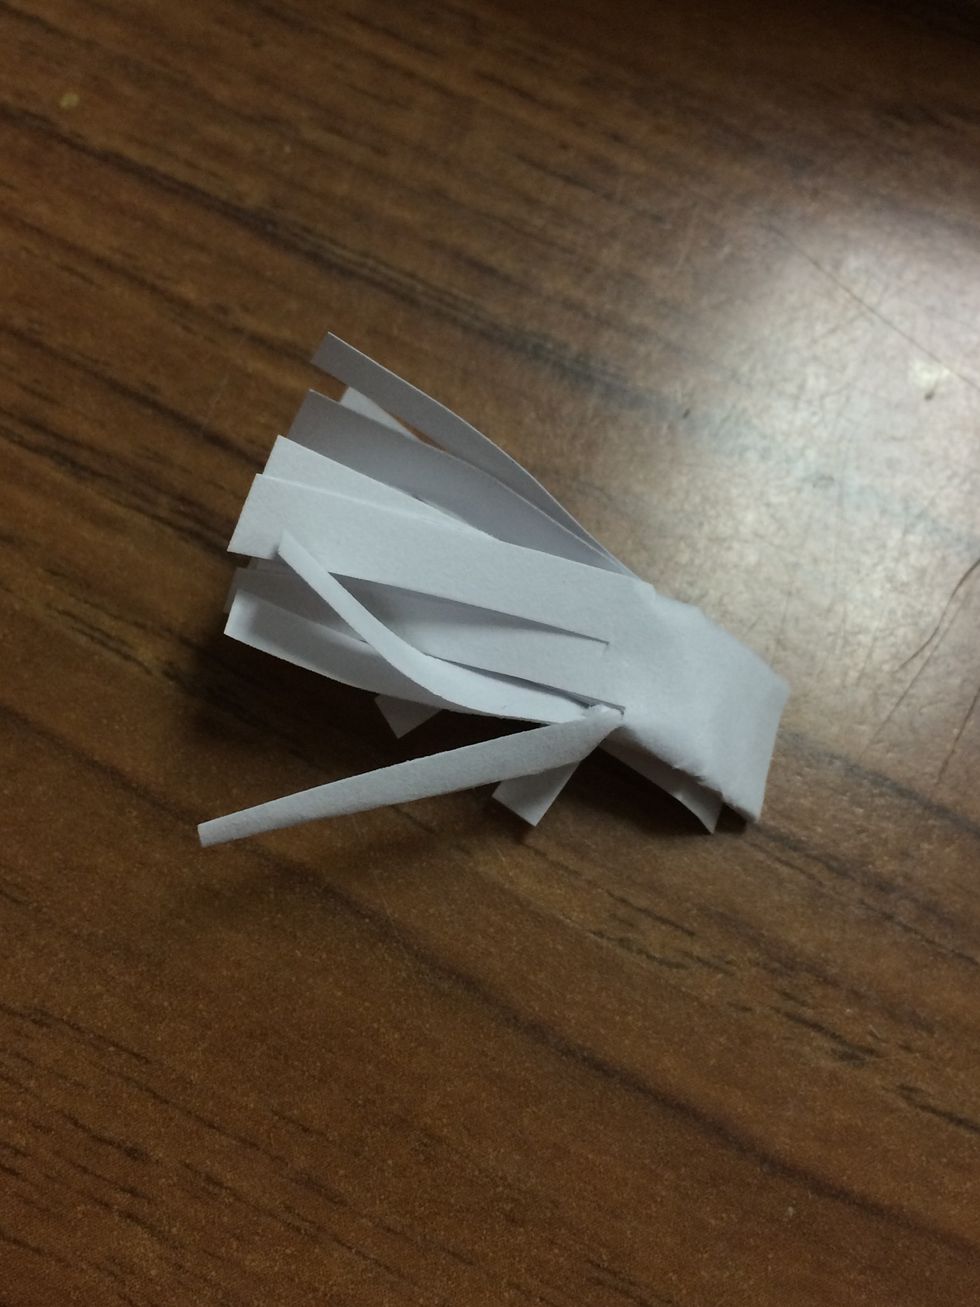
Like this.

Place an X on top of the whale.
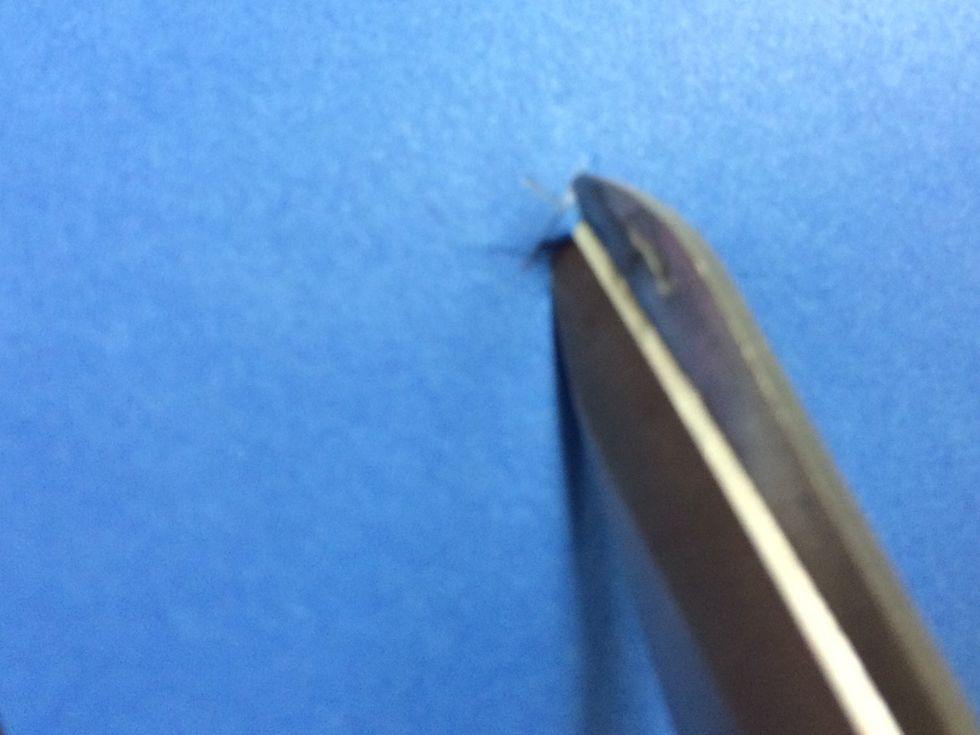
Slit it with scissors.
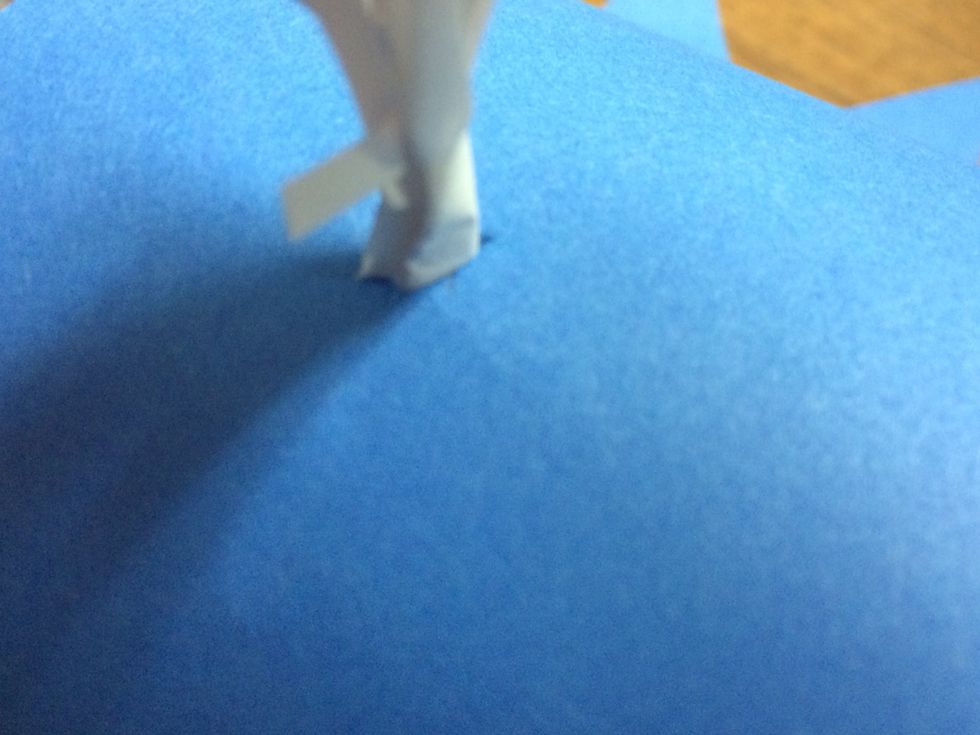
Tuck the tuft of white fringe into the slit.

And there you have it! A cute paper whale!
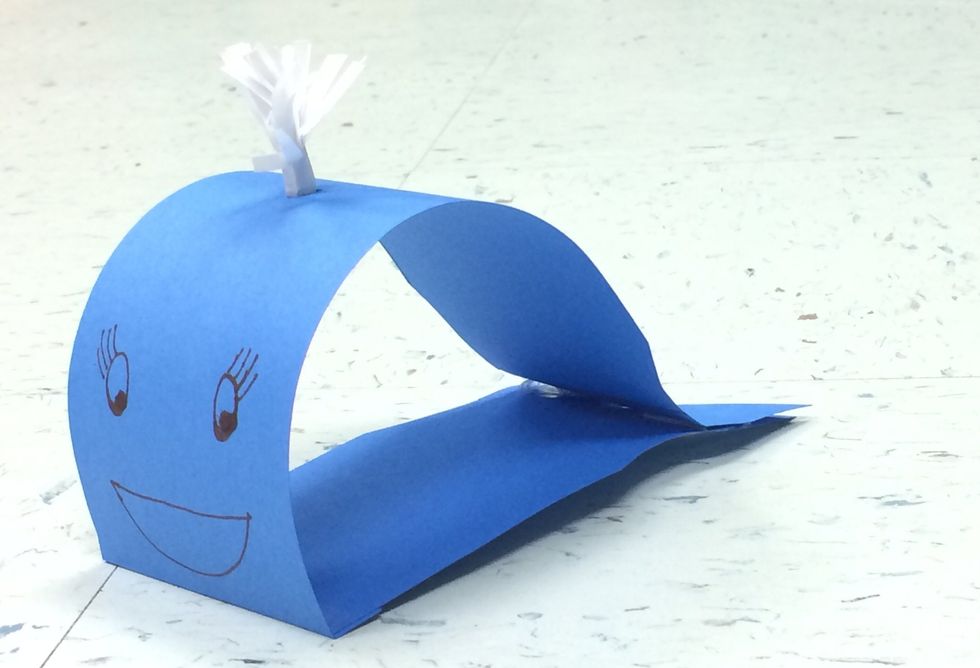
Enjoy! www.faithhopeandart.blogspot.com