The Conversation (0)
Sign Up
I have used these little favor bags multiple times for birthday parties and they were a hit. I learnt this tutorial originally from www.paperkawaii.com and today I thought I would share my version.
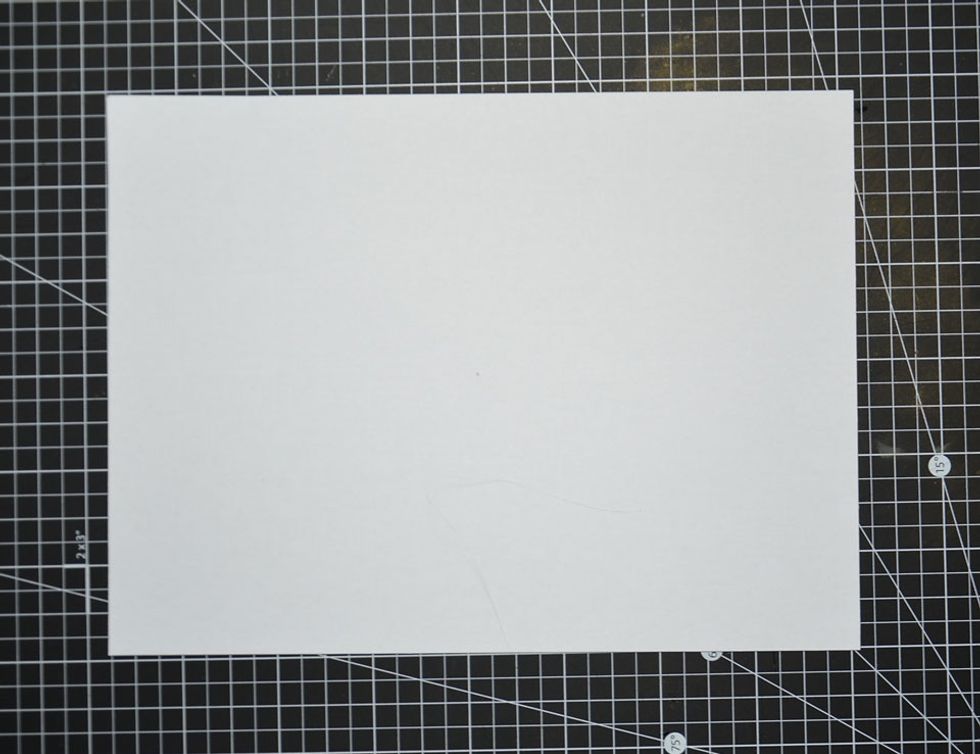
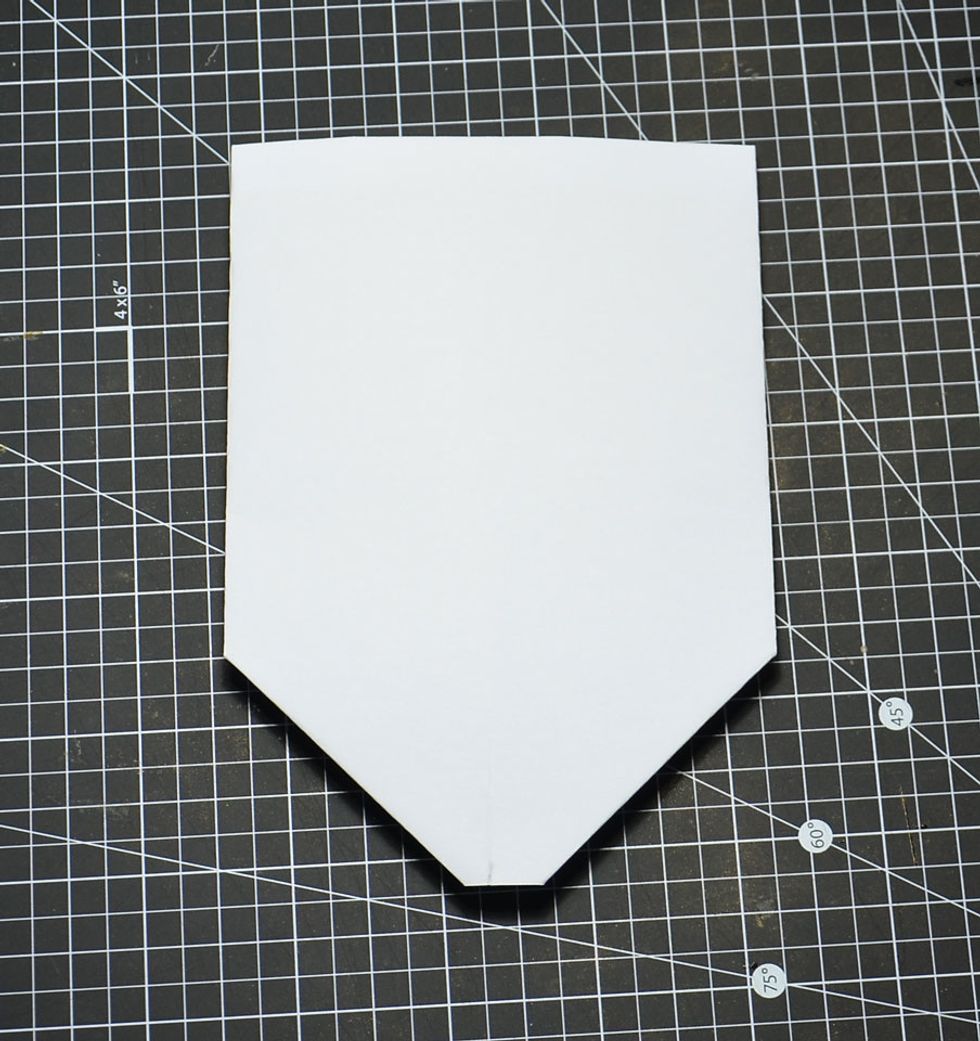
You will need a piece of paper. My paper piece measures 20cm X 15cm. The bigger the paper the bigger you party favor will be.
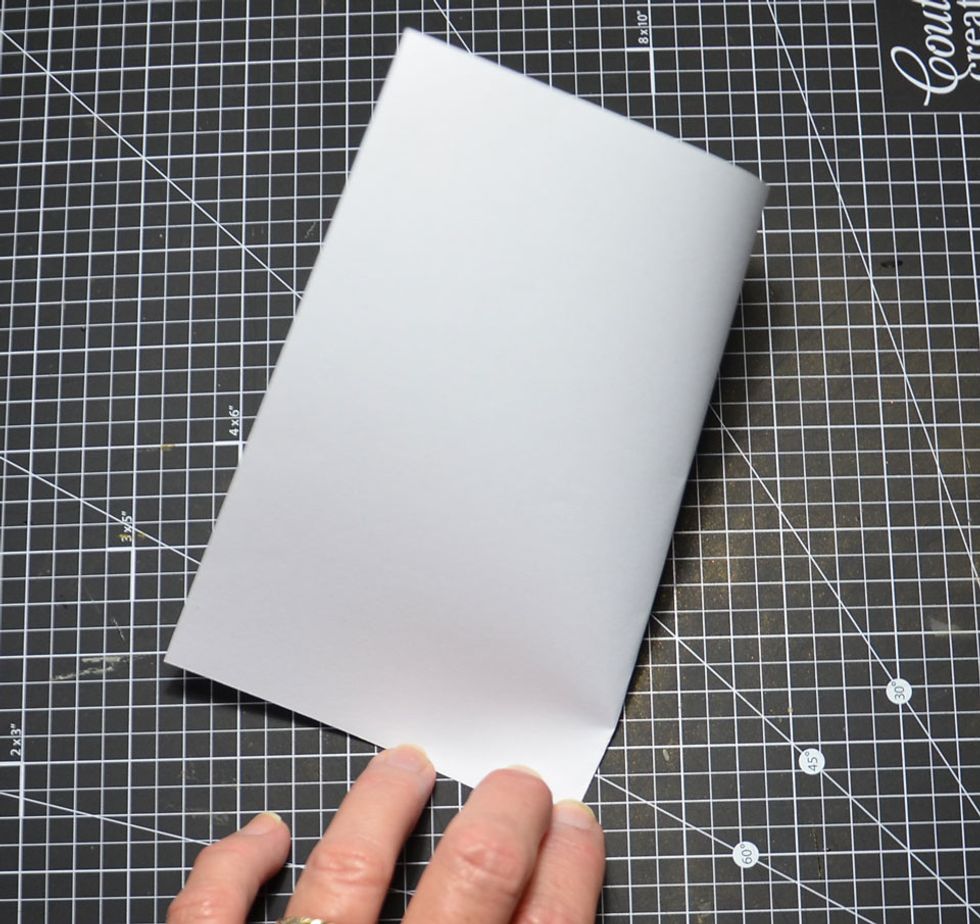
Fold in half and crease bottom only.
I marked the centre for you to see.
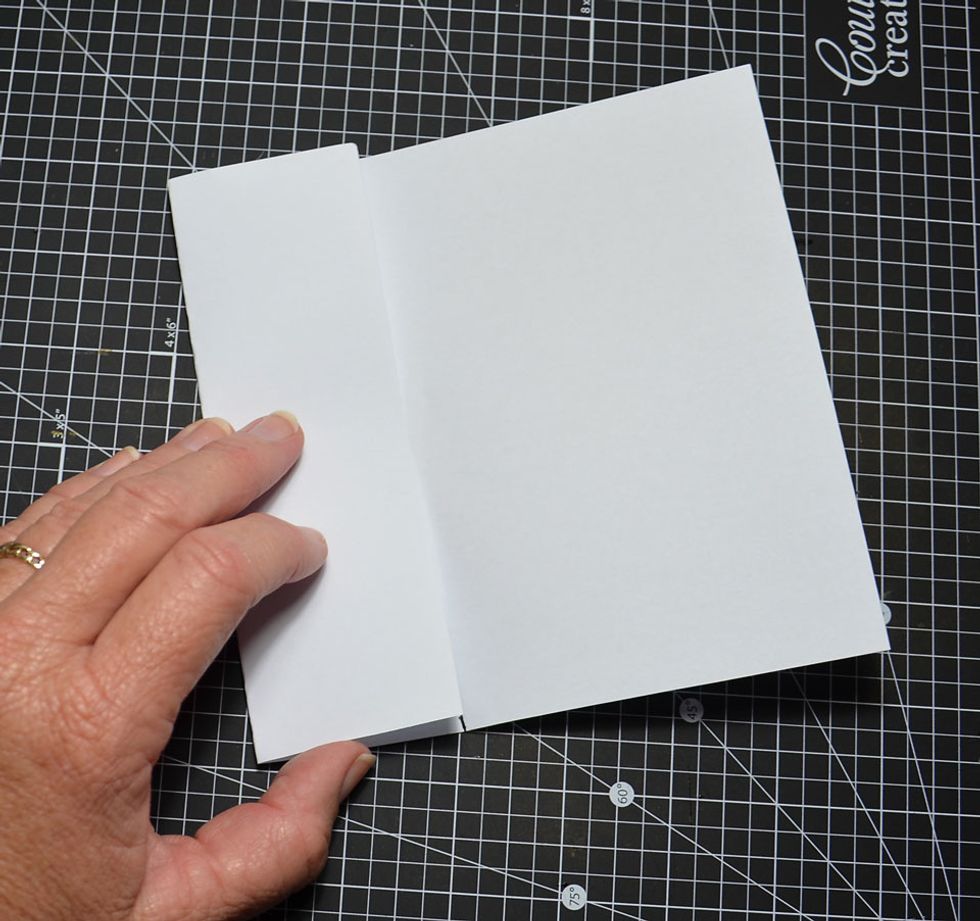
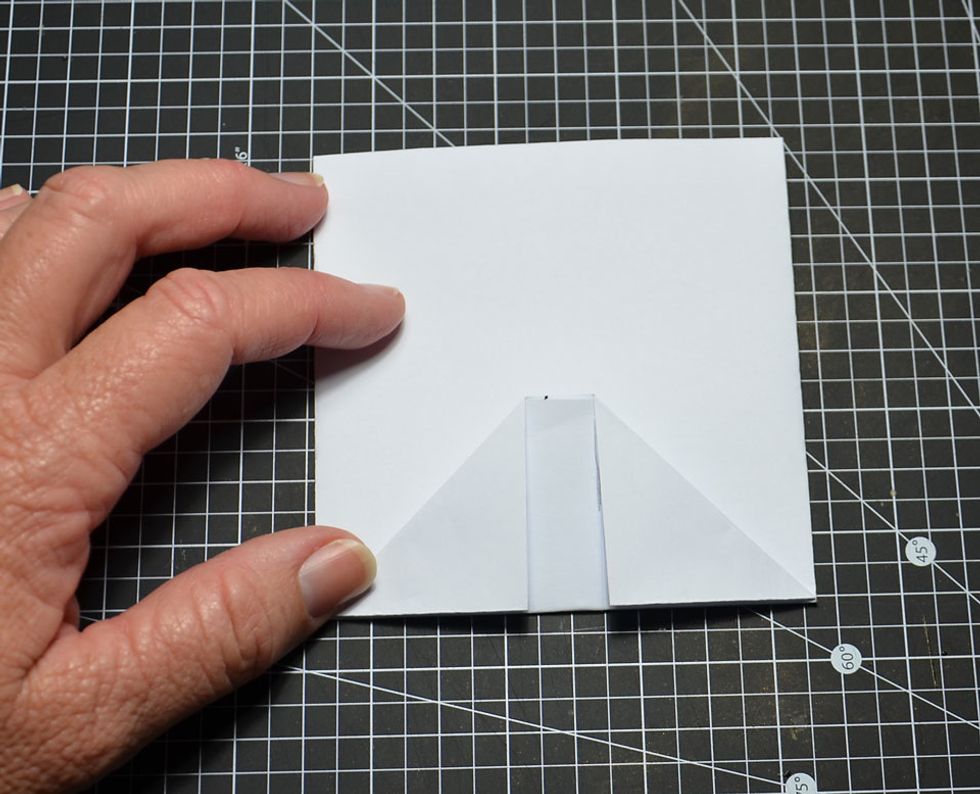
Fold left side in to meet the centre as shown.
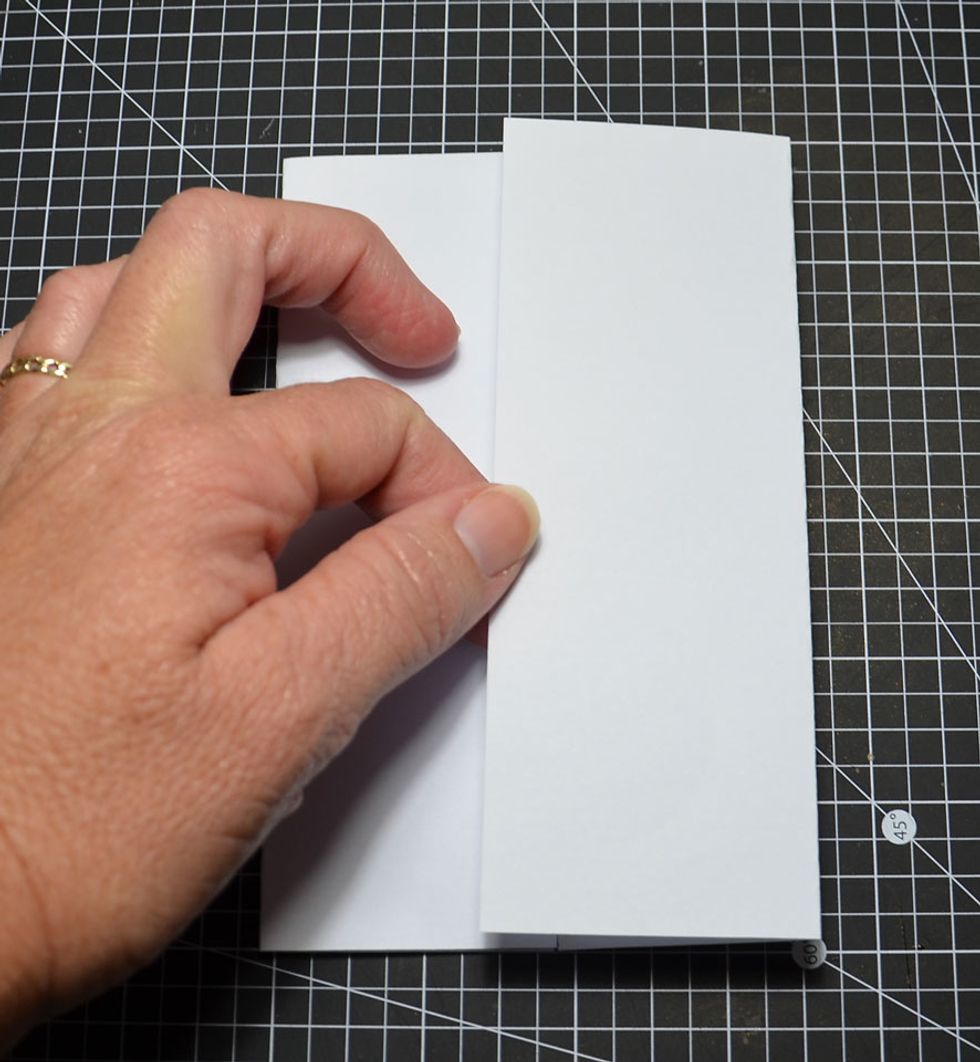
Fold the right side over but overlap the left side by about 1cm.
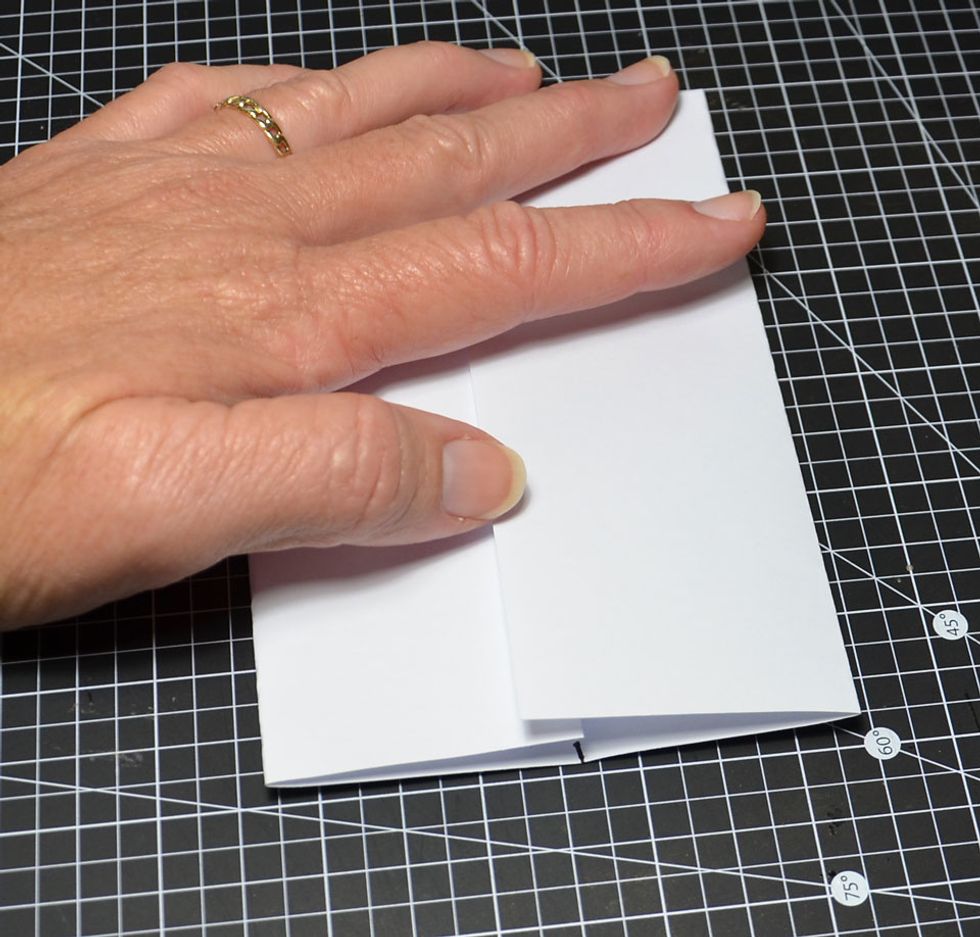
Showing overlap.
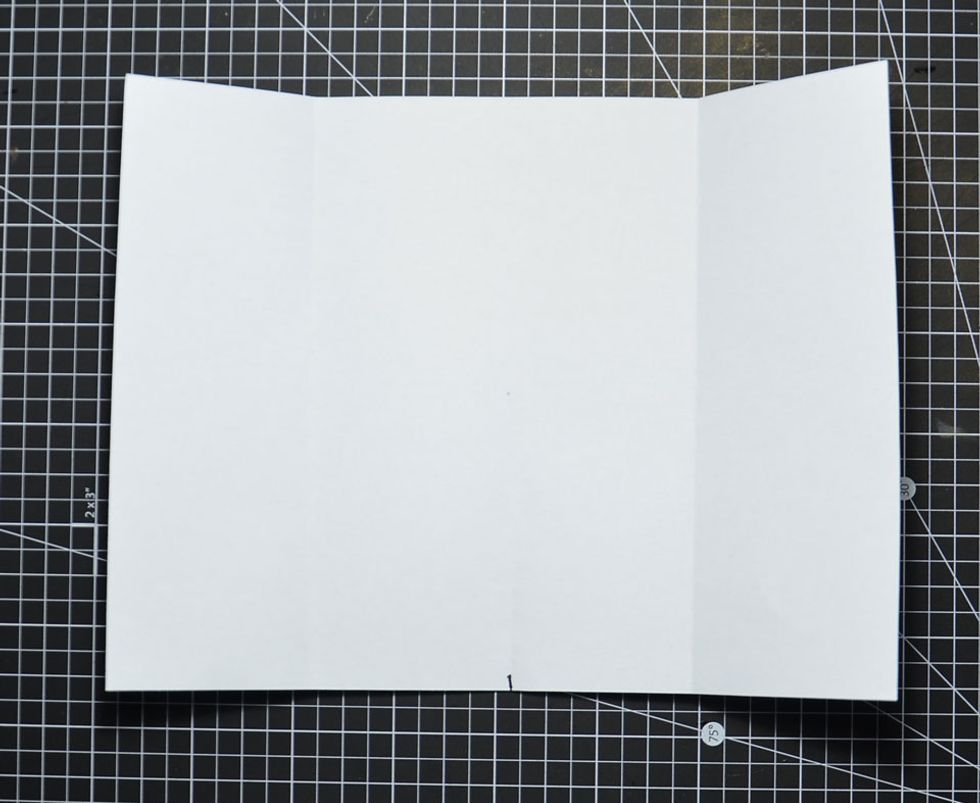
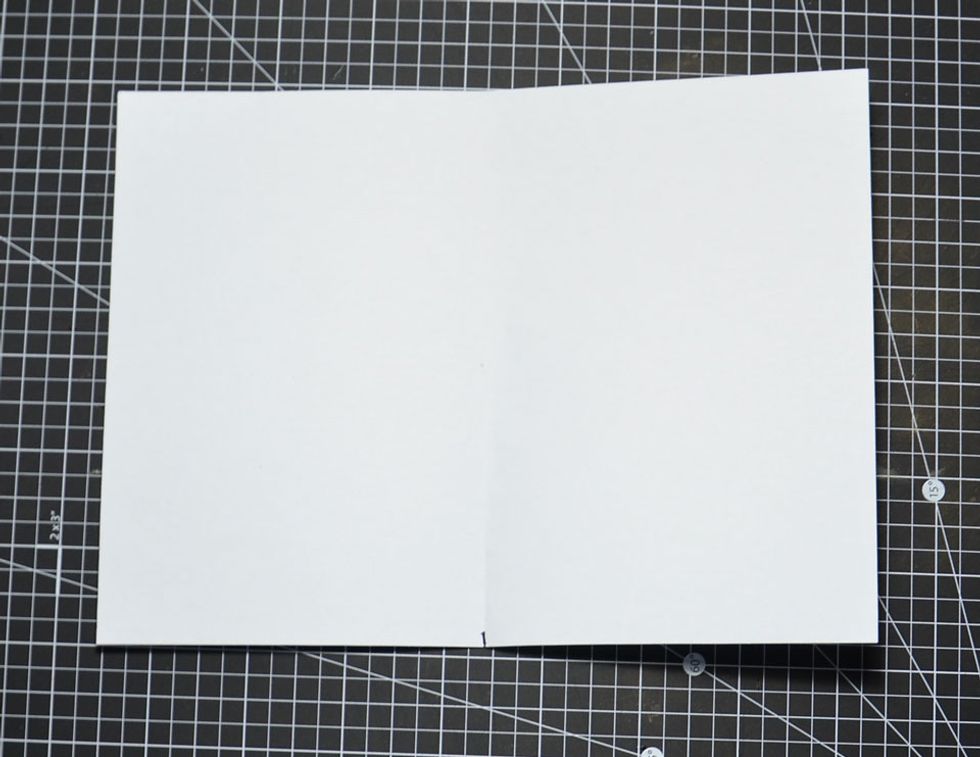
Fold out flat again
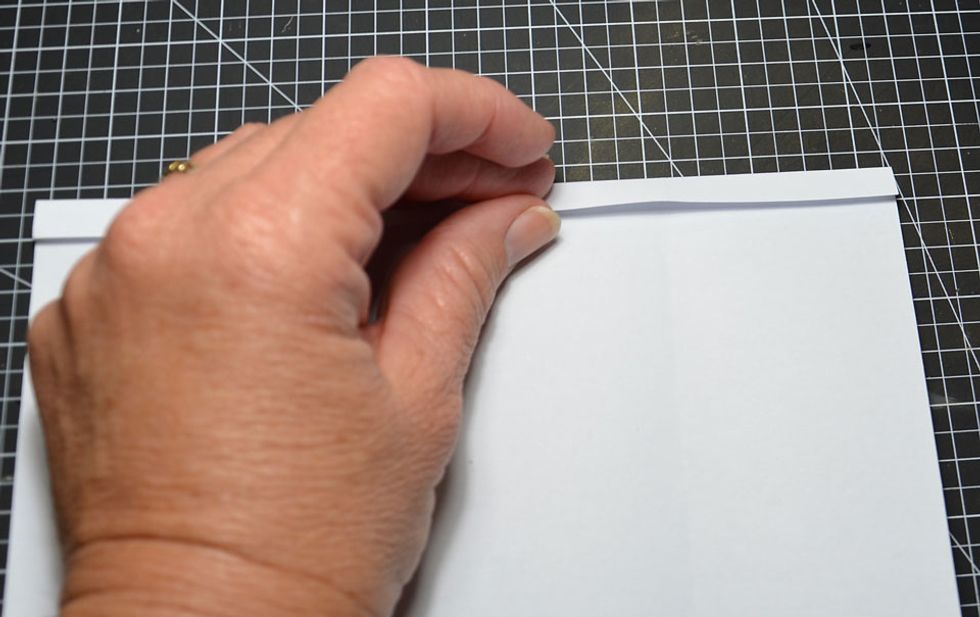
Fold the top of the paper down by about 1cm.
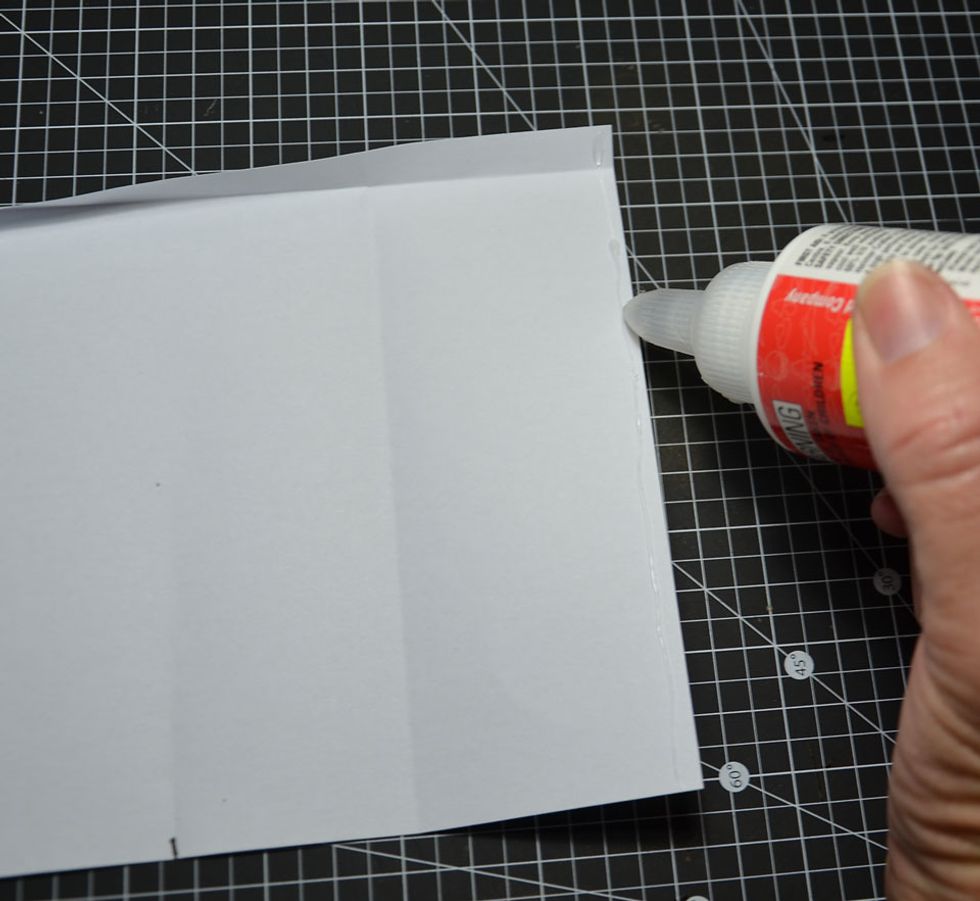
Now lift top folded flap run glue down the entire right side edge as shown.
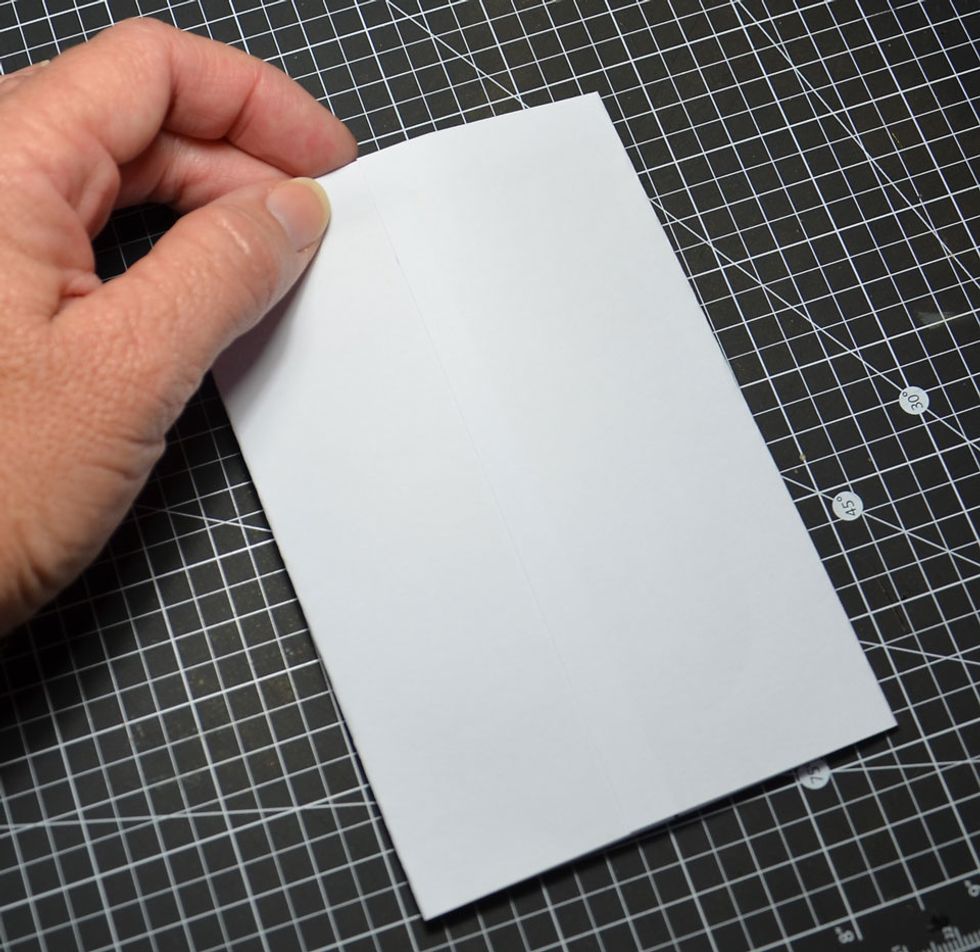
Fold in sides and glue down as shown. Be sure to lip over the top fold for a seamless edge.
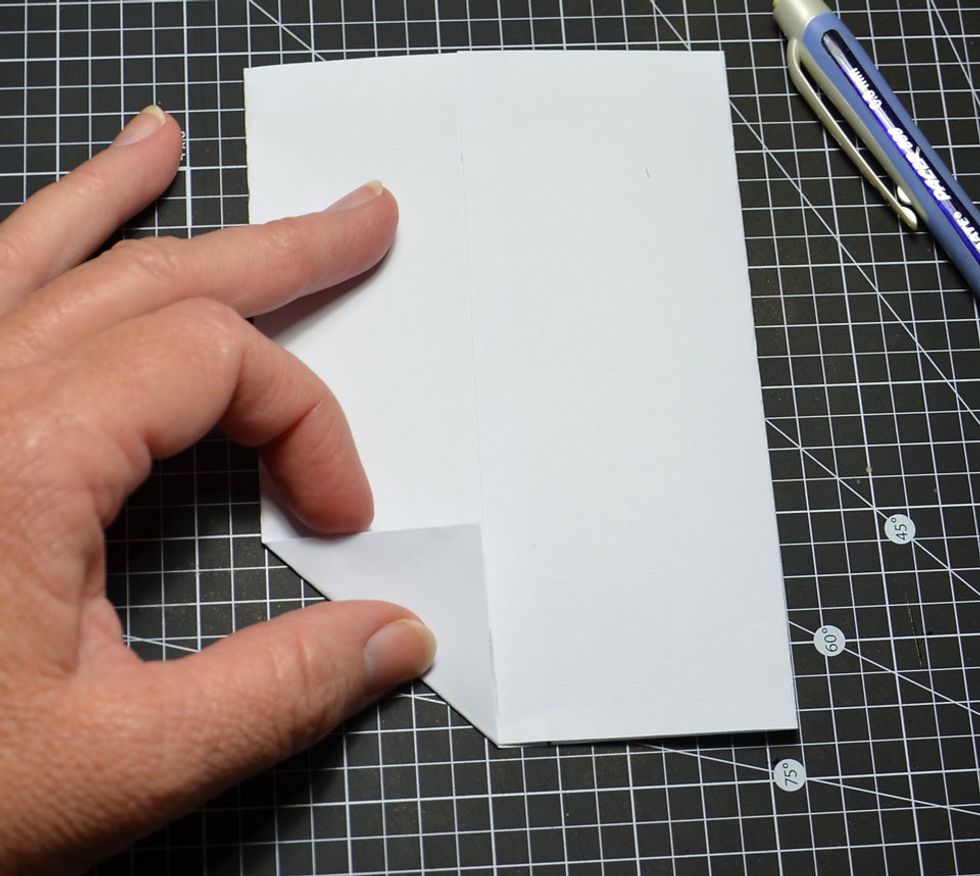
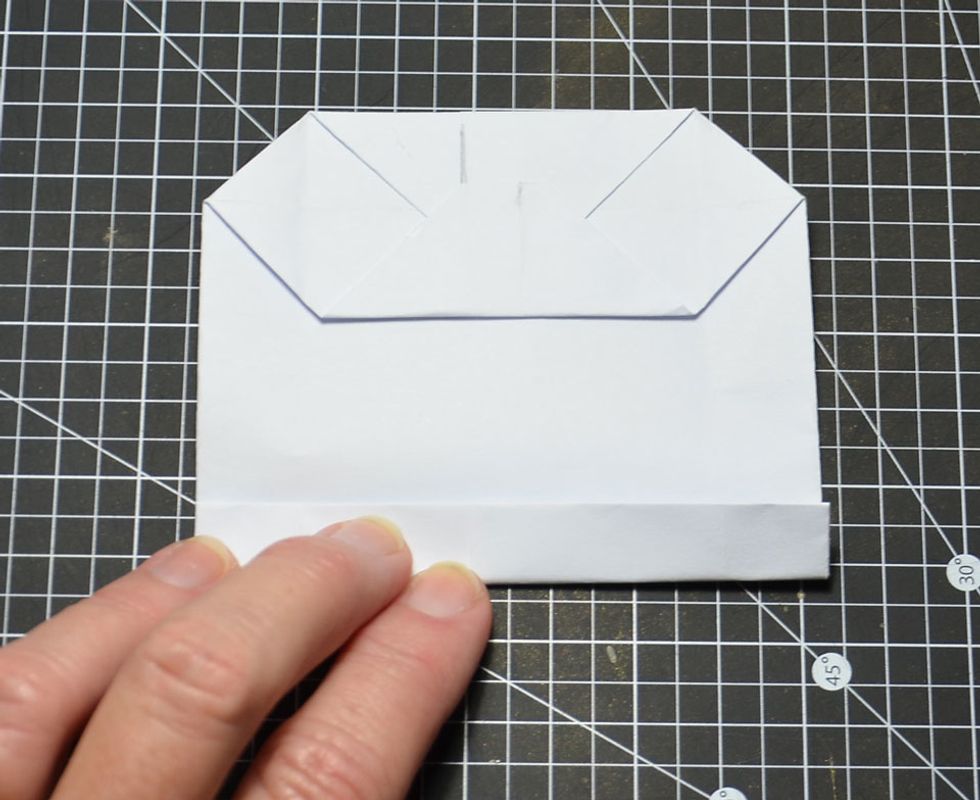
Fold up the bottom left edge to line with the glued paper edge as shown.
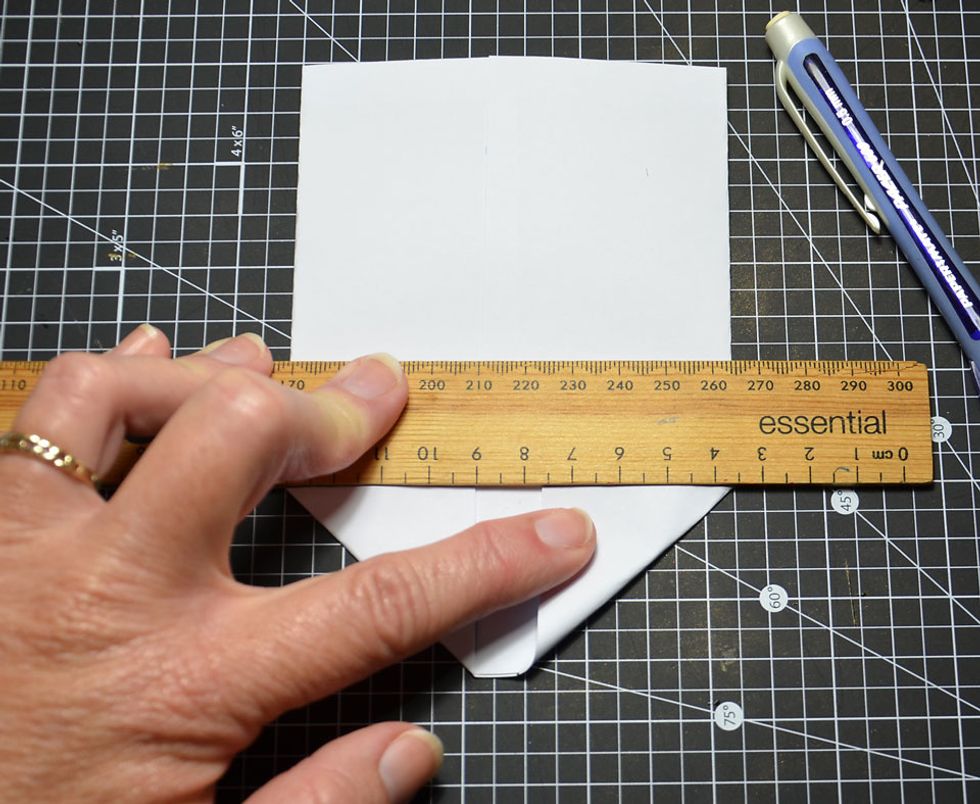
Using a ruler place along the folded edge as shown. This is to ensure a straight edge, now fold the right side up as shown.

This is what it should look like.
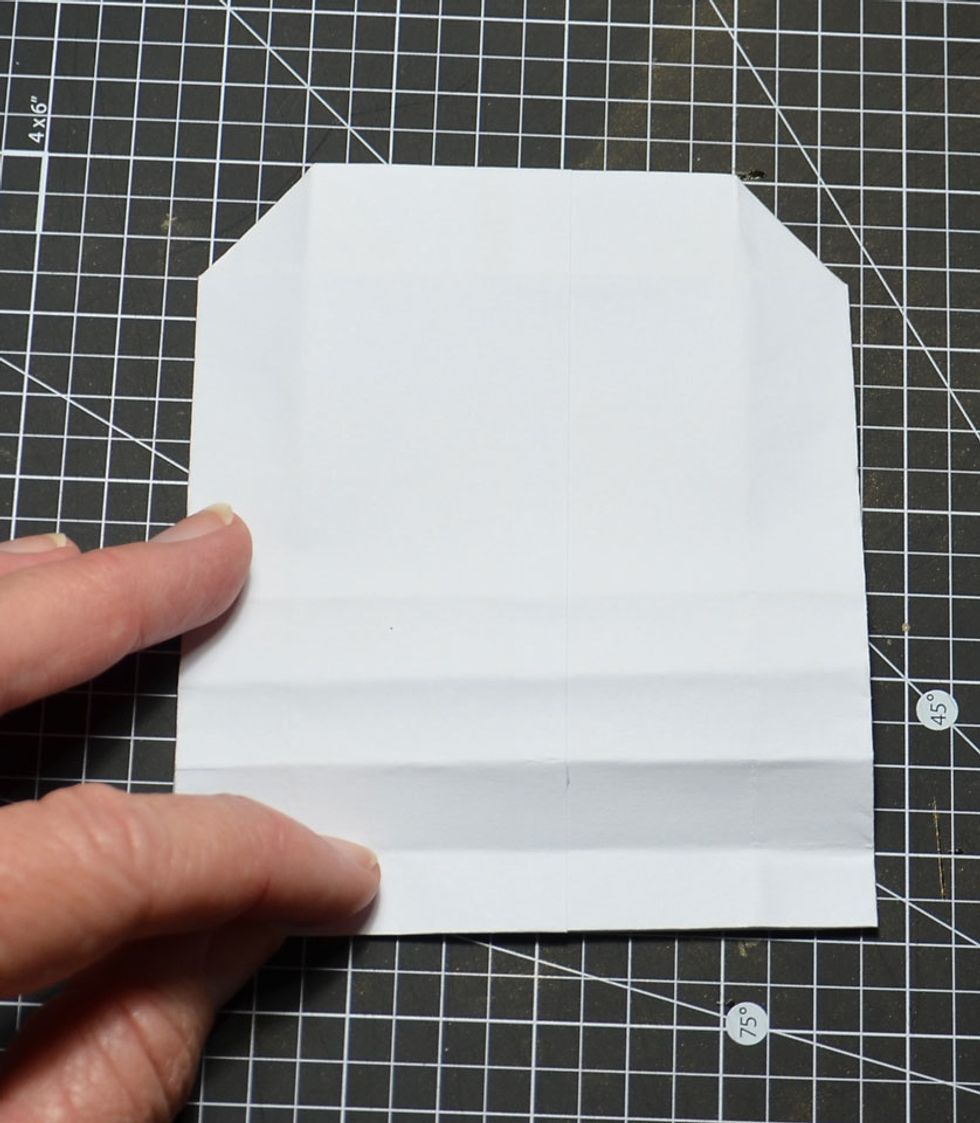
Turn over.
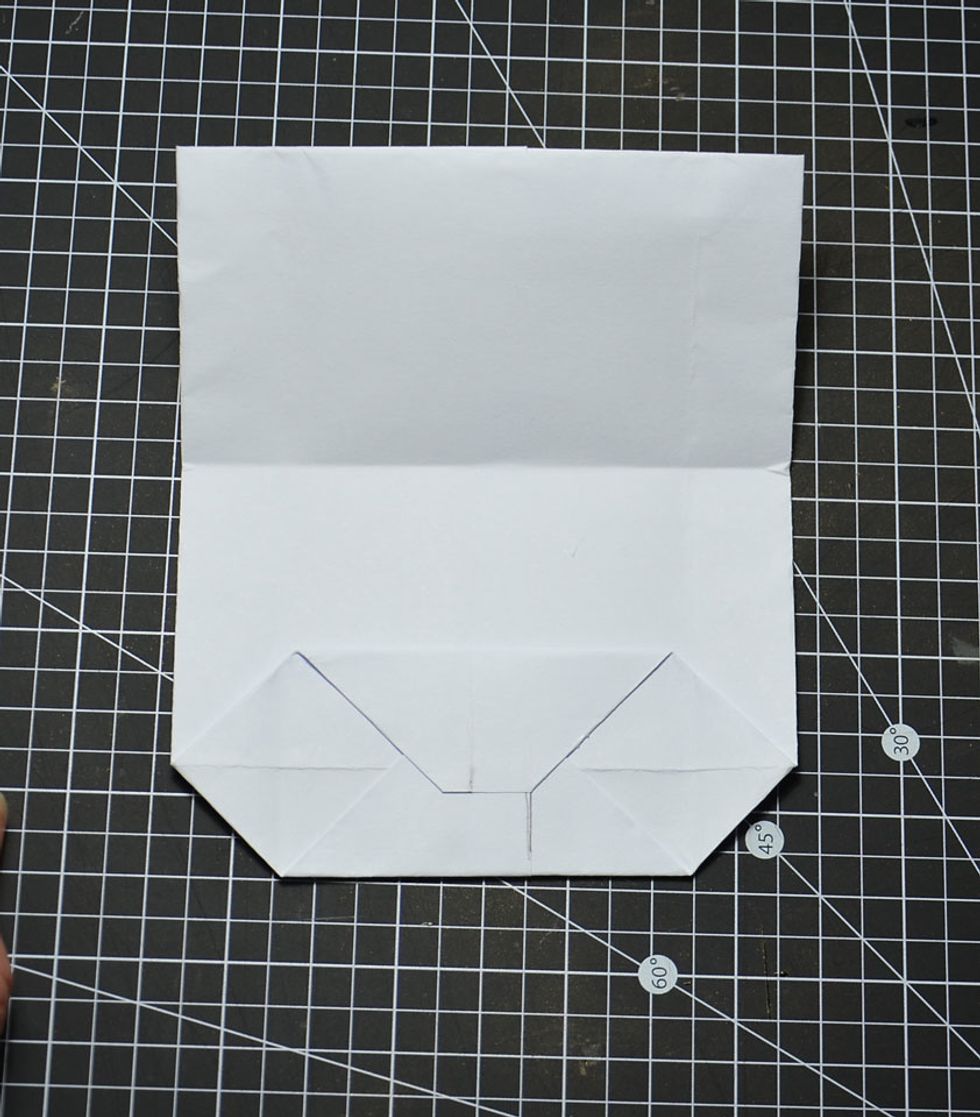
Fold bottom up so it lines up with fold edges from the other side as shown.
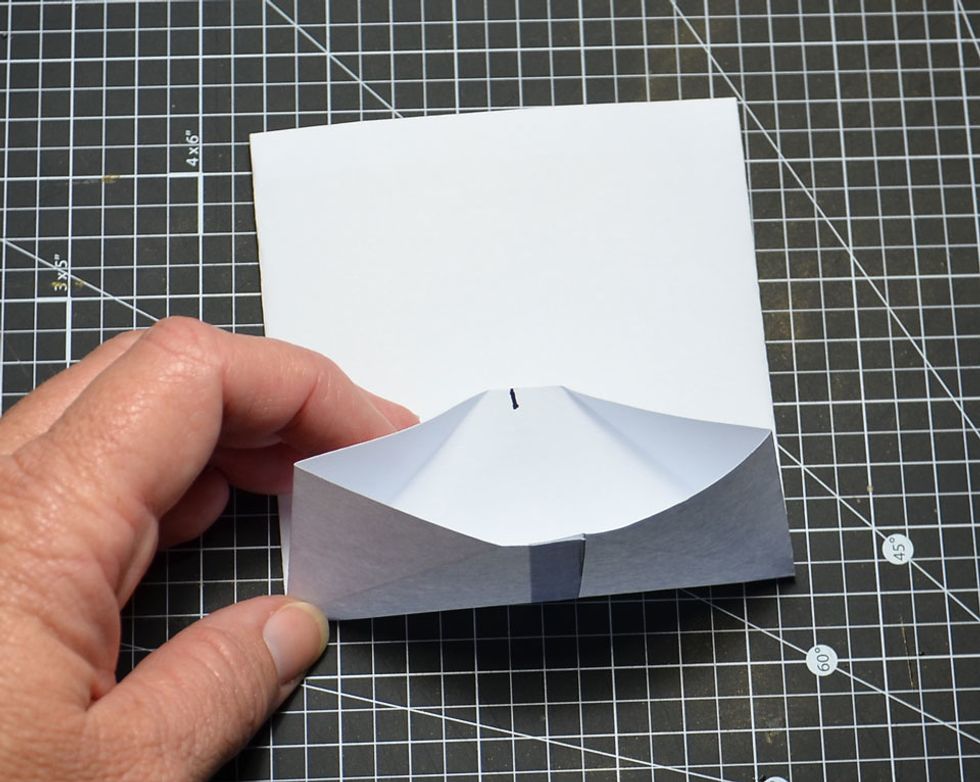
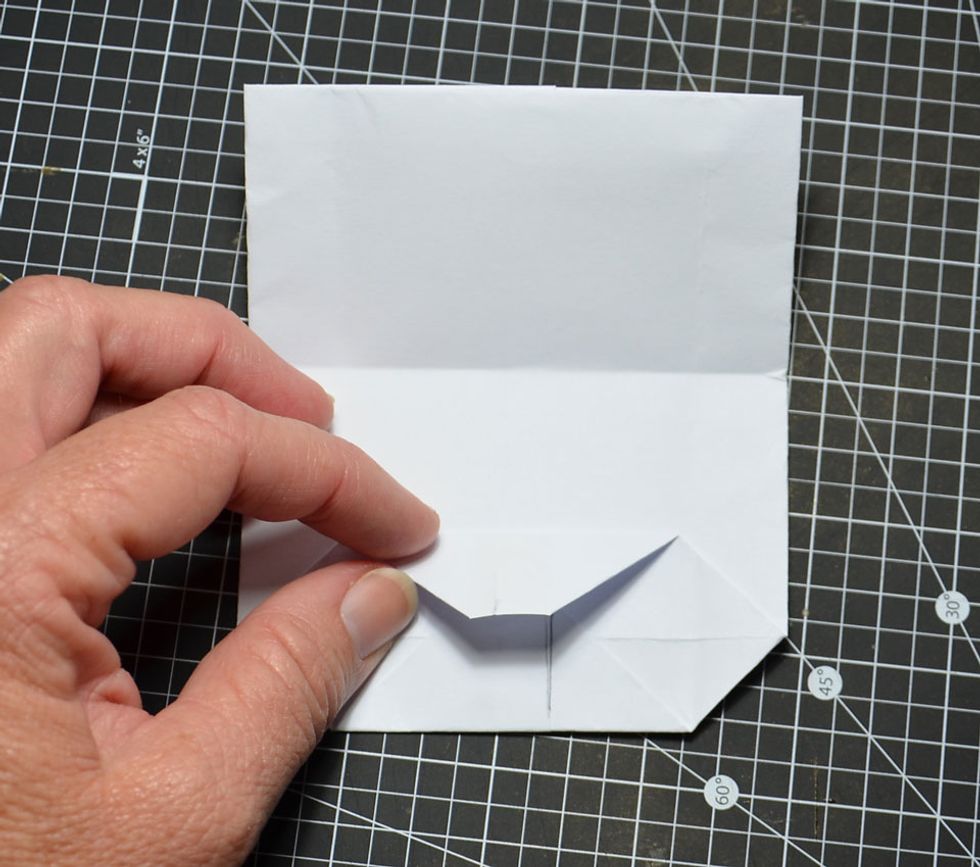
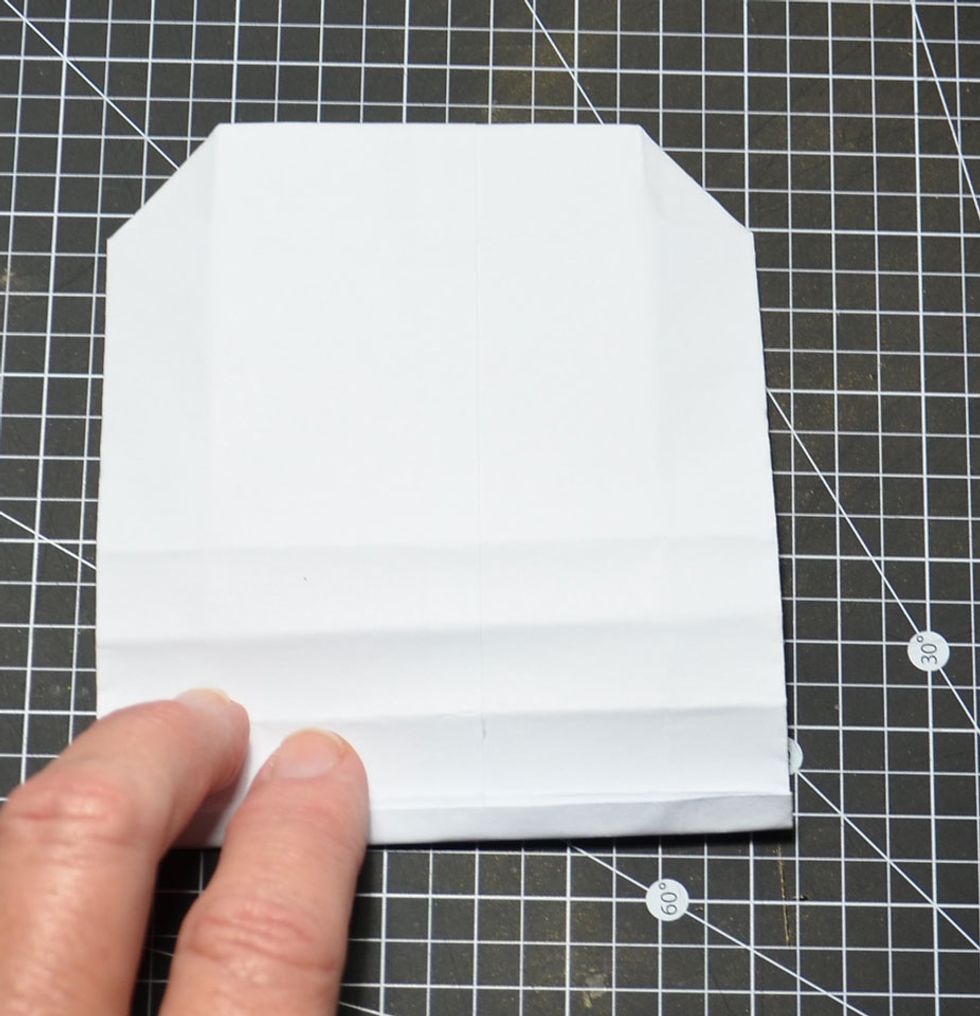
Fold back and unfold as shown.
Push the fold flaps inwards as shown.
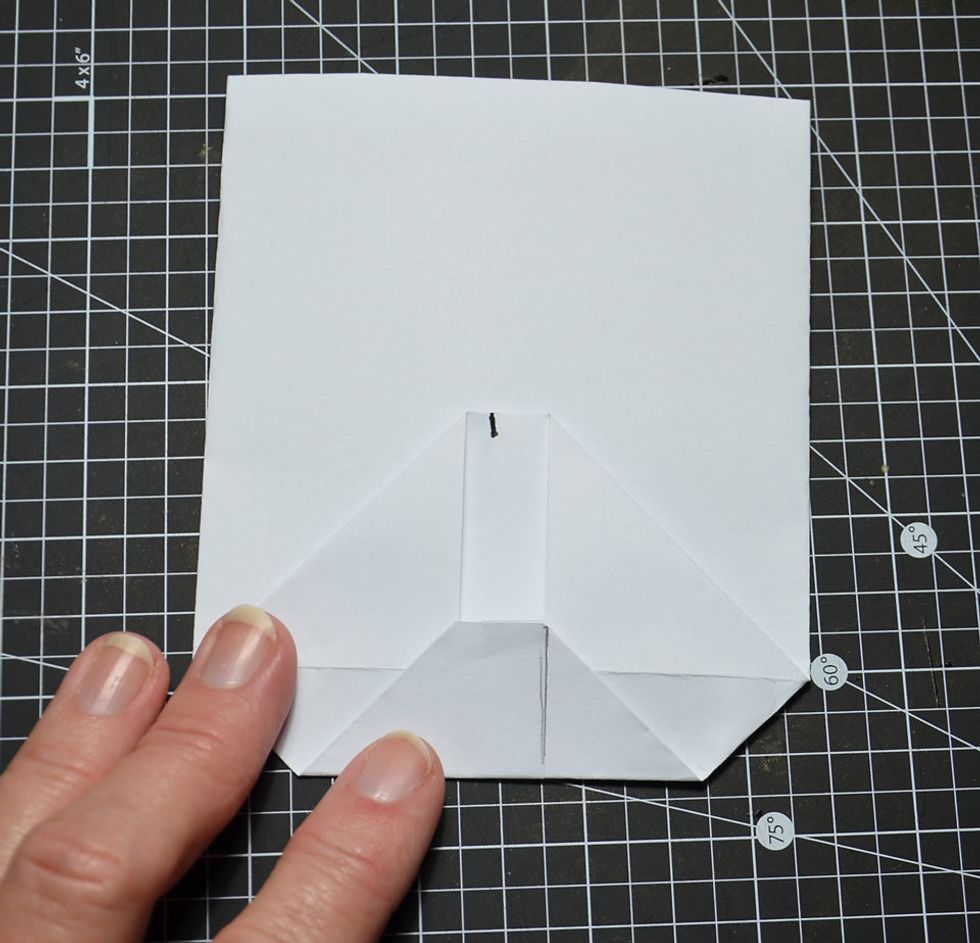
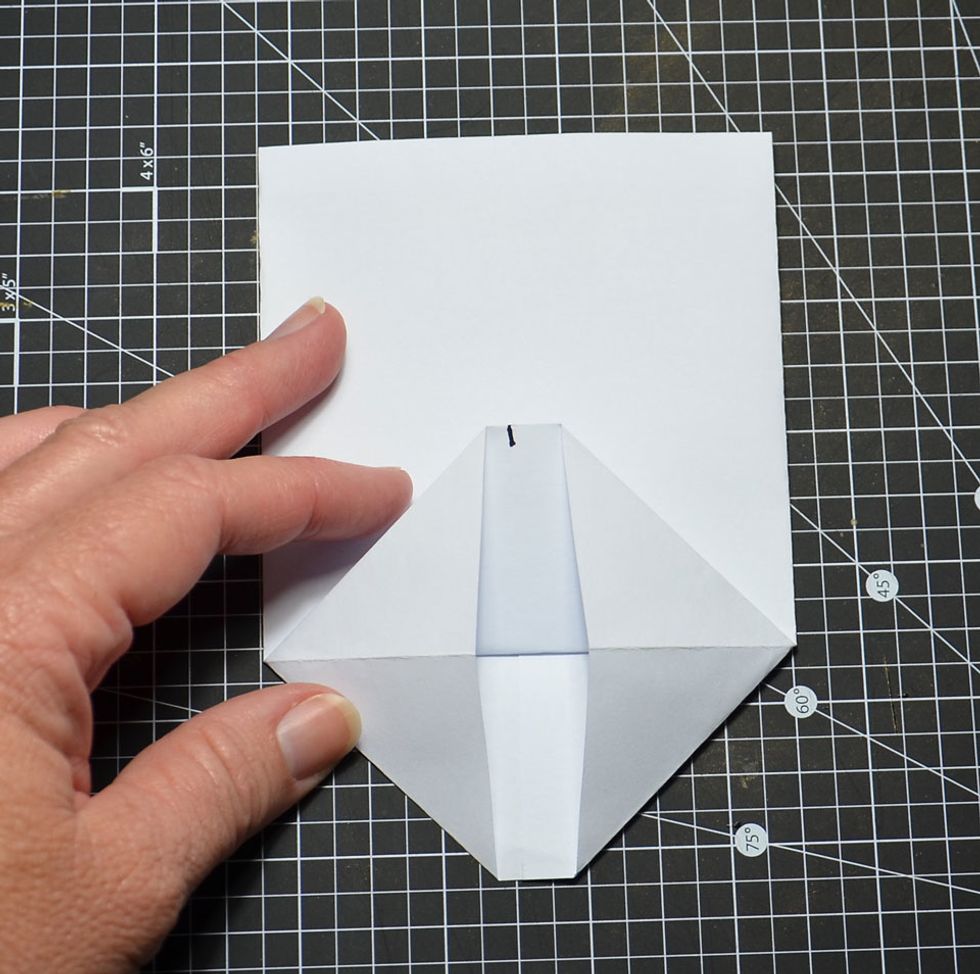
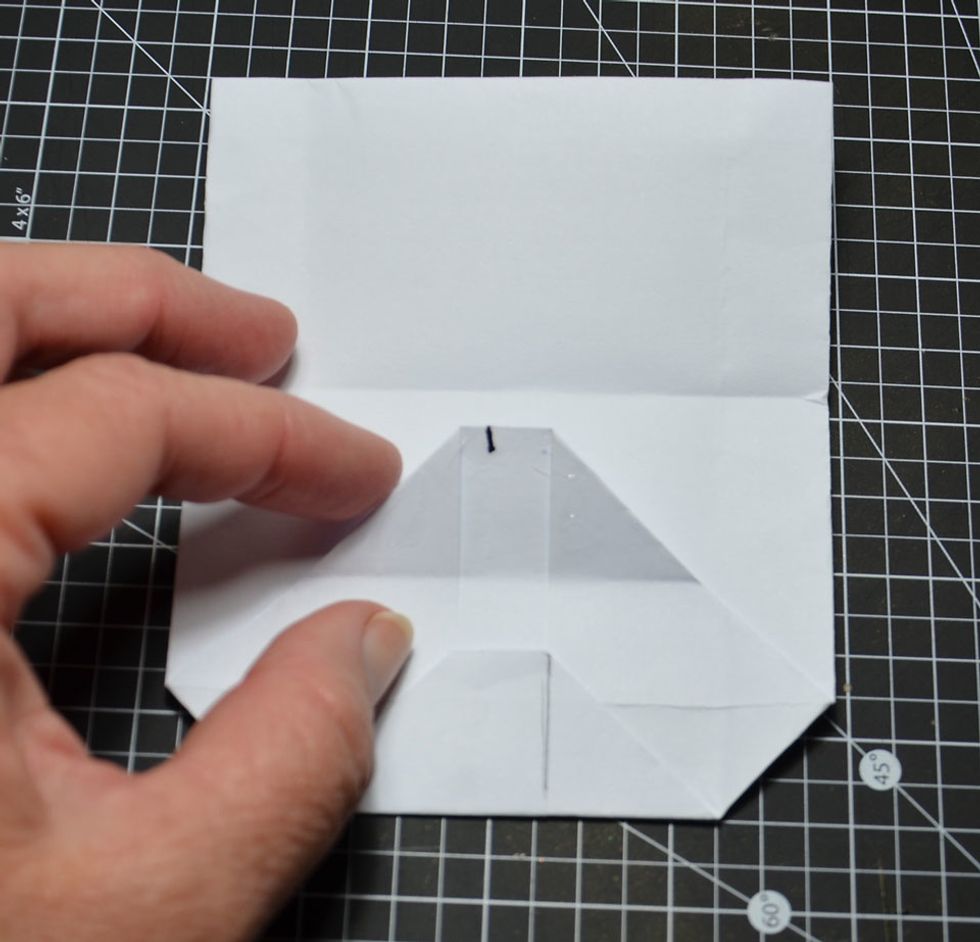
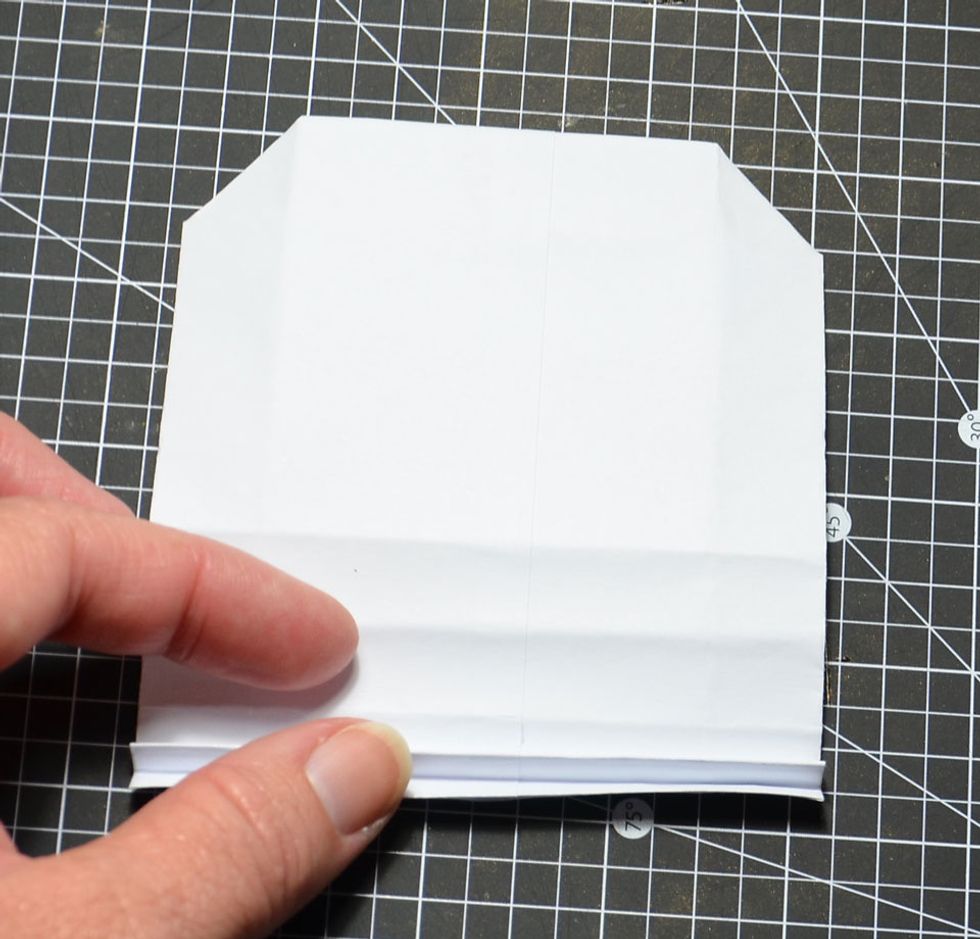
Fold bottom flap up so it is about 1cm above the centre fold line as shown.

Now glue, only in the parts as shown.
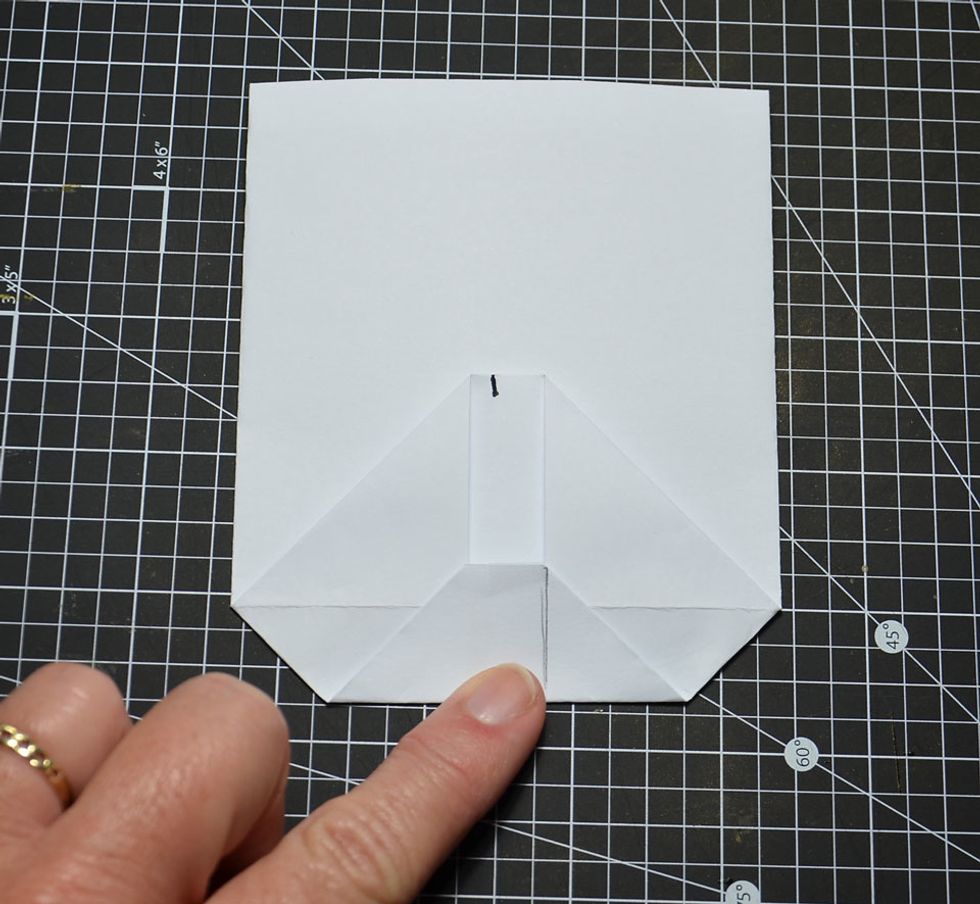
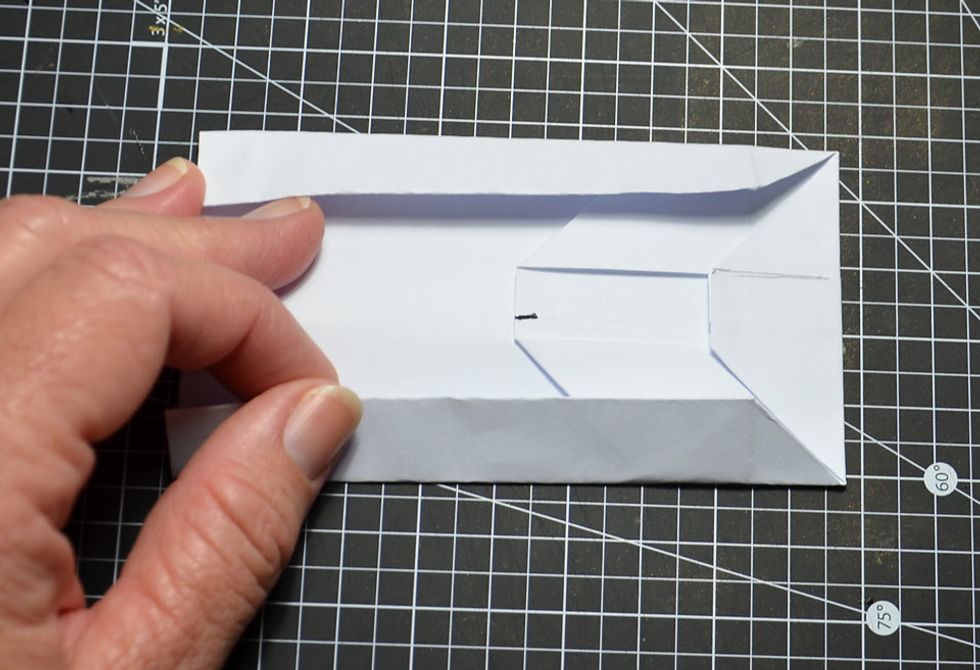
Glue down.
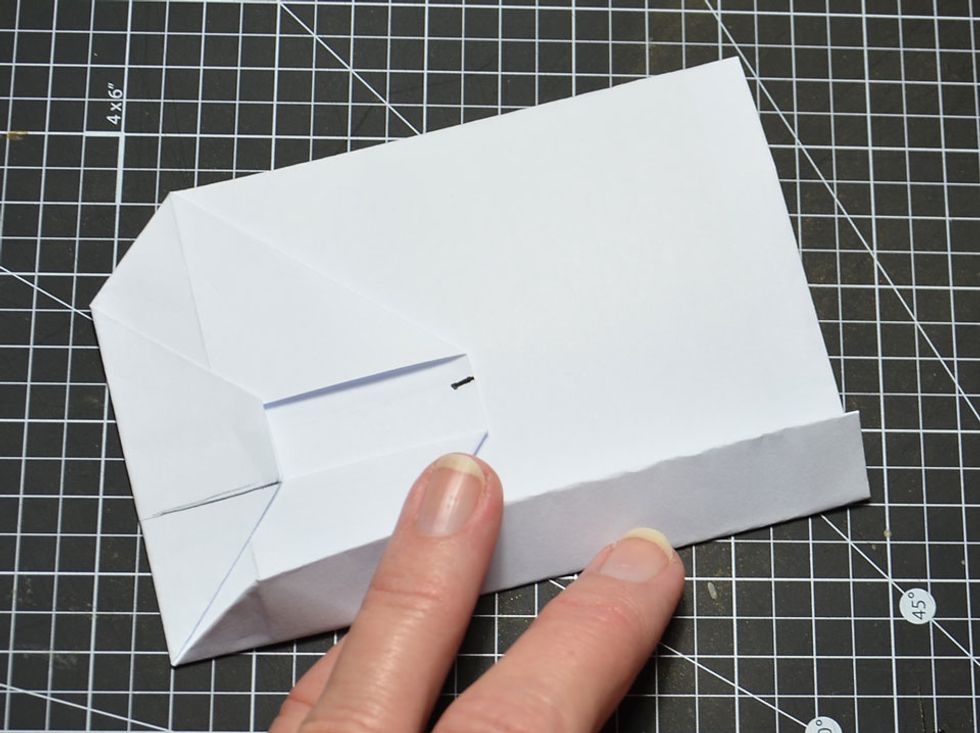
Turn sideways and fold as shown.
Make sure the bottom of the fold lines up to fit nicely with the already folded piece on the bottom as shown.
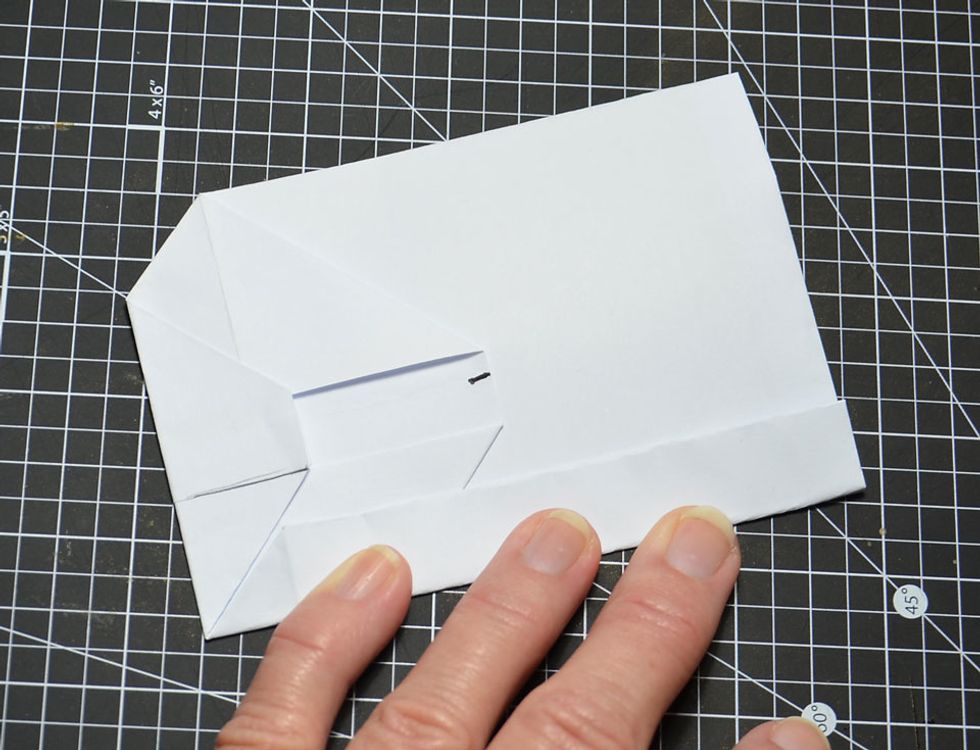
Turn and fold the other side.
Fold out sides.
Now fold the other bottom flap down as shown.
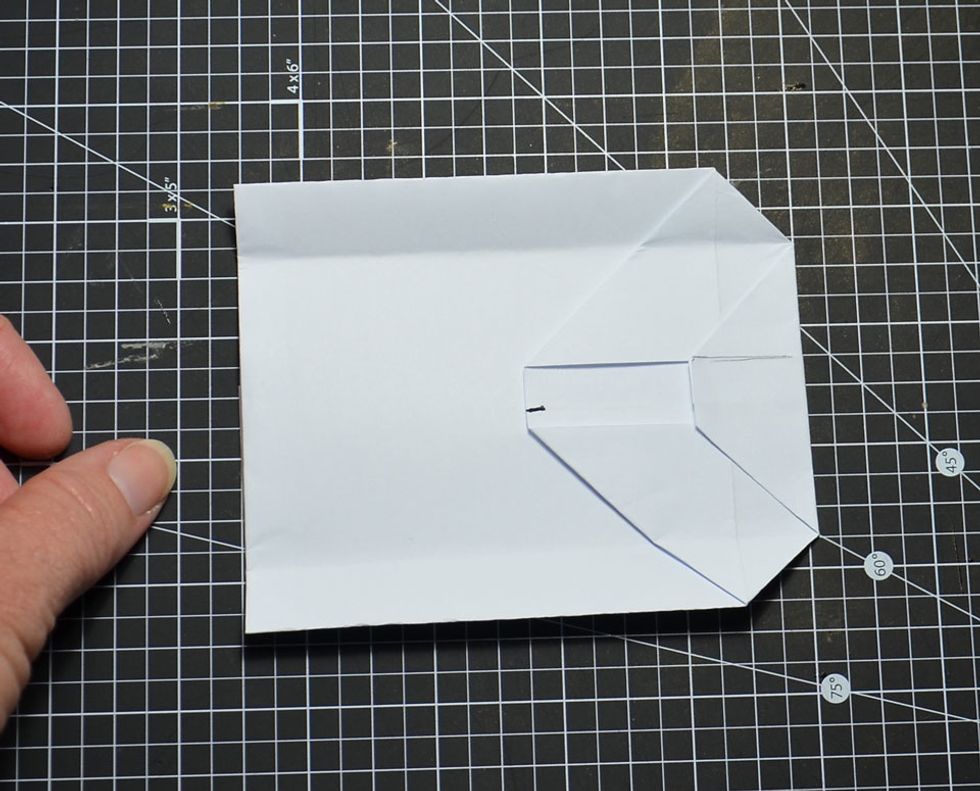
Glue, but only glue in the areas as shown.
It should look like this.
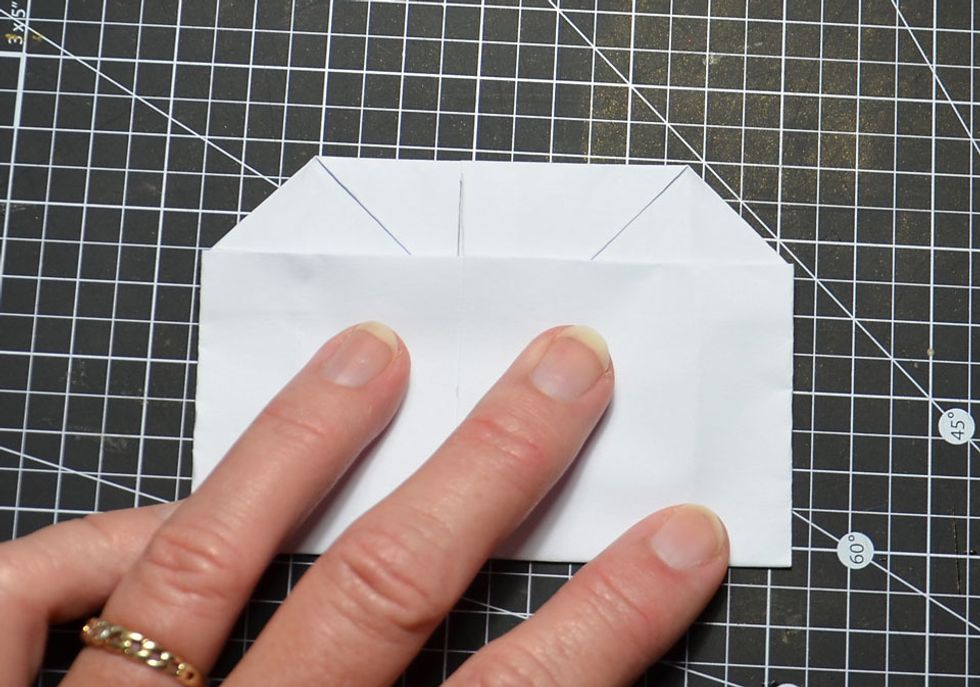
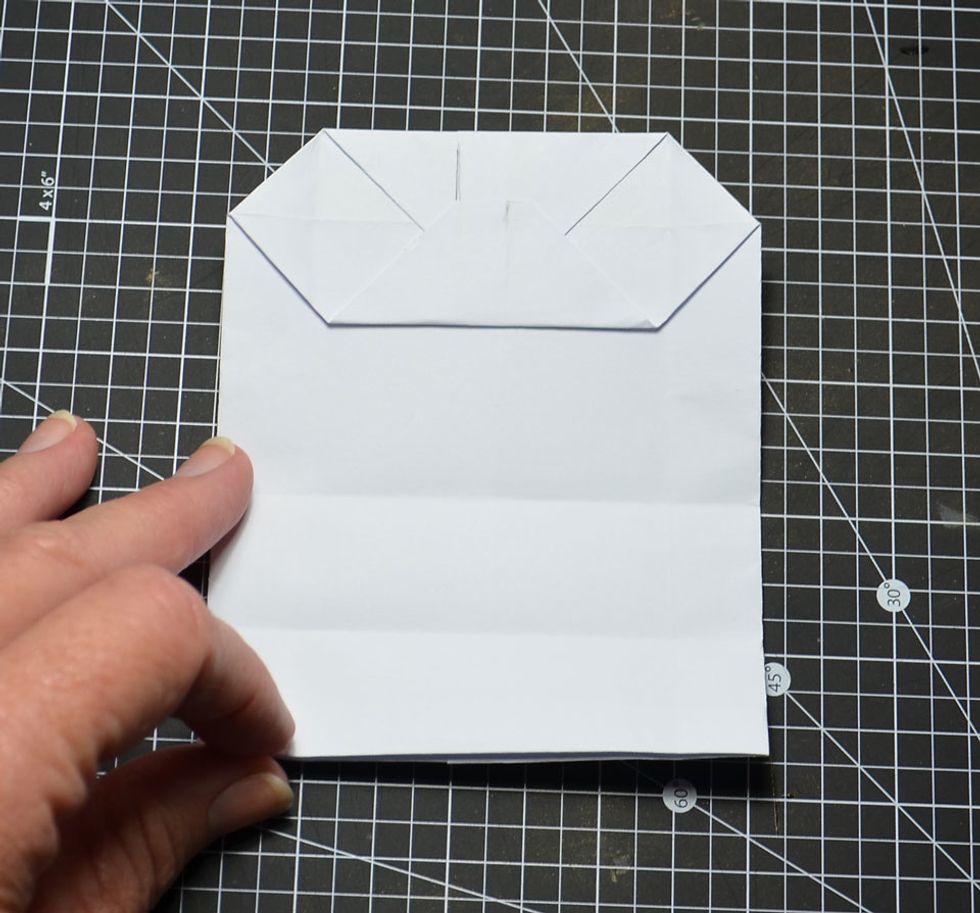
Fold the top of the bag down now to meet the centre of the bottom of the bag as shown.
Like this.
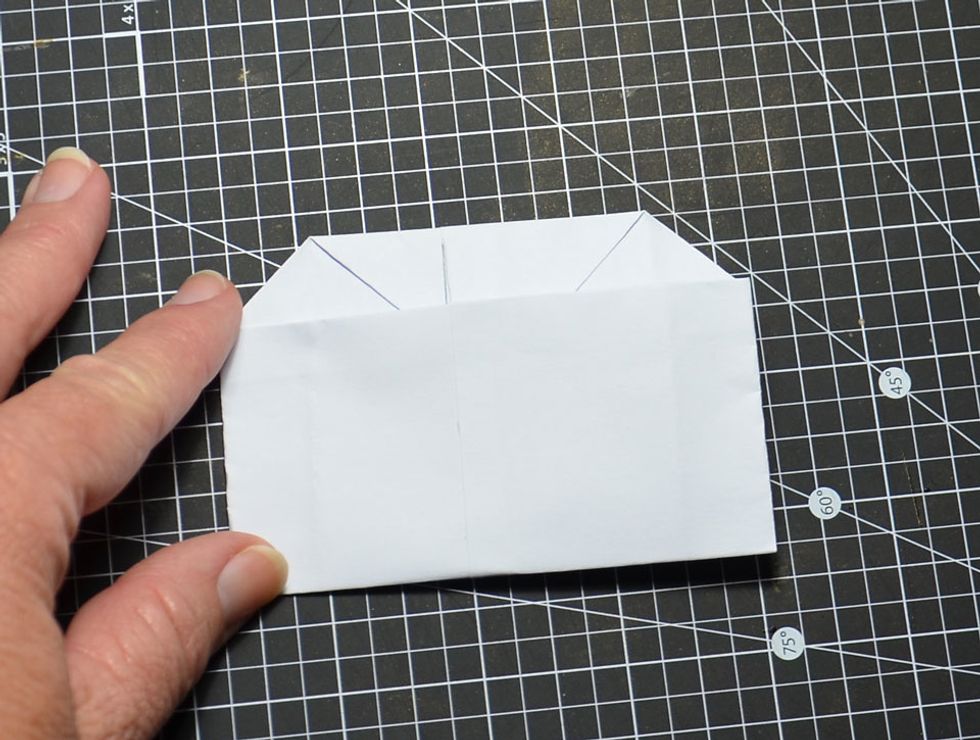
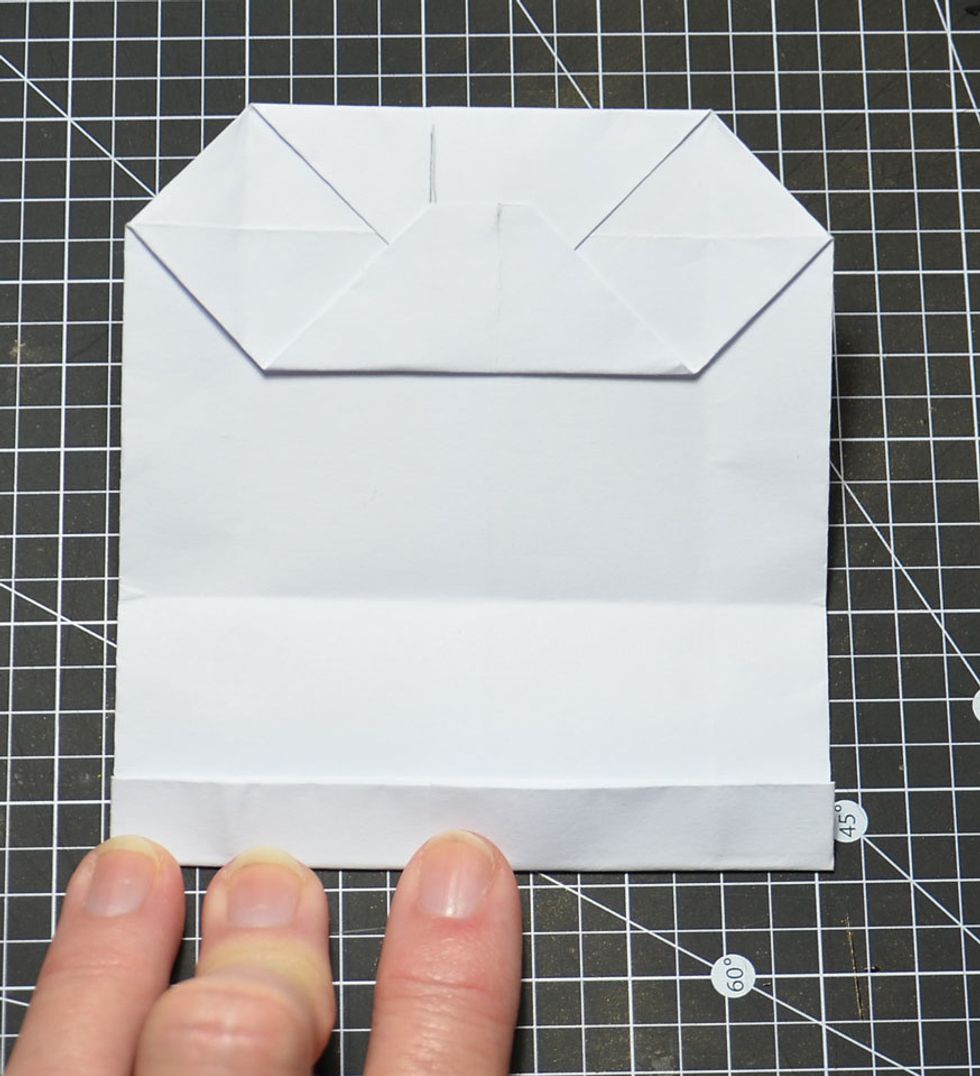
Unfold and the fold the top down to meet the fold you just made as shown.
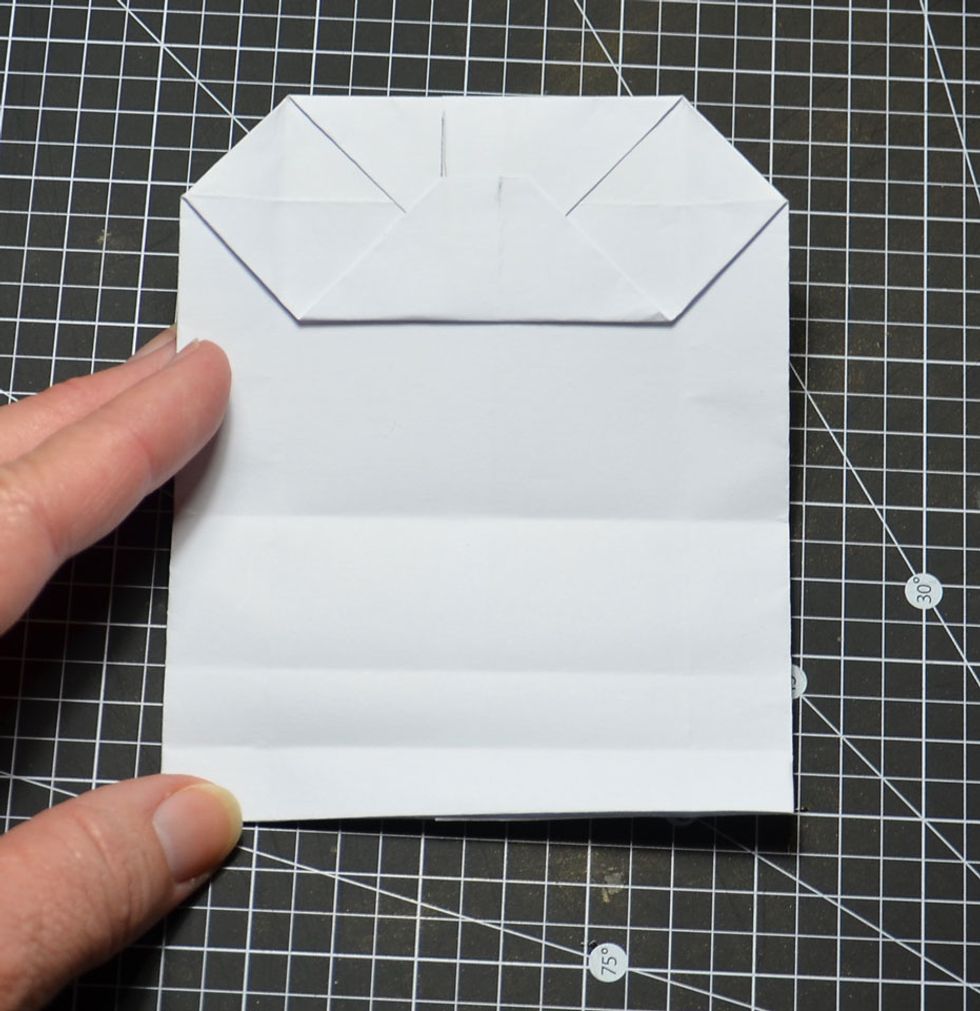
Unfold and it should look like this.
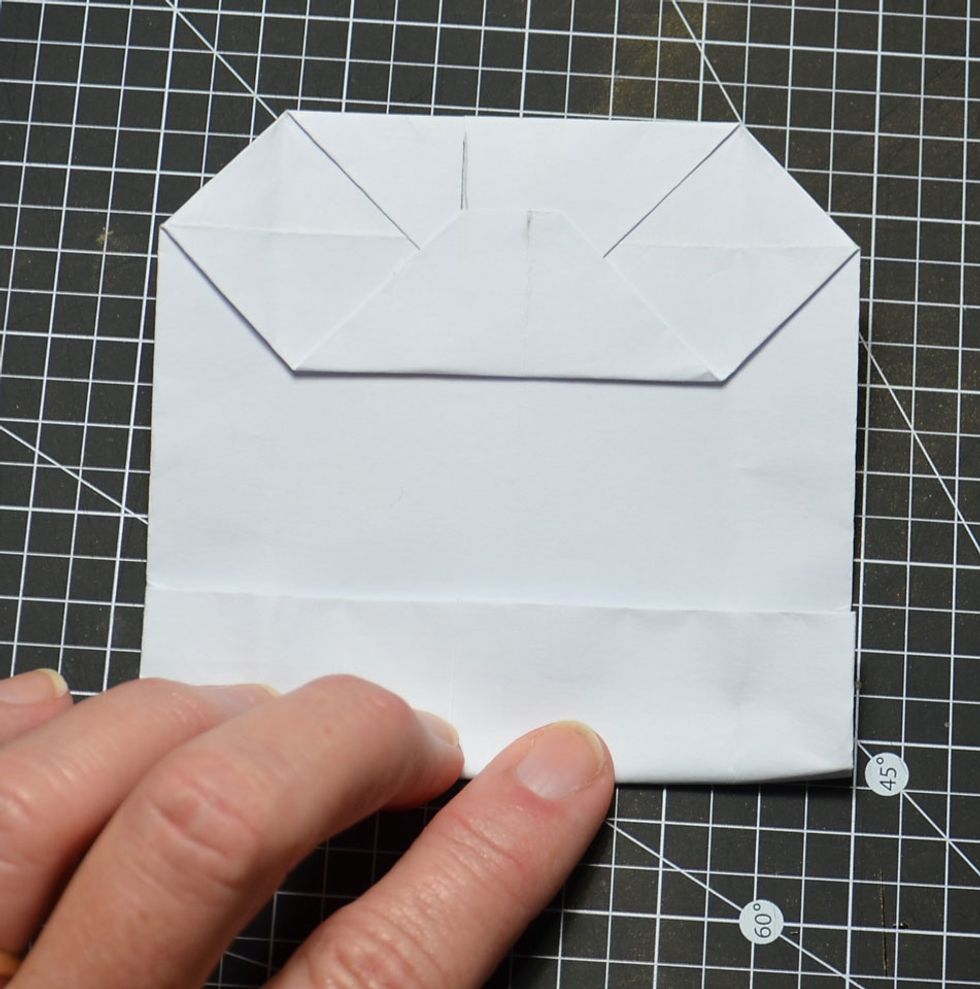
Now fold top down to meet the middle fold line.
Unfold and it should look like this.
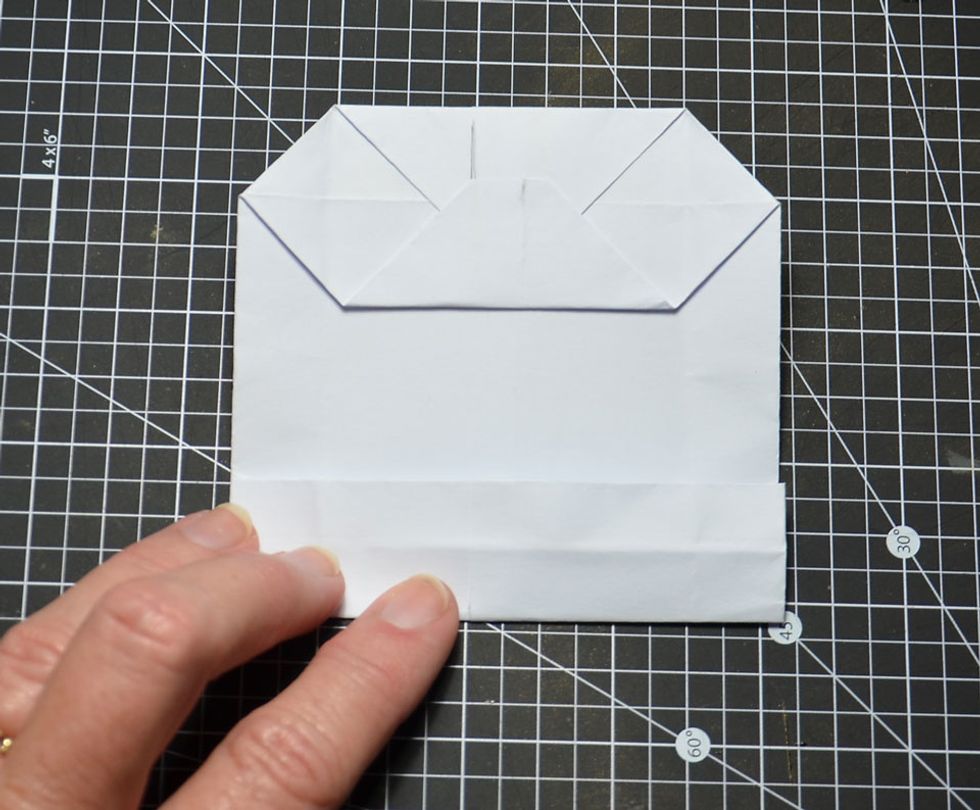
Fold top down to middle fold line again.
Then fold in half again as shown.
Unfold and turn over. It should look like this.
Fold top down to meet first fold line.
Now continue to concertina fold all the way to the last fold line.
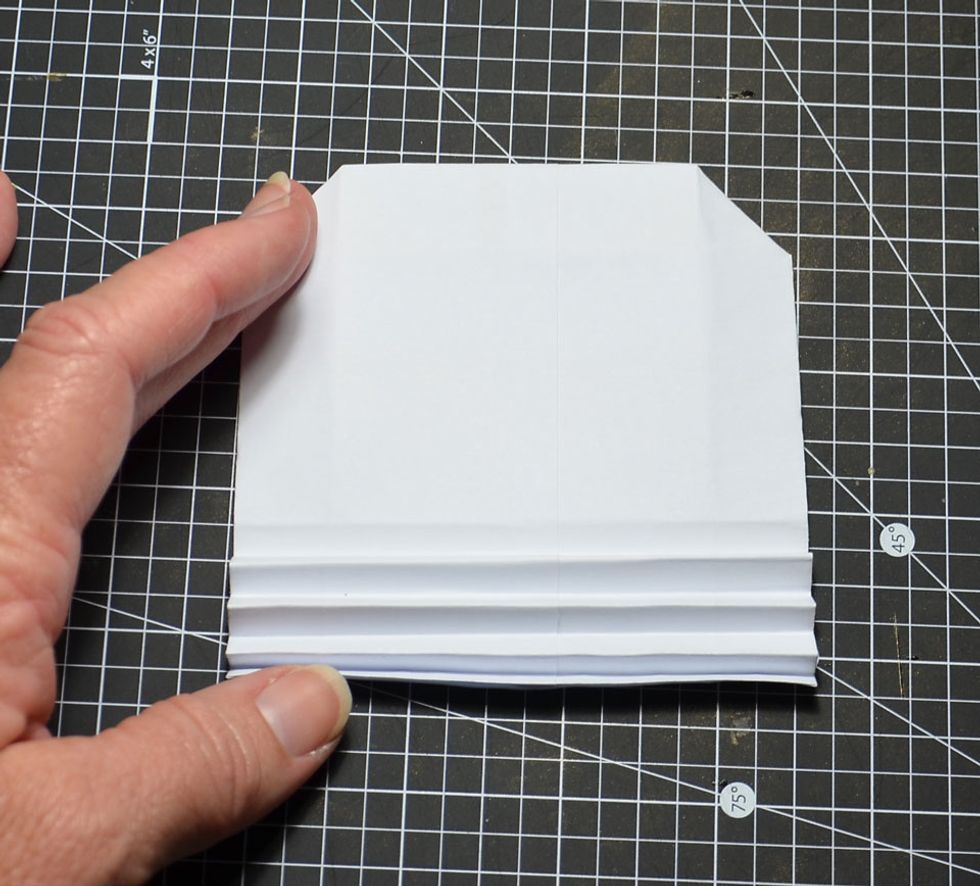
Concertina folding should look like this.
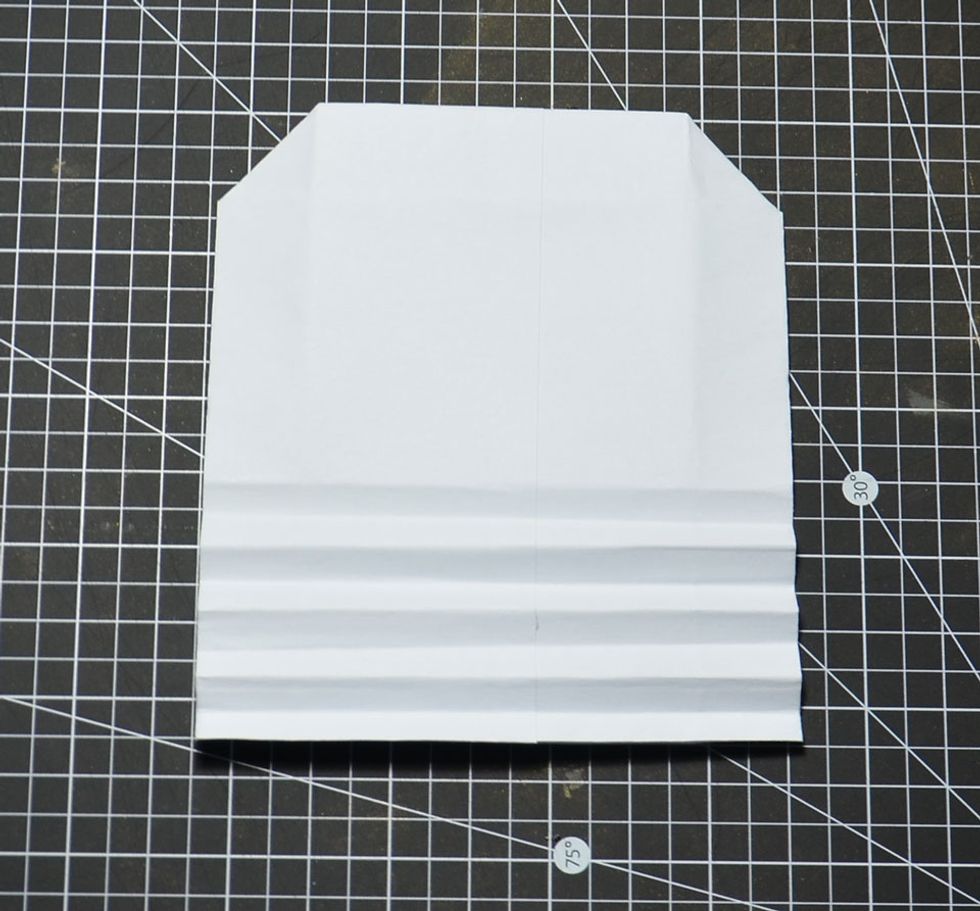
Unfold again.
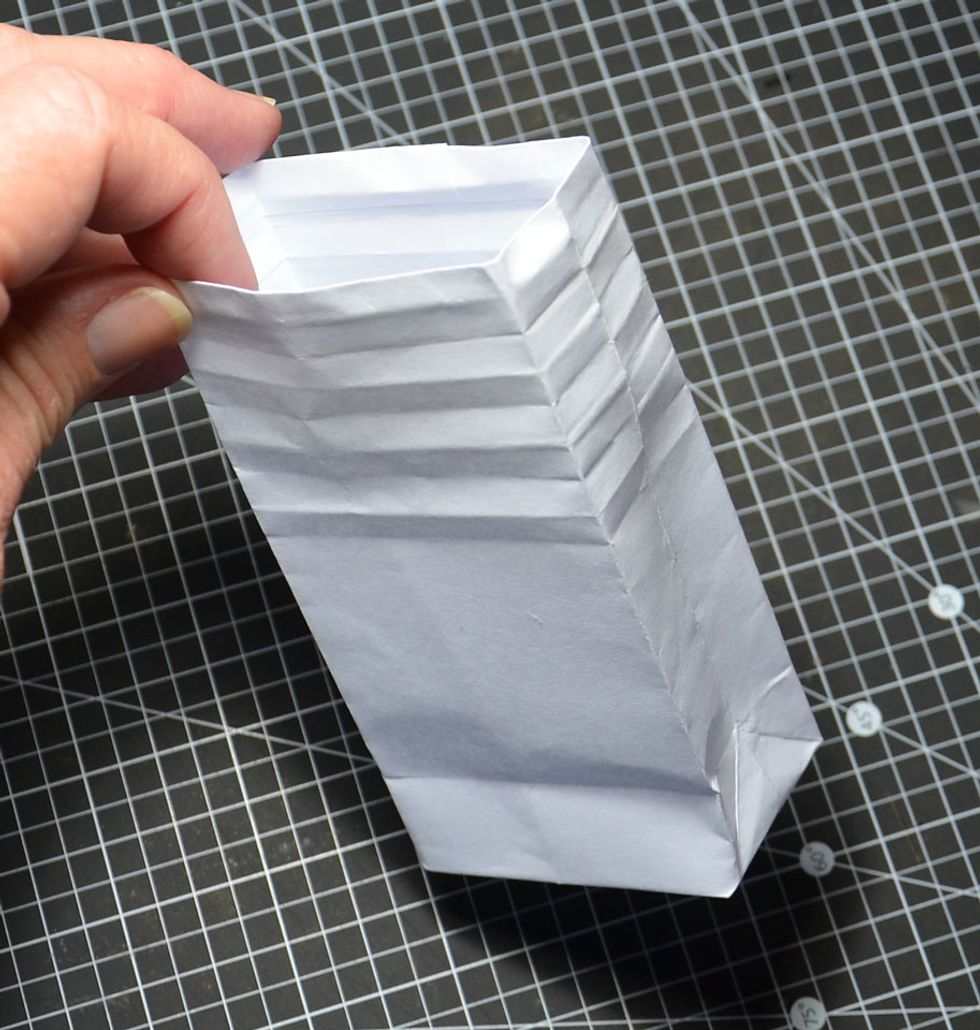
Time to open out the bag.
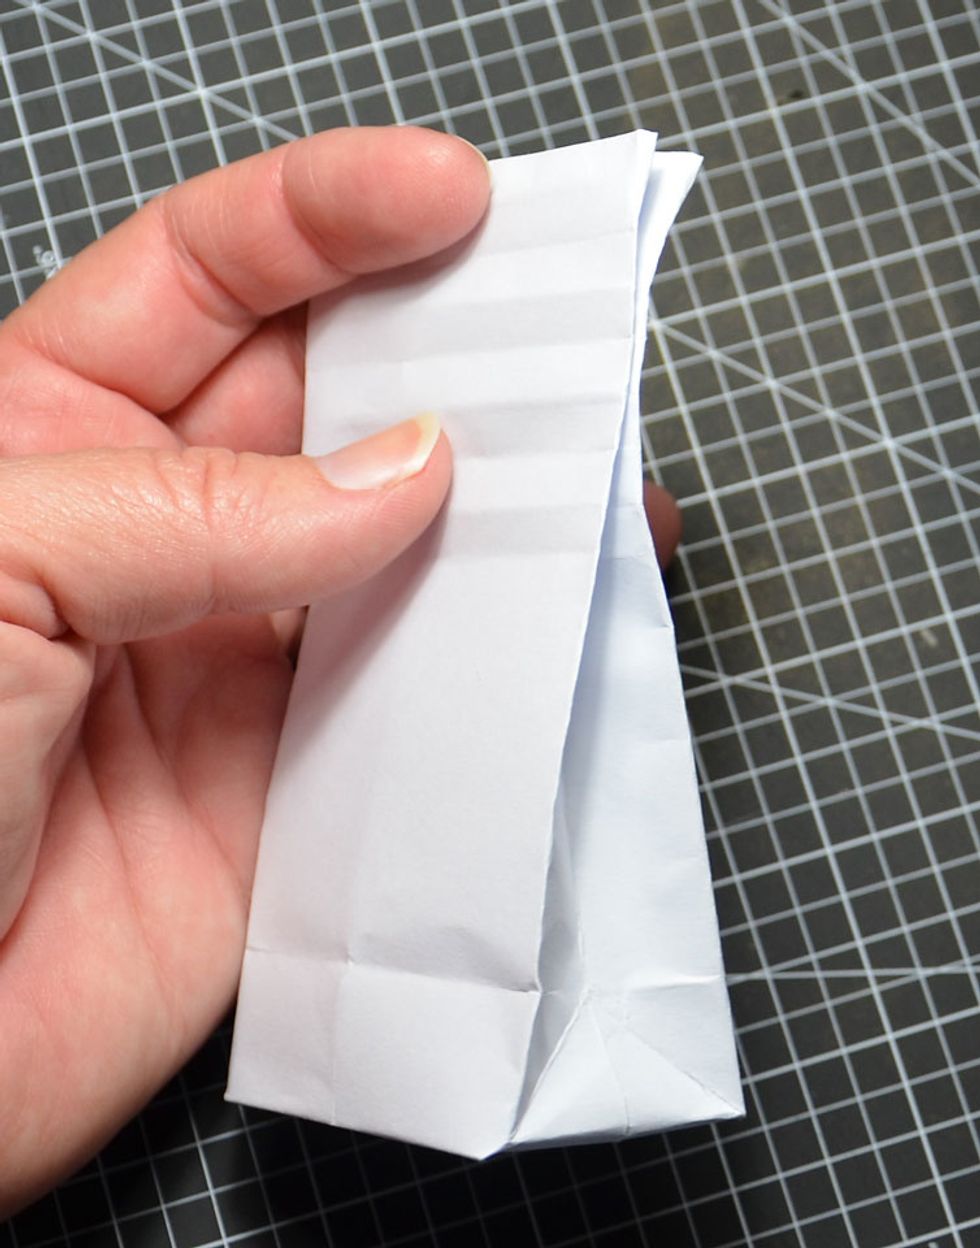
Fill with treats and then fold in the top of the bag as shown.
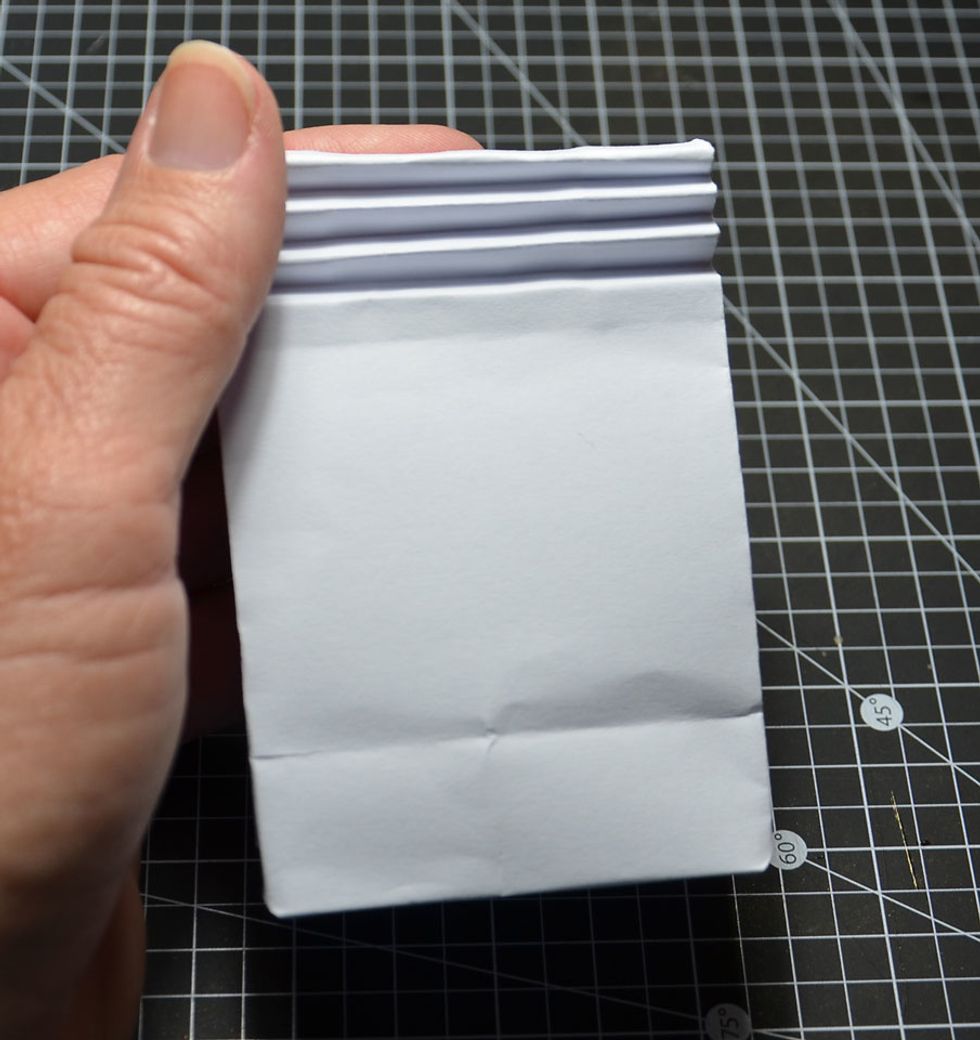
Fold along the fold lines again.
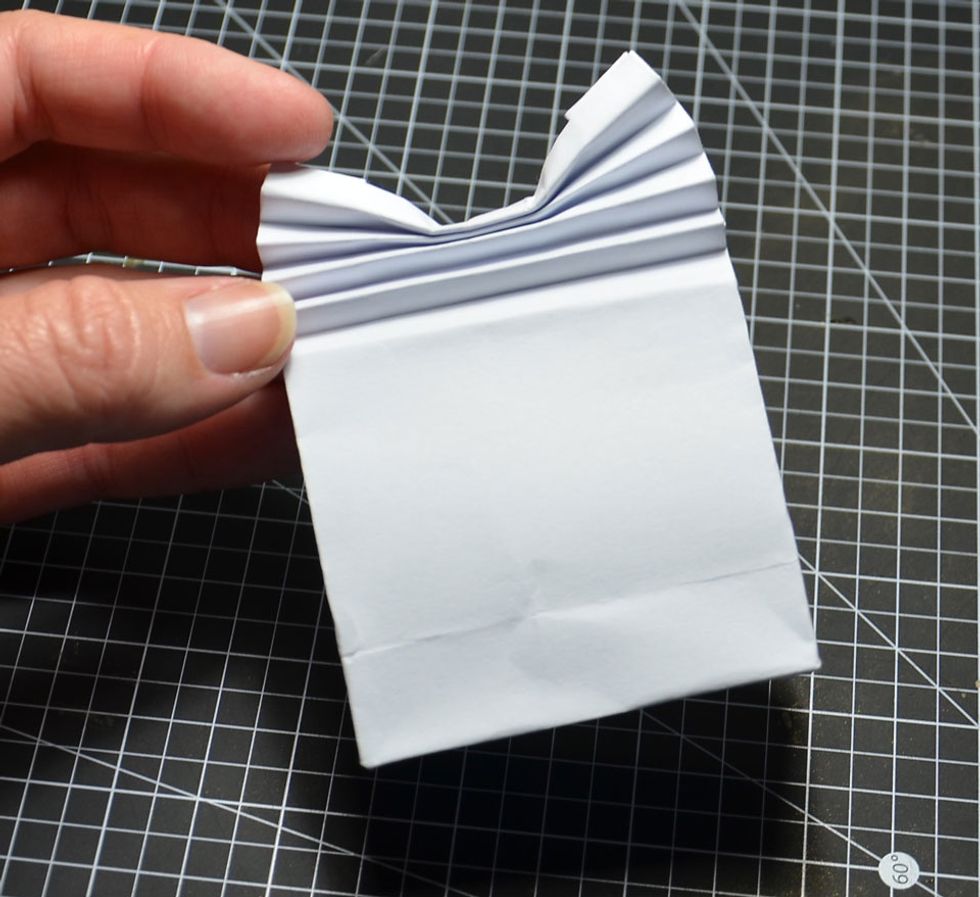
Then push down in the centre as shown. This will allow for a fan type of effect.
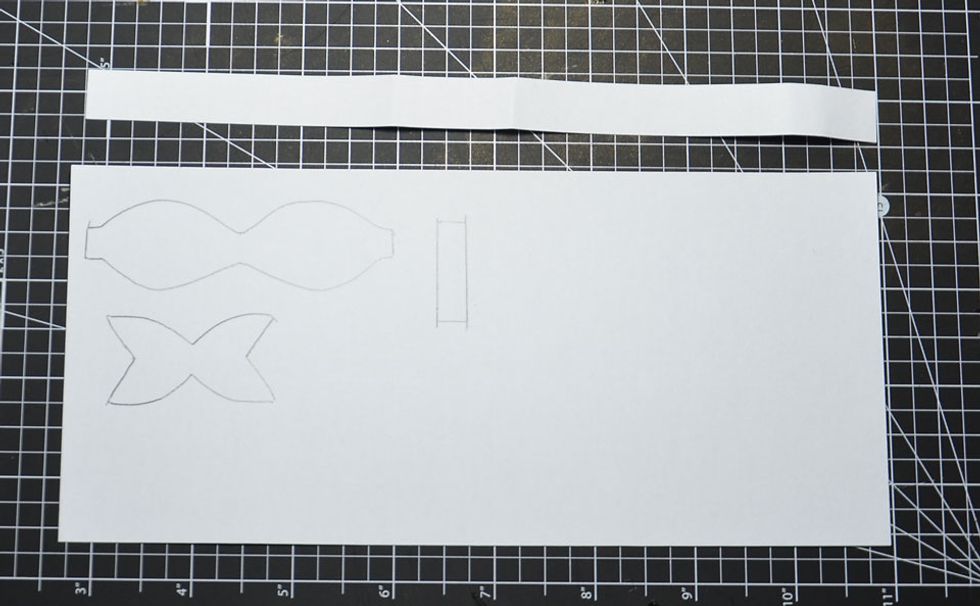
My paper bow pattern.
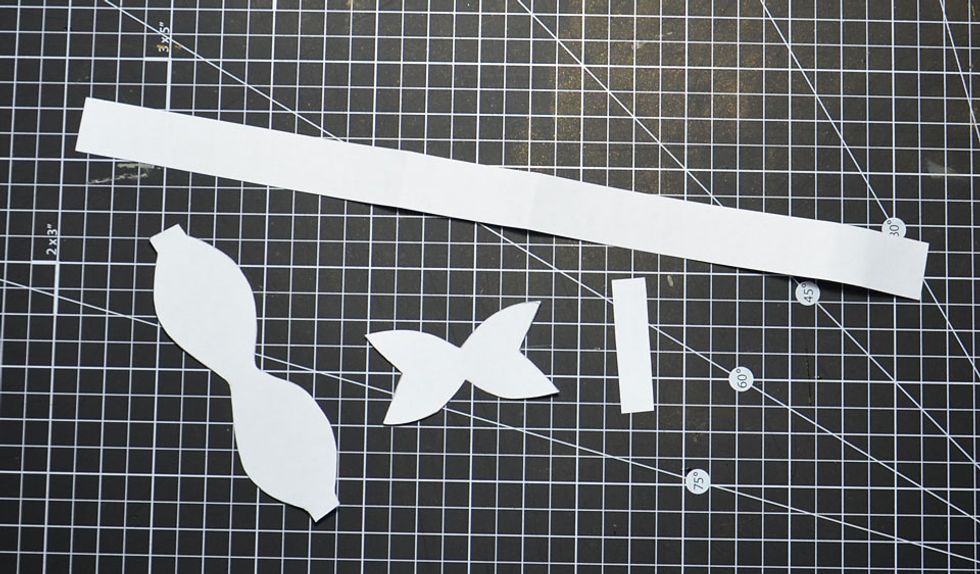
Cut out the paper bow pieces and you will need a strip of paper 1cm wide and long enough to fold around the bag.

Fold bow piece as shown and glue.
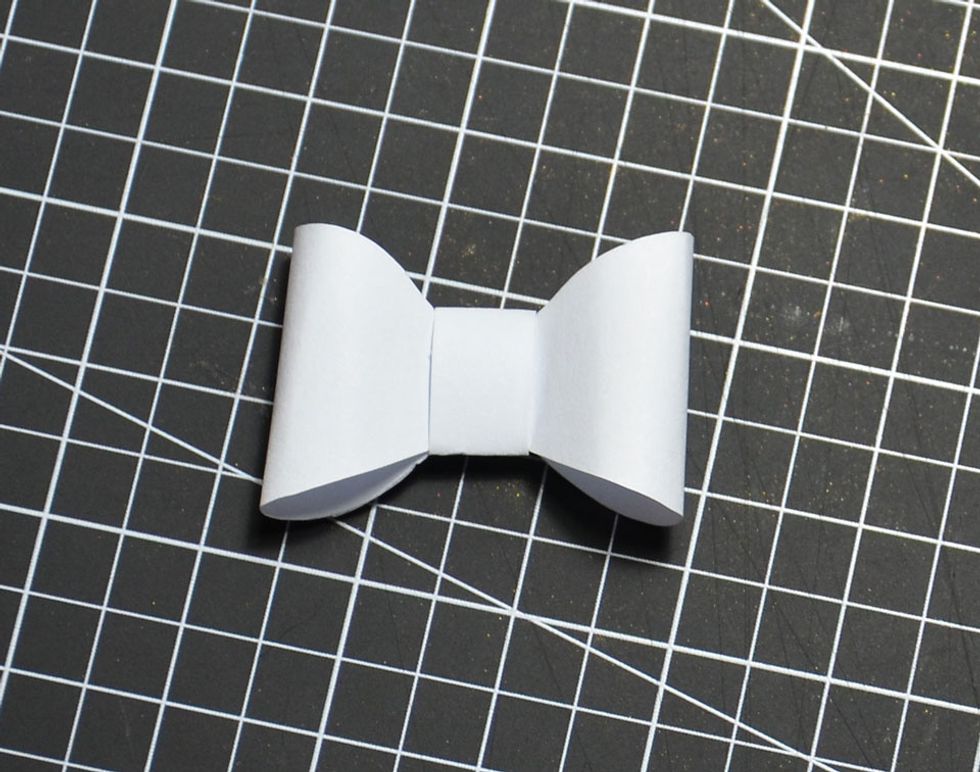
Fold around centre bow piece and glue.
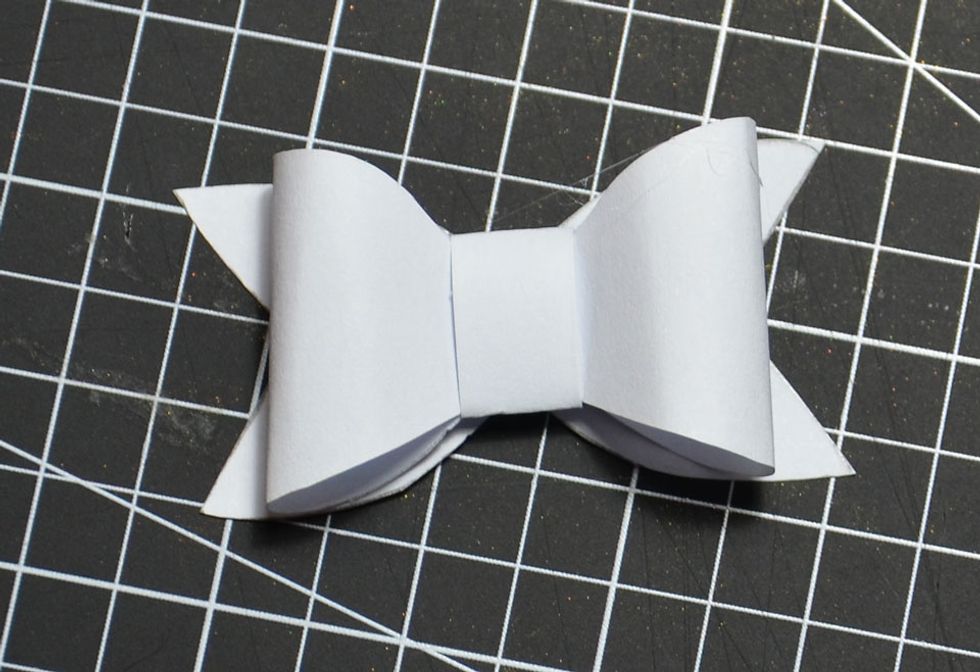
Attach bow backing.
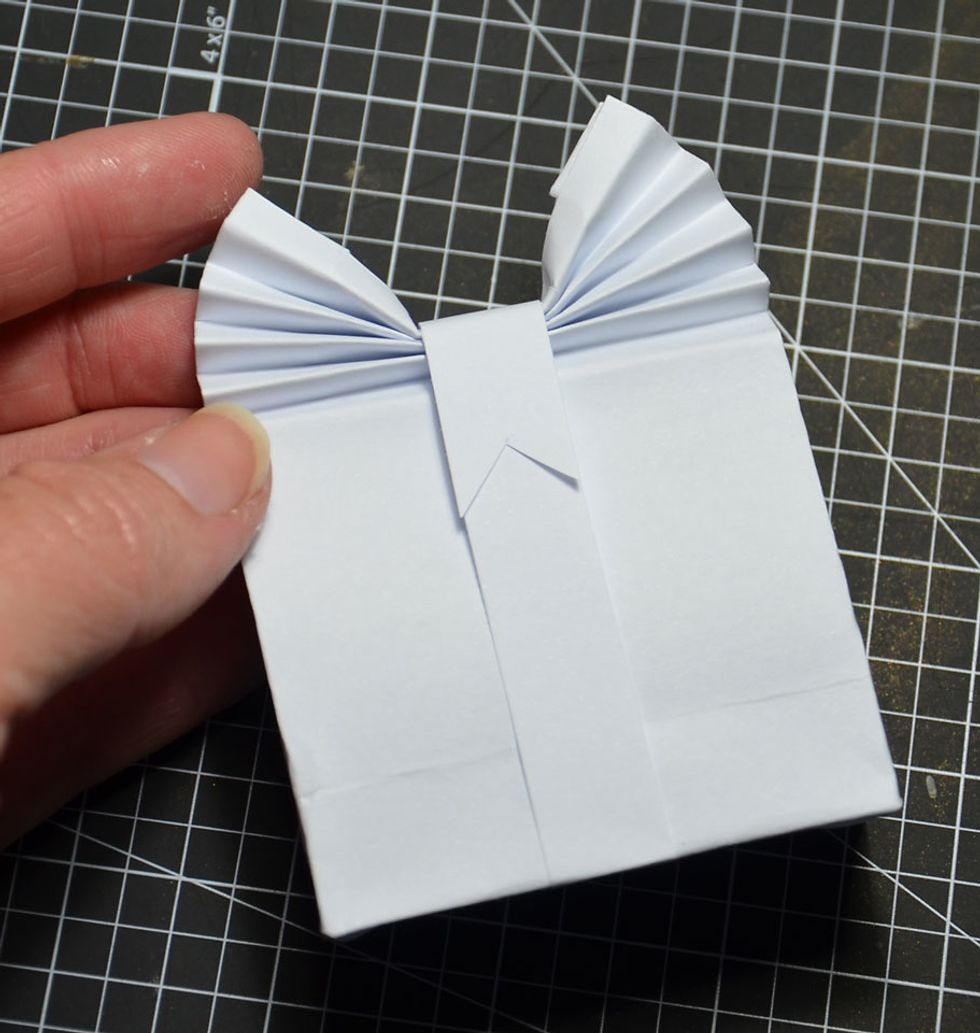
Fold paper strip around bag as shown and glue.
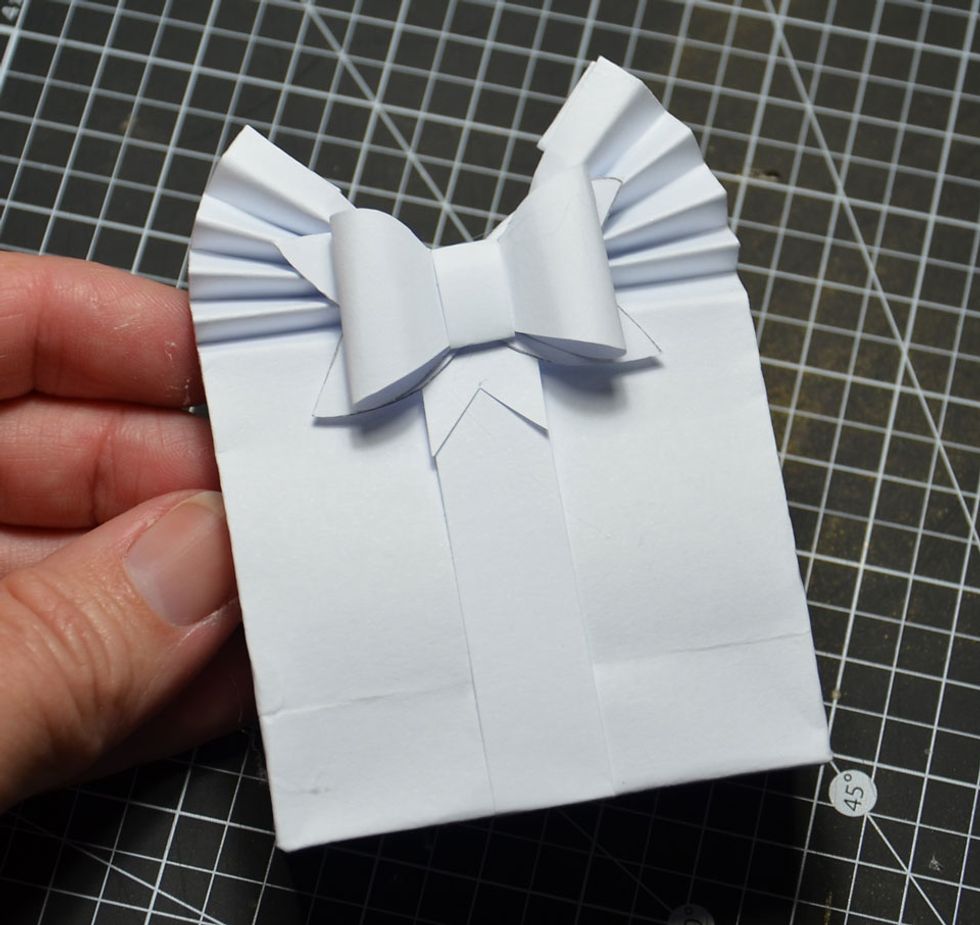
Attach paper bow.
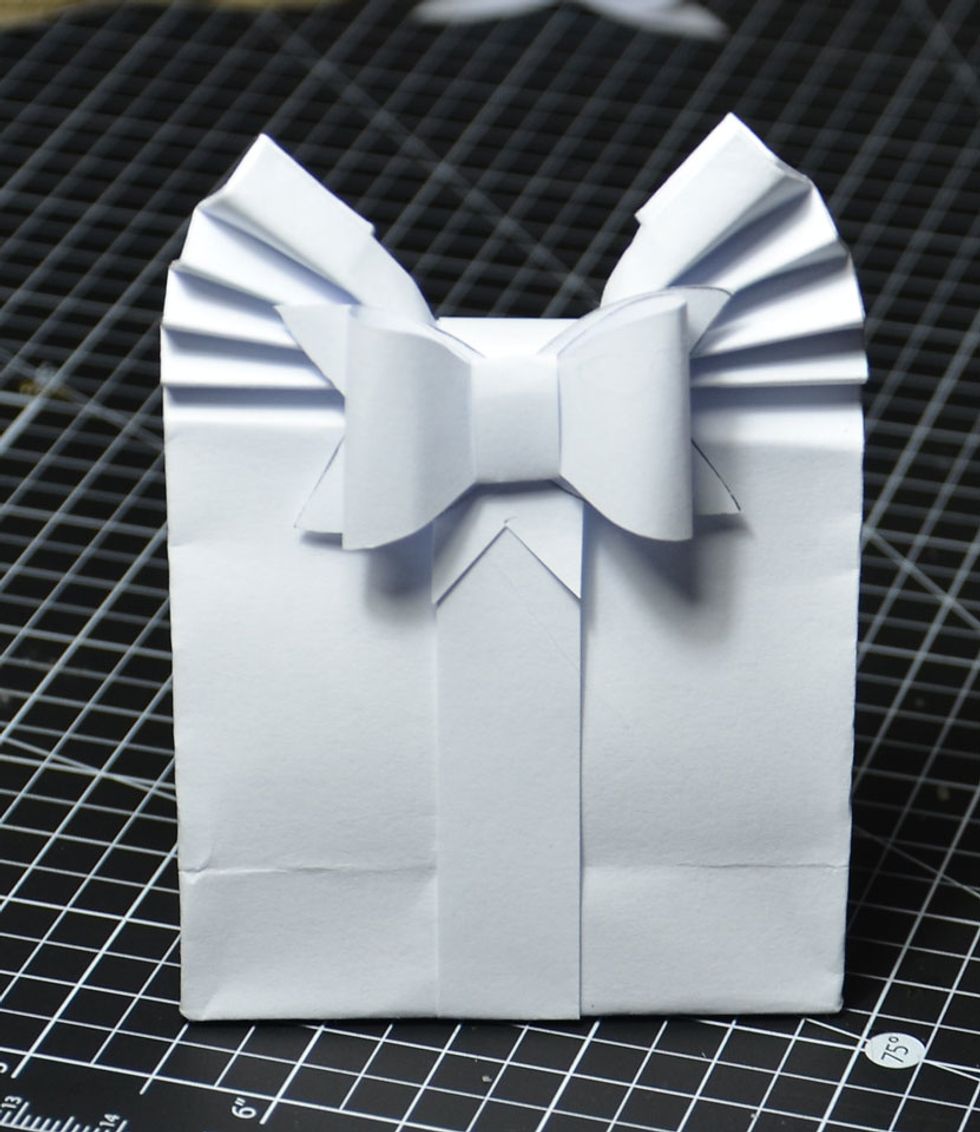
The party favor is now complete and how cute does it look?
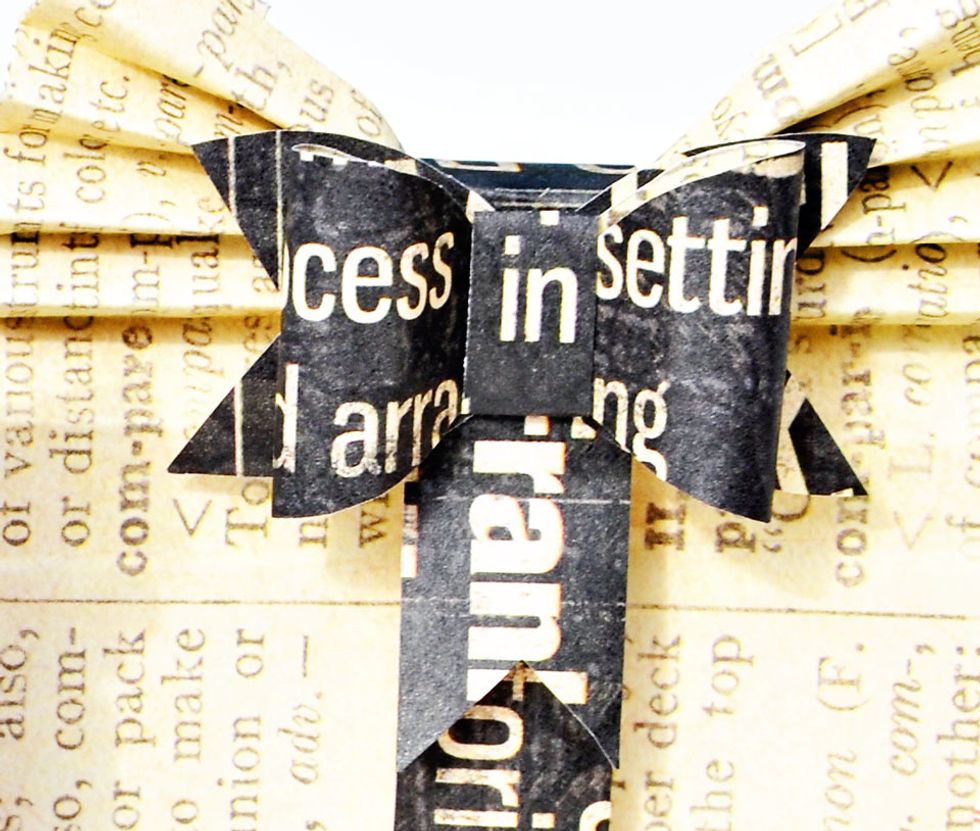
Close up of my bow.
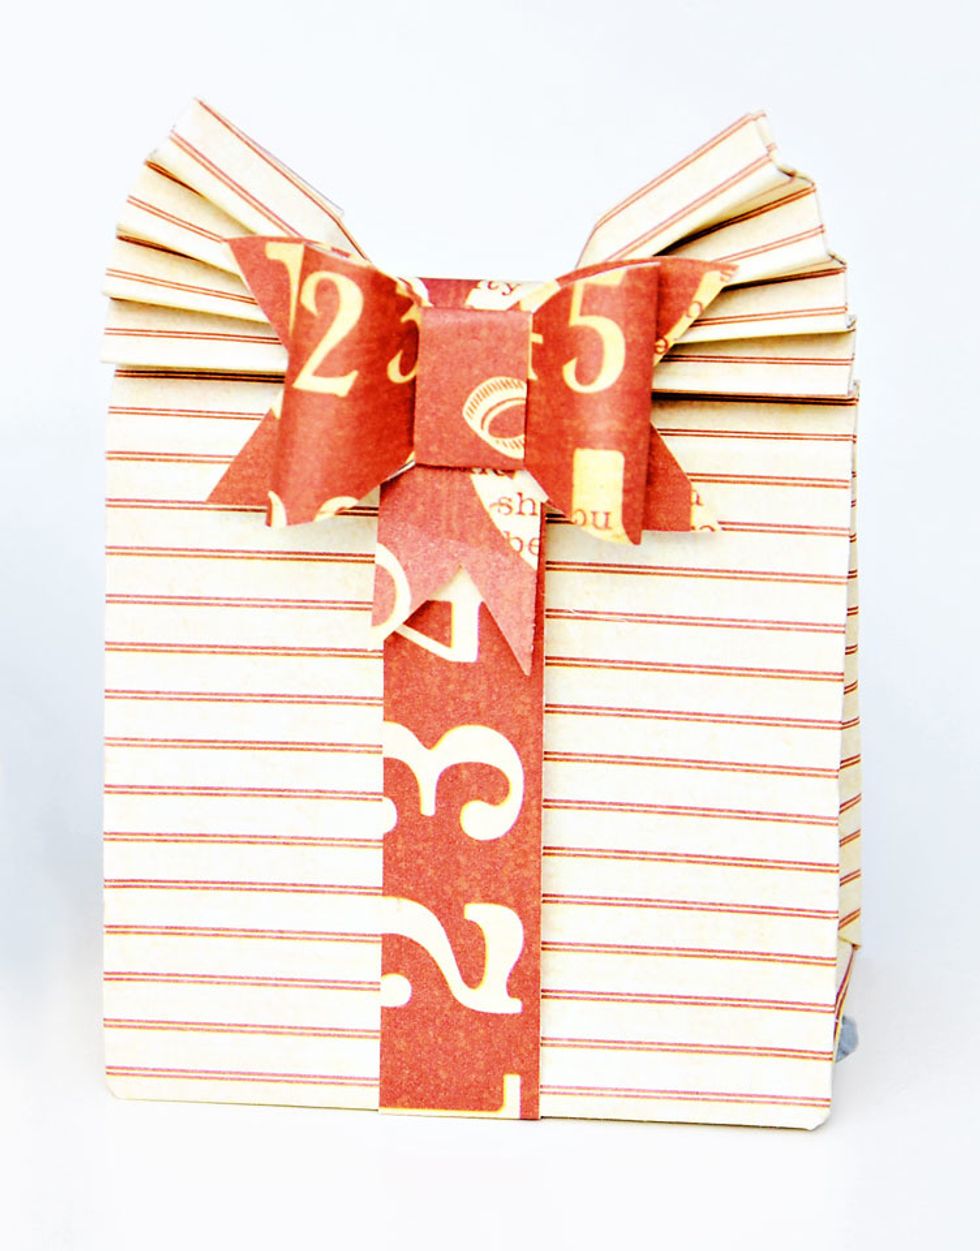
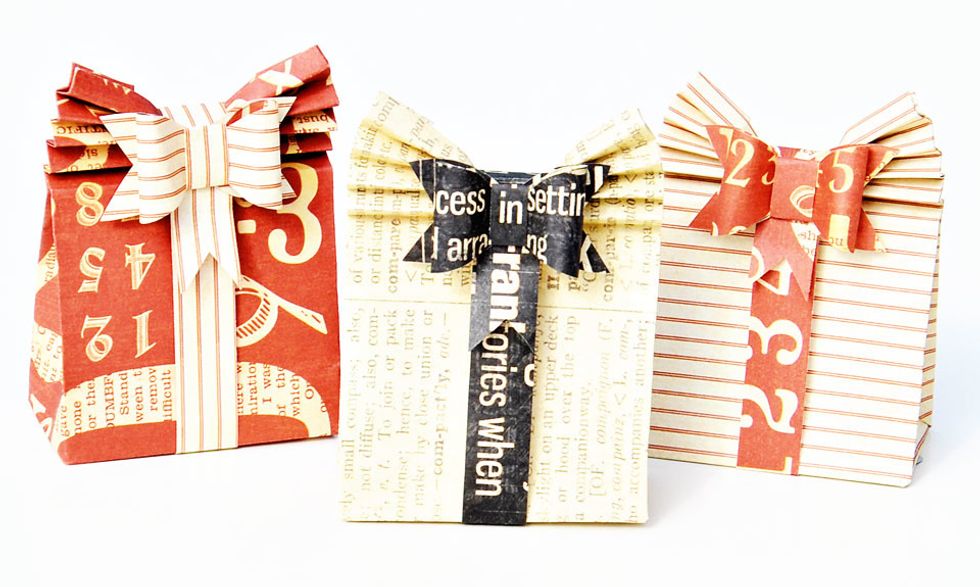
My finished party favor created with Graphic 45 DIY Craft Paper.
Thank you for viewing my tutorial. Joanne Bain - scrappinforme.blogspot.com.au/