The Conversation (0)
Sign Up
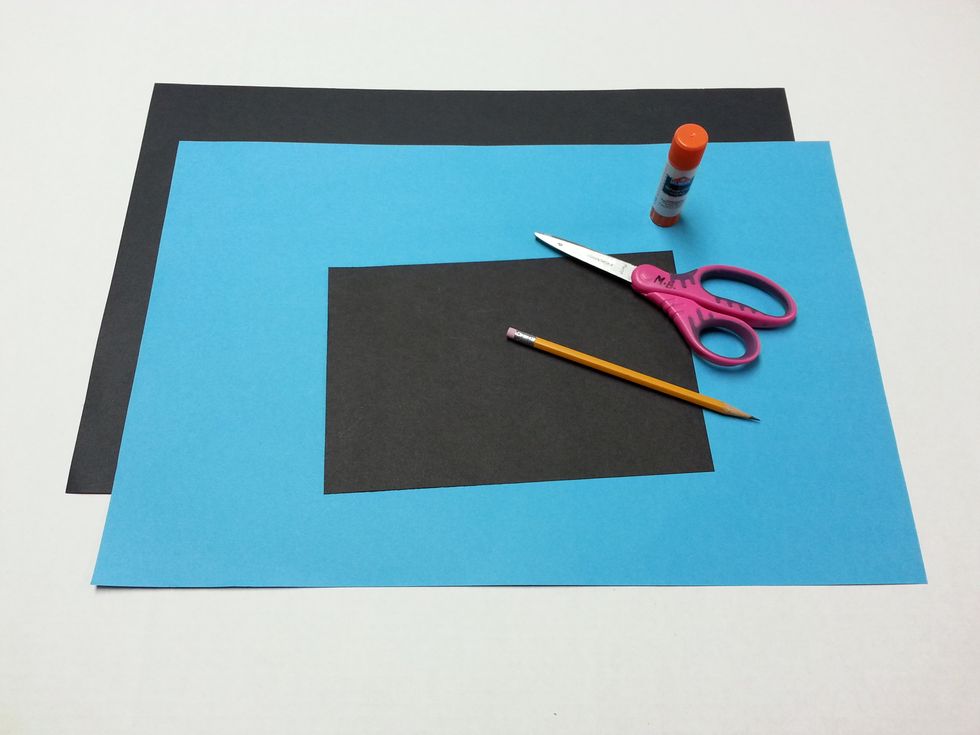
Gather supplies.
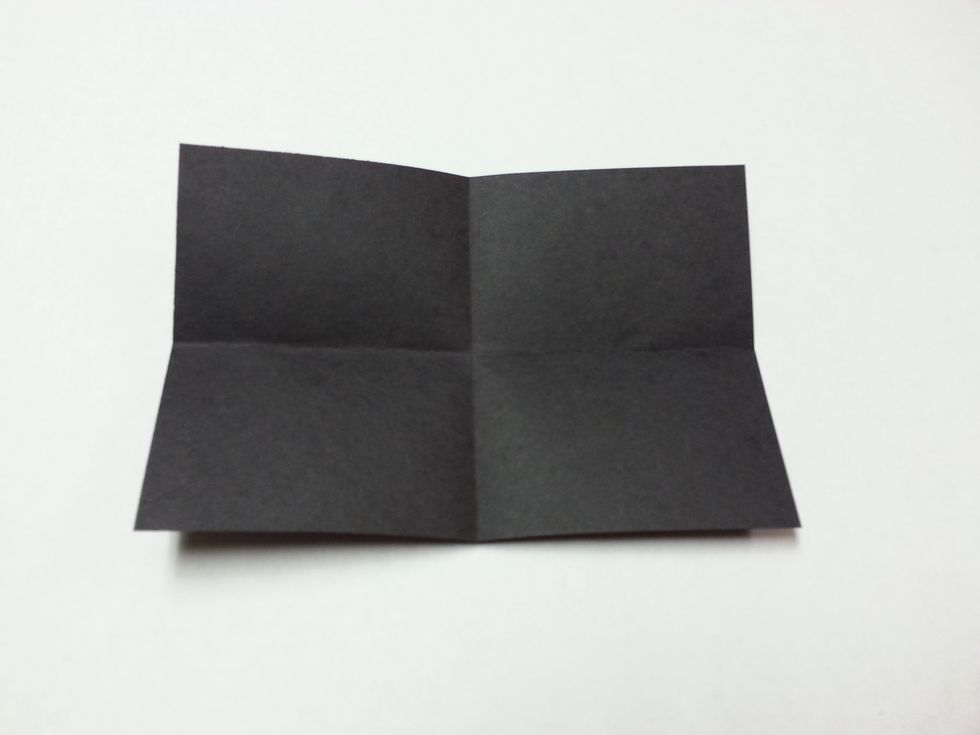
Fold the black rectangle into fourths. (Fold in half, and then in half again. You should have 4 equal sections.)

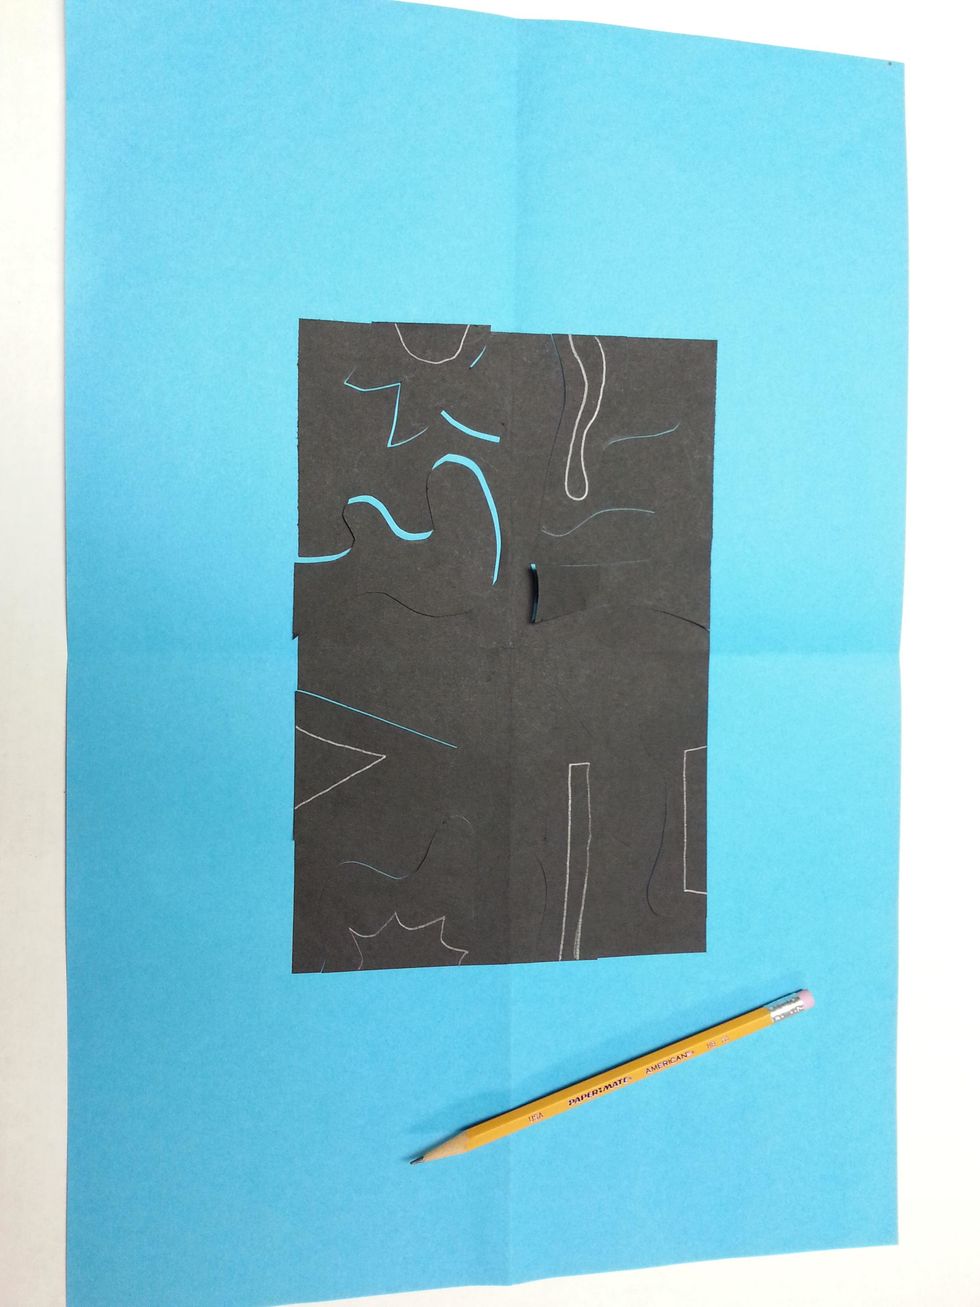
Draw 2 interesting shapes (geometric or freeform) in each of the four sections. Draw them along the edge of the paper. Each shape must start and end on the same edge.
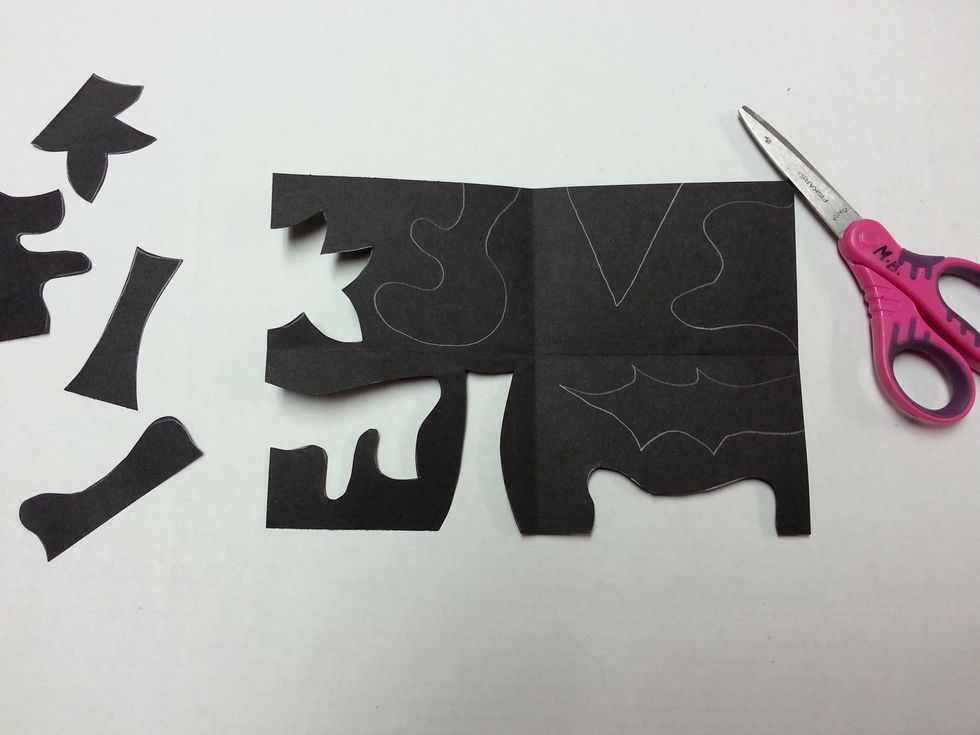
Cut out shapes. Keep ALL pieces! Set them aside.
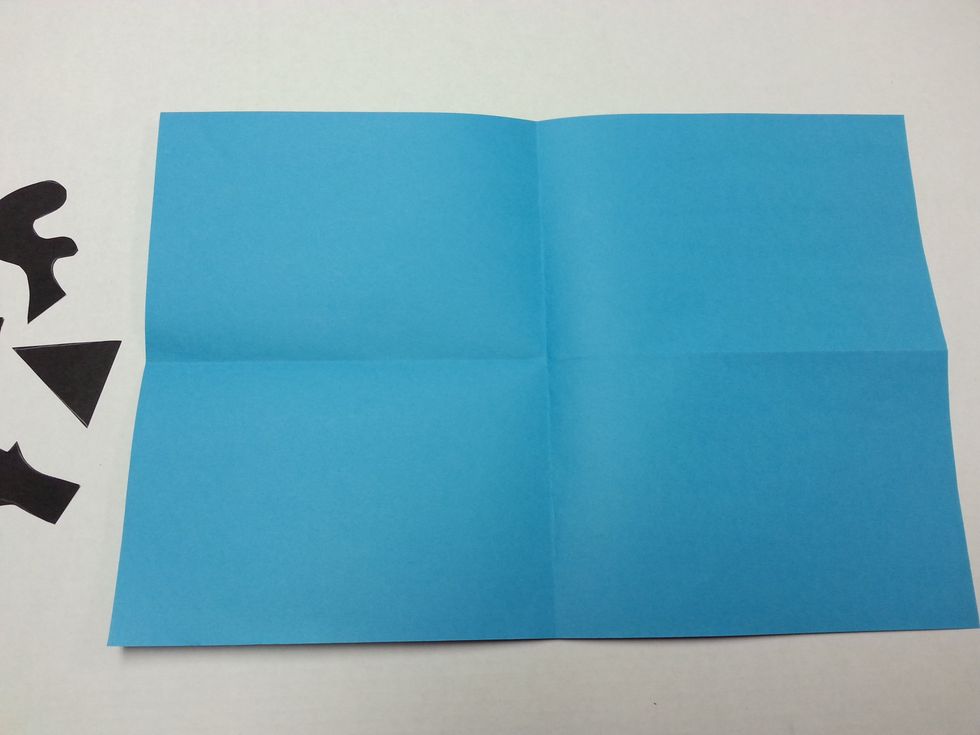
Fold the colored paper into fourths. (Fold in half, and then in half again. You should have four equal sections.)
Line up the folds on the black rectangle with the folds on the colored paper. (This will help you center the black rectangle on the colored paper.)
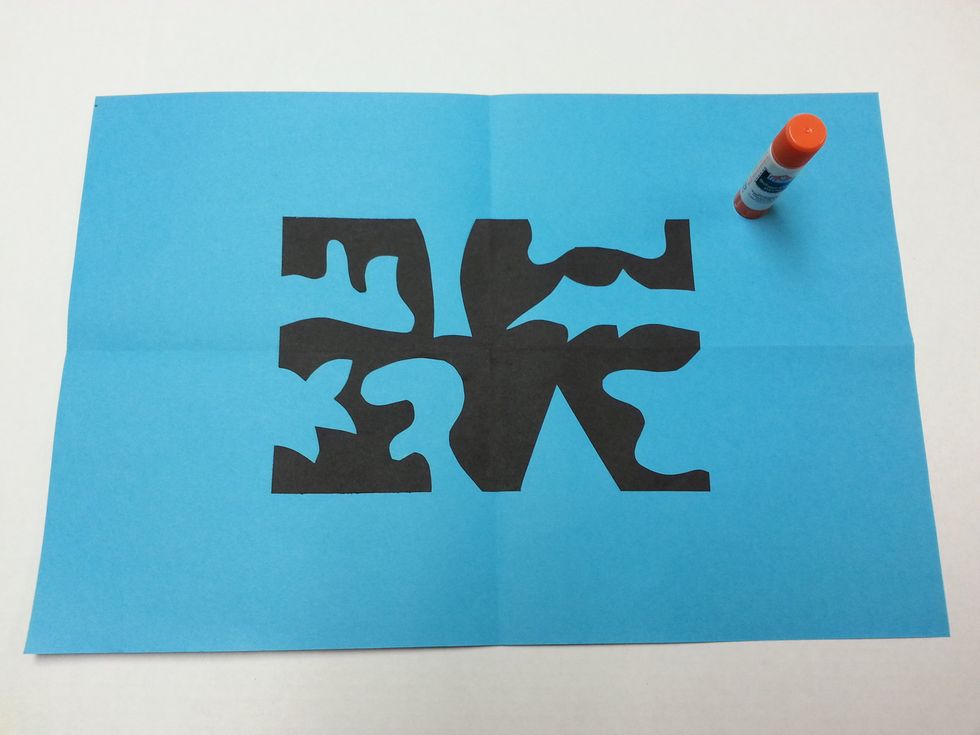
Glue the black rectangle onto the colored paper.

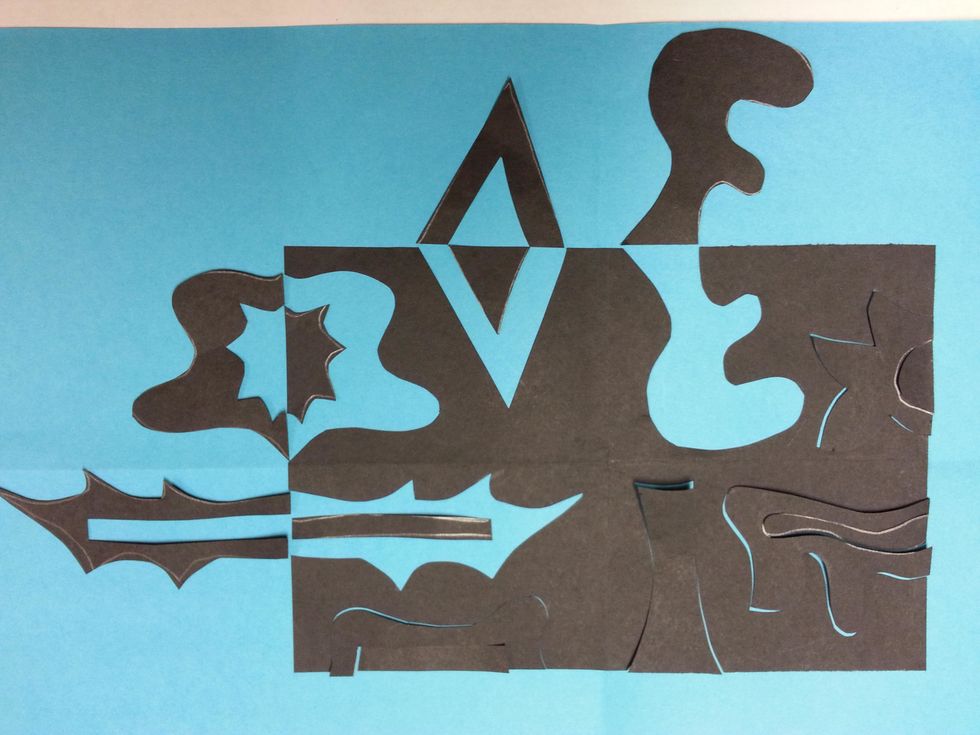
Fit the cut-out shapes back into their original places like a puzzle. Don't glue yet!
Make your design more interesting! Pick at least 4 of the bigger shapes. Draw a smaller shape inside, making sure to start and end the new shape on the straight edge of the paper.
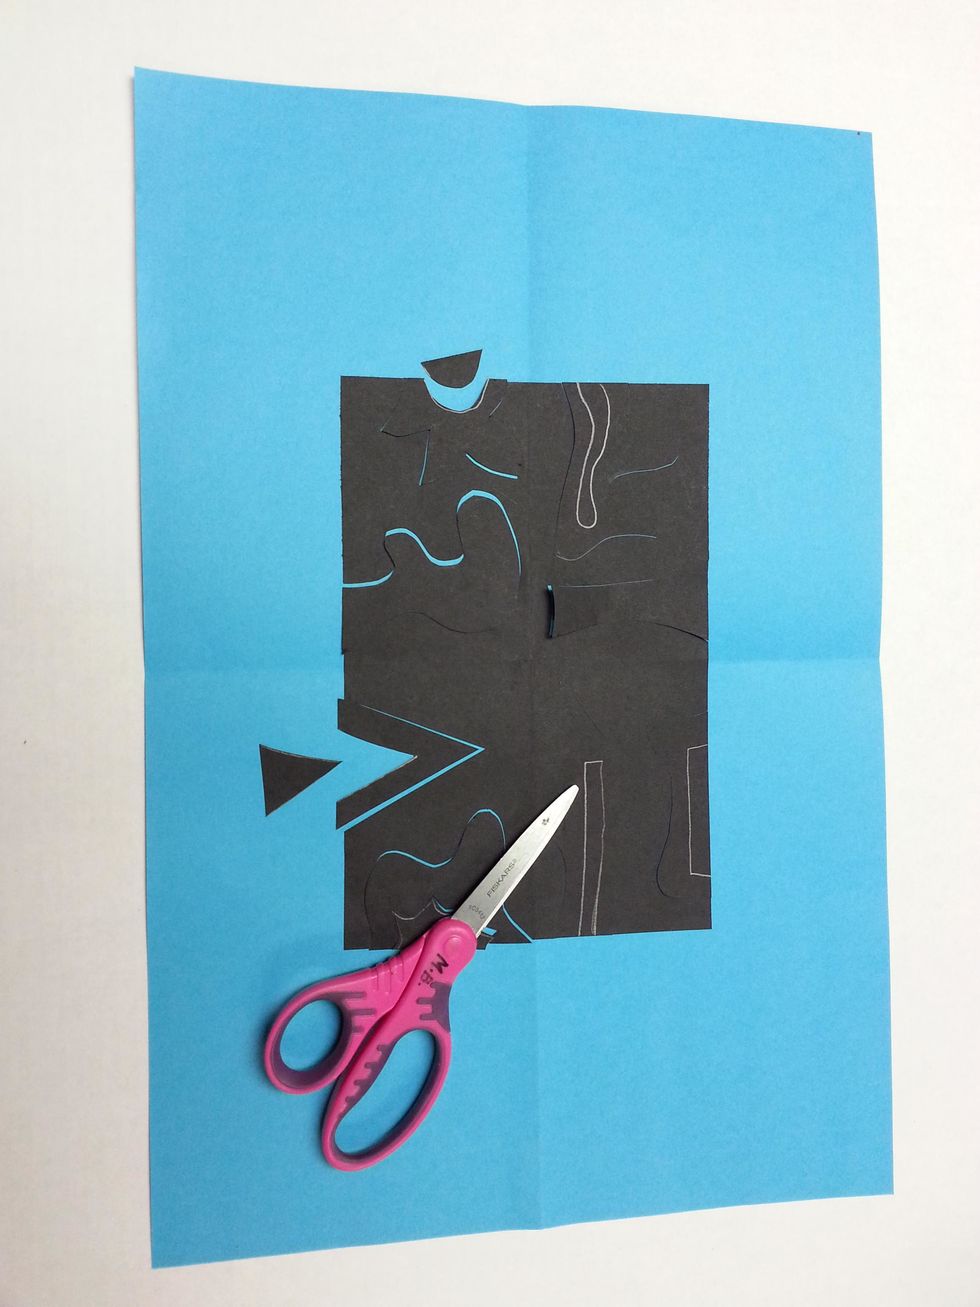
Cut out the smaller shapes. Keep ALL pieces. Put the rest of the puzzle together.
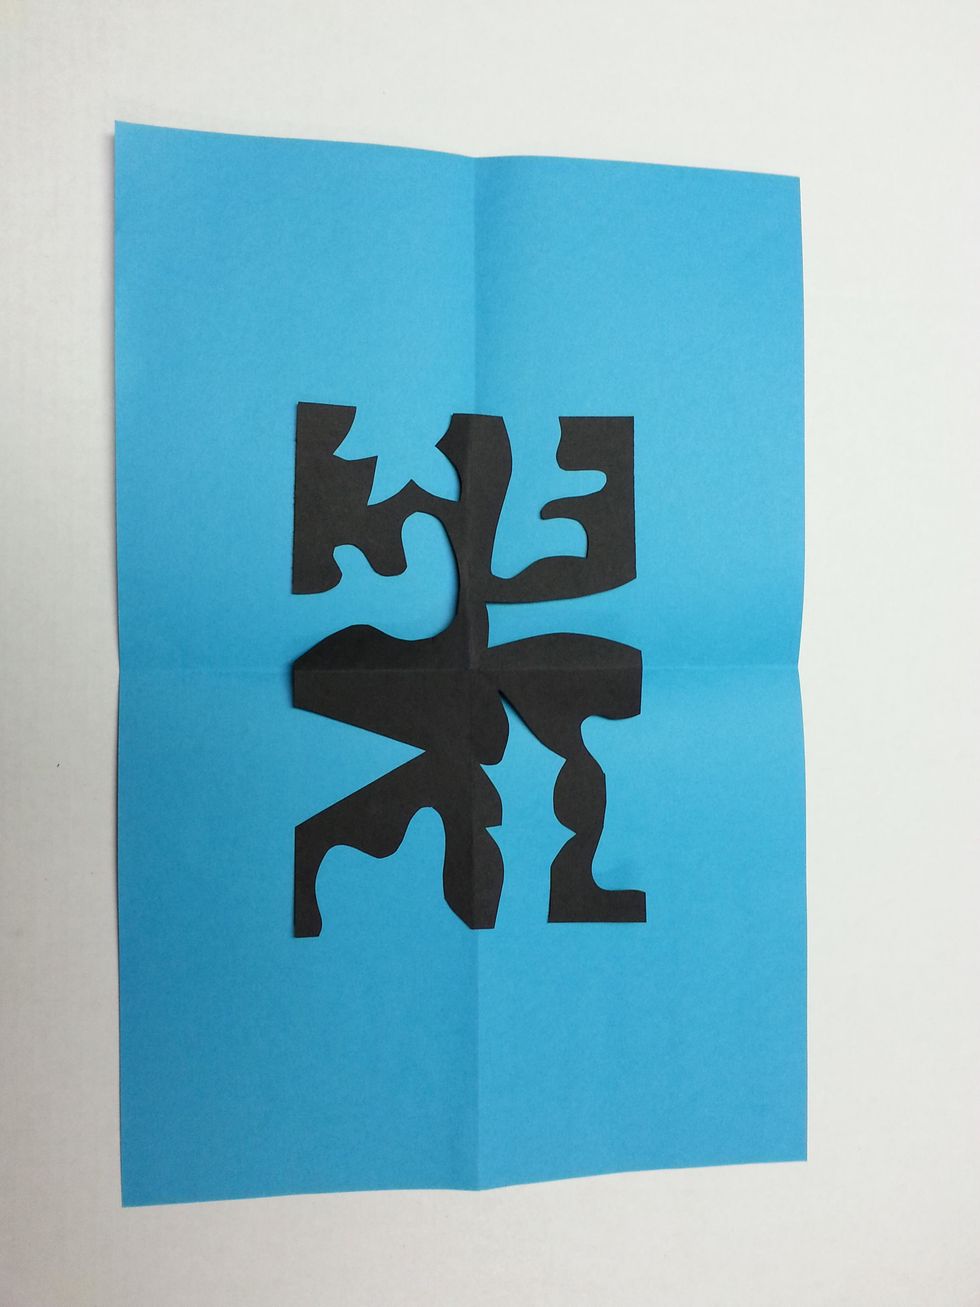
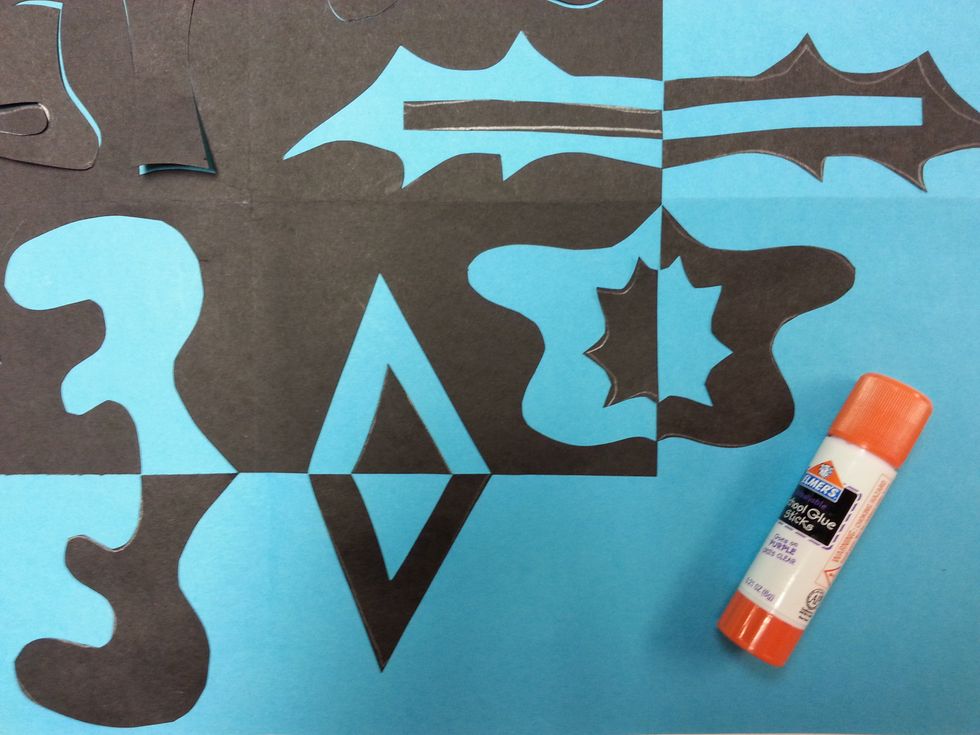
One at a time, flip the shapes to the outside. (The smaller, inside shapes need to stay put when you flip the larger pieces out.)
The black cut-out shapes are the POSITIVE SPACE, and the empty holes are the NEGATIVE SPACE. You should see MIRROR IMAGES in the positive and negative space.
Make sure the straight edge of the shape lines up where the straight edge of the paper would be. (This is the LINE OF SYMMETRY.) The smaller shapes should be on the line of symmetry too. Glue.
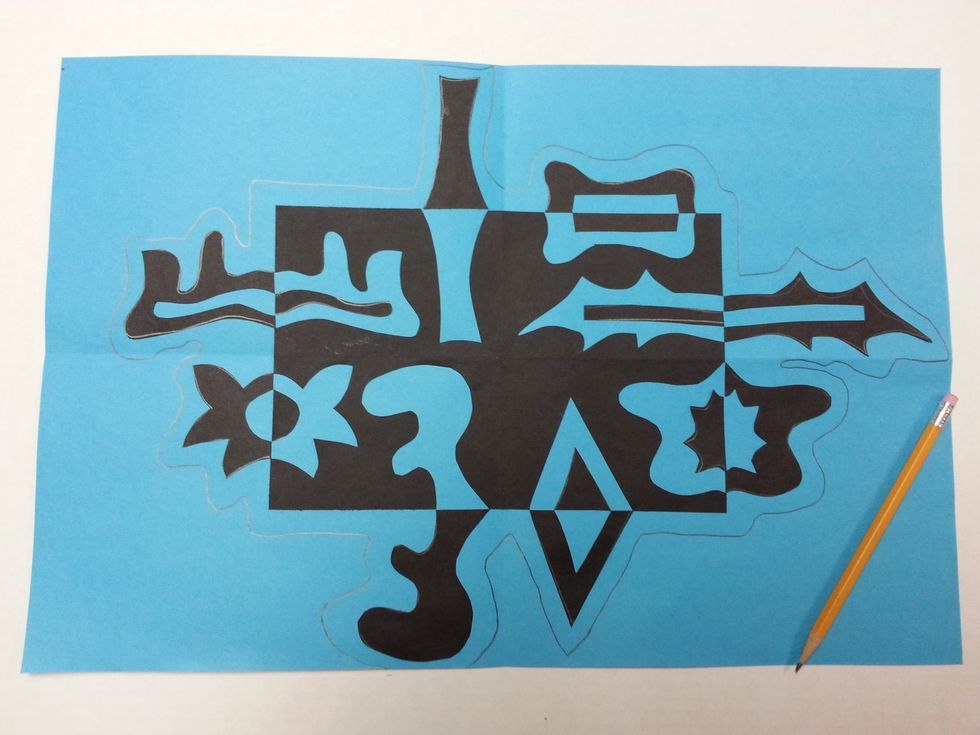
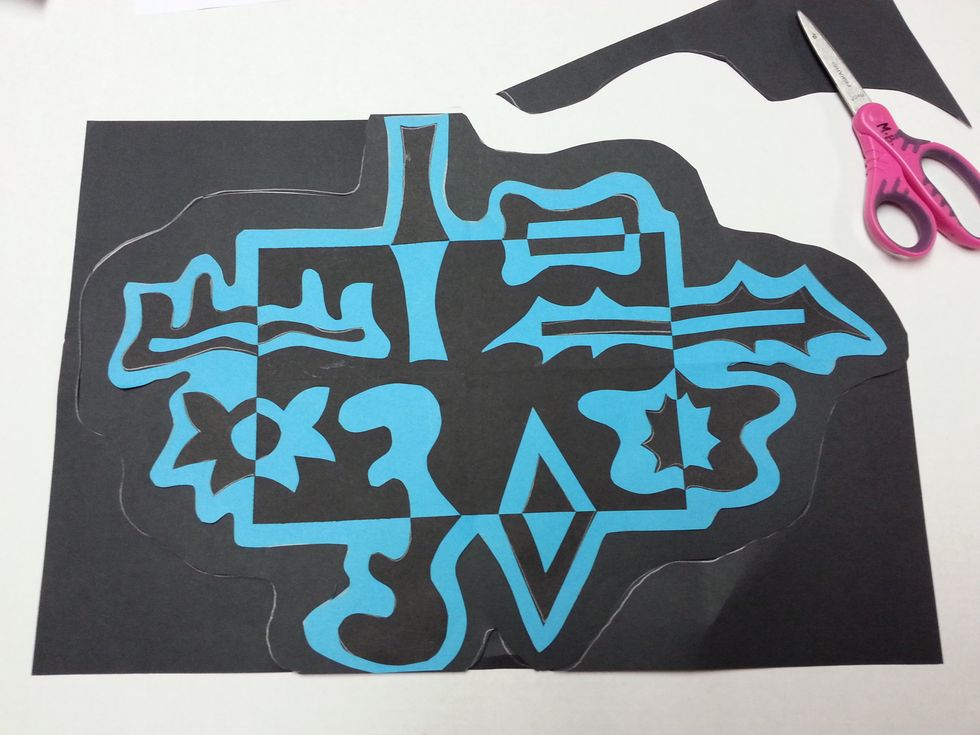
Draw an outline around your entire Notan design. (Make sure to leave a finger space of color showing around the outside of the shapes.) Cut on the line.

Glue this new shape onto the center of black paper. (Make sure to have some black paper showing around all edges of the shape.)
Draw another "bubble" around your new shape. (Make sure to leave at least a finger space of black paper showing all the way around.) Cut on the line.
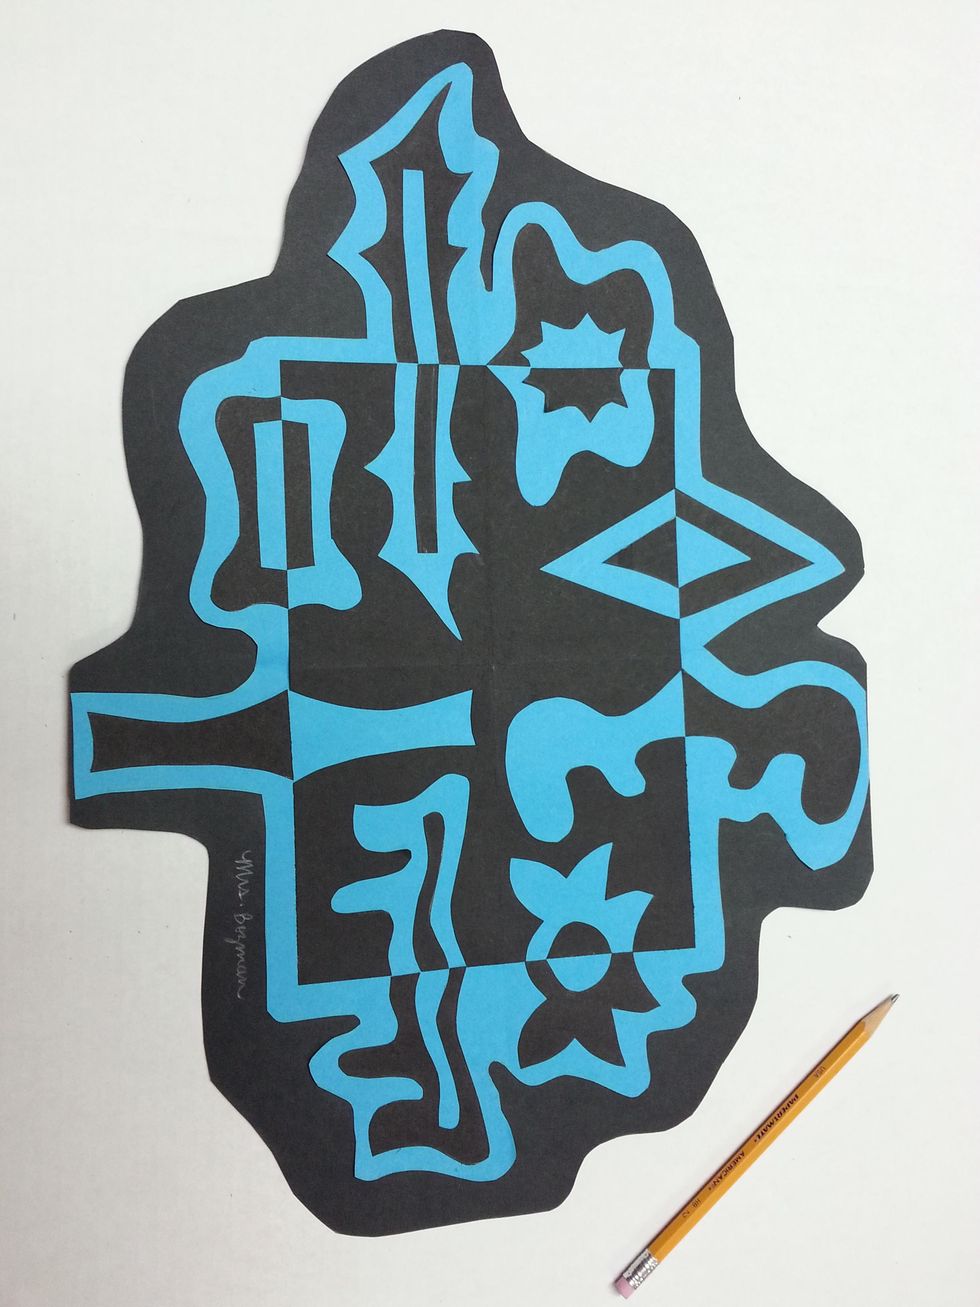
Carefully erase any pencil lines on your artwork. Sign your name and class along the bottom edge of your finished piece!