The Conversation (0)
Sign Up
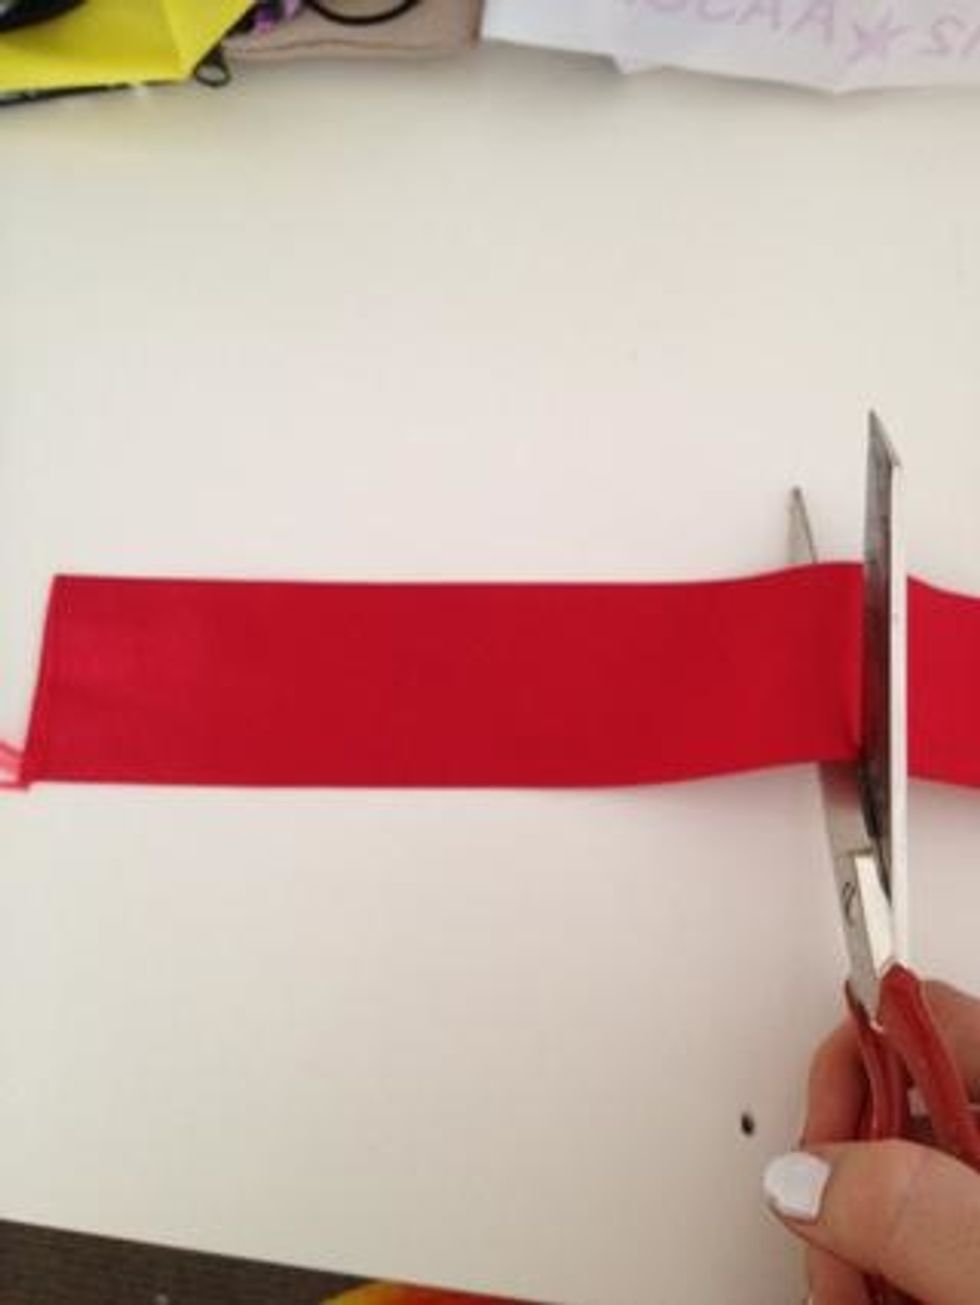
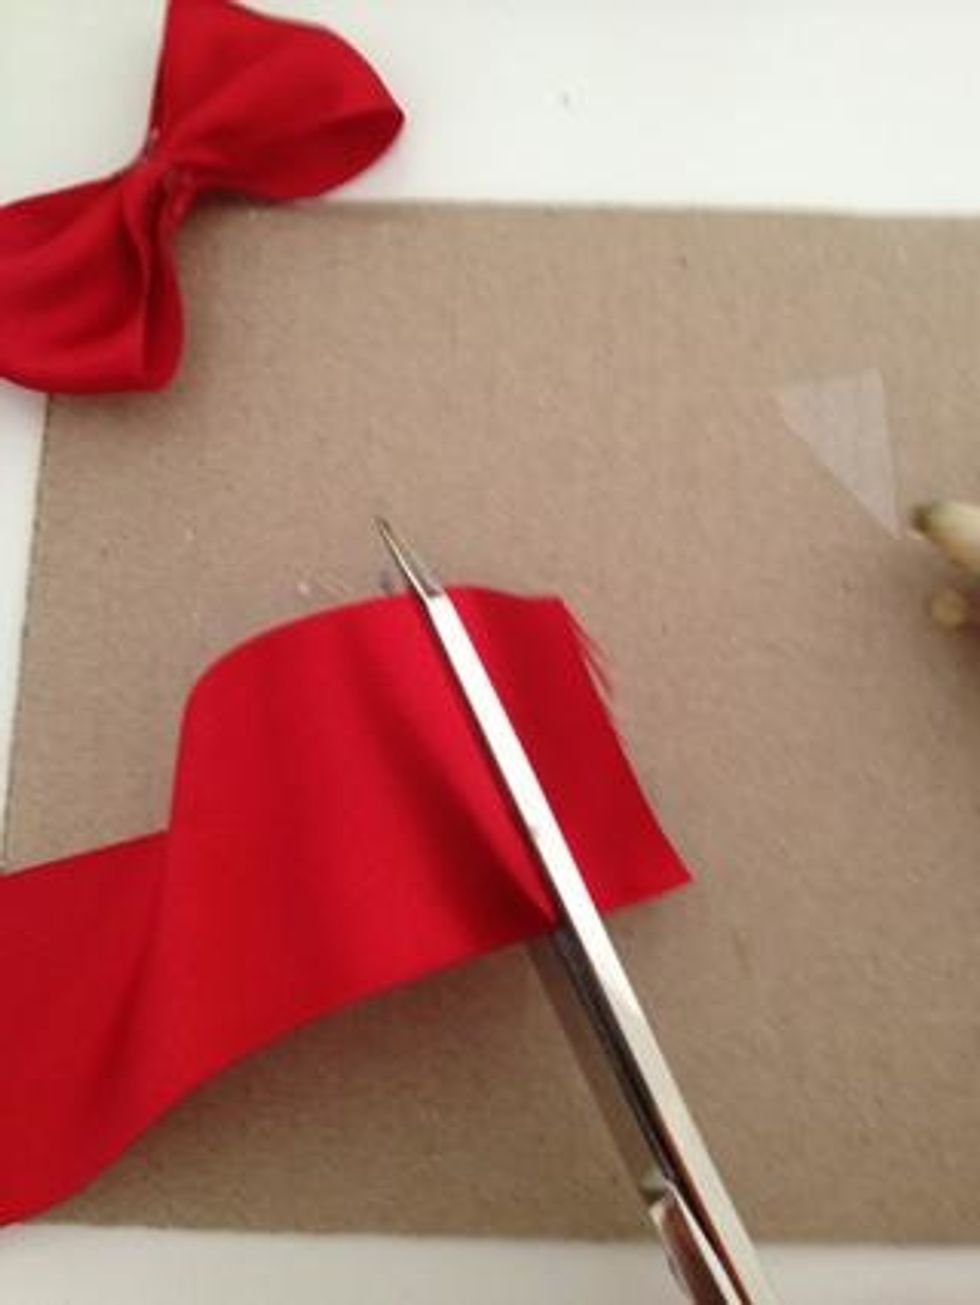
First, Obtain your ribbon and cut it any length you want.The bigger the length, the bigger the cheer Bow!
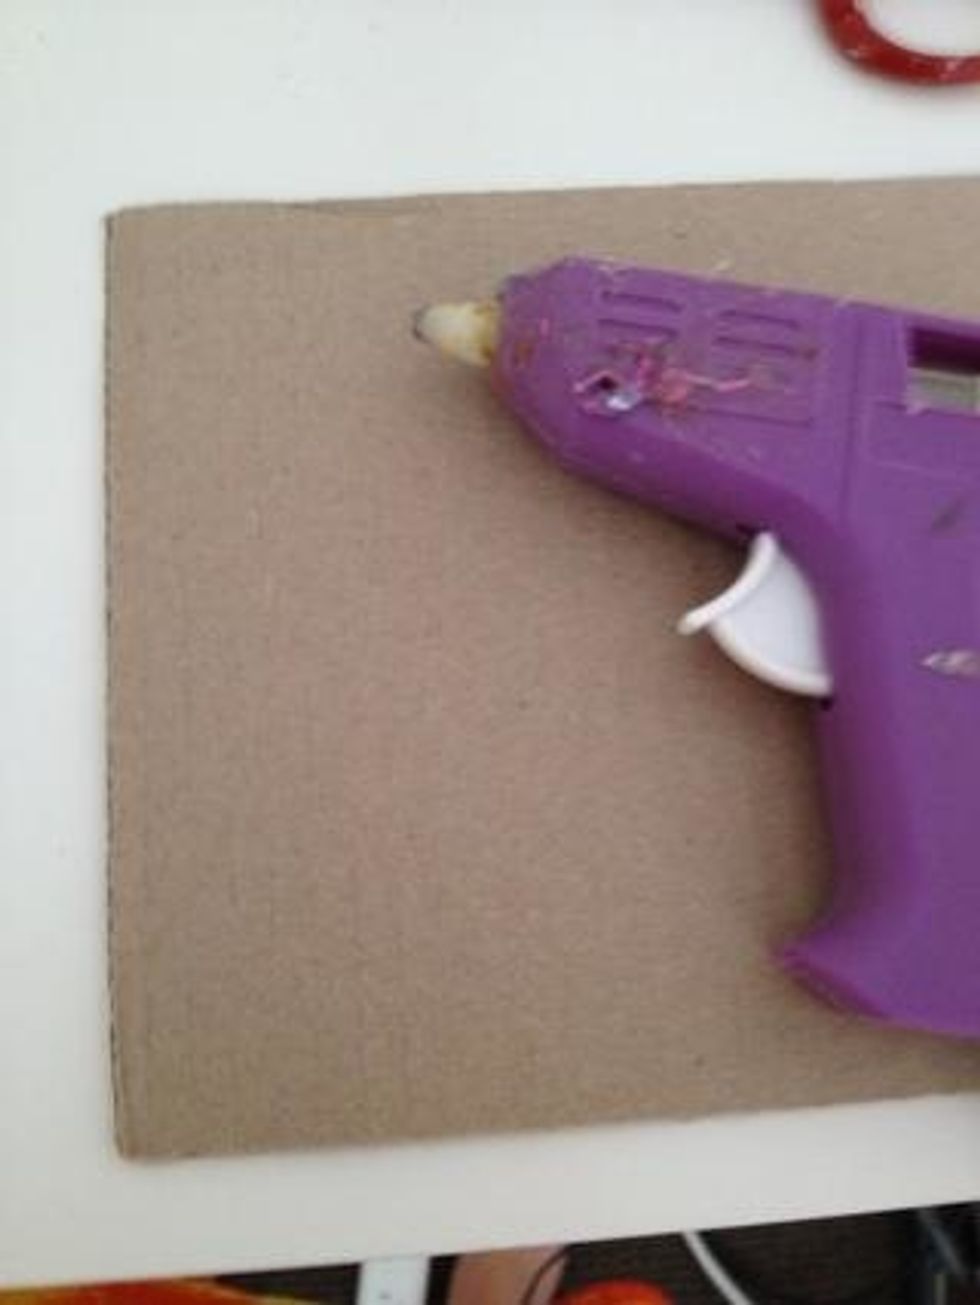
Next, Place your hot glue gun on a surface where it won't be able to burn anything.
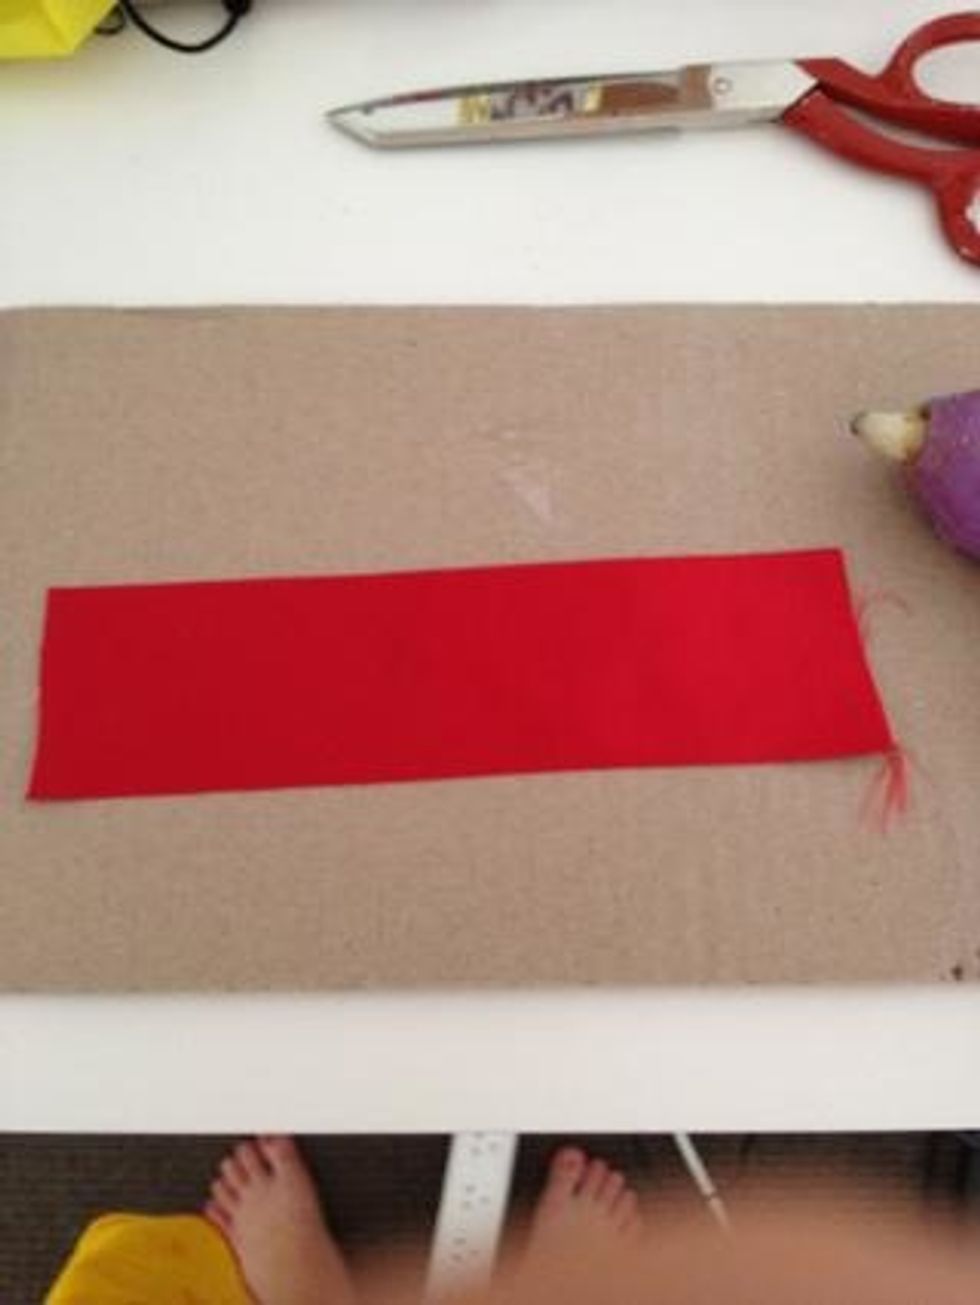
Next step,Lay your ribbon flatly on your table, like this.
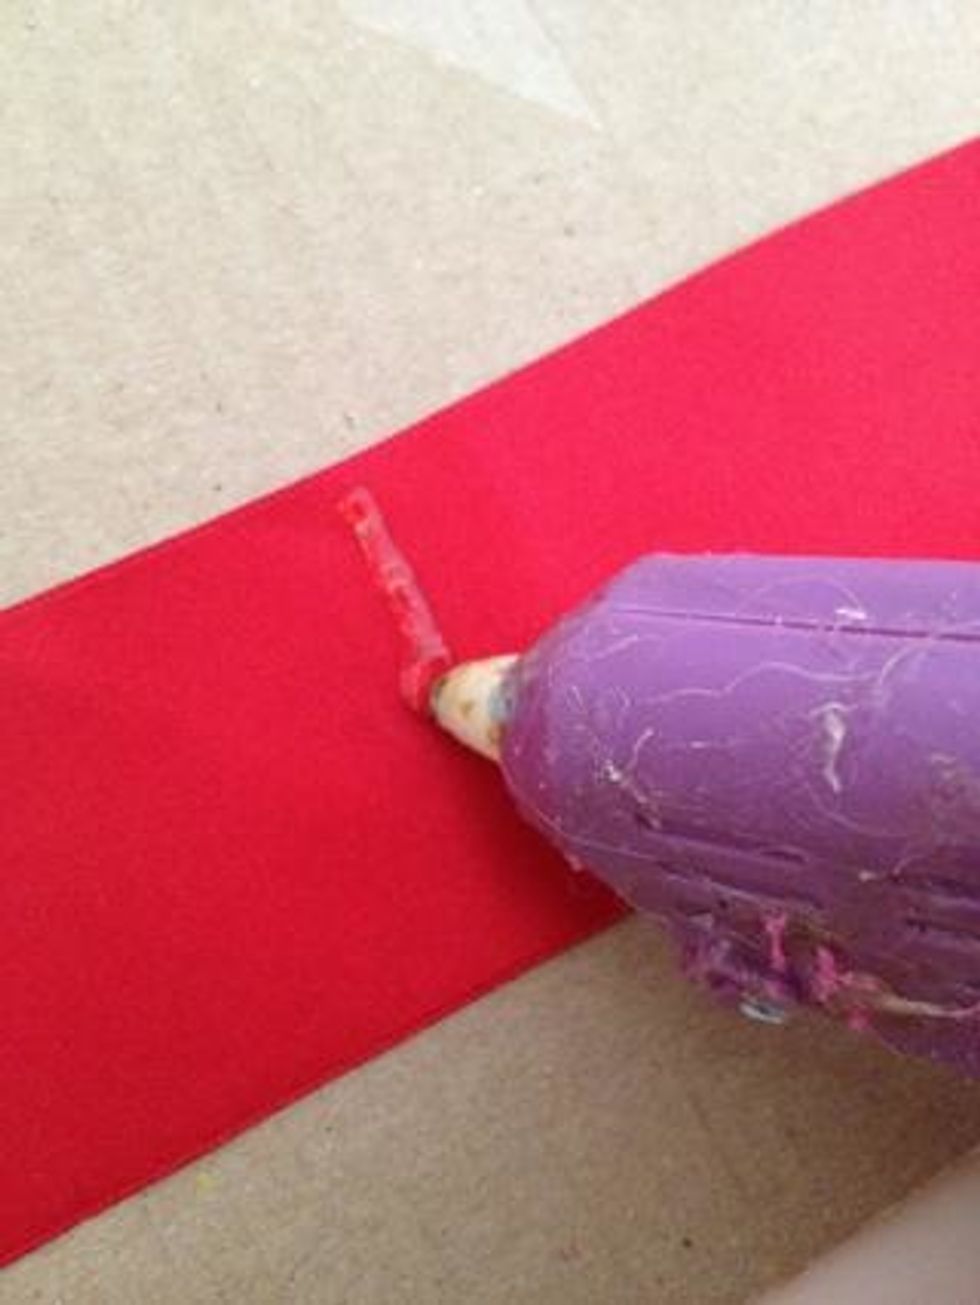
Then, Place a line of hot glue in the middle of the ribbon.
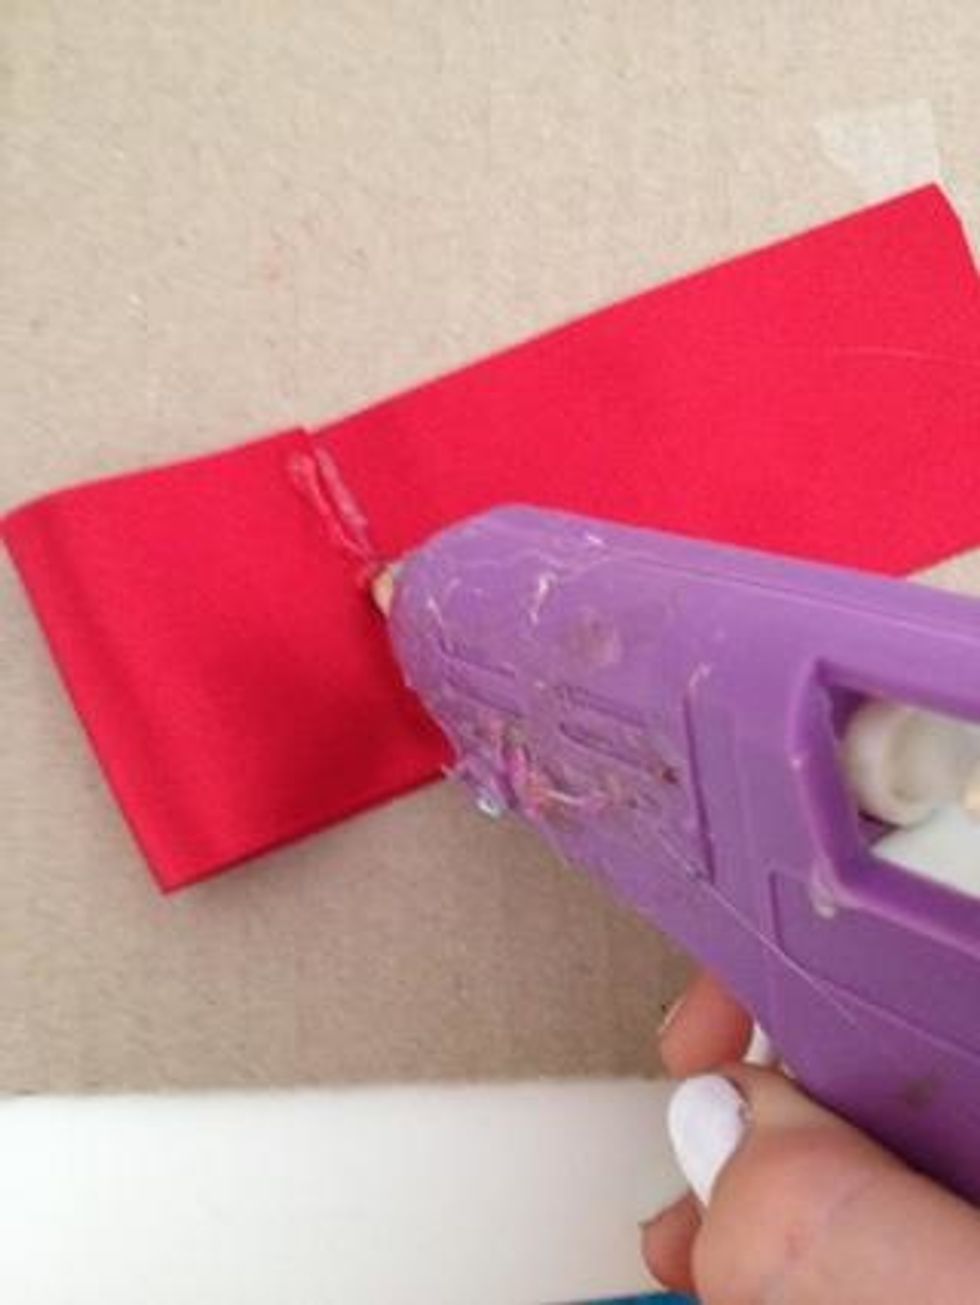
Next, fold one side of the ribbon onto the hot glue you just applied and and hot glue to the folded ribbon side, as shown in the picture.
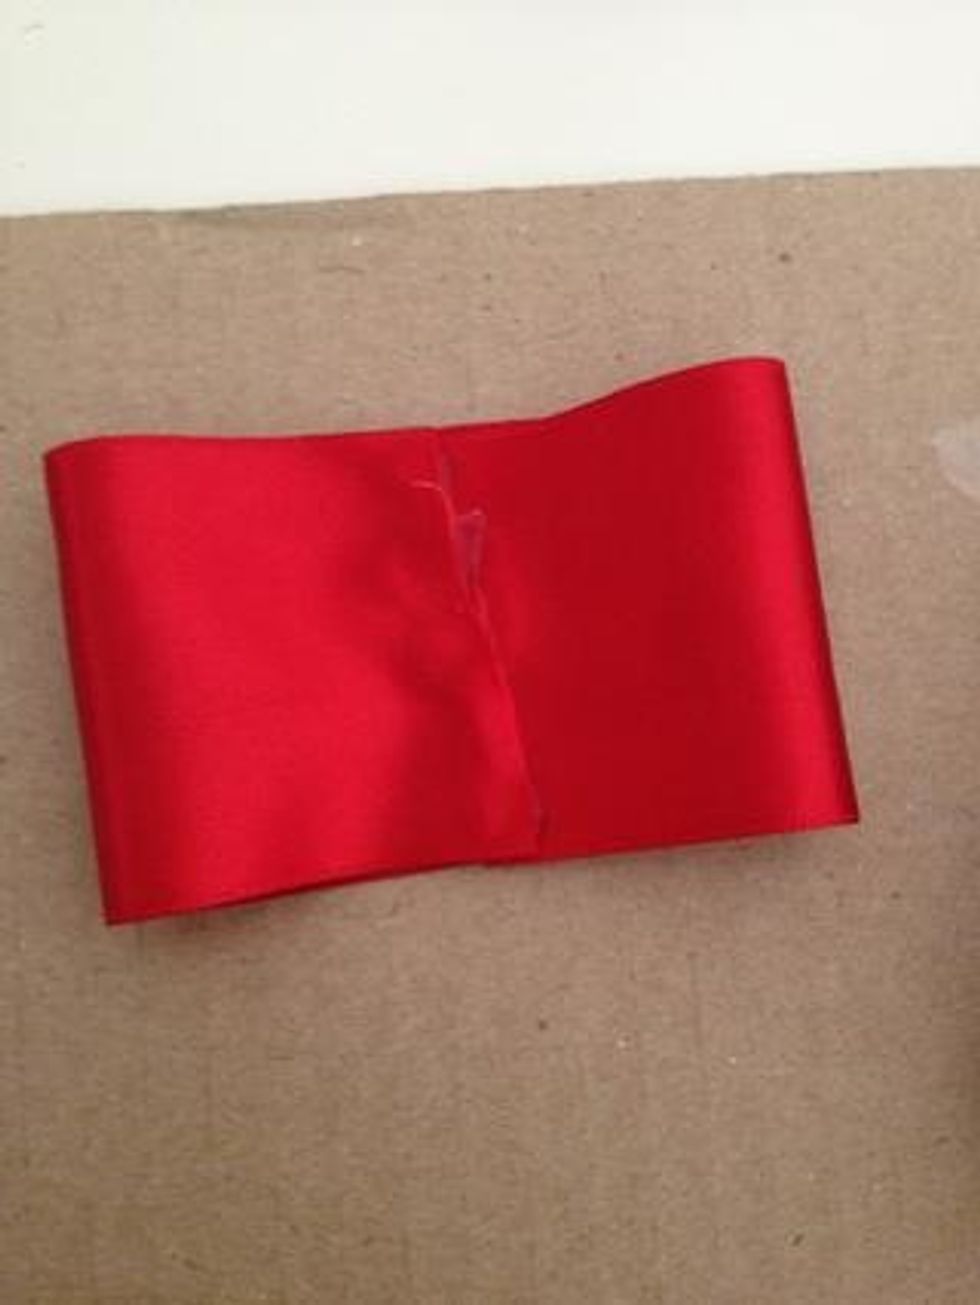
Next, fold the other side of the ribbon and place it on top of the other folded ribbon side.
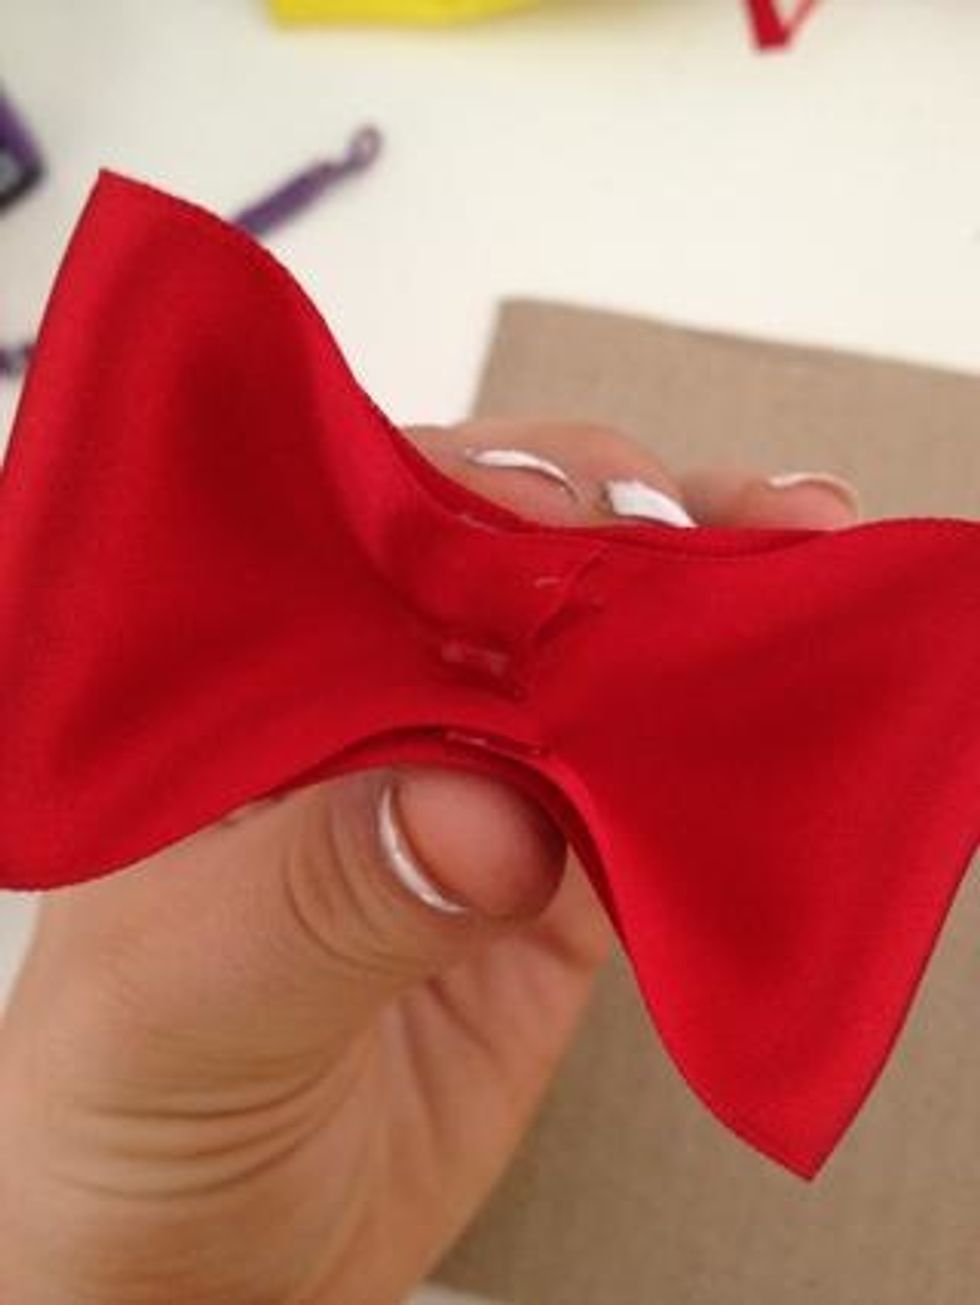
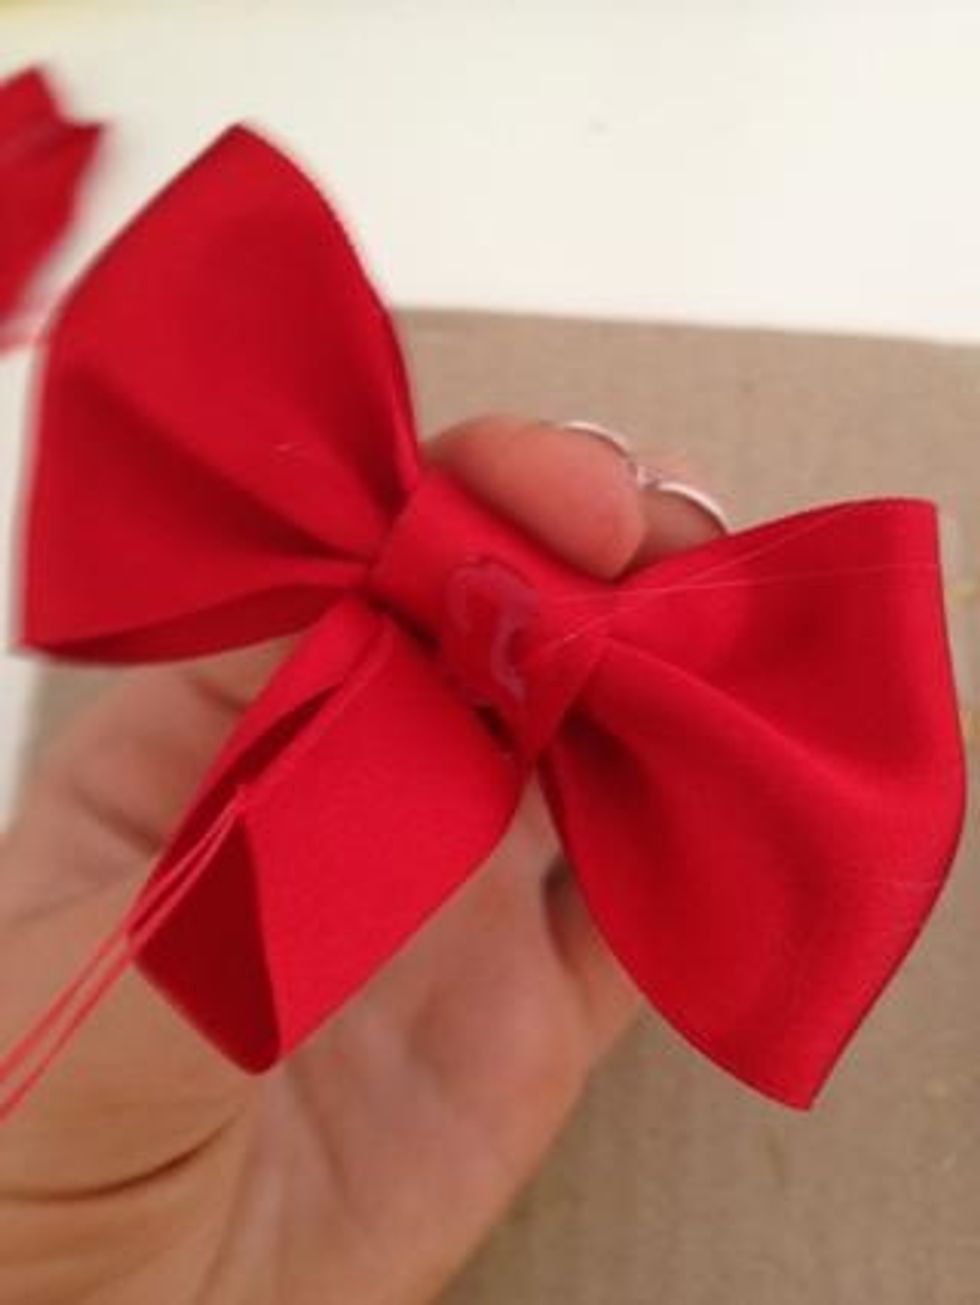
Next step, pick up your bow and squeeze the middle of your folded ribbon where you glued them together, as seen in the picture.
Next, apply hot glue unto the middle so the bow doesn't unravel, as seen in the picture.
Then, cut another piece, approx. 2-2 1/2 inches in width.
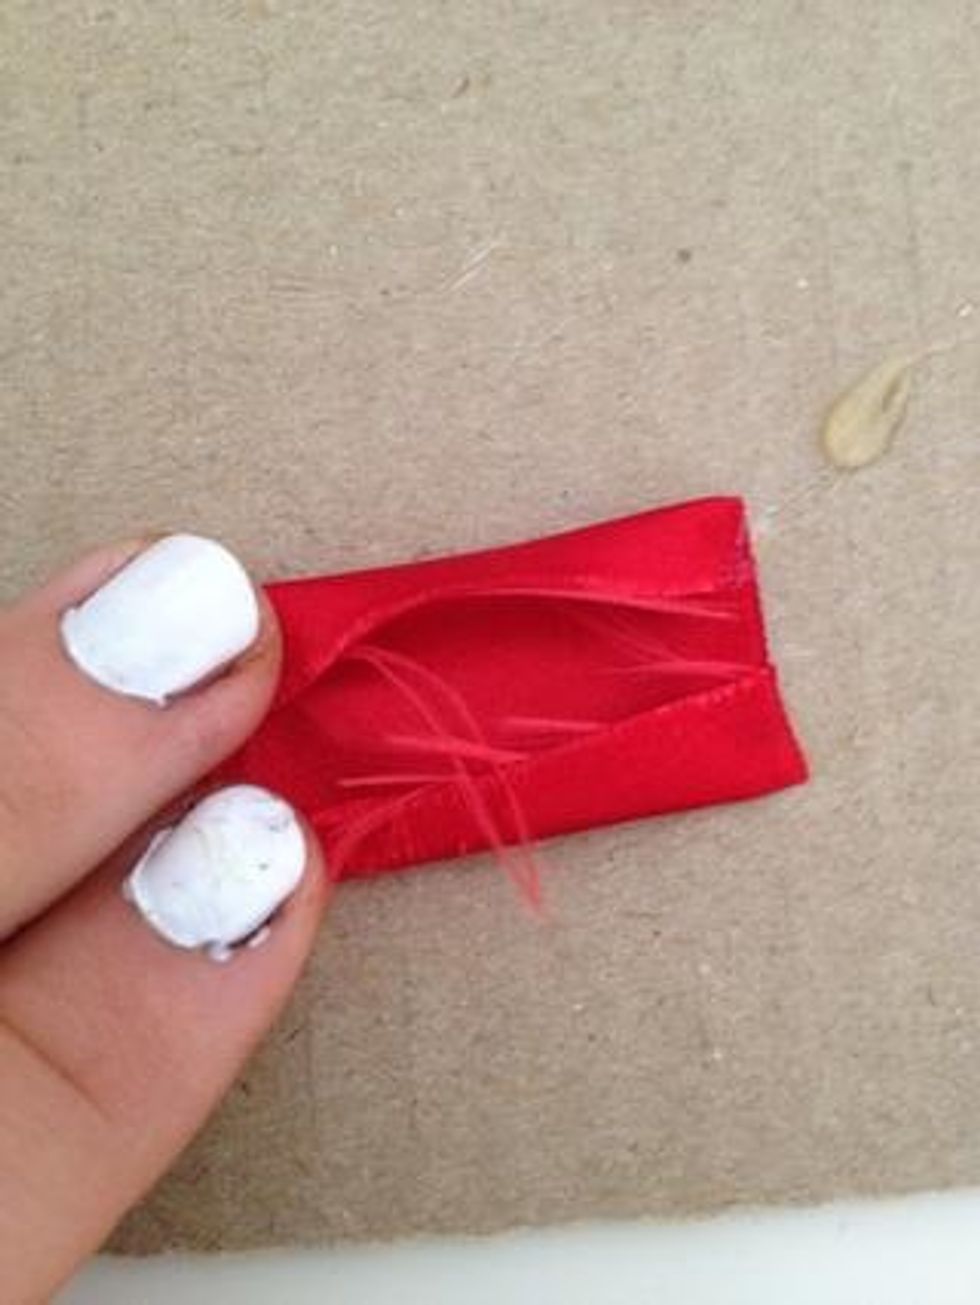
Next, lay the piece of ribbon as shown and place hot glue on the top and bottom of the ribbon. Then, fold the top and the bottom of the ribbon and place it on the hot glue as shown in the picture.
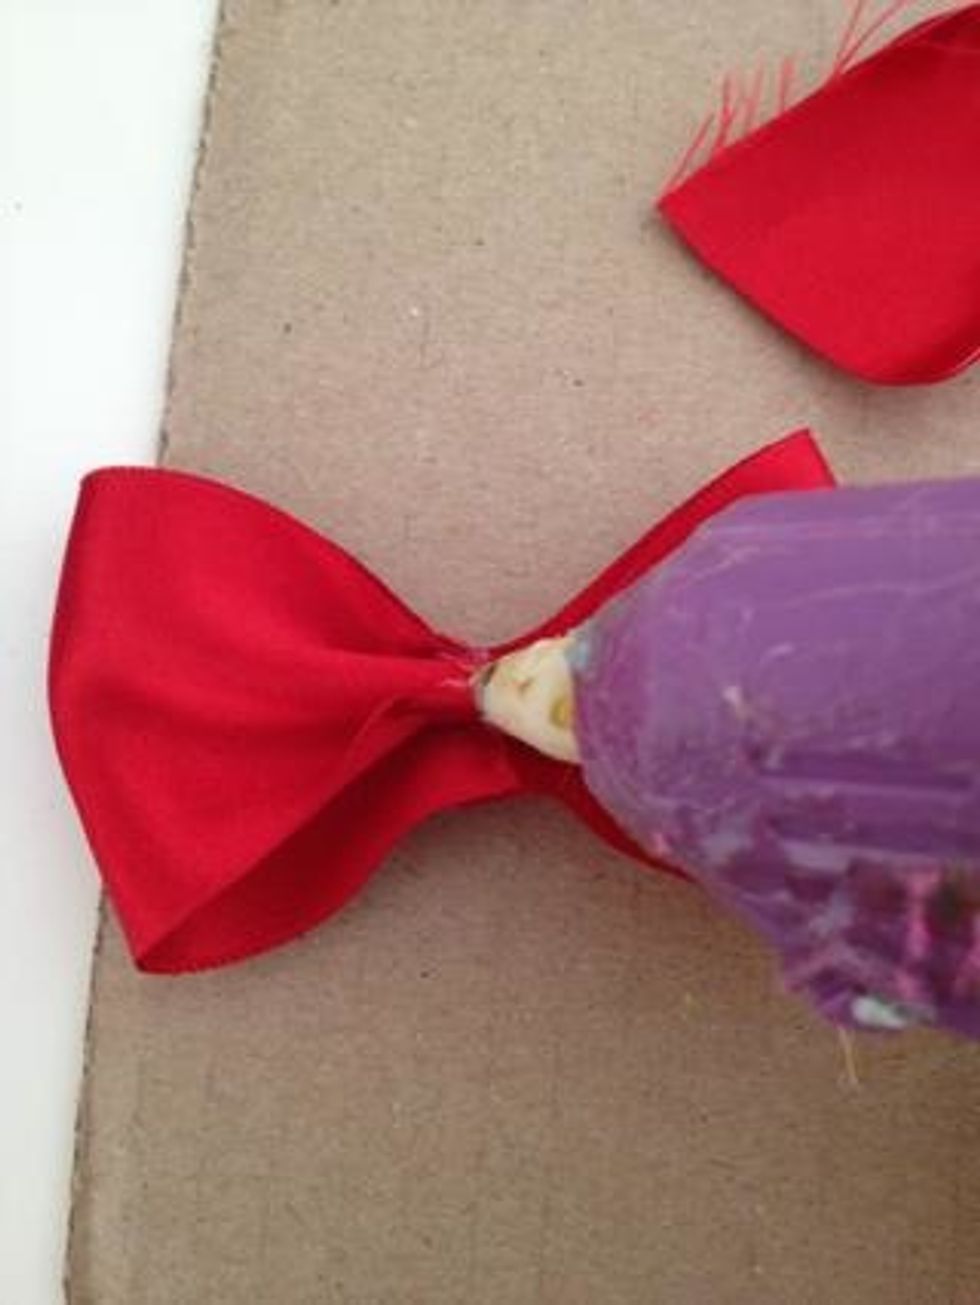
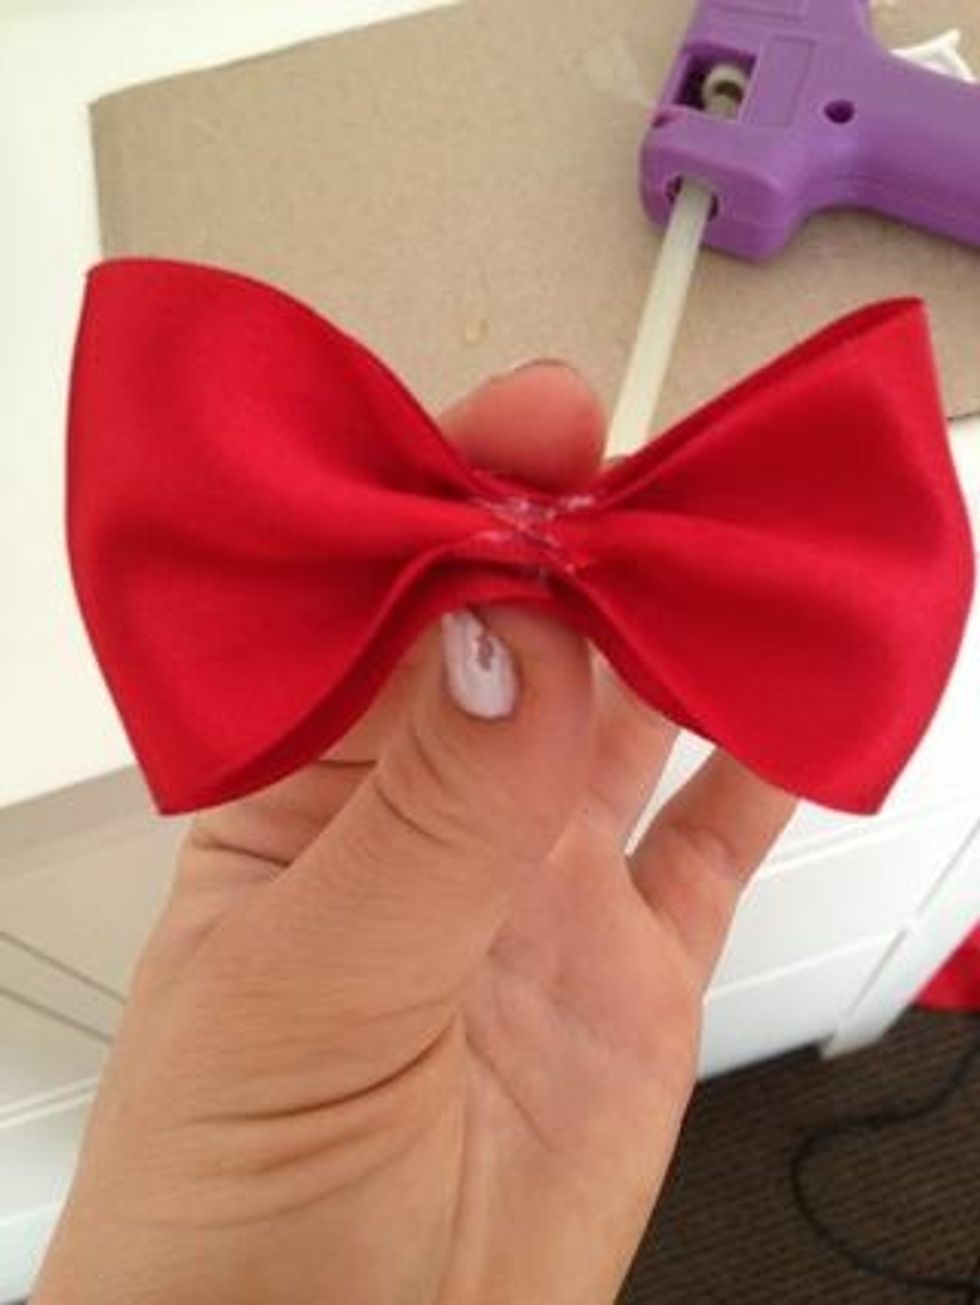
Next, place a small amount of hot glue on the back of the crease of the bow.
Next, take your folded piece of ribbon and wrap it around the crease of the bow, making sure to place the ended of the smaller ribbon in the area where you put hot glue in the previous step.
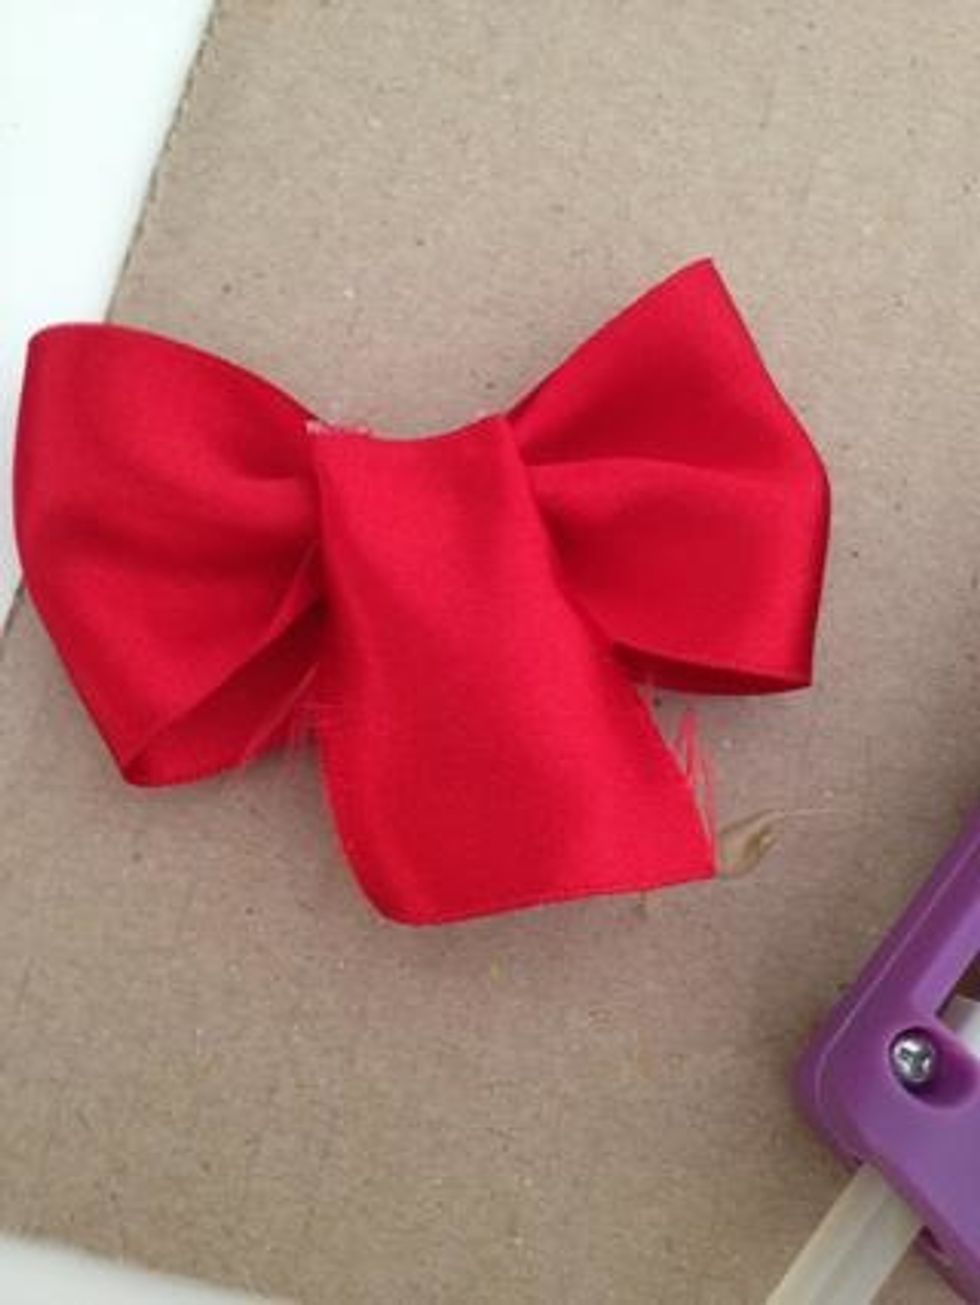
Next, because your ribbon may be a bit long, place a small amount of hot glue and then continue folding so it stays secure. Keep doing this until you finish with your ribbon.
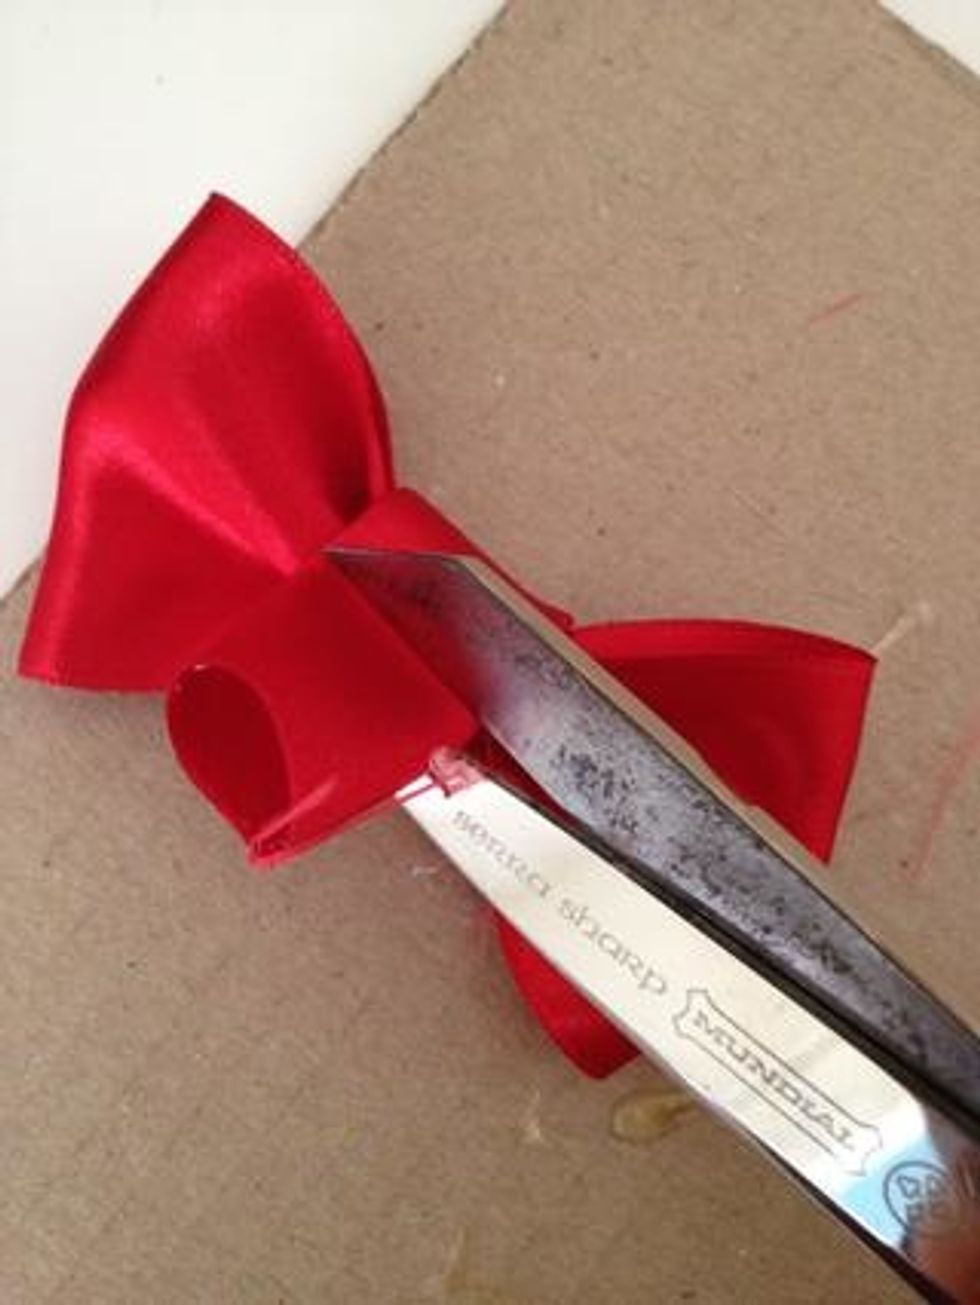
When it is too short for you to wrap, cut off the excess ribbon with your scissors.

Lastly, place a small line of hot glue on your wrapped ribbon. Take a clip, alligator clip, bobby pin, or even a ponytail tie, and place it on the hot glue.
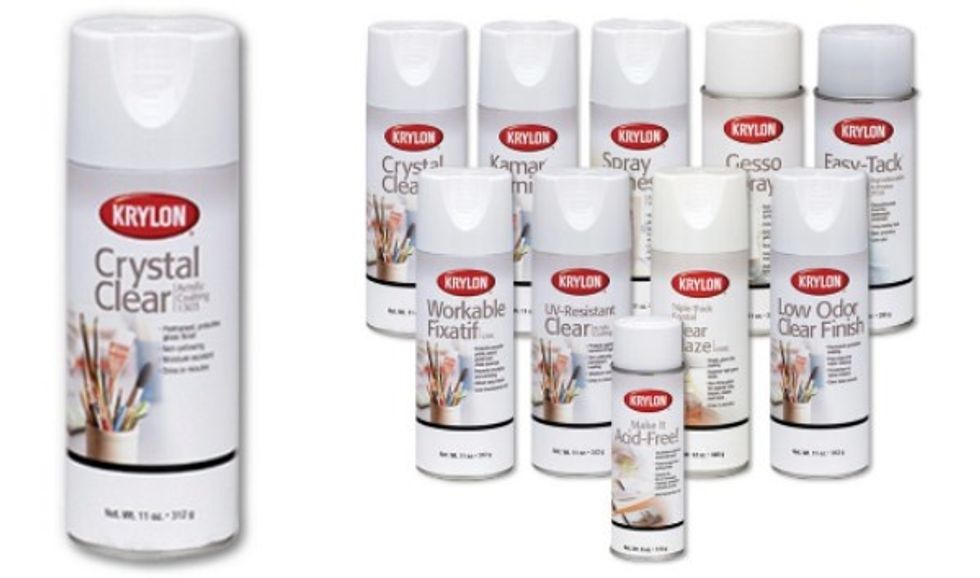
Optional: To make your cheer bow more stiff, you can apply fabric stiffener onto your bow!