The Conversation (0)
Sign Up
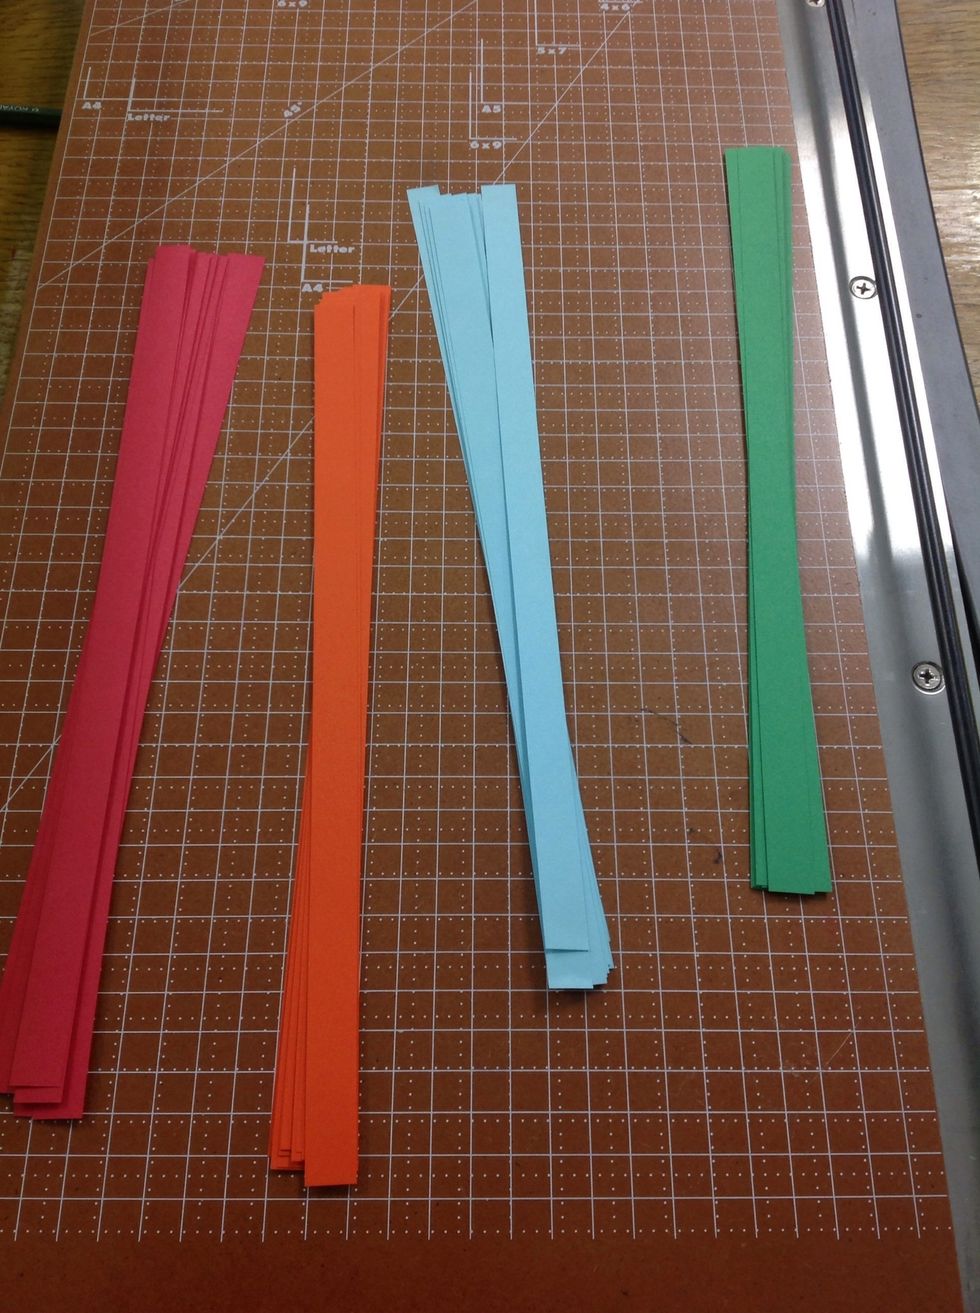
I used 8 1/2 x 11 colored paper for ease of distinguishing the steps. You can use any kind of paper you choose. But you need thin paper that you can fold easily. I cut mine to .25 inch thick strips.
If you want... Glue or tape two strips together to double the length. Or you larger paper or thinner strips if you don't want to have to lengthen the strips.
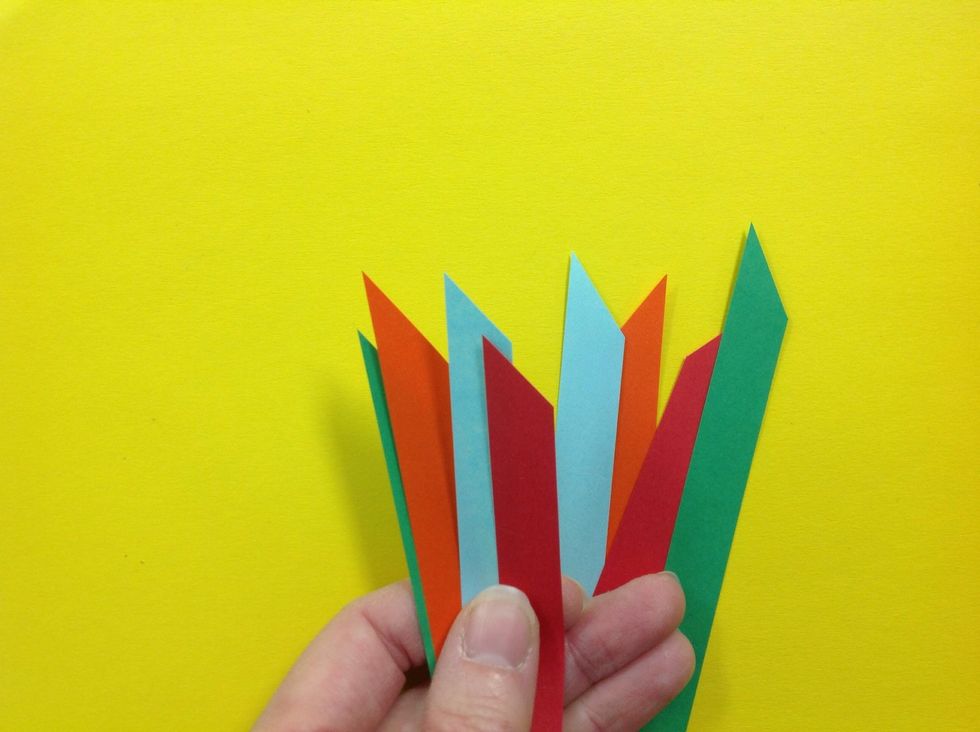
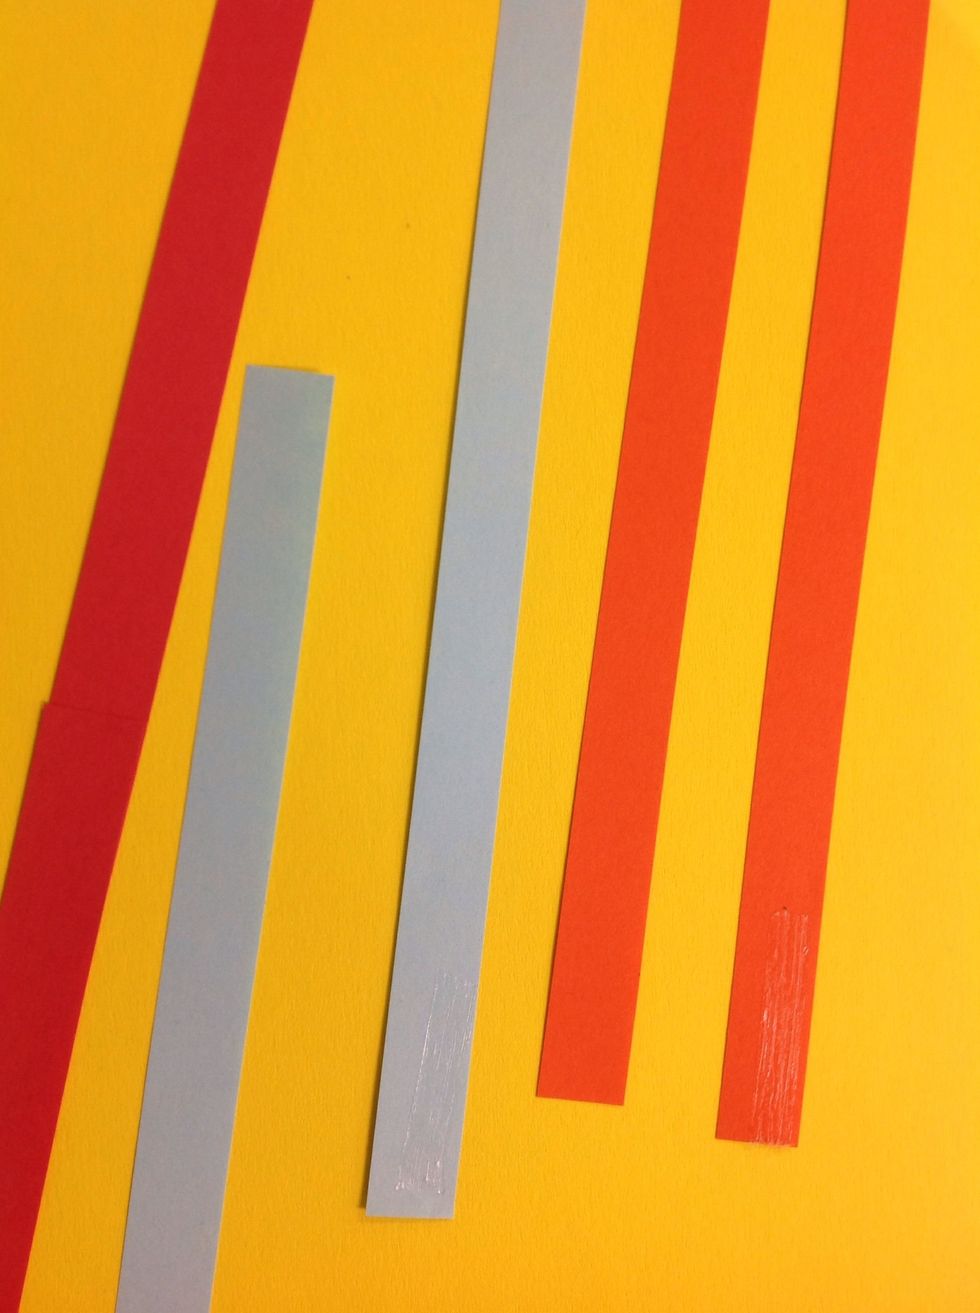
Cut both ends of each strip in a diagonal.
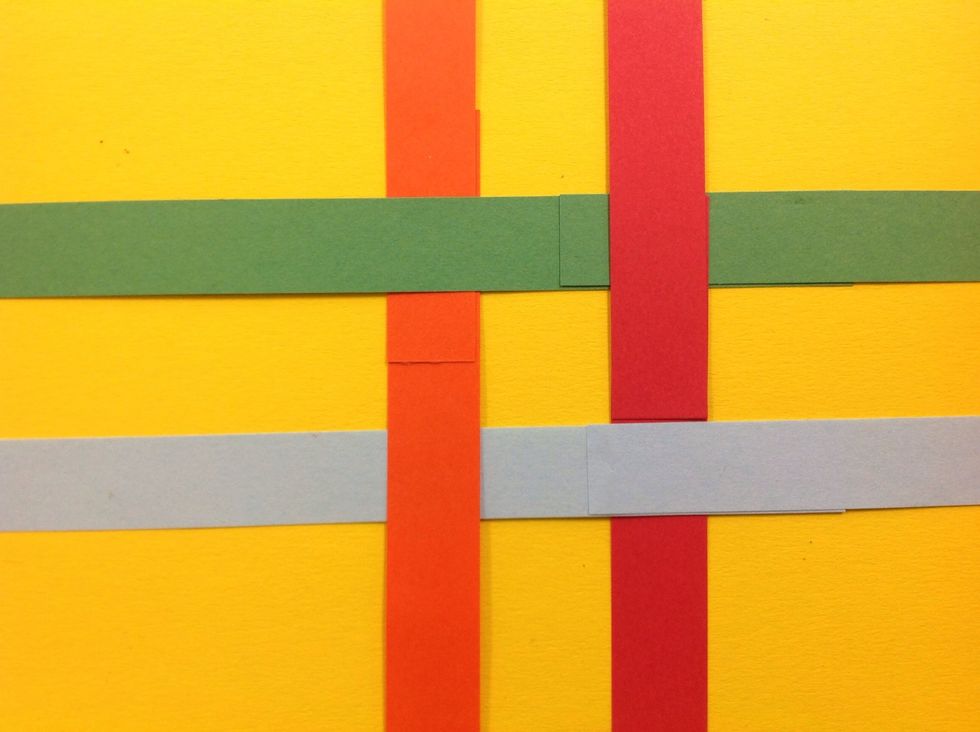
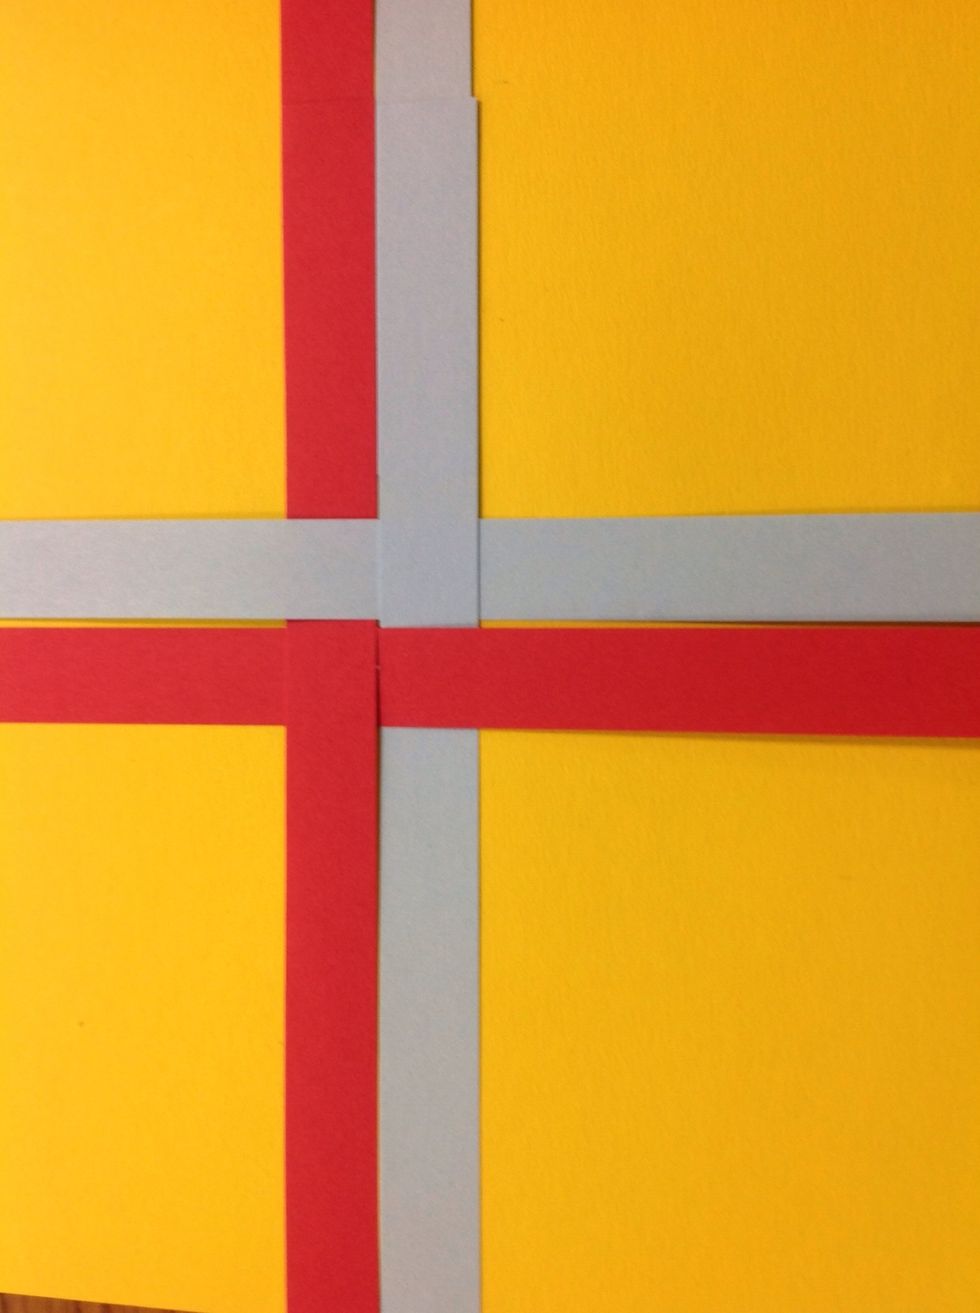
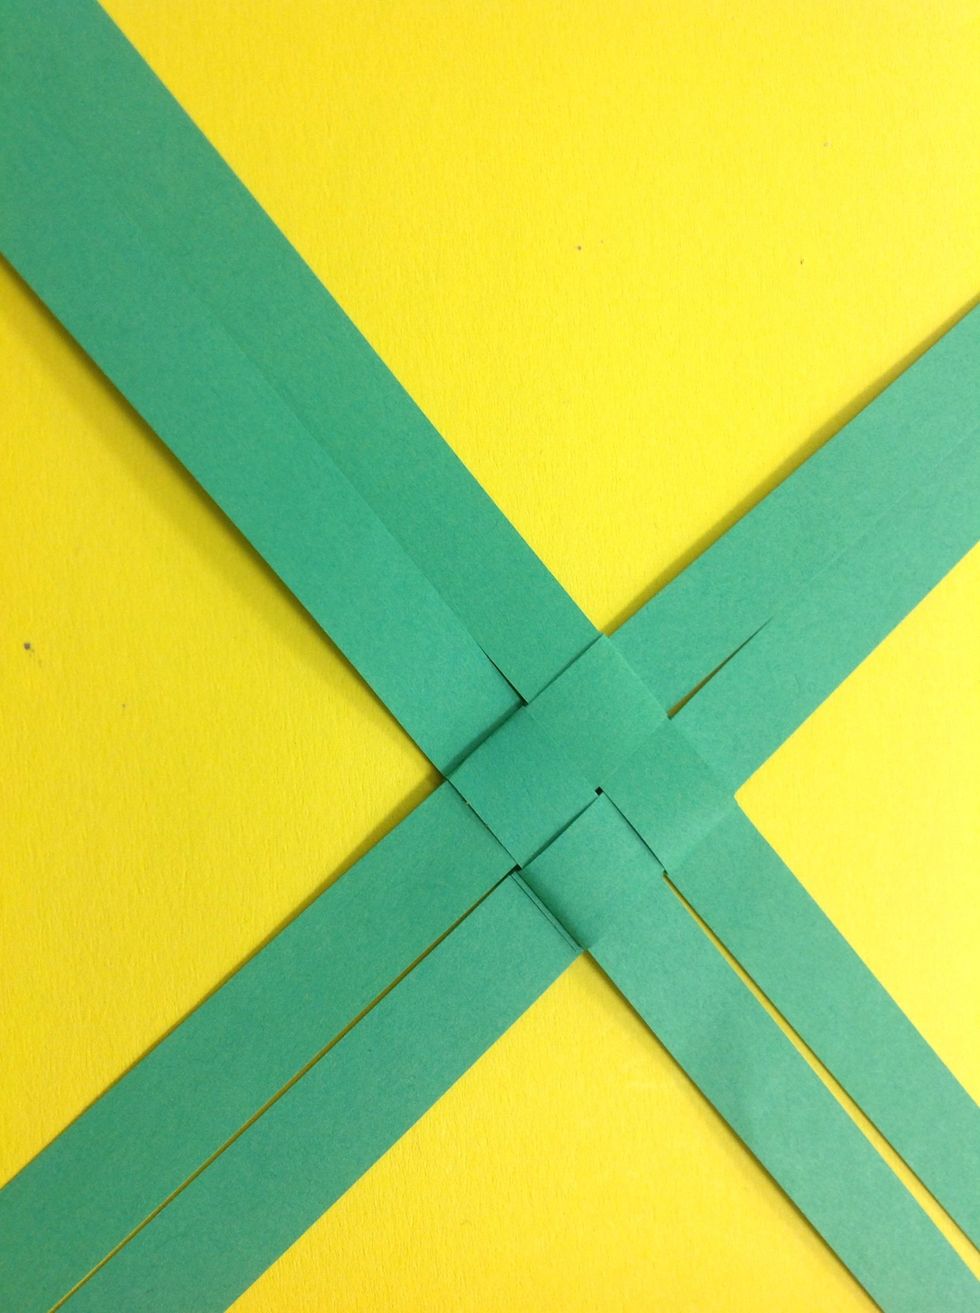
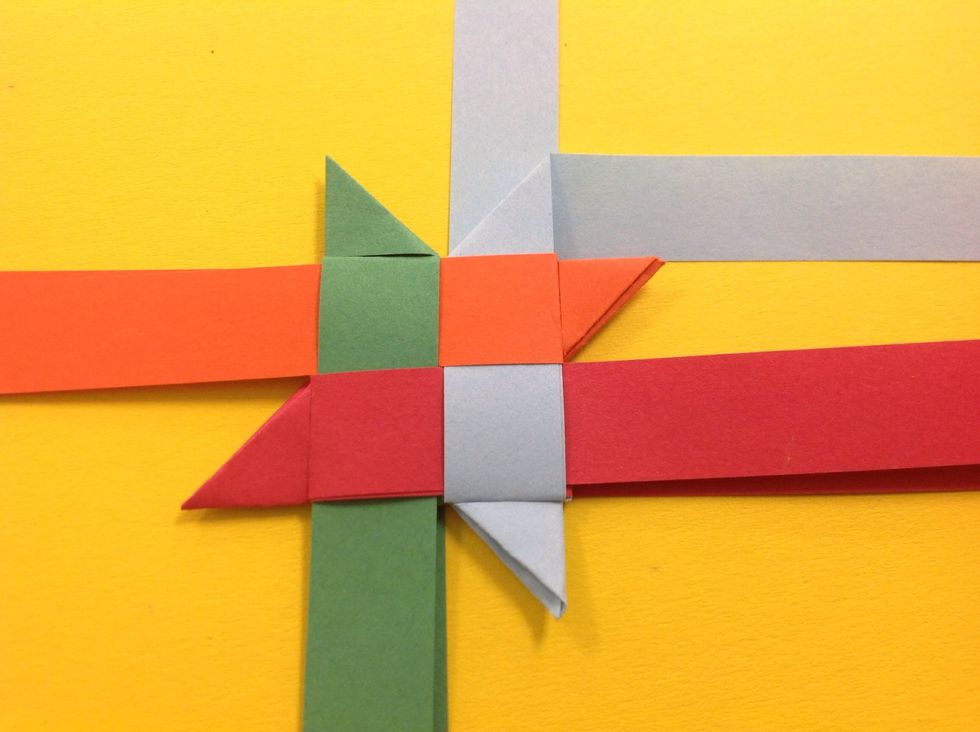
Lay 2 strips vertically in front of you. Take a 3rd strip and place it over and under the two strips. Take the 4th strip and alternate the weave. Make sure that the strips are nice and square.
Here you can see how it looks with 2 colors instead of 4.
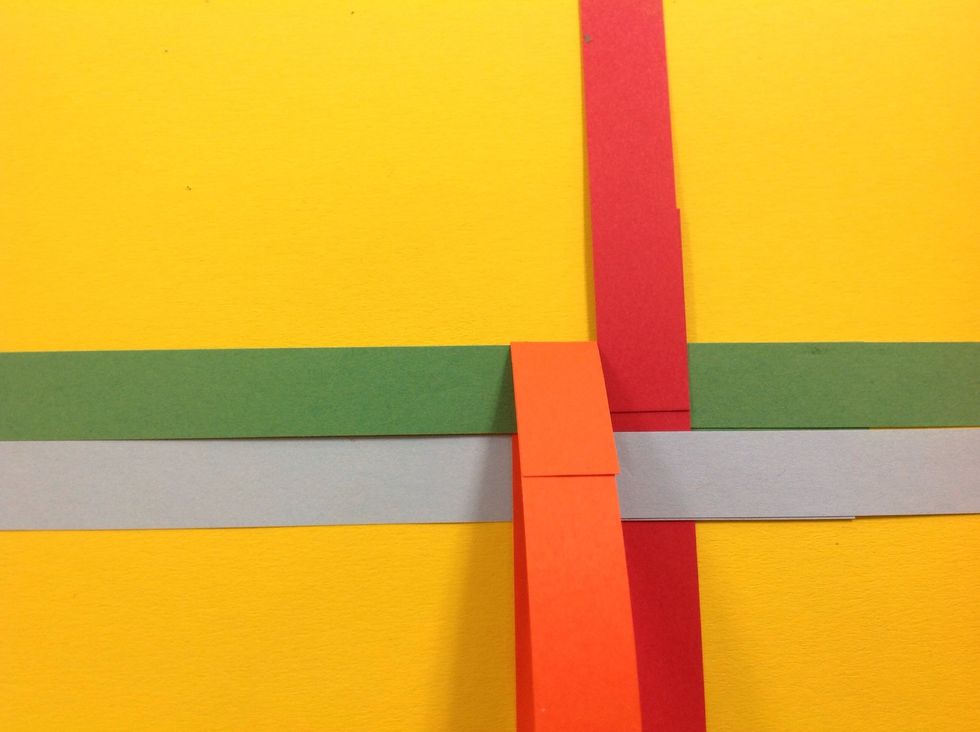
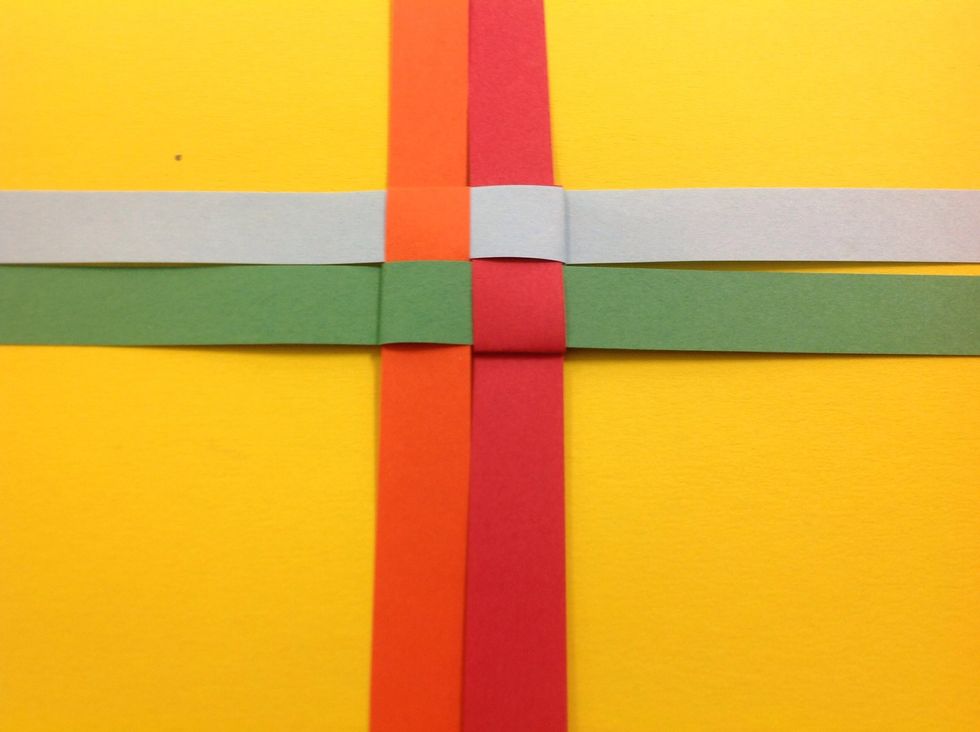
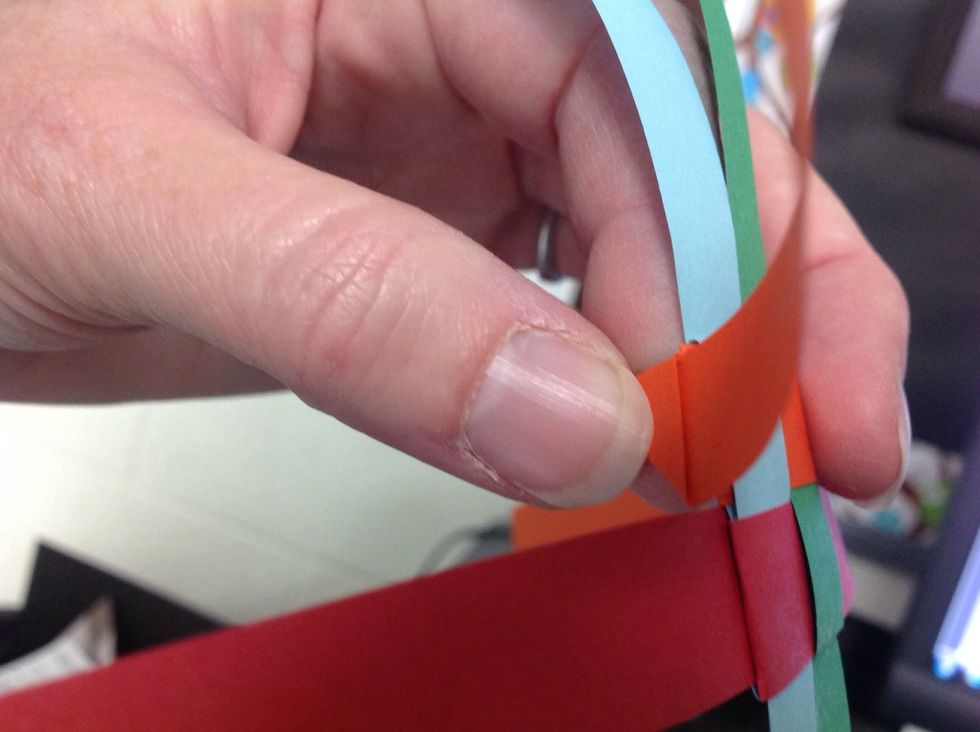
Now take the top right horizontal strip (green) and fold across over the two vertical strips.
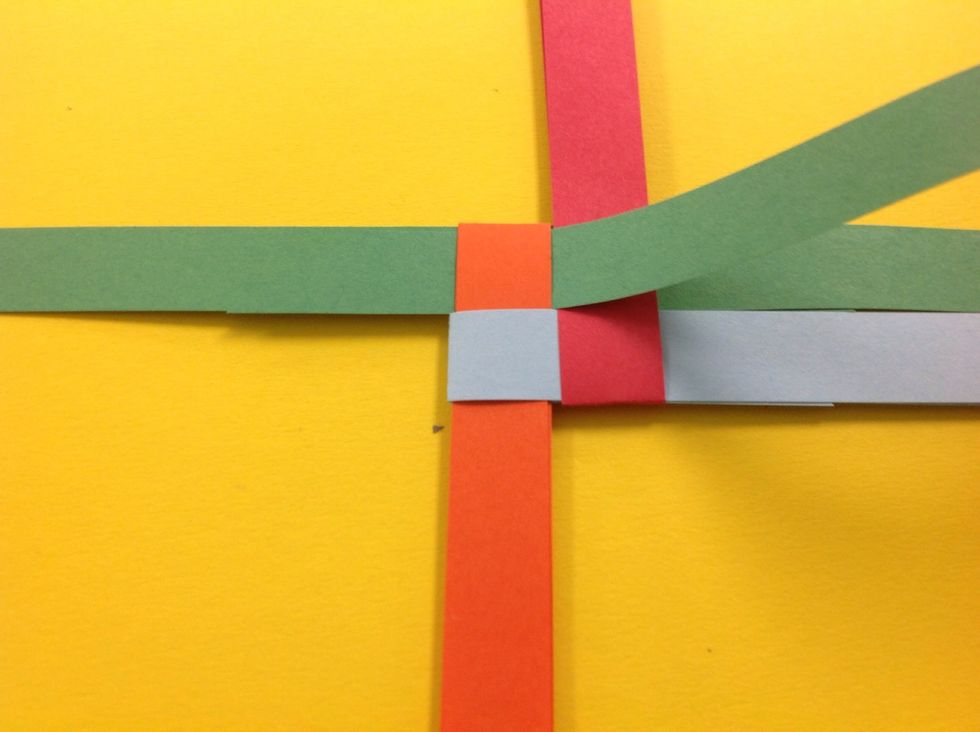
Now take the bottom left horizontal strip (blue) and fold across.
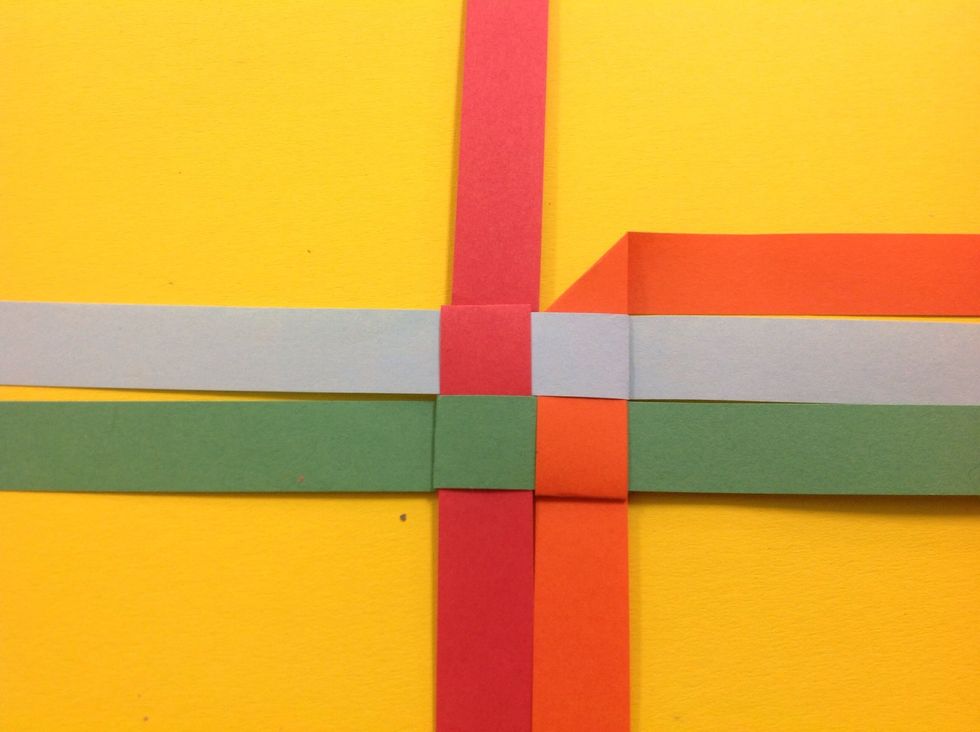
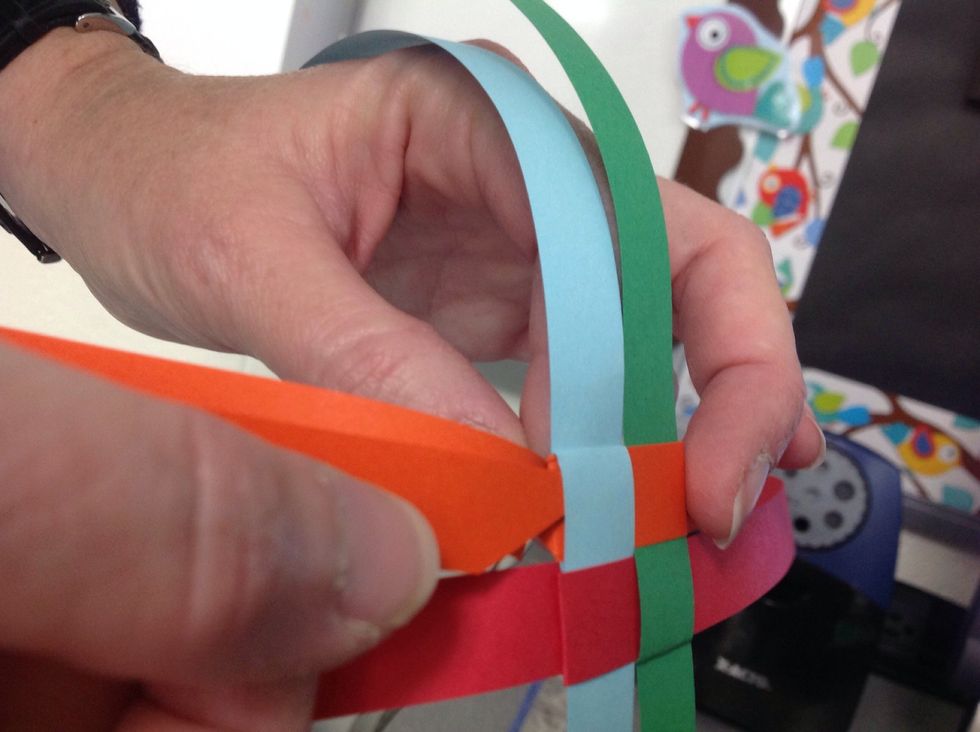
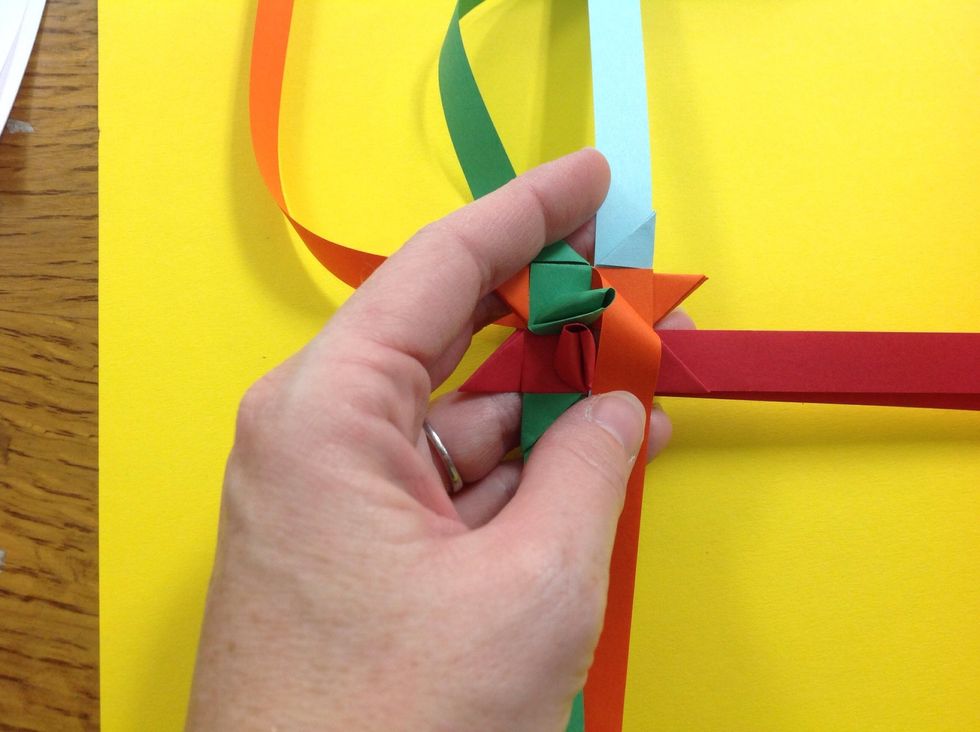
Fold the bottom right strip (red) up and through the pocket.
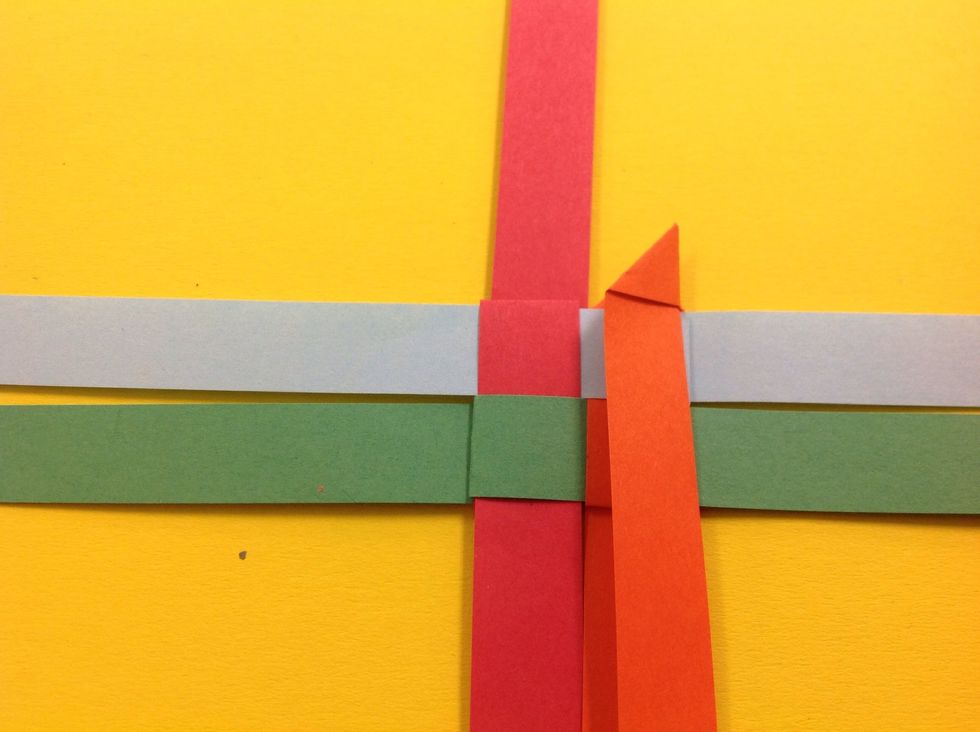
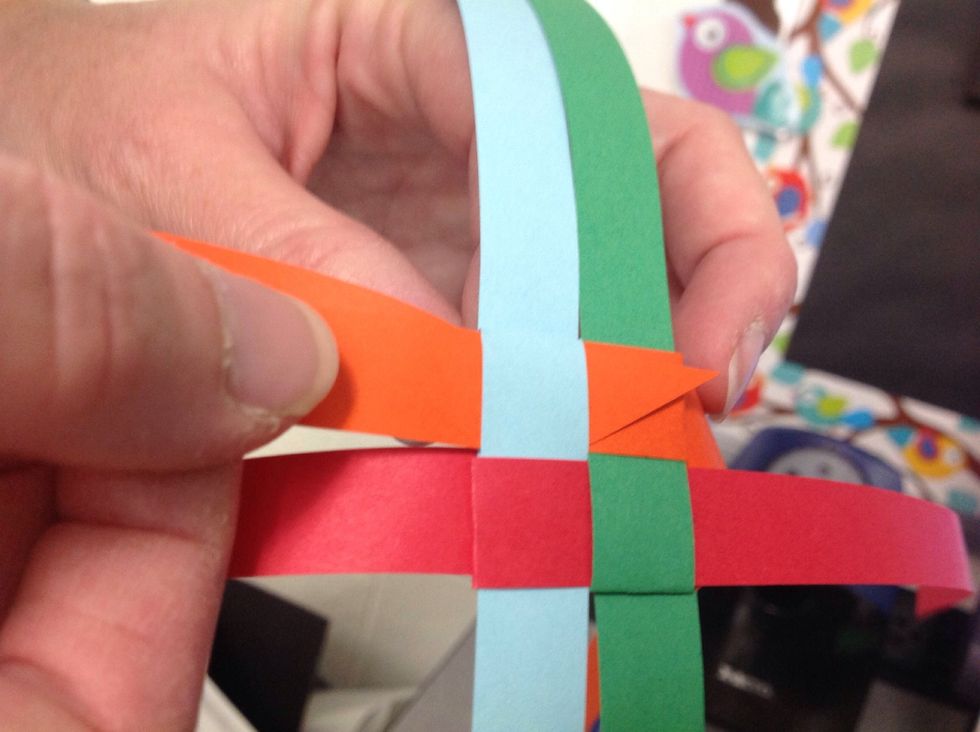
Finish by taking the top left strip (orange) and folding down and through the opening created by the blue.
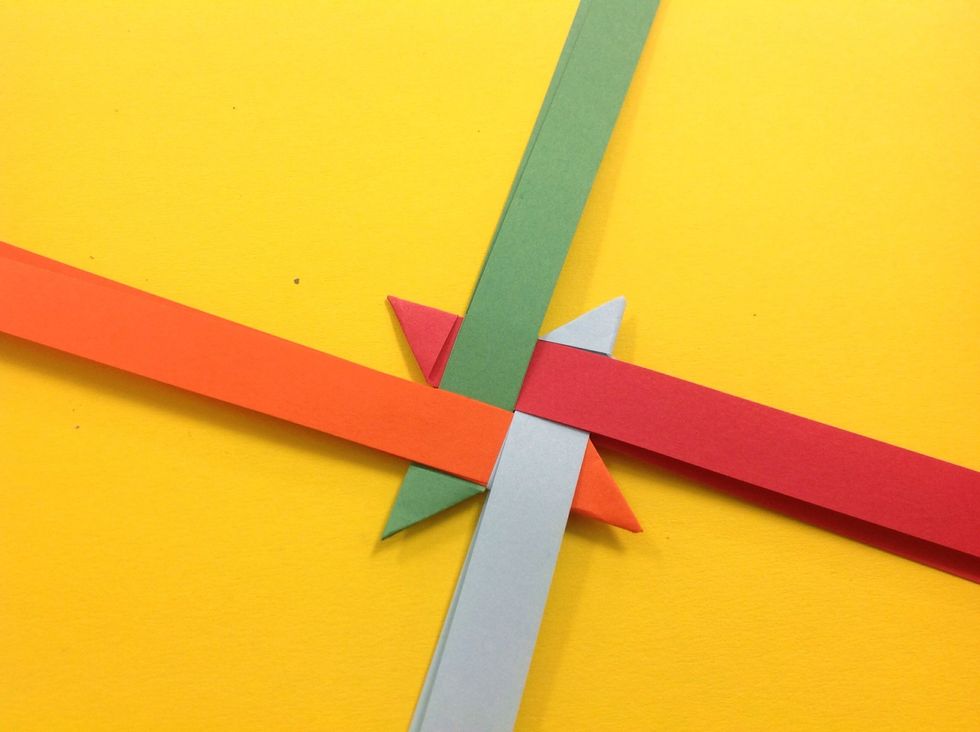
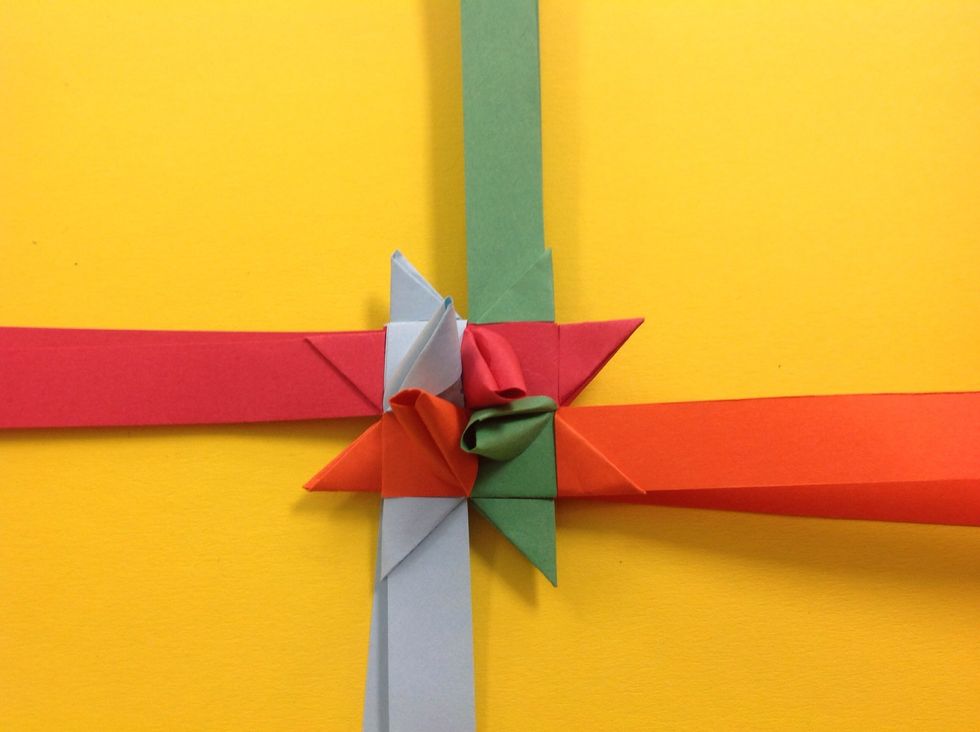
Tighten and square up the strips. You want parallel strips.
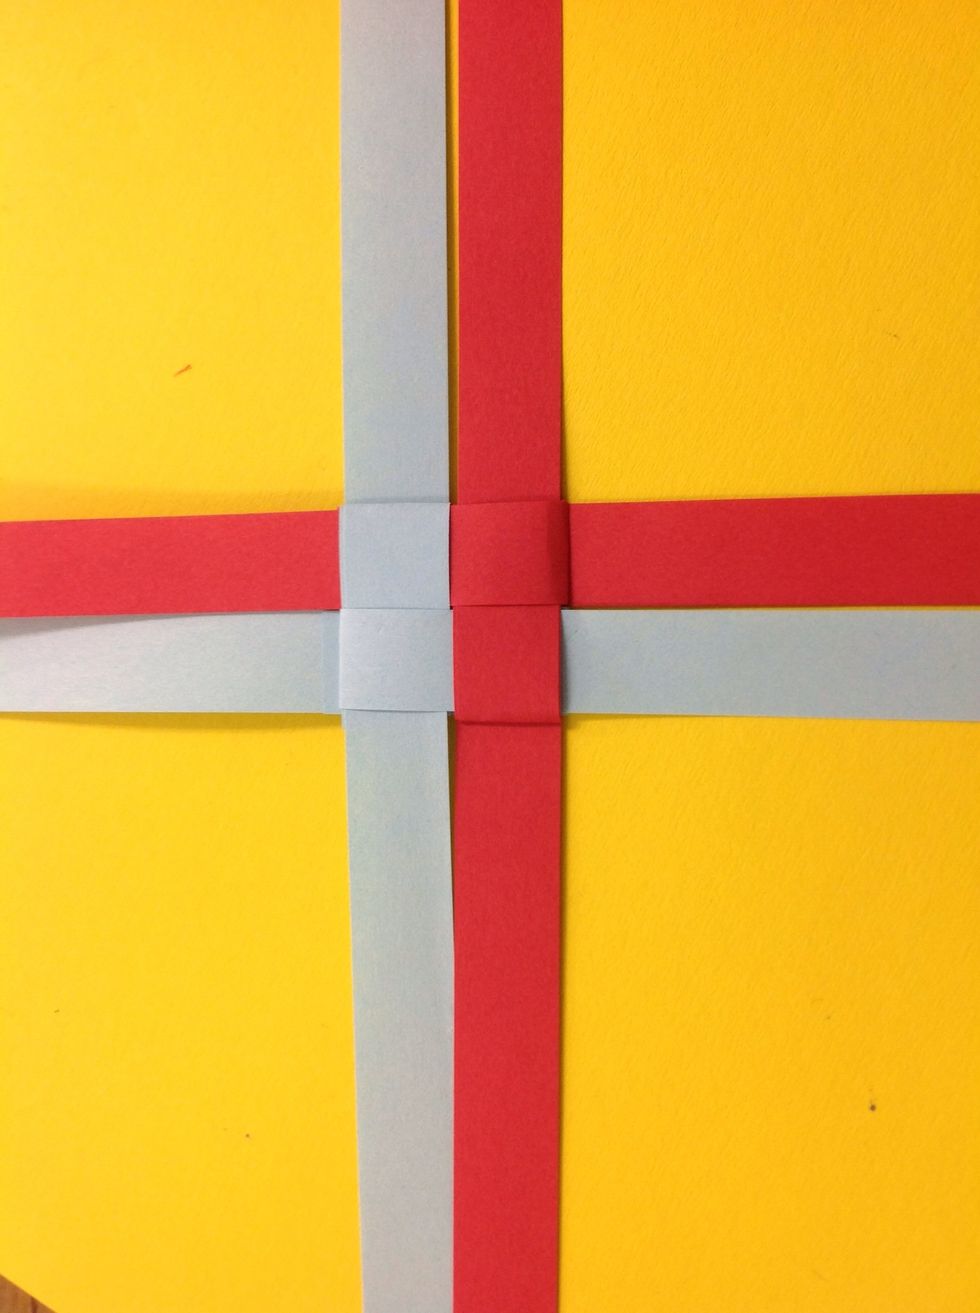
This is how it looks with the 2 colors.
Flip the entire thing over and repeat the box weave. This is how it looks when you use all one color. See steps 6-10 for help! Except that instead of being the top strip it will be the bottom strip...
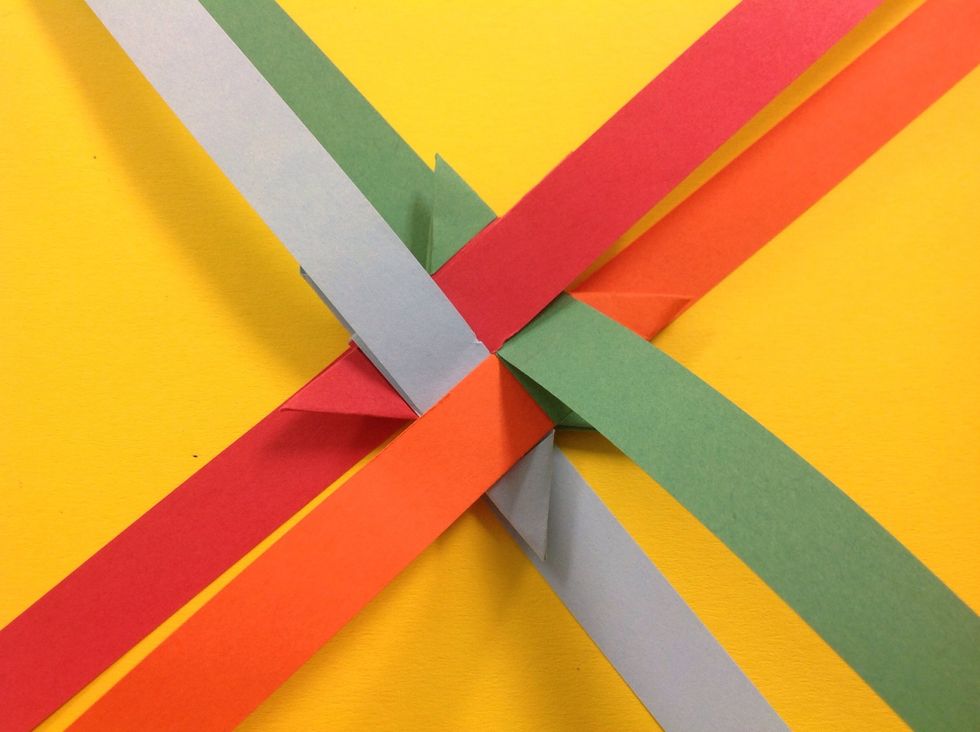
This is what your strips look like now that both sides have the weave.
Now, starting with the top right strip (orange here..) take the strip and fold it at a 90 degree angle UNDER itself to make a triangle point. The key is to make sure the strips stay parallel.

Now fold the strip back down to double the size of the point. Give a good crease.
Fold the triangle in half.
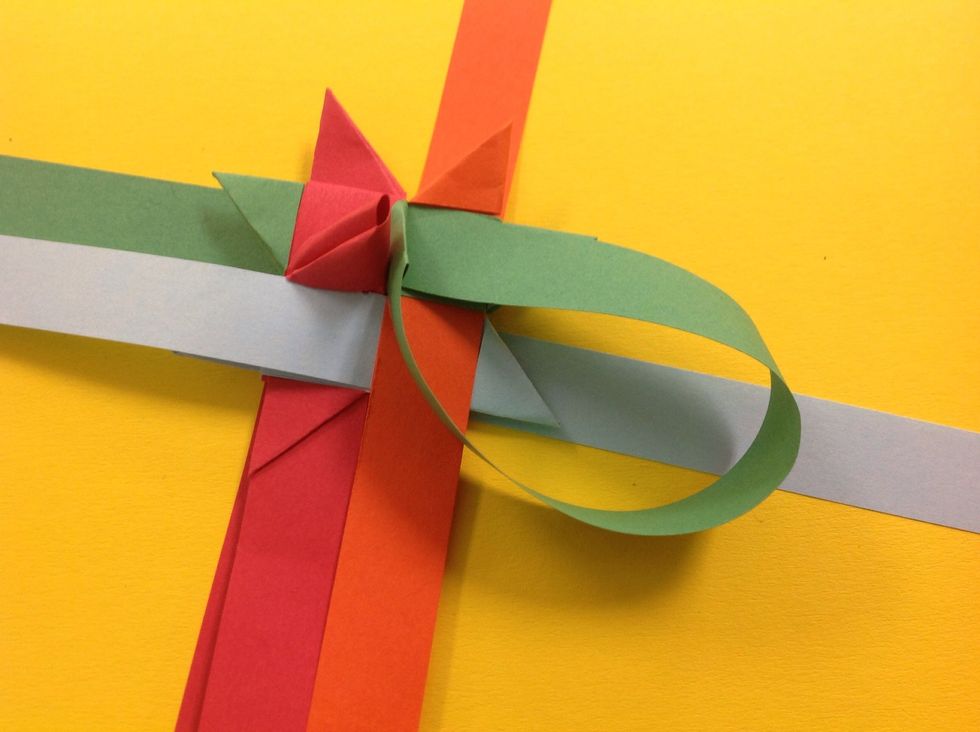
Now hold the tip of the folded triangle.
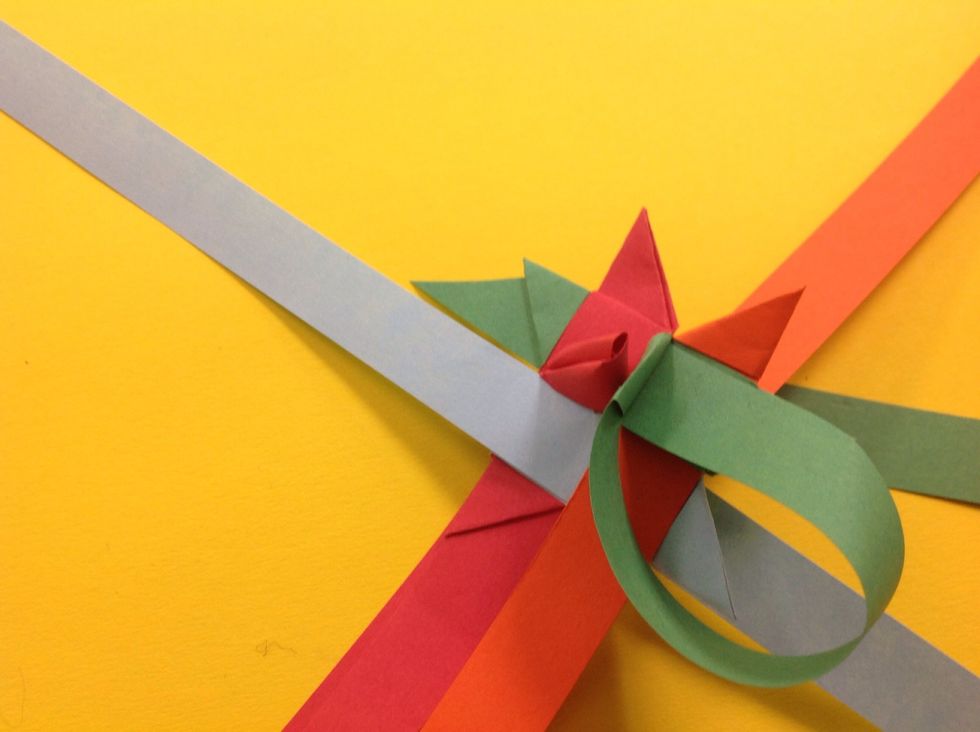
Take the end of the strip and place it through opening next to the base of the triangle you just created.
Pull the strip all the way through to form a tight triangle.
Turn the piece a quarter turn and repeat the steps on the three remaining strips on this side of the star. You will have 4 points on this side.
Flip the star over and repeat the steps making the points.
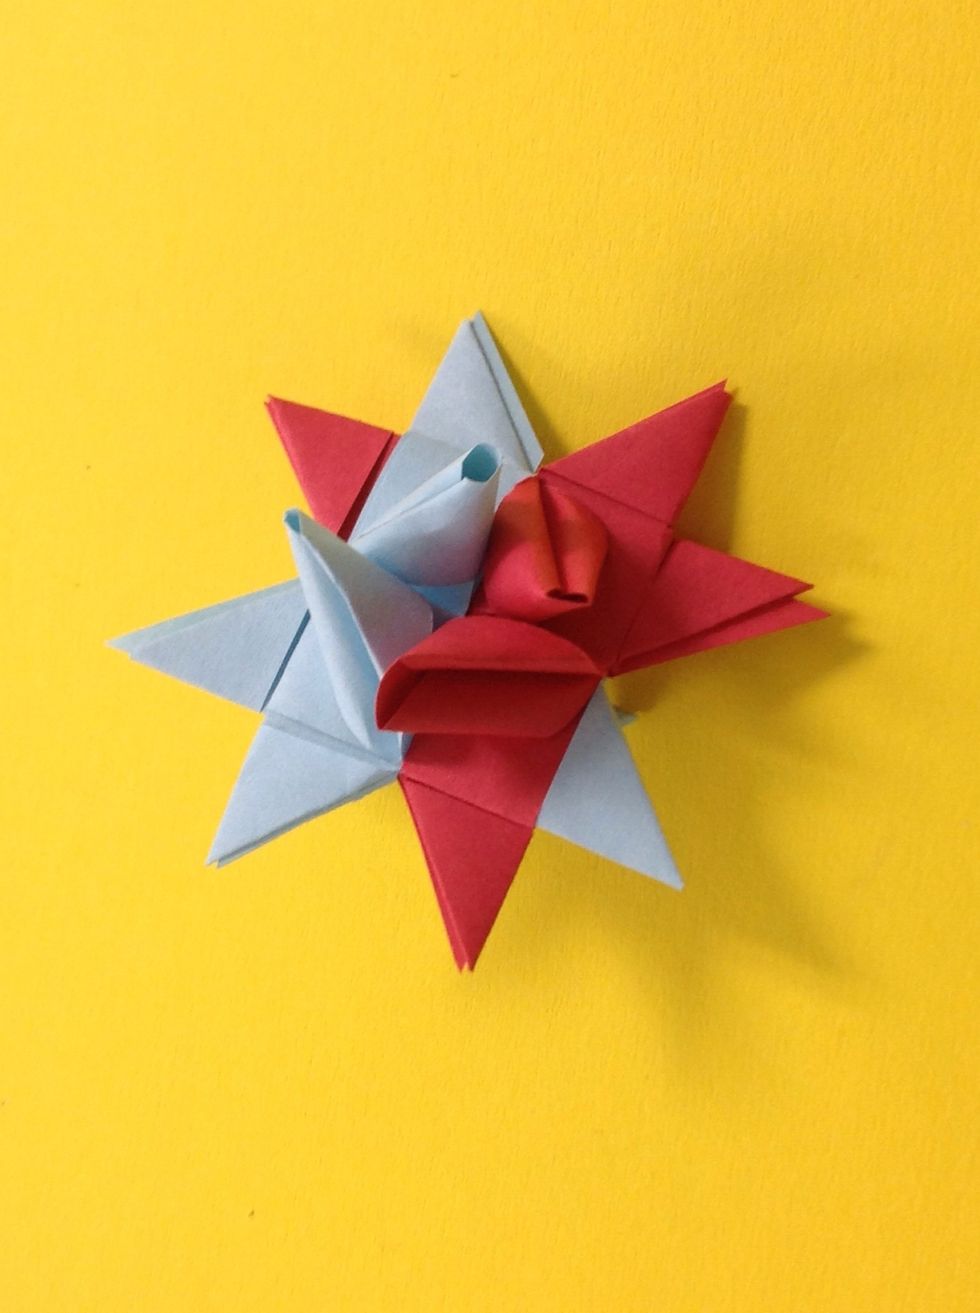
When you have all of the 8 points made, this is what it should look like.
Now take the top right horizontal strip.. and fold it at a 90 degree angle towards the center of the triangle. Make a tight crease. Feed the paper into the hidden opening next to the loop.
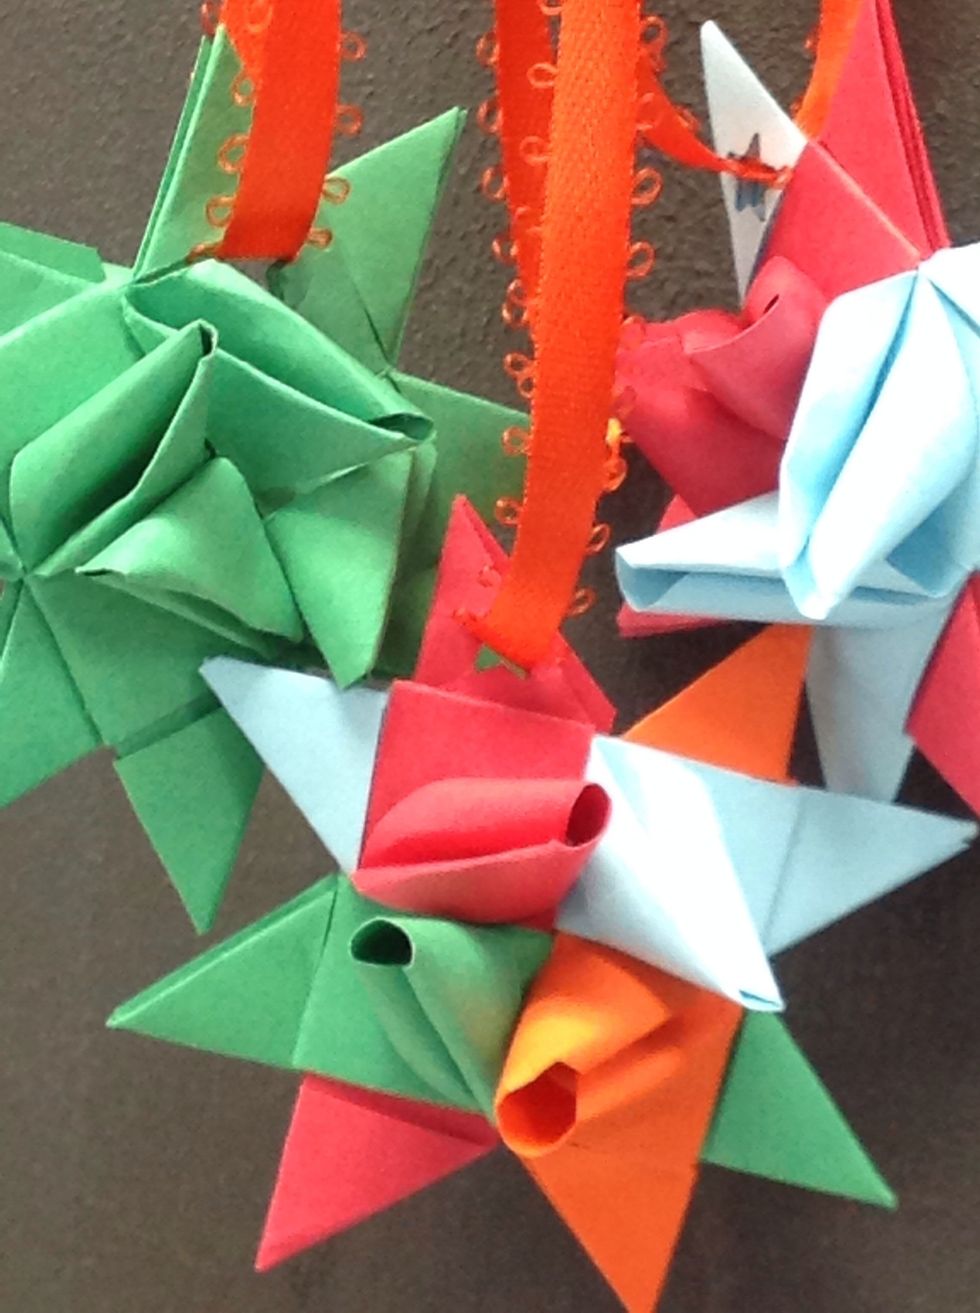
Done correctly, the paper will feed out of the center of the triangle of the SAME strip of paper.
Continue your way around the star.
One side done. Flip the star over and repeat.

Trim the excess strip off next to the point of the star.
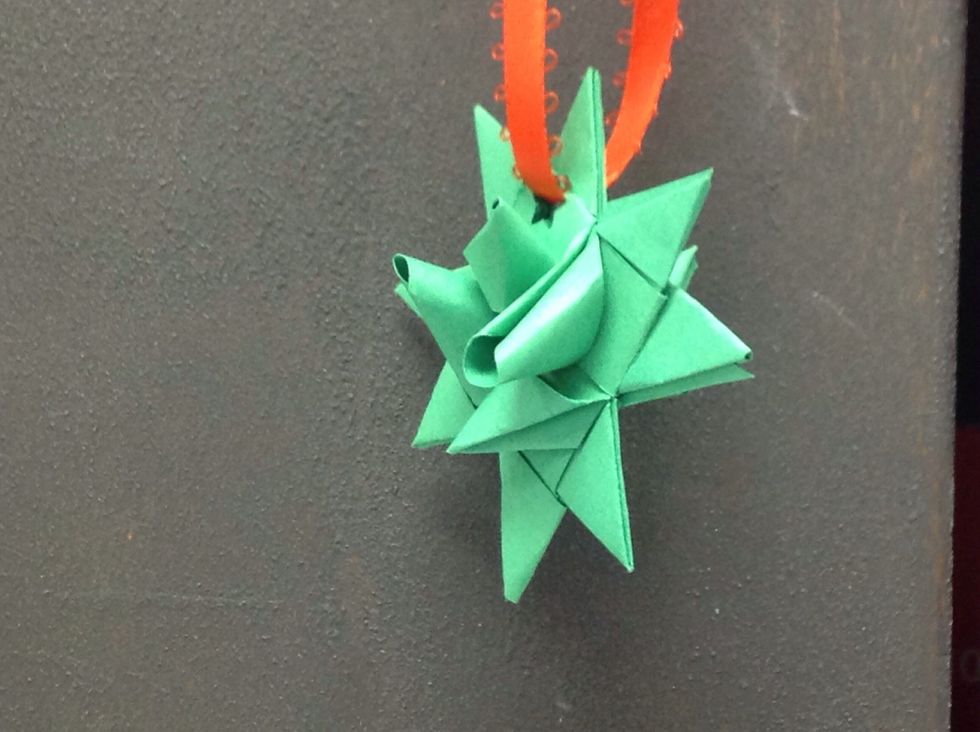
Punch a hole in the star and string with ribbon. Makes a great ornament.
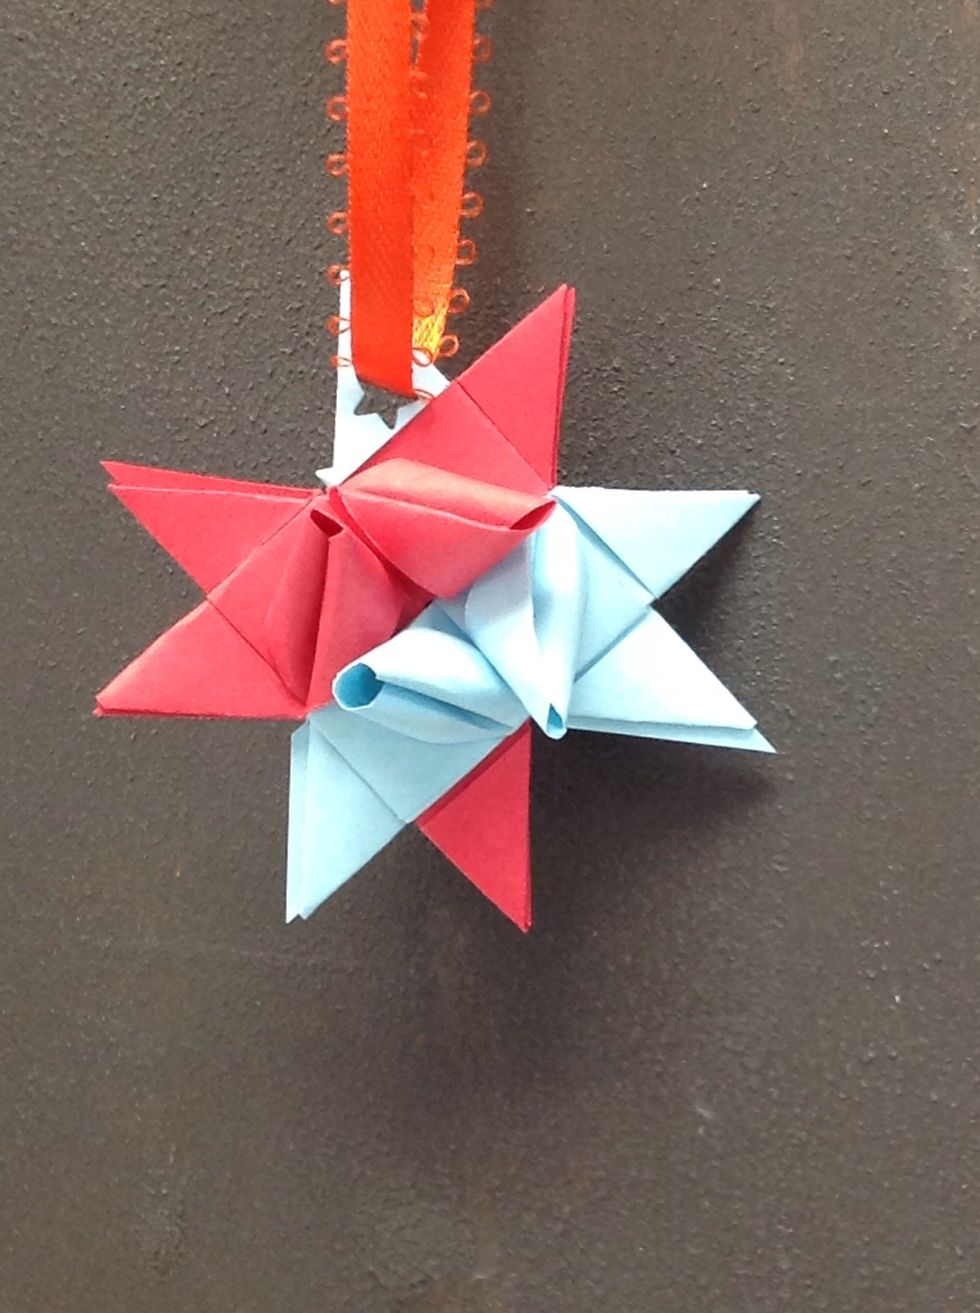
A 2 color star
This is a great project for young and old. It's just 4 strips of paper. No glue, no mess. But glitter would look really nice on them!
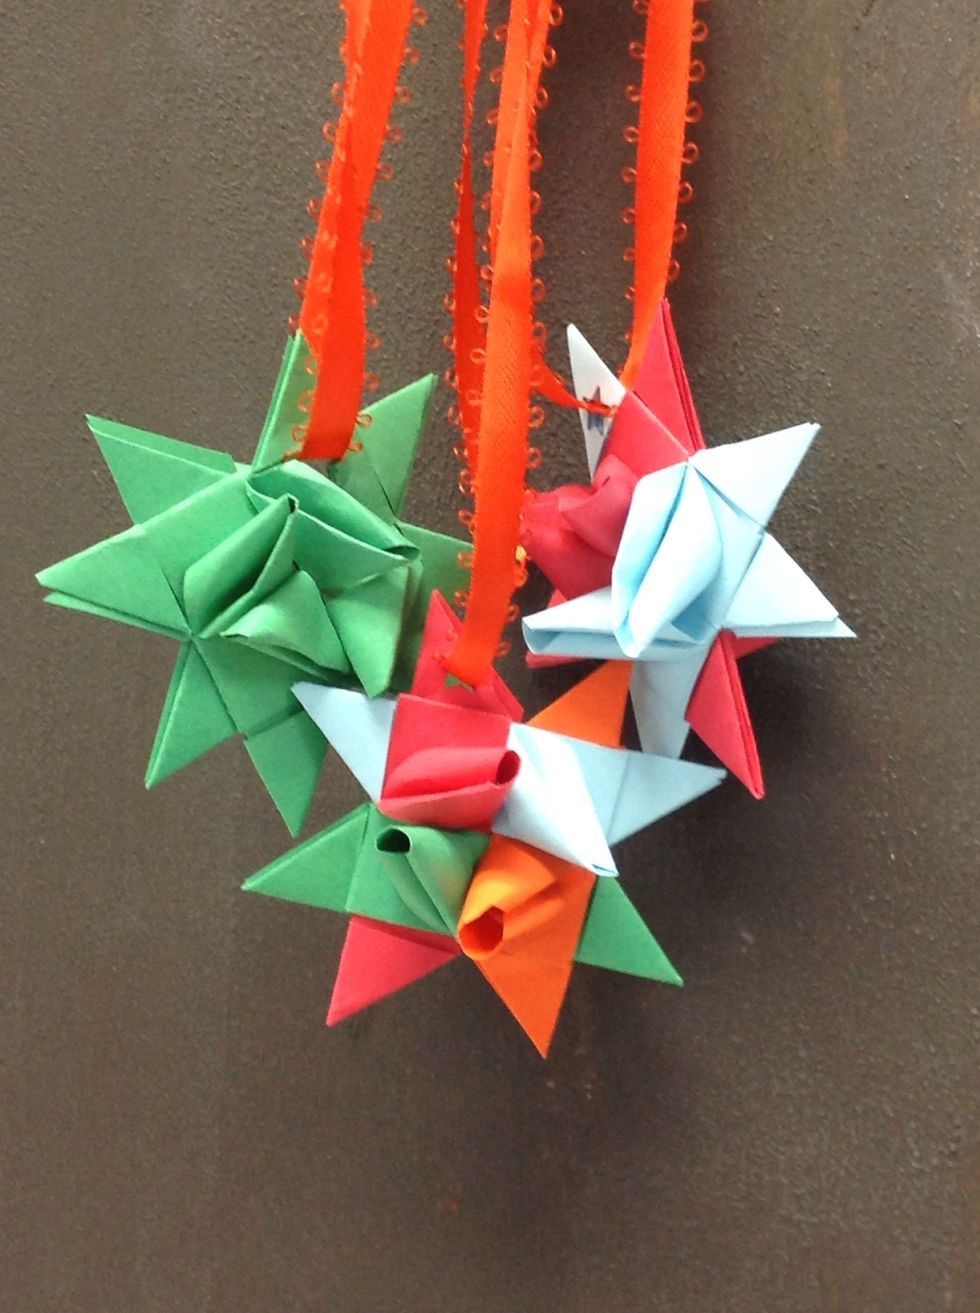
Enjoy! ww.faithhopeandart.blogspot.com