The Conversation (0)
Sign Up
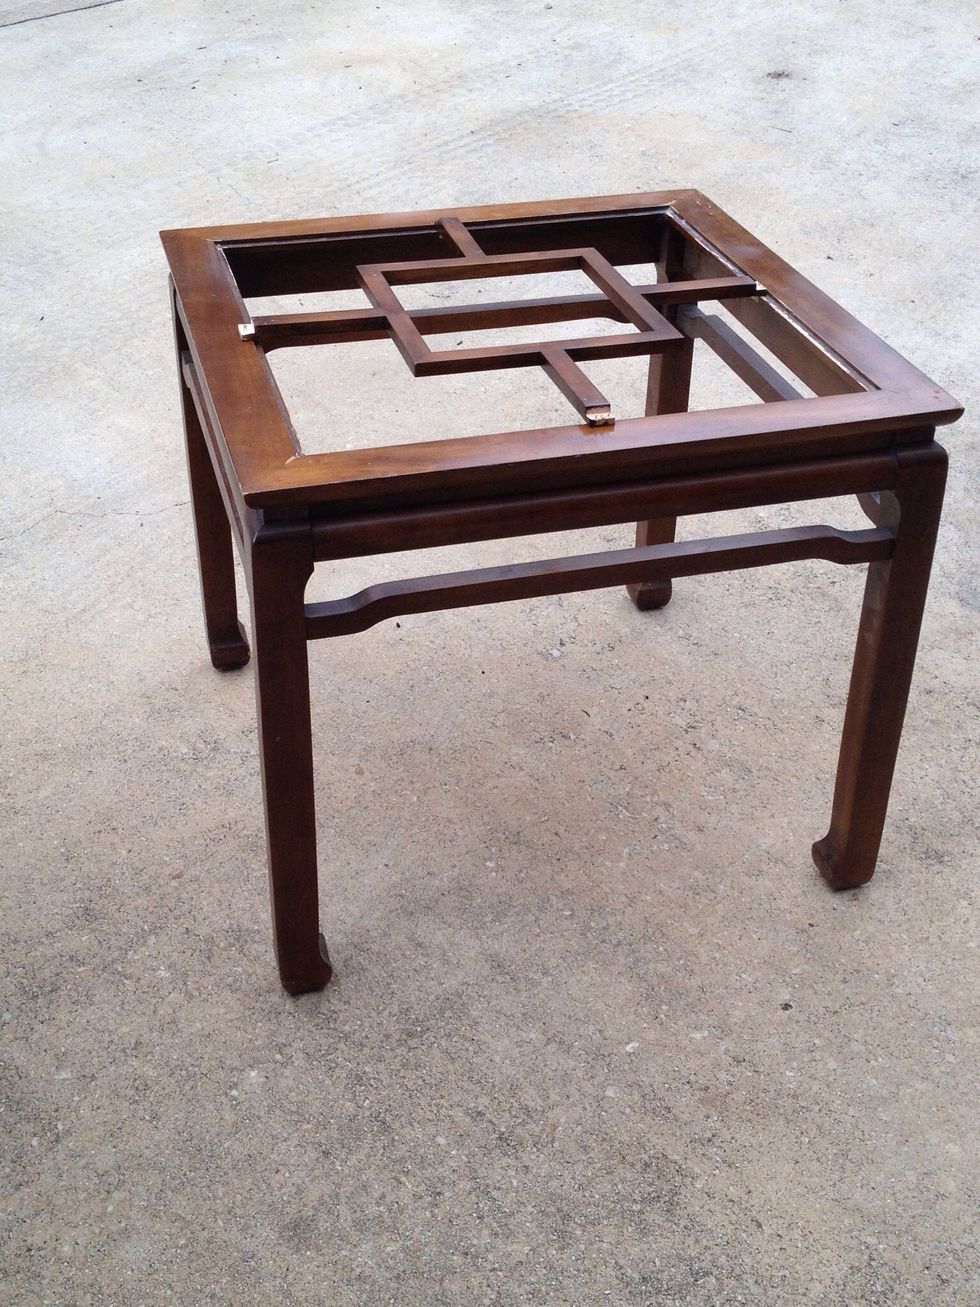
Table's glass went missing after a move to a new house. Since it's useless it's been tucked away in a garage- till now.

I applied chalk paint to entire table. You can still see a bit of the brown through the paint, but it will only add to distressed look later.
Measured opening so that I could replace missing glass with wood.
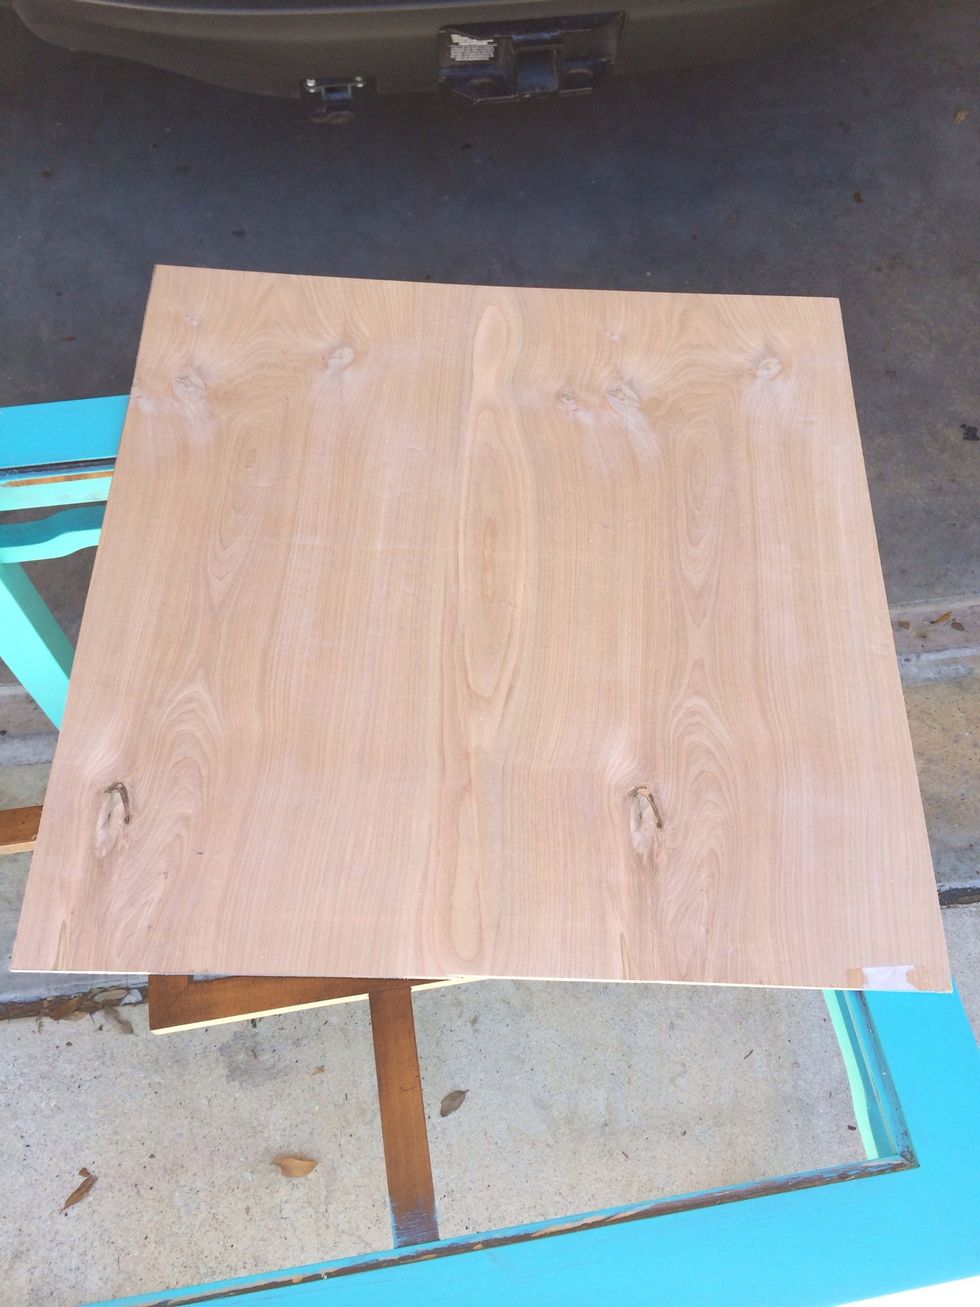
Measured board to fit. Left bracing in place because plywood is so thin. It will help support and give something to affix board to.
Cut to fit
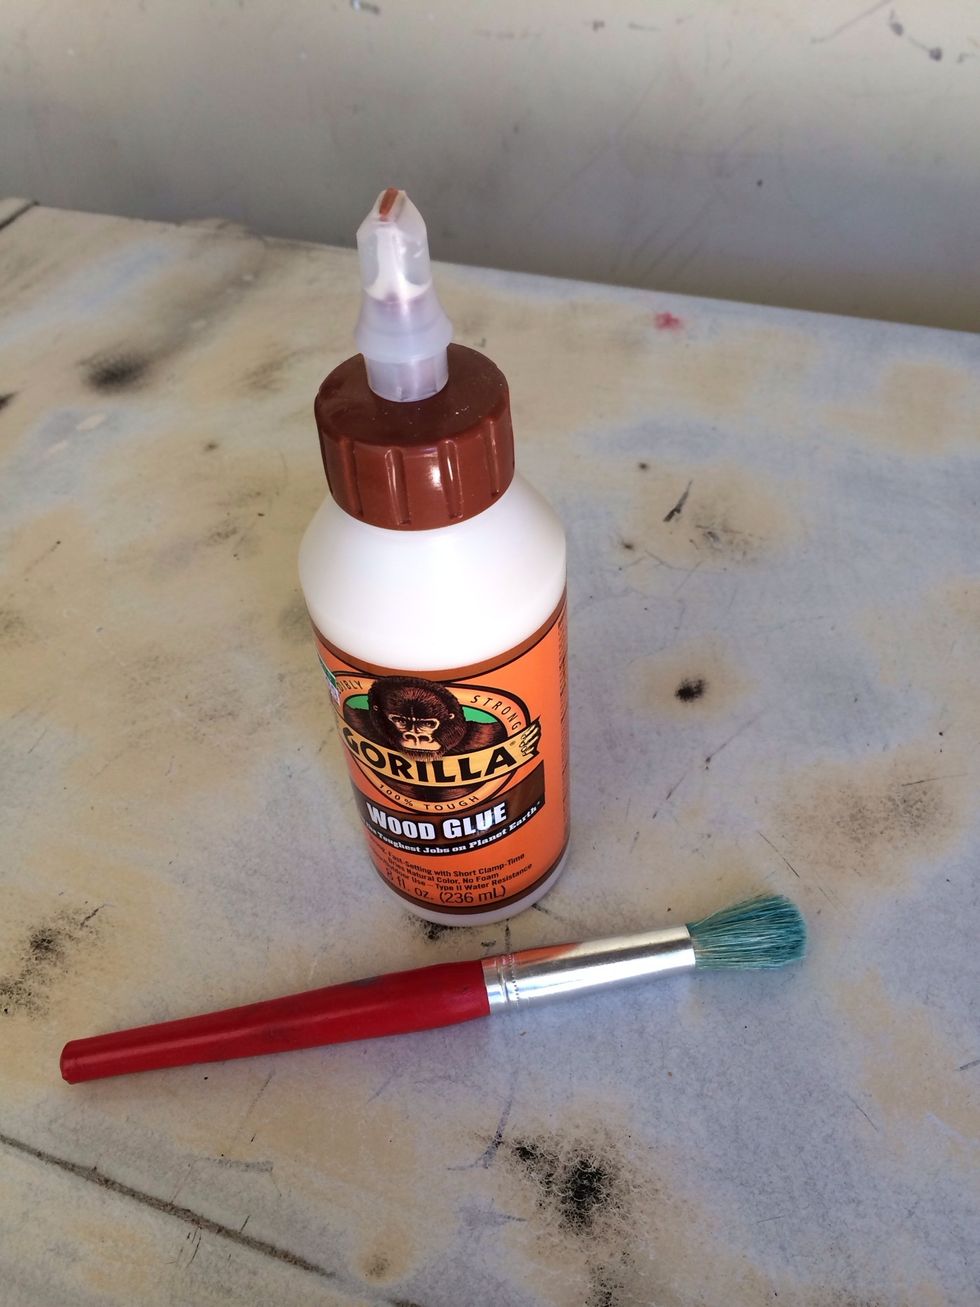
Using wood glue so I don't have nail or tack holes to deal with.
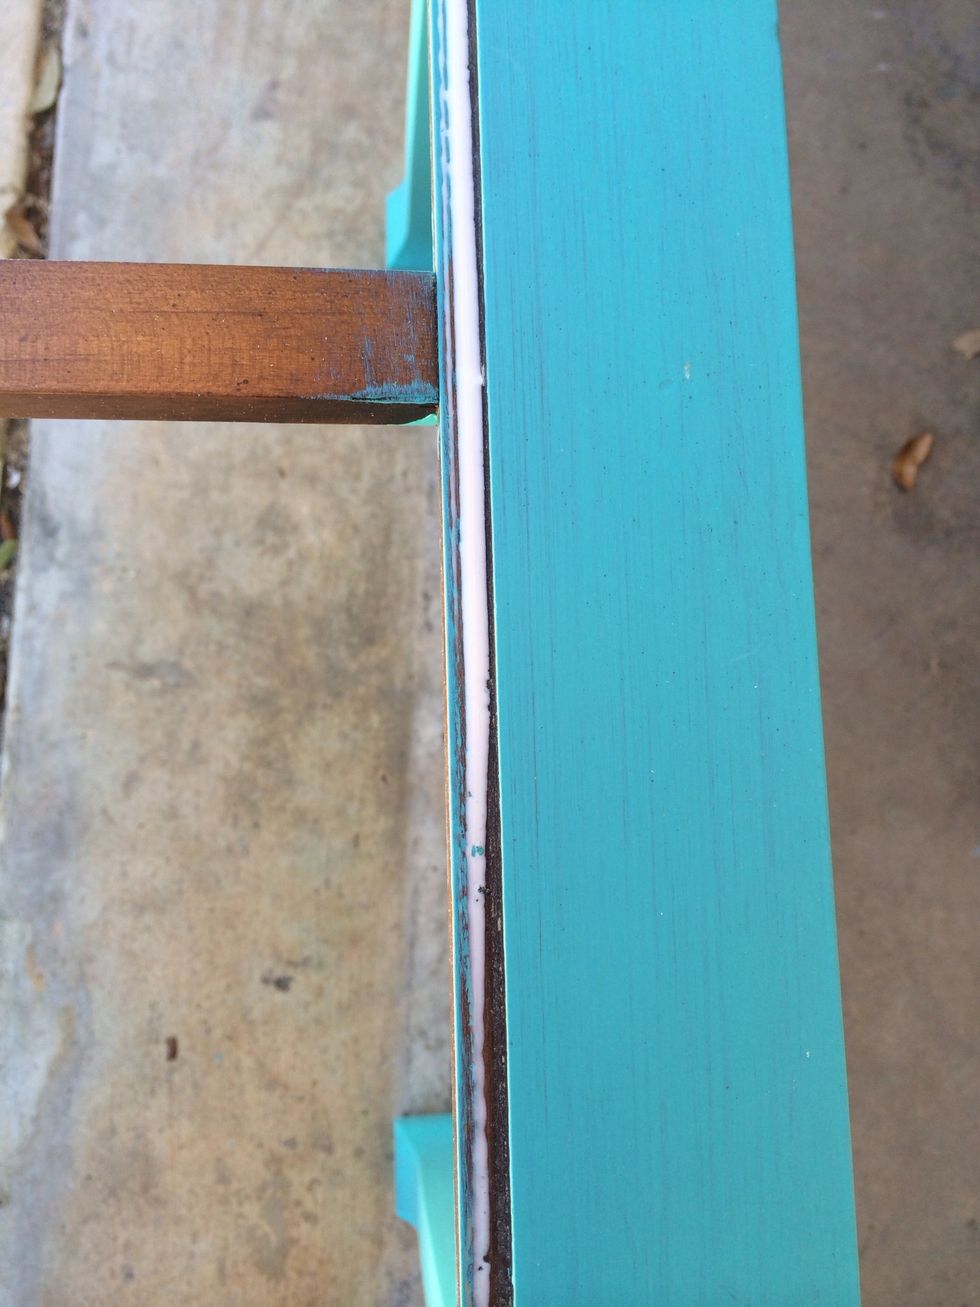
Started to use brush to apply glue, but used finger instead to smooth glue out.
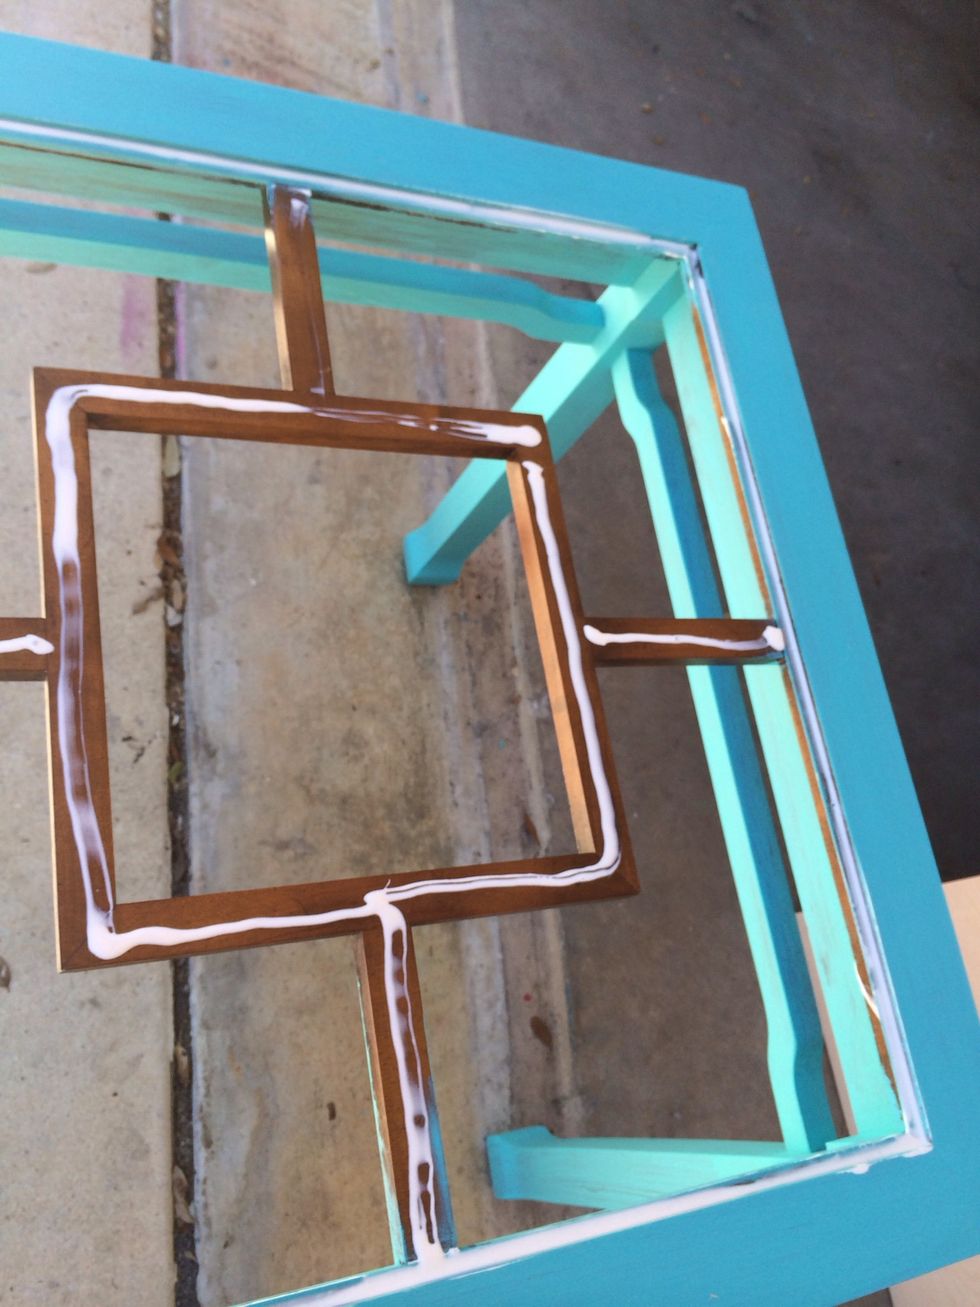
Almost forgot to put glue on support frame
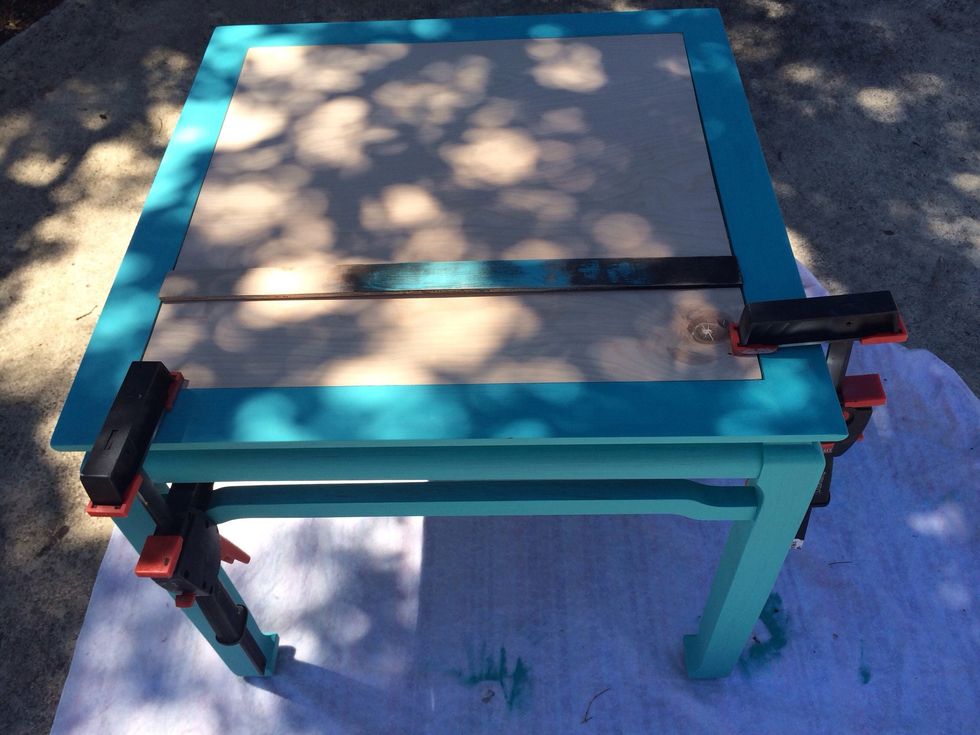
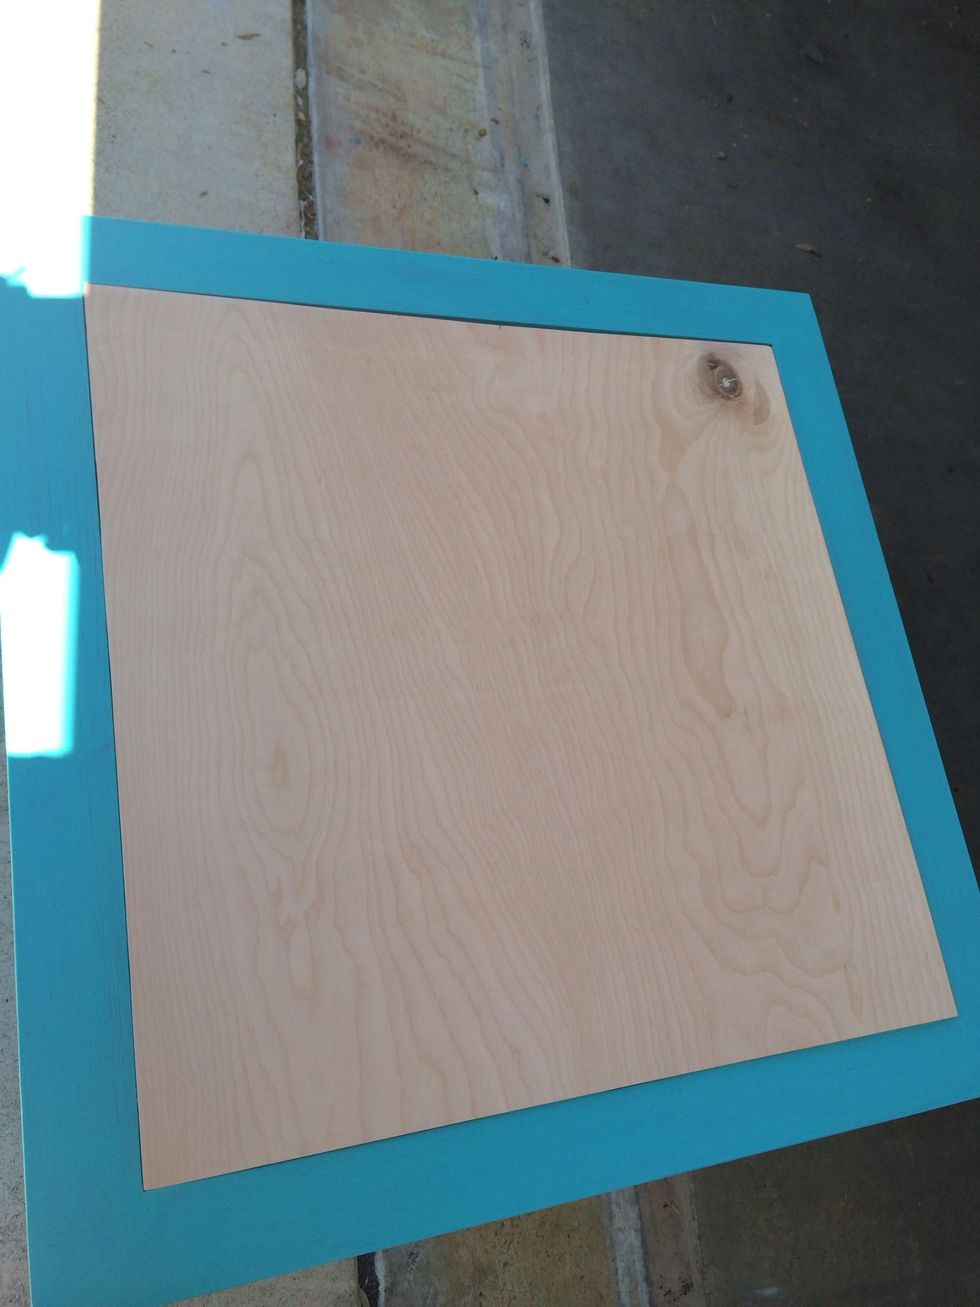
Placed board in place and used clamps to secure while glue dried
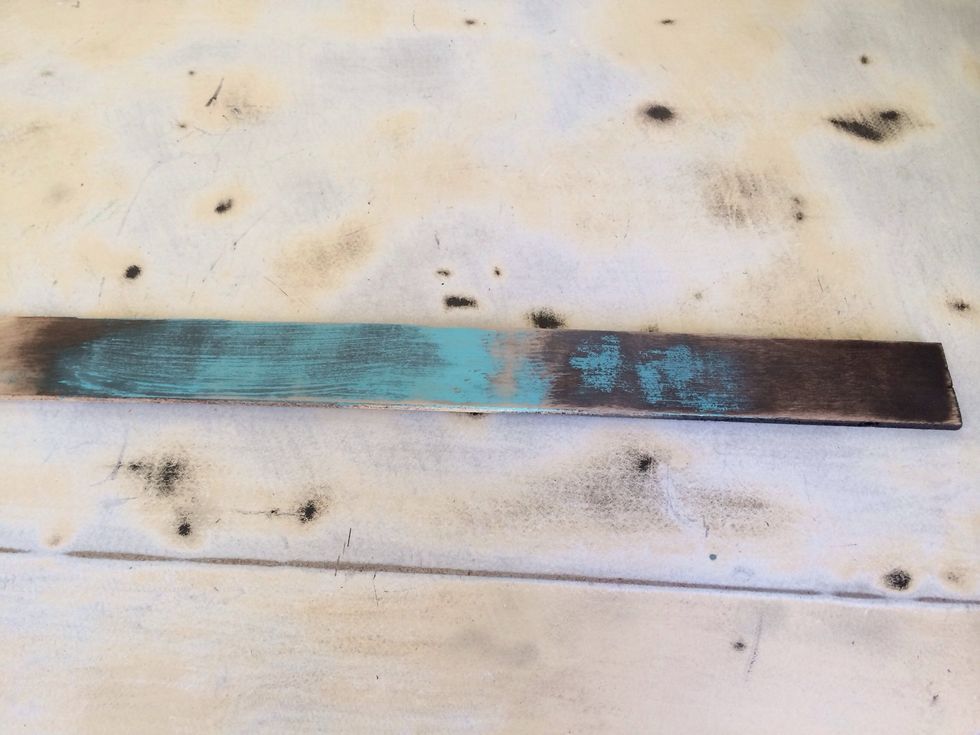
Used scrap wood to test out stain and paint. Decided I liked the look of stain then paint the best.
Stained board
Added a coat of paint on top of stain. I had tried using stain on legs to distress, but did not like the results. So I repainted the legs also. Oops. Trial and error.
Using sander- distressed the top
Then the sides and legs
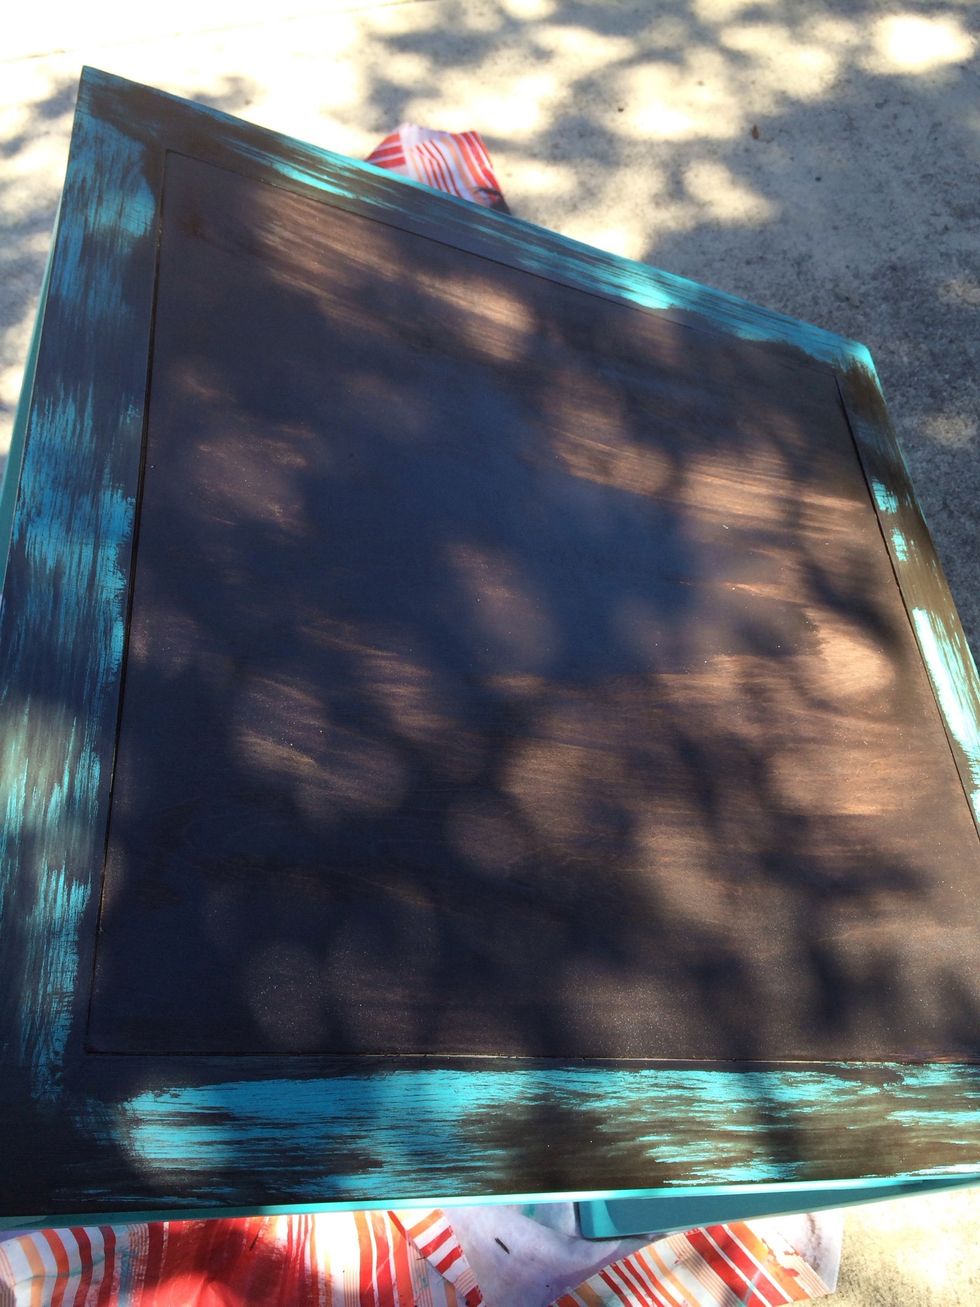
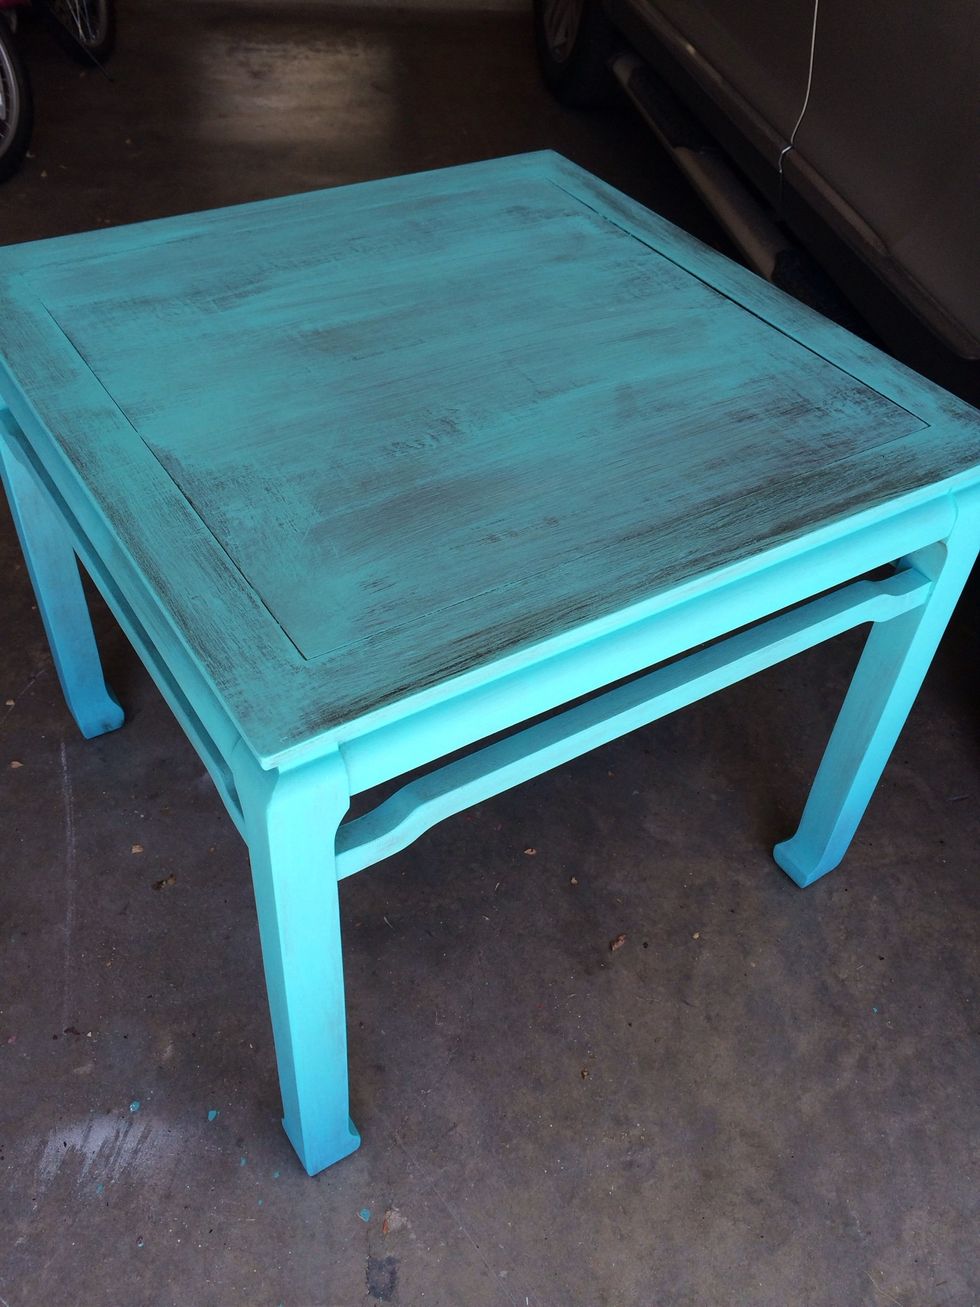
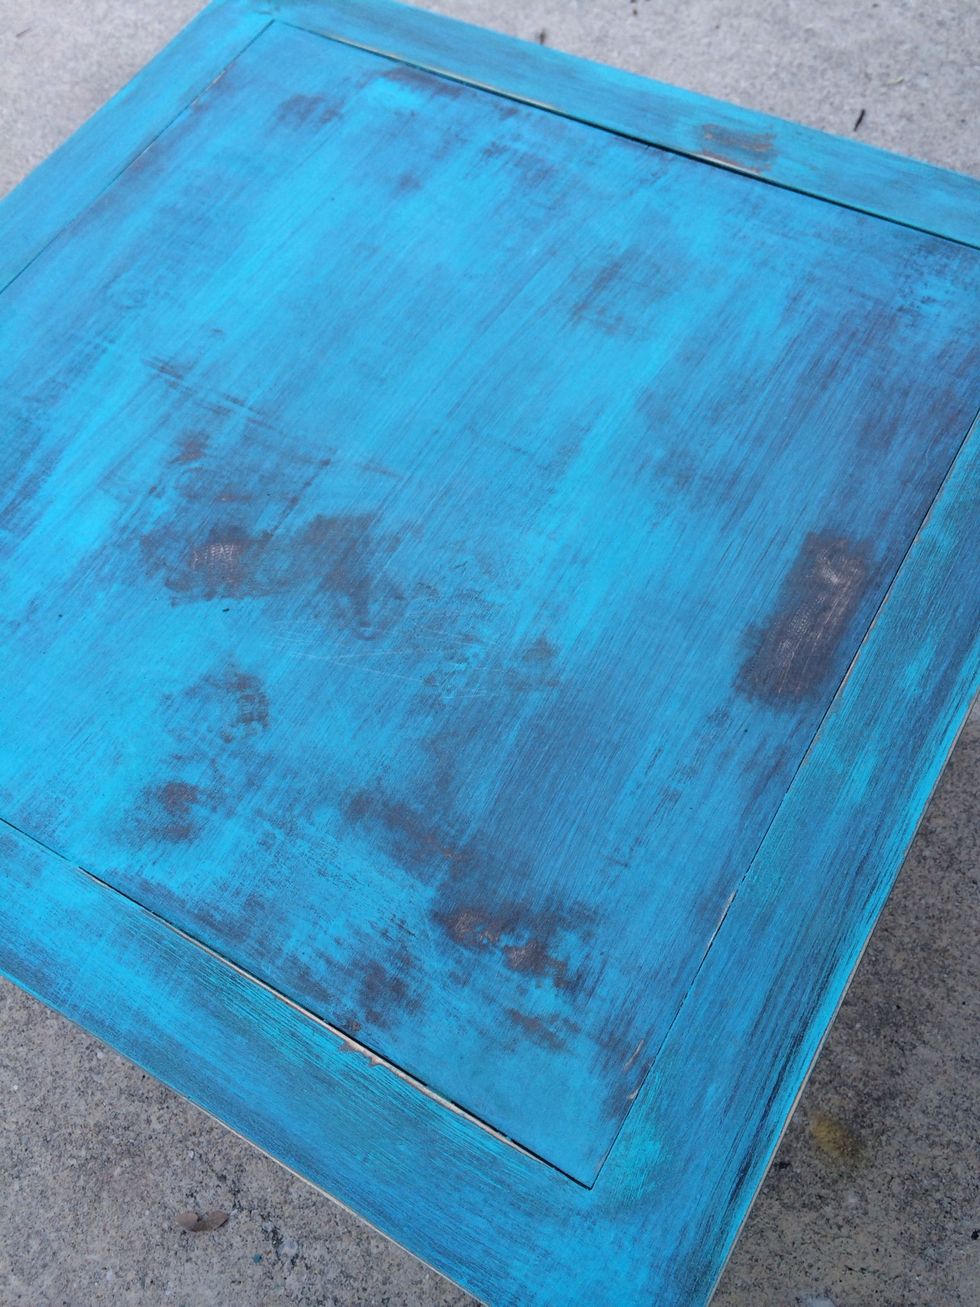
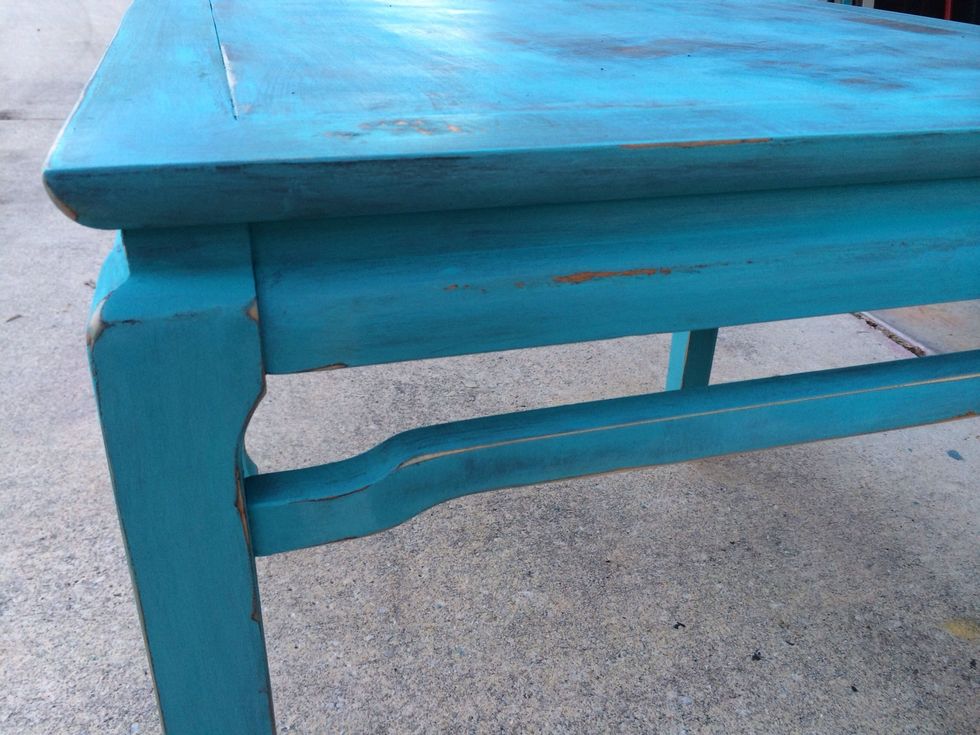
I missed a pic here... I added another coat of paint to top after I distressed it. I felt it was too distressed. I still can't seem to be happy with it. Time to brainstorm.
After seeing how plain the top looked I decided to add a pattern to the top. Initially I was going to do a brown chevron color, but wanted a brown monogram. I picked a diff color so you can see both.
I switched pattern to a larger size (now minty color vinyl) Applied vinyl to paint around it and achieve the chevron print. I'm not good with freehand so I did it this way. I've seen tape used too.
Now I decided to use a blue to contrast. I applied paint over entire middle area. I will remove vinyl after paint starts to dry a bit. I am only using vinyl as a stencil.
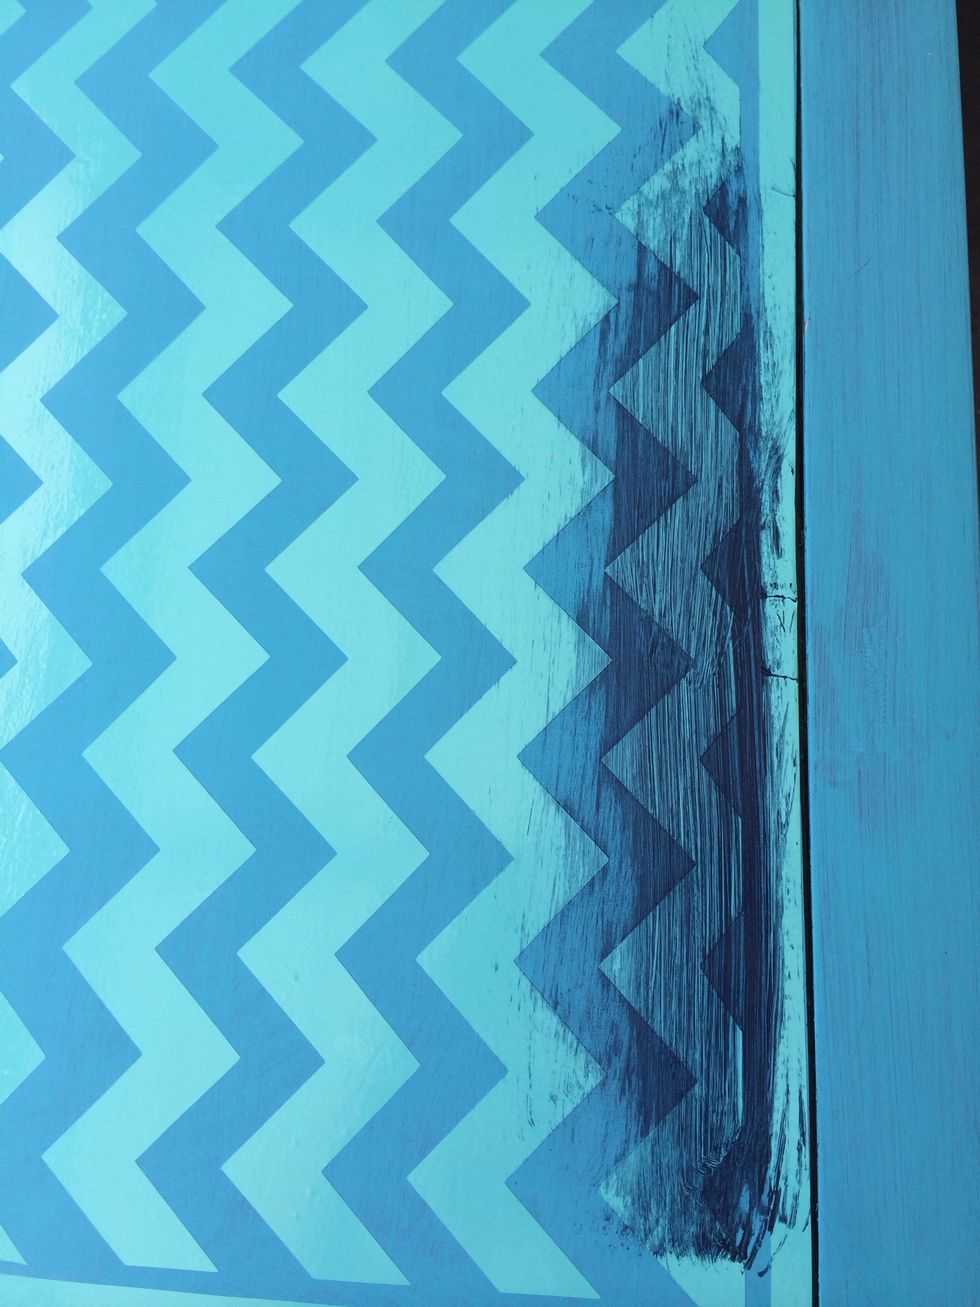
Painted all in blue. Now to remove vinyl. (I wouldn't want that much vinyl to stay- it could get damaged and mess up table. That's why it's just a stencil for me)
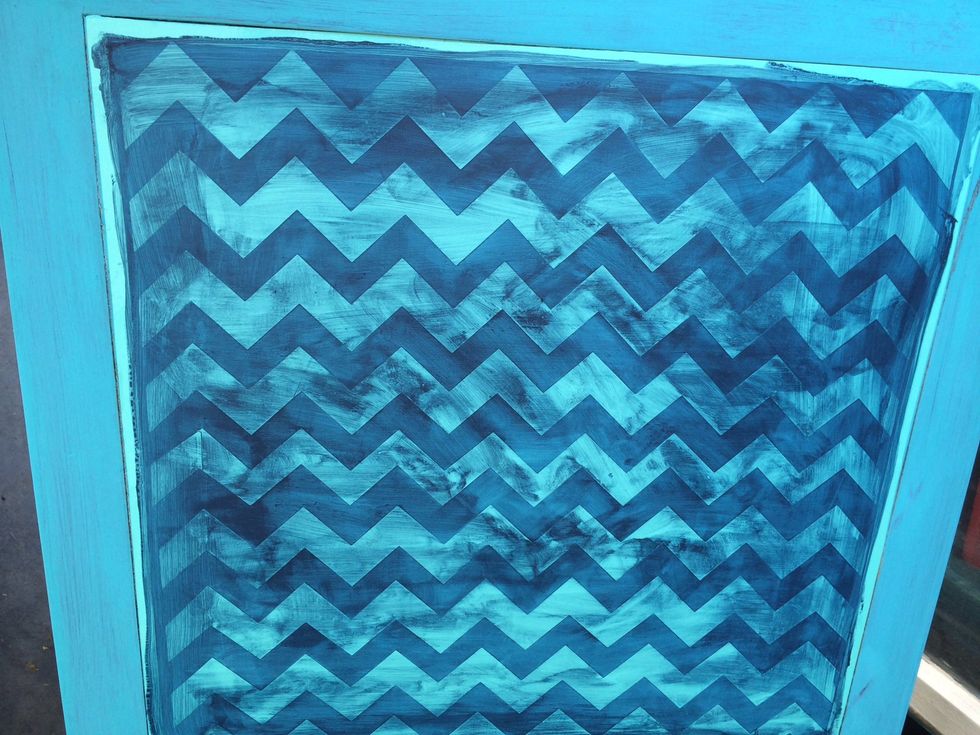
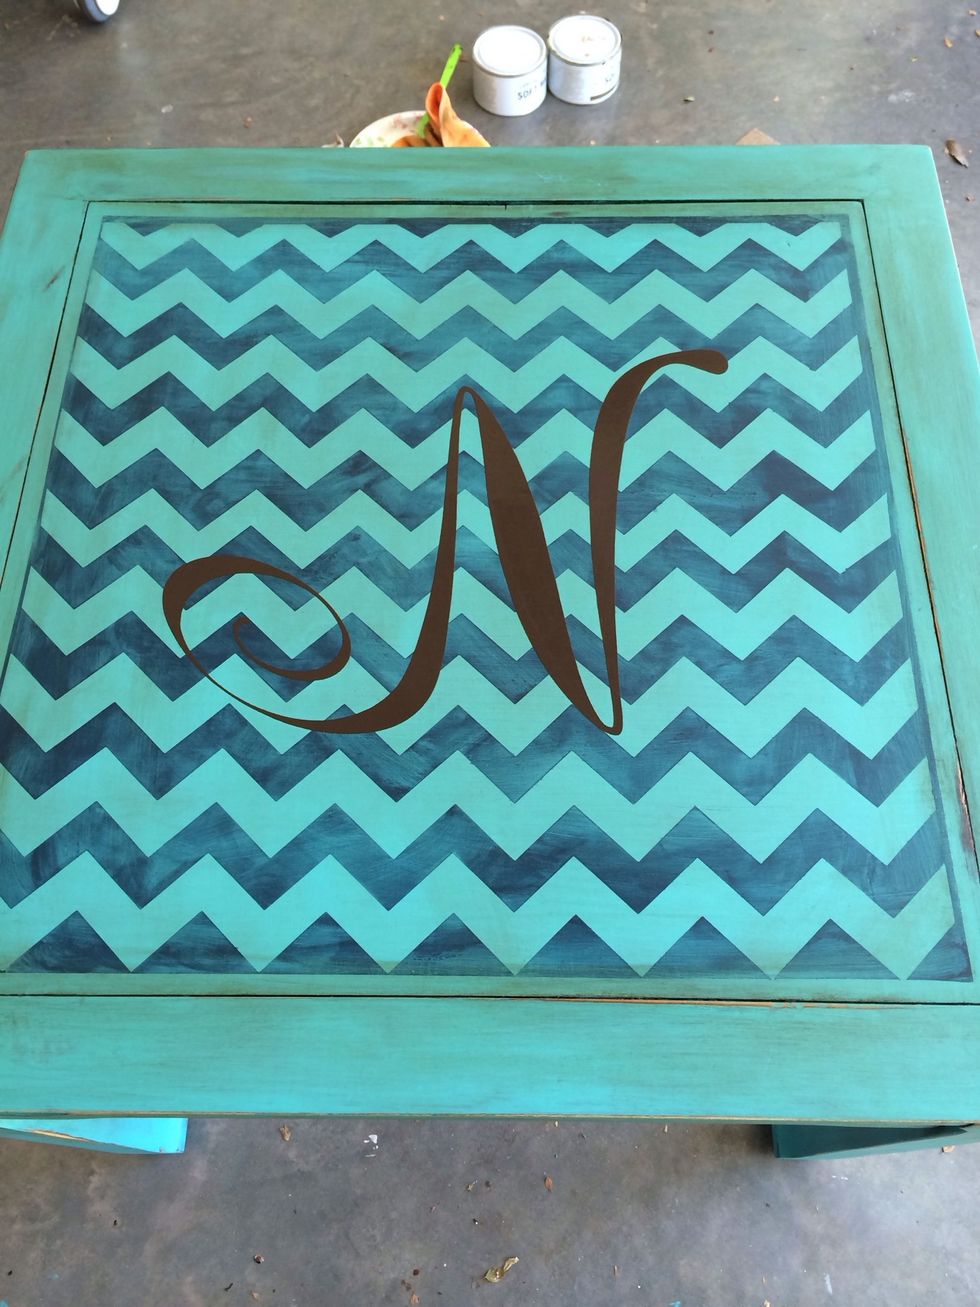
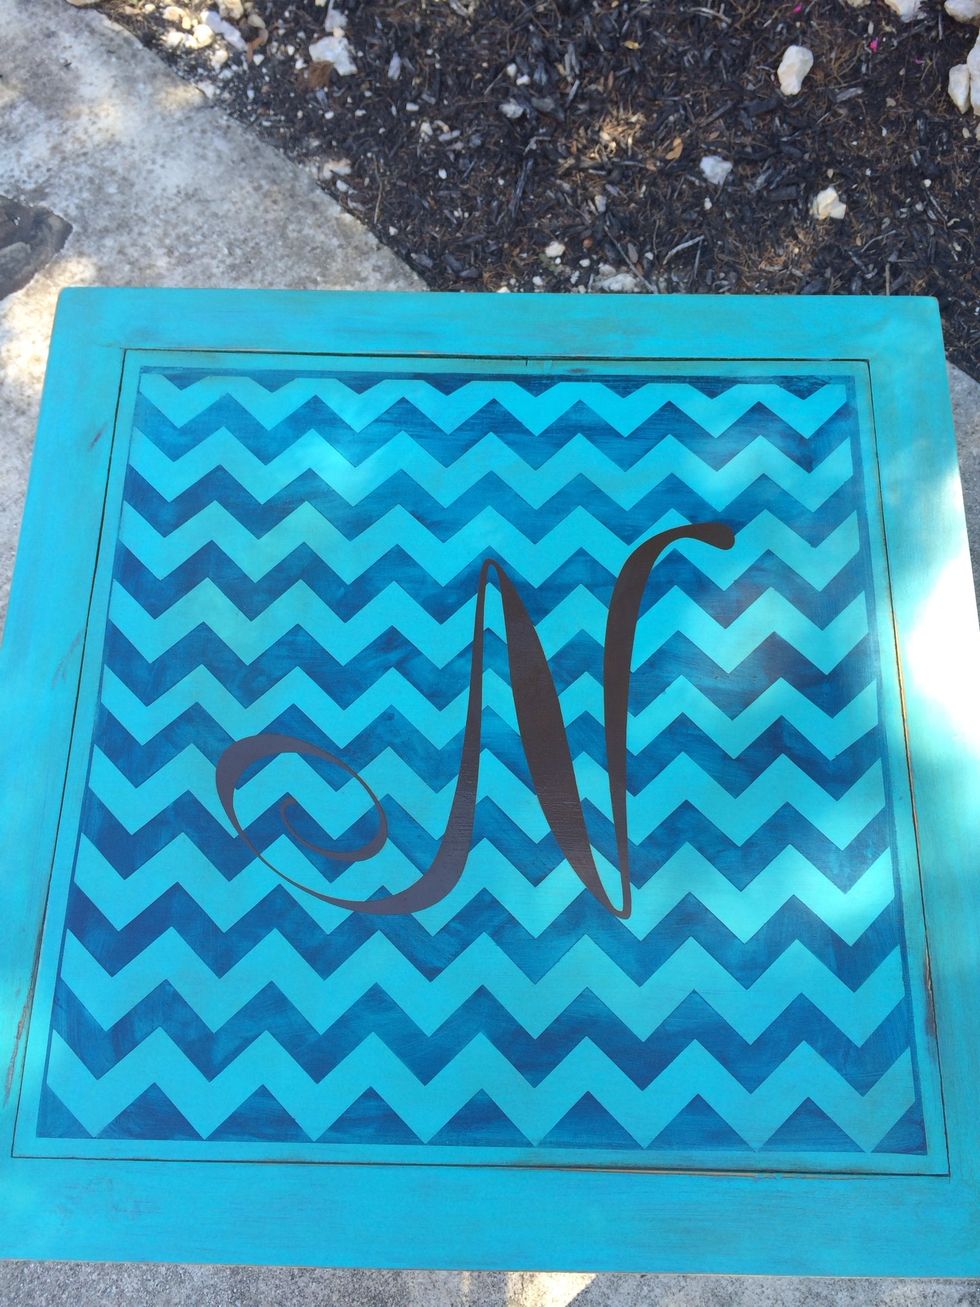
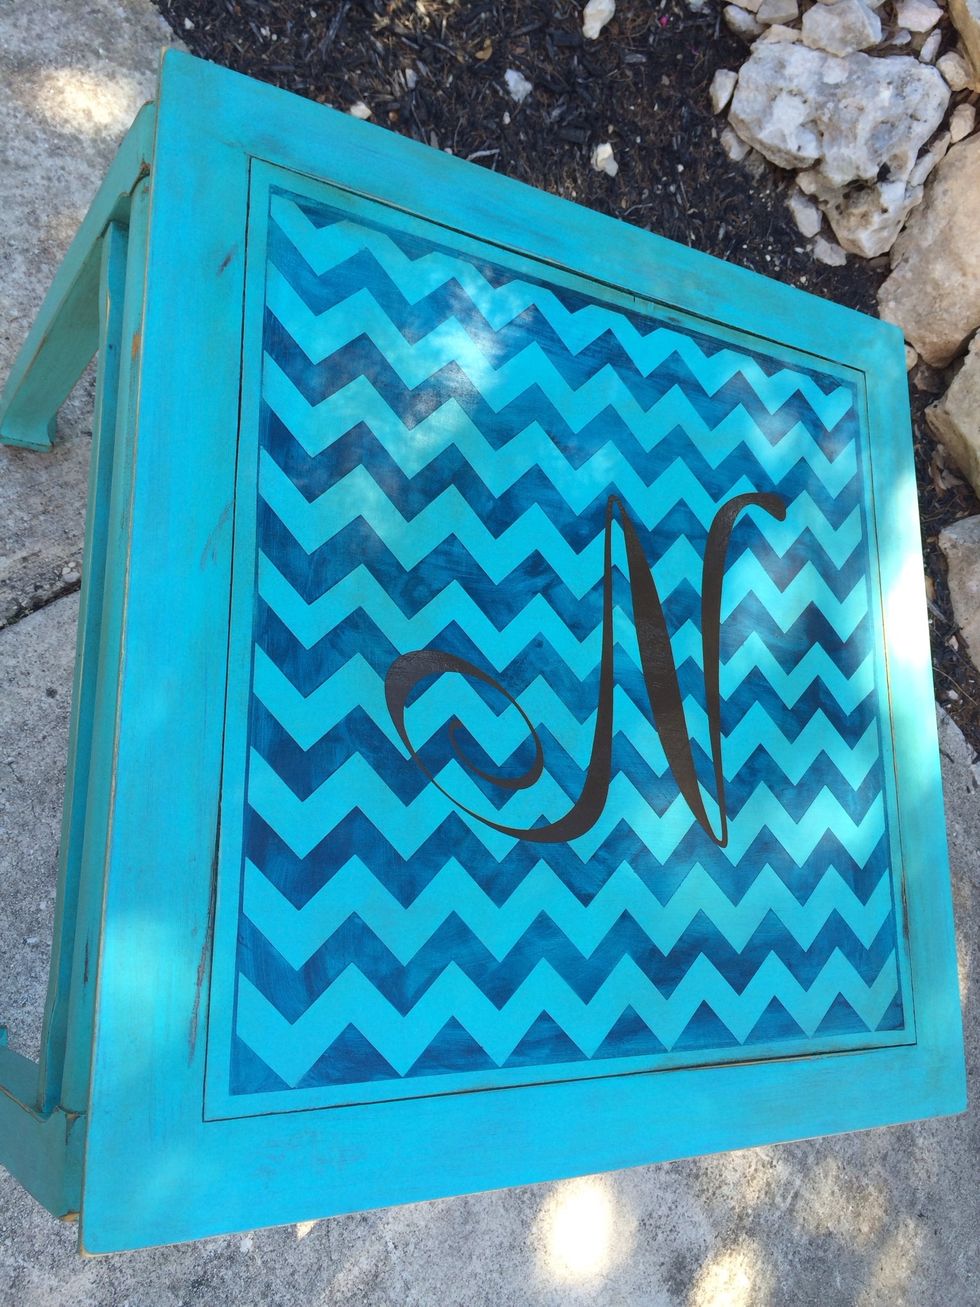
Removed minty vinyl and I'm left with my turquoise and blue chevron pattern
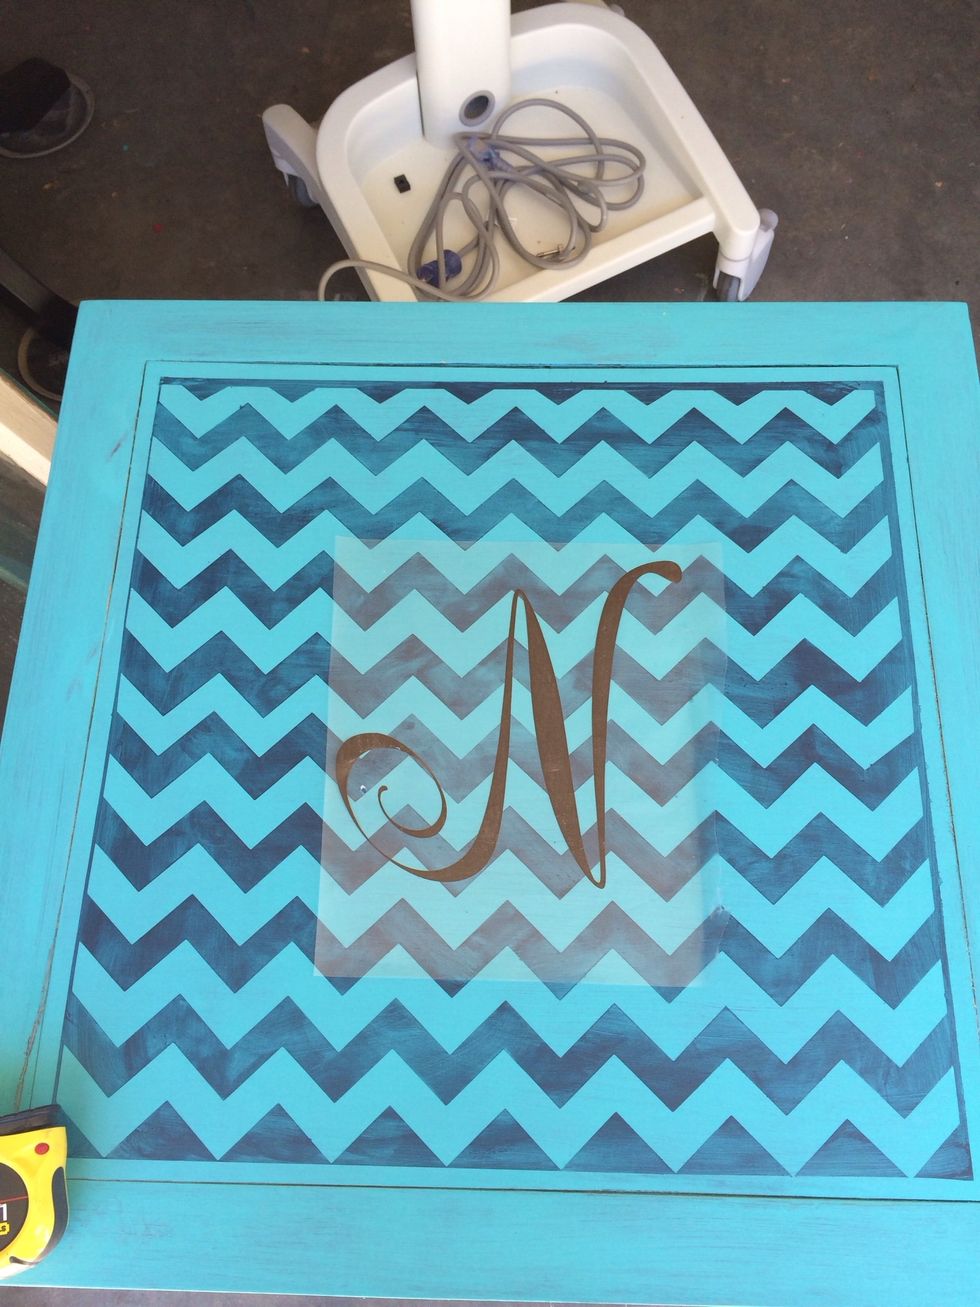
I will also add a monogram, but this time I will leave the vinyl in place.
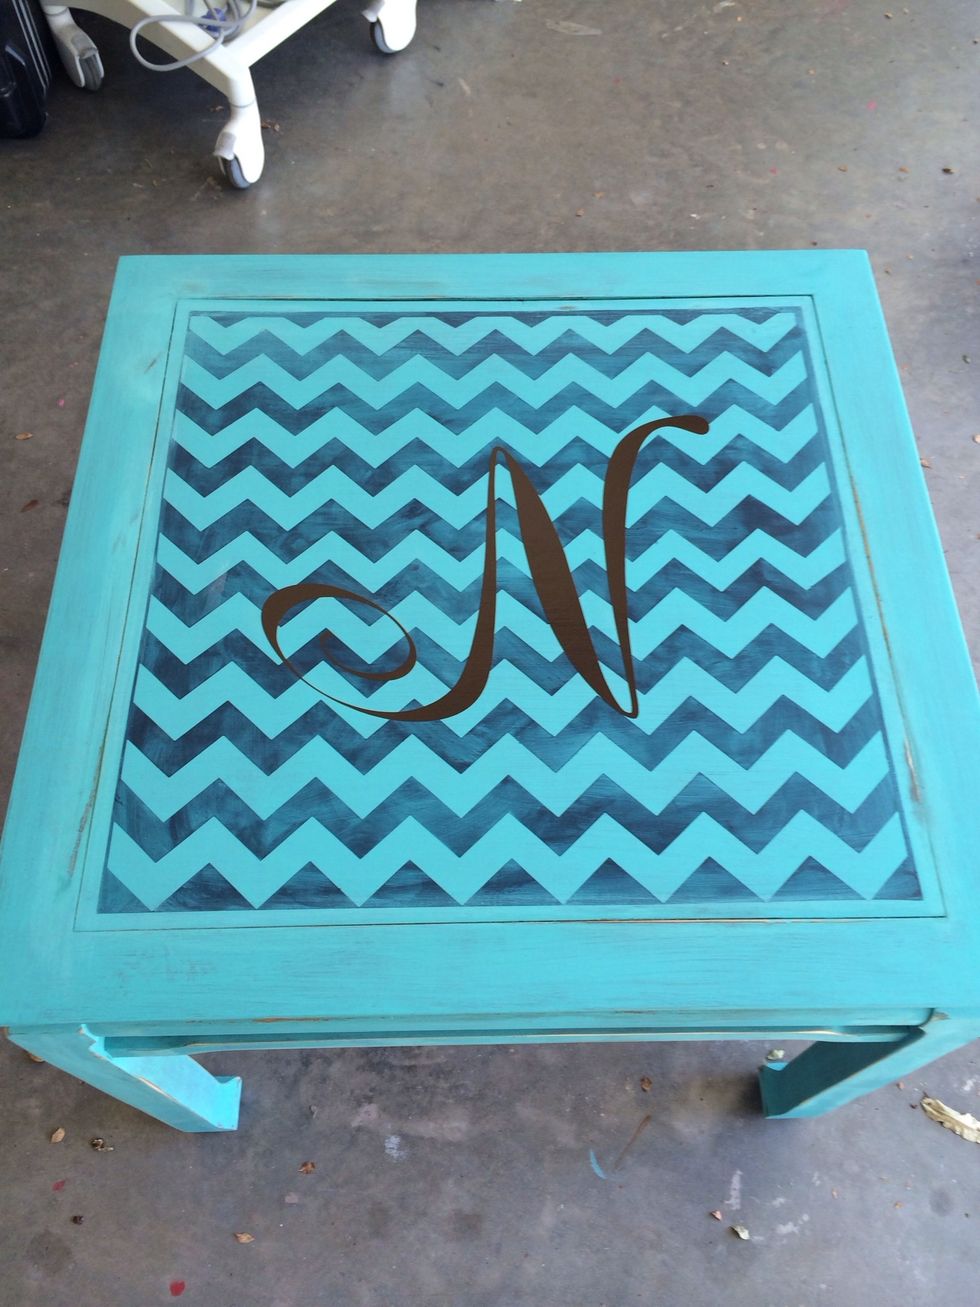
She wanted a larger monogram!
Waxing- clear applied first, then dark wax to areas you want (this is just a bit too much for what I want)
Wax gives you so much more control over finish look than stain. I tried staining legs-did not like it. Decided to use wax. If you put too much dark on you rub to remove or add clear and rub to remove
I applied more clear wax and rubbed to remove the excess dark wax. The table is all done!
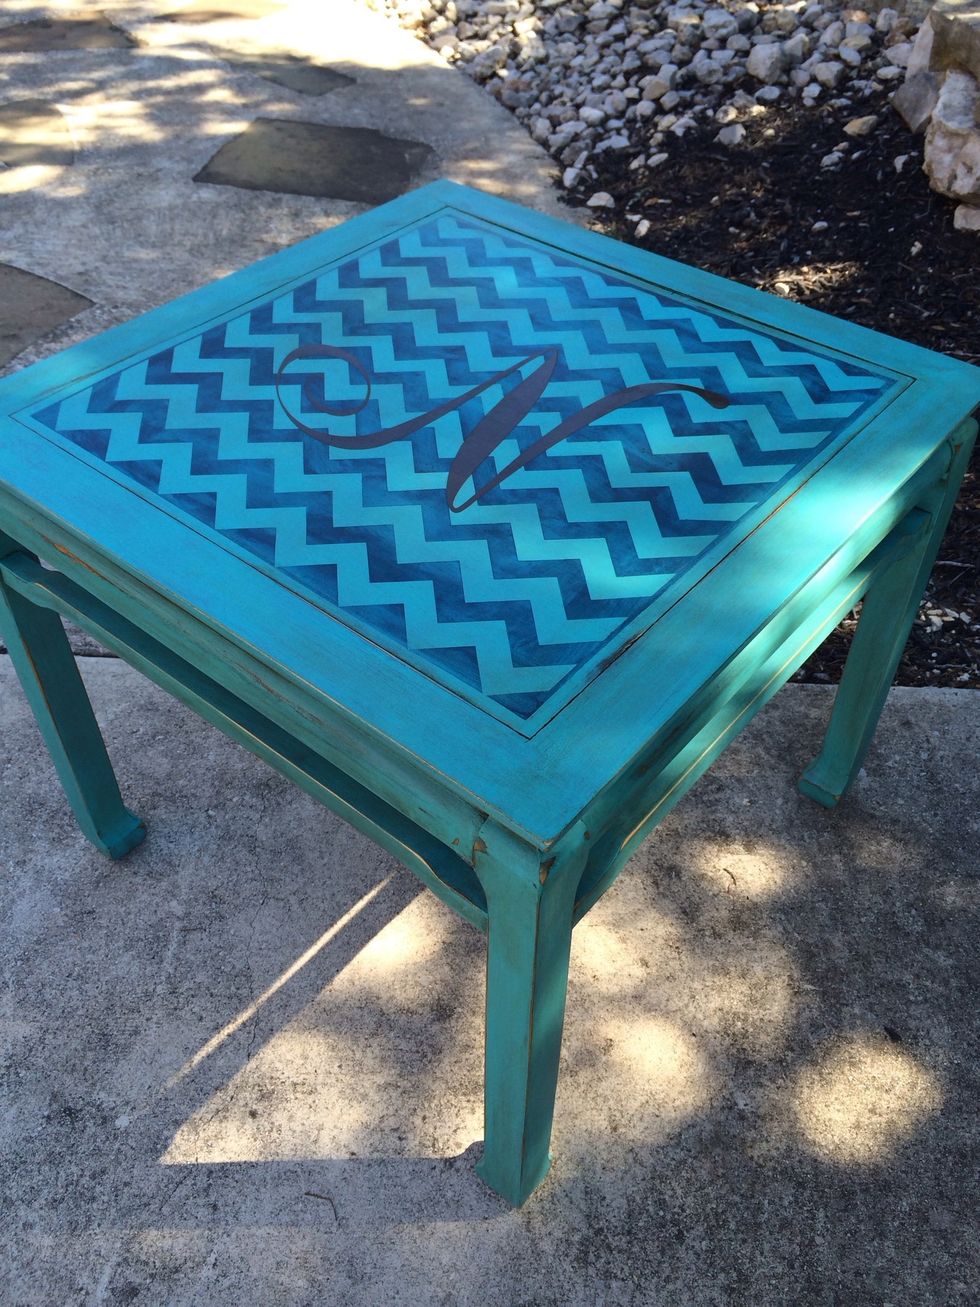
I like the way it turned out
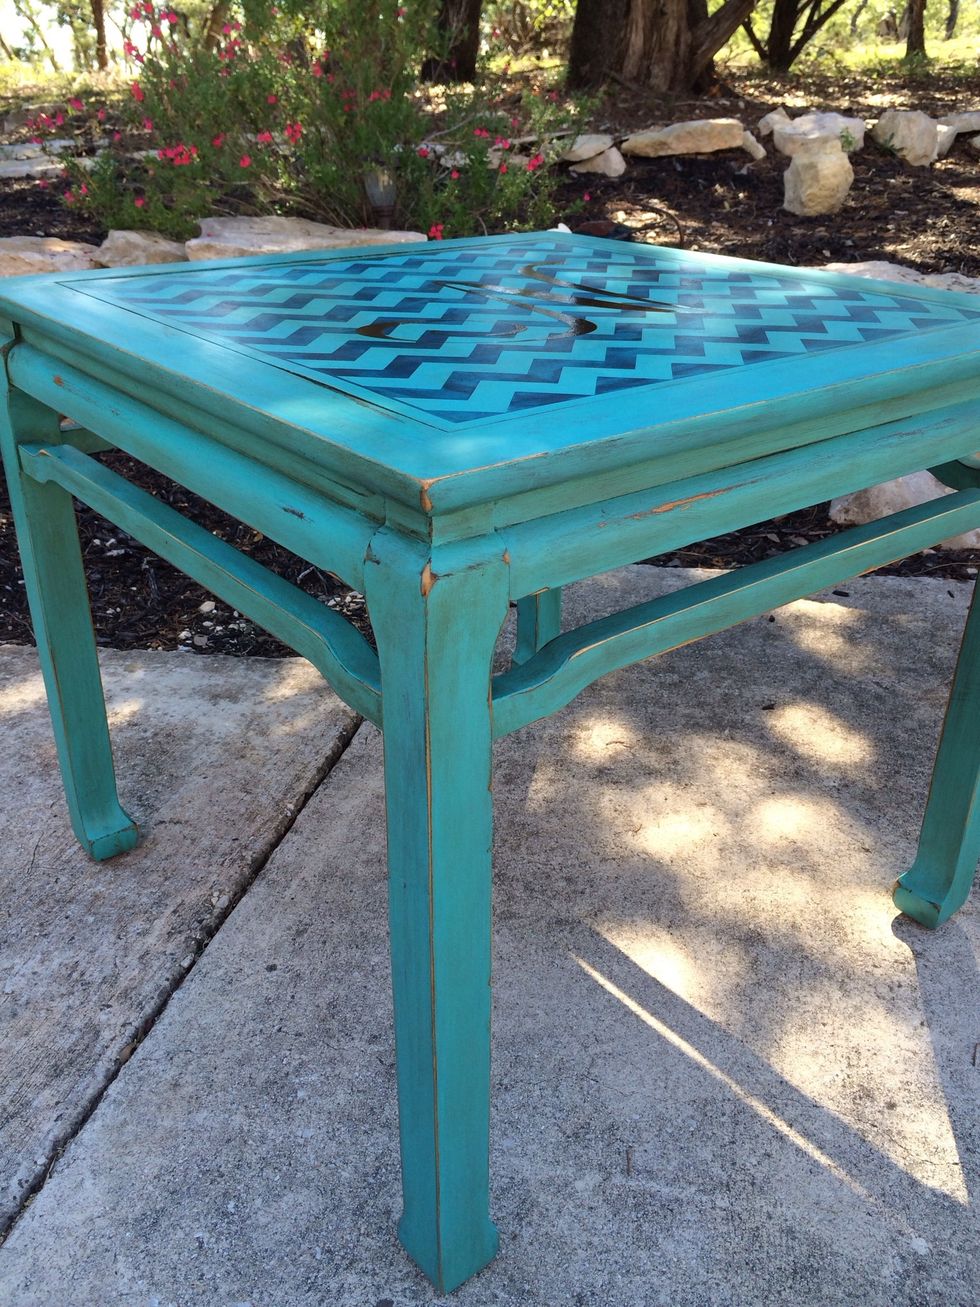
You can still see the distressed areas too
Now the table can be used and not hidden away.