The Conversation (0)
Sign Up
Login to Nearpod.com from your PC or Mac.

Once on the home page, click Create to start your presentation.

The My Library section is where your presentations are stored. Click the New Presentation button to begin adding one slide at a time.
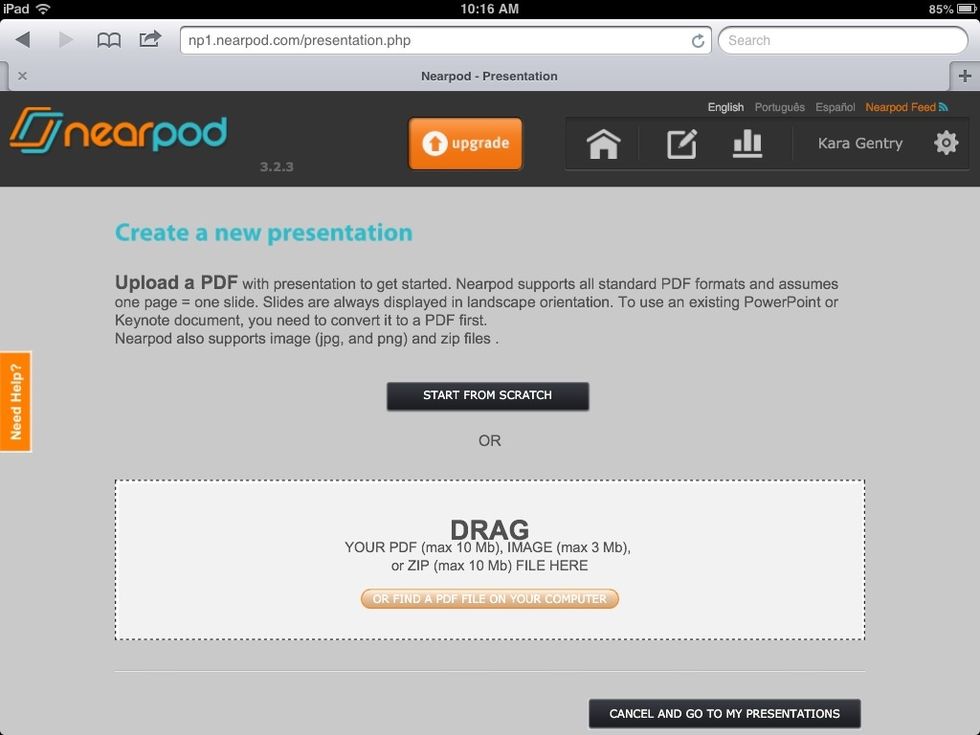
You can either start from scratch or upload a PDF, image or ZIP file. This first slide is simply a title.
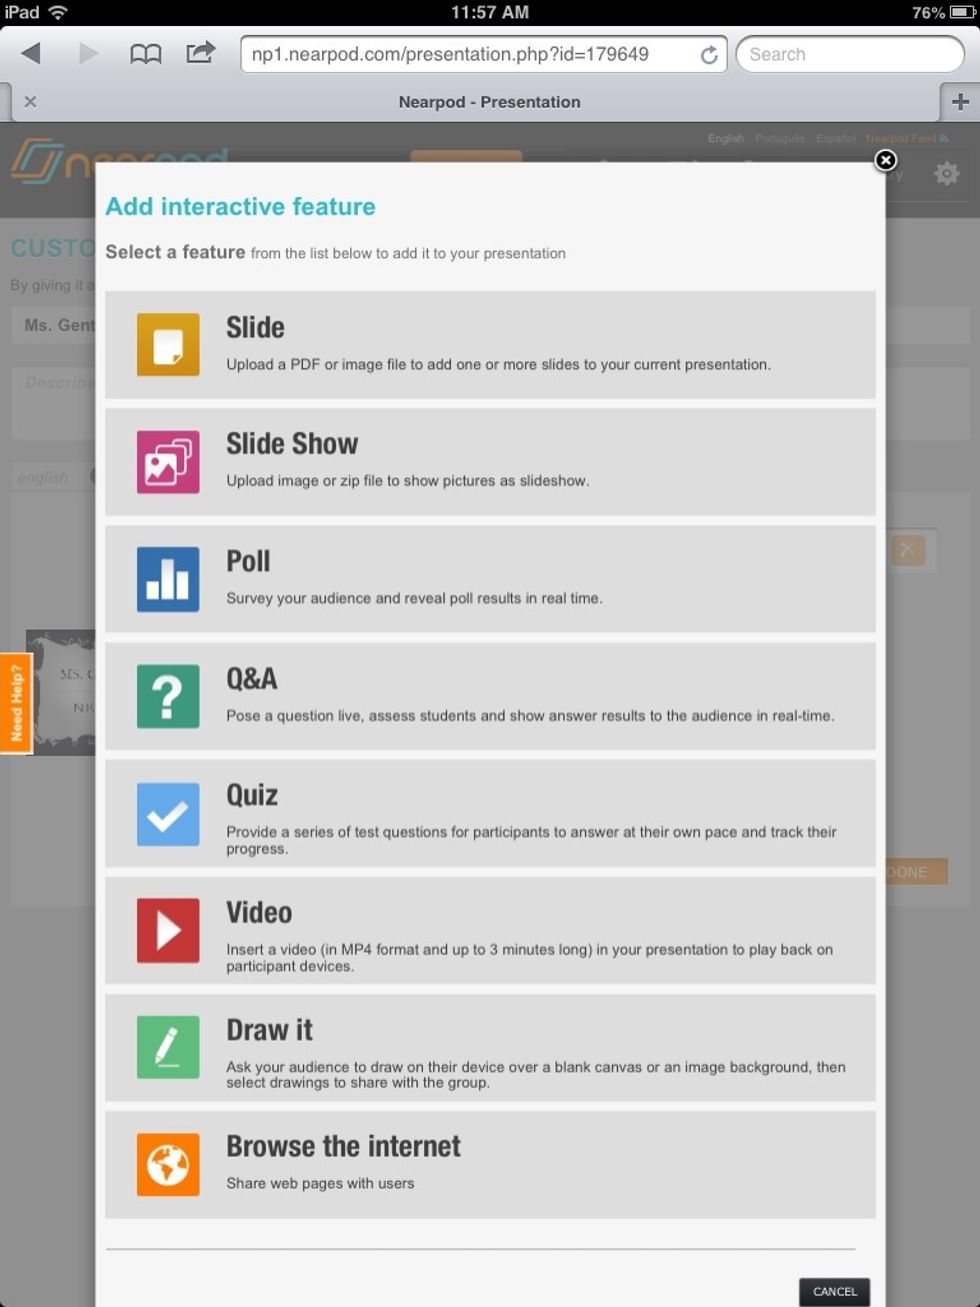
Add an interactive feature for your next slide.
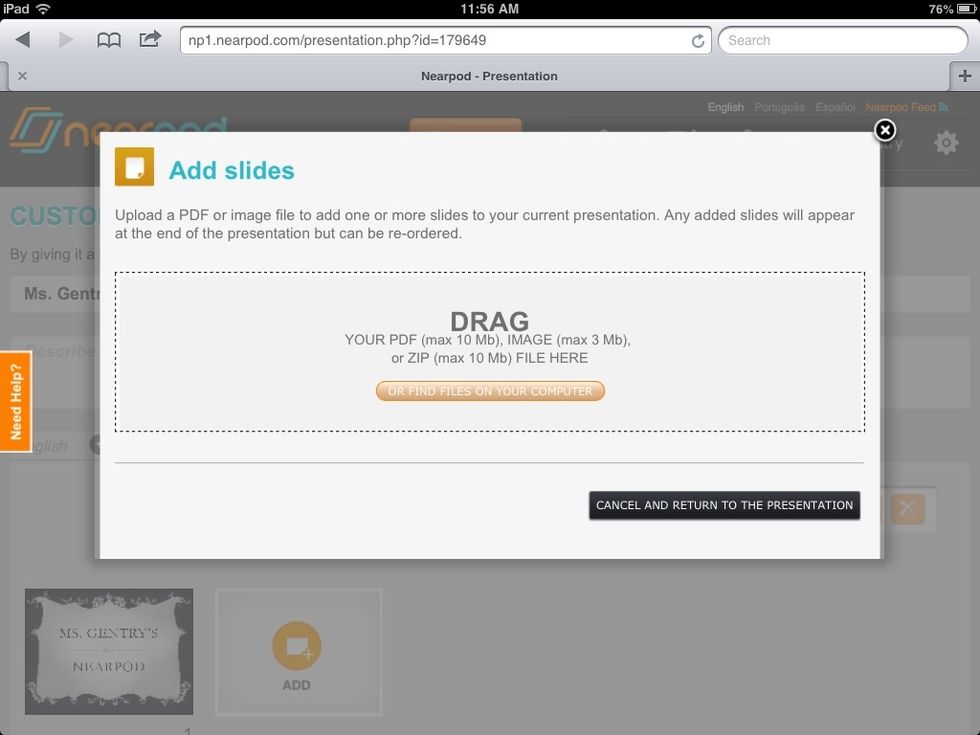
The slide feature allows you to upload a PDF or image file.

If your file has multiple images, each image will become its own slide, as long as the file does not exceed 10 Mb.
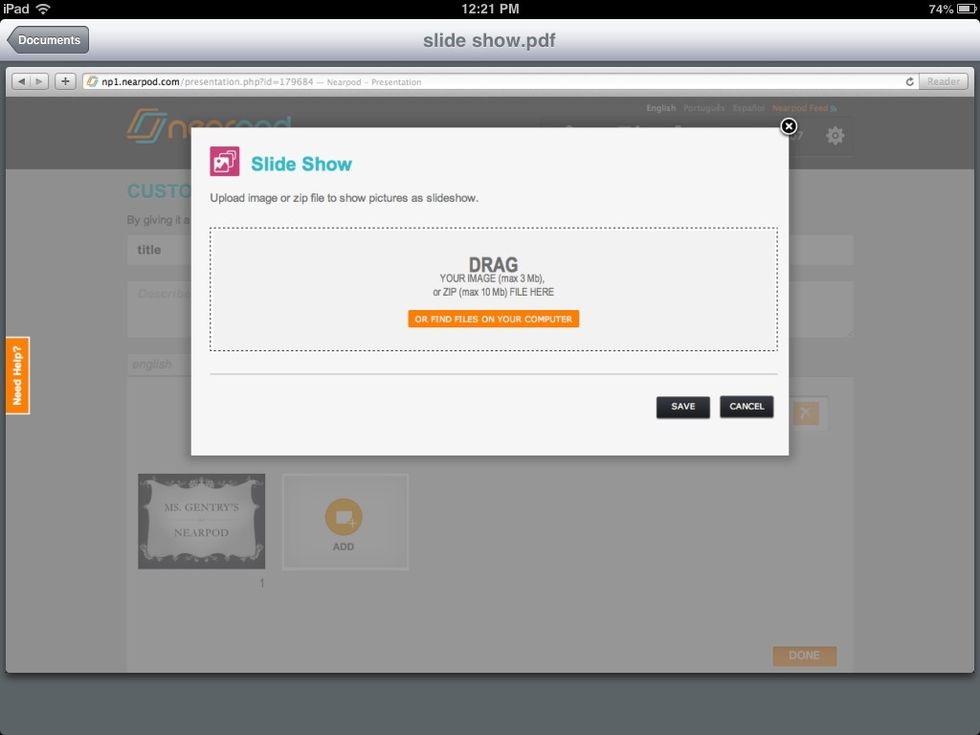
The slide show feature is for paid accounts only. You can upload image or zip files. Students have the ability to flip through the group of slides at their own pace.
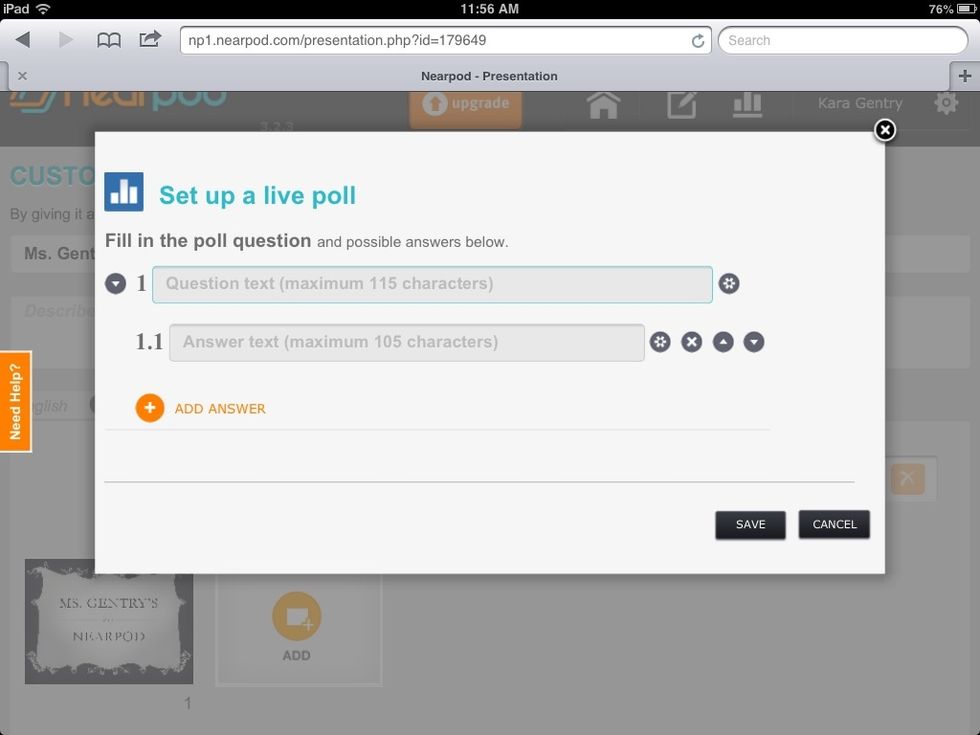
The poll feature surveys your audience and reveal poll results in real time.
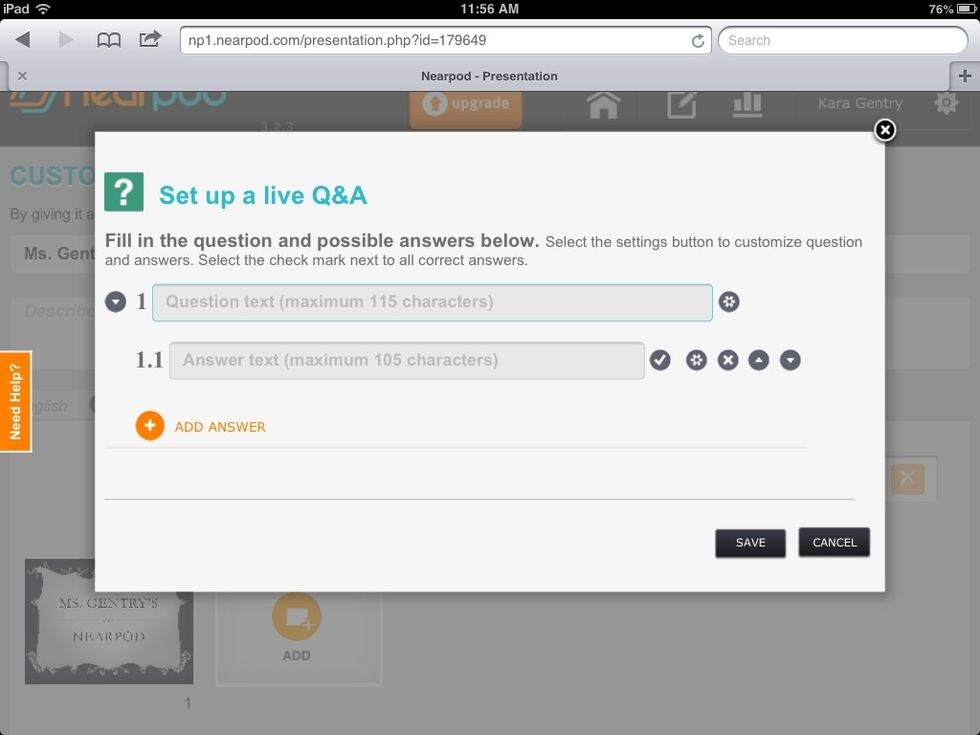
The Q&A feature allows you to pose a live question, assess students, and show answer results in real time.
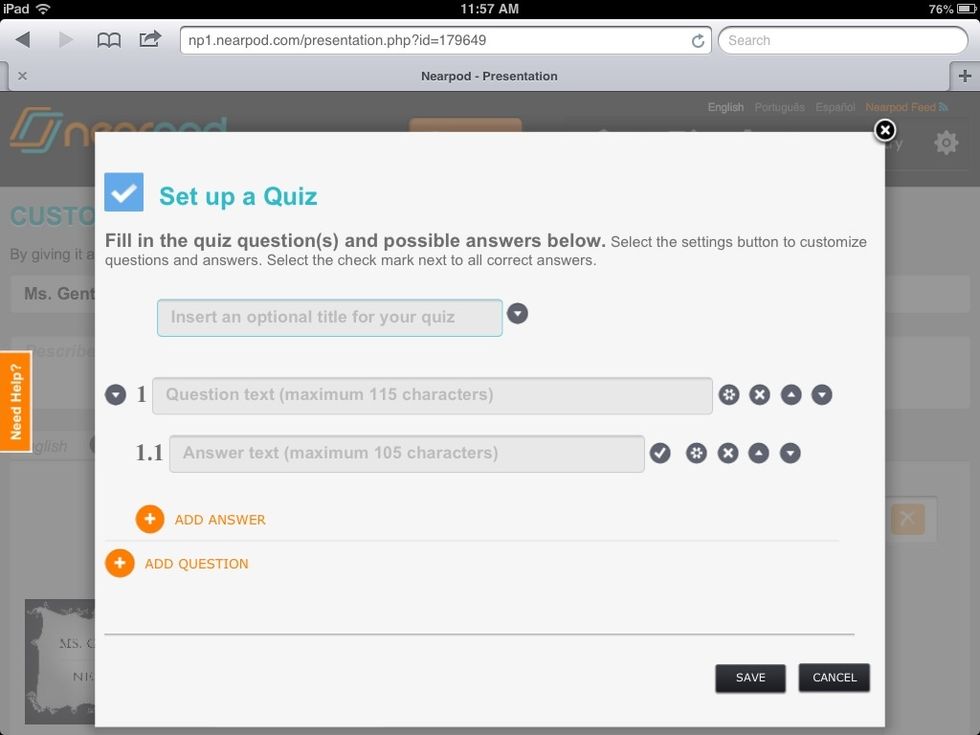
The quiz feature provides a series of test questions for students to answer at their own pace and track their progress.

The video feature allows you to playback videos on student devices.

The draw feature allows students to draw on the slide. You can use an image for the background or leave it blank. You can select drawings to share with the class.
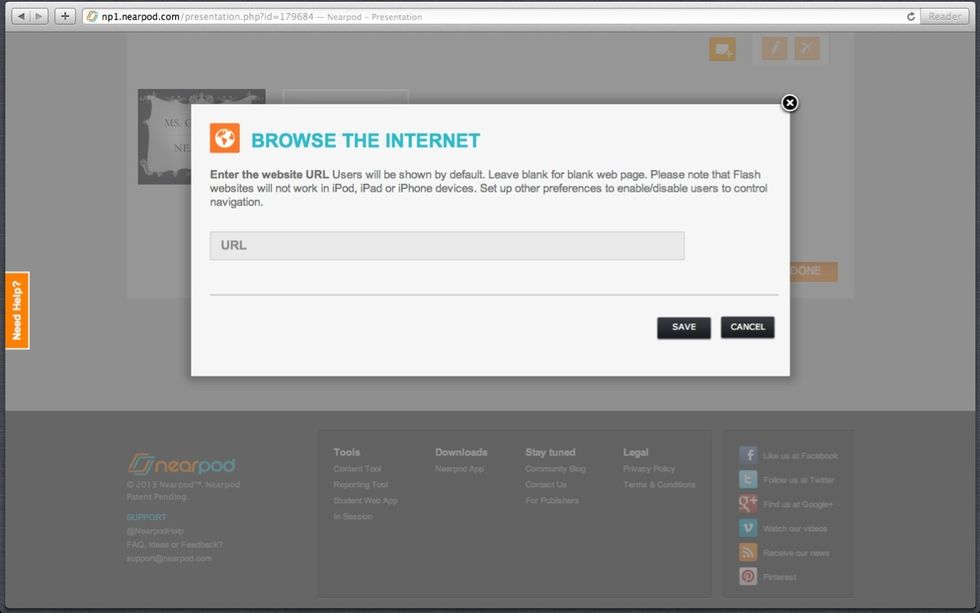
The browse the Internet feature is for paid accounts only. It allows students to browse the website that is shared.
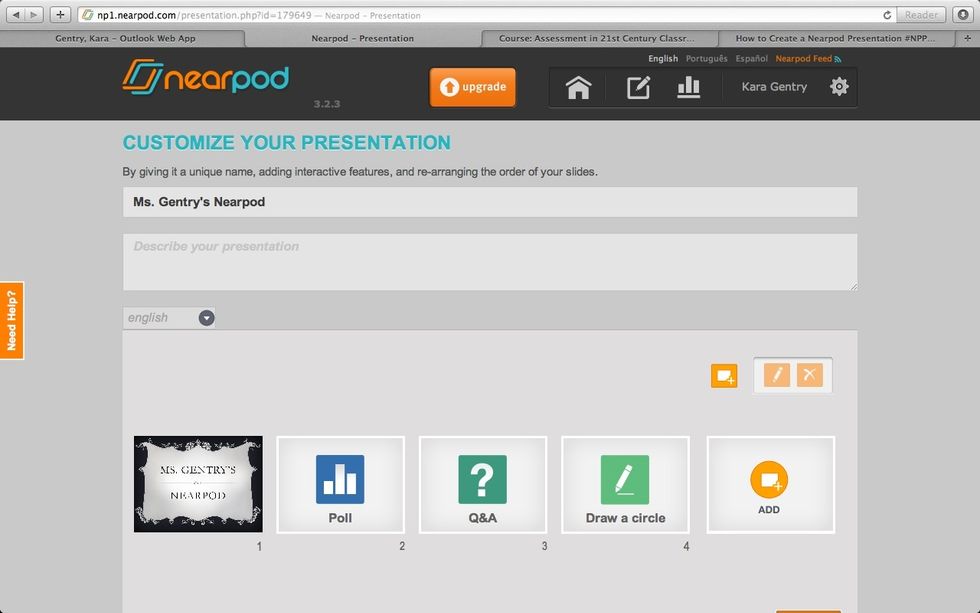
Once you have added all the features you want, you can re-arrange the order of the slides then click the Done button. Your last slide must be a non-interactive slide, like the title slide.
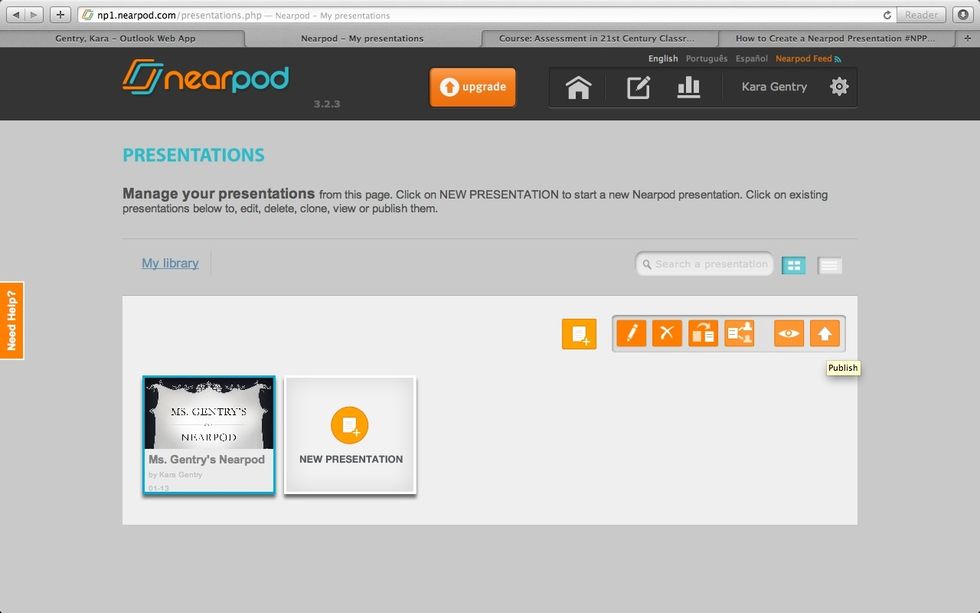
Once back in My Library, you will see your presentation. When you click it, it will select that presentation and highlight blue. Click the up arrow icon to publish your presentation.
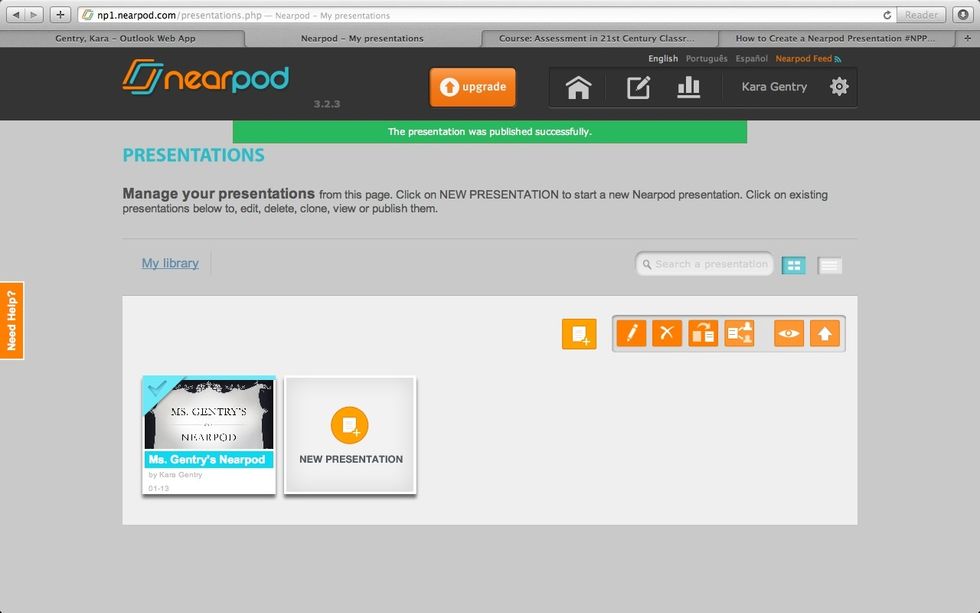
Once you have published your presentation, you will see a blue check mark in the top left corner. Now you are ready to launch your presentation on the Nearpod app.