The Conversation (0)
Sign Up
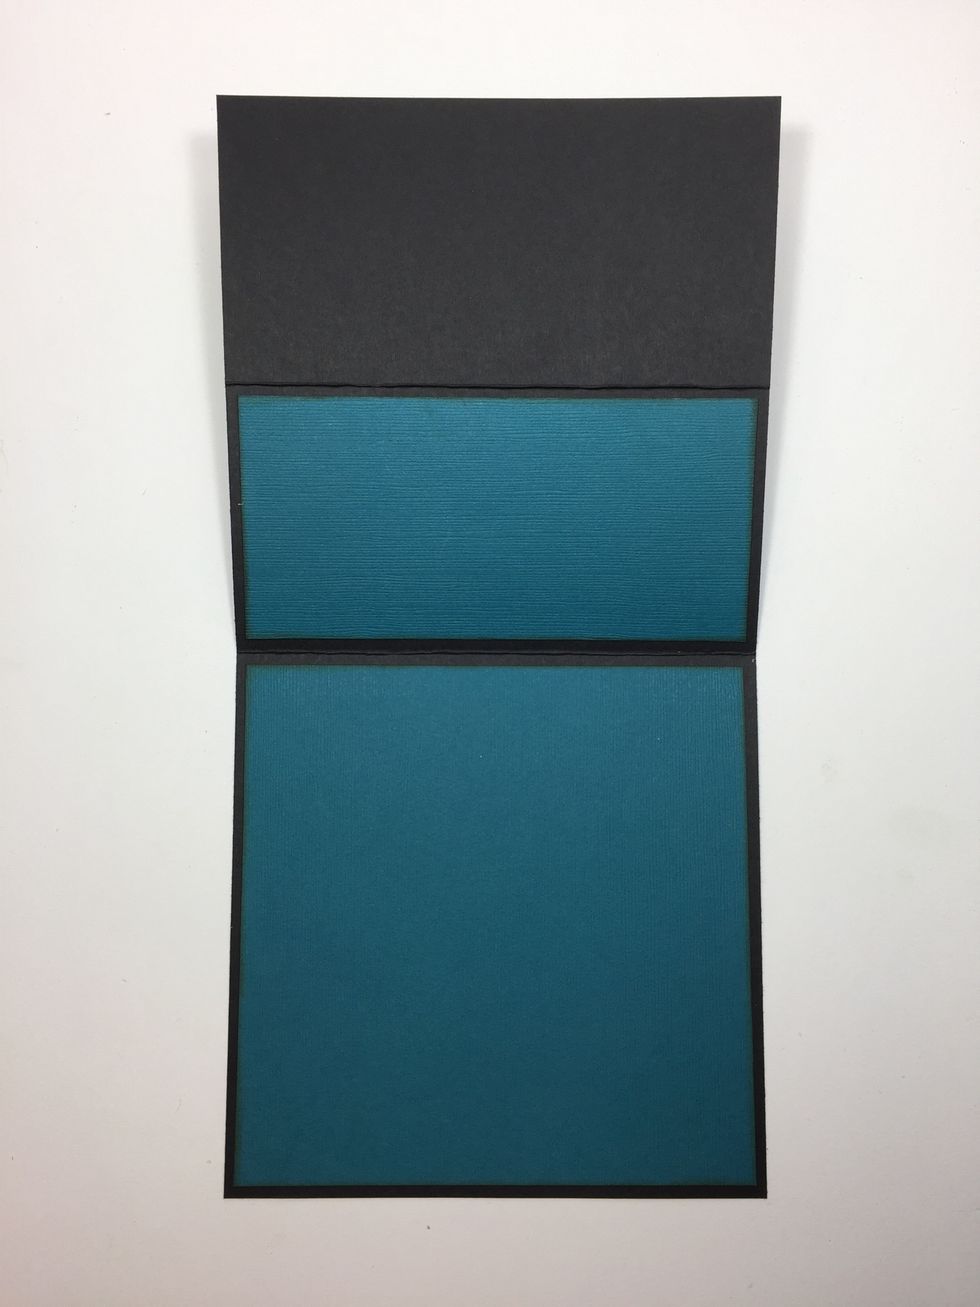
Create your card base. Cut black cardstock 6" x 12". Turn horizontal and score at 3" and 6". Adhere a 5 3/4" x 5 3/4" blue cardstock square to bottom portion and a 5 3/4" x 2 3/4" piece to middle.
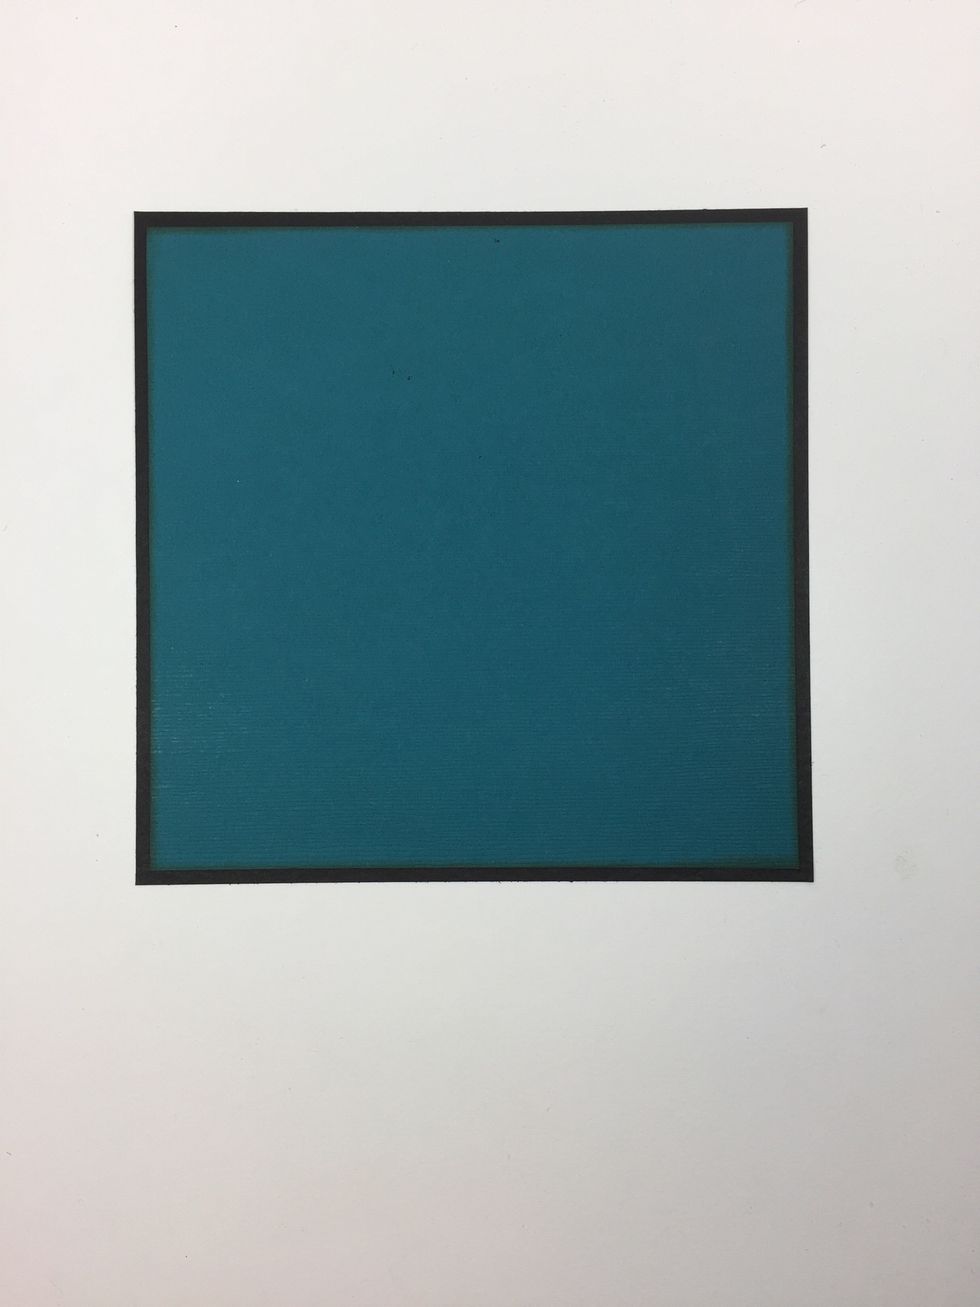
Cut a 6" x 6" black cardstock square, then 5 3/4" x 5 3/4" blue cardstock piece. Adhere.
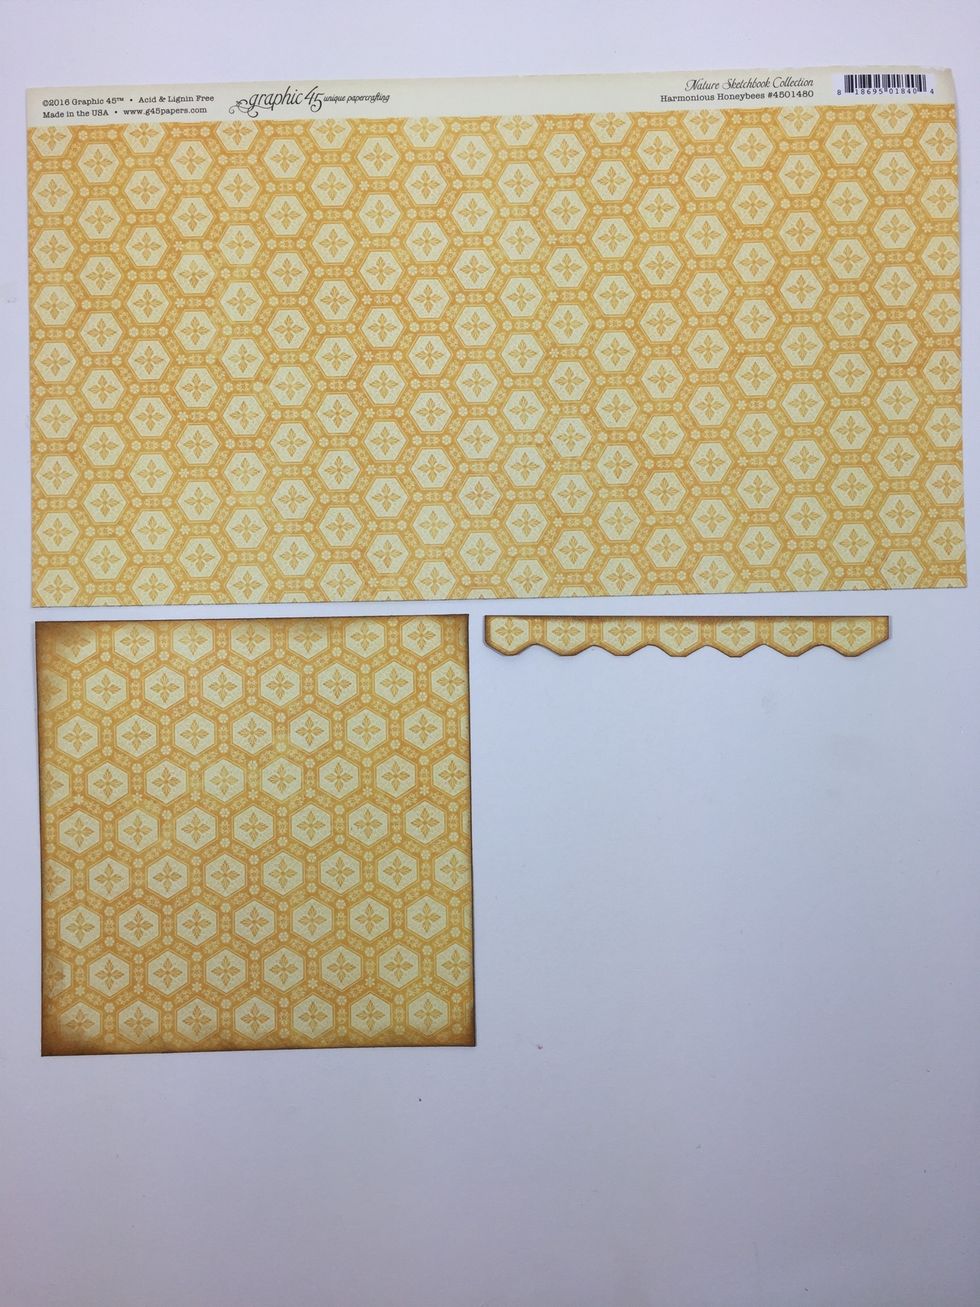
Cut yellow pattern paper 5 1/2" x 5 1/2" and another strip 5 1/4" x 1/2". Trim along the honeycomb pattern. Ink all edges with Vintage Photo ink. Save the large excess paper for later.

Cut red pattern paper 5 1/4" x 5 1/4" and adhere to square unit from Step 2. Adhere the yellow honeycomb strip as shown.
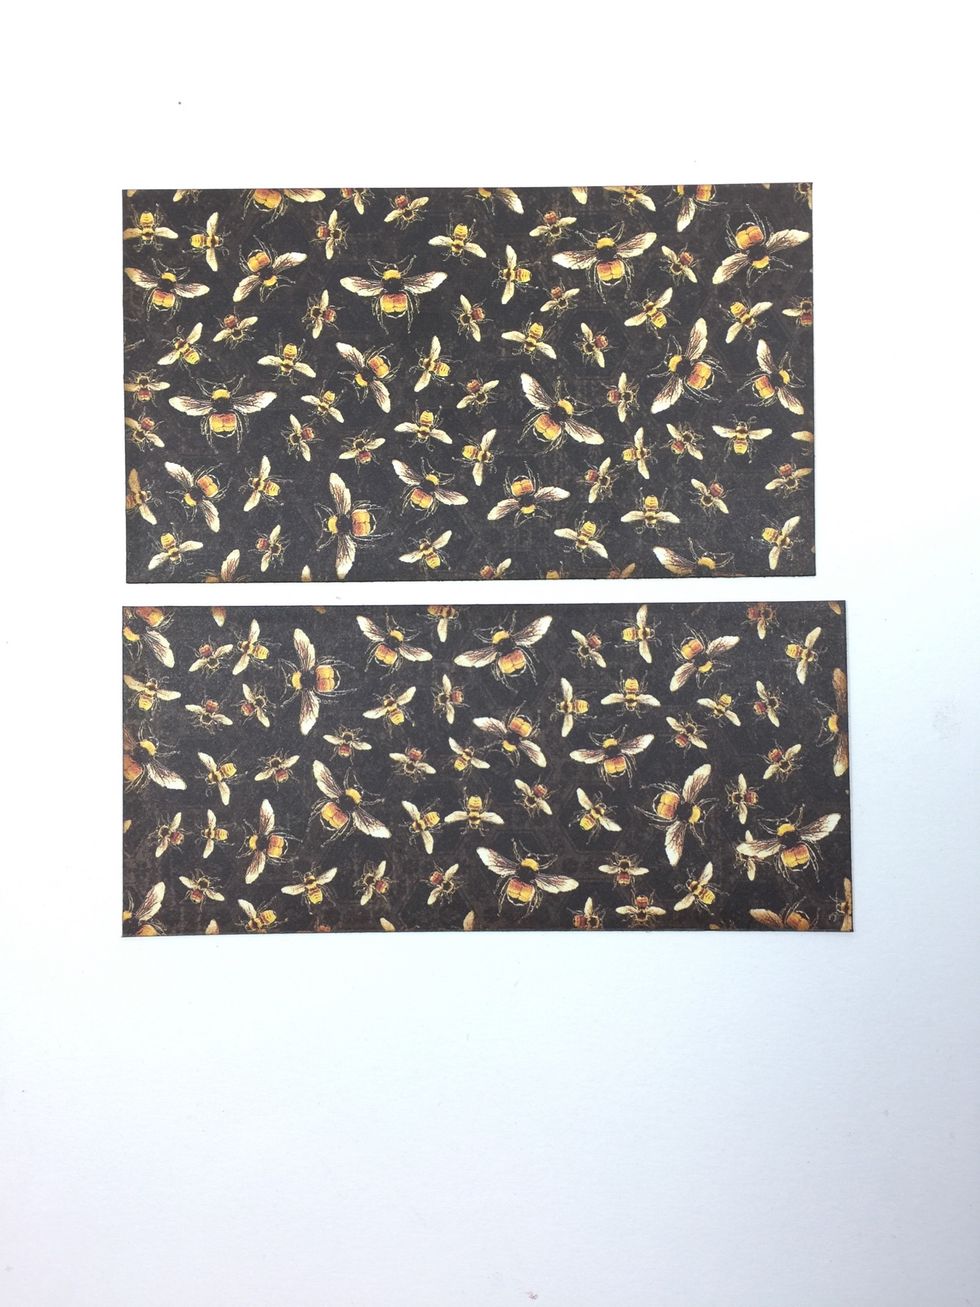
On the front side of the extra yellow honeycomb paper are these bees. Cut two pieces: 5 1/4" x 3" and 5 1/2" x 2 1/2". Ink edges.
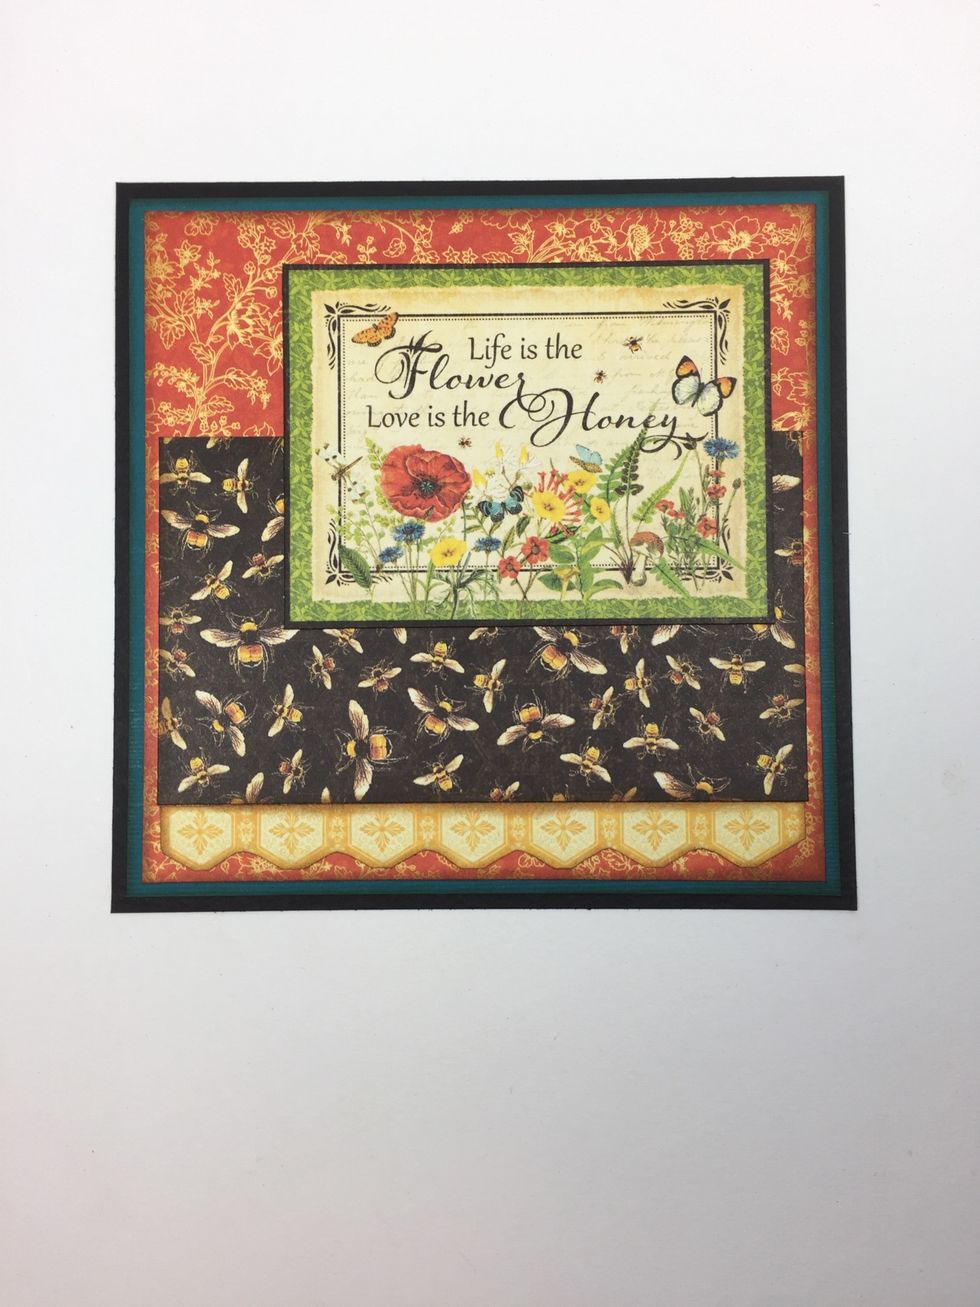
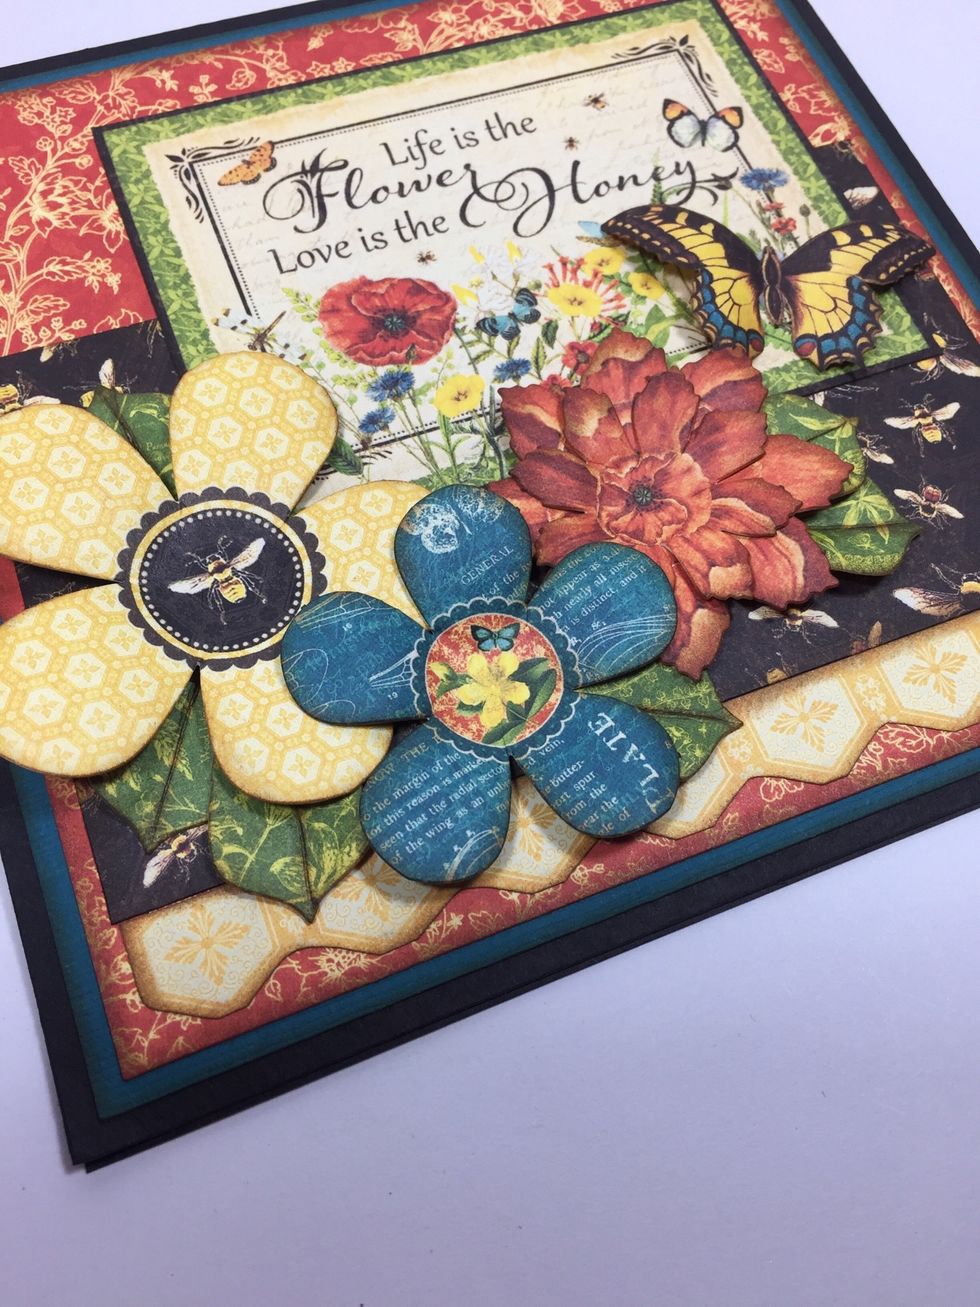
Adhere the 5 1/4" long bee paper to card front. Cut out the "Life is the Flower..." cut-apart, ink edges and adhere.
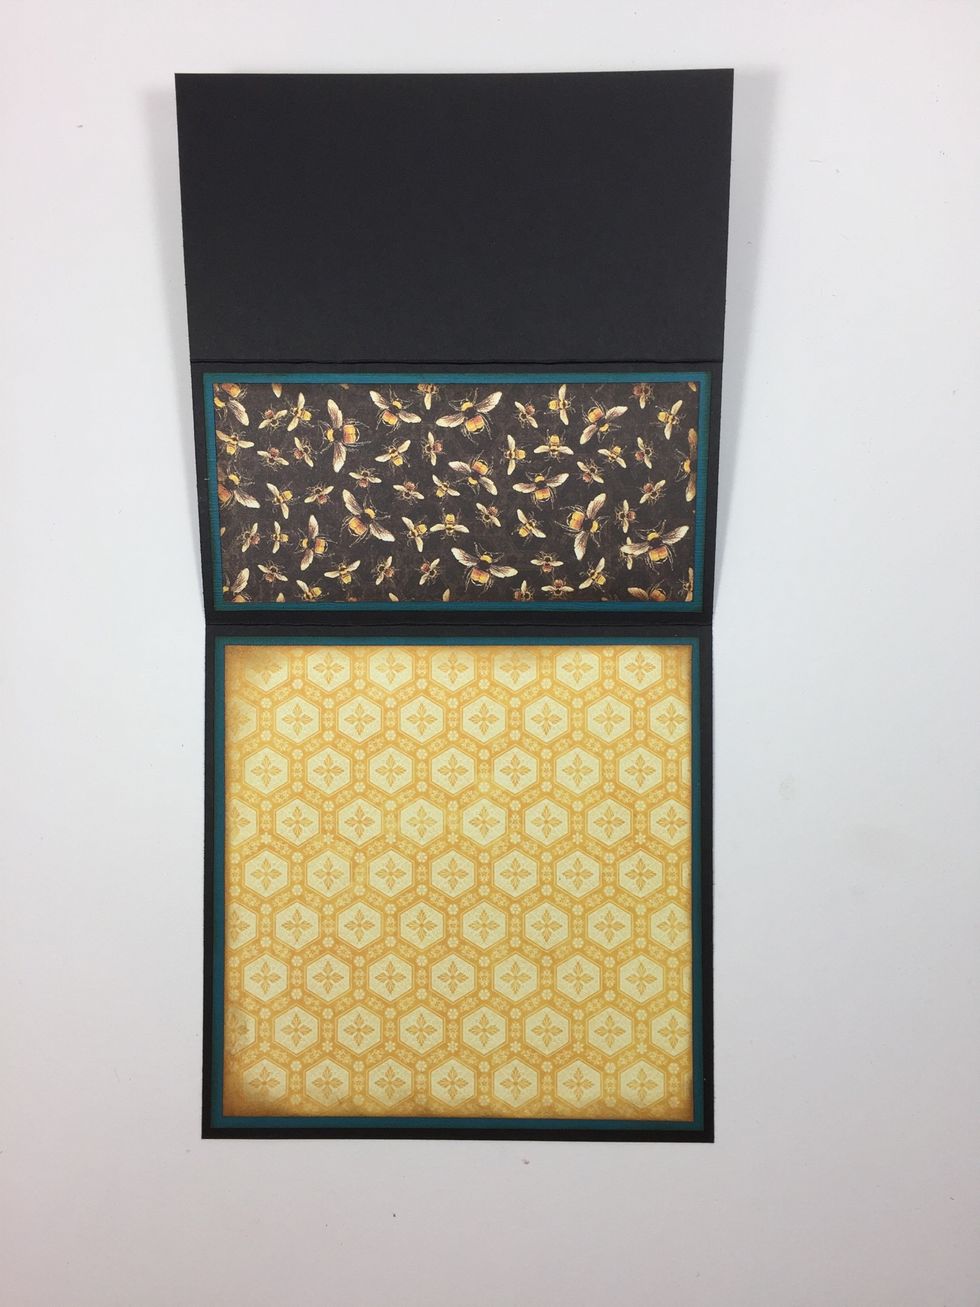
Onto the card base, adhere the yellow honeycomb paper from Step 3 to the bottom portion, then the bee paper to the middle as shown.
Fold on the score lines then place double-sided adhesive to the folded over 3" portion.
Peel and stick. You'll be adhering the 6" x 6" unit to only the 3" portion like this.
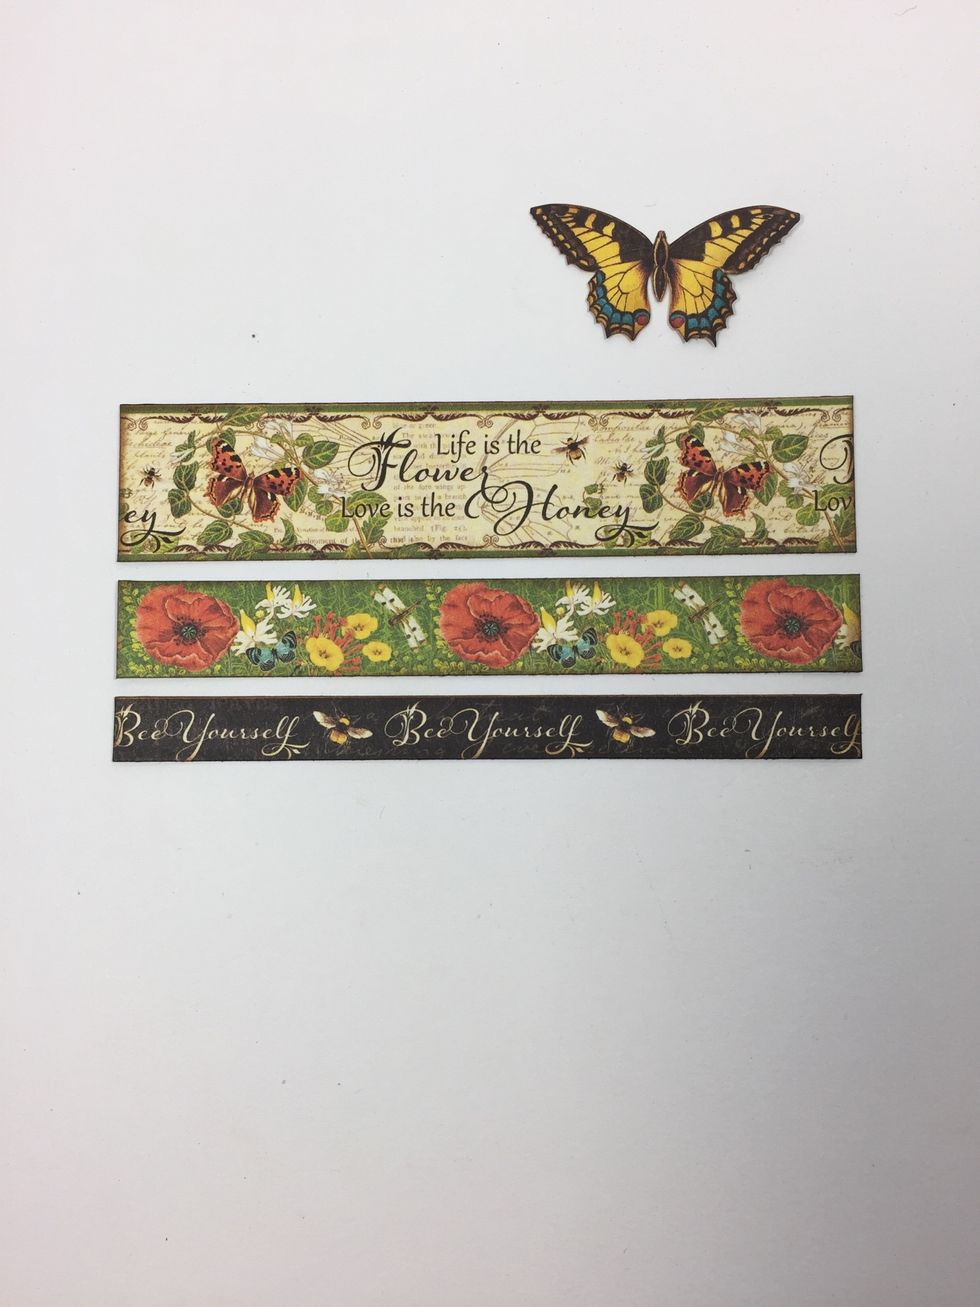
Cut some pretty border strips 5 1/2" long. Then fussy cut a butterfly.

Adhere the strips to your card base as shown.
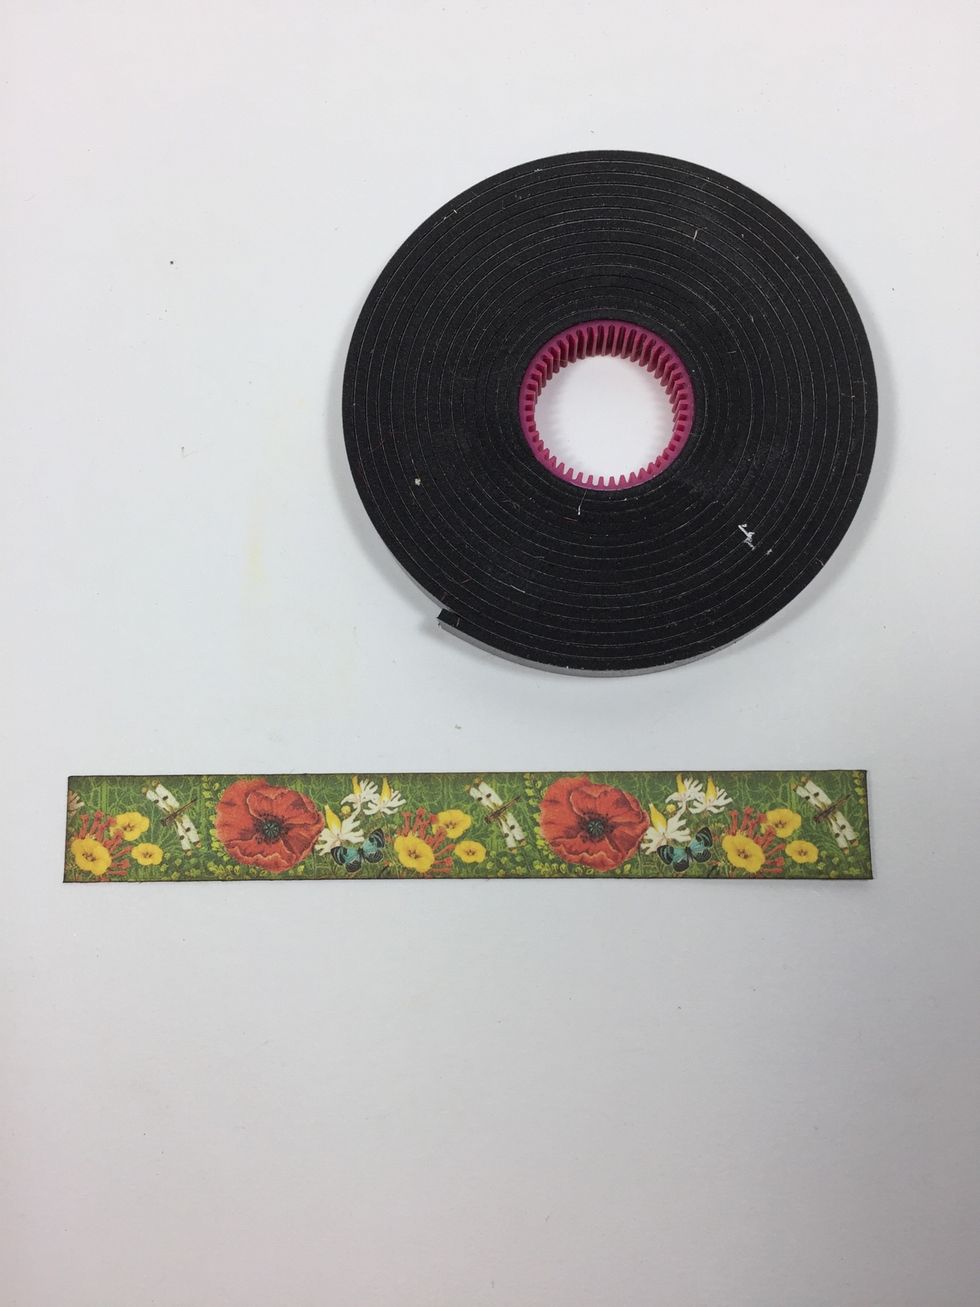
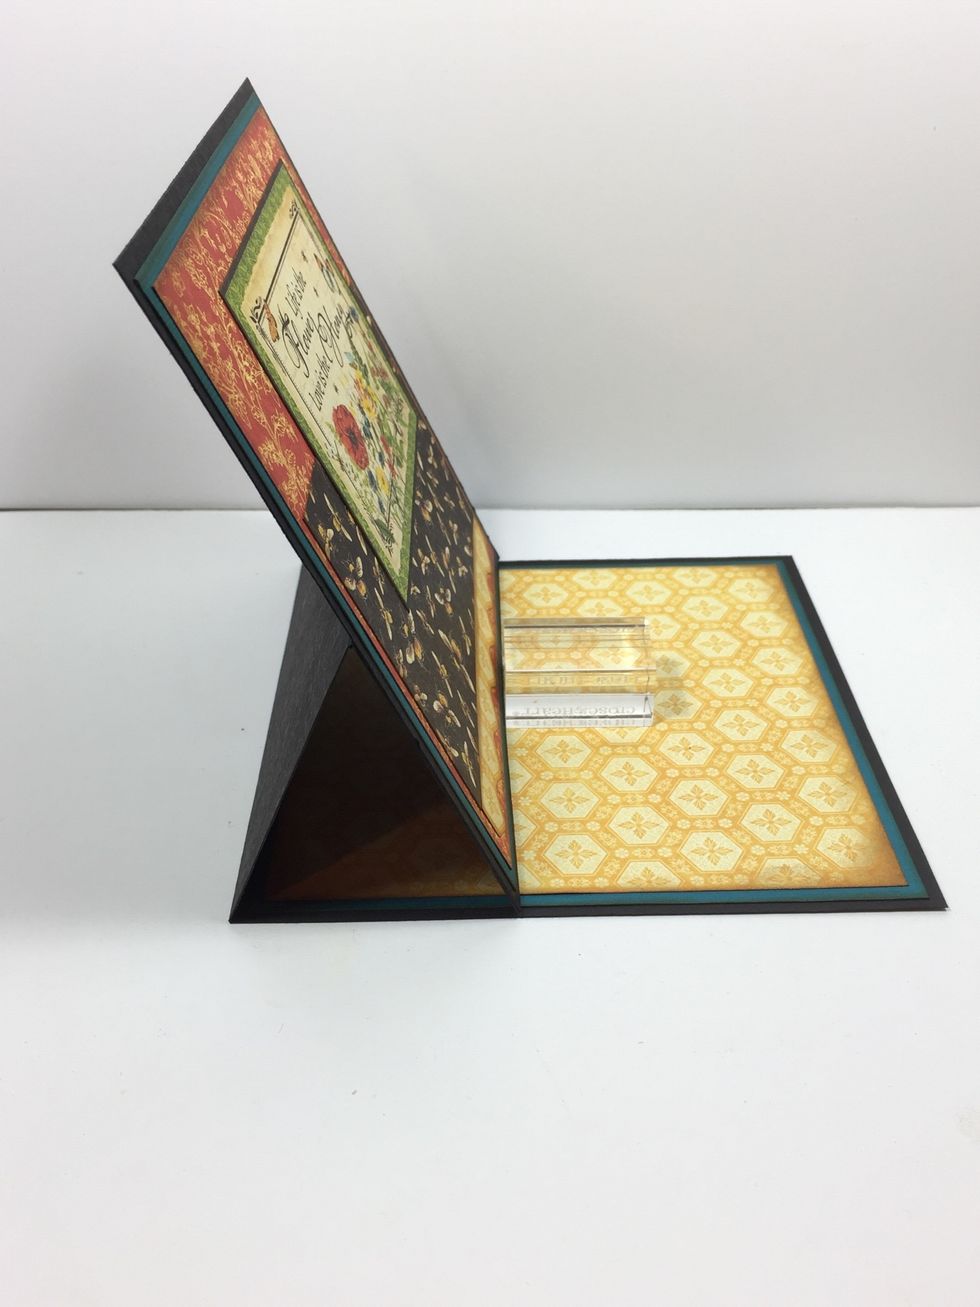
Cut another border strip 5 1/2" long and place foam tape on the back. This piece will serve as the stopper to prop up your easel card.
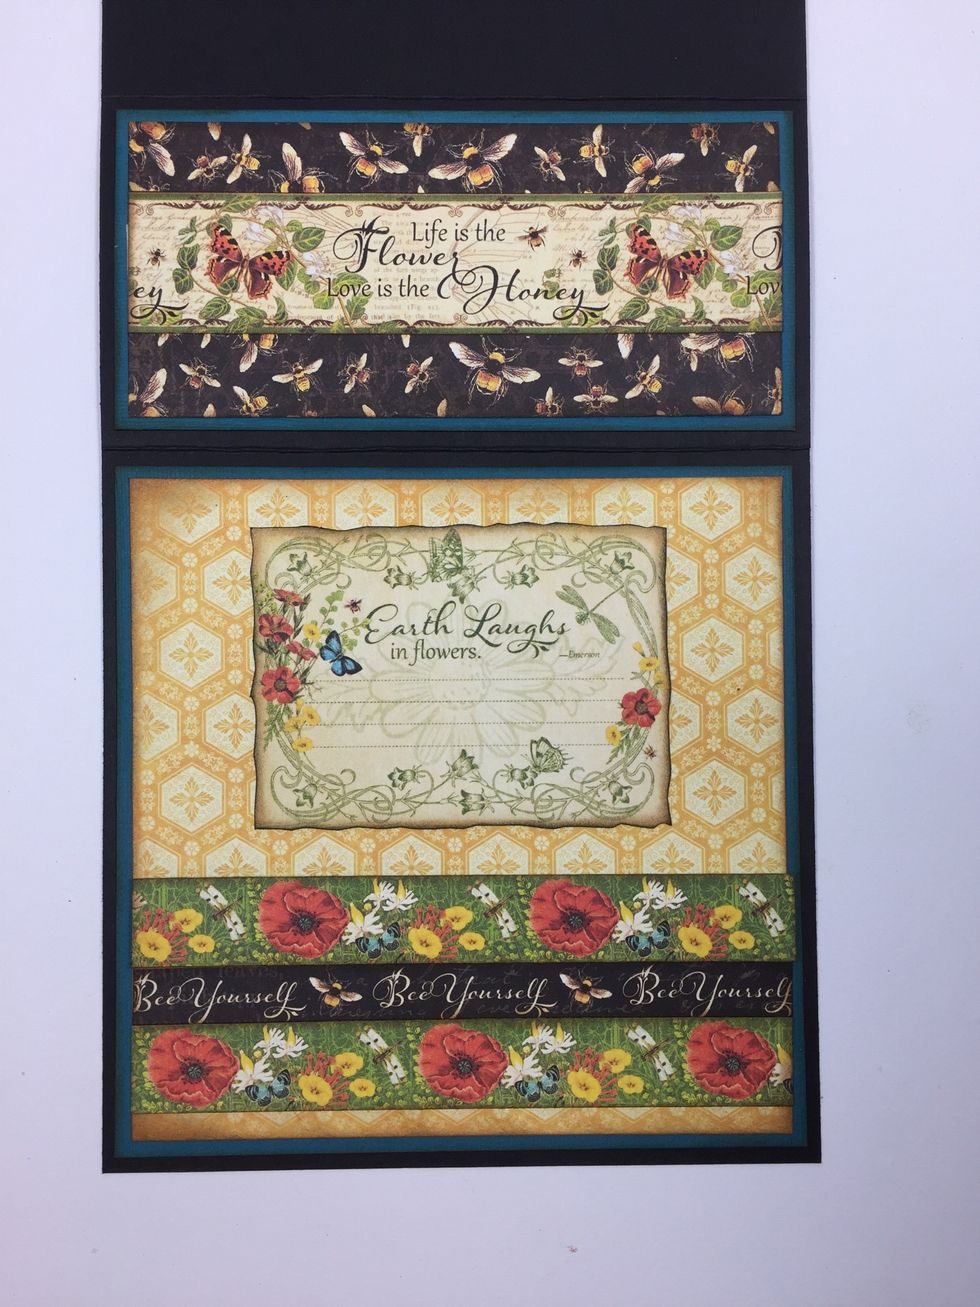
Adhere the strip just above the other border strips as shown. Cut out a journaling card and adhere. This is where you can write a message in your card.

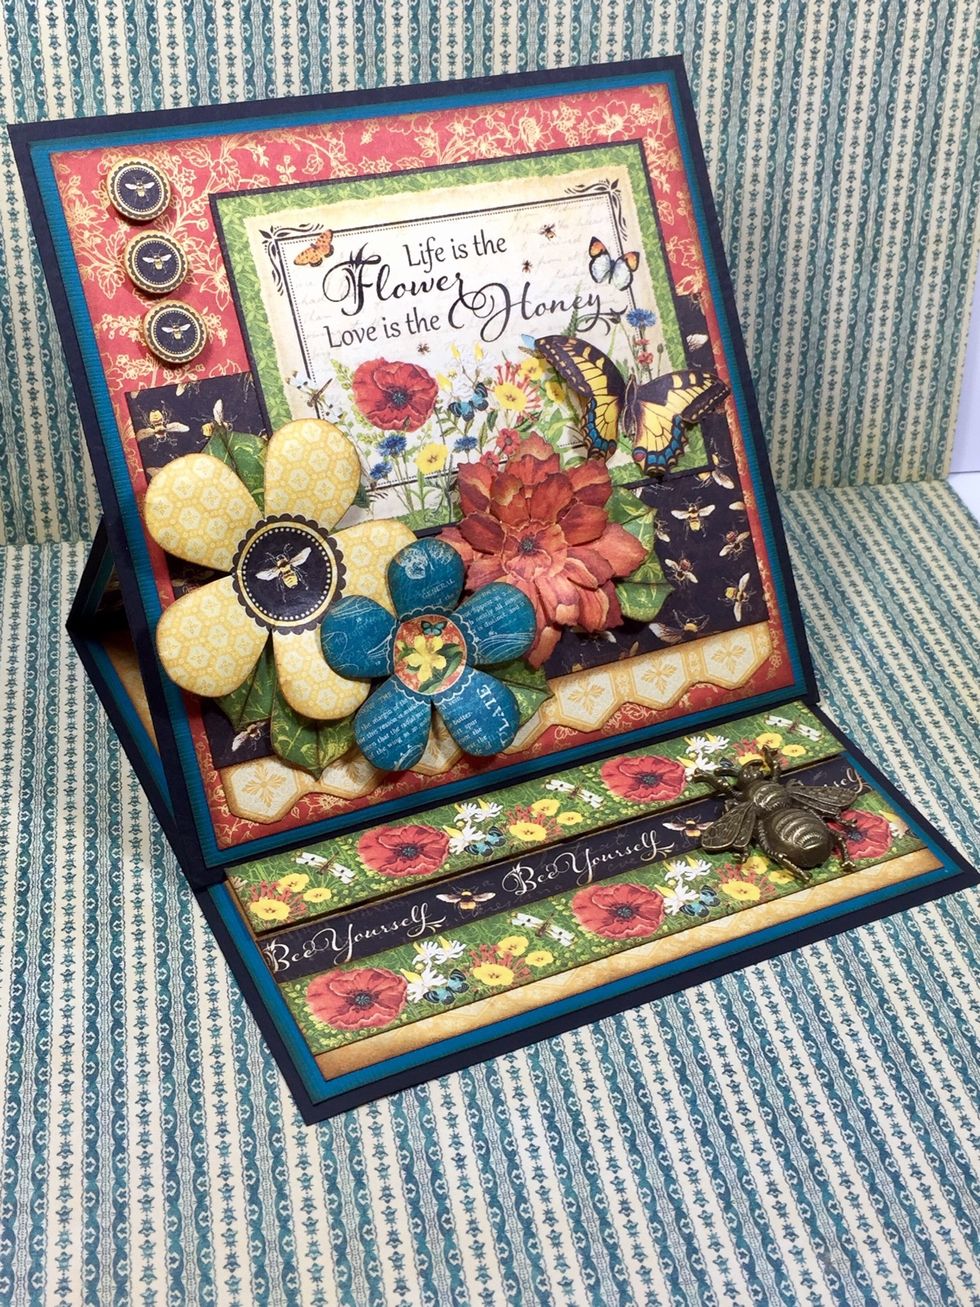
When you open up the card, it props up nicely against the raised border strip.
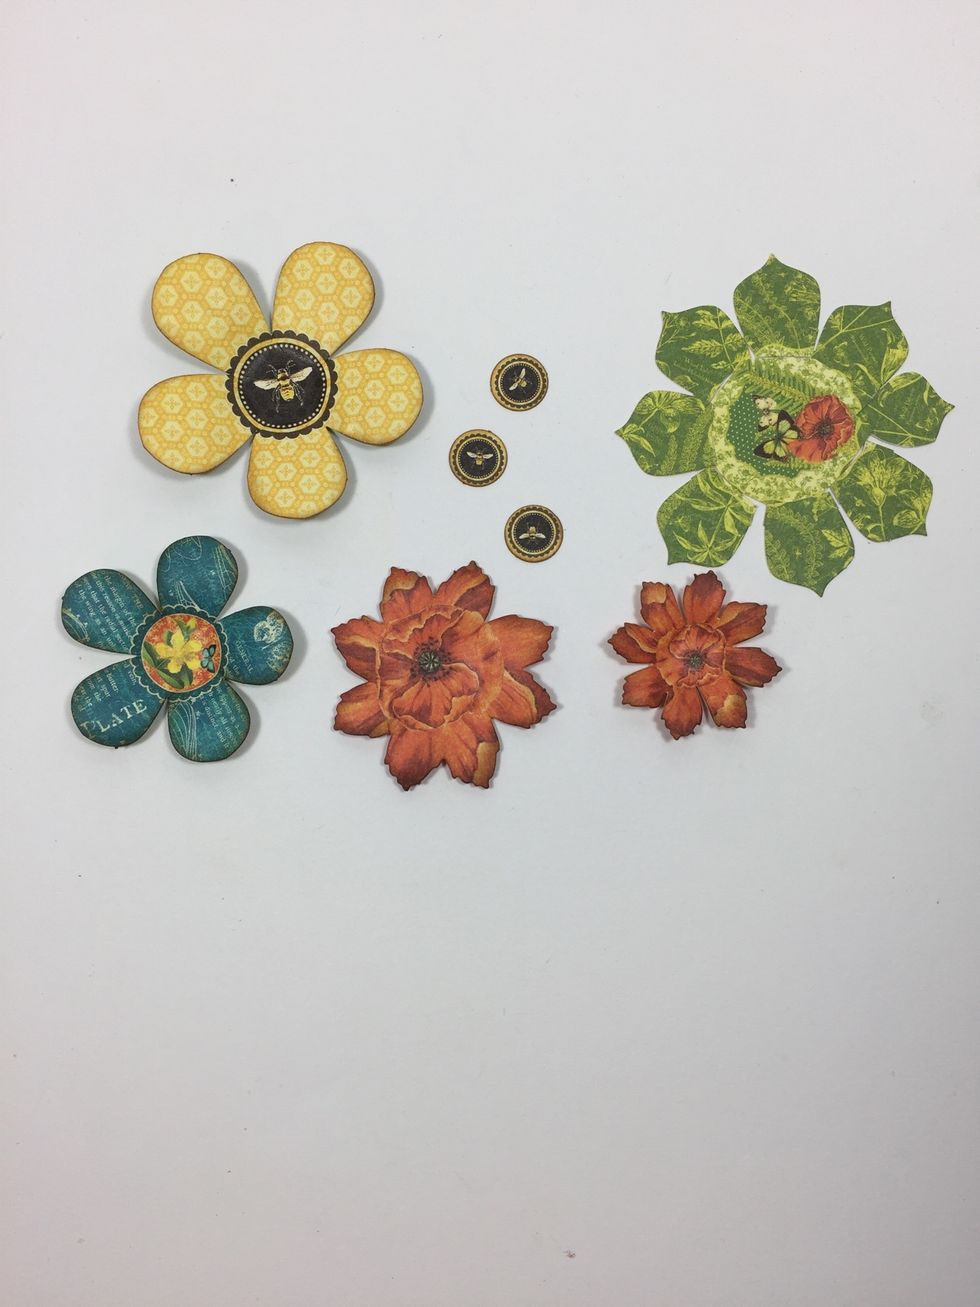
Pop out some flowers and circles from the die-cuts sheet and ink around the edges.

From the big green flower, cut off the petals to create leaves.
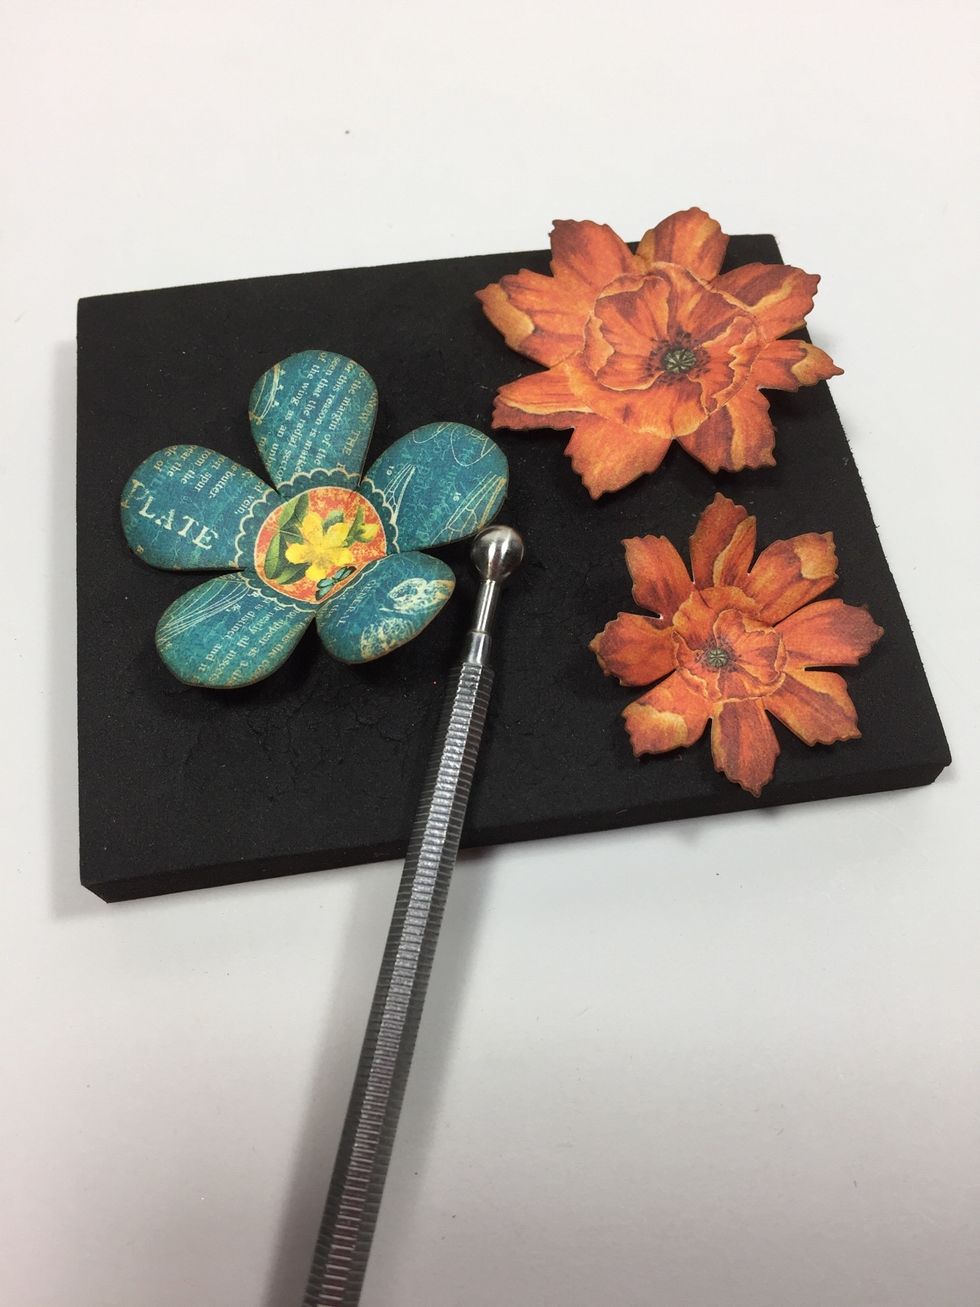
Repeat on each petal of each flower.

Score each "leaf" down the center then ink the edges and along the score line. Pinch each leaf at the base to add dimension.
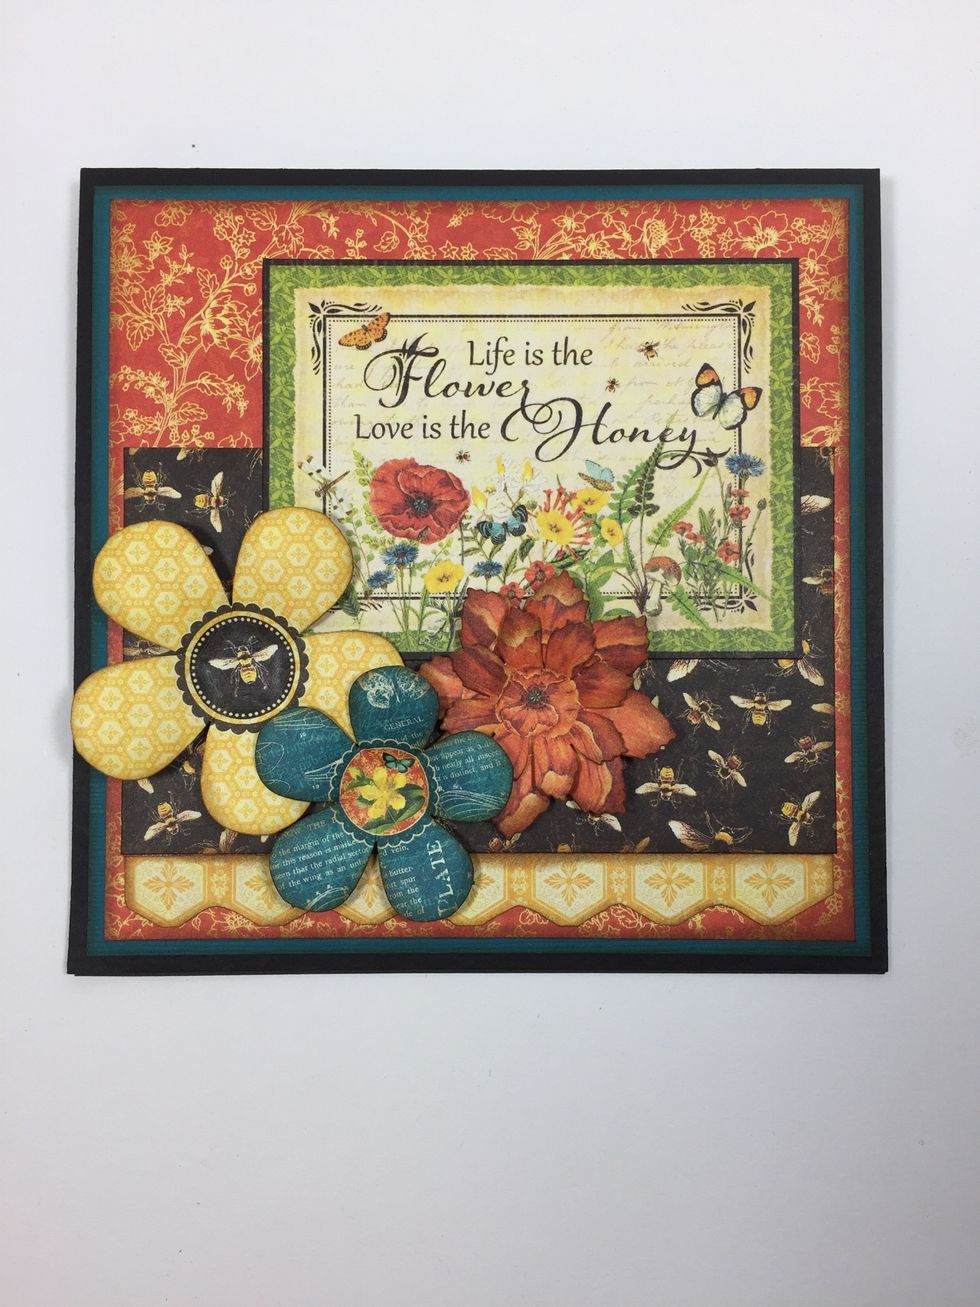
Adhere flowers onto card front as desired.
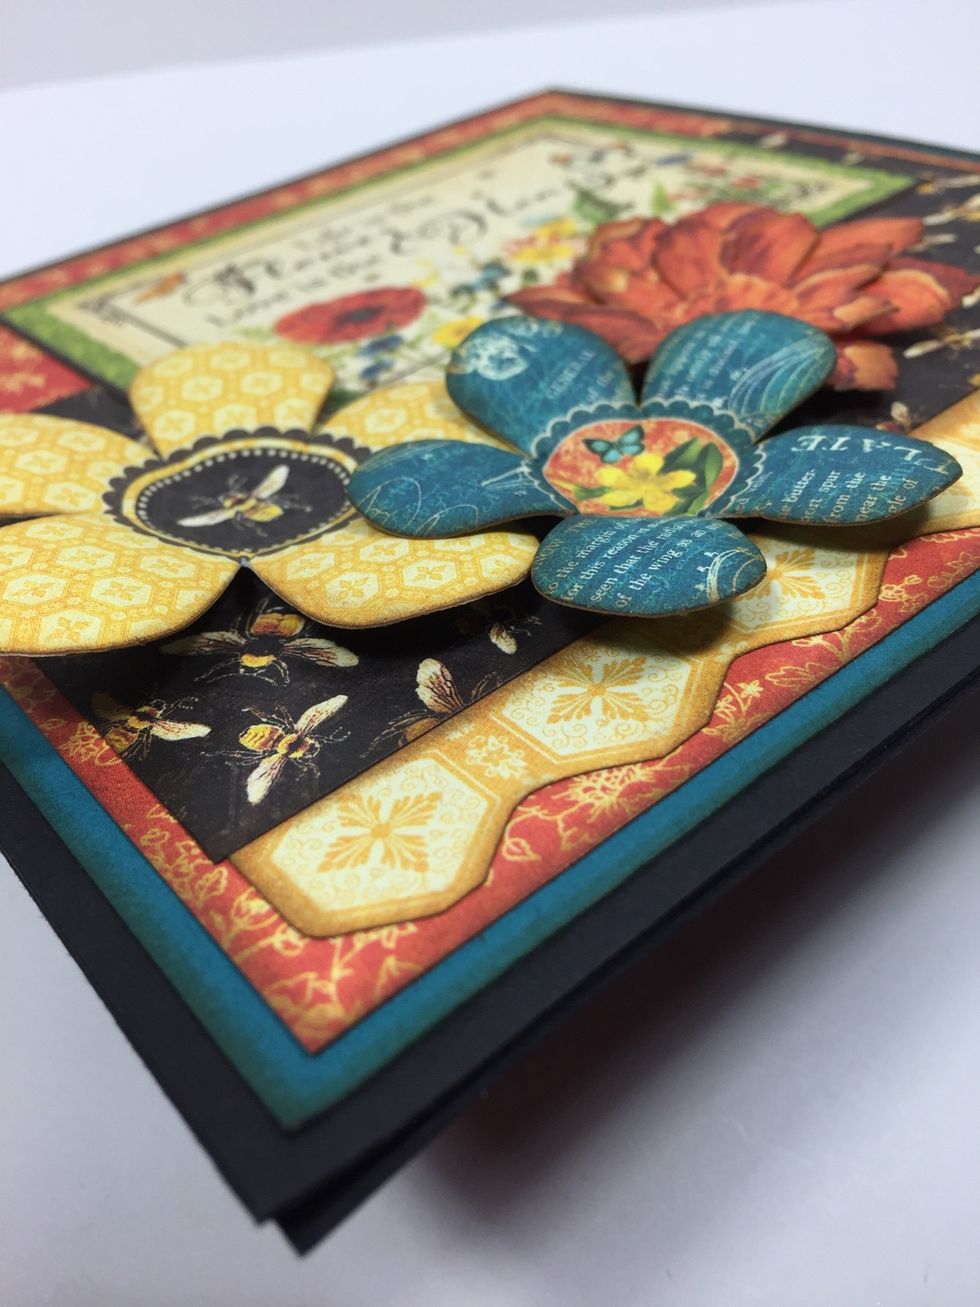
See how the shaping adds dimension?
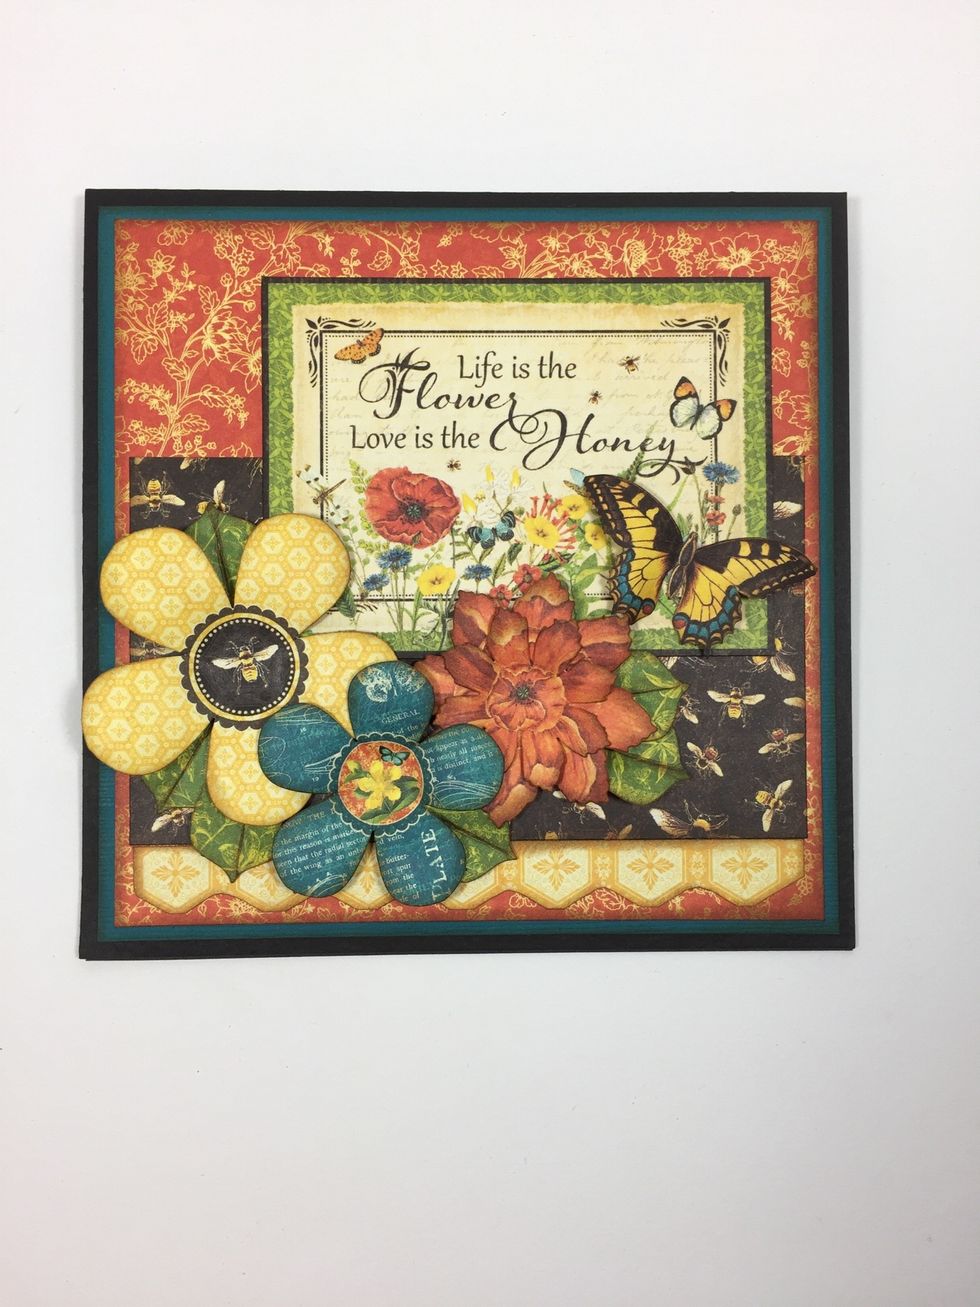
Add the leaves behind the flowers then adhere your butterfly.
Here's a closer look.

Adhere three bee circles with foam tape to pop them up.
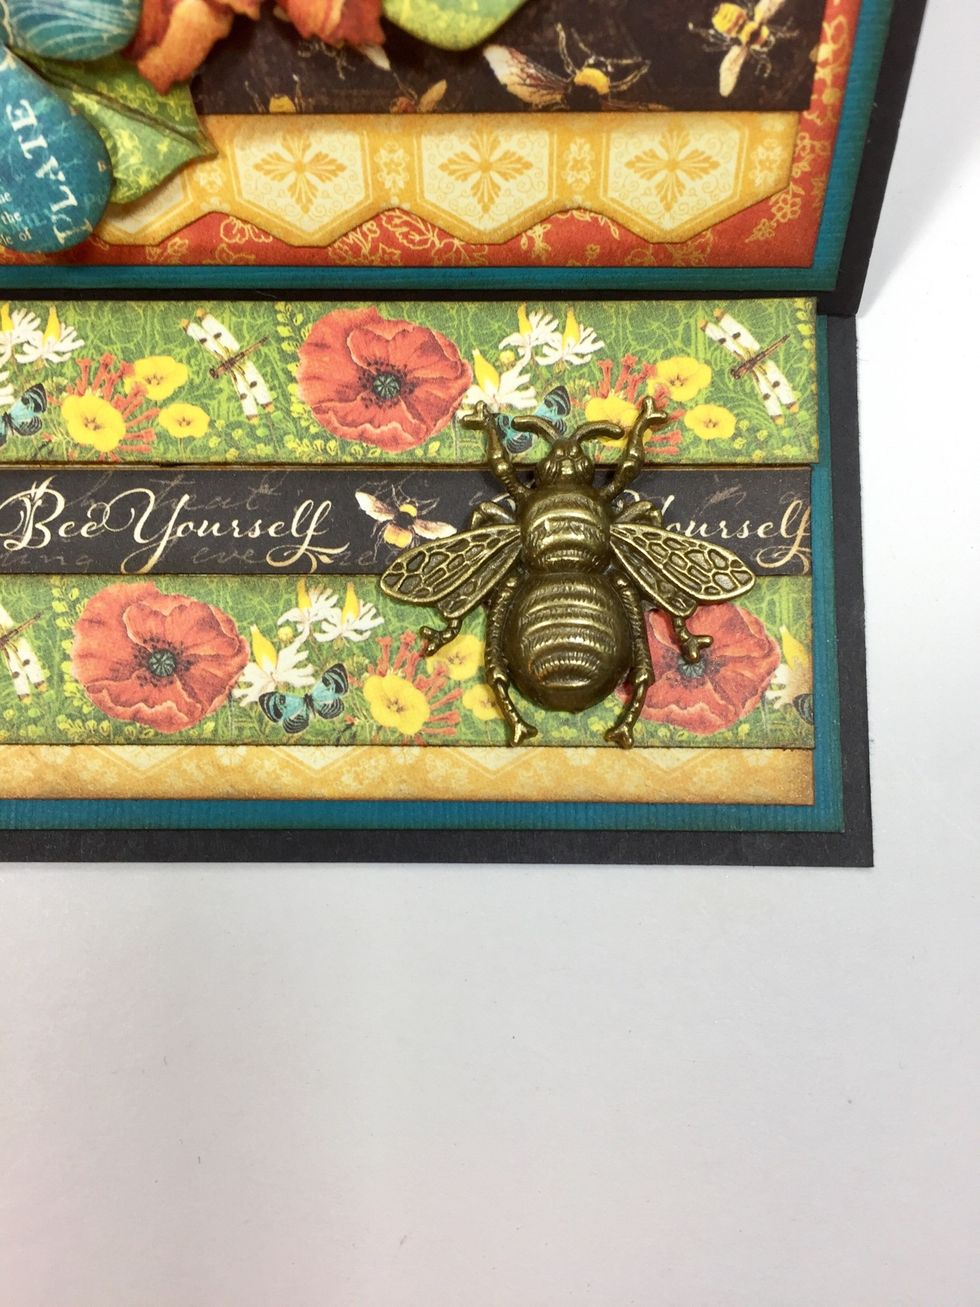
You can add more embellishment to your card if desired. A friend gave me this beautiful bee charm so I added it to the base of my card.

The card looks so pretty when propped up. And it folds down to 6" x 6" for ease of mailing.
Thanks for viewing my Latest Snapguide. I have many more! Plus you can find even more tutorials and inspiration on my blog at http://AnnettesCreativeJourney.blogspot.com