The Conversation (0)
Sign Up
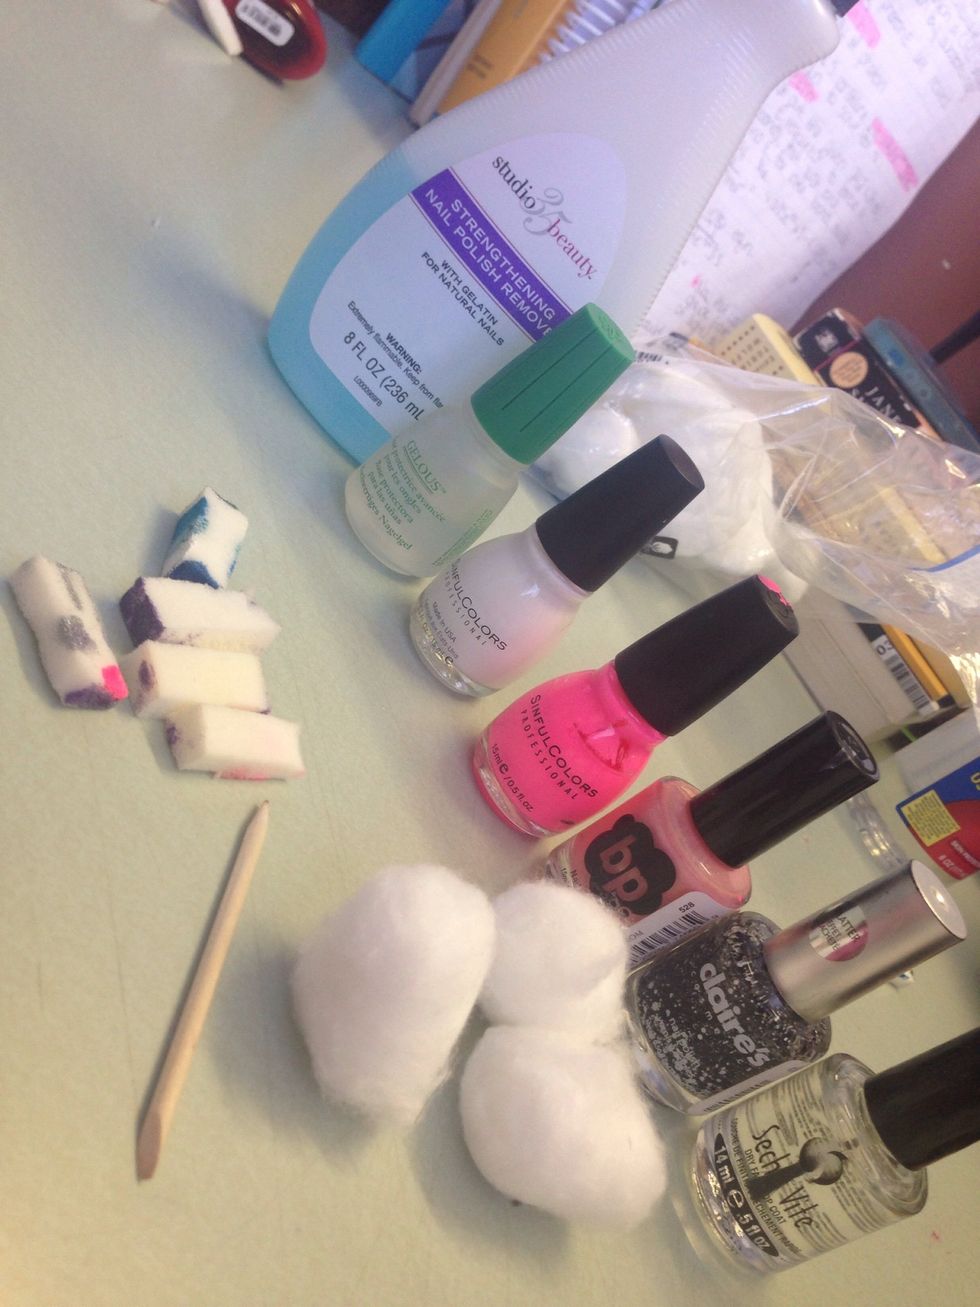
Gather all of your supplies before you get started and have them ready to go. You could also lay out a paper towel or piece of paper to reduce the mess.
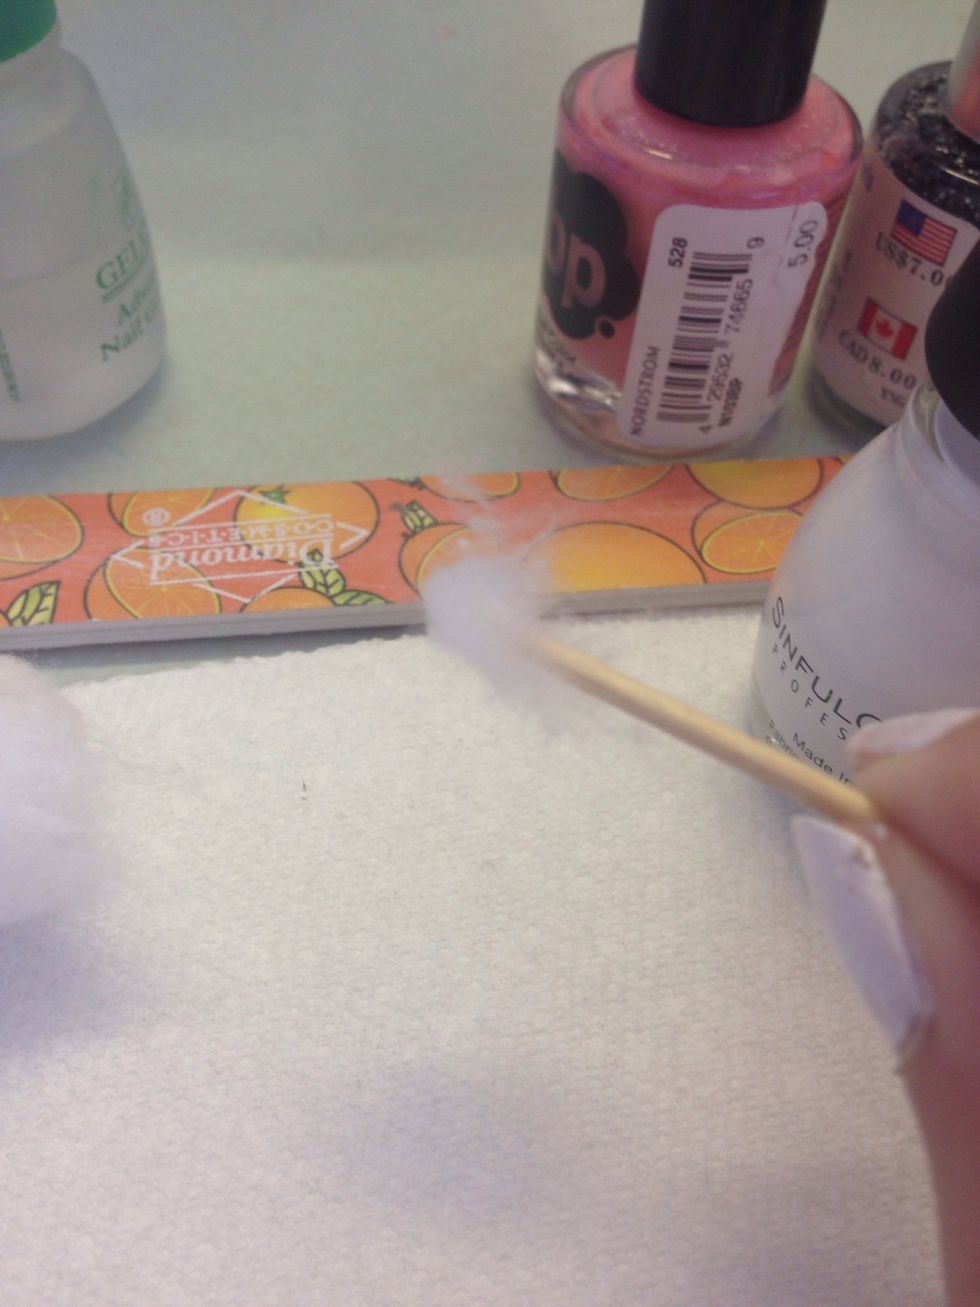
Do this first, otherwise you'll get lint fluffs on your wet polish. Poke a cotton ball with your toothpick (or orange stick)
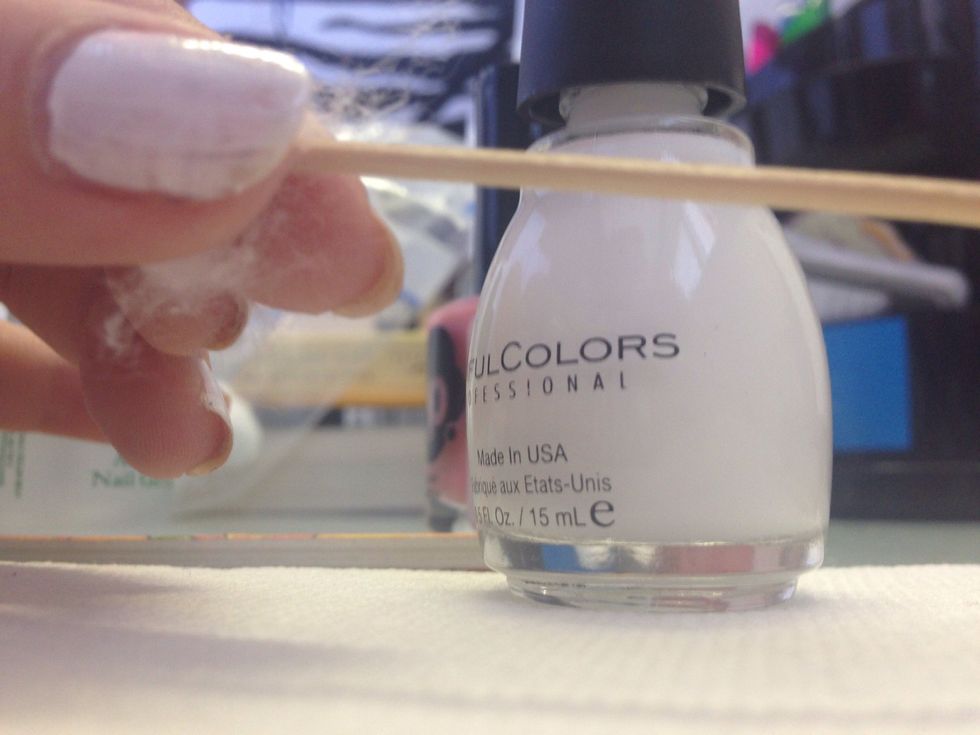
Twist with your fingers
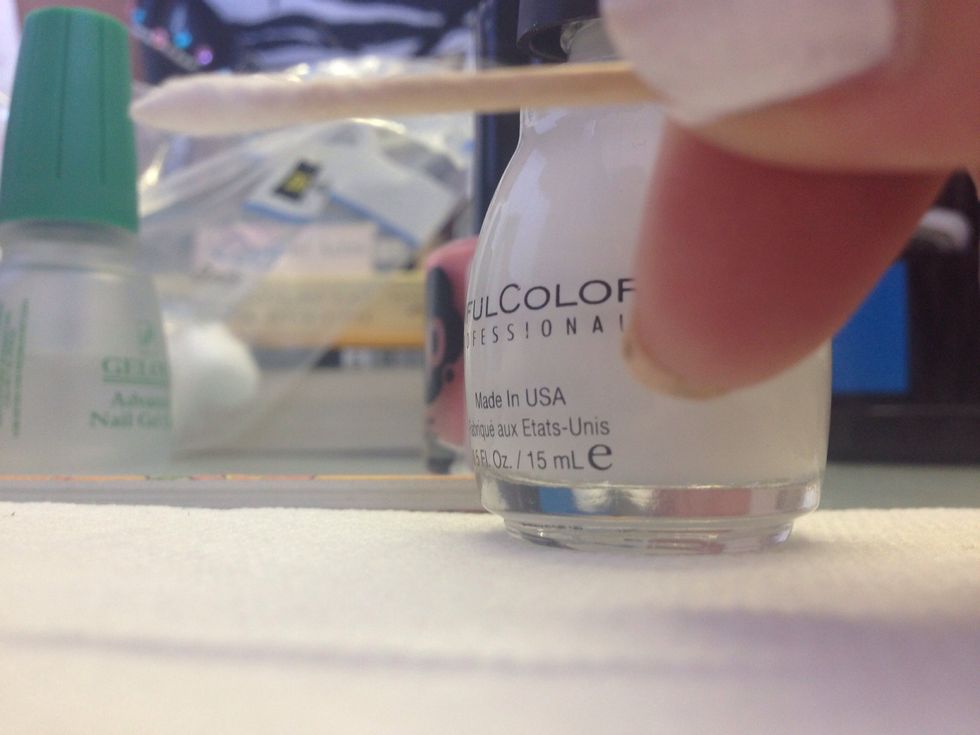
And you've got a (slightly out of frame) mini q tip. Make a few of these before you start painting to have on hand.
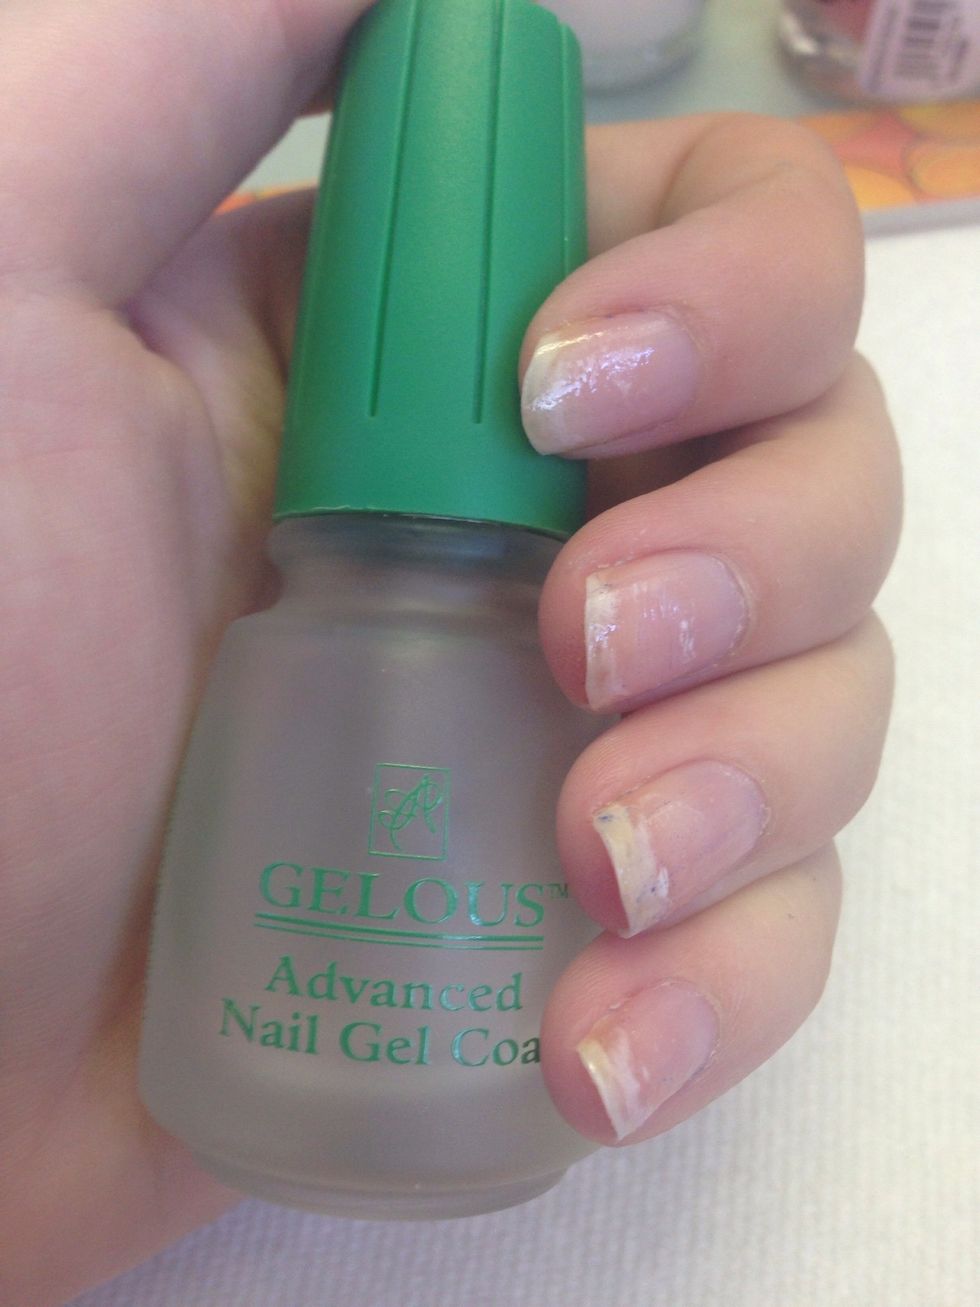
Start with your base coat. My personal favorite is Gelous advanced nail gel coat.

This step is optional, but better for light colors to really get them to pop without needing to use too many coats. Paint a white base (just one coat) on your nails.
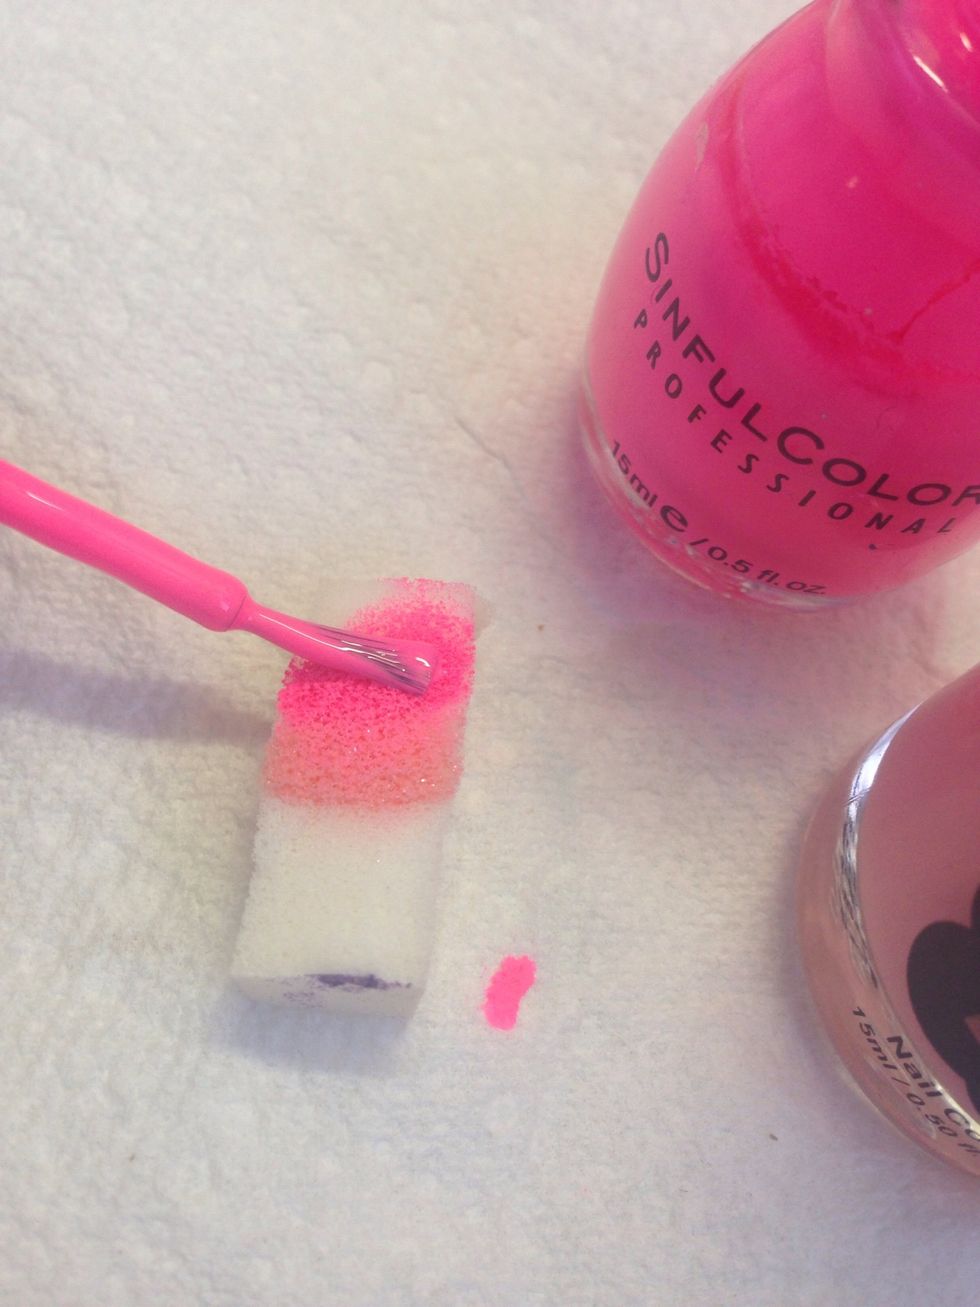
Next, paint your polish onto the sponge. You can put the polish on paper then dab the sponge onto the paper, but I prefer this method because of the light colors I'm using. You get more each time.
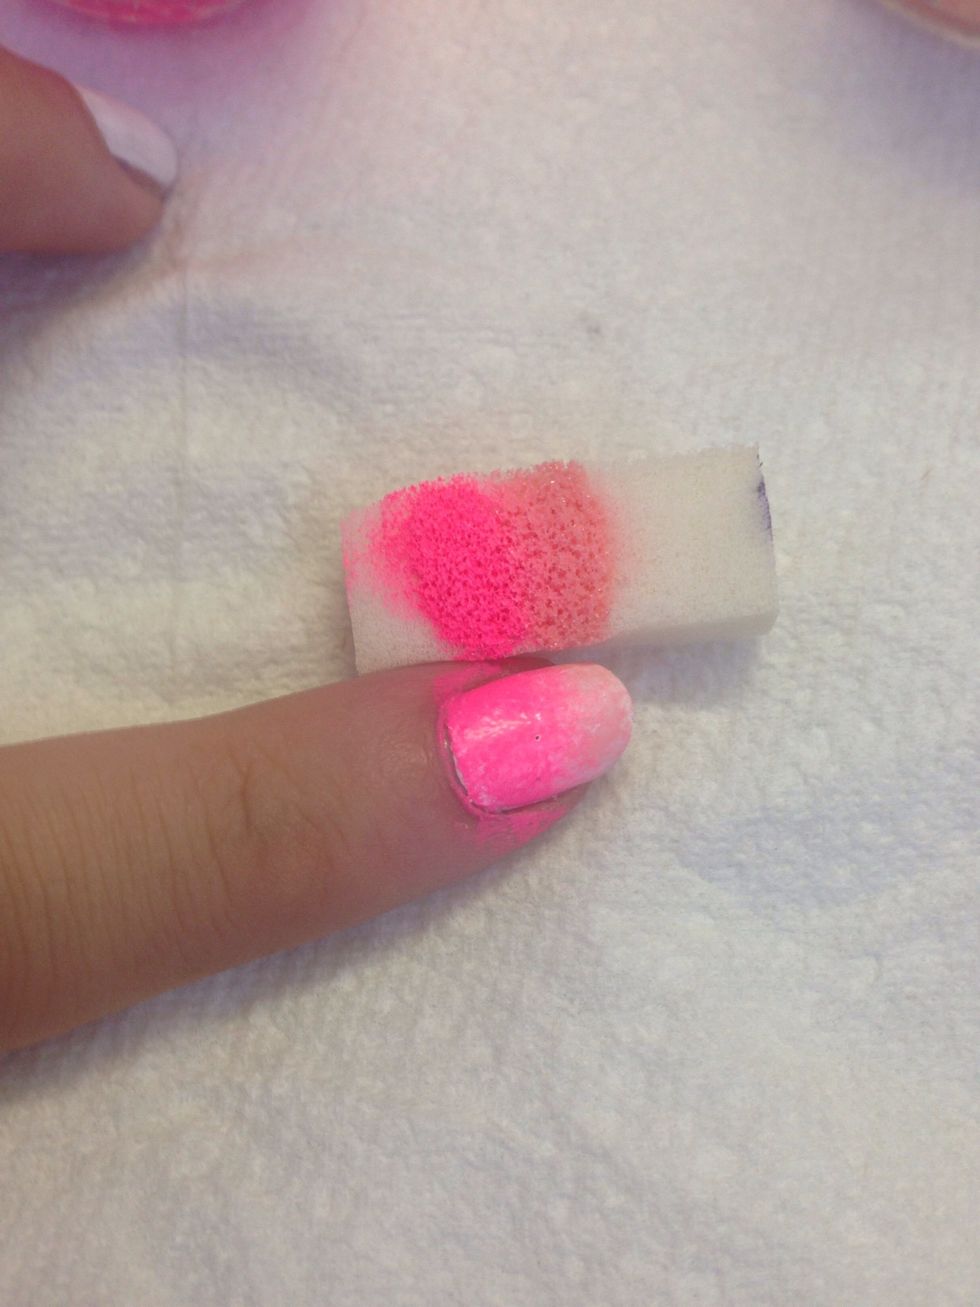
Dab the sponge onto your nail a few times. Don't go more than 7-8 dabs without reapplying polish, because you'll get chunks of sponge stuck to your nails. Put more polish on the sponge frequently.
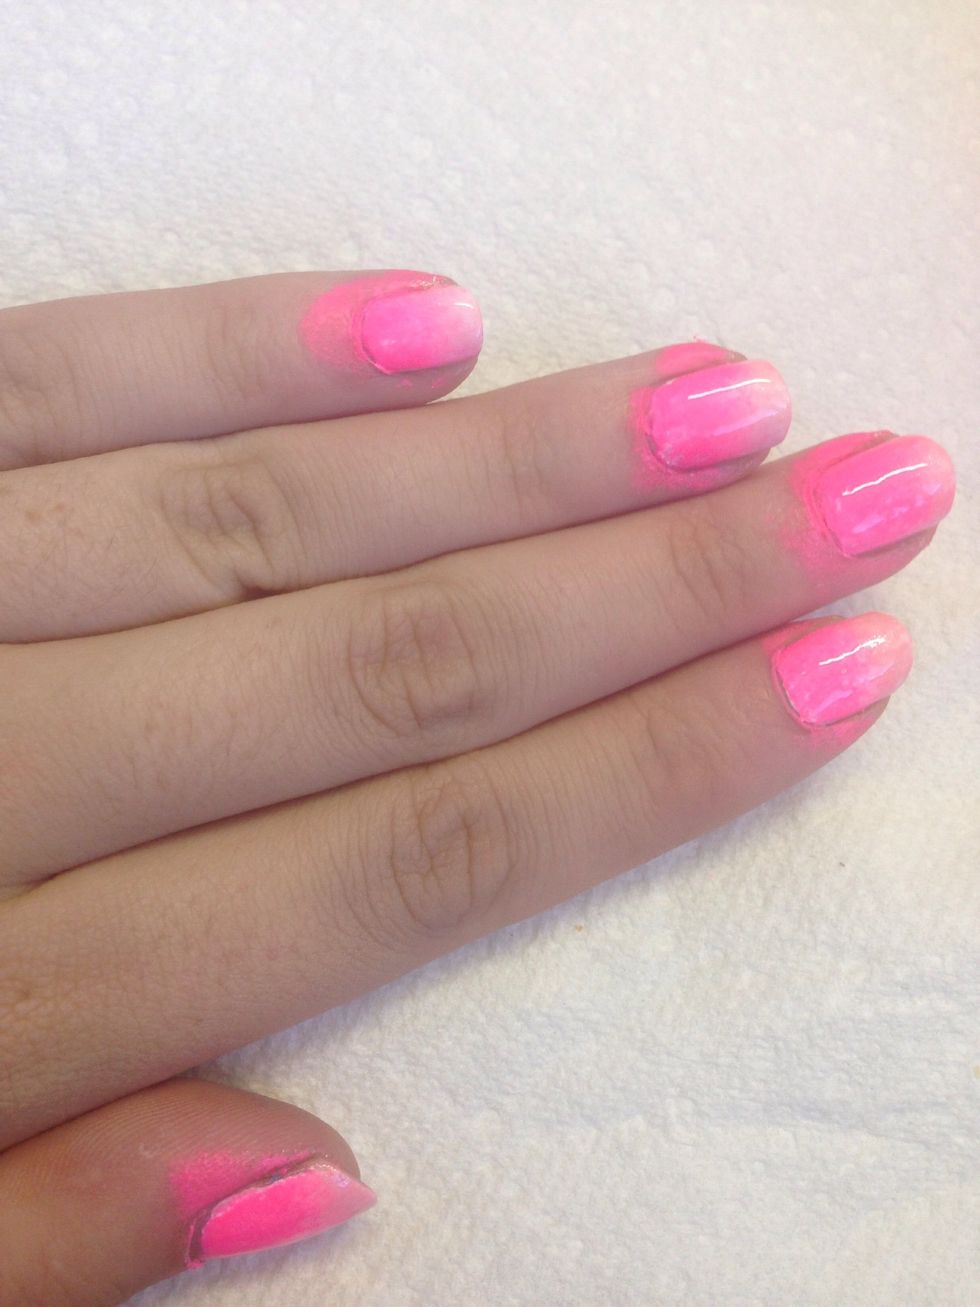
Here's where your cotton swabbed toothpicks come in handy. Dip them in remover and clean up around the nails. I prefer this to q-tips because they're smaller and easier to work with.

All clean! You could stop here (after applying a topcoat) and just rock the gradient.
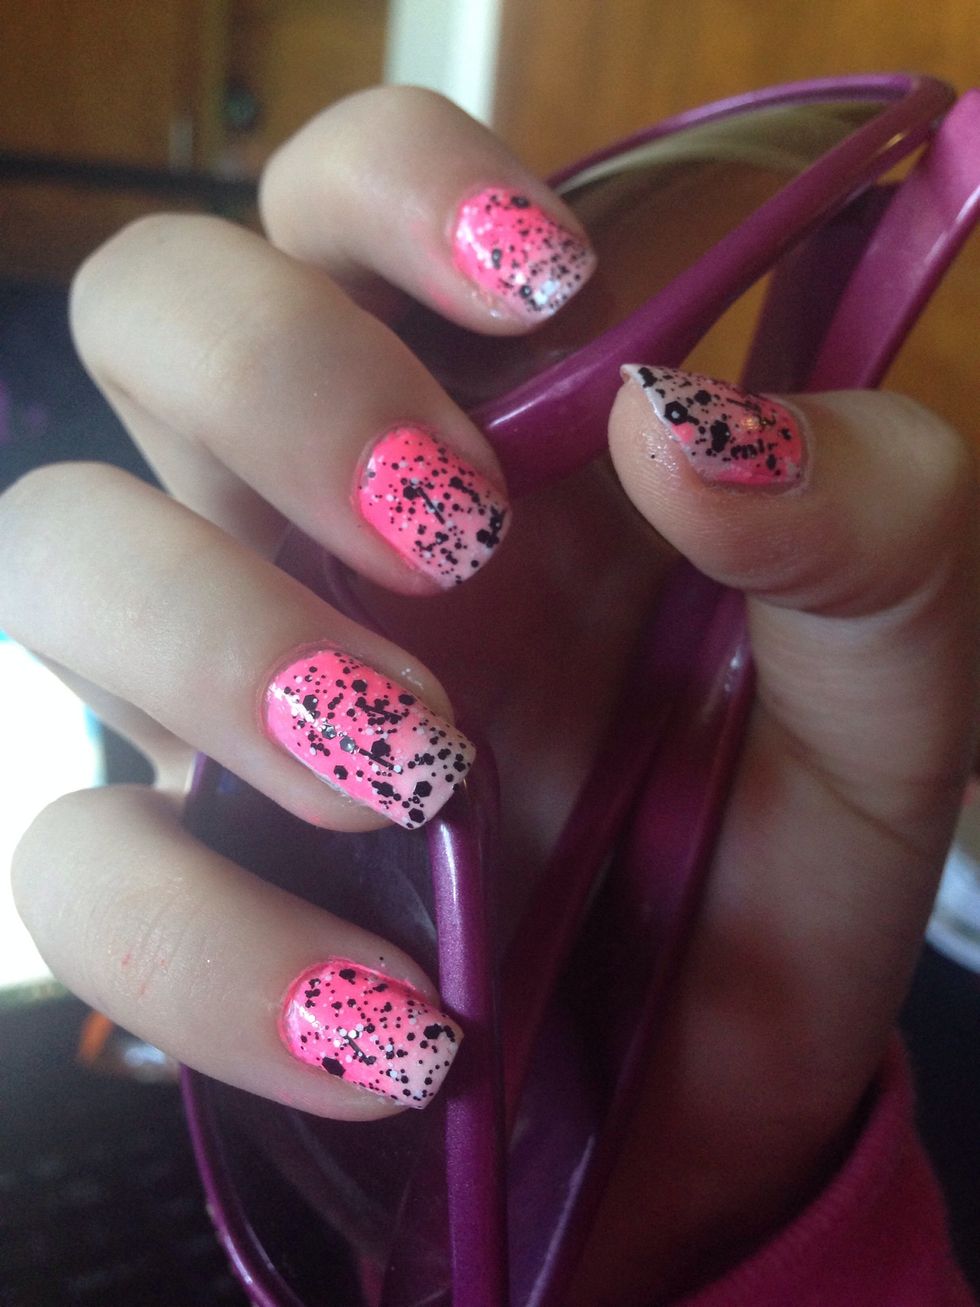
Or you could dab on some Claire's splatter paint. Finish off with a top coat (I love seche vite) and you're done!!