Brit + Co Guides Logo

How to create a my story layout

Create a My Story Layout

STEPS
TOOLS

1.\tGrab the Heart Strings and Heirloom Roses Sheets, and your images.

1. Grab the Heart Strings and Heirloom Roses Sheets, and your images.

2.\tWith a ruler and knife or paper cutter, follow the lines on the Heirloom Roses Sheet and cut the paper so you have 7 black arrows.

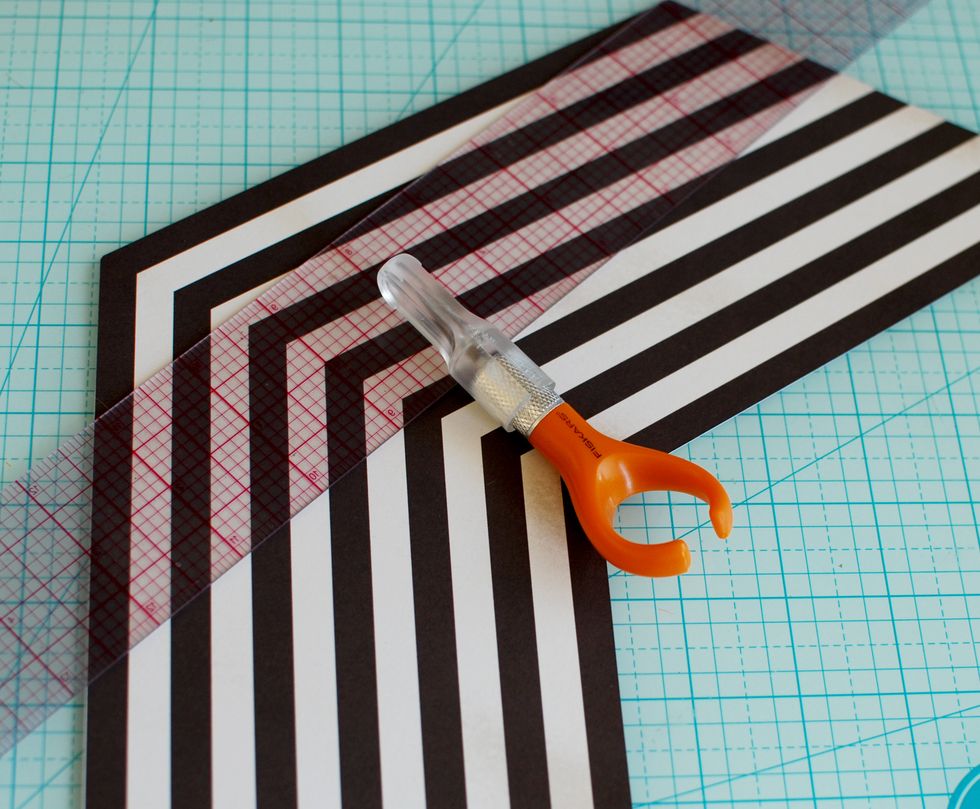
2. With a ruler and knife or paper cutter, follow the lines on the Heirloom Roses Sheet and cut the paper so you have 7 black arrows.

3. Place the arrows on the right side of the layout, with the \u2018today\u2019 and \u2018date card\u2019 from Mixed Bag.  4. A good idea is to lay the page out before proceeding so you can alter if needed.

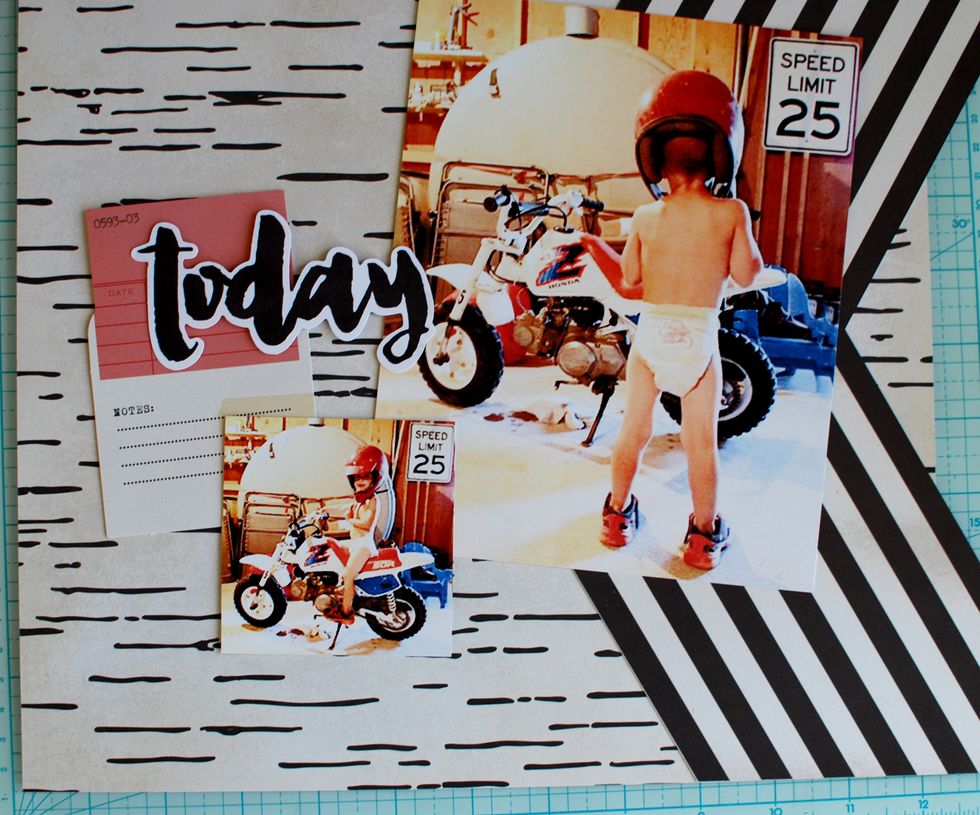
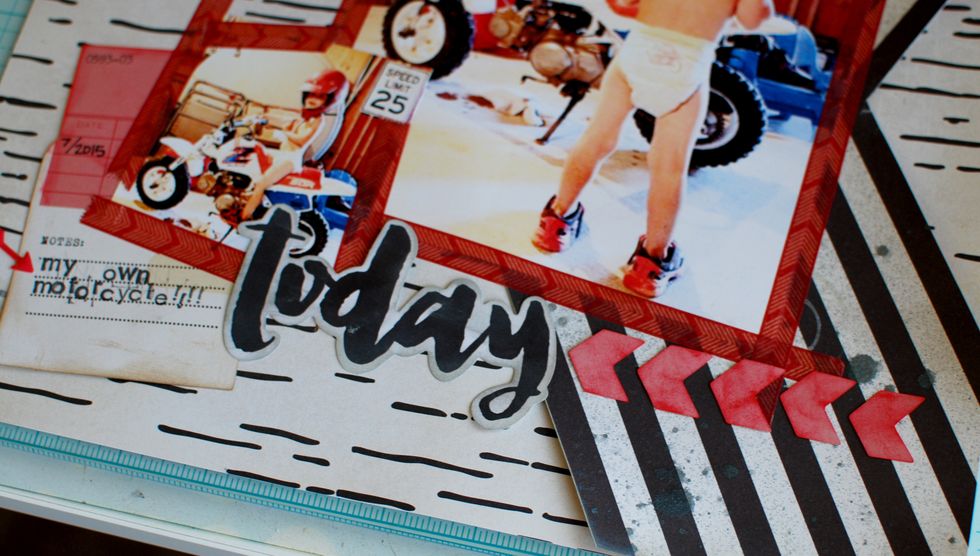
3. Place the arrows on the right side of the layout, with the ‘today’ and ‘date card’ from Mixed Bag. 4. A good idea is to lay the page out before proceeding so you can alter if needed.

5.\tGive the arrows a few sprtiz of your black Color Bloom spray paint, and let dry.

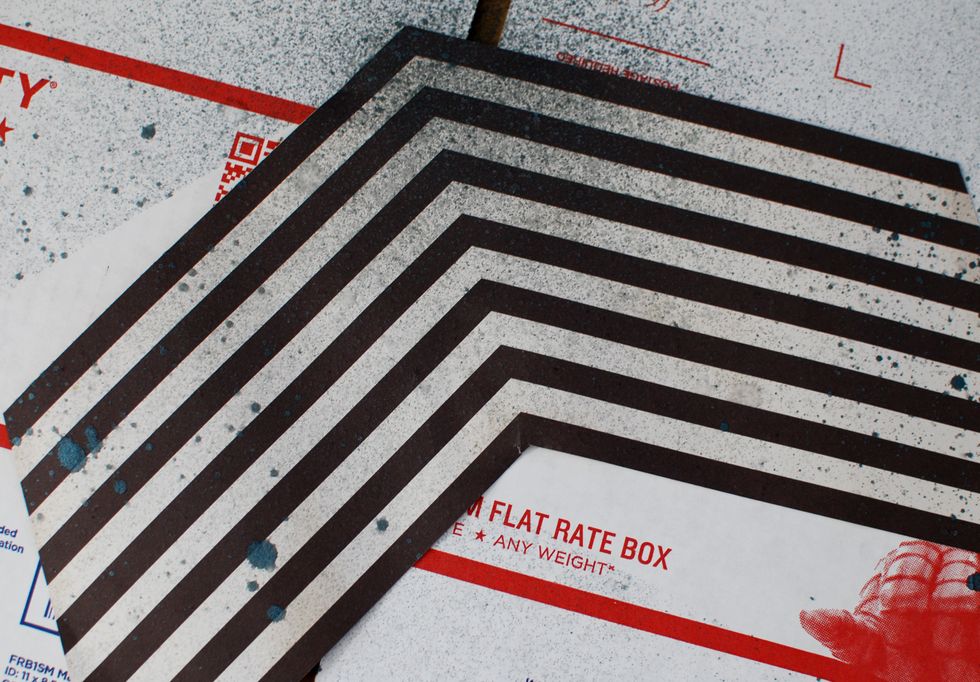
5. Give the arrows a few sprtiz of your black Color Bloom spray paint, and let dry.

6.\tOnce it is dry, place on the layout sheet. With double sided tape, secure it. You will have parts of the arrows hanging off the layout, so cut off the excess with the ruler and knife.

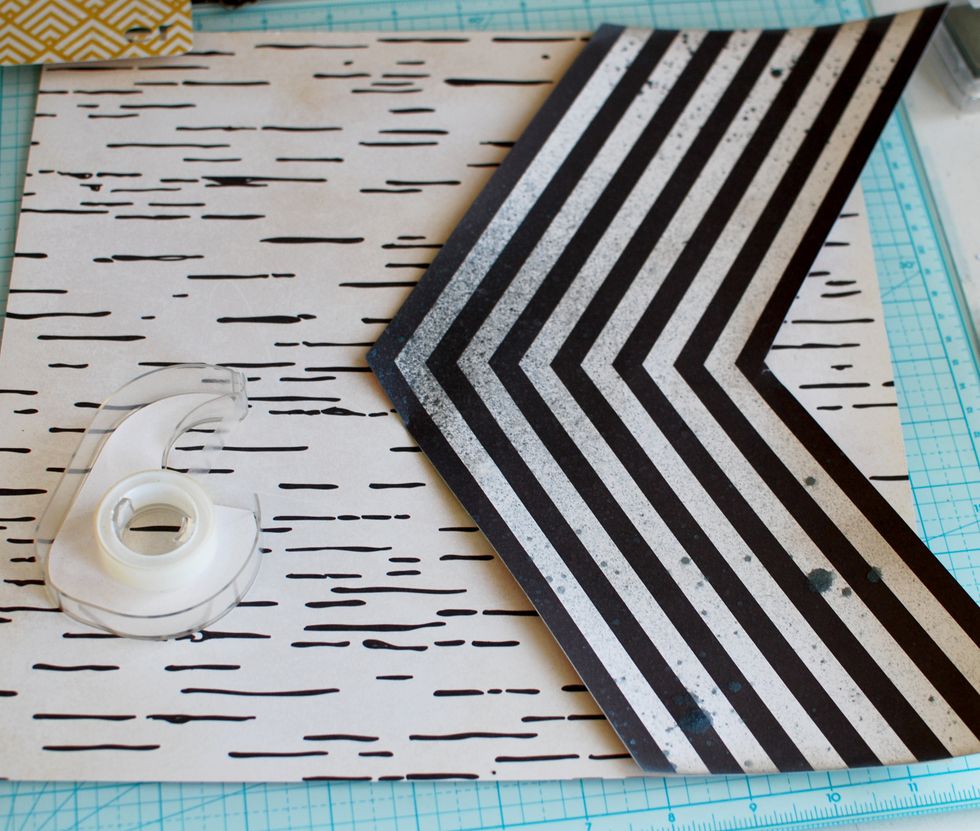
6. Once it is dry, place on the layout sheet. With double sided tape, secure it. You will have parts of the arrows hanging off the layout, so cut off the excess with the ruler and knife.

7.\tGrab your grey Ink and the Coffee Stain stamps. Place a few of the stamps around the page.

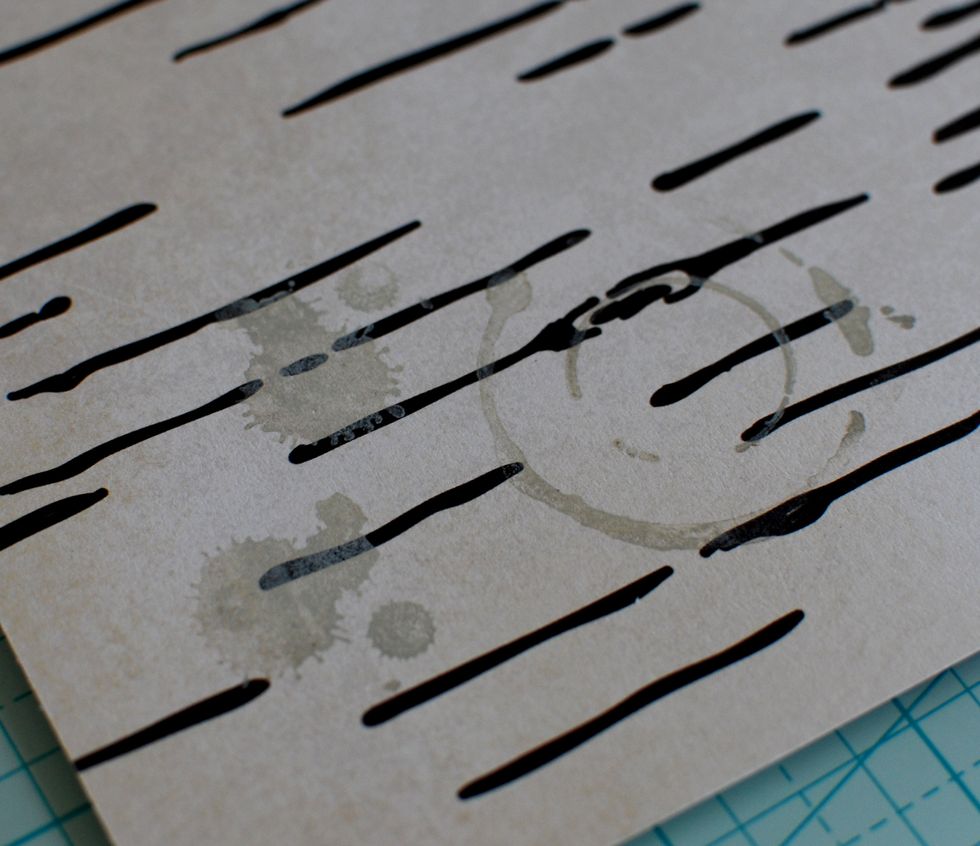
7. Grab your grey Ink and the Coffee Stain stamps. Place a few of the stamps around the page.

8.\tUse alphabet stamps and black ink to add a title on the date card.  9.\tInk the edges of the card.  10.\tWith your marker, add the date on the upper red area of the card.

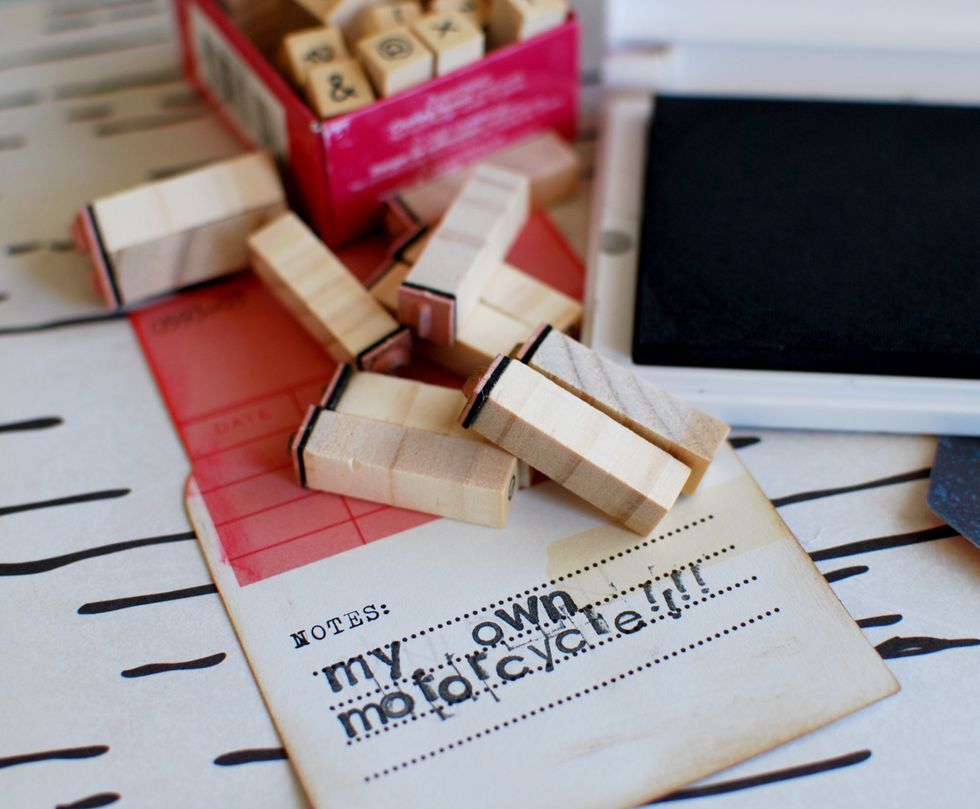
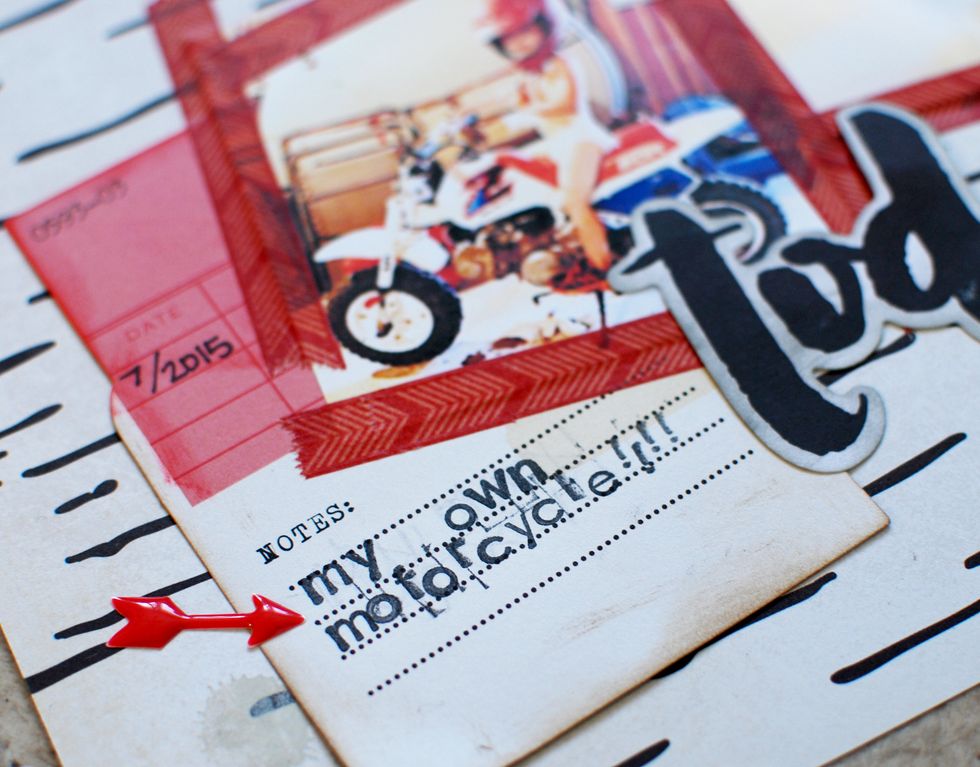
8. Use alphabet stamps and black ink to add a title on the date card. 9. Ink the edges of the card. 10. With your marker, add the date on the upper red area of the card.

11.\tSecure the larger image to the page with the red decorative tape. I liked the look of irregular and slightly sloppy tape placement.

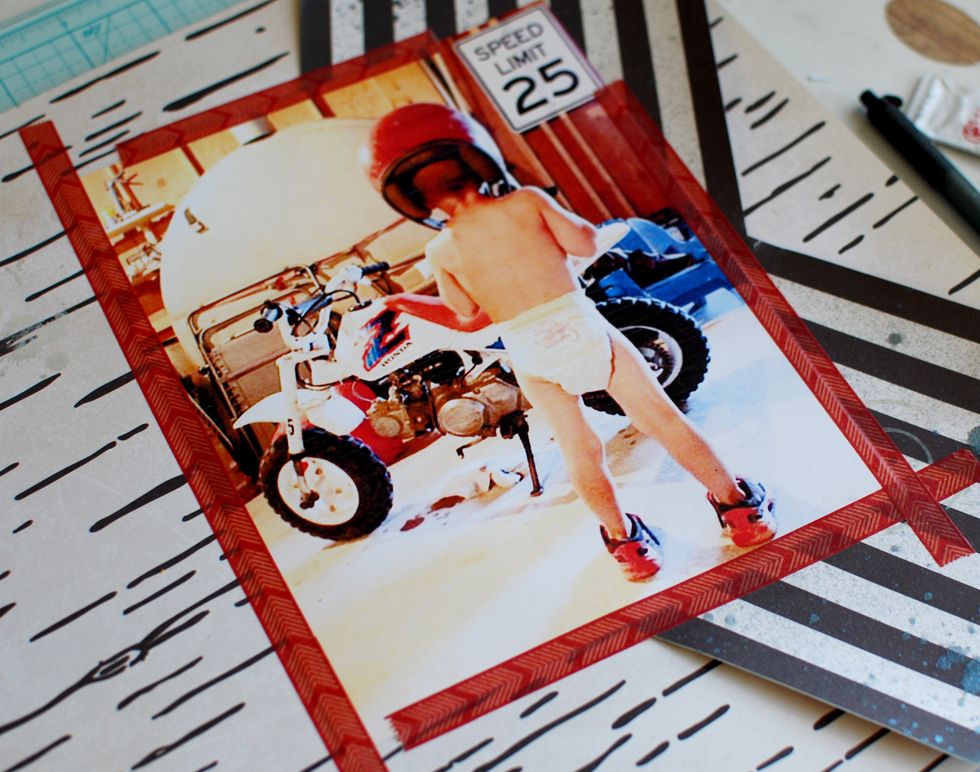
11. Secure the larger image to the page with the red decorative tape. I liked the look of irregular and slightly sloppy tape placement.

12.\tWith double sided tape, secure the date card down.  13.\tPlace the small image down and secure that with the red decorative tape.

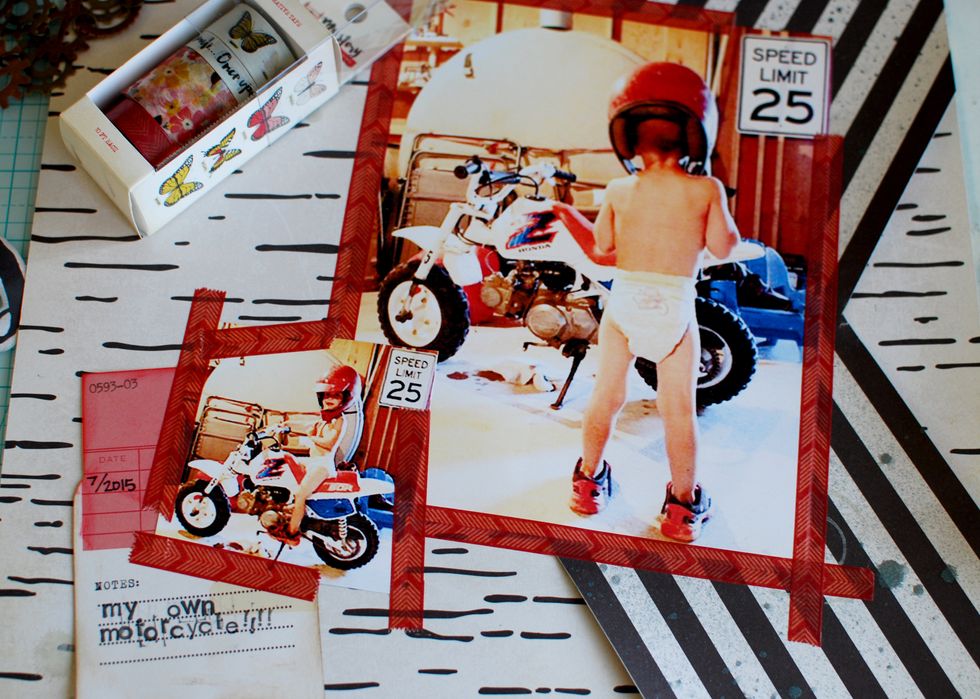
12. With double sided tape, secure the date card down. 13. Place the small image down and secure that with the red decorative tape.

14.\tFind this arrow die cut journaling card and punch 5 arrows from it. Dab them in red ink and let dry.

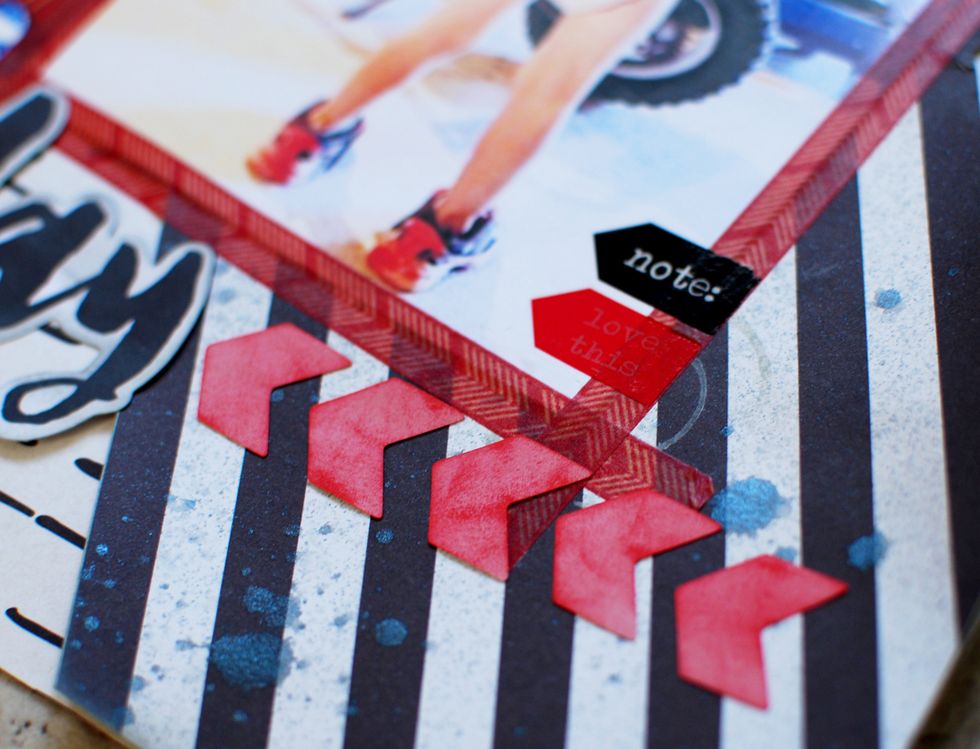
14. Find this arrow die cut journaling card and punch 5 arrows from it. Dab them in red ink and let dry.

15.\tUsing double sided tape, secure the today die cut and place the red arrows to the right side of it.

15. Using double sided tape, secure the today die cut and place the red arrows to the right side of it.

16.\tFind the rub-ons. It's easiest to cut out which designs you want, from the plastic sheet. This way you won\u2019t accidentally rub any other designs as well. I chose the Note and Love This rub-ons.

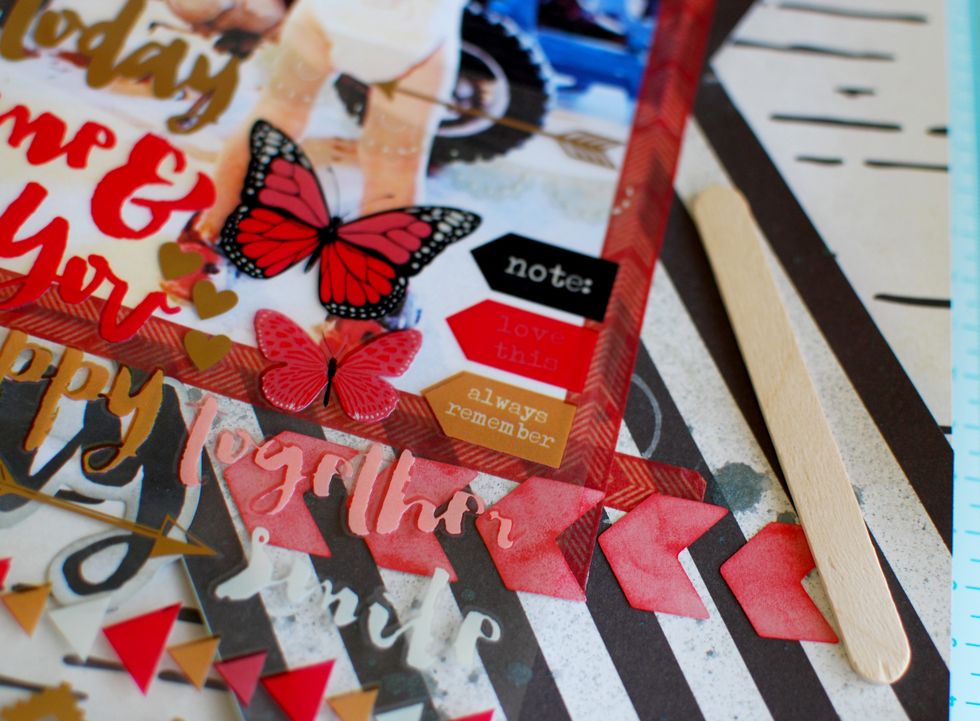
16. Find the rub-ons. It's easiest to cut out which designs you want, from the plastic sheet. This way you won’t accidentally rub any other designs as well. I chose the Note and Love This rub-ons.

17.\tThey come with a wood stick, and apply very easily to the paper. Rub them to the bottom right of the large image.

17. They come with a wood stick, and apply very easily to the paper. Rub them to the bottom right of the large image.

18.\tAdd a red enamel shape sticker to your message.

18. Add a red enamel shape sticker to your message.

19.\tYou now have a finished layout!  Find all your supplies at http://www.fotobella.com. Tutorial by FotoBella Design Team Member Jeri

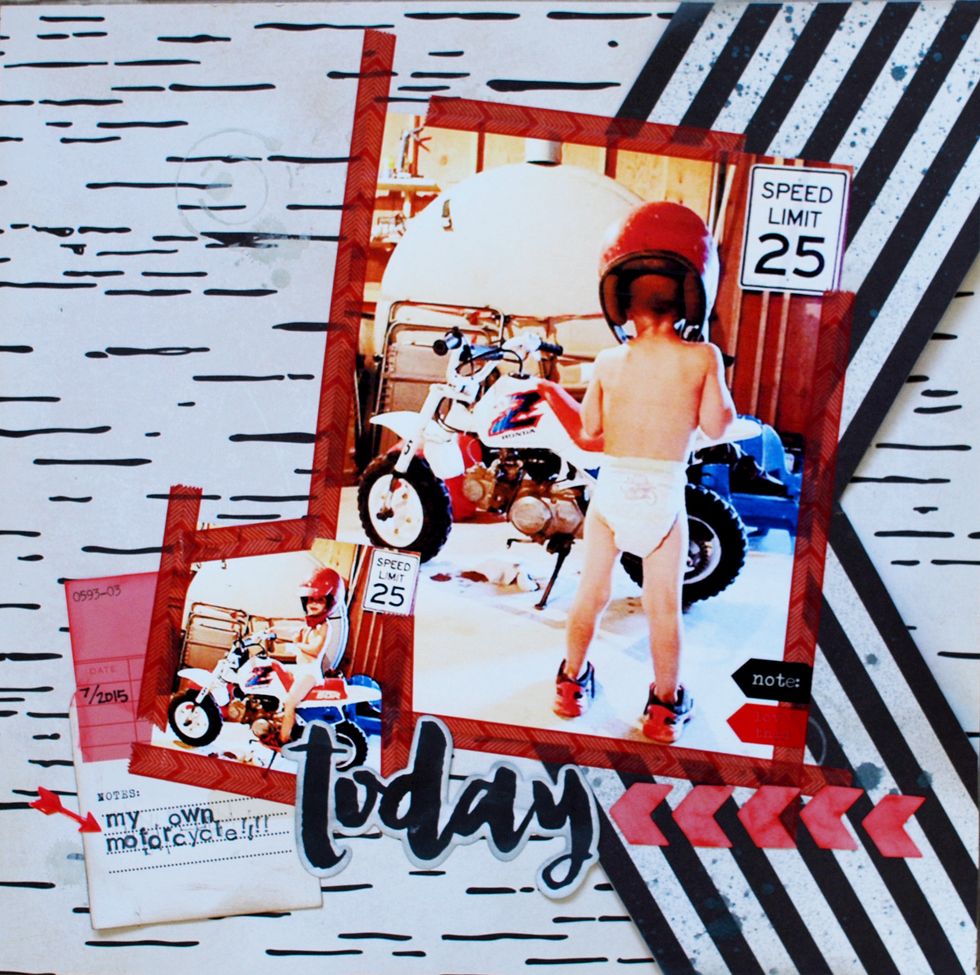
19. You now have a finished layout! Find all your supplies at http://www.fotobella.com. Tutorial by FotoBella Design Team Member Jeri

  • My Mind’s Eye My Story Bundle
  • Images are 7.5” x 6” and 3” x 3”
  • fee Stain Stamp by Prima Marketing
  • Color Bloom Spray in Precious Stone by Prima
  • Brown Ink Pad
  • Red Ink Pad
  • Black Ink Pad
  • Grey Ink
  • Letter Stamps
  • Marker