The Conversation (0)
Sign Up
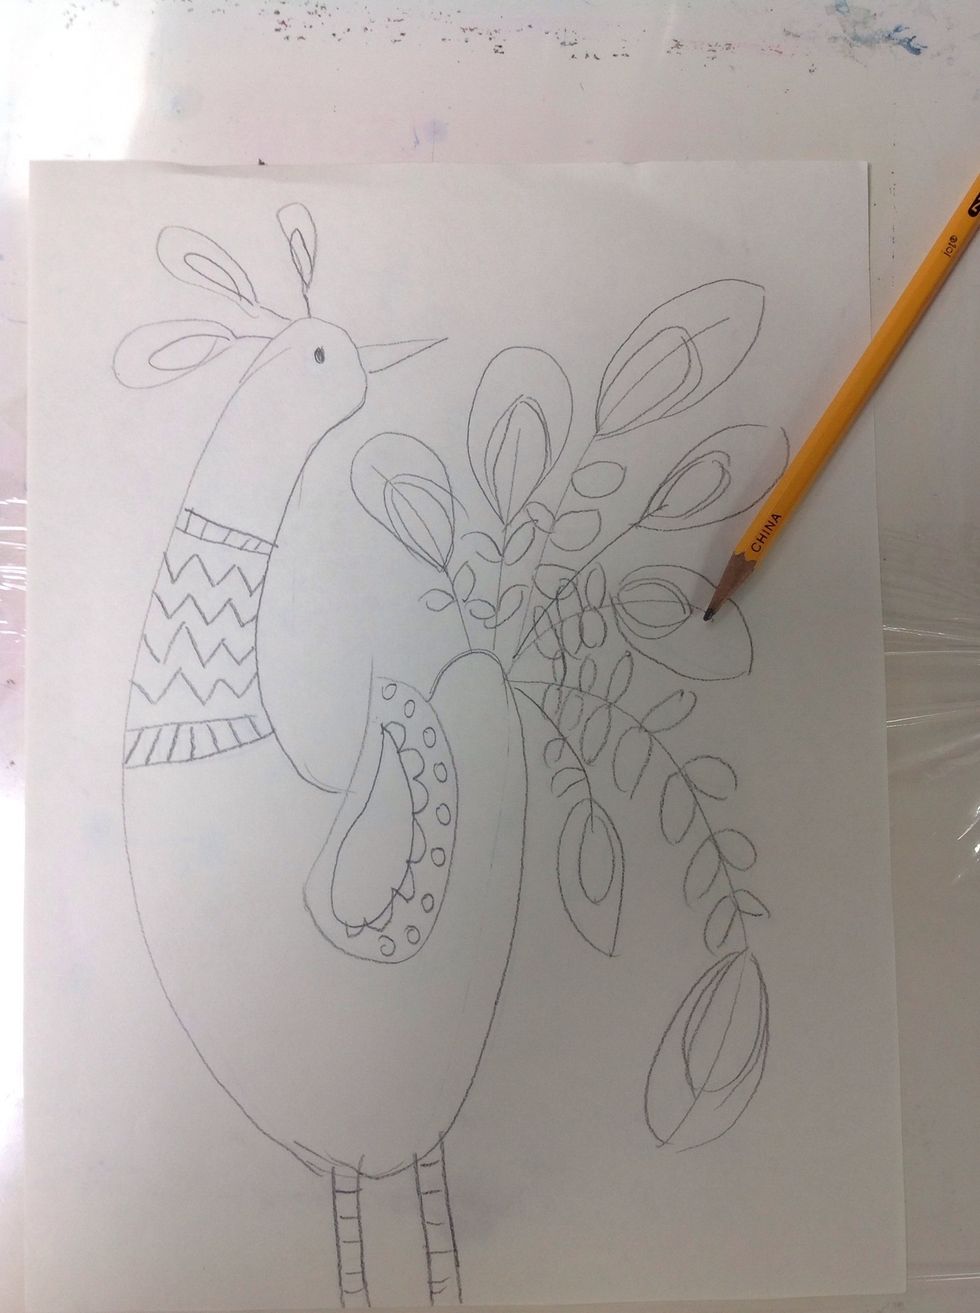
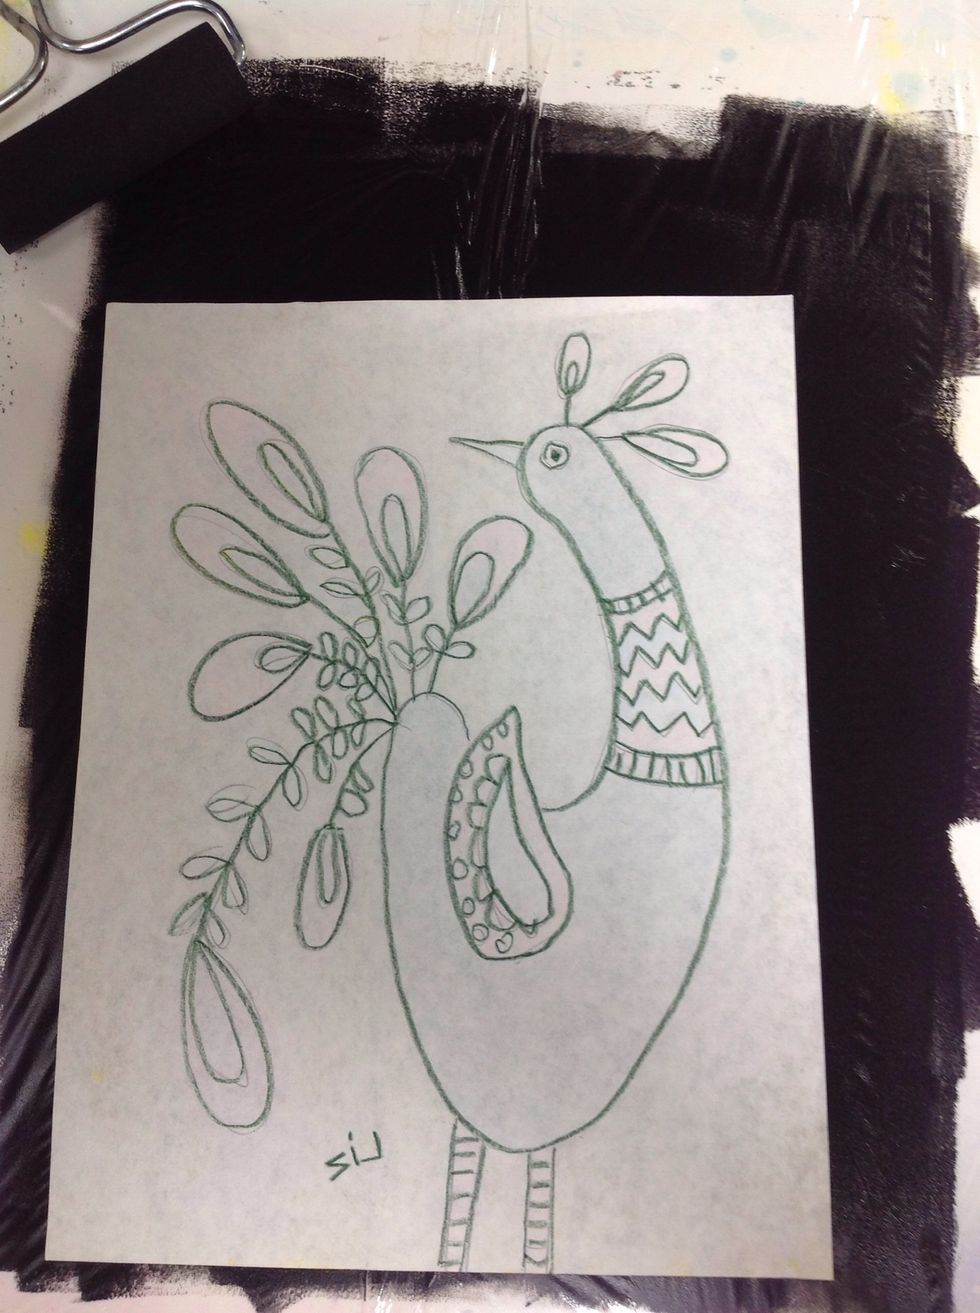
Begin with a pencil drawing. I laid mine over a piece of carbon paper so the image will be on both sides. You can make your own carbon paper by scribbling graphite on a separate piece of paper.
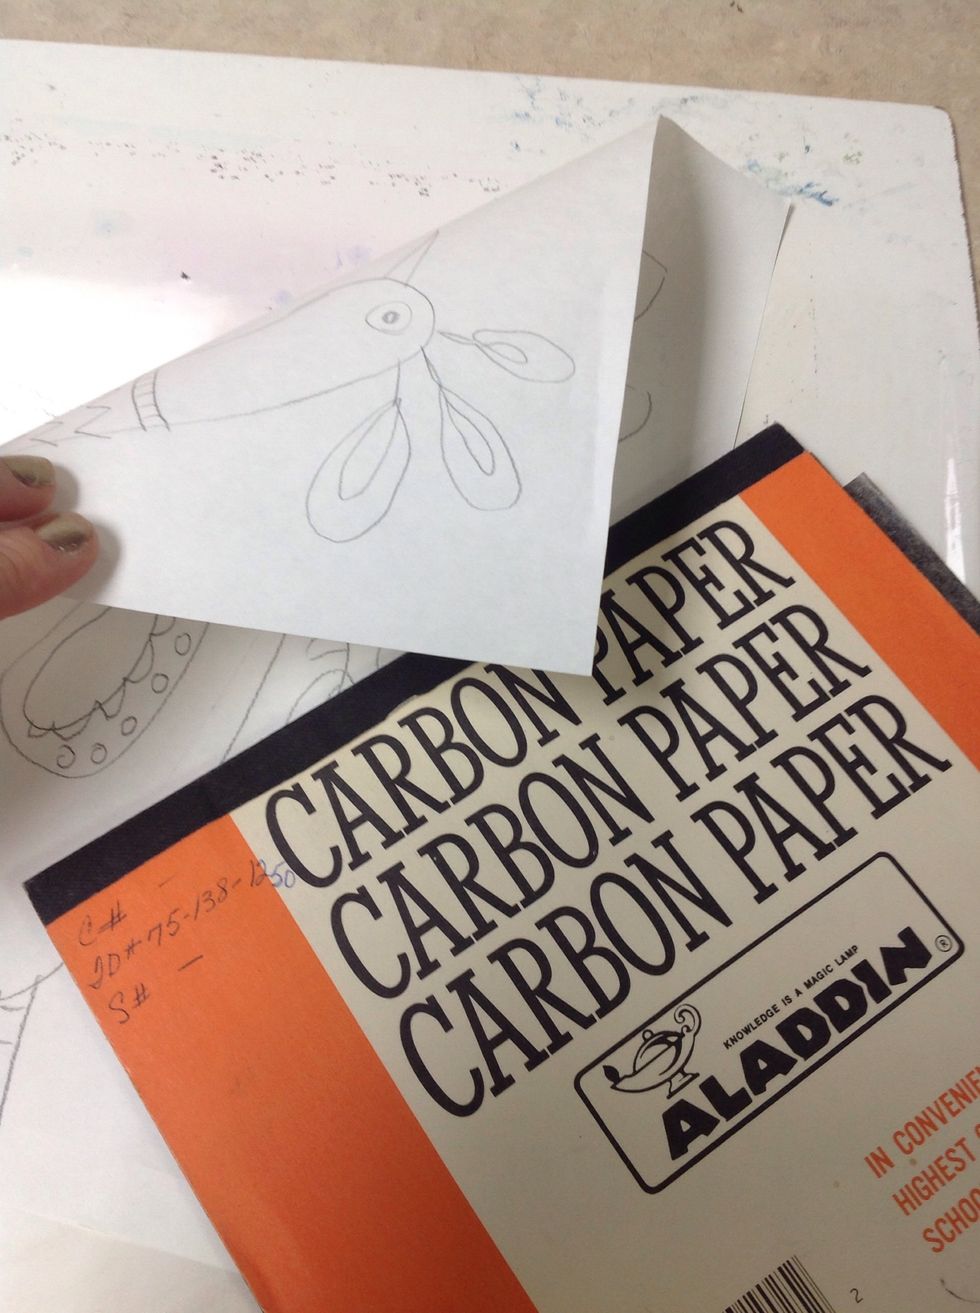
See? On both sides:)
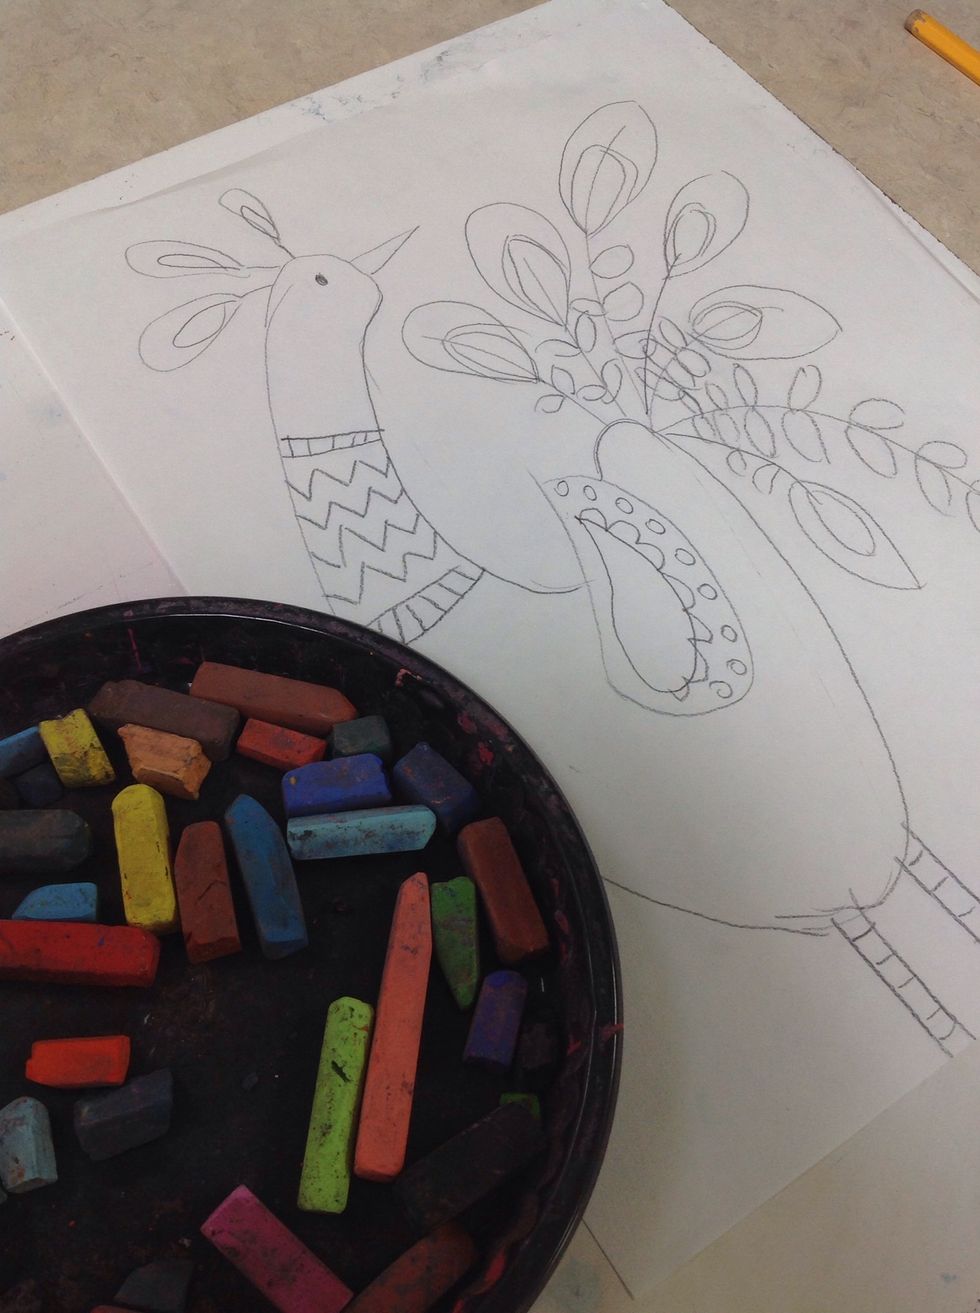
Use chalk pastels to color drawing.
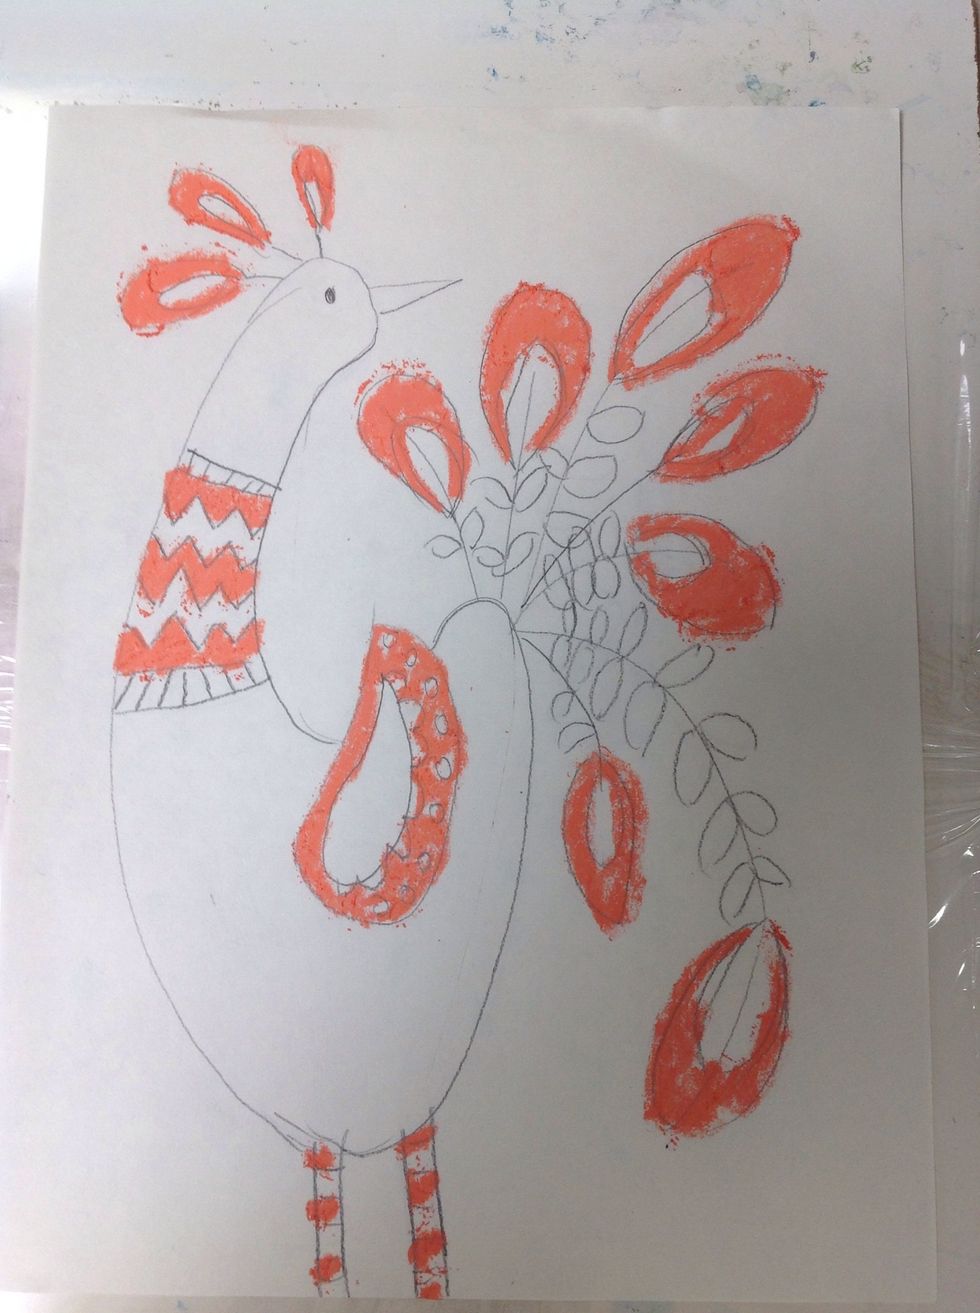
Super messy!
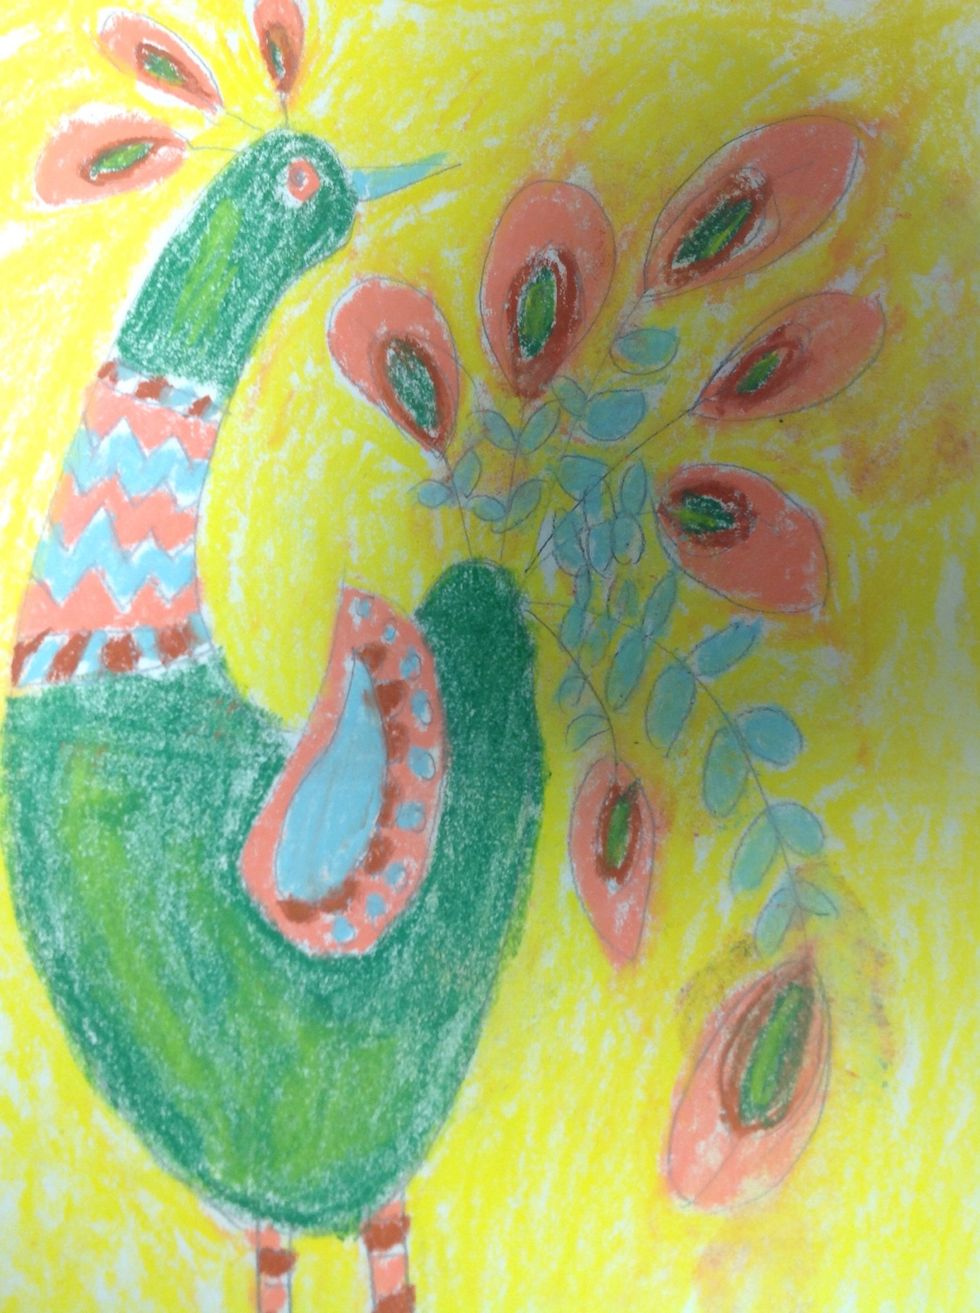
Looks messy.
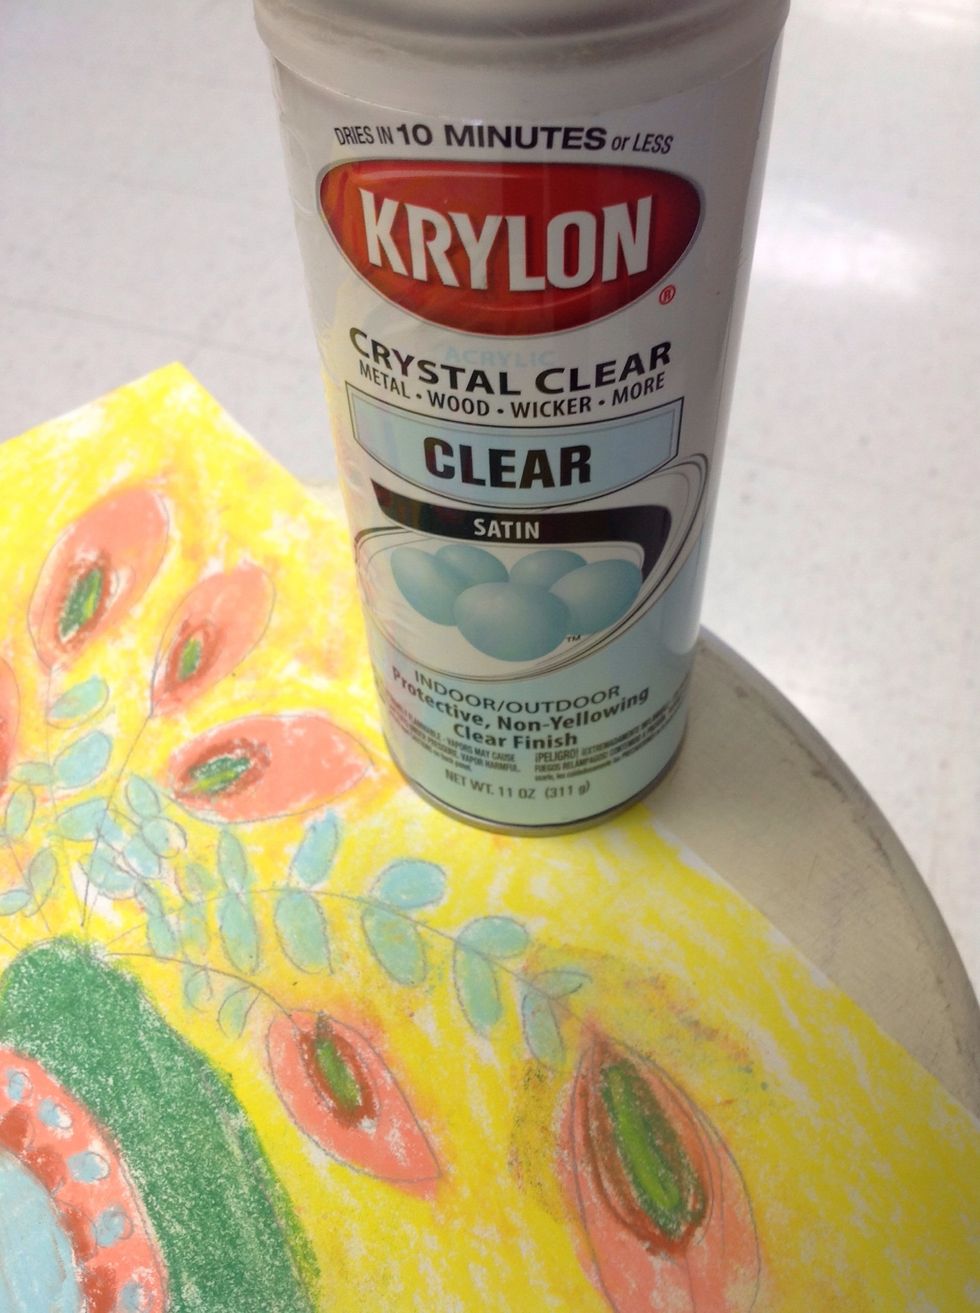
Do NOT swipe excess chalk dust! I blow it off. Then spray with clear fixative or some sealer to prevent smearing.
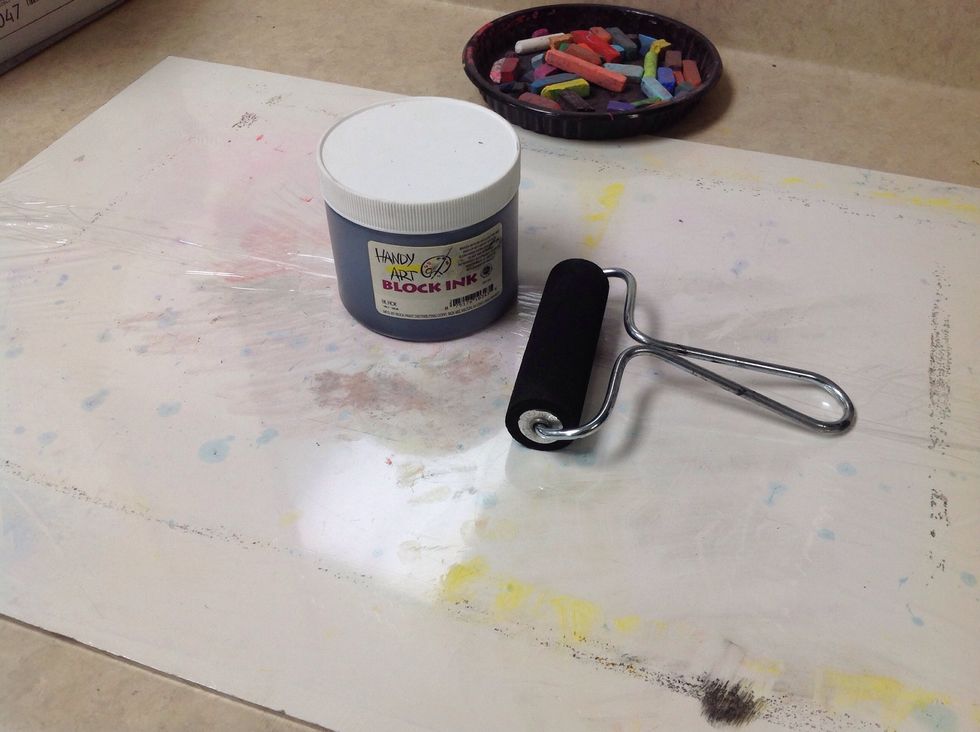
Now for the printing. I am using a smooth board wrapped in Saran Wrap. A laminated piece of construction paper or plastic placemat will also work.

Put a small amount of block ink on the surface. I used a pop cycle stick because this stuff is hard to clean up!
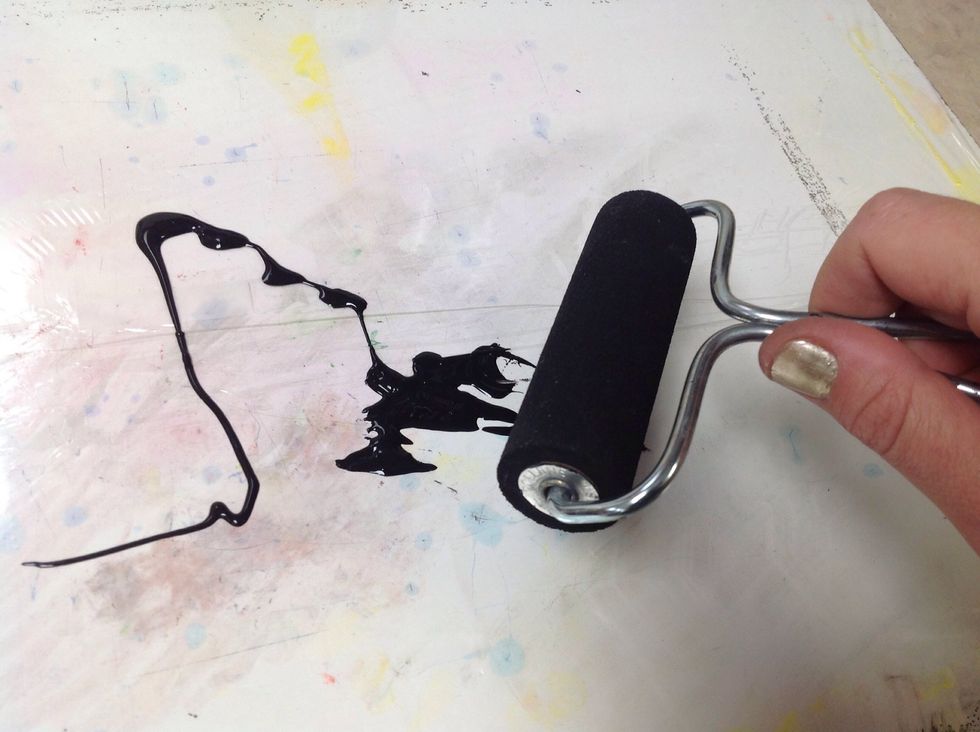
Use the braver to roll it out evenly.
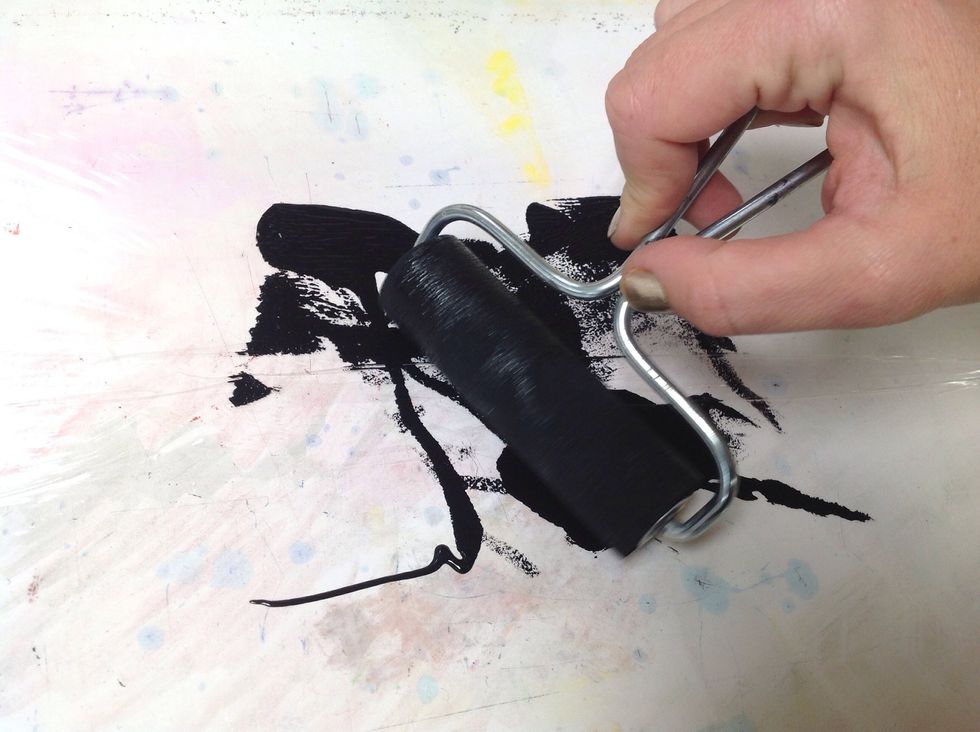
Rollin, Rollin, Rollin
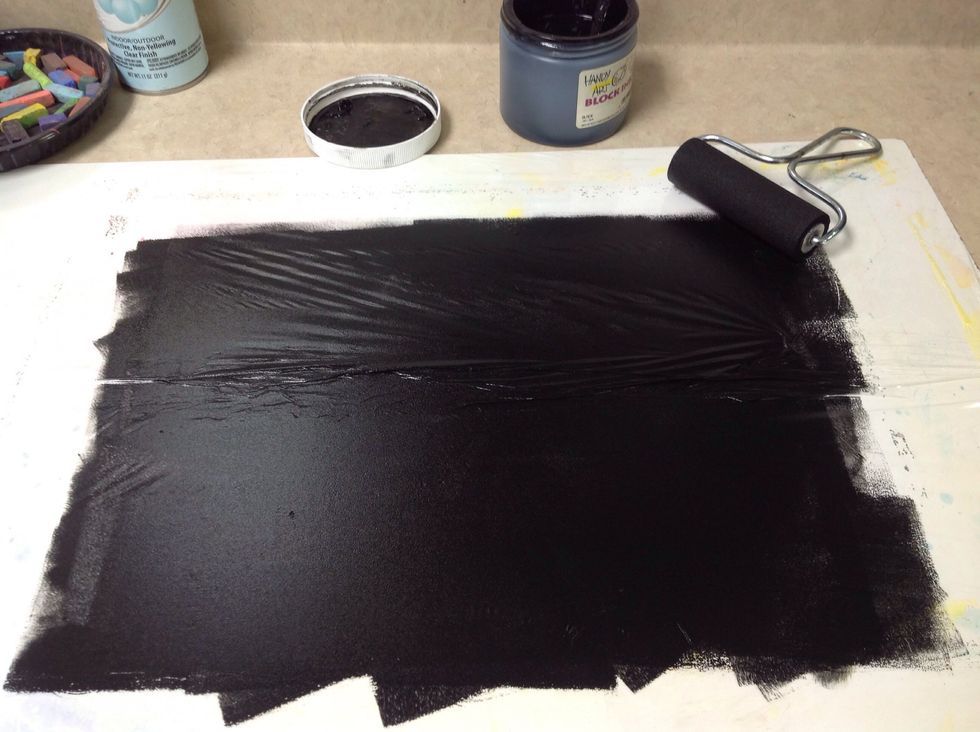
Very thin, smooth layer. Key word: thin.
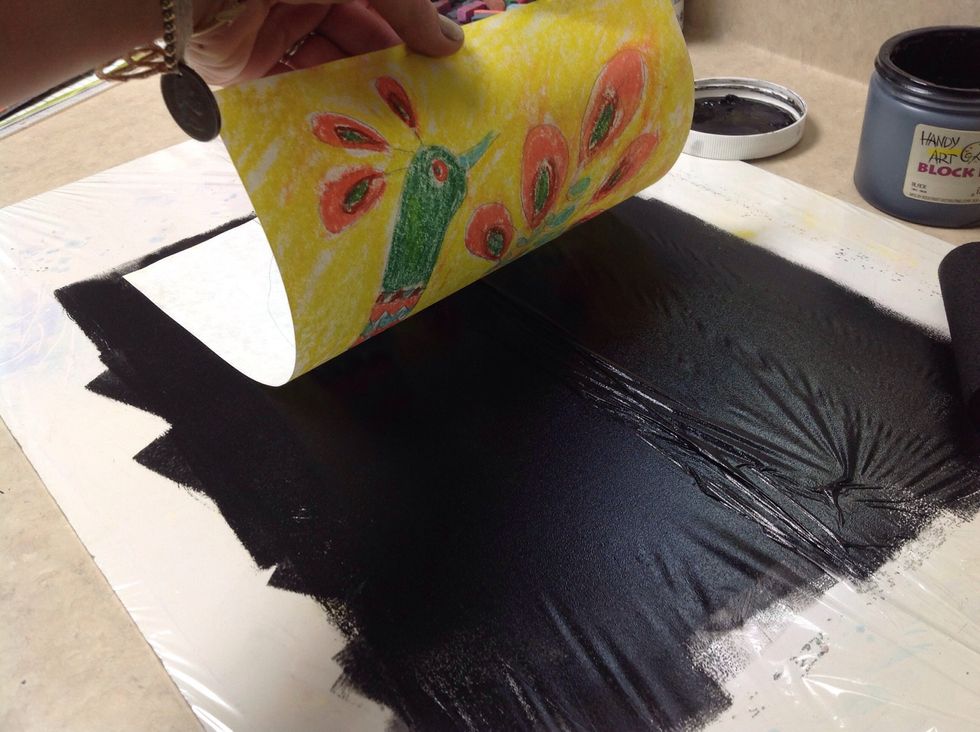
Lay your colored drawing face down on the ink.
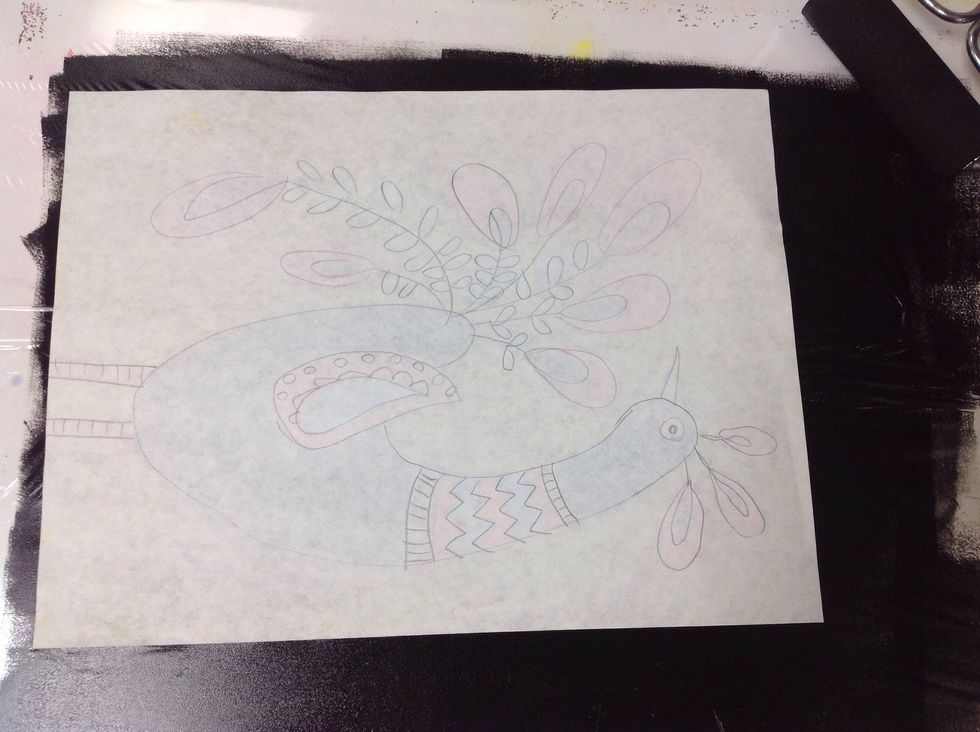
You should see the lines on the opposite side.Do NOT rest you hand or arm on the paper!

Trace the lines with a pencil. I used a colored pencil to show progress.
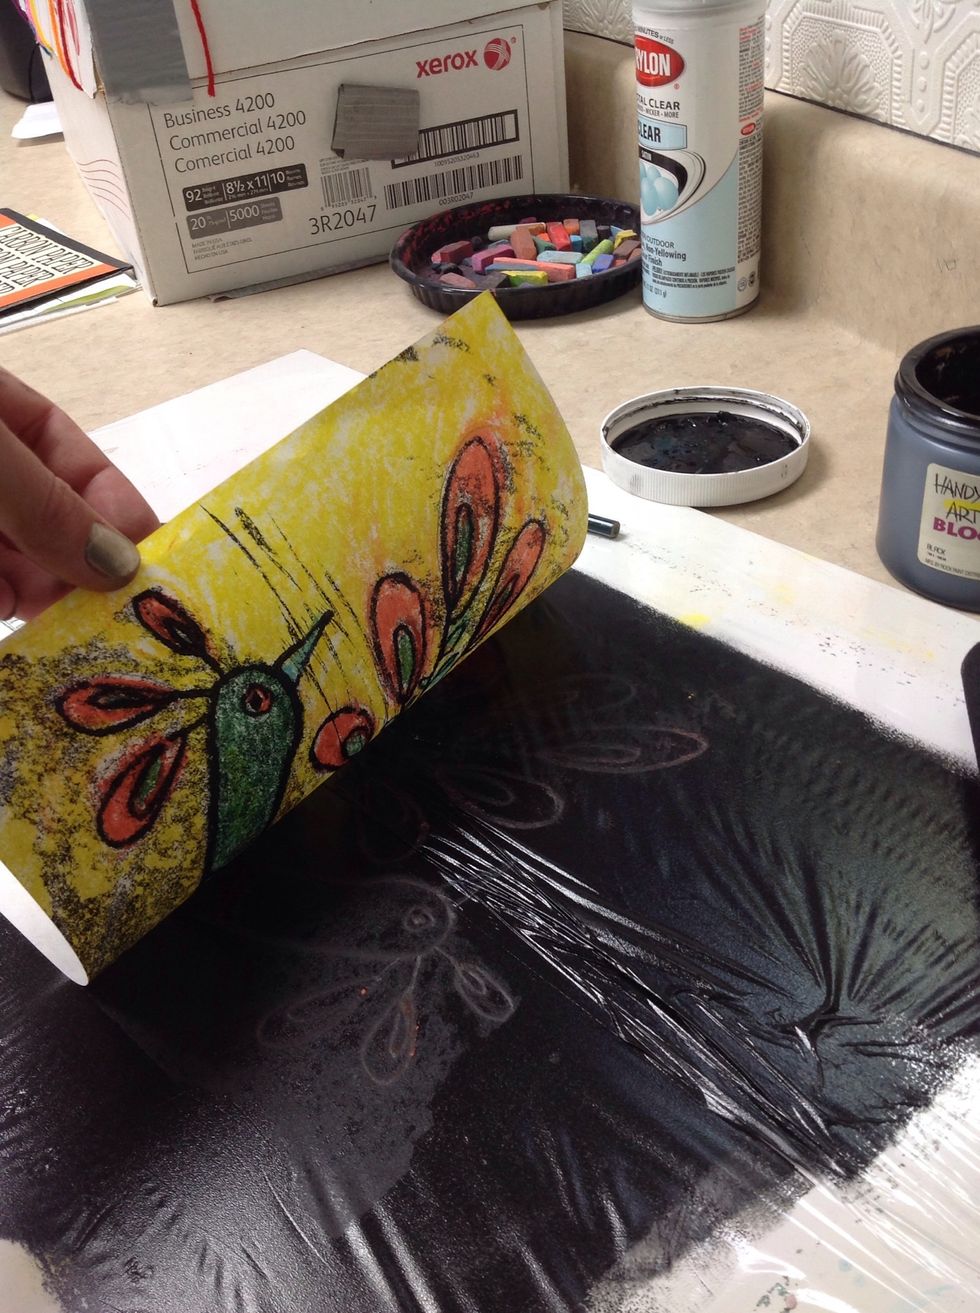
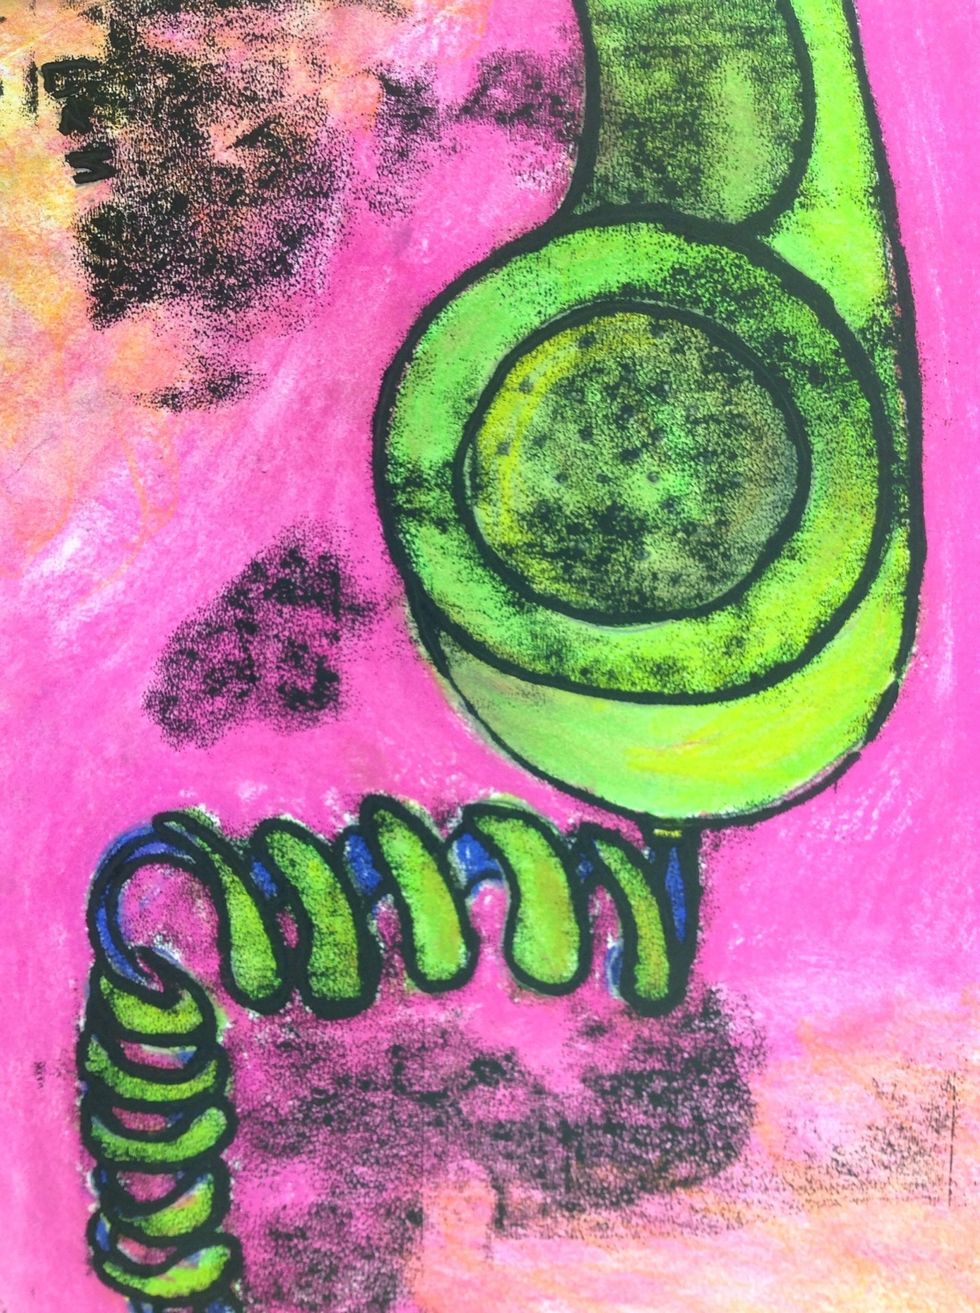
Moment of truth! Gently lift the picture.
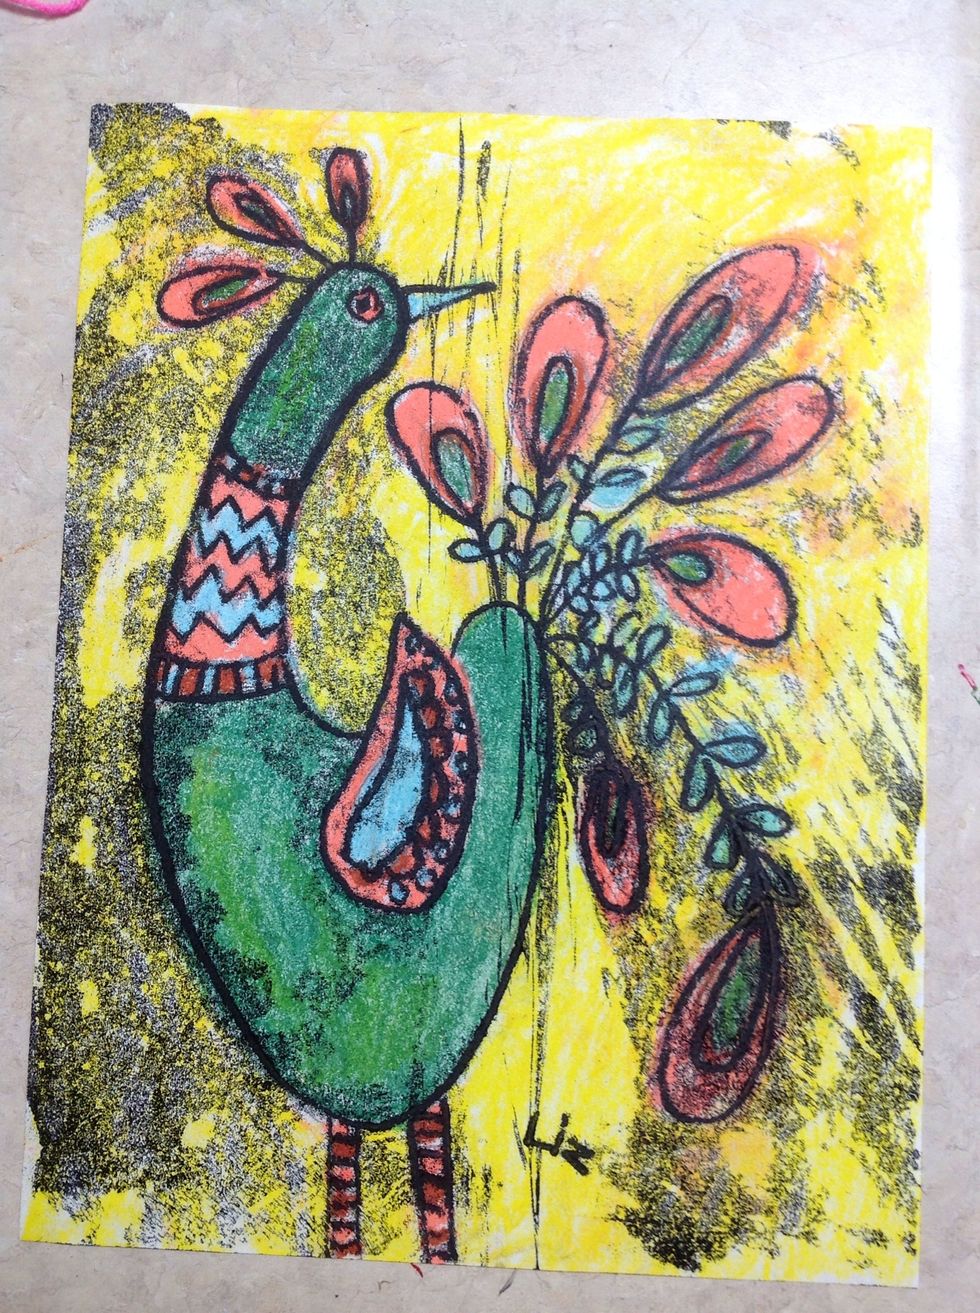
Voila! A colorful mono print!