The Conversation (0)
Sign Up
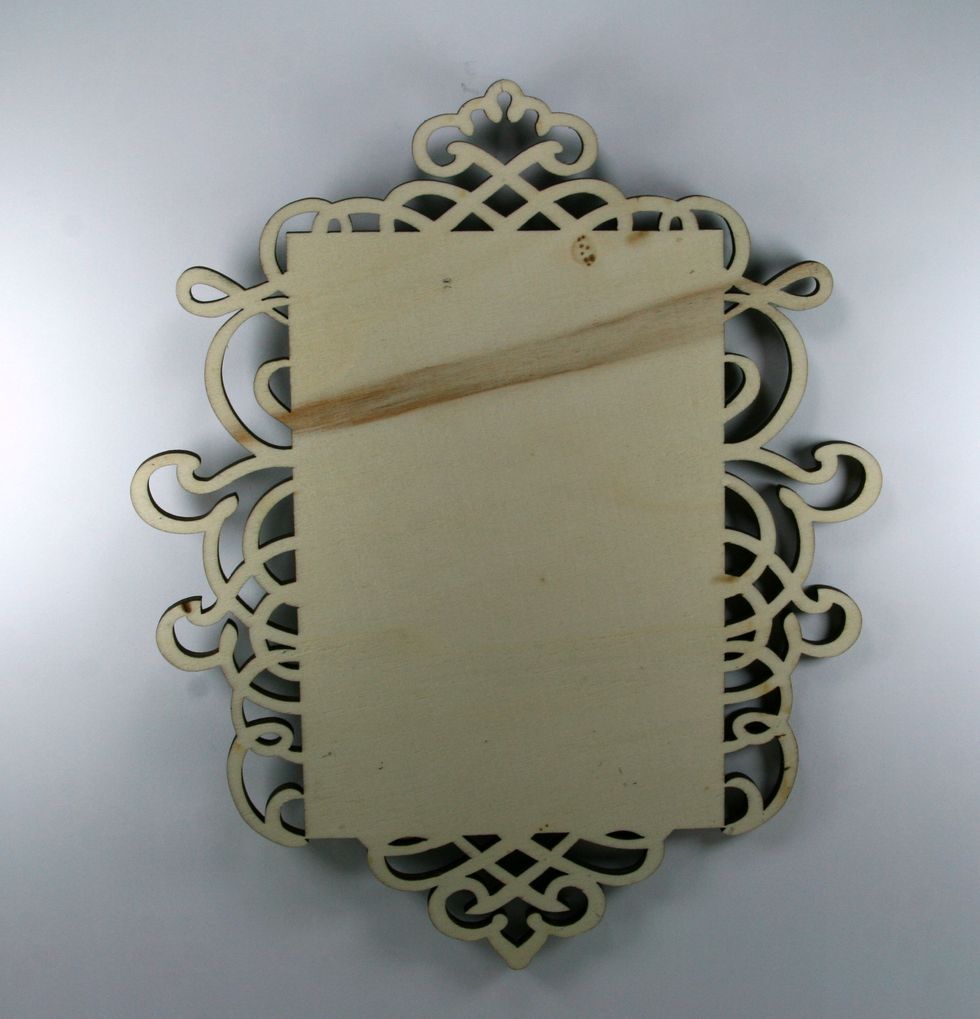
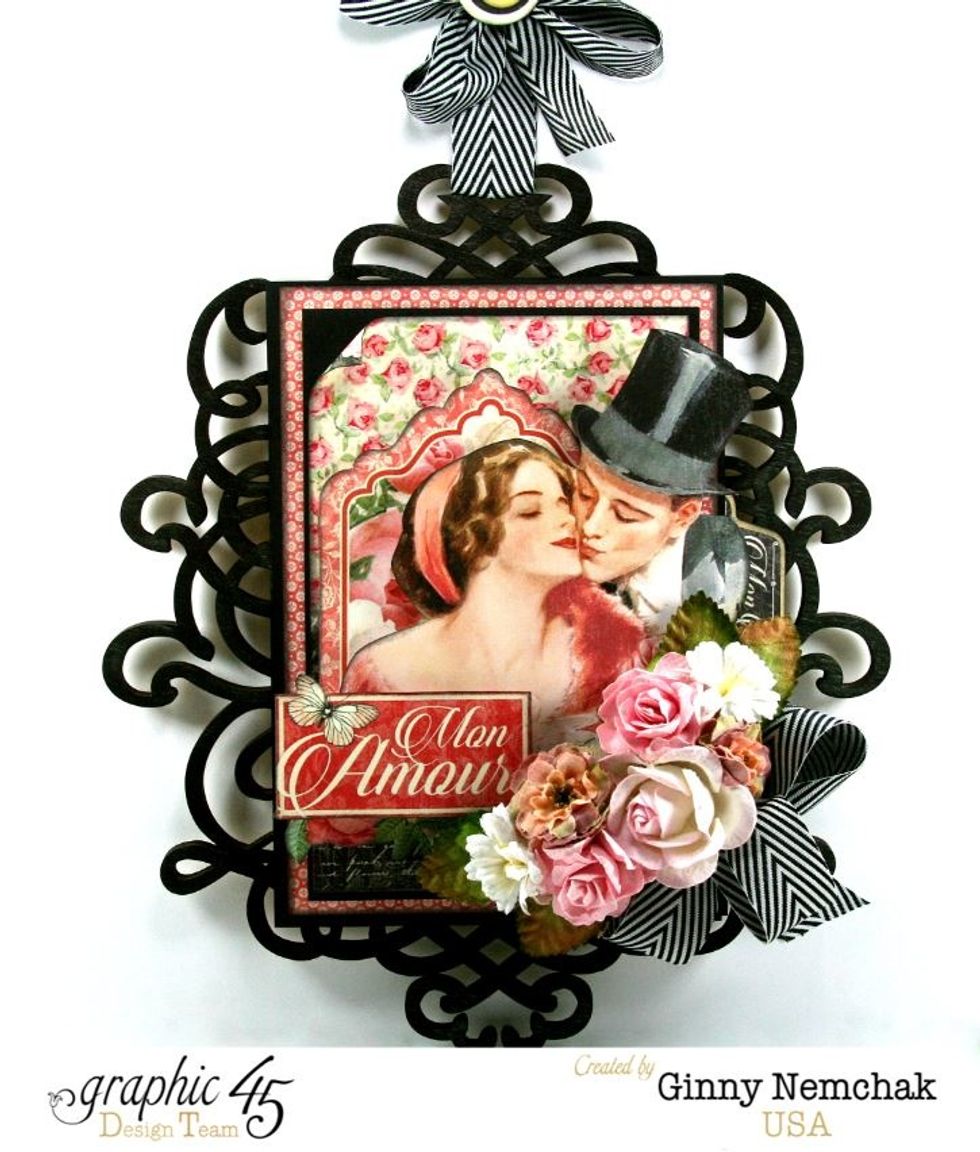
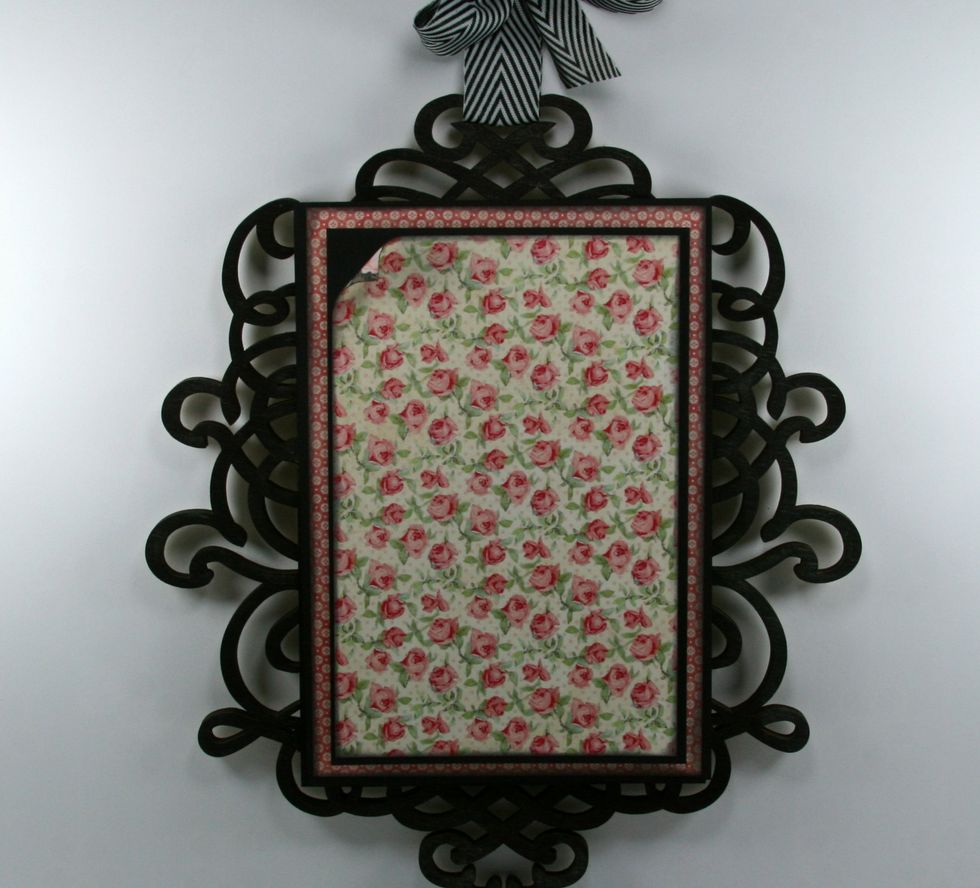
Begin with a purchased wooden plaque. Wipe it down to remove dust.
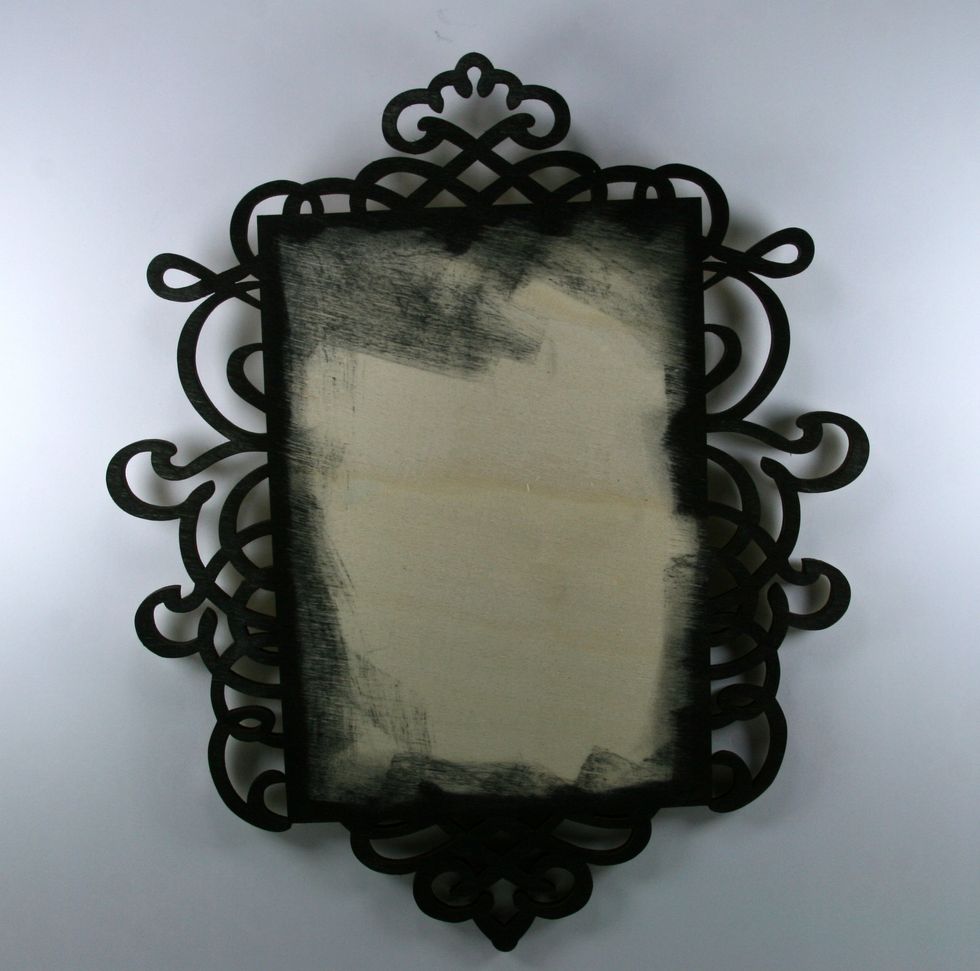
Add flat black acrylic paint to scrolls and 1/4 inch in from edges. Allow to dry.
Thread chevron ribbon through top scroll to create a hanger. I secured mine with hot glue on the back.
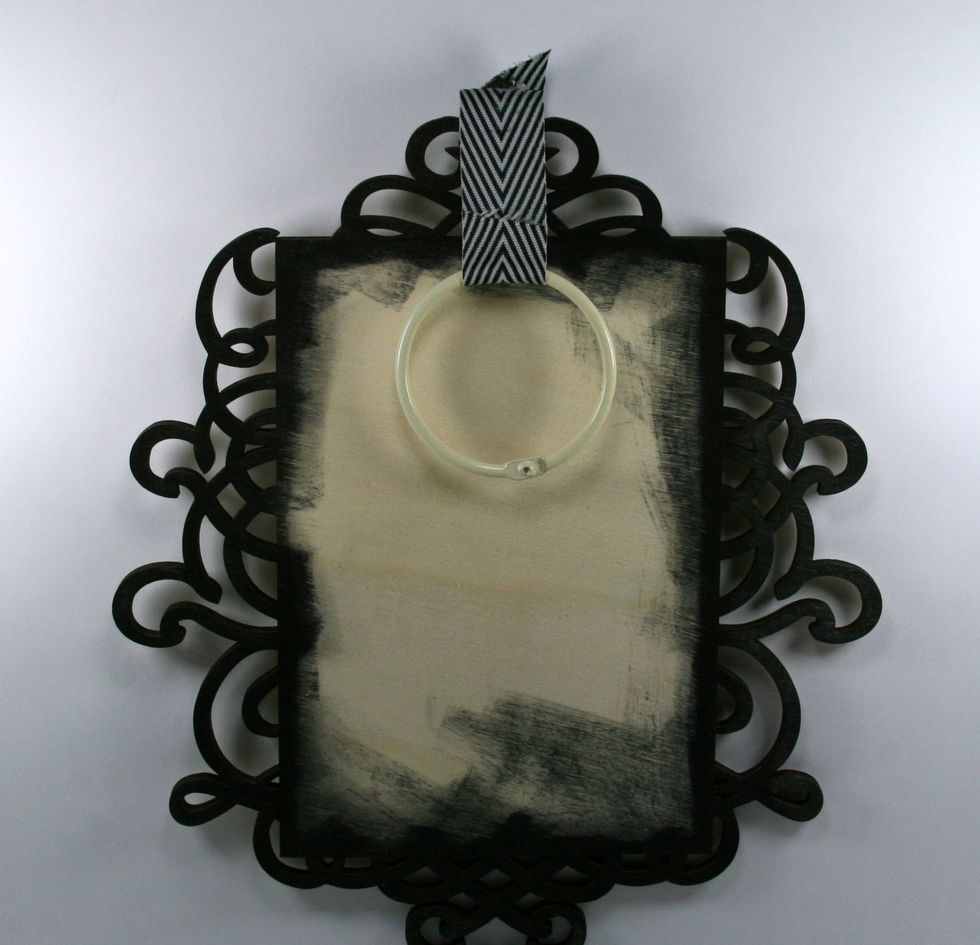
Attach the ring from the Ivory Tag Album in a similar fashion as you attached the ribbon to the plaque.
Layer on a poofy bow tied with the chevron ribbon and top with letter die cut or large button.
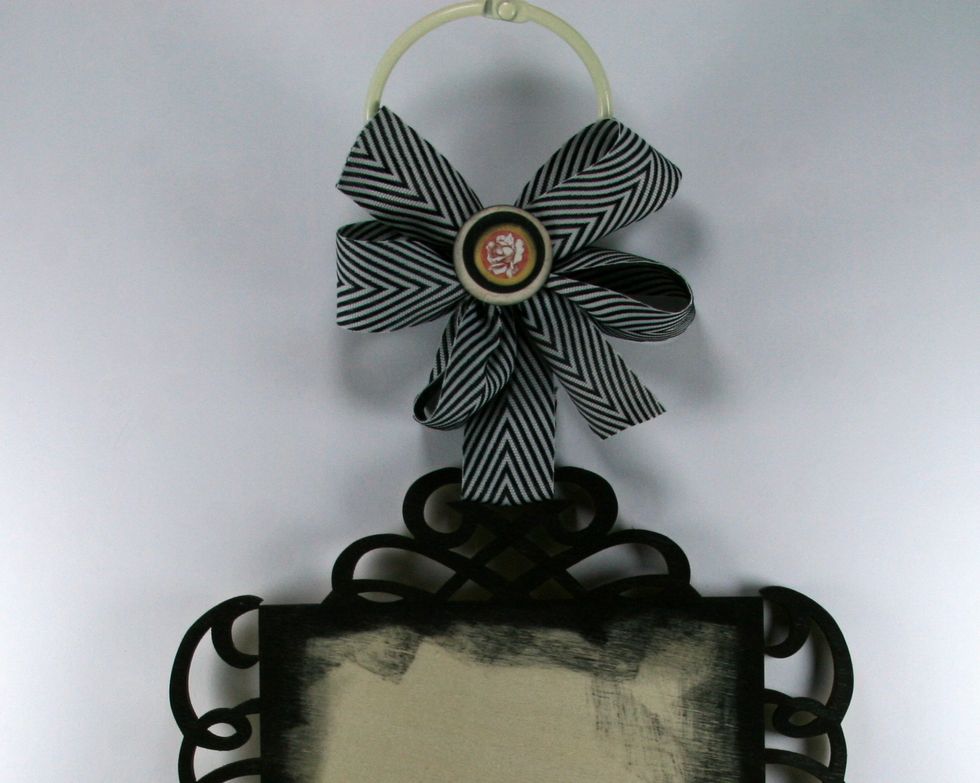
Secure a circle shape on top from the Mon Amour Chipboard.
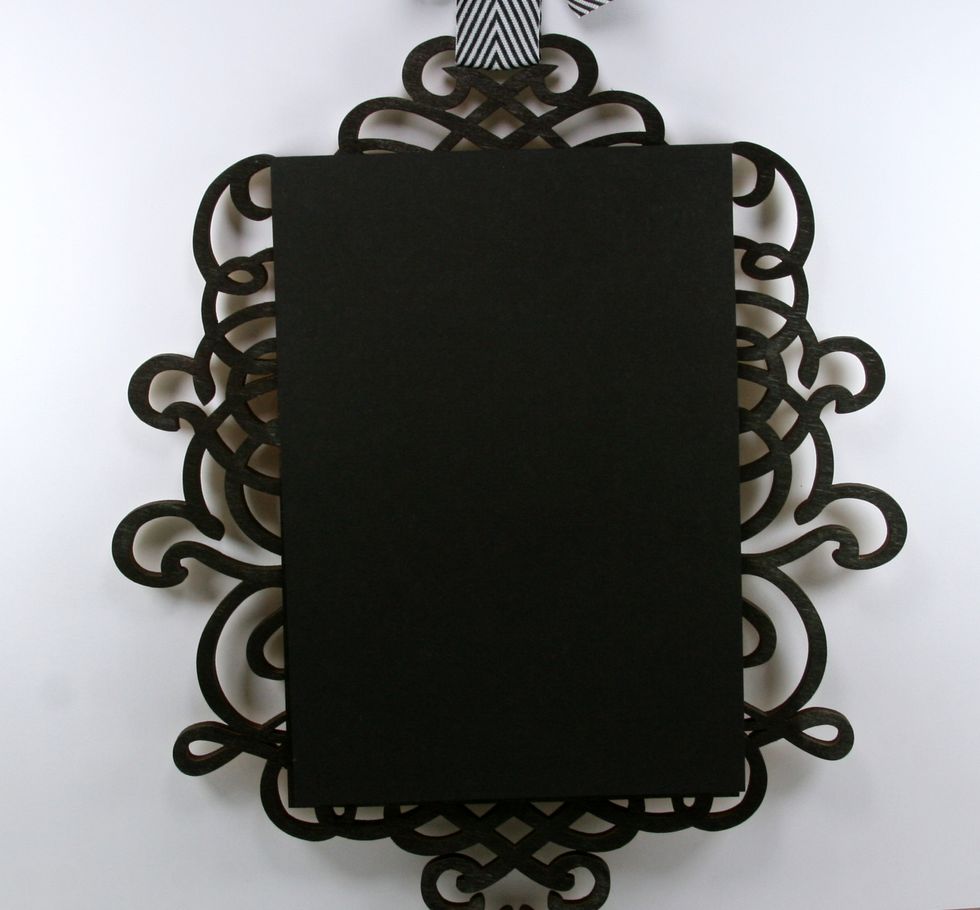
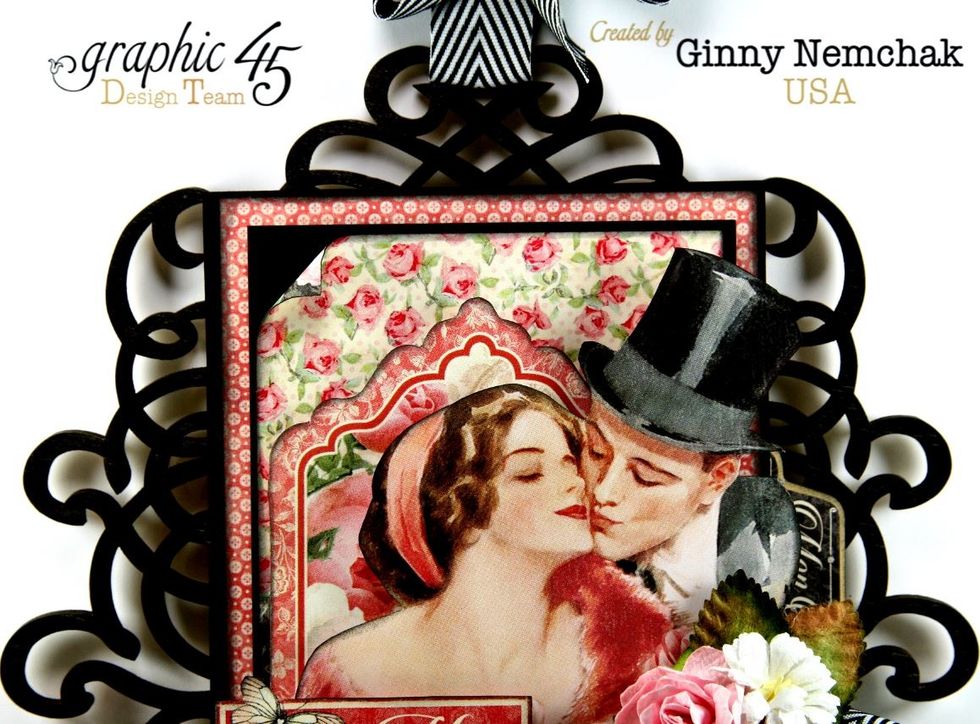
Create a base on the plaque with black cardstock.
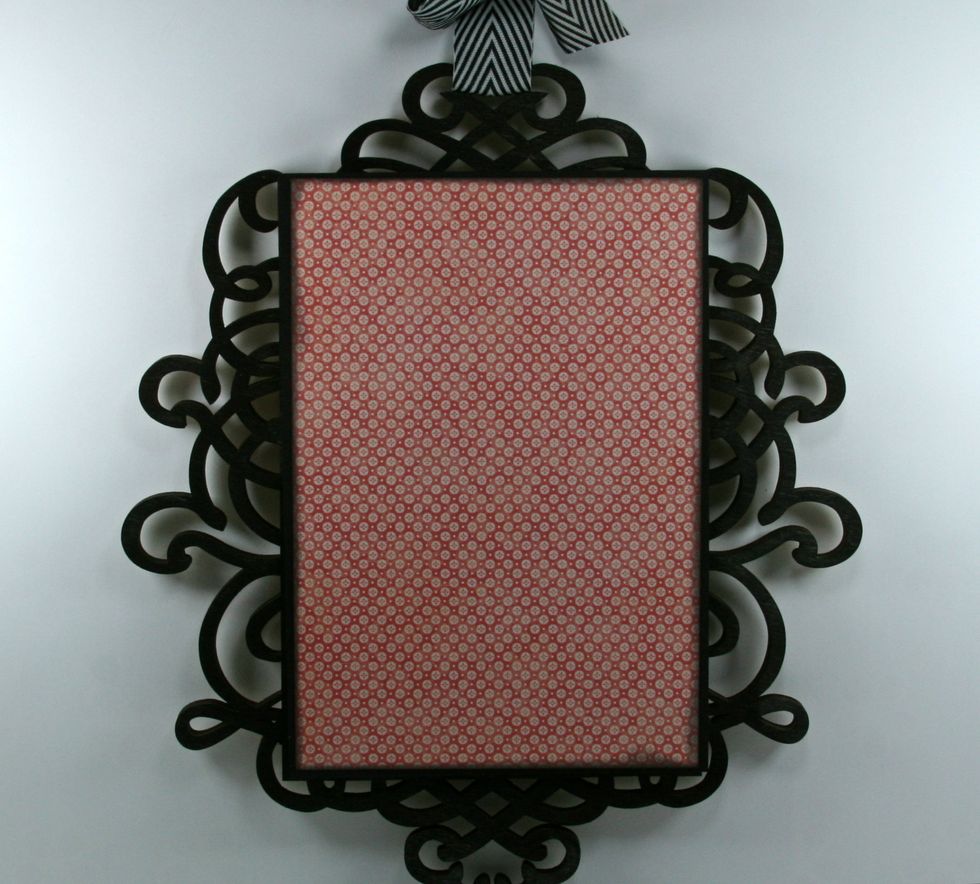
Layer on patterned paper cut 1/8 of an inch smaller. Ink the edges well and secure in the center of the black cardstock.
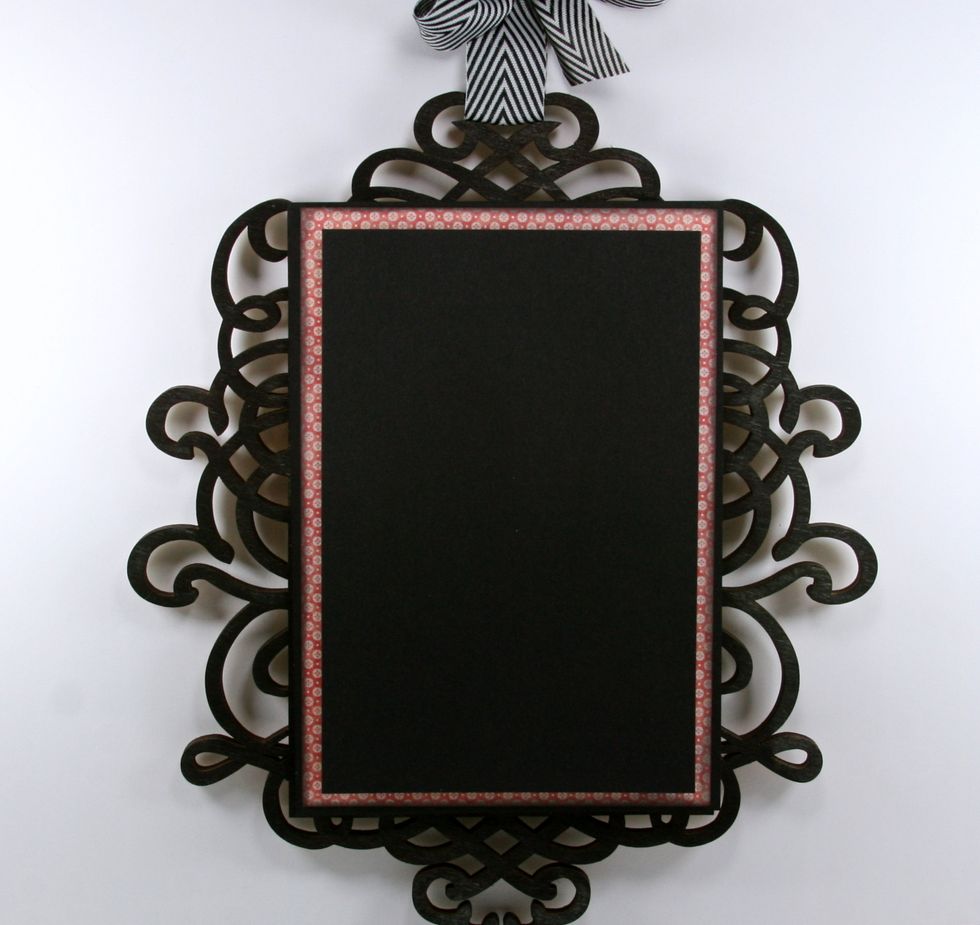
Add another section with black cardstock......
And top with coordinating paper pattern from Mon Amour. I left the top left corner rolled down.
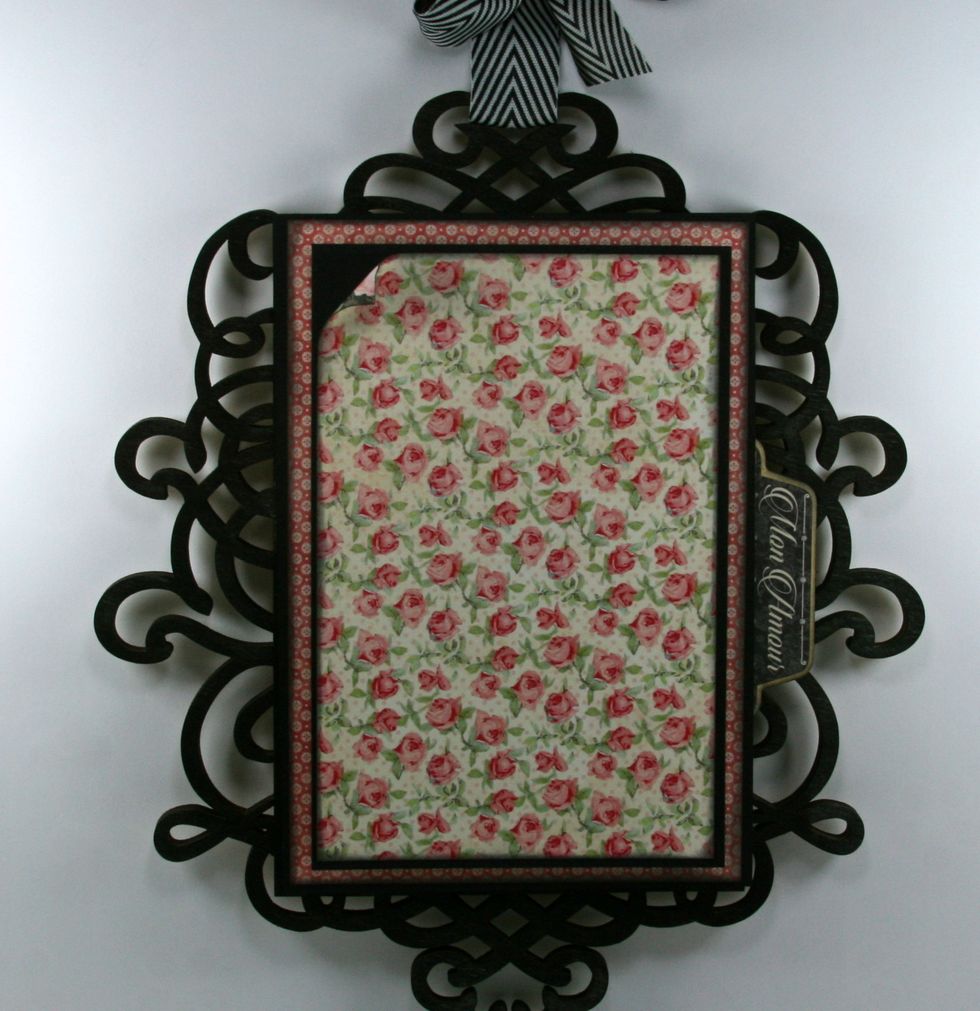
Tuck in chipboard tab just under the right side edge.
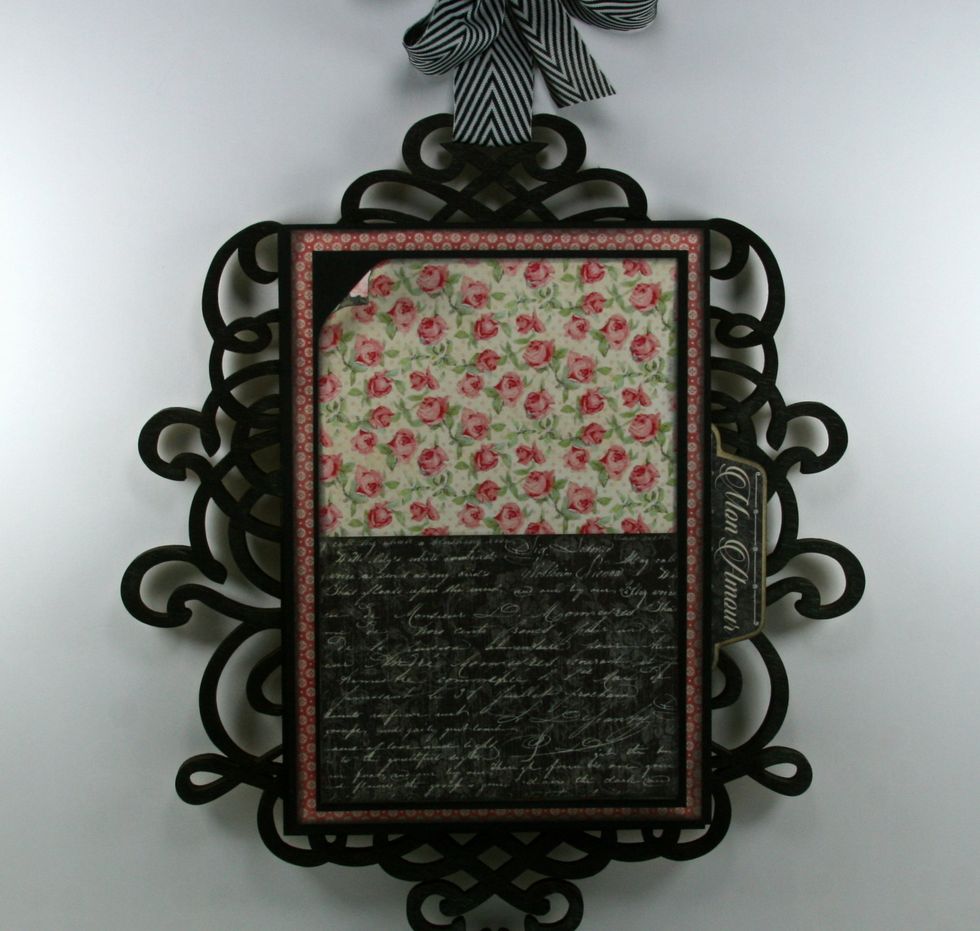
Next add an additional layer of patterned paper to the bottom half of center section.
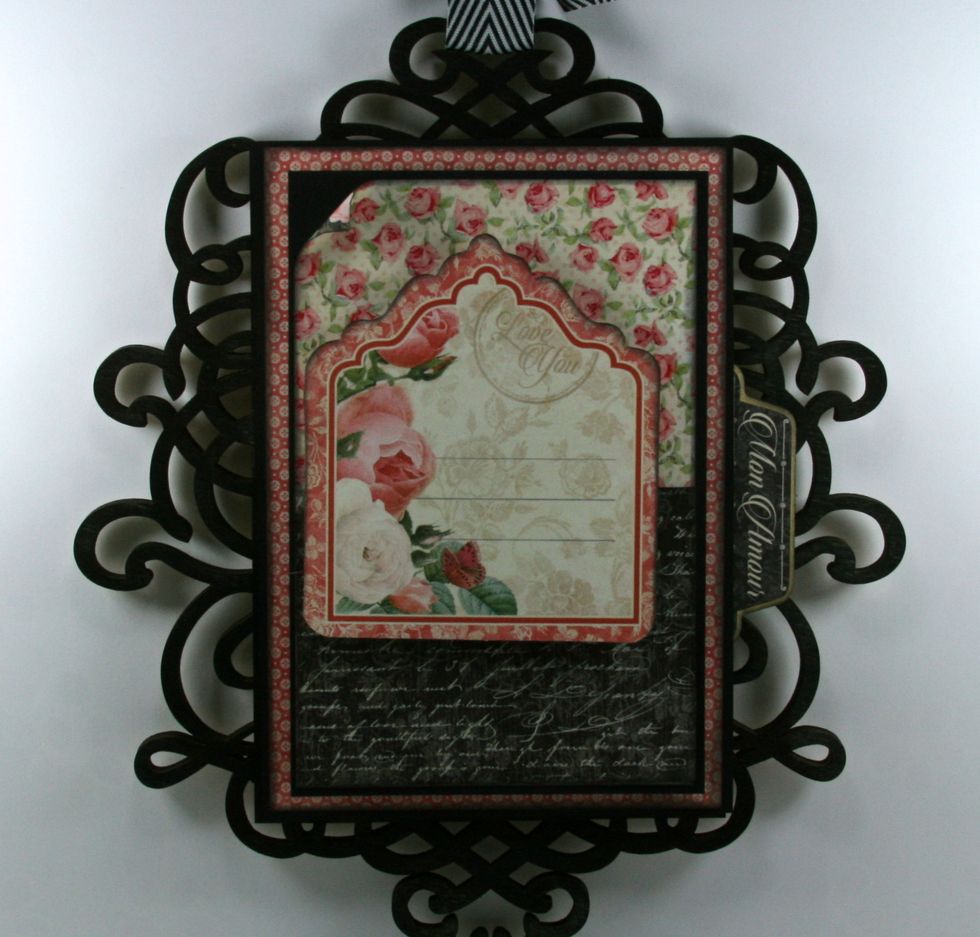
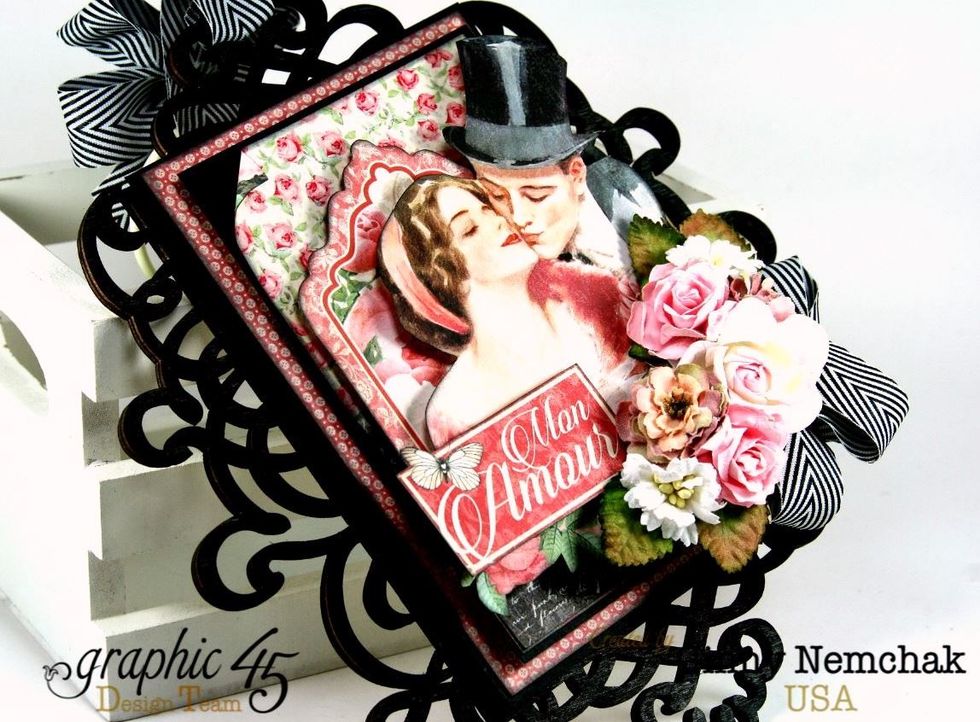
Begin the focal section with a die cut tag.
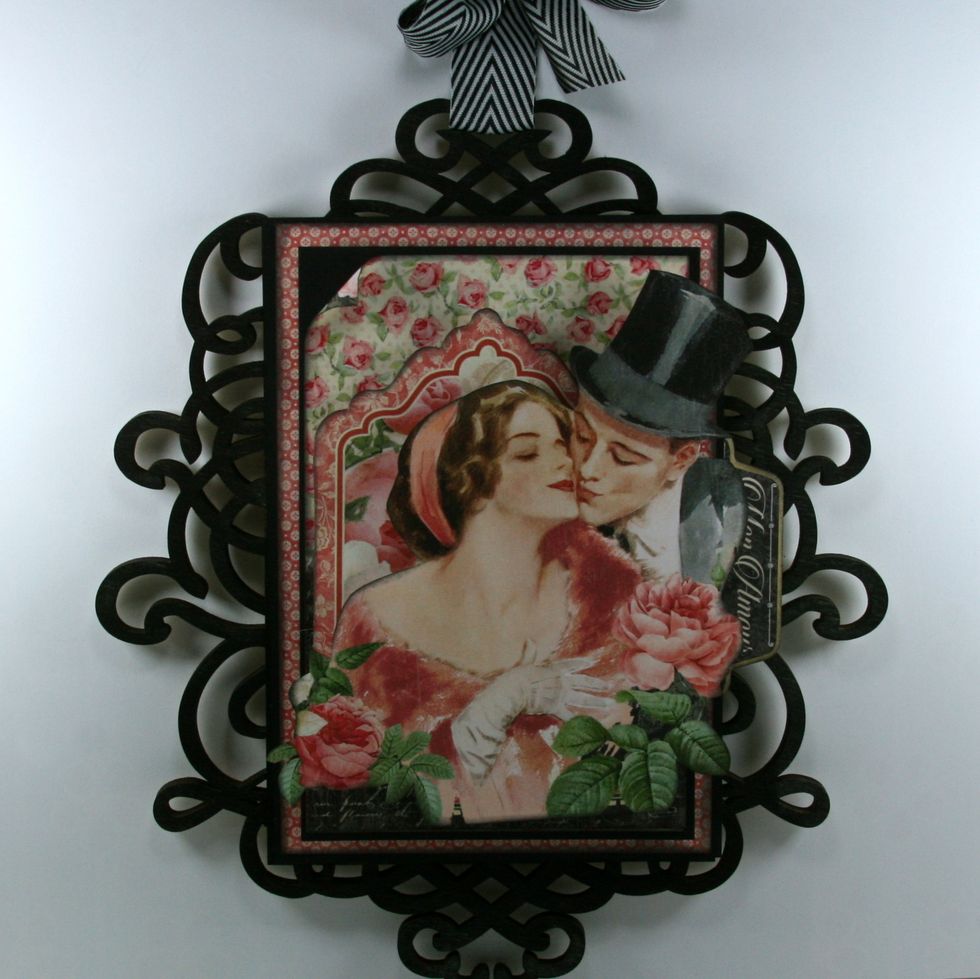
Layer on the fussy cut couple image using foam spacers.
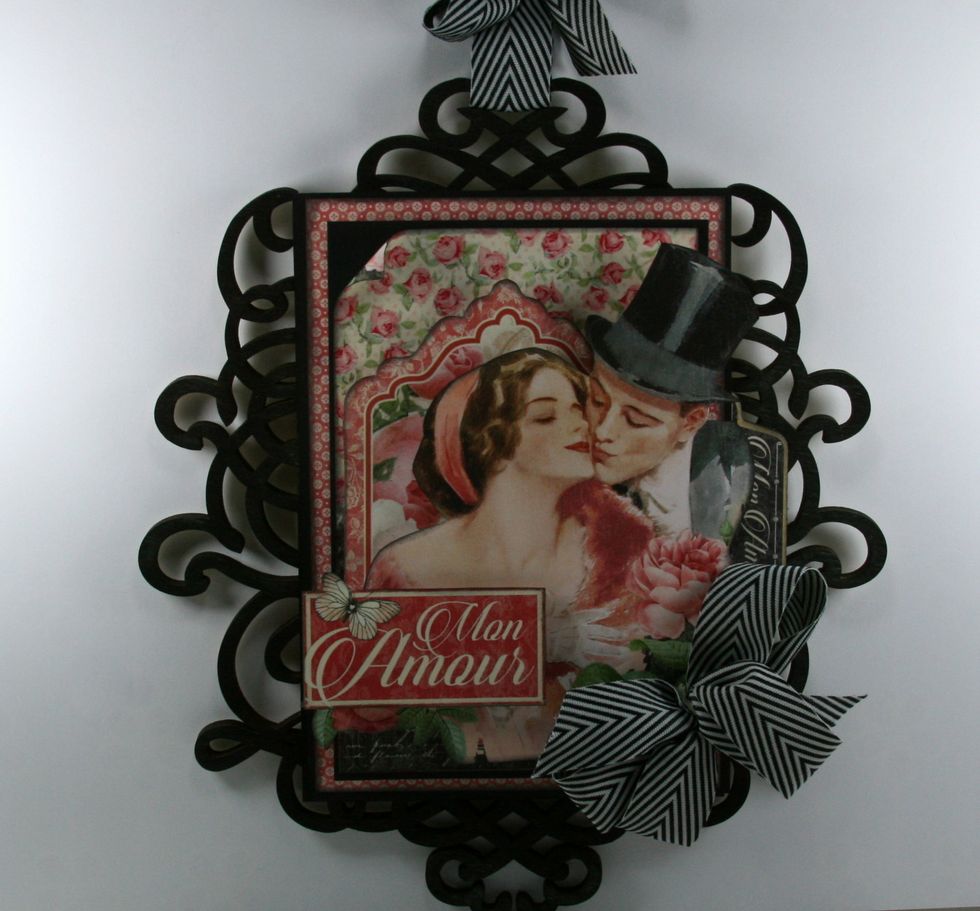
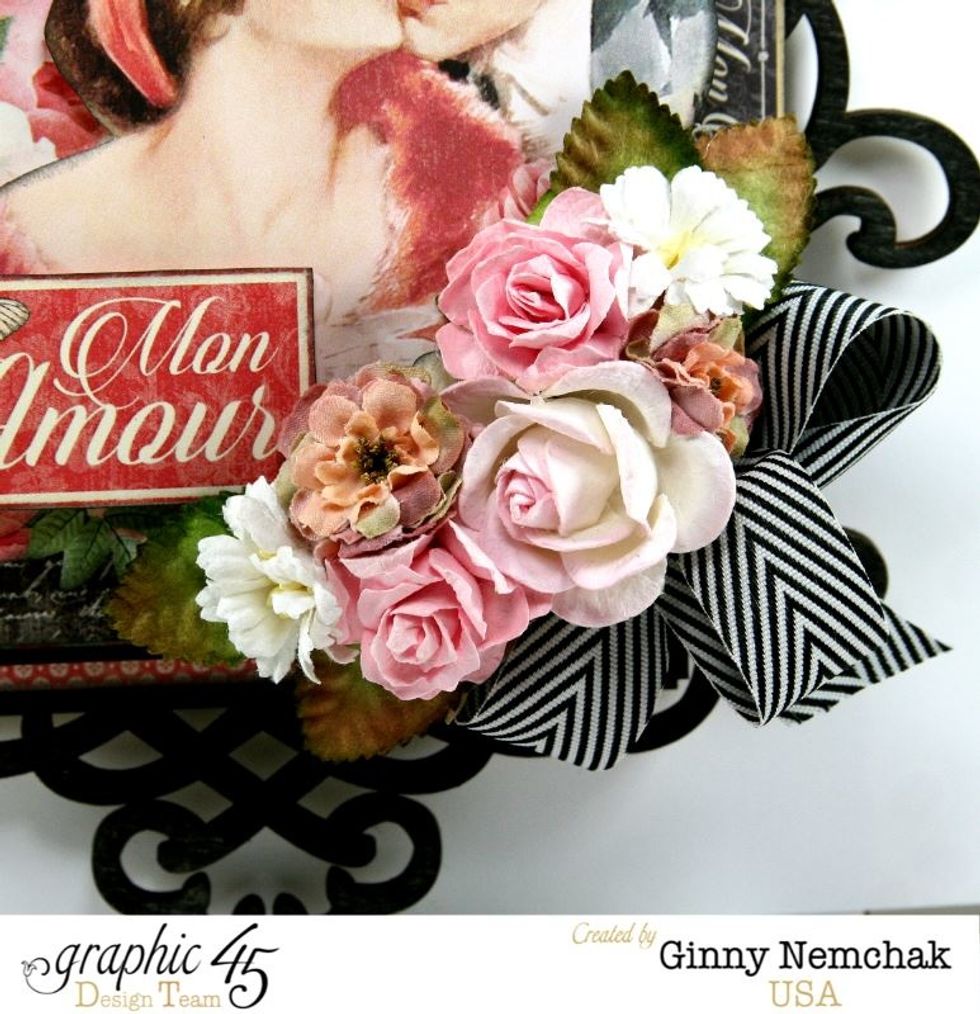
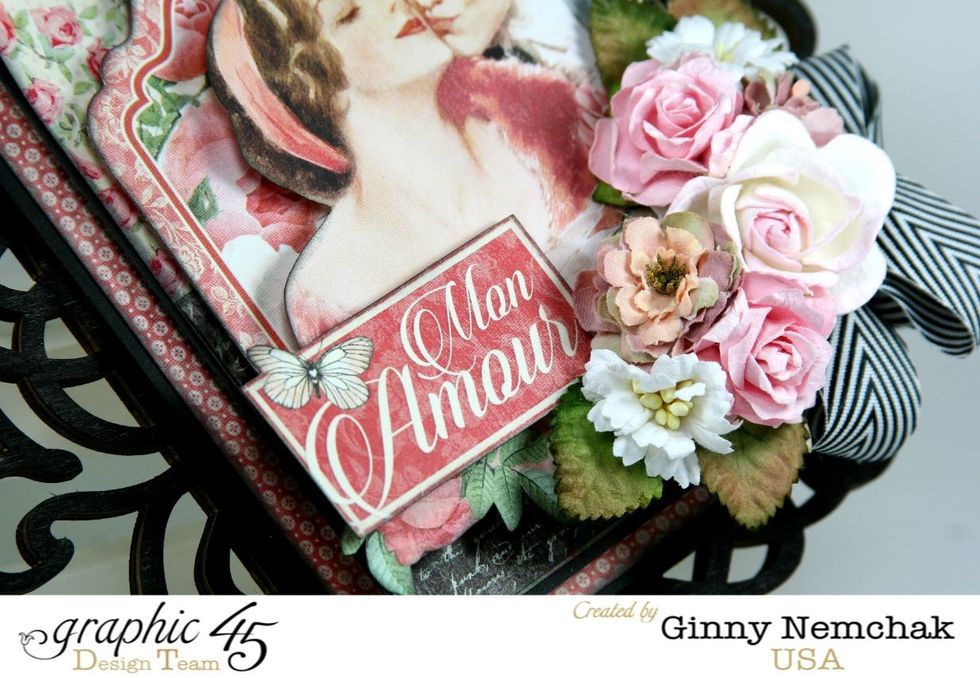
Top off with fussy cut sentiment. Secure poofy bow to corner.
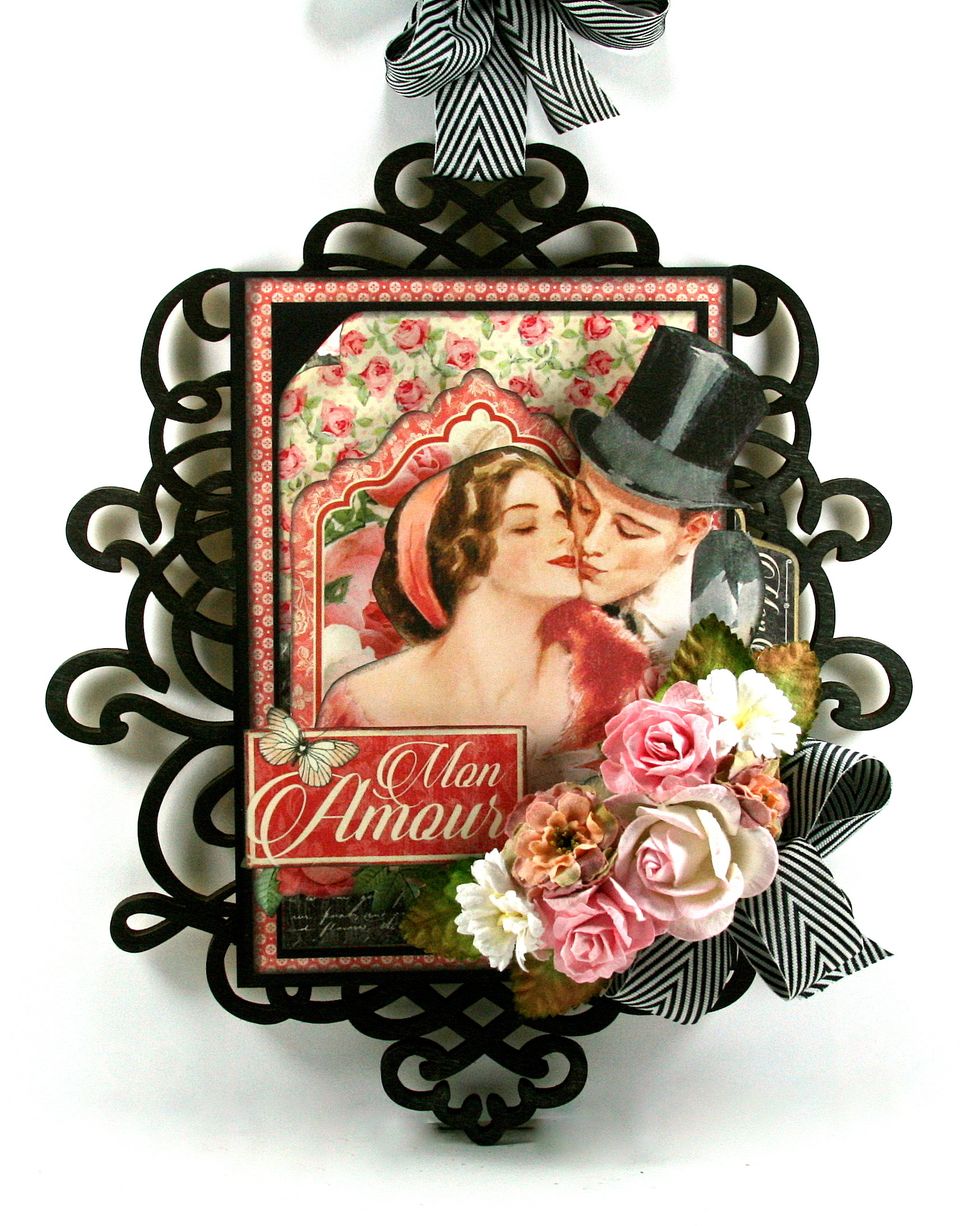
Arrange and secure coordinating flowers to complete the display.