The Conversation (0)
Sign Up
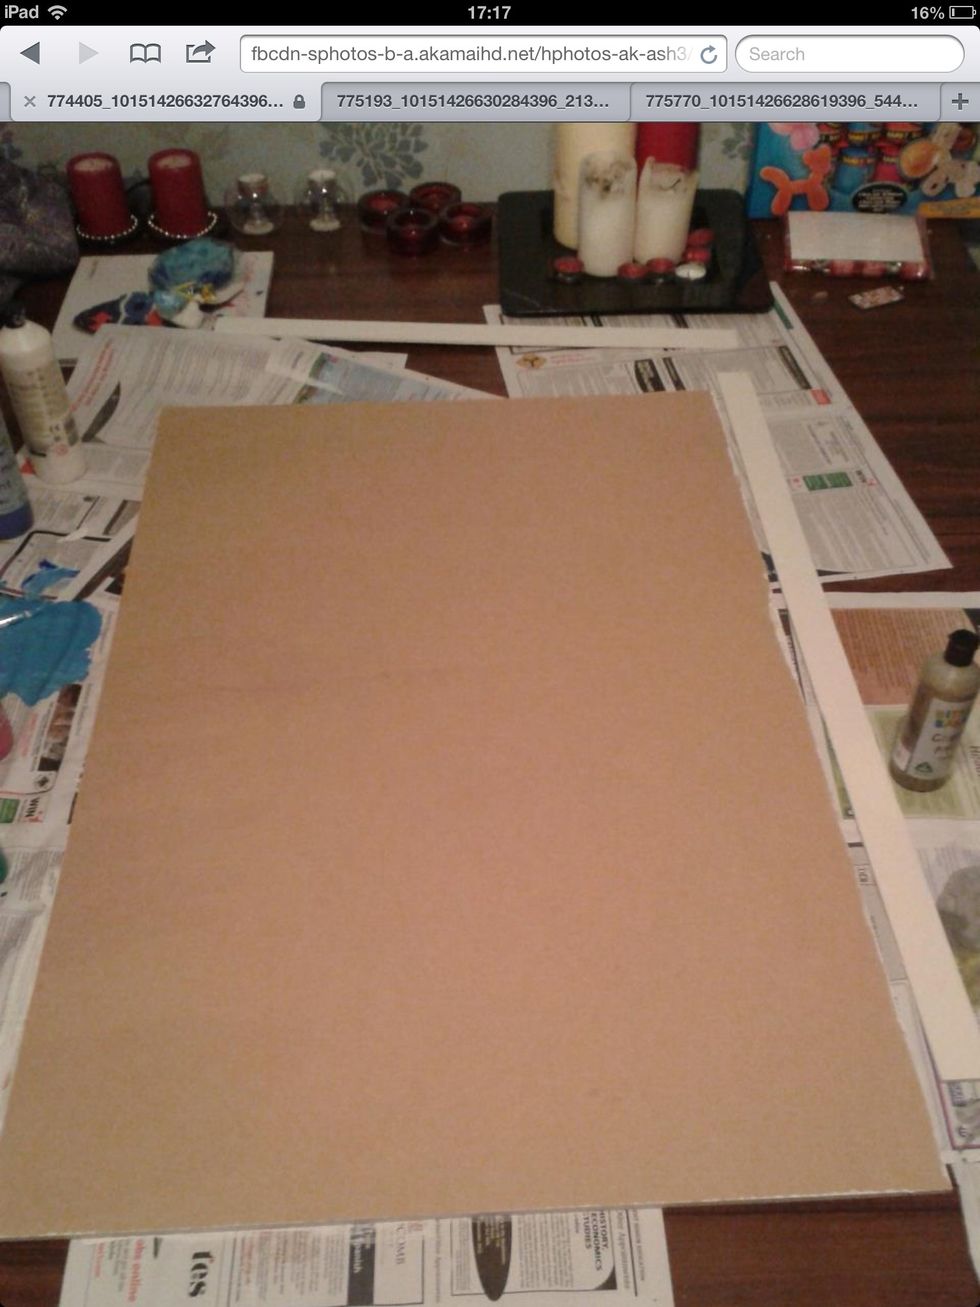
Choose an MDF board 10mm thick and sized appropriate to requirements. This board is 1000mm x 400mm, making it large enough for use as a teaching resource, but not too large for storage.

The board was painted using white paint to give it a brighter base before applying colour.

Once the base colour had dried, blue and green paint was applied using a swishing stroke to create a wave effect.

The painted board was left to dry whilst work commenced on the island.
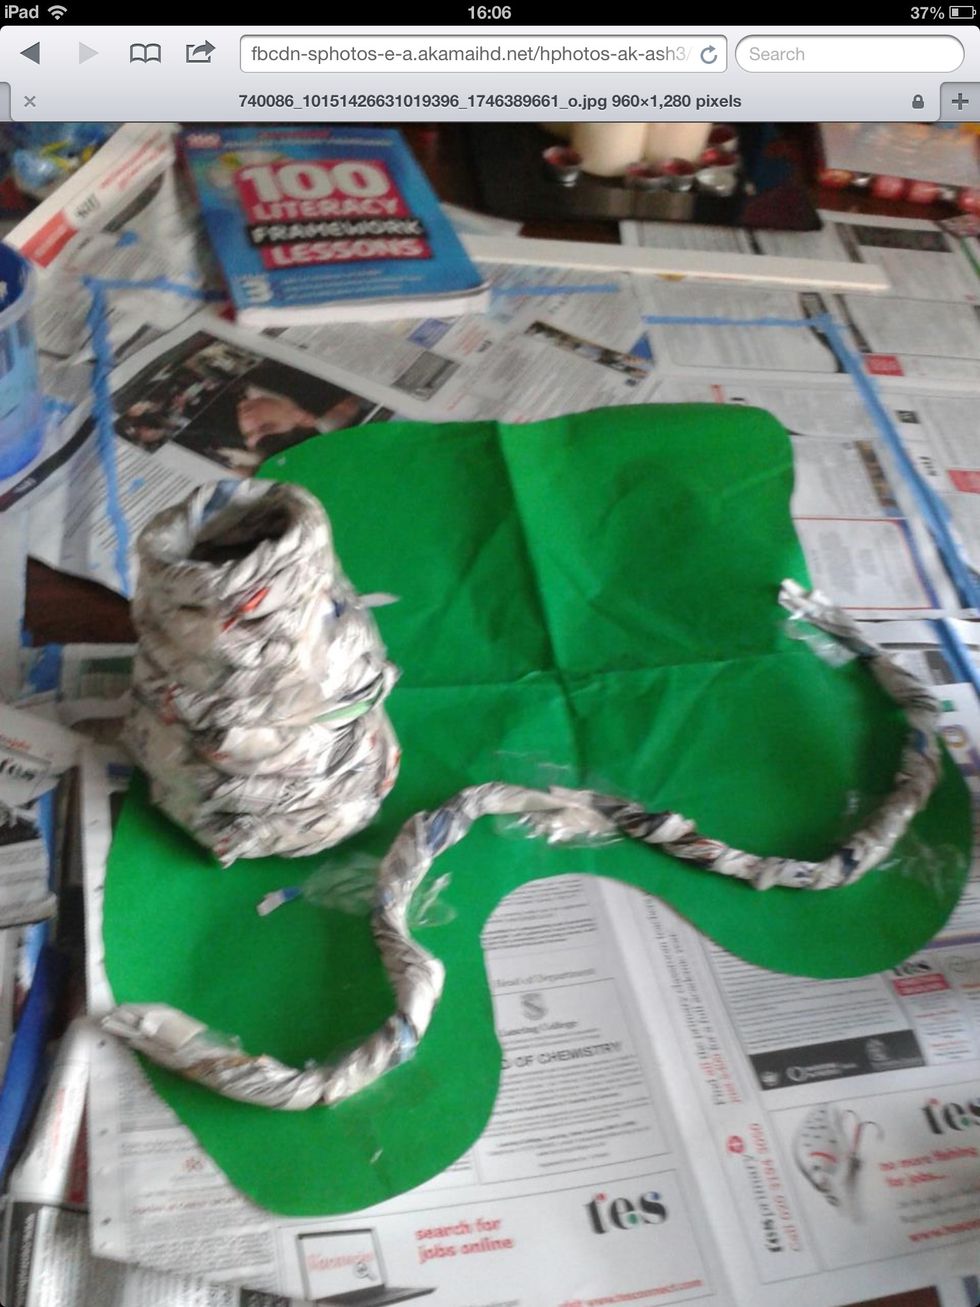
Using thin card the island shape was formed. On this newspaper was rolled and secured using sticky tape. It doesn't need to be neat as the Mod roc will conceal any mess.
The volcano and lake were made by rolling newspaper.
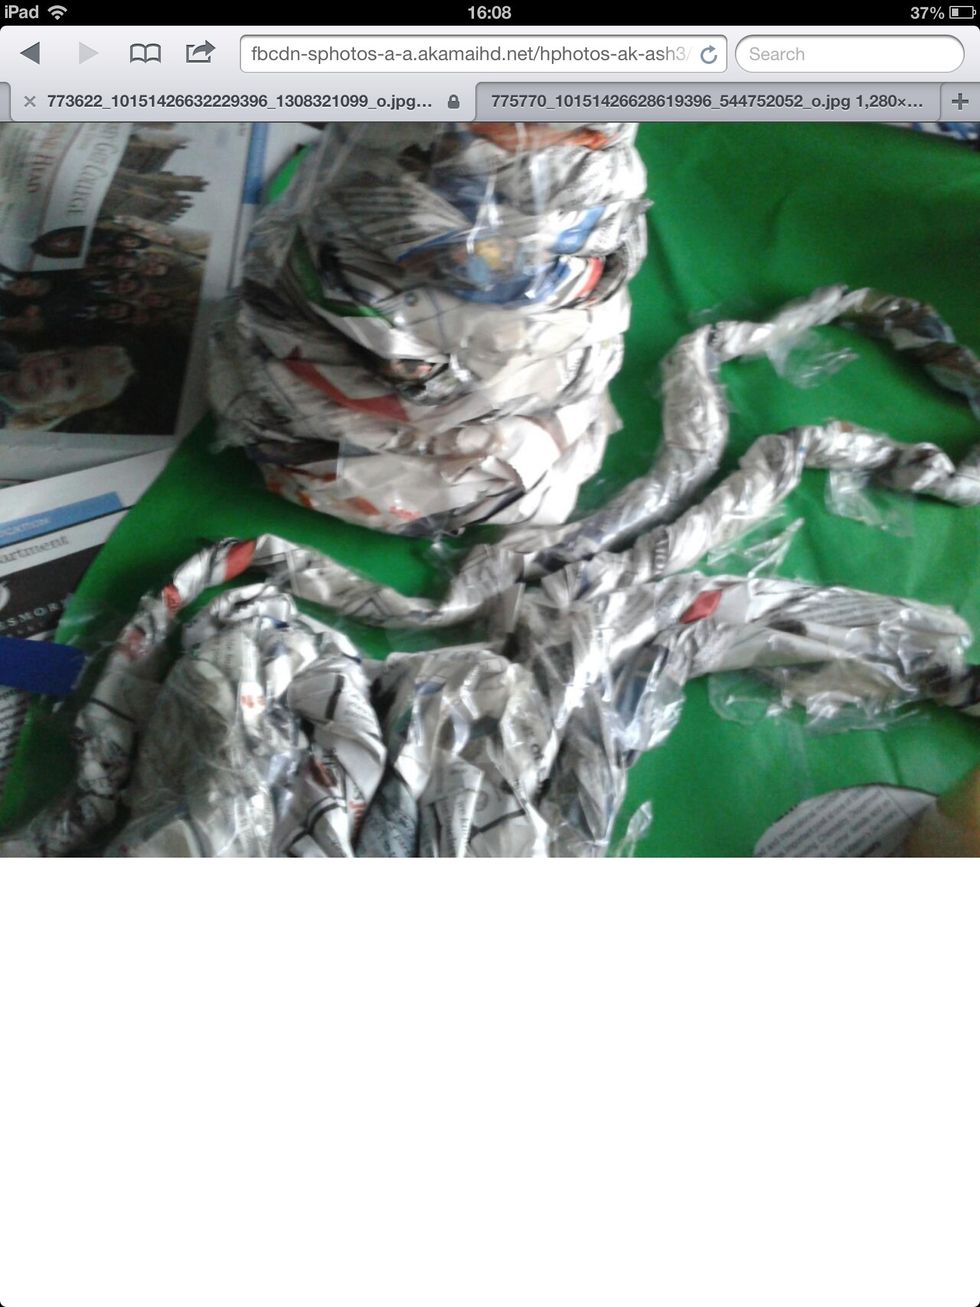
More newspaper was applied to the island shape to create a variety of levels and settings.
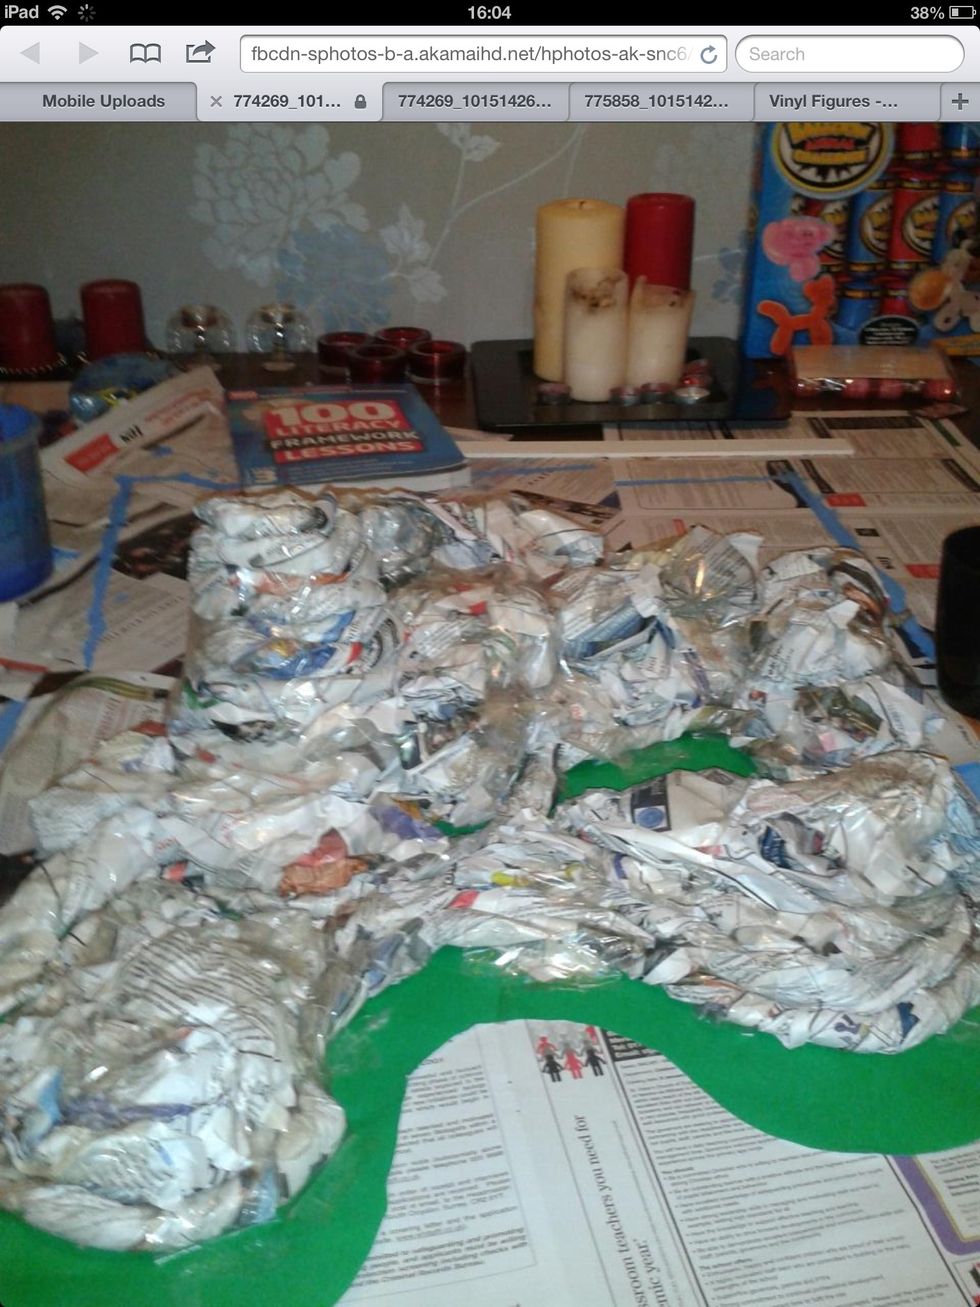
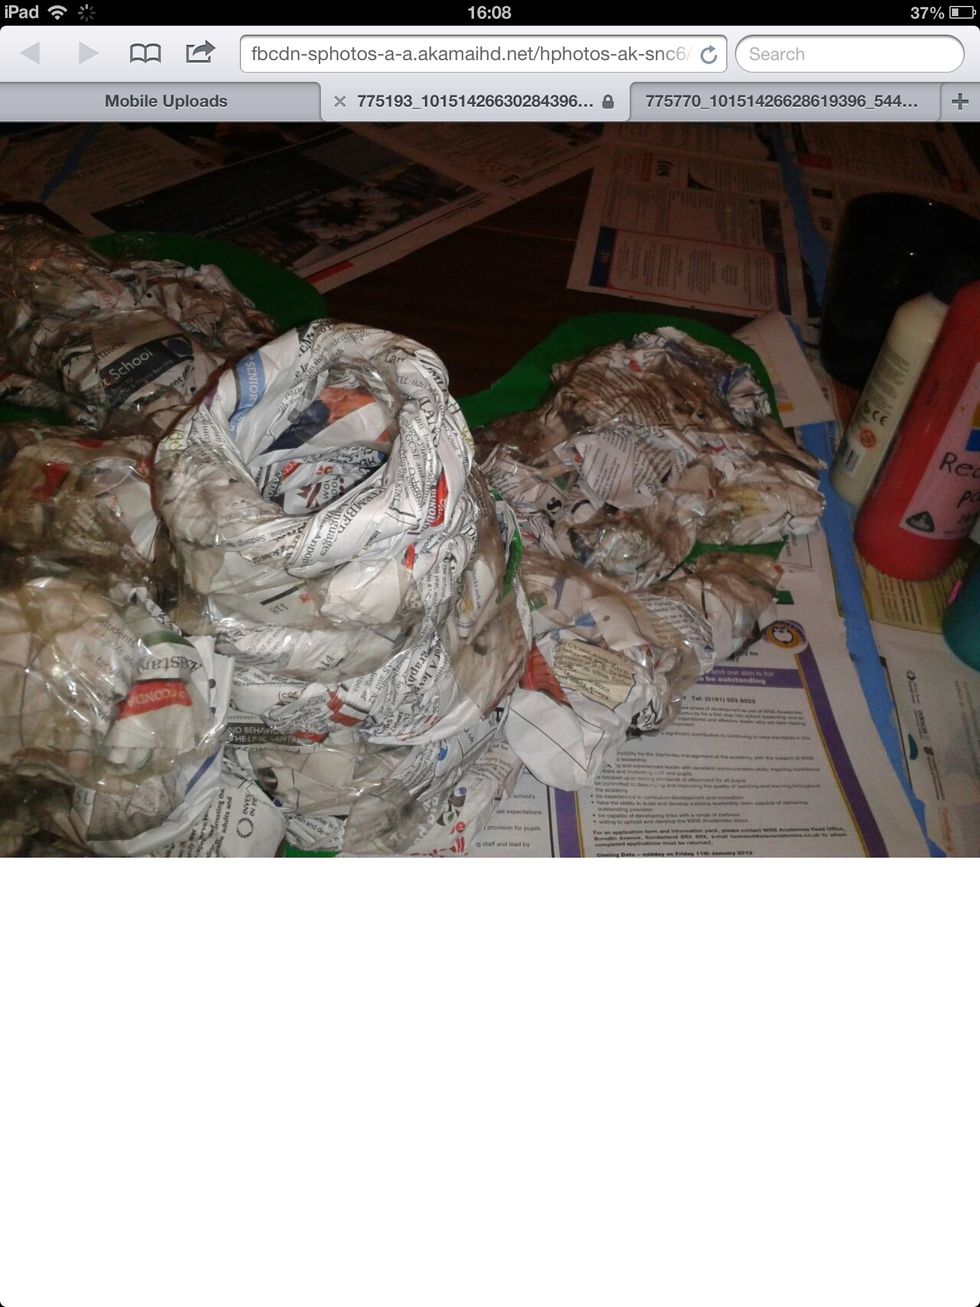
The finished foundations of the island.
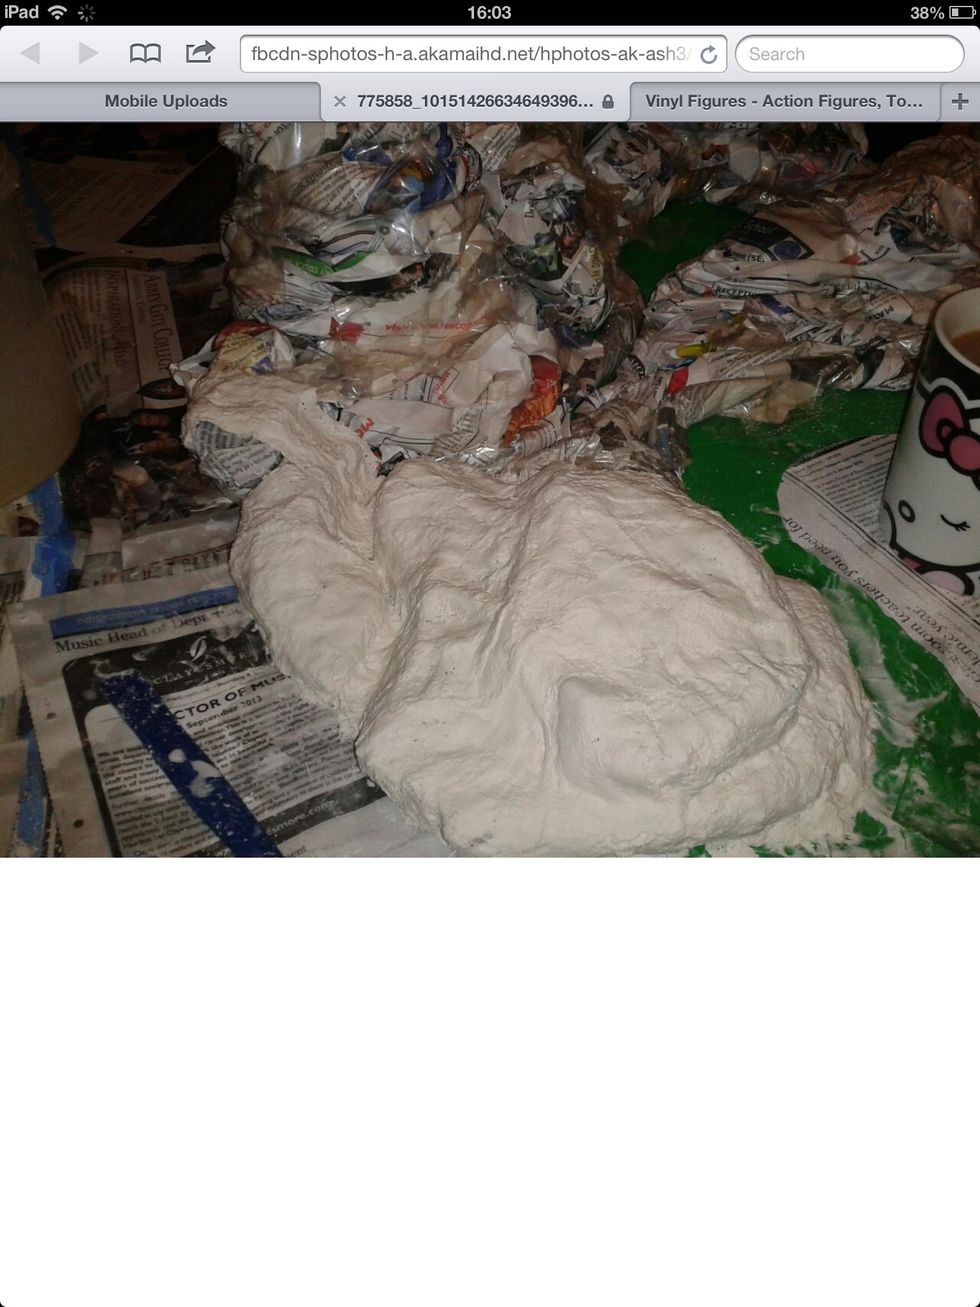
Mod roc strips are inserted into water, smoothed and added over the newspaper foundations. During this process it is possible to add extra texture to the settings as Mod roc will set when dry.
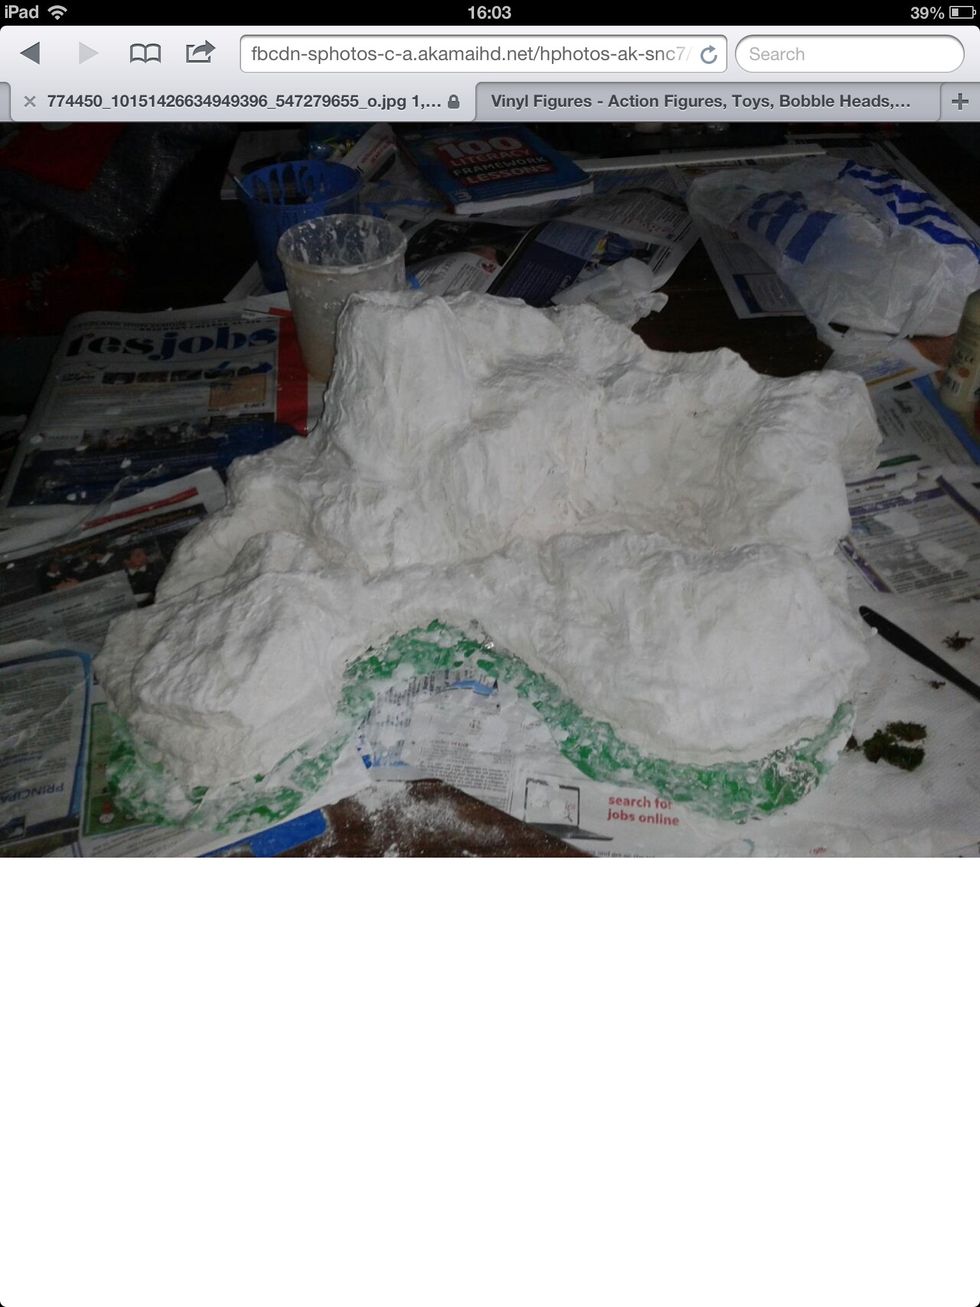
When the island is covered with Mod roc, it will need 24-48 hours drying time. It will be ready to paint when it is solid.
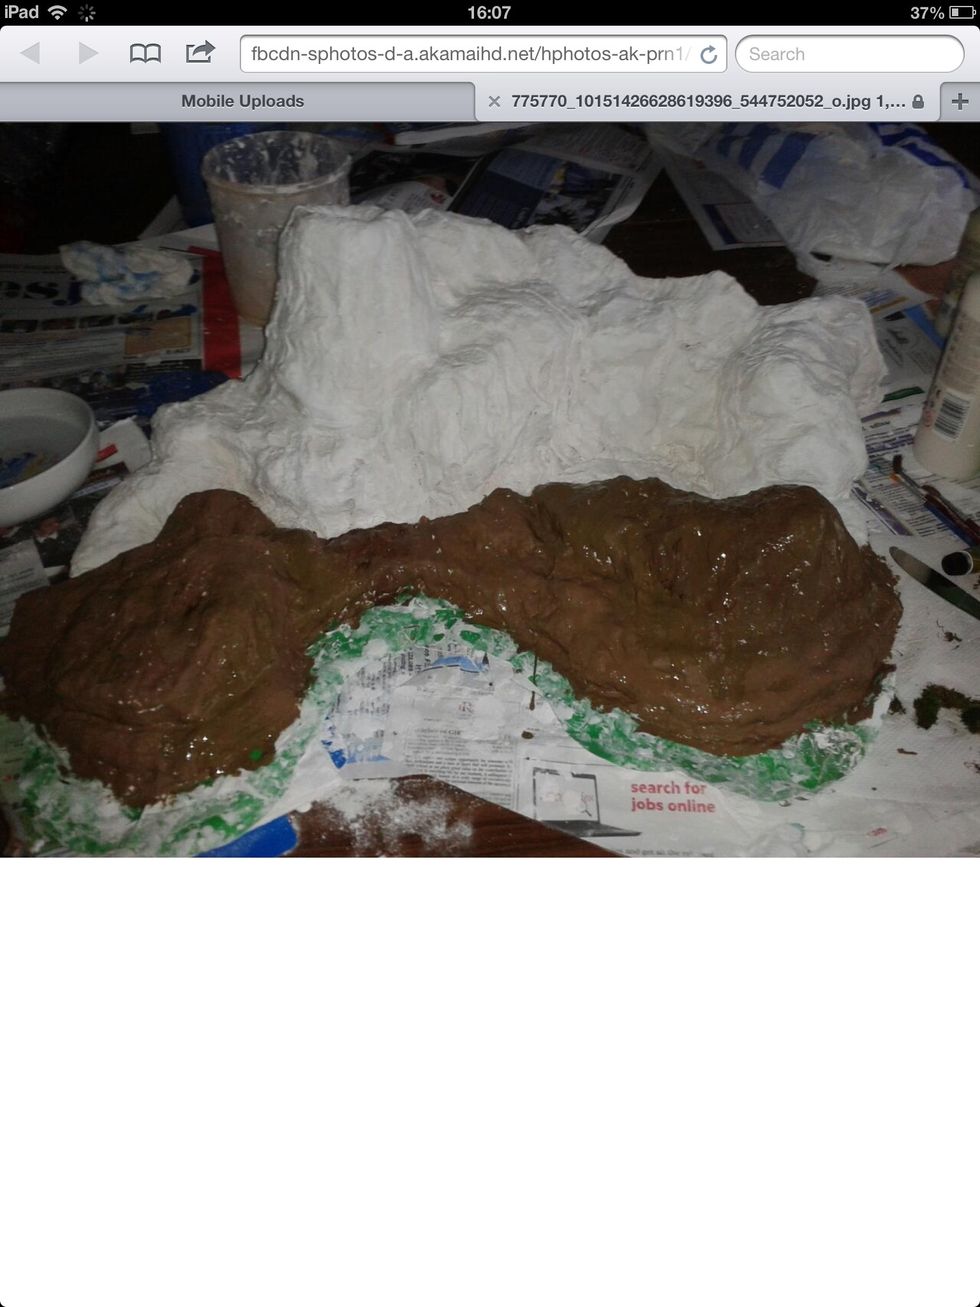
Using appropriate colours for the settings, apply paint. Mod roc usually requires two coats of paint. In this example, dabs of moss green paint were added for effect to cover the white flecks.
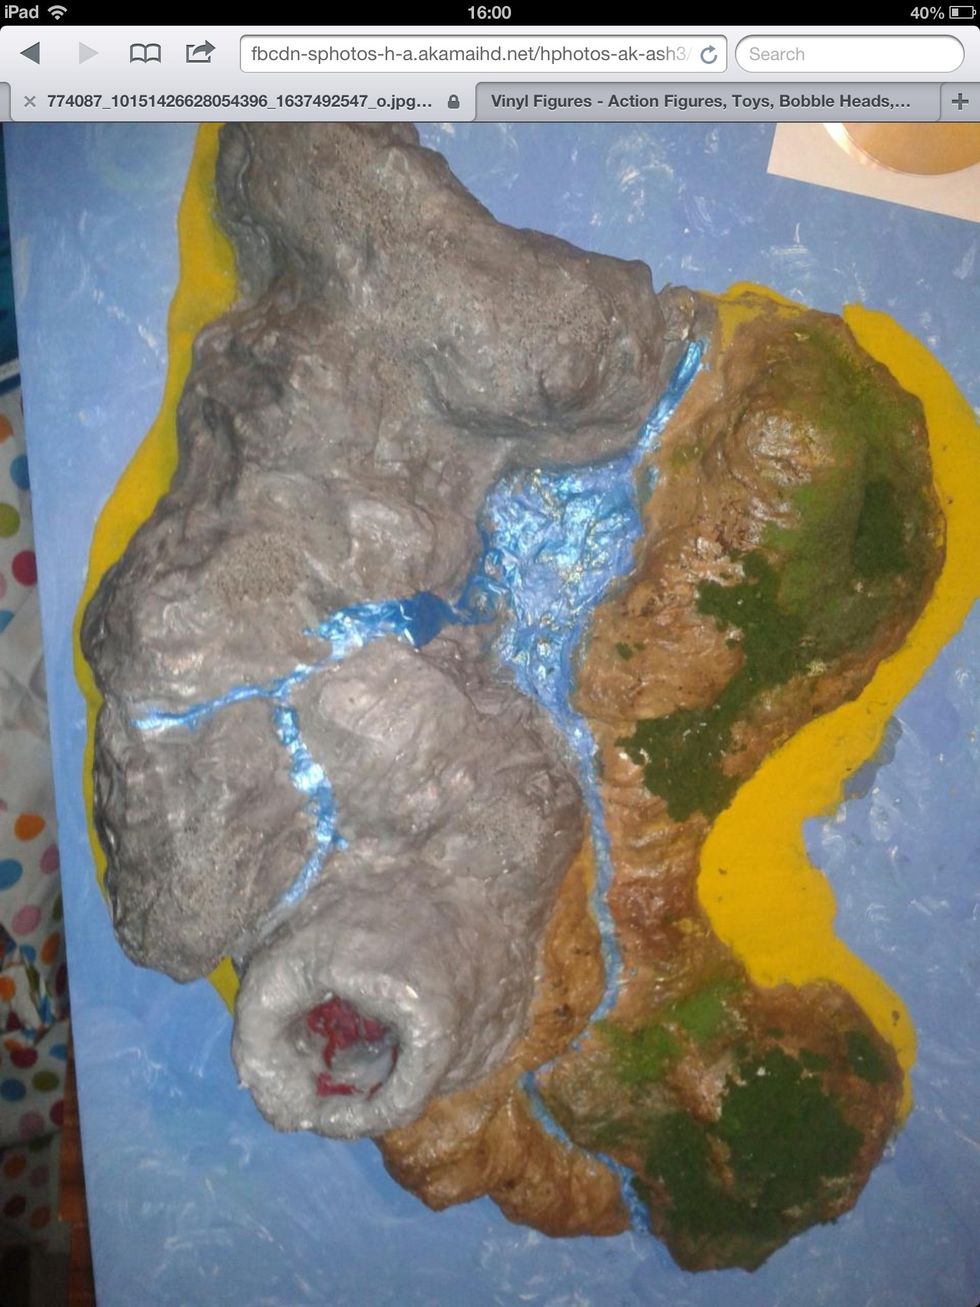
After the paint has dried, secure the island to the board using wood glue. Once secured, add finishing touches. The waterfall was created using PVA glue and blue paint left to dry, peeled and secured.

After use, the children's descriptions of settings became much more detailed. Children created their own island before writing their myth. This supported those in a low ability literacy group most.