The Conversation (0)
Sign Up

You will need 4 wooden trays that Prima uses to package their wooden embellishments.

Now, use Zip Dry to glue the four wooden trays together.
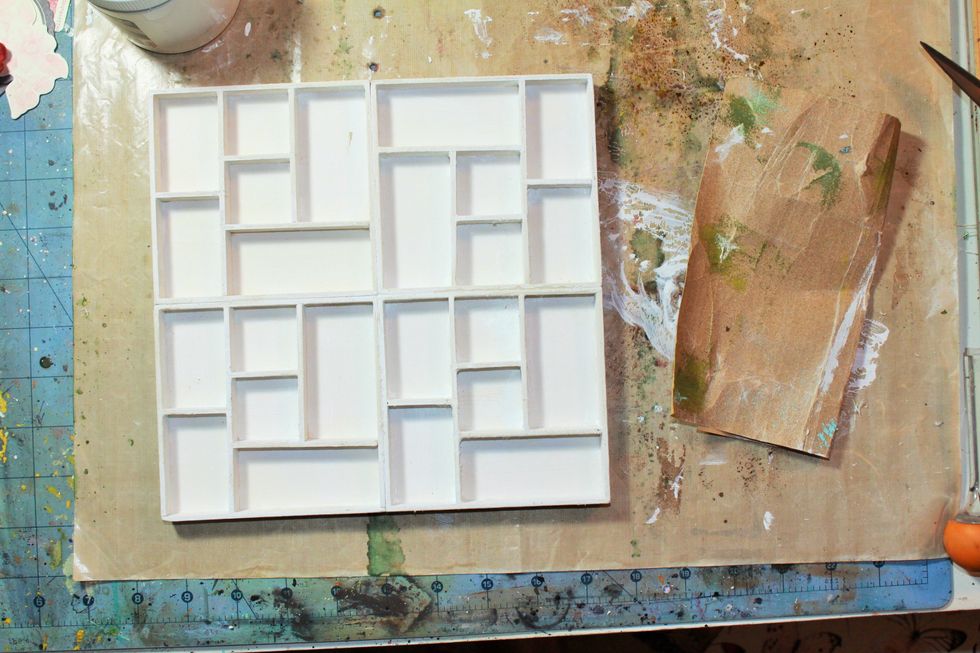
After the glue dries, sand any rough edges. Then paint with white gesso.
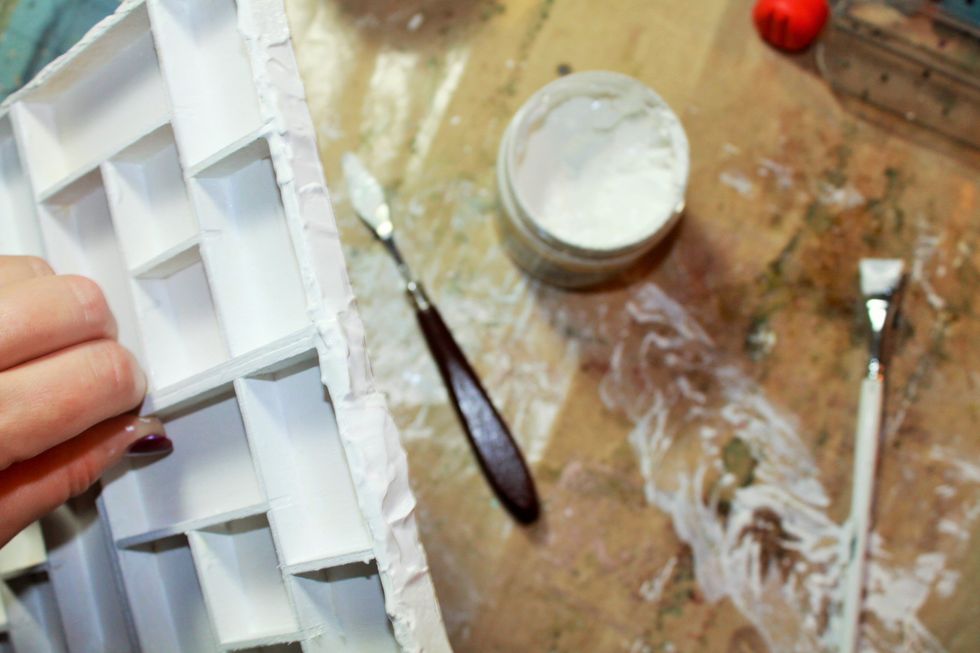
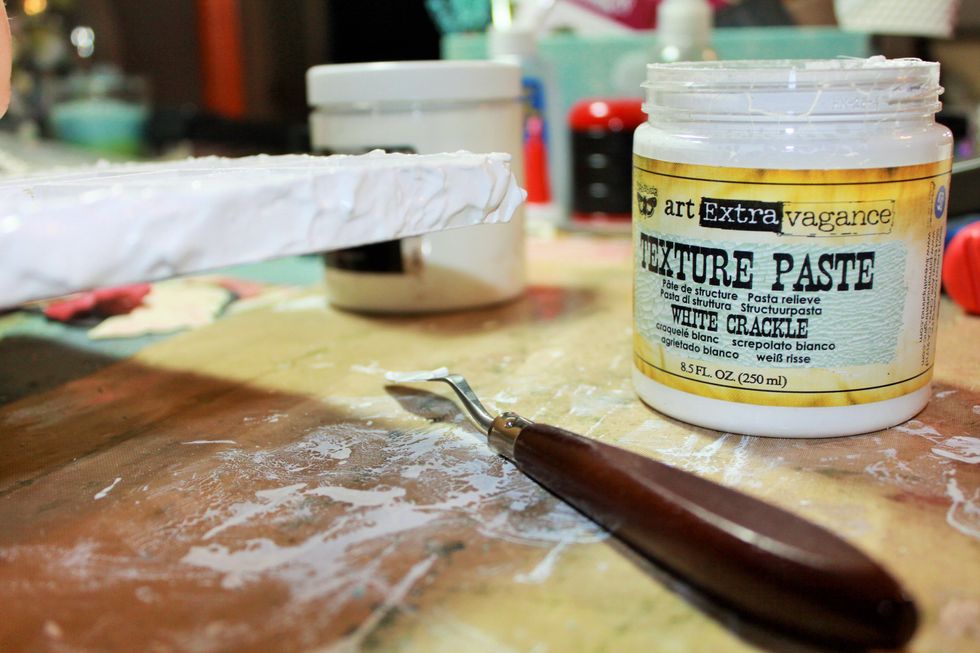
Apply Texture Paste in white crackle with a pallet knife around the outer edges of the wooden tray.
Close-up of how thick and uneven I applied the Texture Paste.
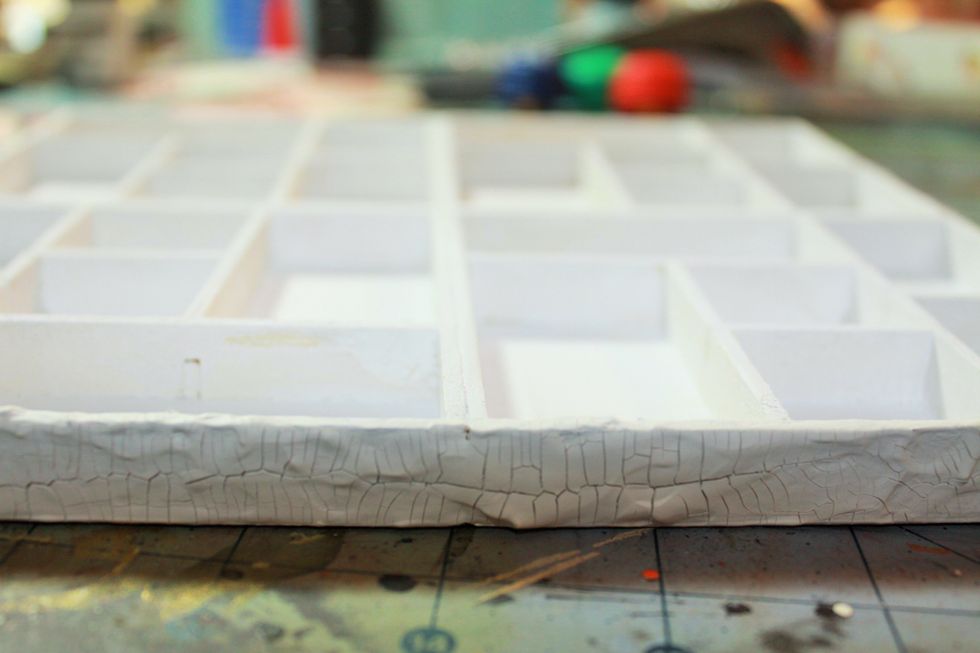
Let the texture paste dry overnight for the best results. You can let the paste dry for a bit and then use a heat gun but the cracks will not be as pronounced.

Now that the paste has dried you can begin decorating you tray.

Here, I added some resin pieces along with some of the Petaloo flowers and Prima wooden pieces.
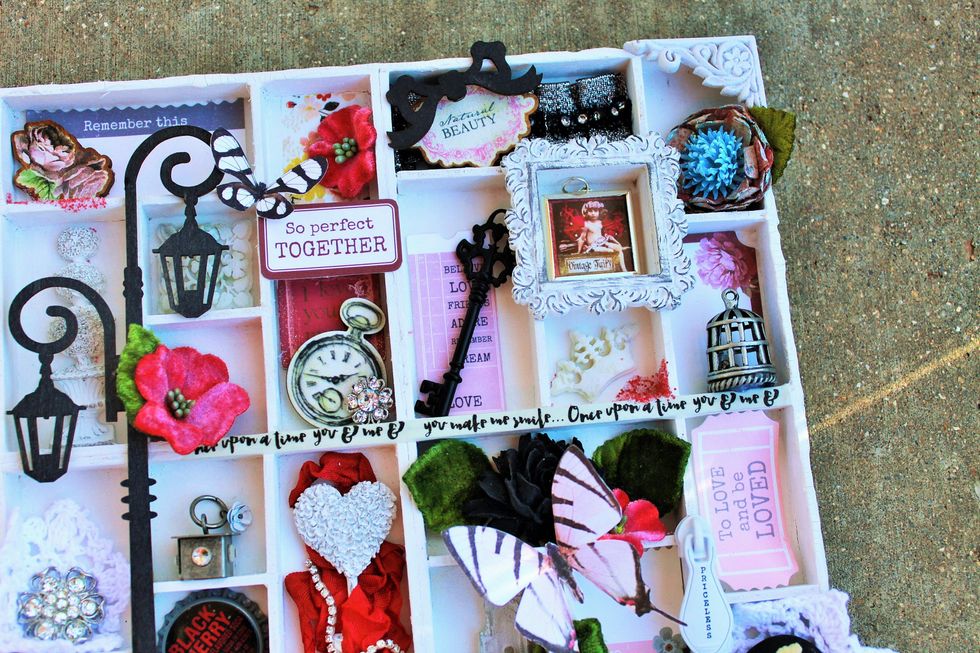
More Prima wooden pieces, Prima resin frame, Tim Holtz birdcage, Petaloo flowers, and washi tape.

Remember, not all the pieces have to fit inside the tray. Let some of your embellies hang over the edges to add more interest.
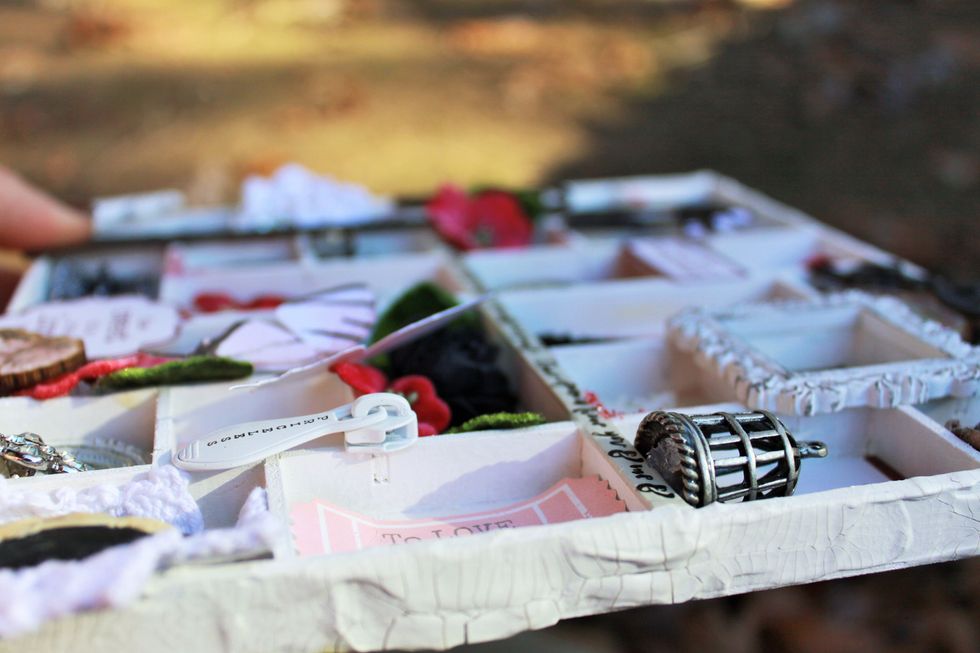
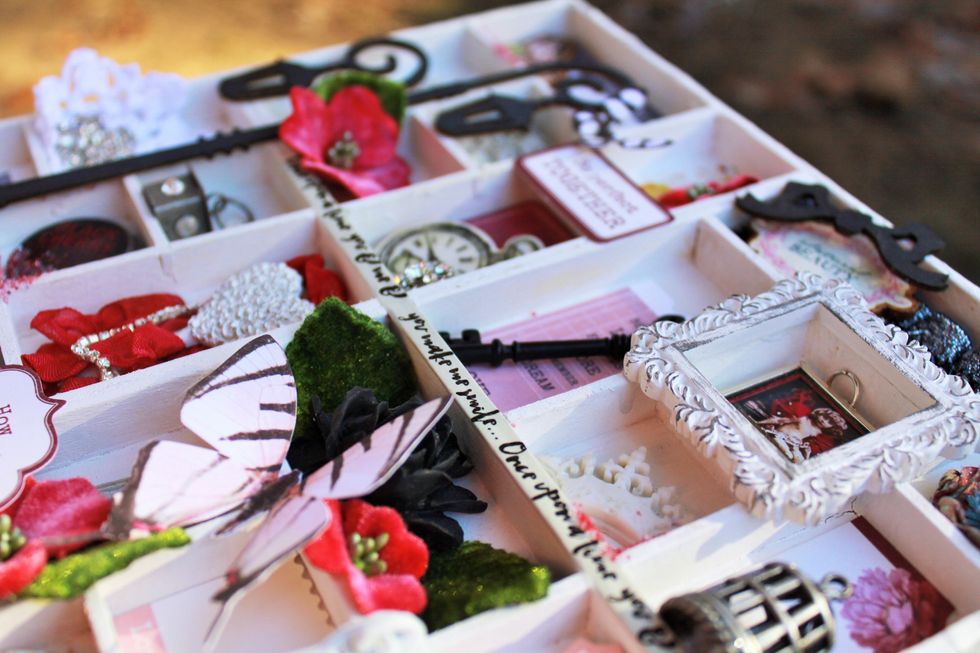
Another close-up to show more pieces added on top of the tray rather than inside the tray.
Add a resin frame over the top and the wooden lamp.
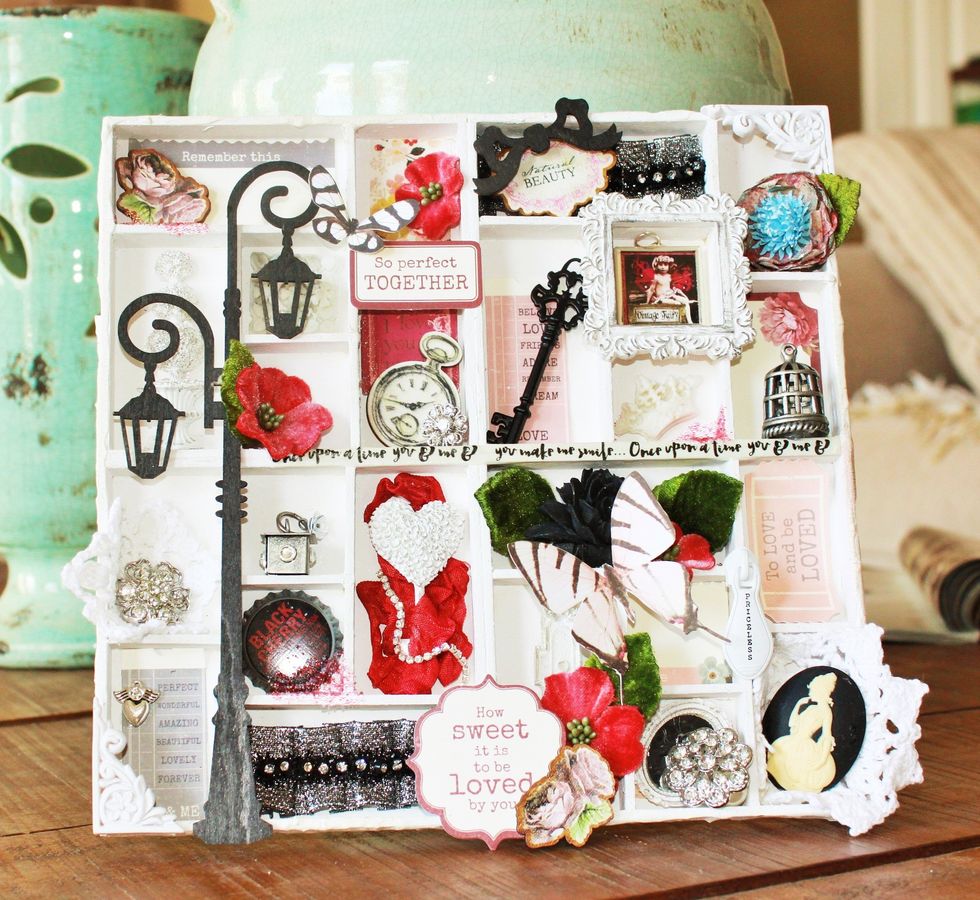
The finished printer's tray.