The Conversation (0)
Sign Up

Information for this snap guide was taken from Gavin Hoey, AdoramaTV and pictureperfect.com The soul purpose of this snap guide is to turn the video into easy to follow Steps.
This snapguide was taken from an article by Miki Ross from www.pictureperfect.com the article highlights and includes a video from AdoramaTV with Gavin Hoey.
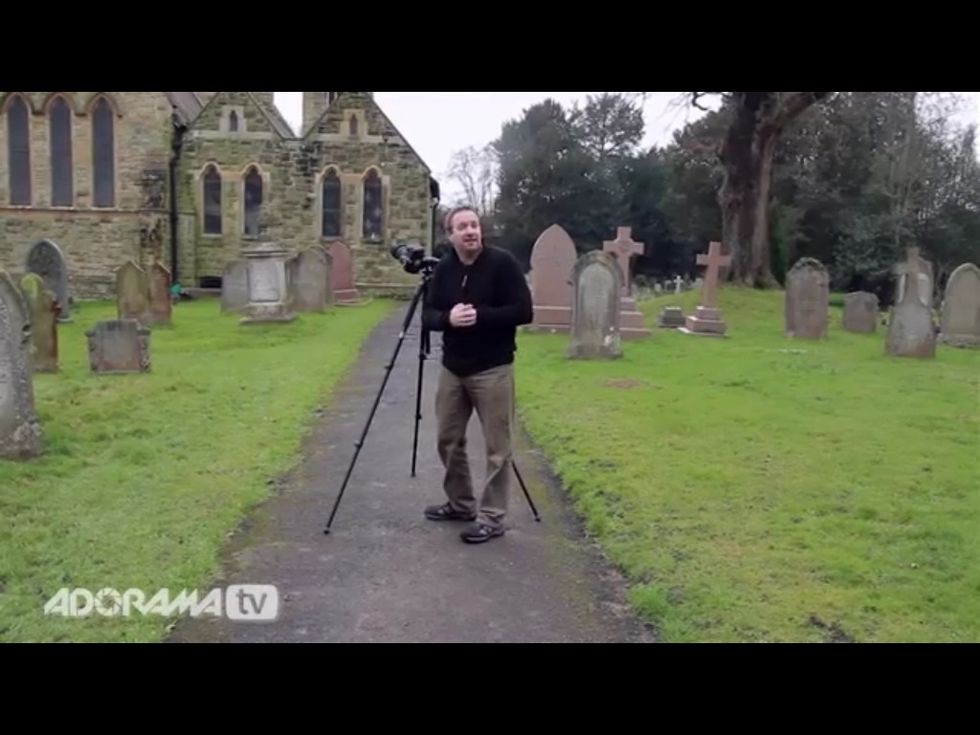
Shoot a 360 degree panaramic photo.
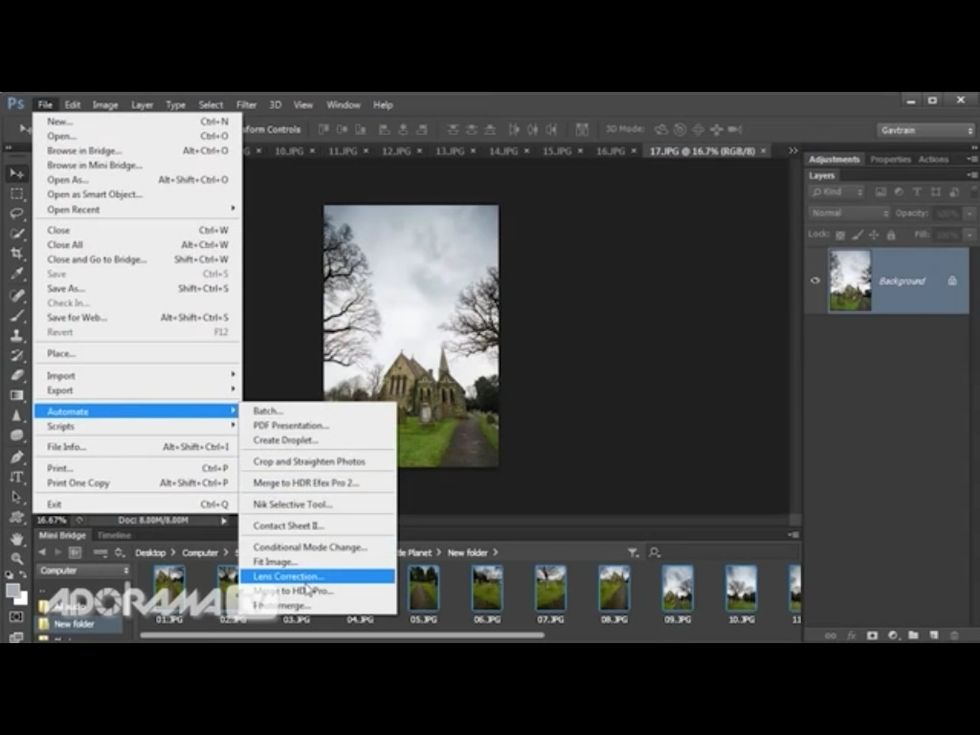
Go to File/automate/pamaorama
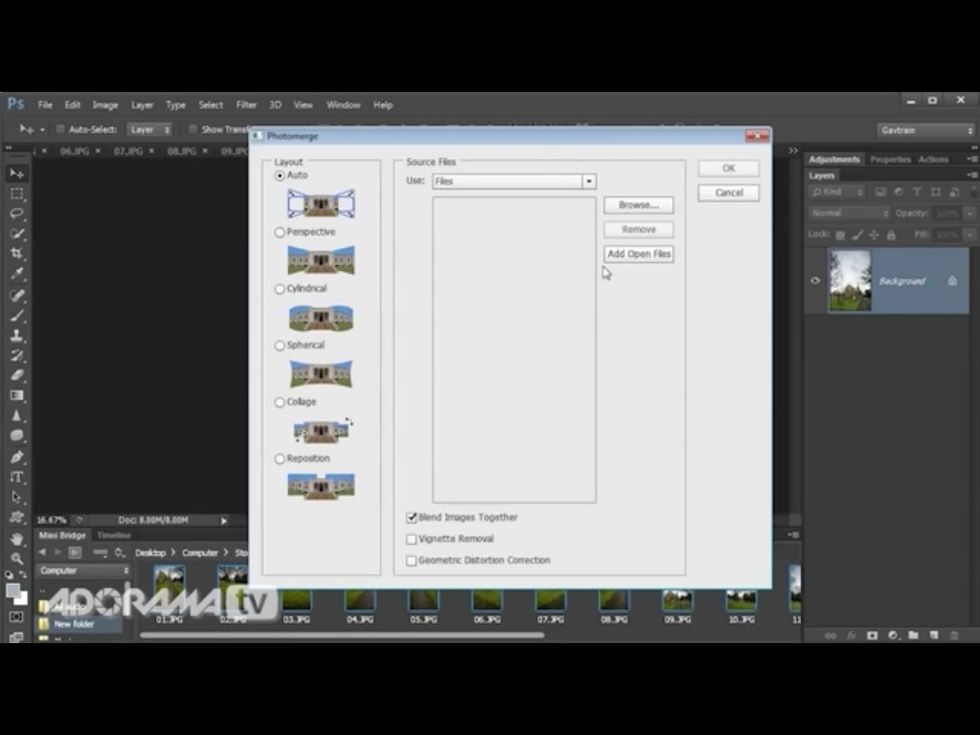
Select auto layout and click OK
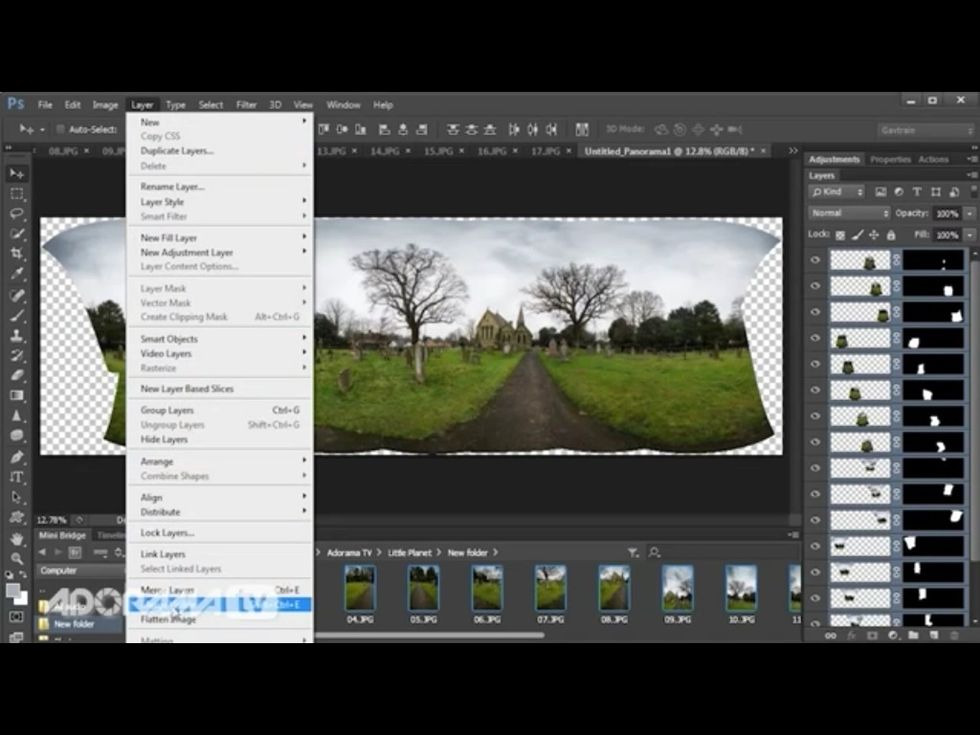
Go to layer/merge visible layers
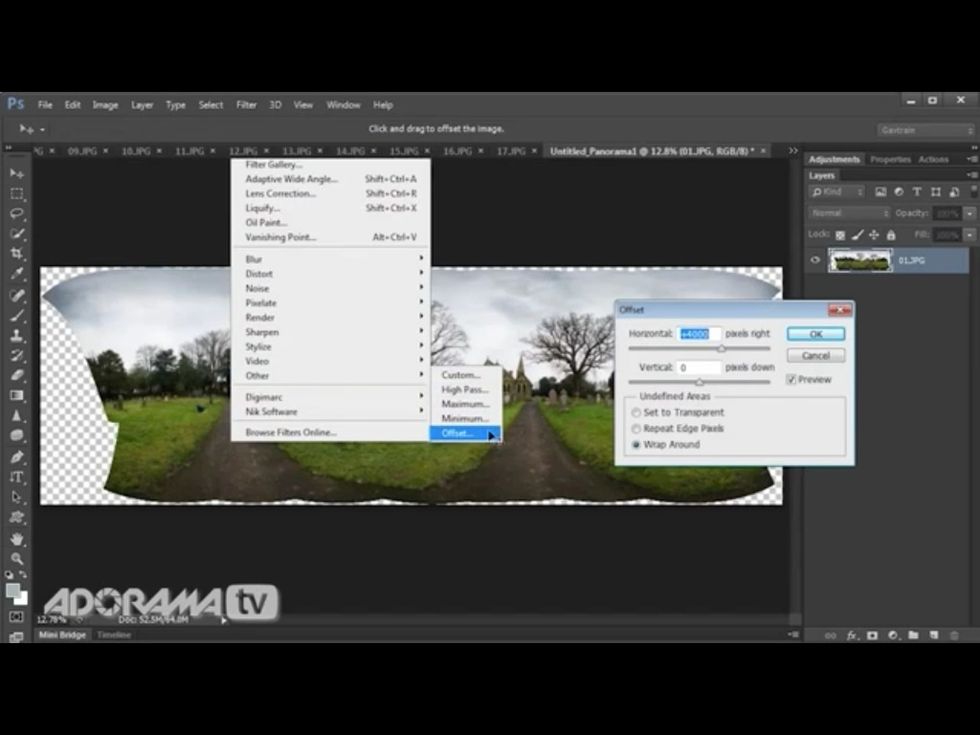
Go to filter/other/offset layer -type +4000 click OK
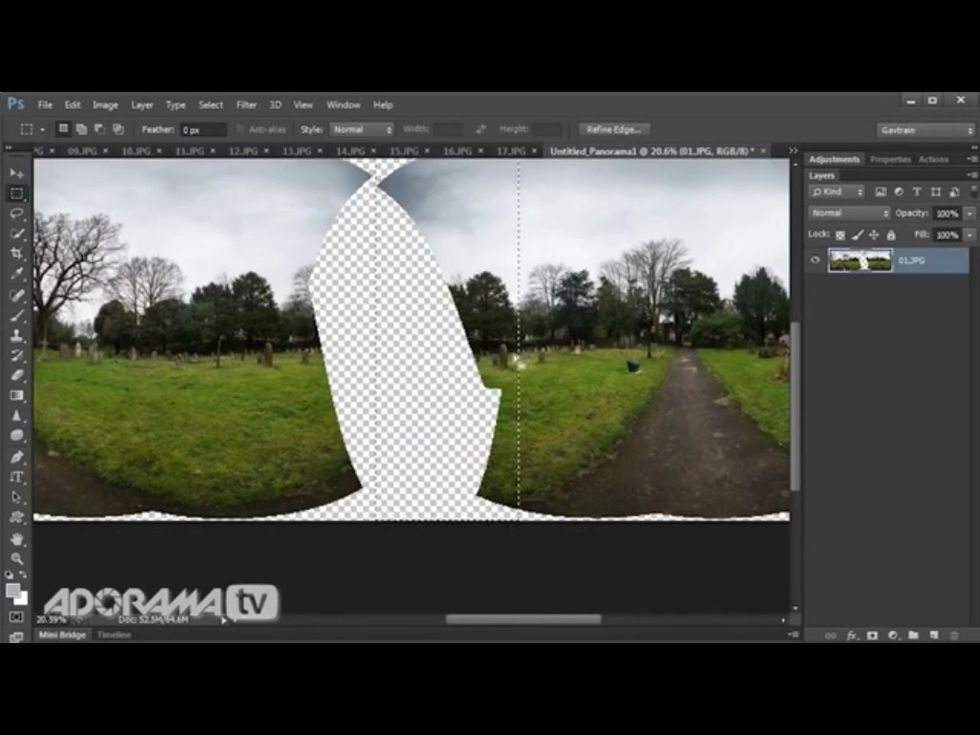
Select and cut duplicated portion of photo

Paste duplicated portion back on as new layer
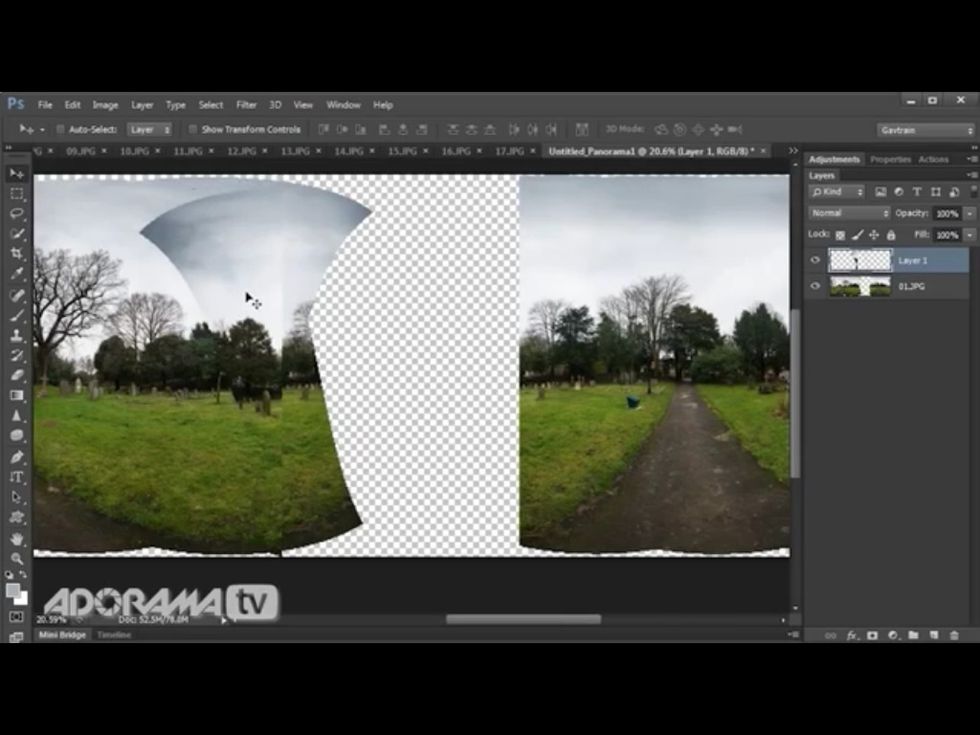
Align new layer over other side of photo matching details
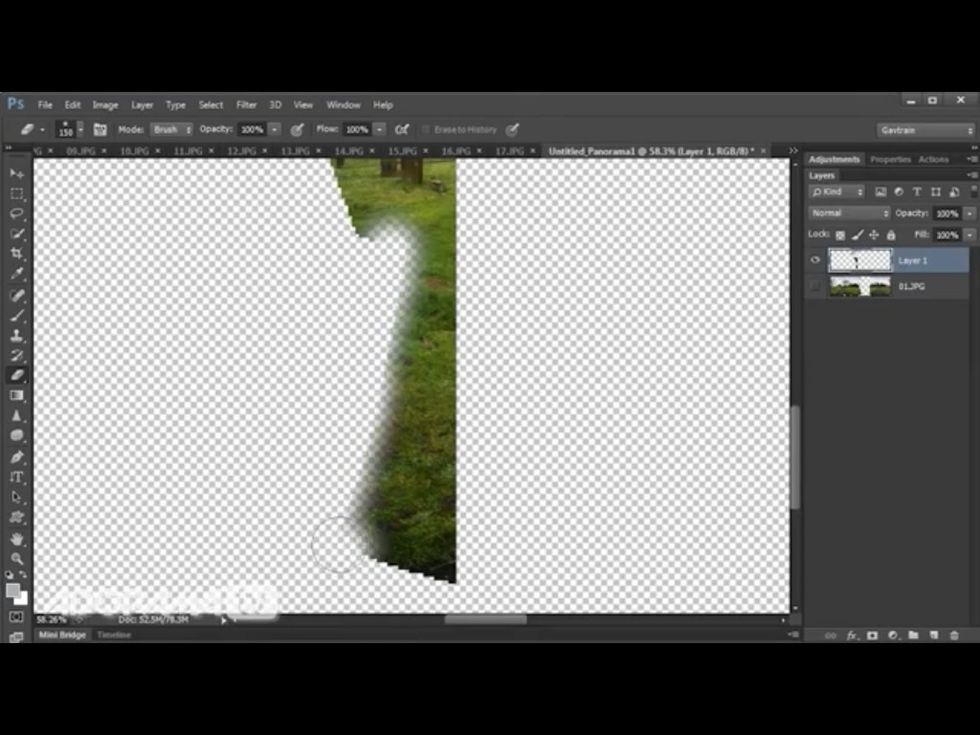
Erase hard edges

Select layer/merge visible -click ok
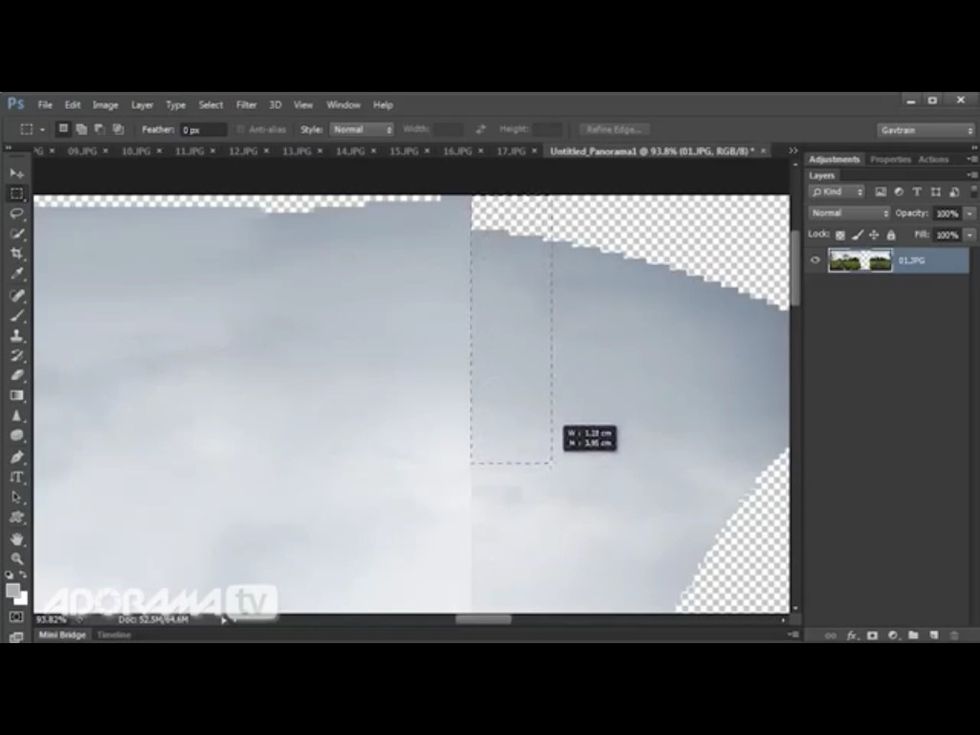
Select excess area.
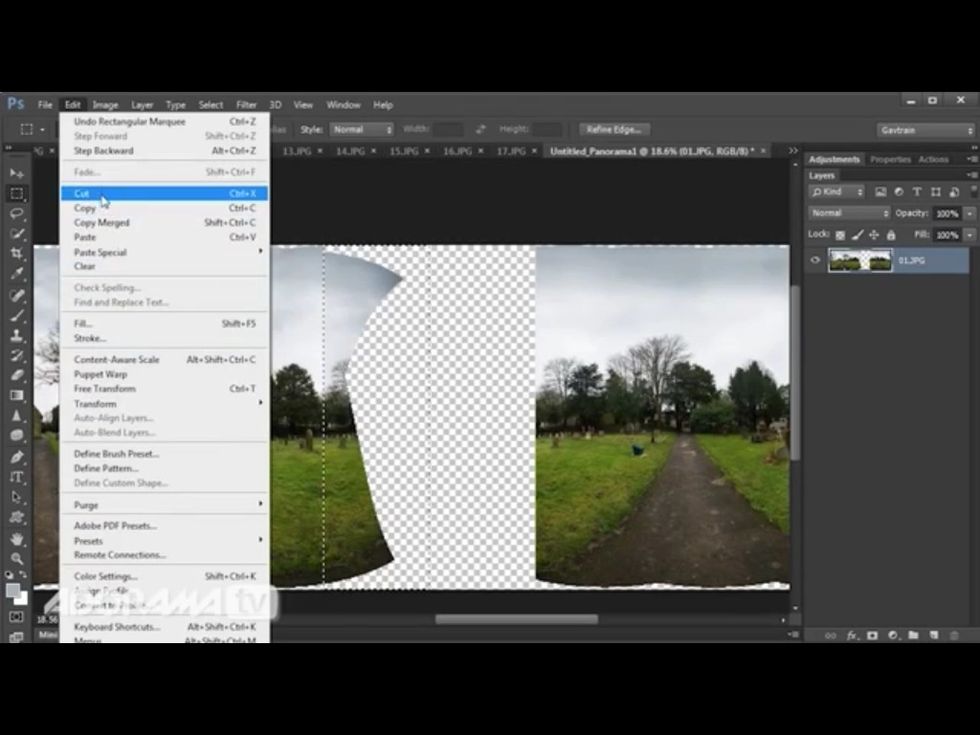
Cut selected area
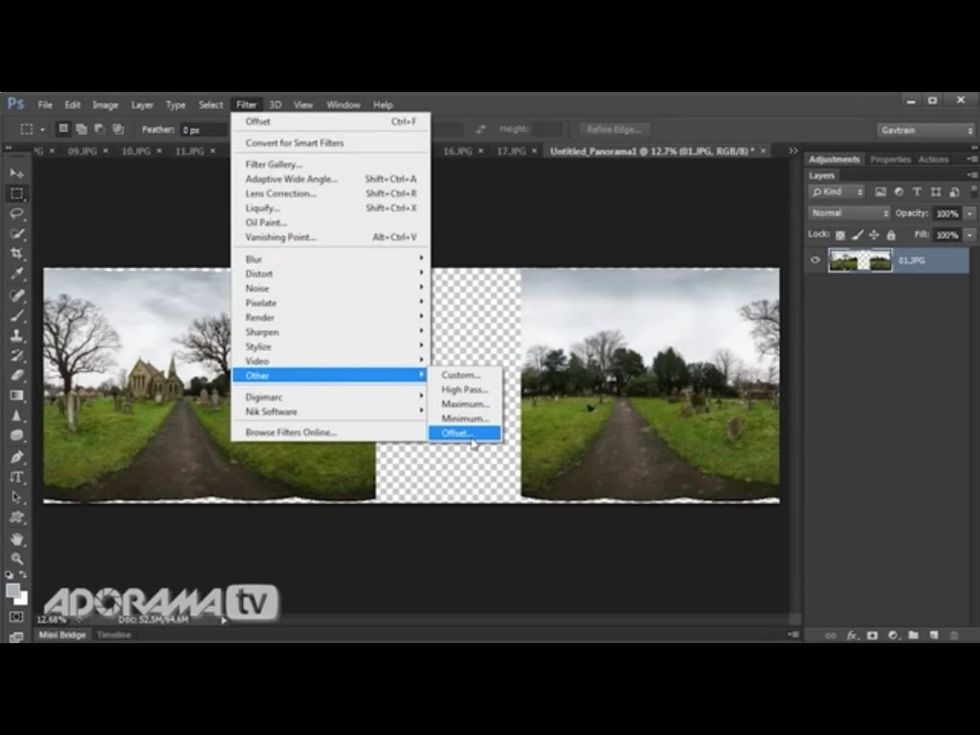
Return to filter/other/offset and undue previous offset (-4000)
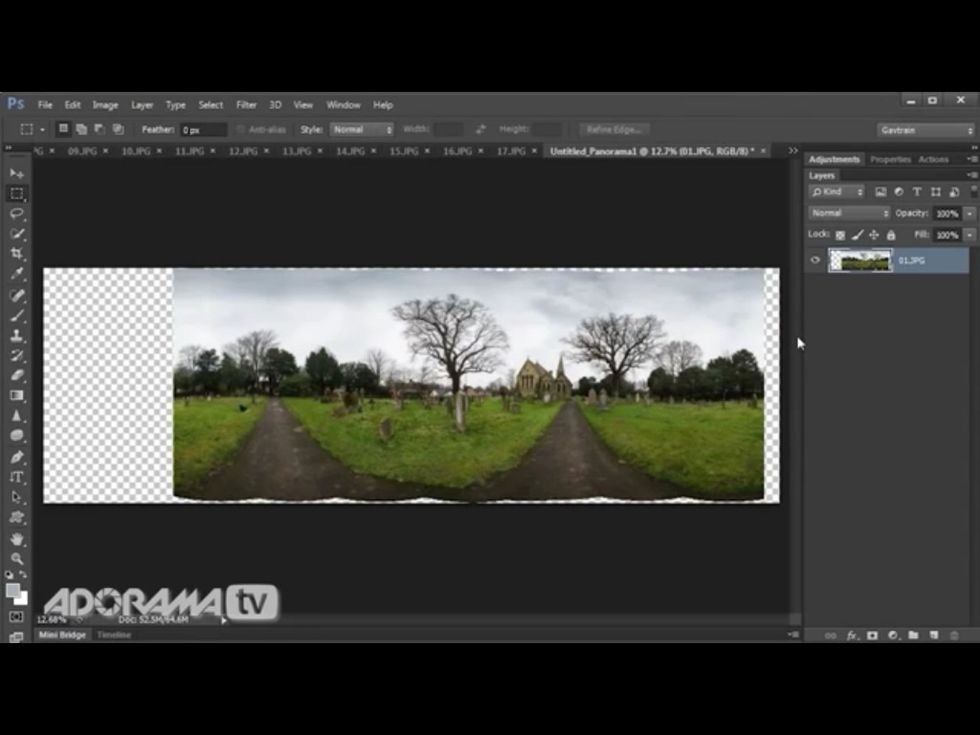
Click Edit/trim choose transparent pixels-click OK
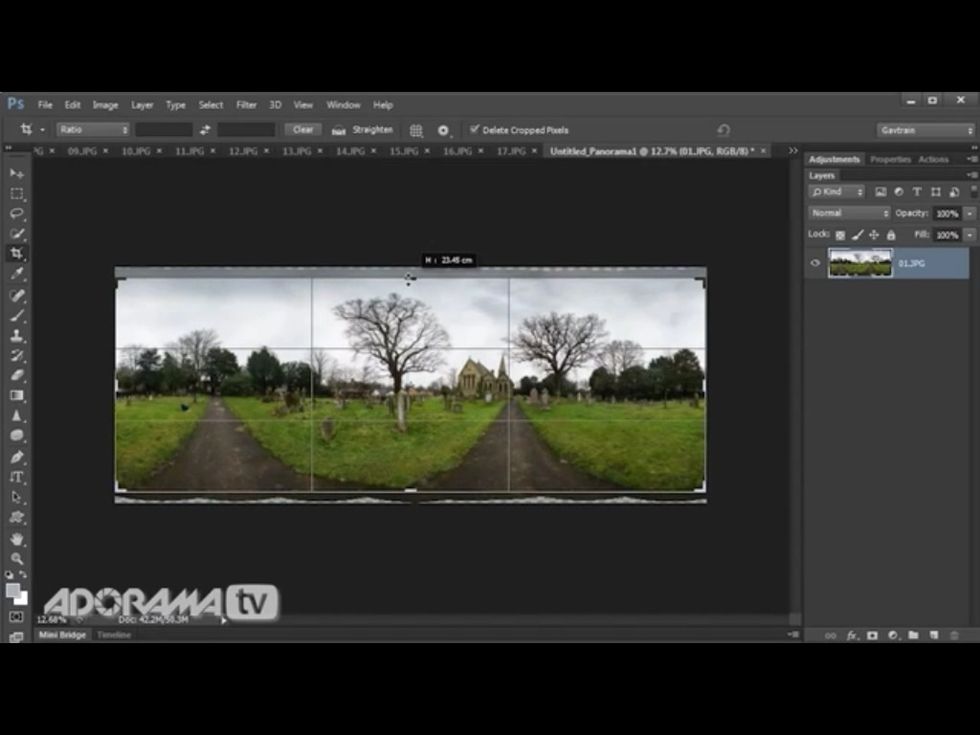
Choose crop tool and crop photo.
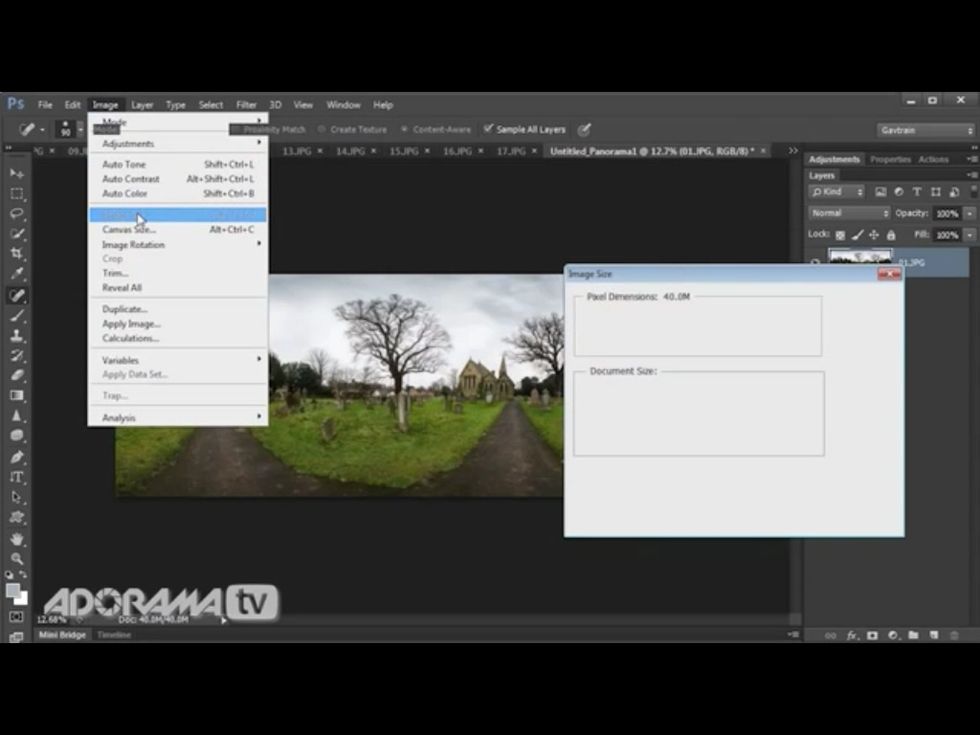
Go to Image/image size
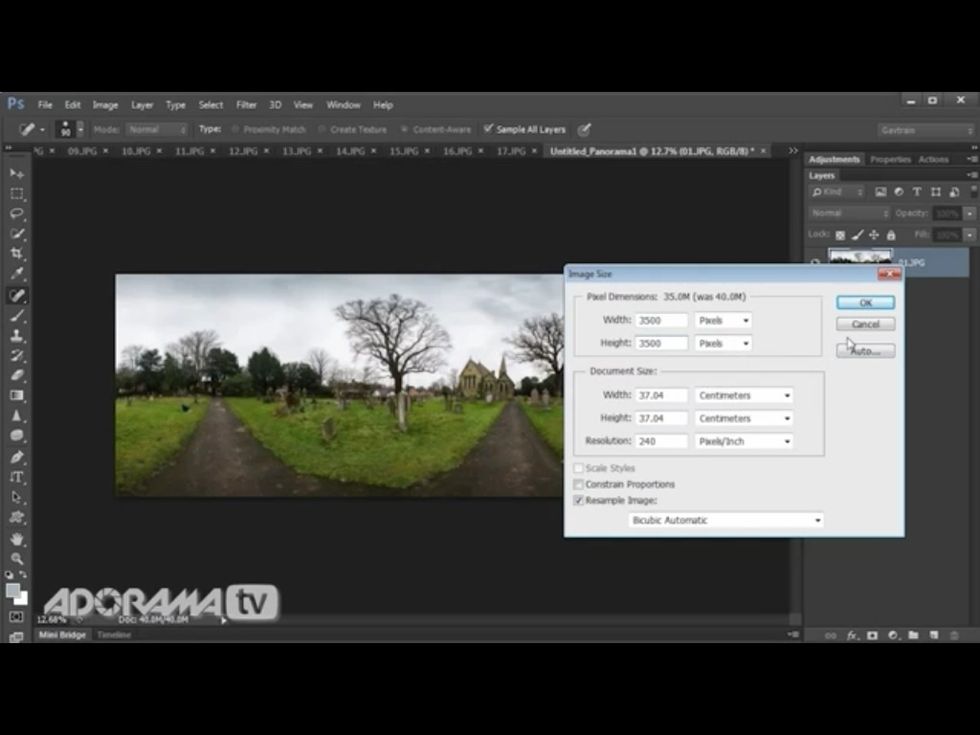
Change image width and height. (Create a square image)
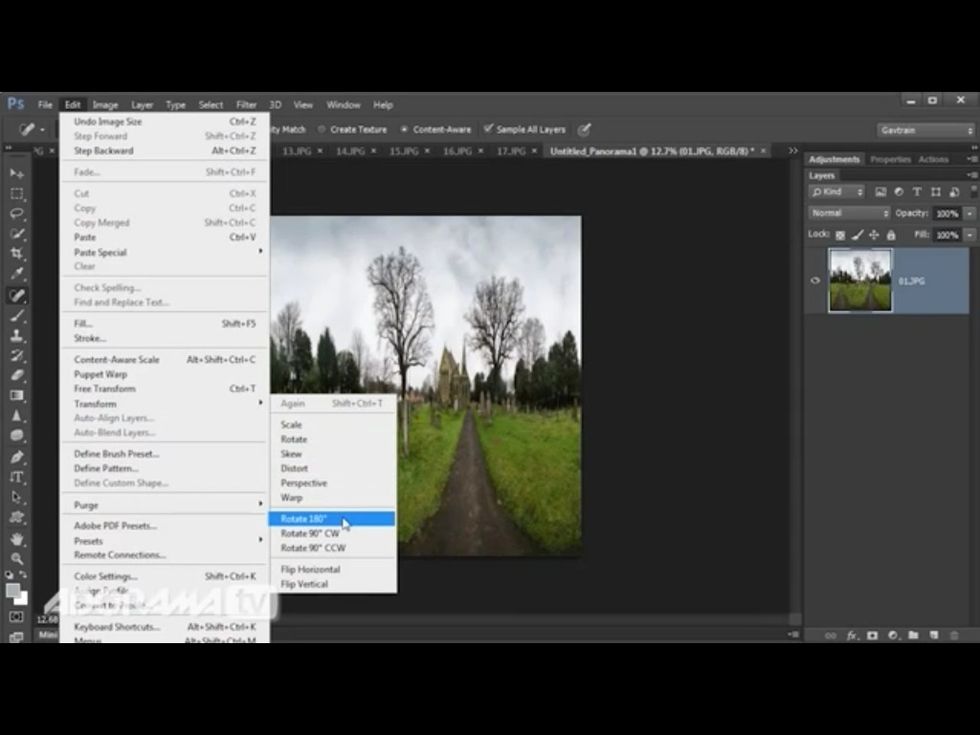
Go to File /transform/rotate 180
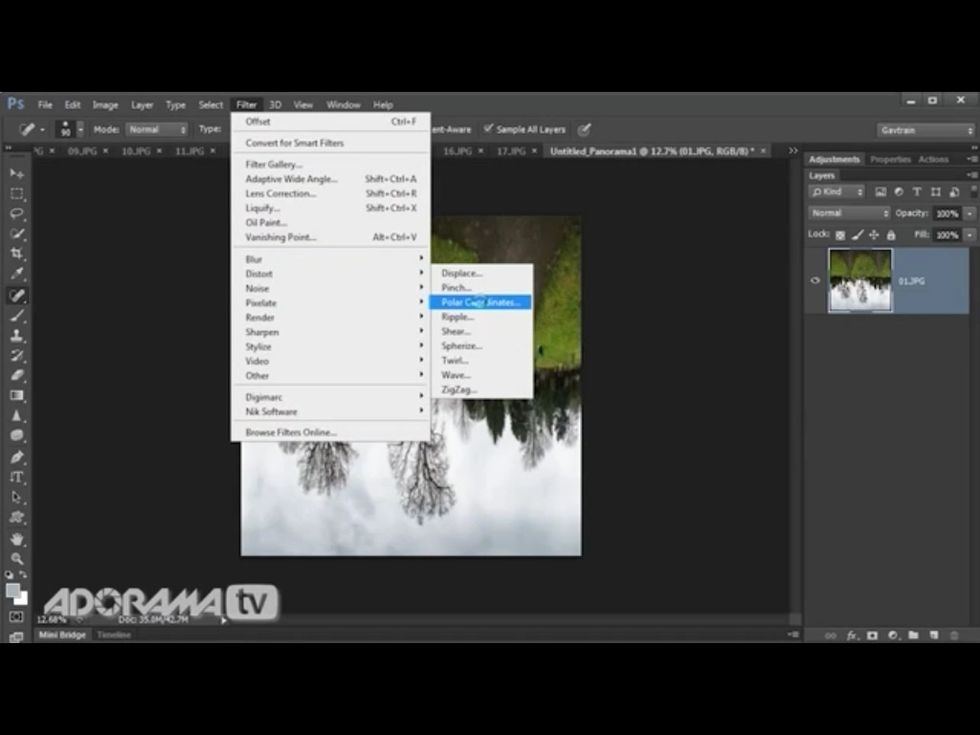
Go to Filter/distort/polar coordinates
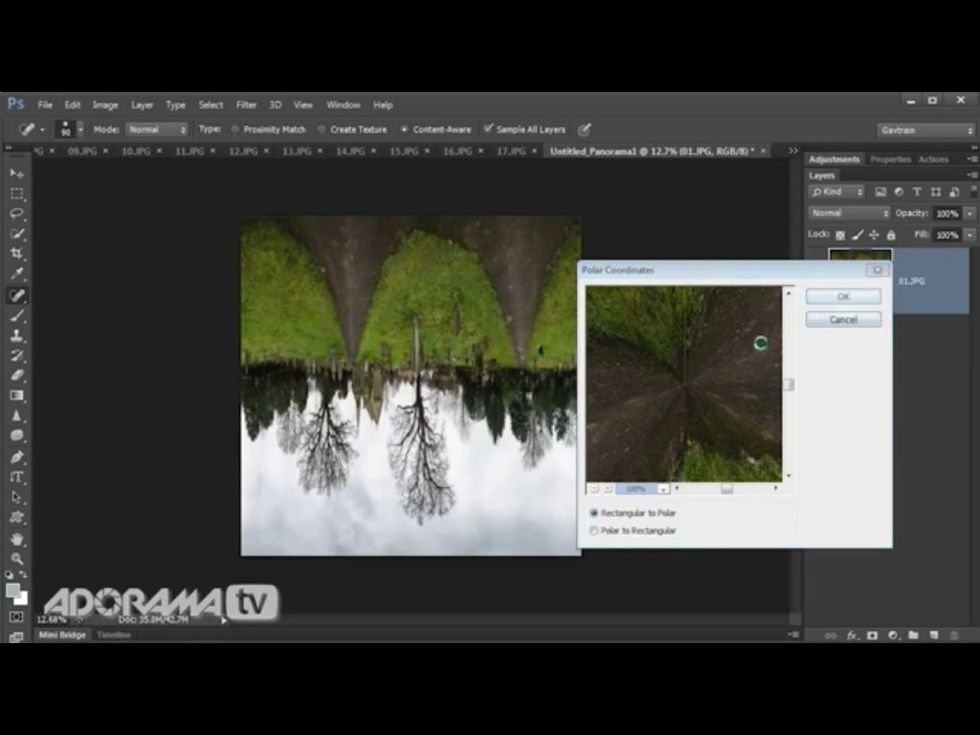
Choose rectangular to polar click OK

Click on foreground colour and select colour from the sky/clouds
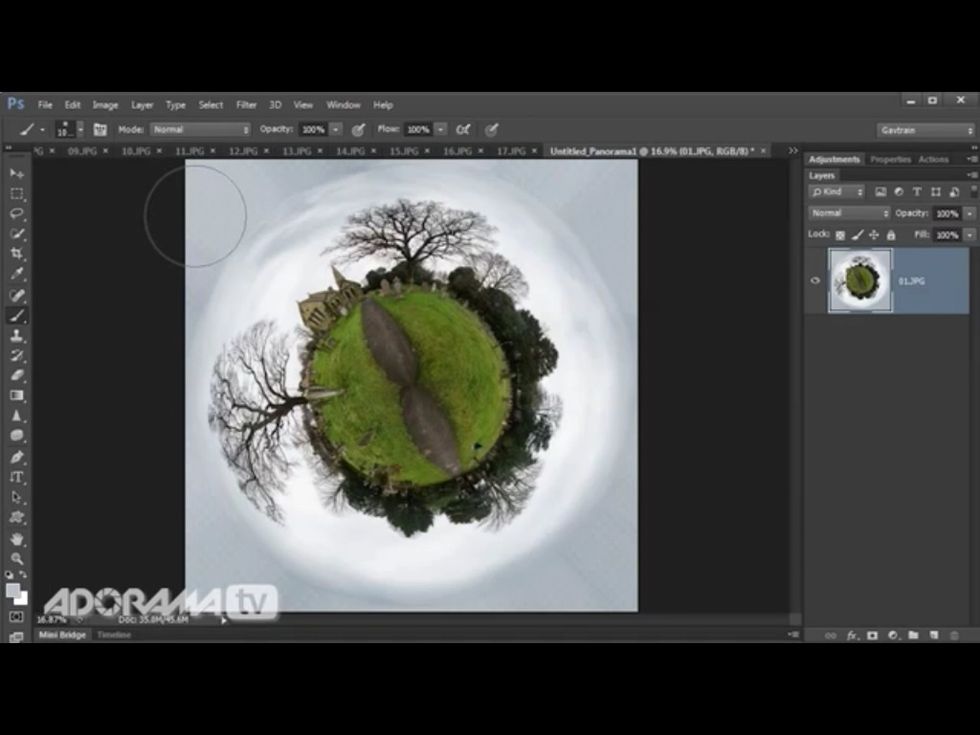
Paint out any transparent sections in the sky. Heal and clone any small parts of the image you do not like
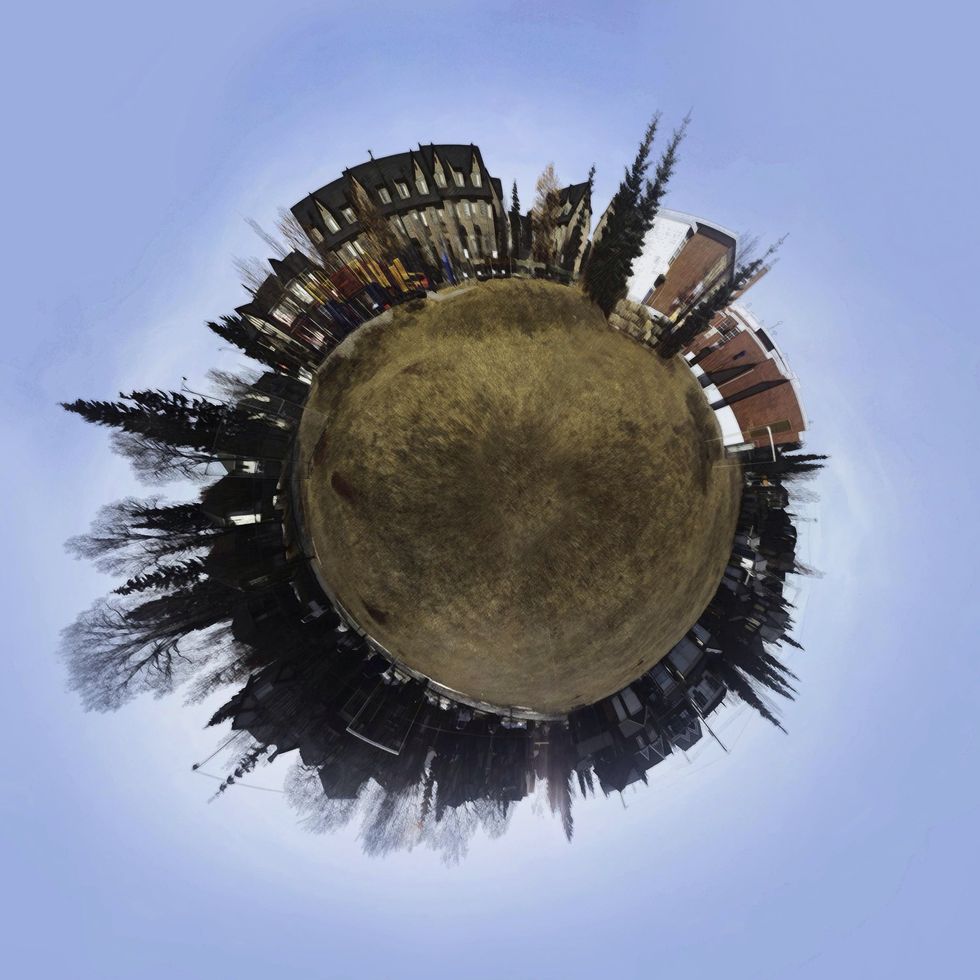
This is my first try. I also applied some artistic filters after to change the look. Have fun!