The Conversation (0)
Sign Up
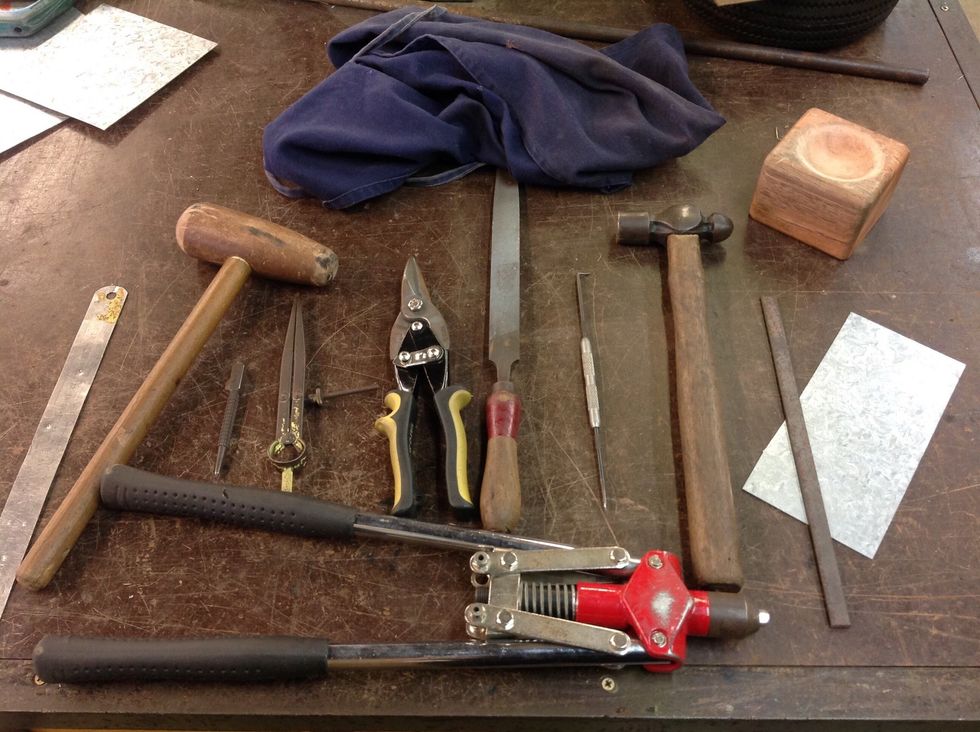
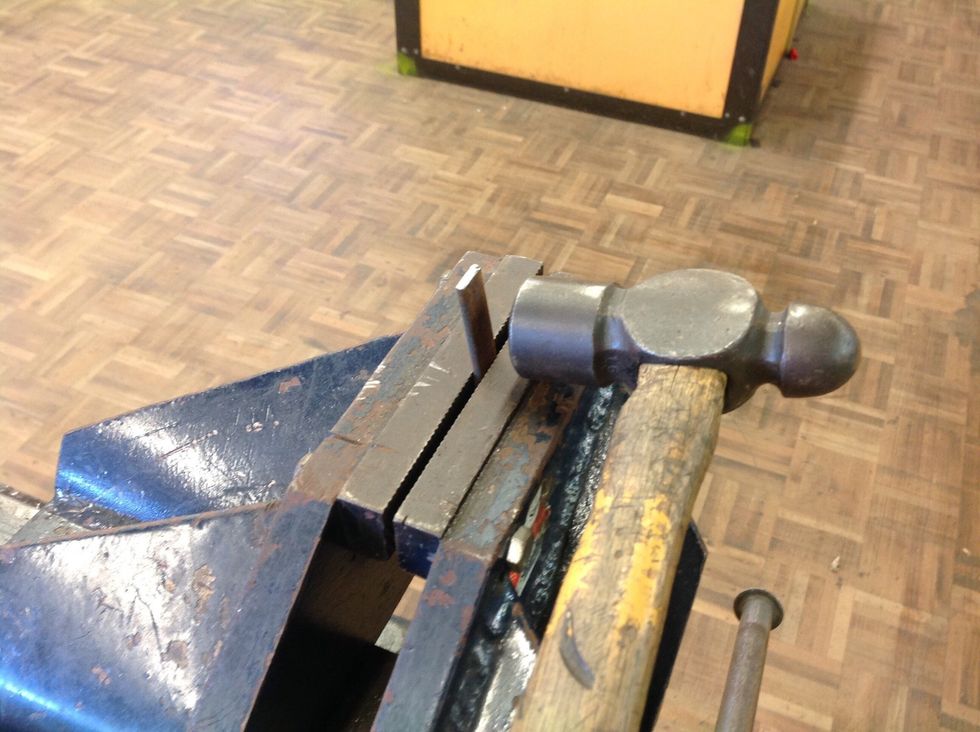
Tools (left to right) ruler, wooden mallet, centrepunch, divider, tin snips, file, scribe, ballpein hammer, metal flatbar, galvanised sheet metal, wooden dish mould and at the bottom a pop rivet gun.
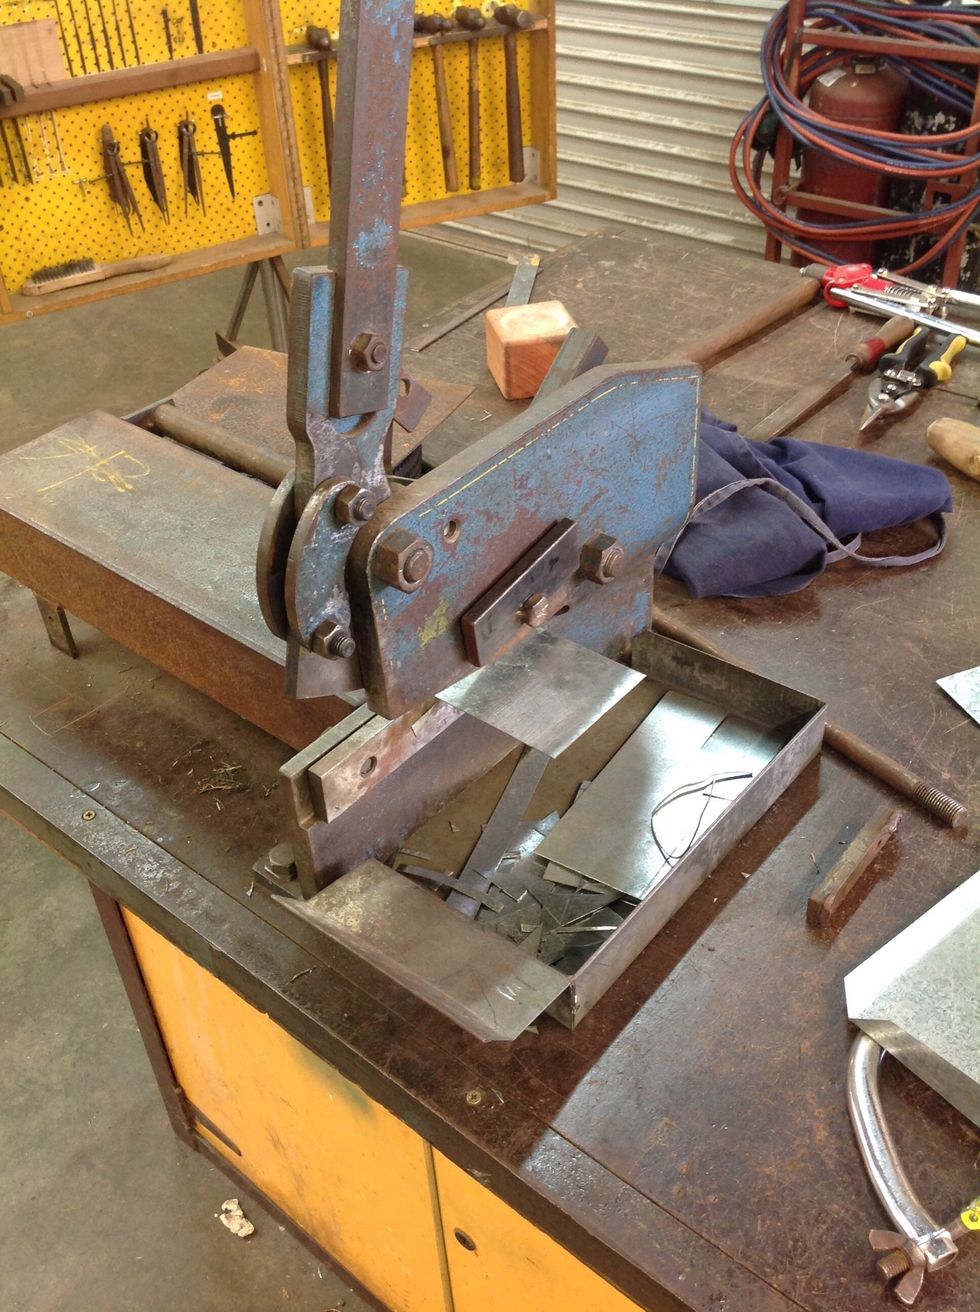
This is a guilotene, it is used to cut the square that I enquired to create the dish.
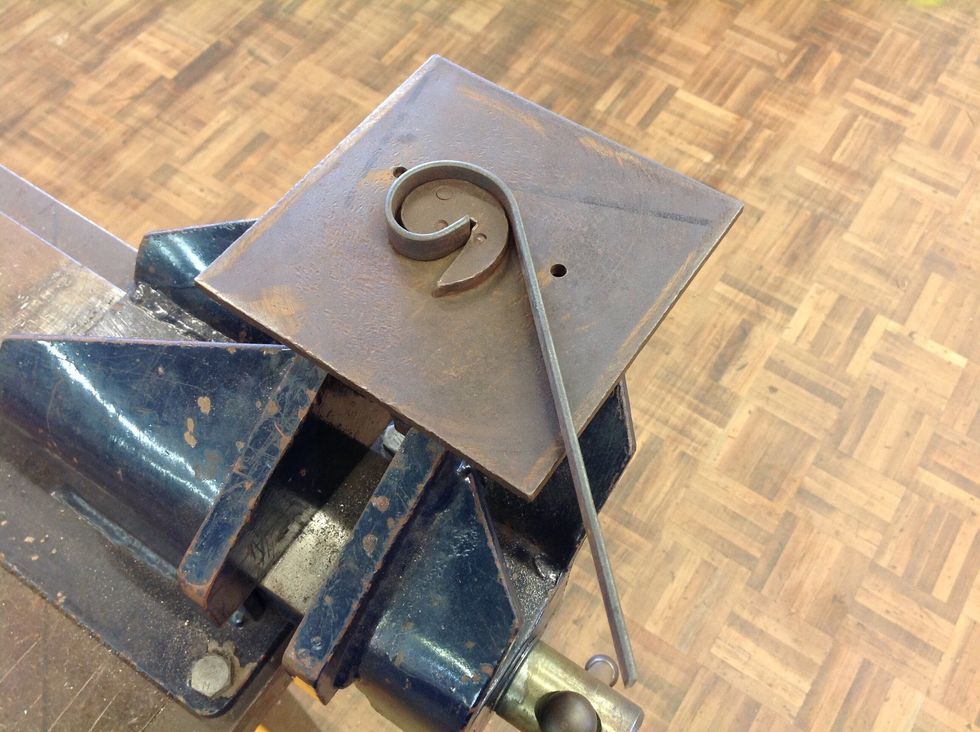
Thi is a scroll plate and is used to scroll your flatbar.
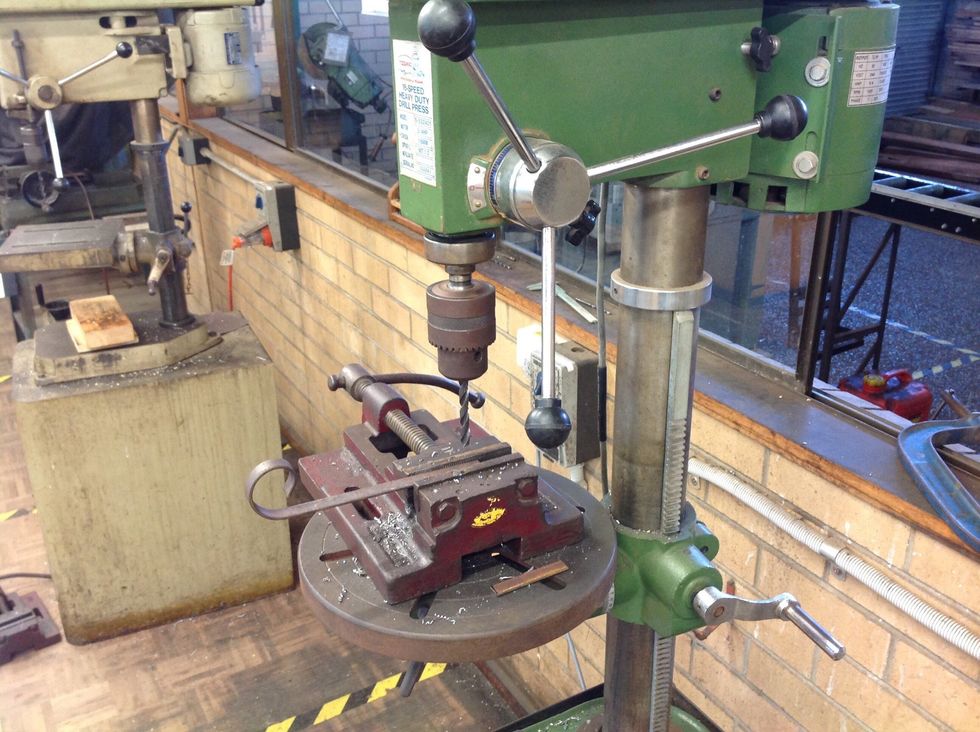
This is a drill press and is going to be used to drill holes in you work for pop-riveting.
The thing that is holding the metal in place is a vice and is used a lot throughout the entire build.
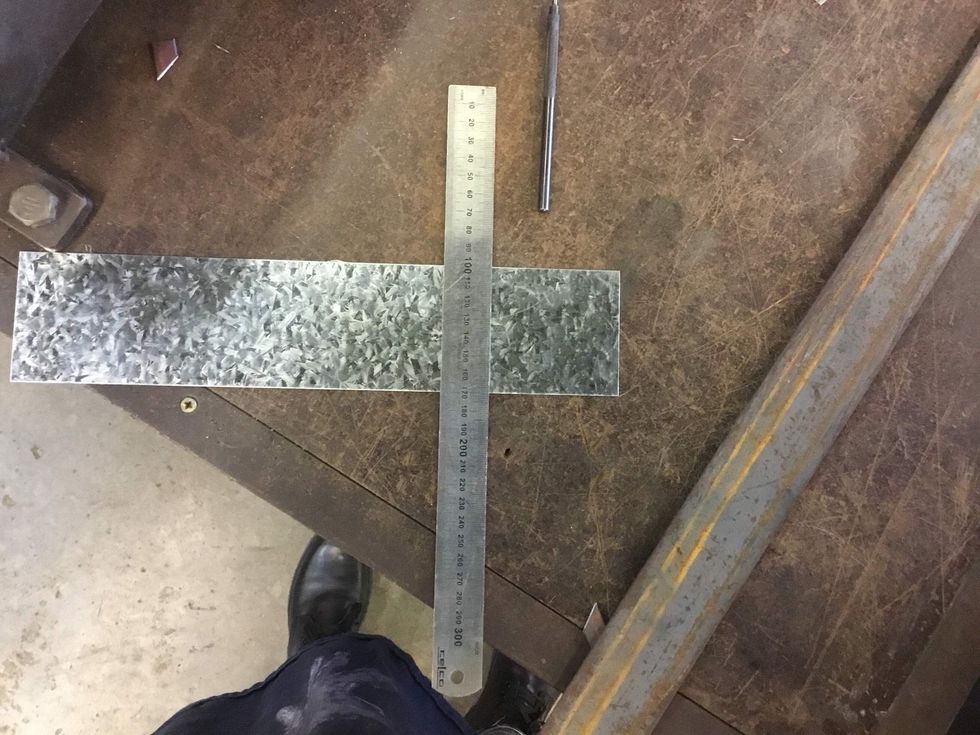
To start off creating your dish you will the have to create a square. Do this by measuring 80 cm in to the sheet metal and marking it off.

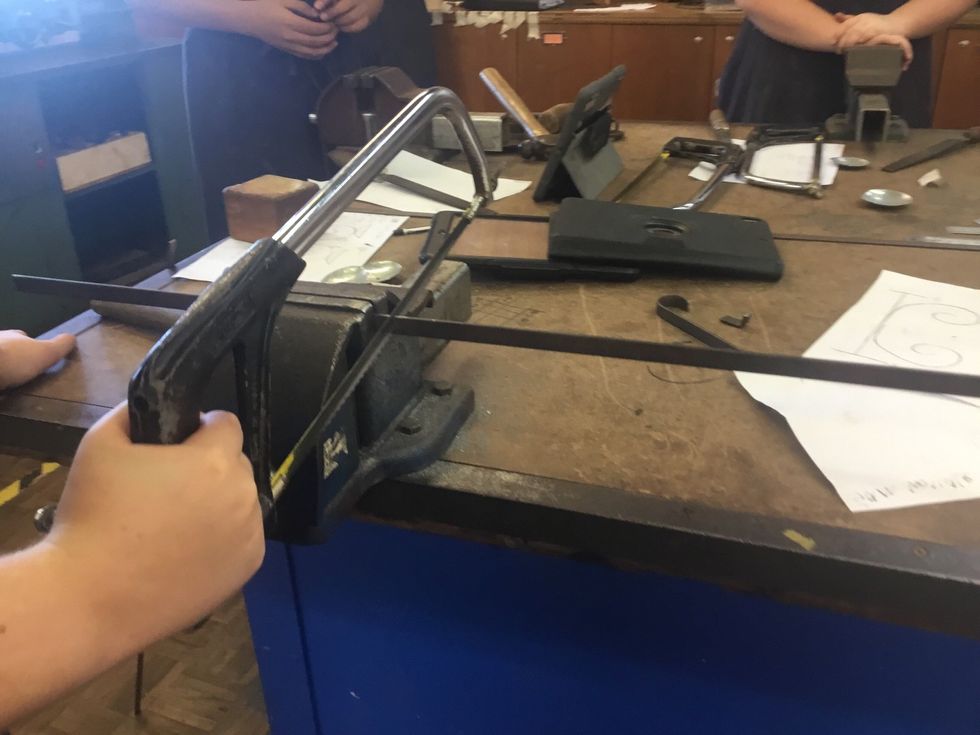
Next you will need to cut the line that you marked with your scribe using the guillotene. This will give you a square of sheet metal.
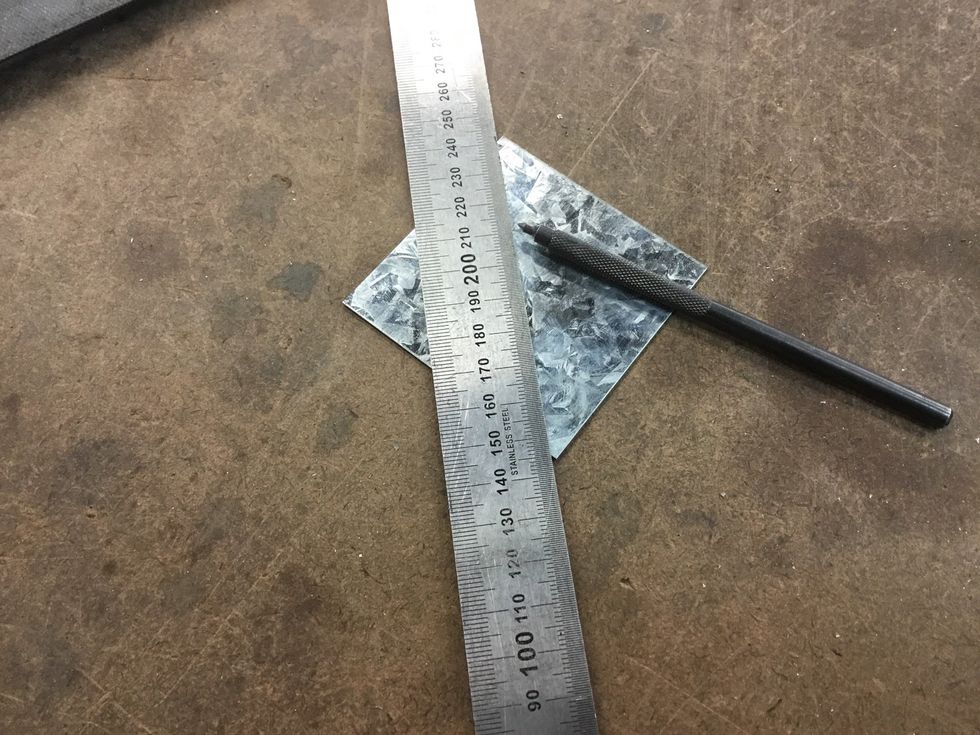
Once you have your square of galvanised sheet metal you then have to mark an x from corner to corner using your scribe and your ruler
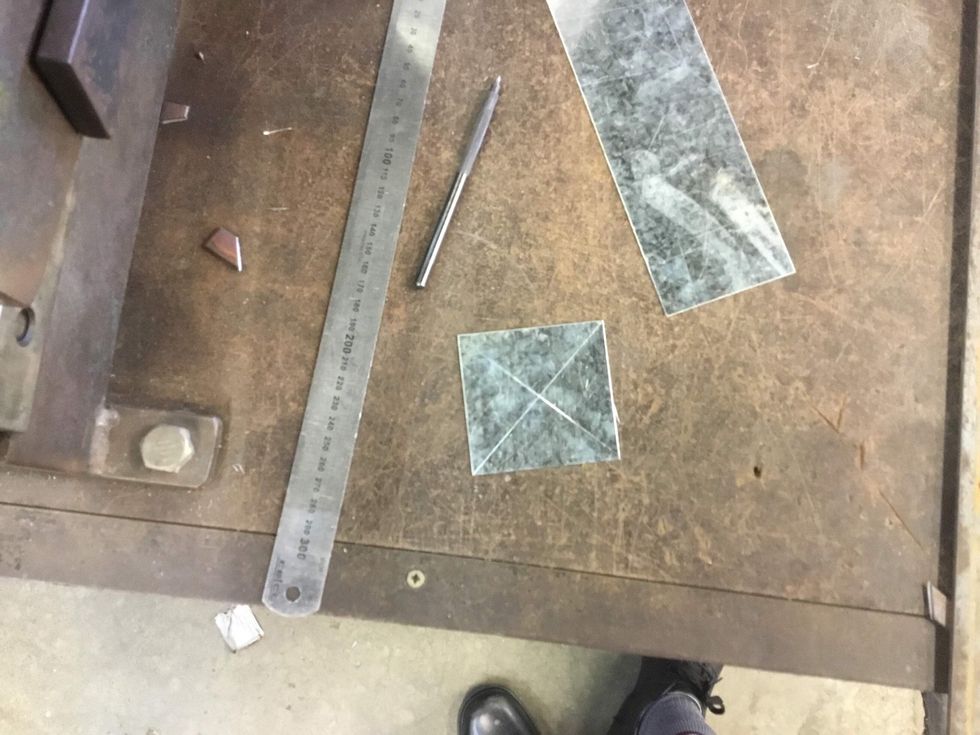
It should look like this when you are finished.
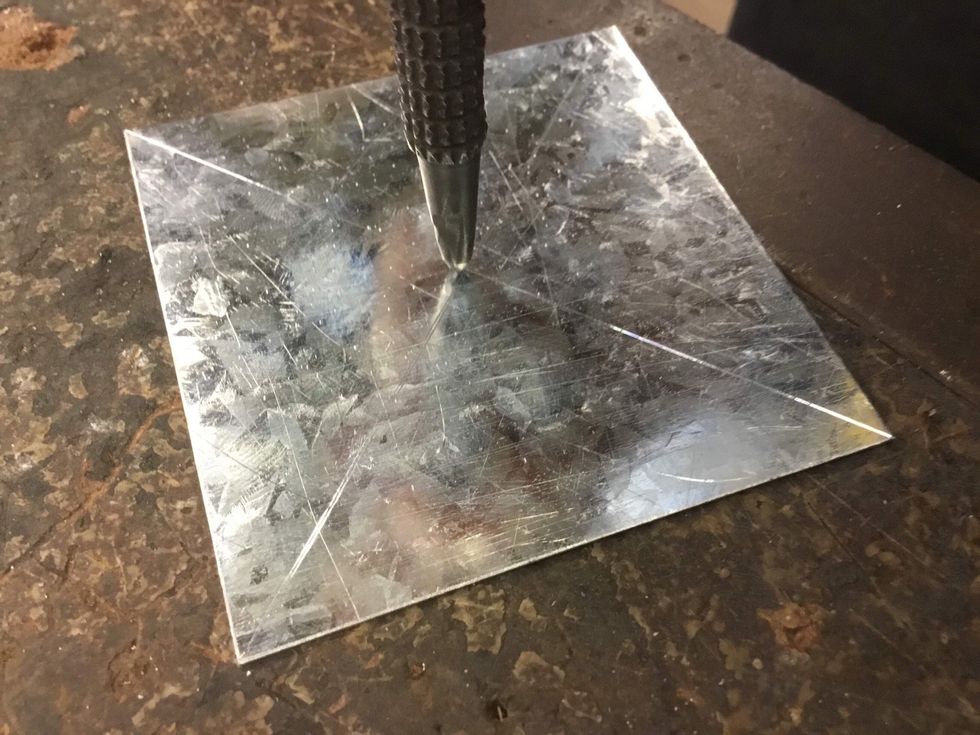
Now you have to centrepunch your sheet metal so that you have a dimple that will be easy to drill. Do this using your ballpein hammer and centrepunch.

Next you will have to grab your divider and set it so that the end is nearly coming off of the edge of the square. Try and use the dimple that you just centrepunched as the centre.
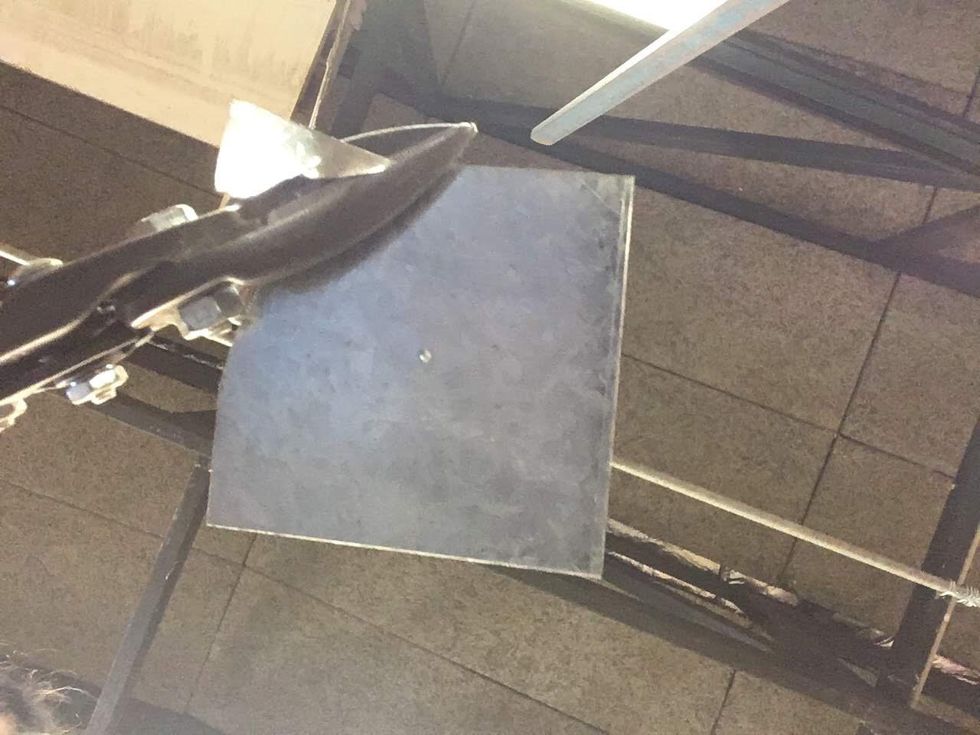
Now, using the circle you marked in the step before as a template you will cut a rough circle shape using your tin snips.

The end result should be that of a rough circle which you will then need to file away to get into a smooth circle. Do this using your file and vice.

Next drill a hole in the dish so tat you can later pop rivet it. Drill the hole using the drill press.

After you have filed it smooth place your dish inside of your mould and hammer away at it using wooden mallet until the dish fits snugly inside of the mould.
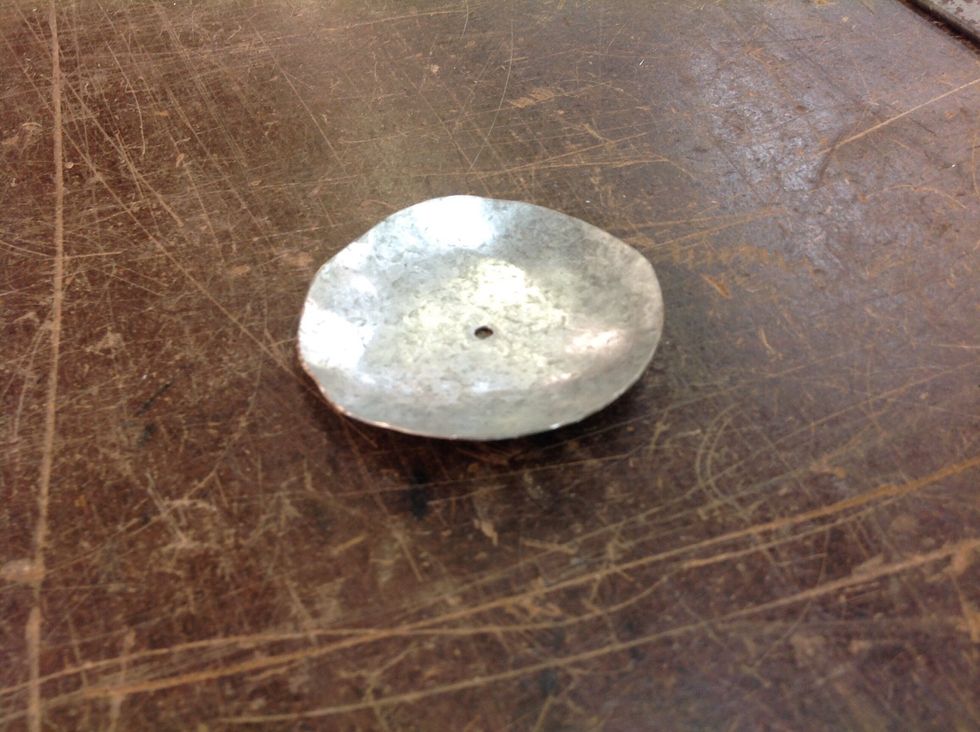
This should be the end result. This is a completed dish. Repeat the last steps as any times as you need to create your dishes.
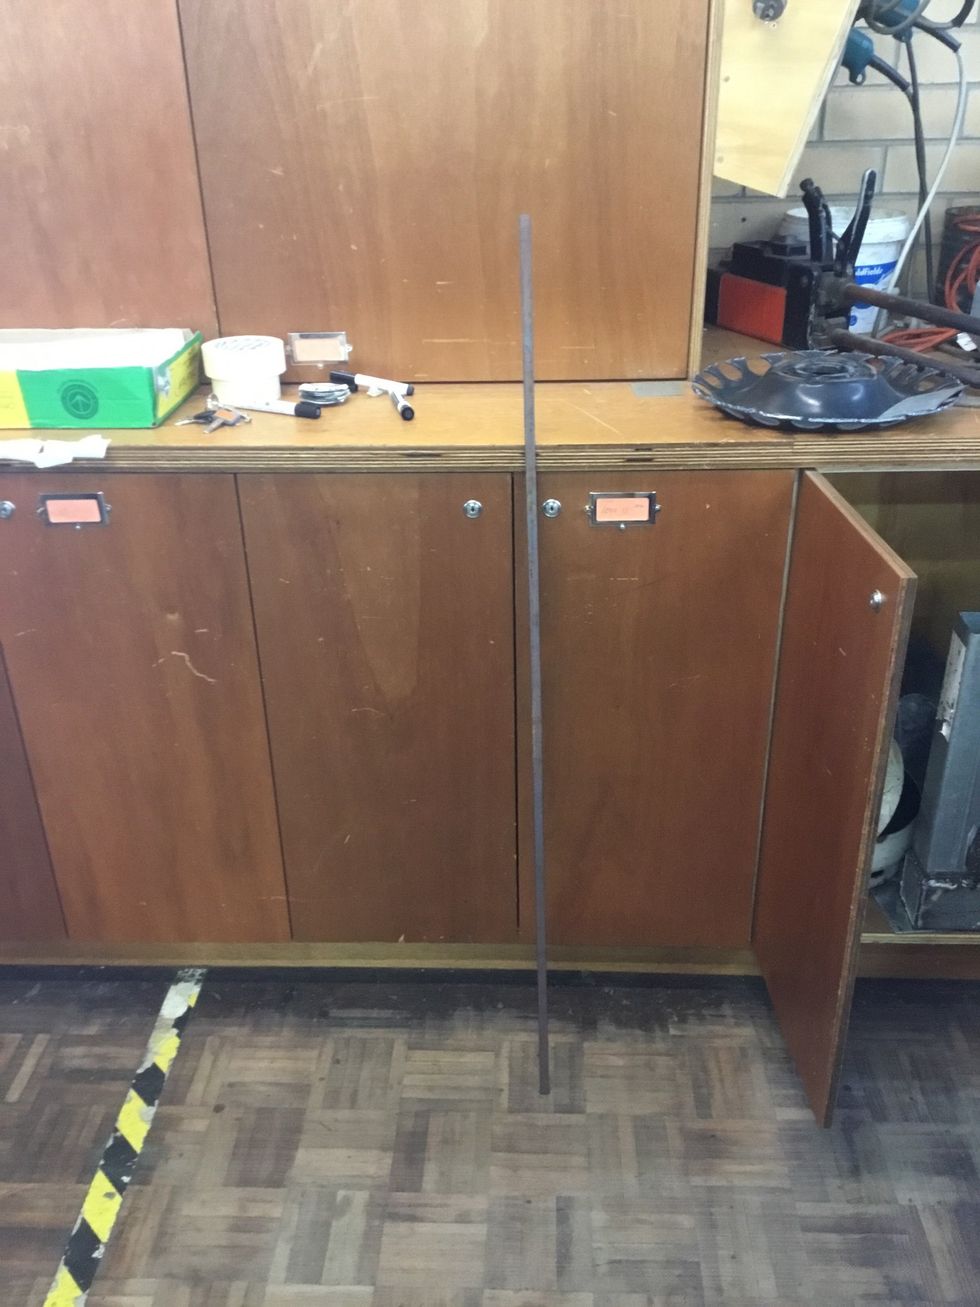
Next, grab your metal flatbar. You will need 1.2 metres of it and this will be what you make your actual candleholder out of.
Your first cut will be the that will turn into the actual candleholder. You will need to measure and cut 48cm in. The longer piece is the main piece and you will use the 48cm for your legs.
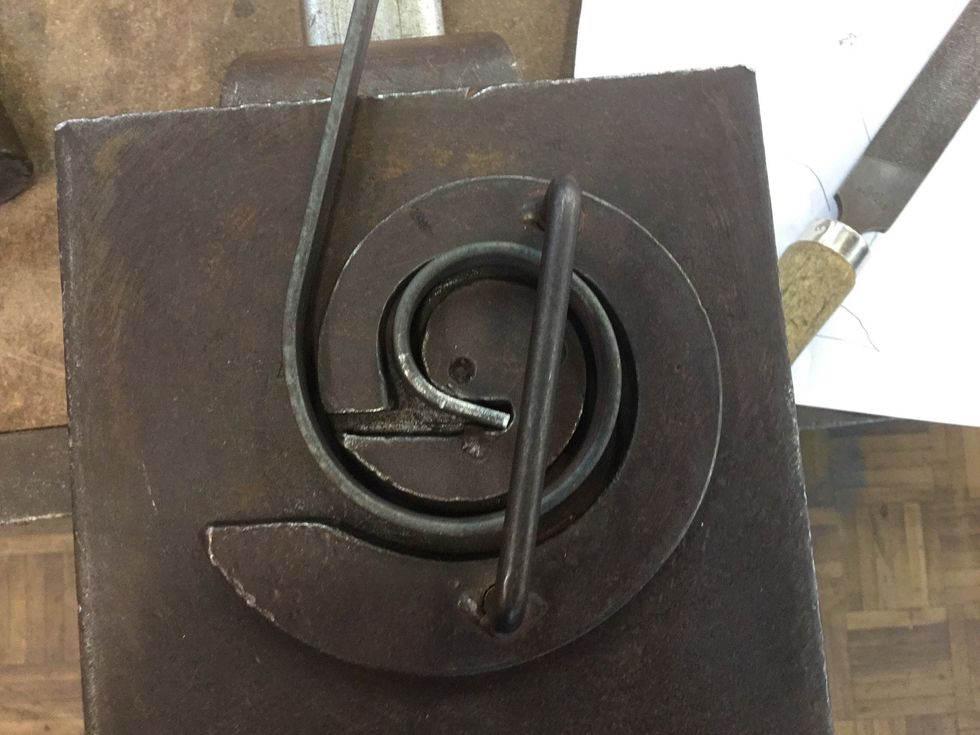
Next you will have to scroll your piece of metal. Do try and get the scroll as close to this size as this. You will need to do this again on the other side. Make sure that they both face the same way.
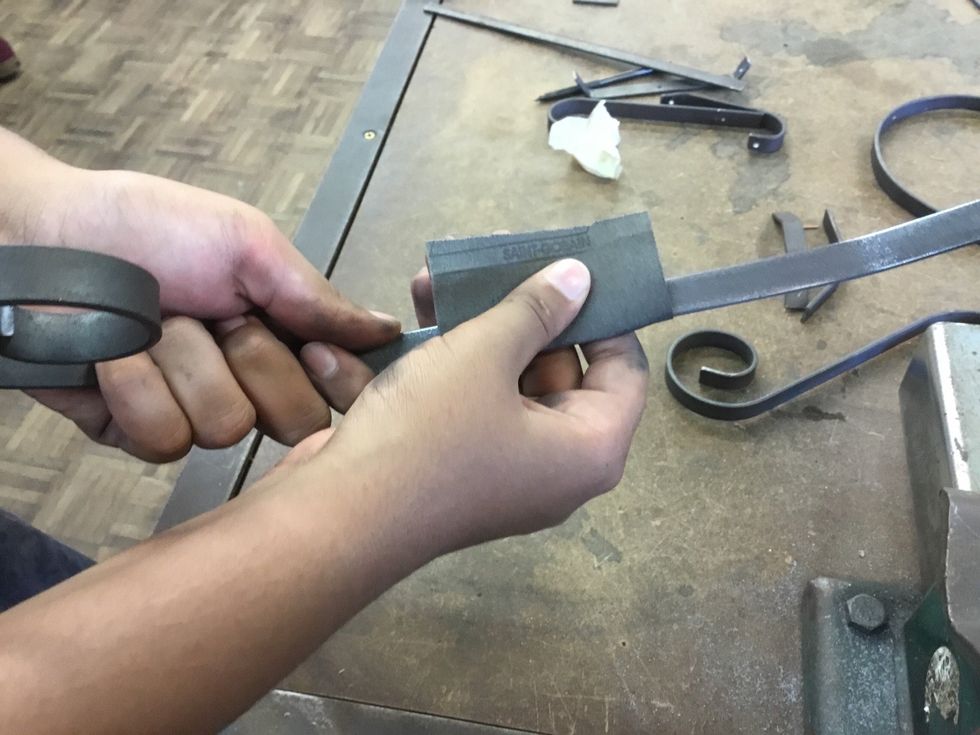
You must now sand all of your work using a piece of 180 grit sandpaper.