The Conversation (0)
Sign Up

First, fill your bowl with water (not hot or cold, just plain o'l water).
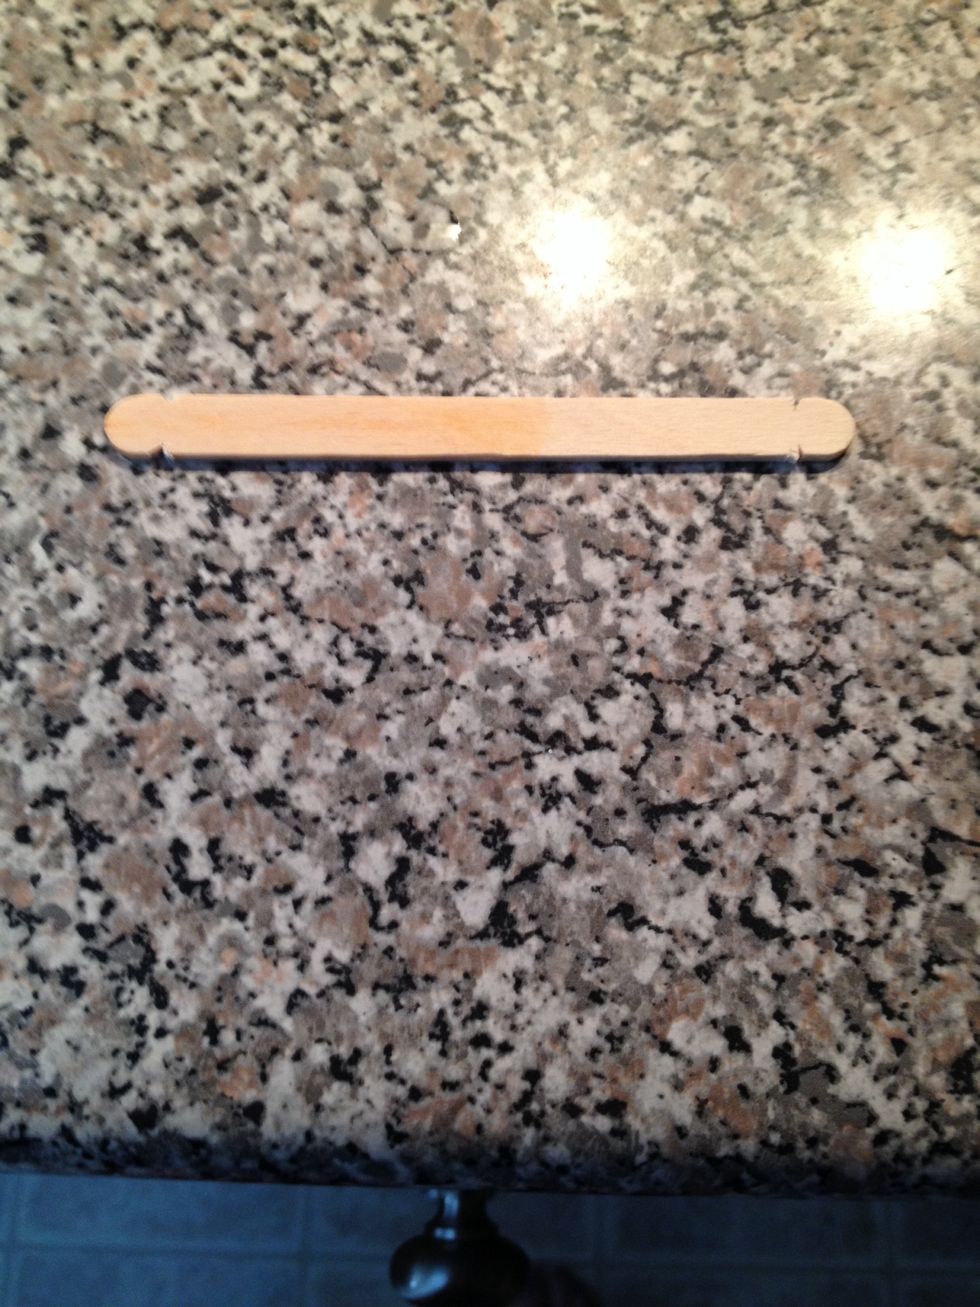
With your knife, carve four small notches as shown. Be careful with that knife, too!
Now the boring part. Let the notched popsicle stick soak in the bowl of water for an hour. We do this to get it flexible.
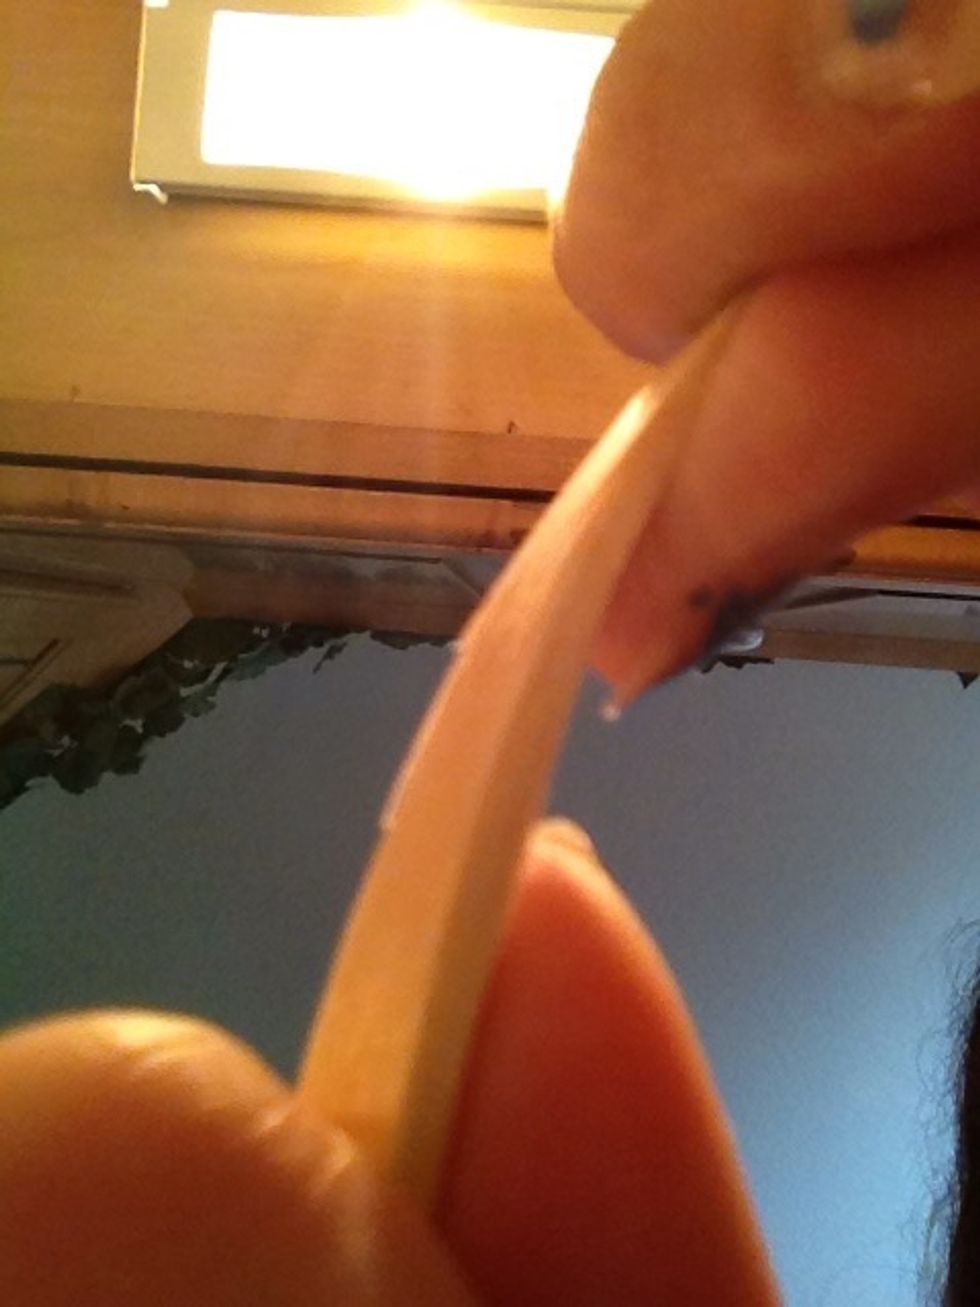
Now, carefully work on bending the stick as much as you can. Be careful not to break it.
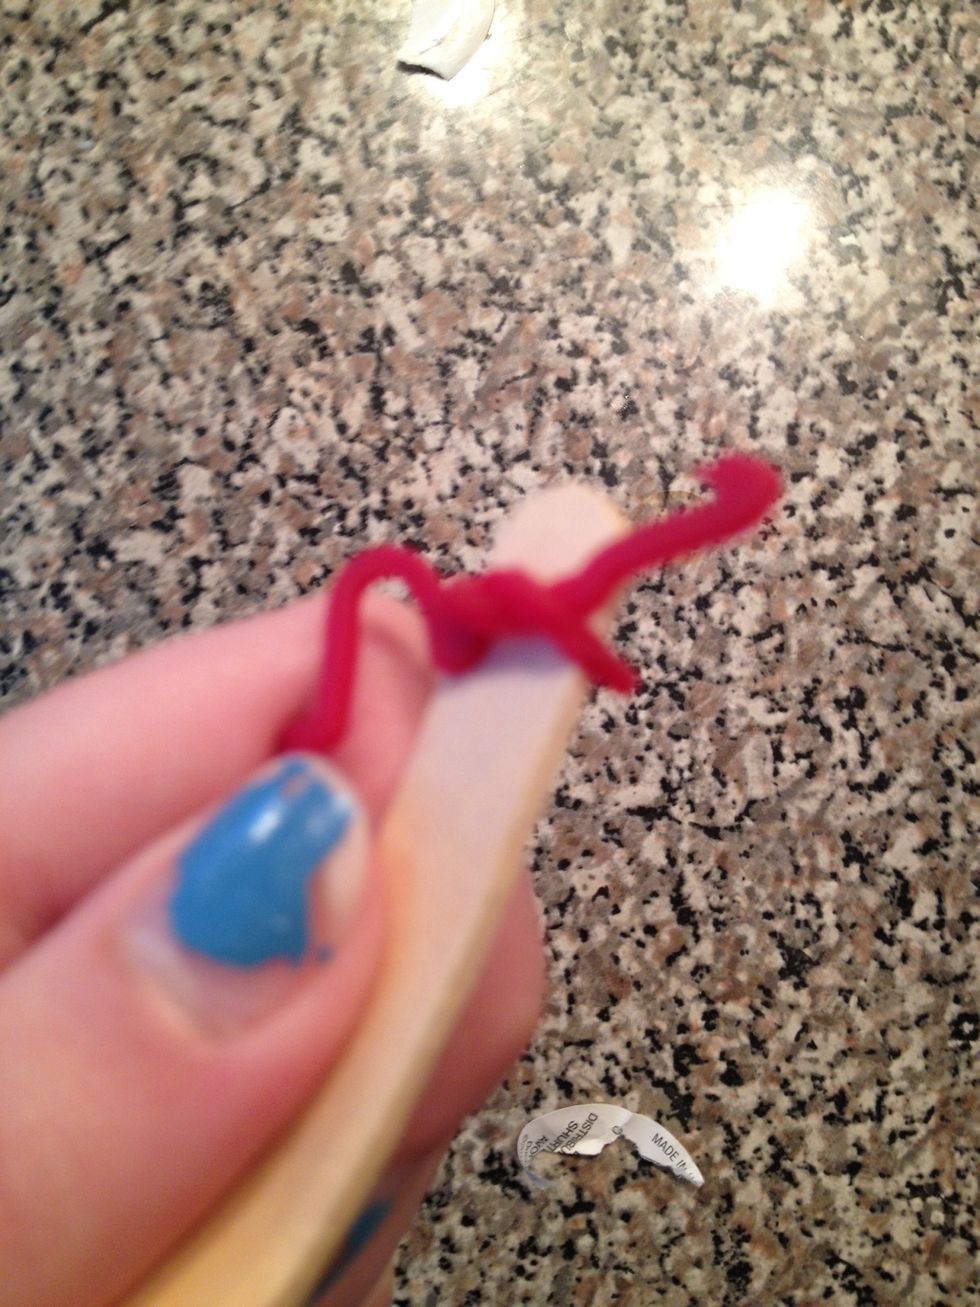
Next, cut a rubber band so it is a string(this just means make it so it's not connected in a circle)Then, tie it around both notched ends, and cover the ends in duct tape (optional. it helps it stay).
Here is your bow! Now for the arrow...
Cut the end off of your q-tip, and there's your arrow! You don't have to do this, you can alter the q-tip however you want.