The Conversation (0)
Sign Up
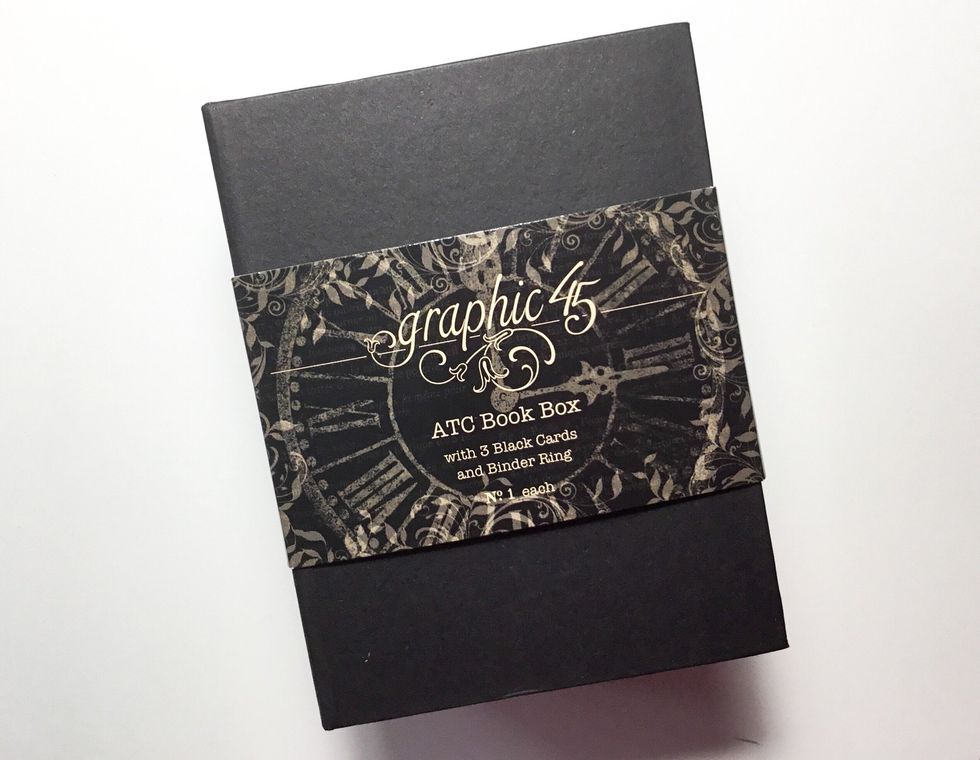
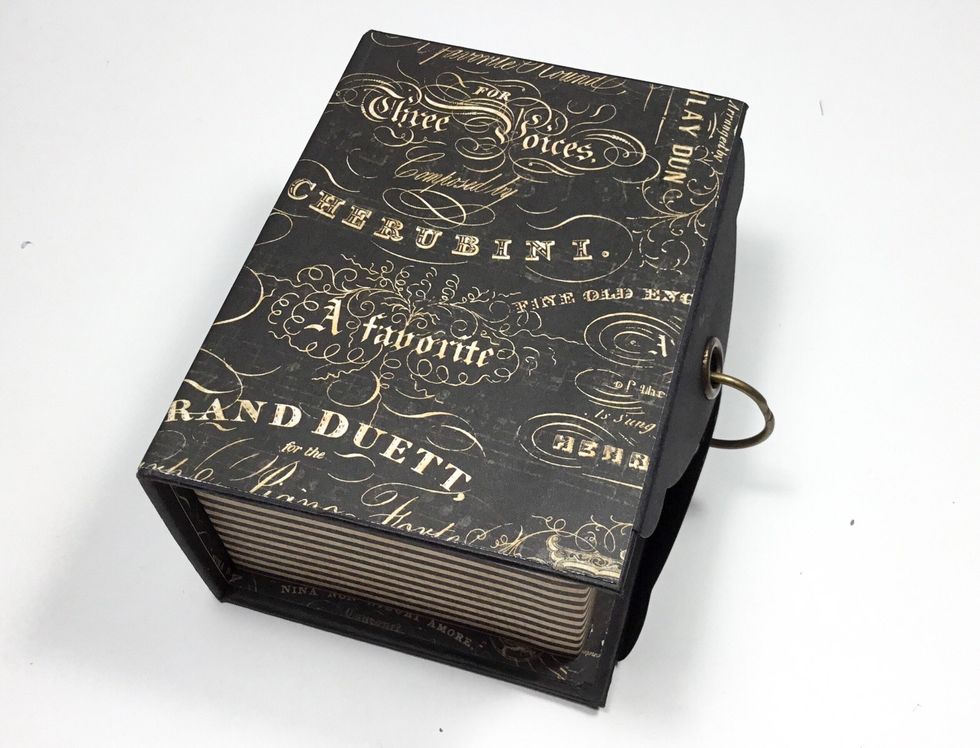
You will need this Graphic 45 ATC Book Box to complete the project.
PLEASE NOTE - I have created with Graphic 45 Love Notes Collection but you can use any papers of your choice.
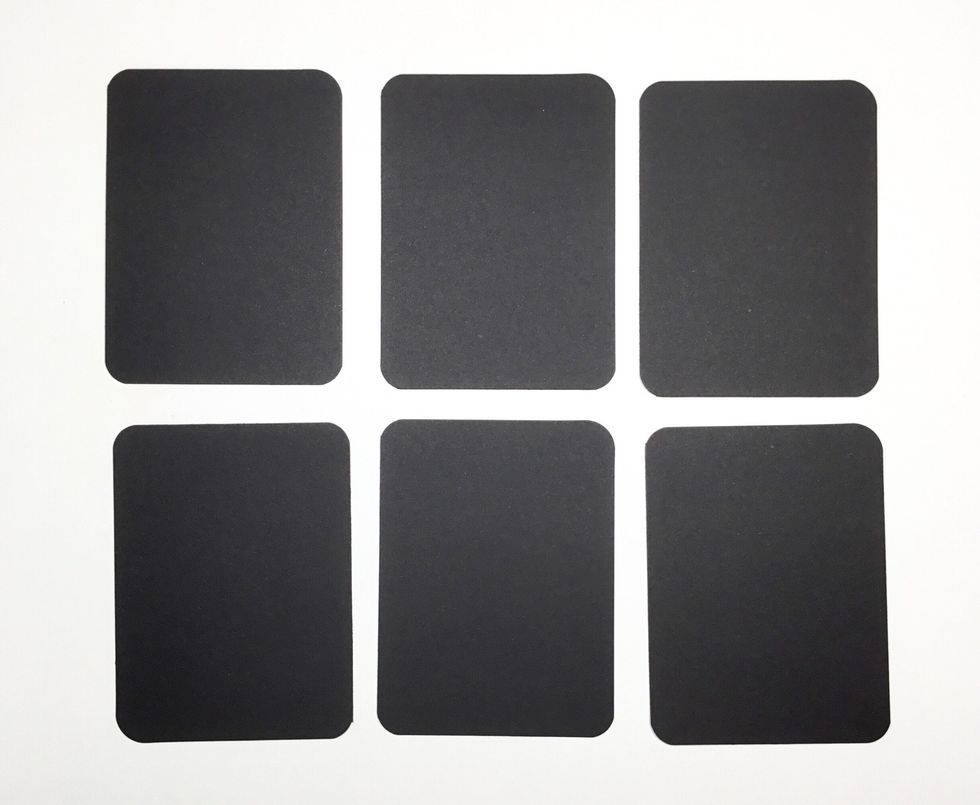
Cut 6 black cardboard rectangles measuring 7.5cm x 10cm. I have used the Graphic 45 Regular tags for this step. Once cut round all corners with a corner punch.
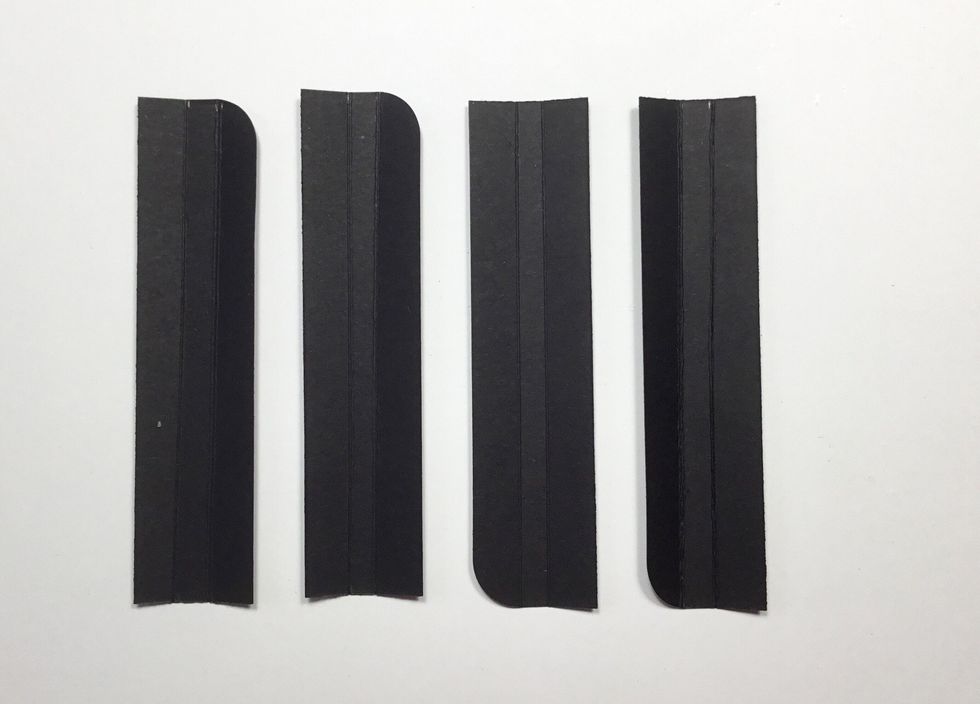
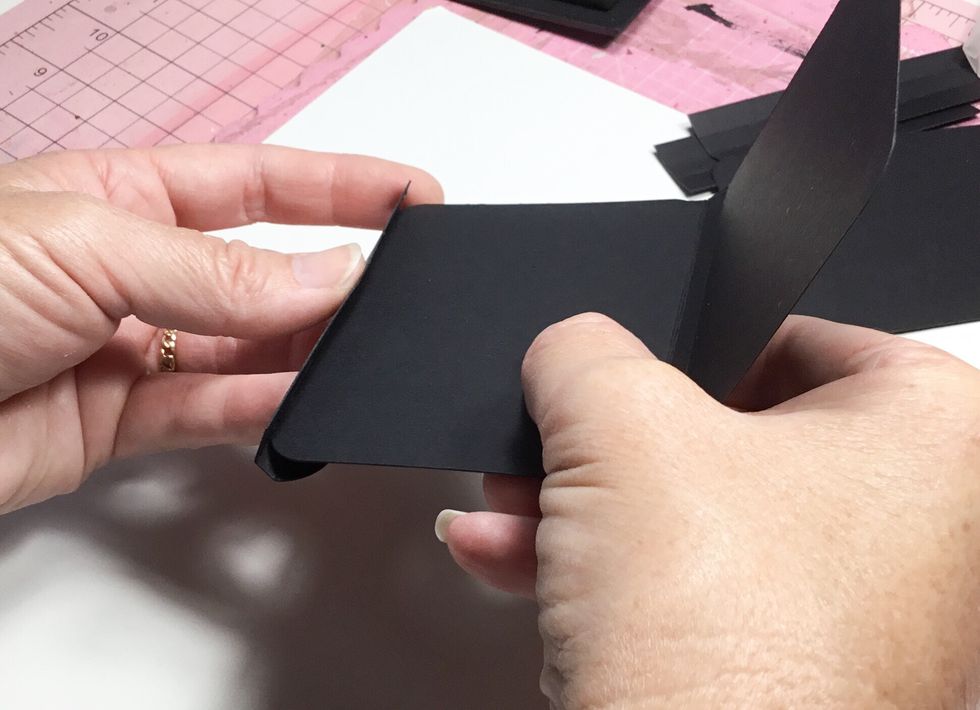
Cut 3 rectangular pieces from black cardboard measuring 2.5cm x 10cm. Score 1cm in from each side as shown.
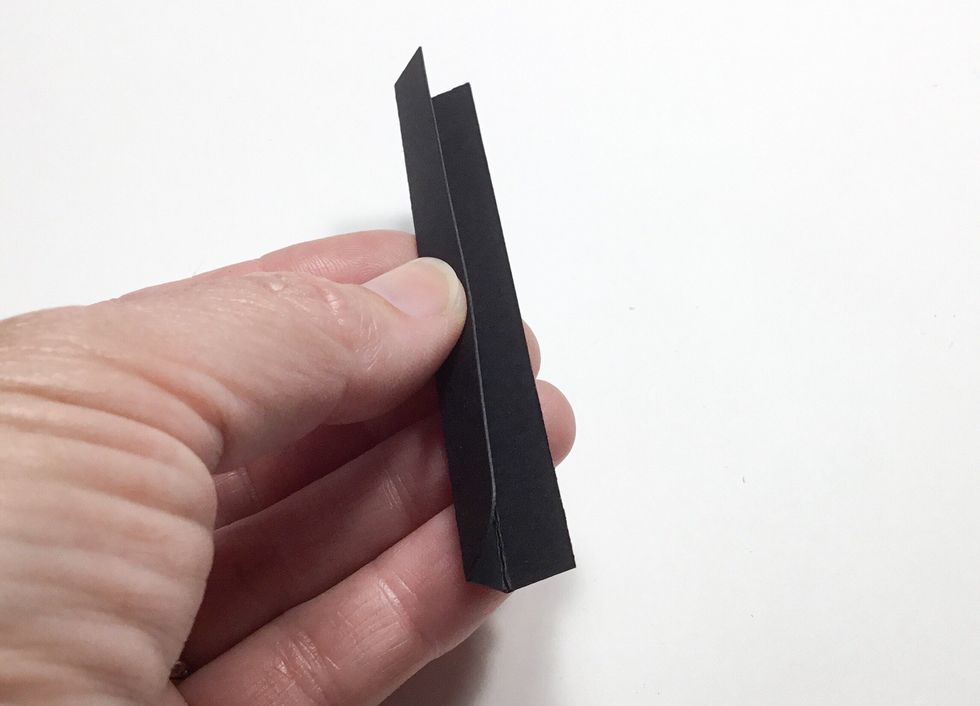
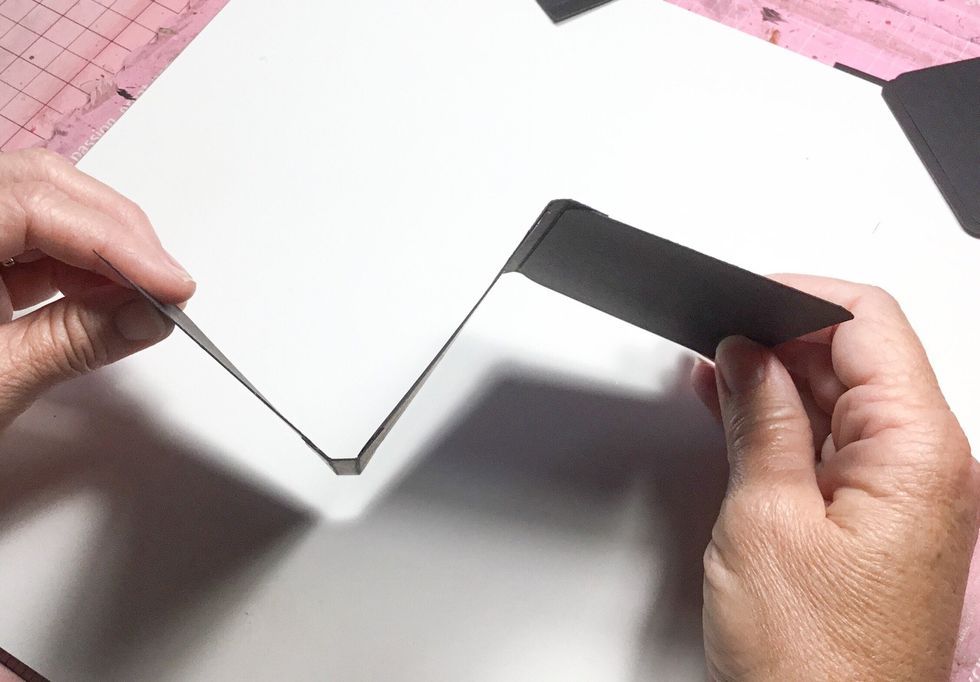
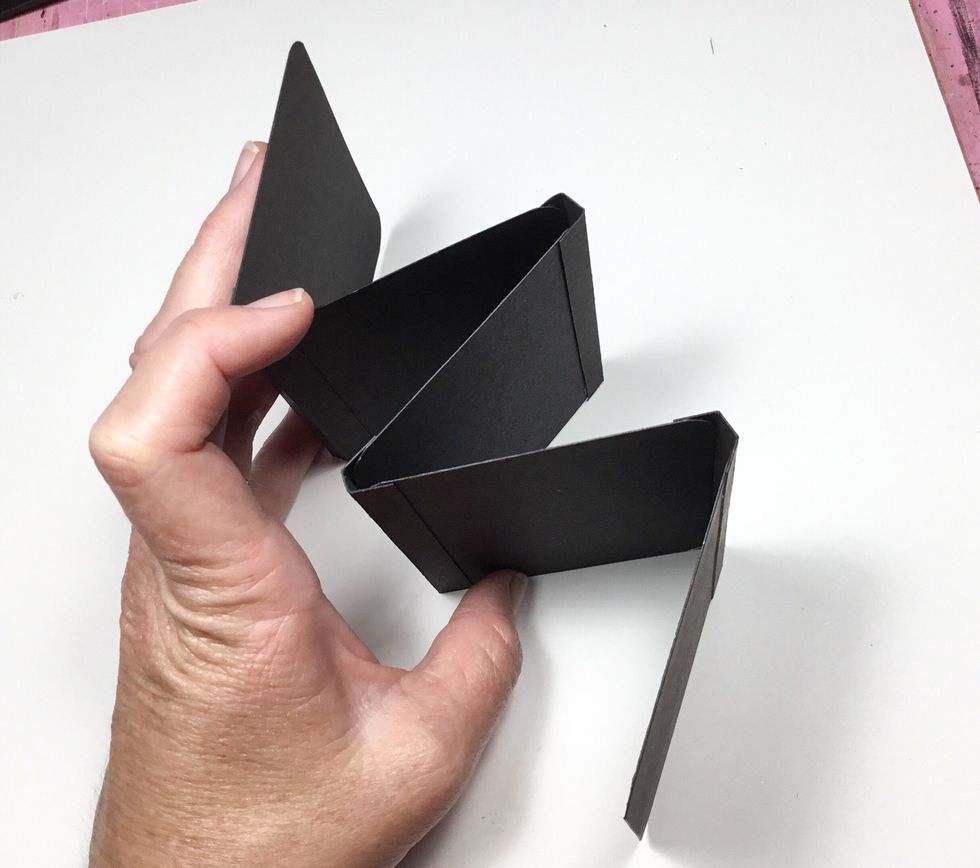
Fold pieces as shown. These will become like the spine of the pages and allow the pages to fold concertina style.
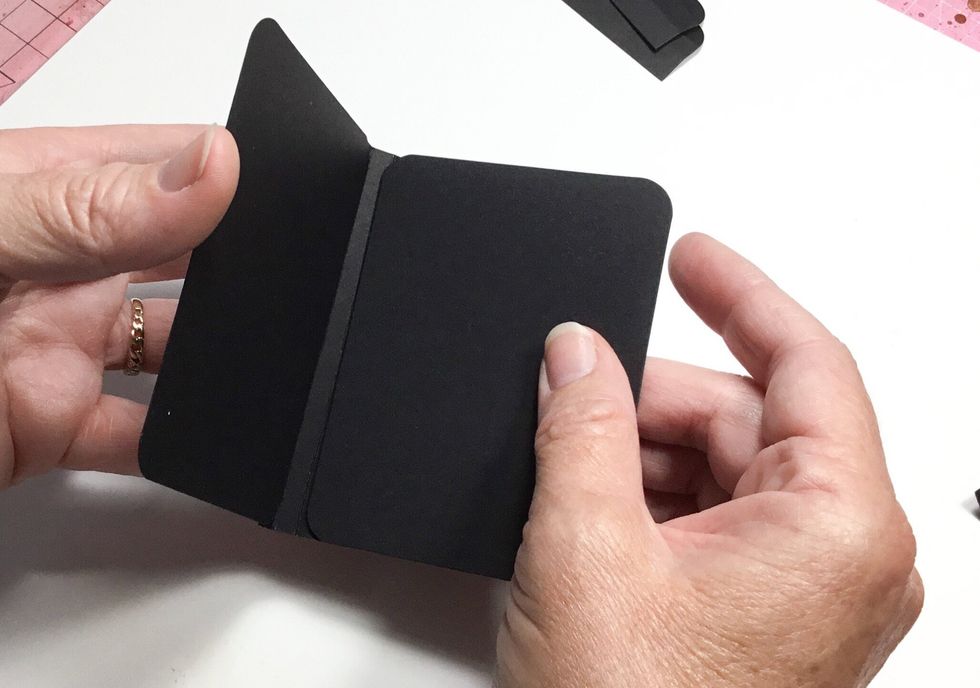
Now you will need 5 of the cardboard rectangles that were previously cut. Start attaching to the spine as shown.
Attach another spine to the other side.
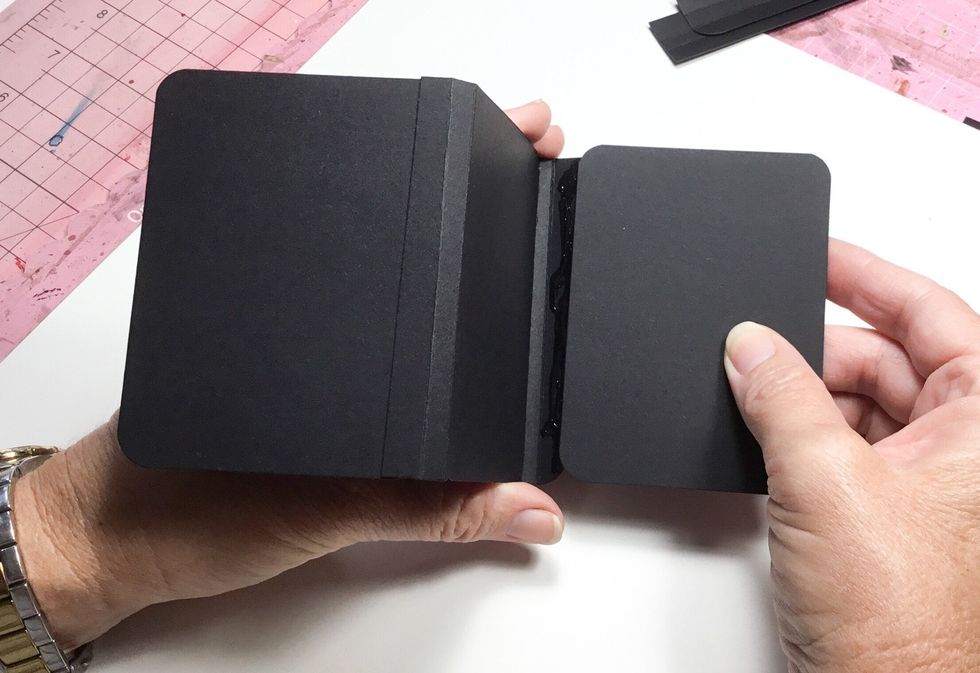
Keep adding pages as shown. Do this until you have a total of 5 pages attached
The pages should be starting to look like this now.
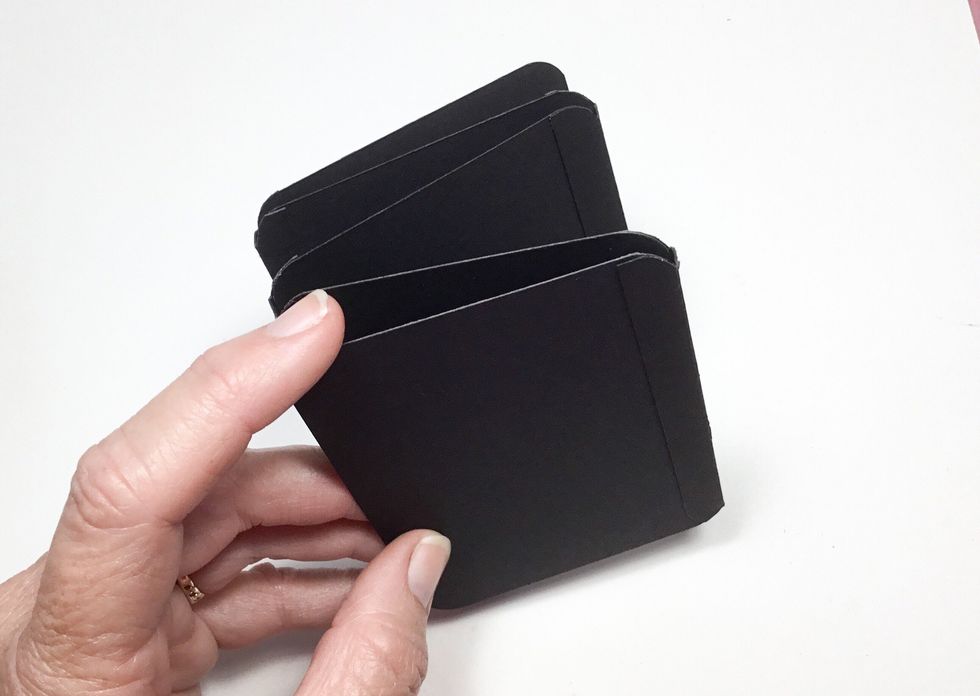
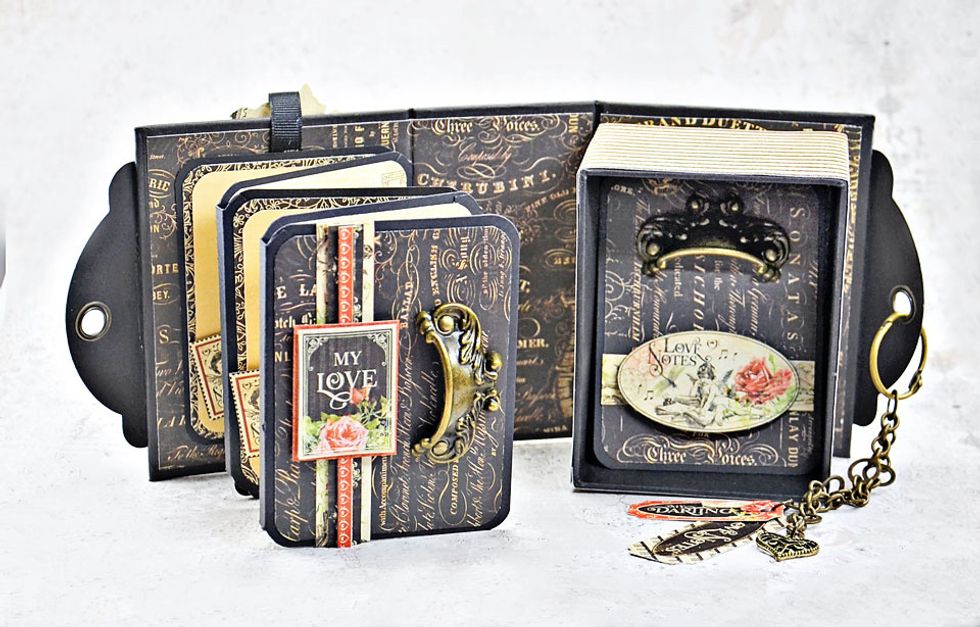
This is when all 5 pages are attached and it should all fold down like a concertina now.
Details.
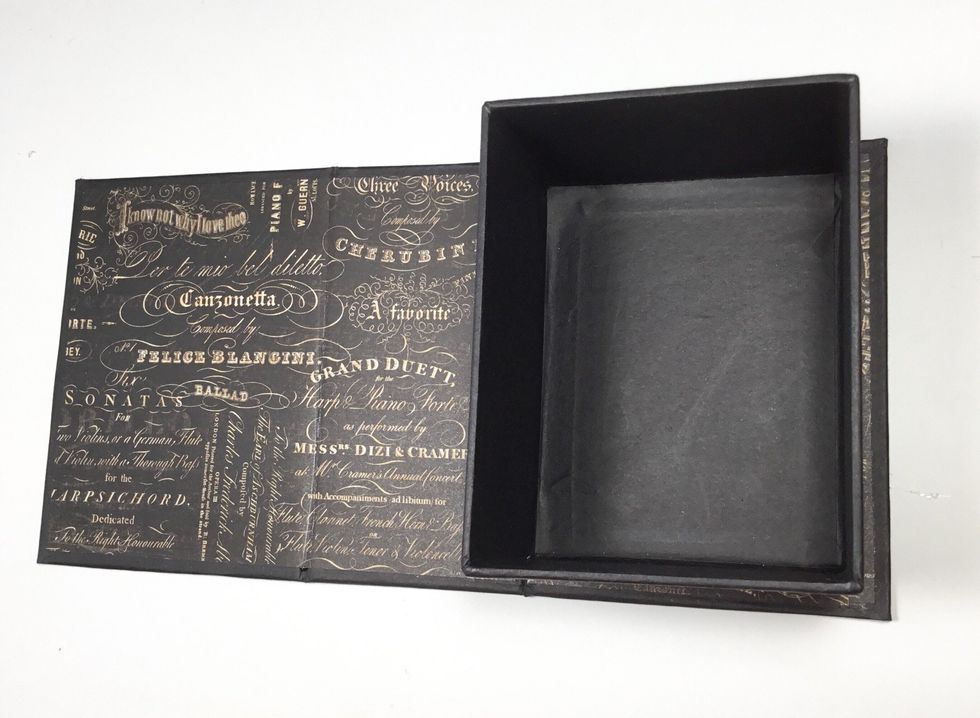
Cover the inside cove of the box with the pattern paper of your choice.
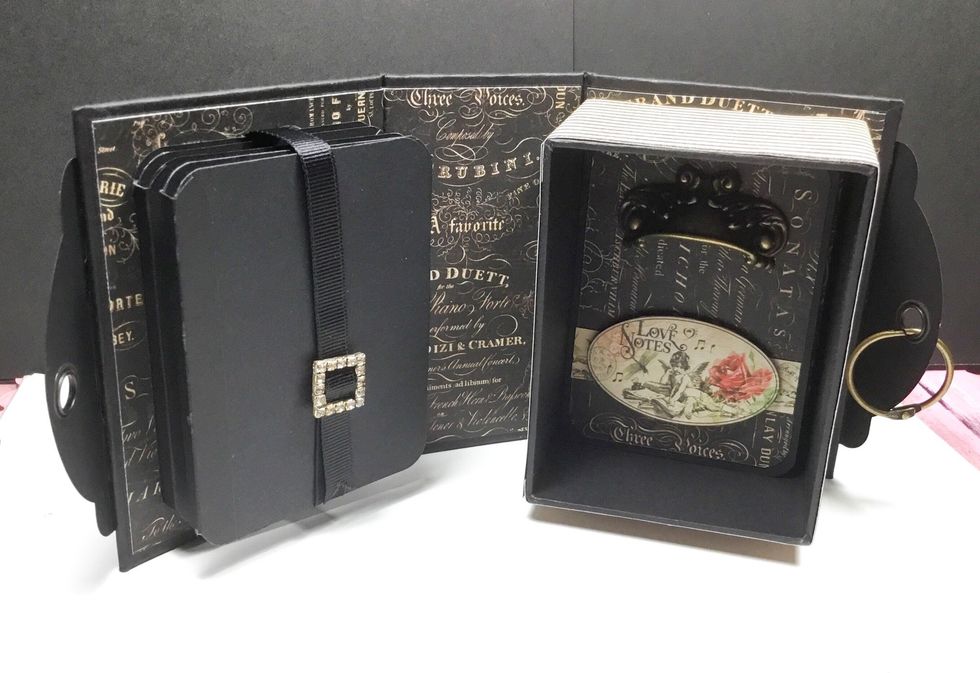
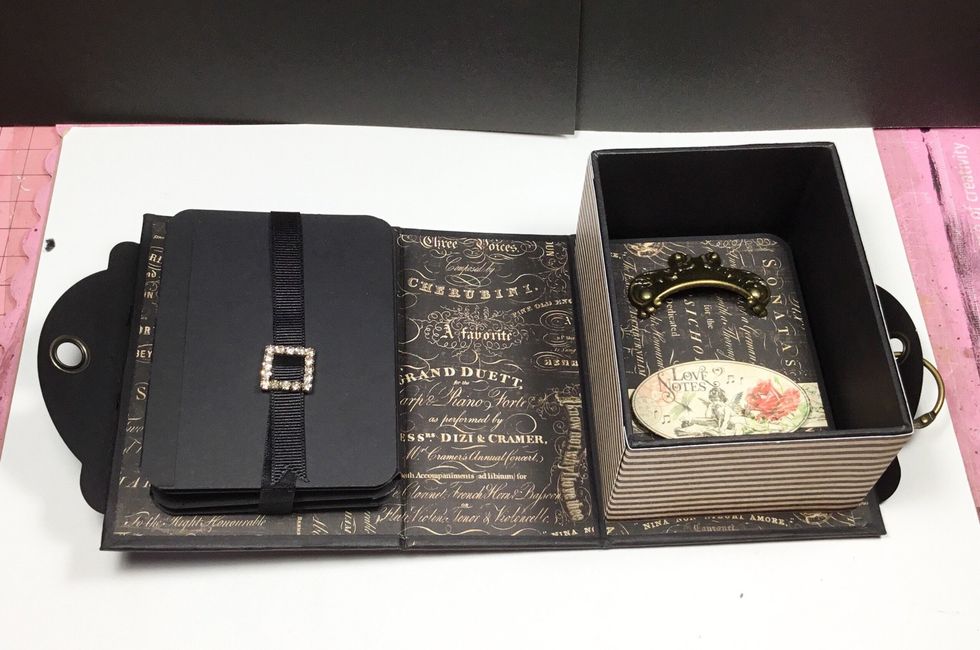
Add a length of ribbon long enough for a bow to be tied, underneath the mini album to allow the album to be tied closed. I have used a diamanté buckle instead of a tied ribbon bow.
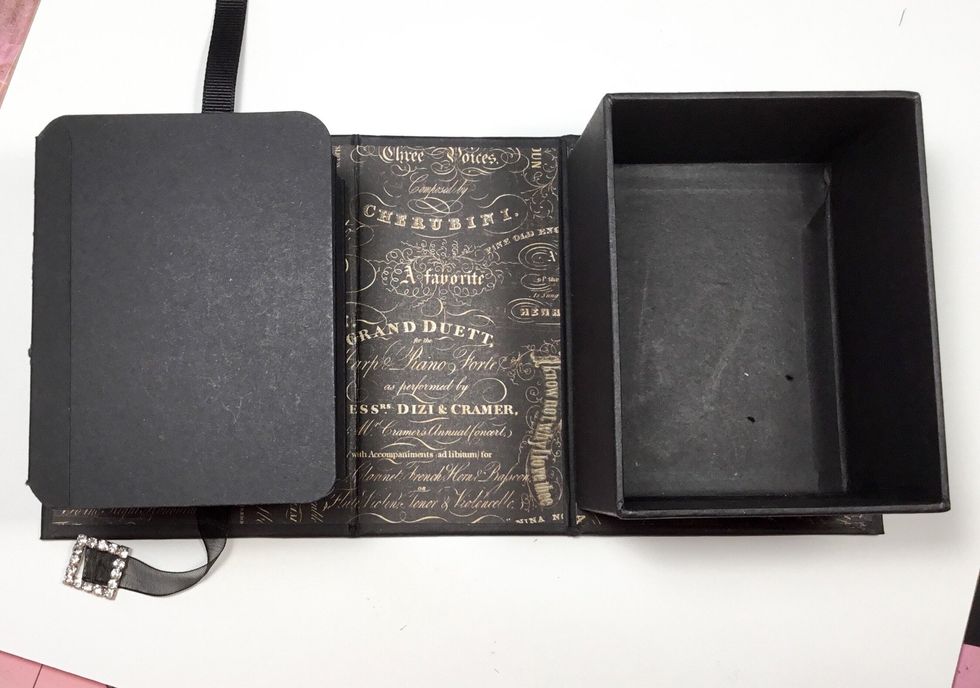
Attach the concertina album to the inside of the front cover ensuring the front page folds out. ENSURE that the album will close into the box, so placement of the album needs to be perfect.
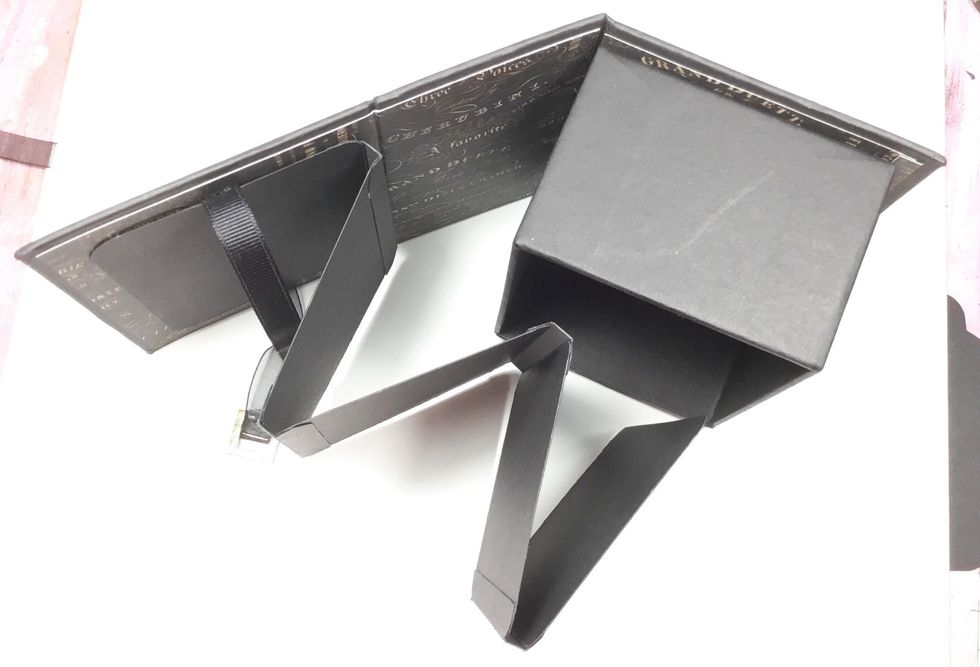
This is what the album should look like once attached.
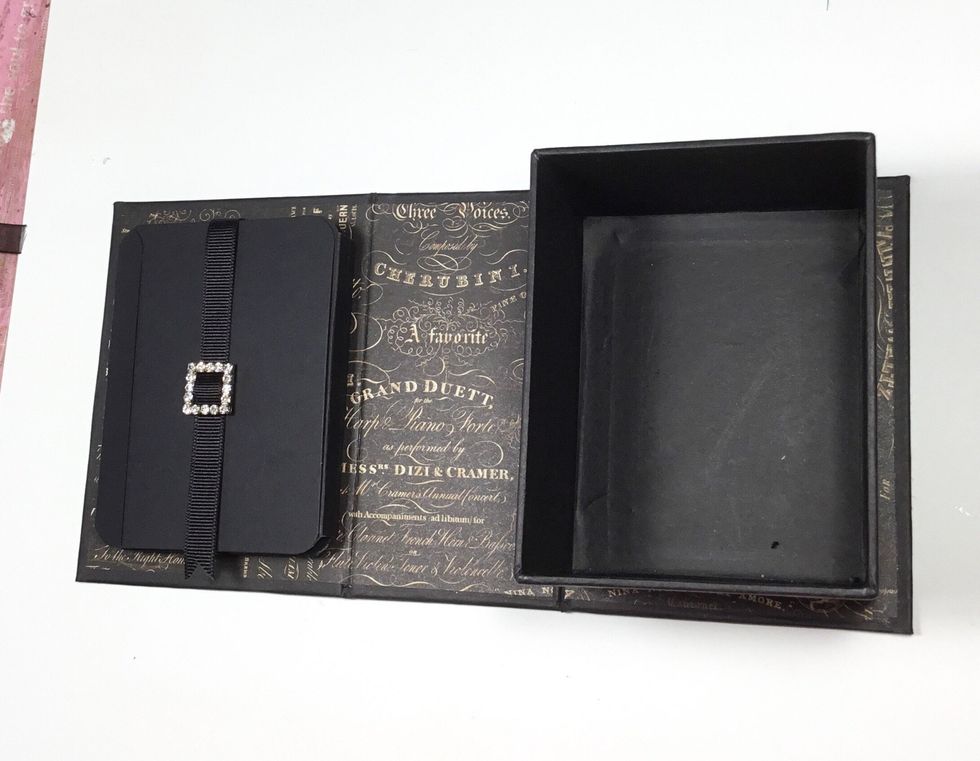
I have added a diamanté buckle instead of just tying the ribbon in a bow.
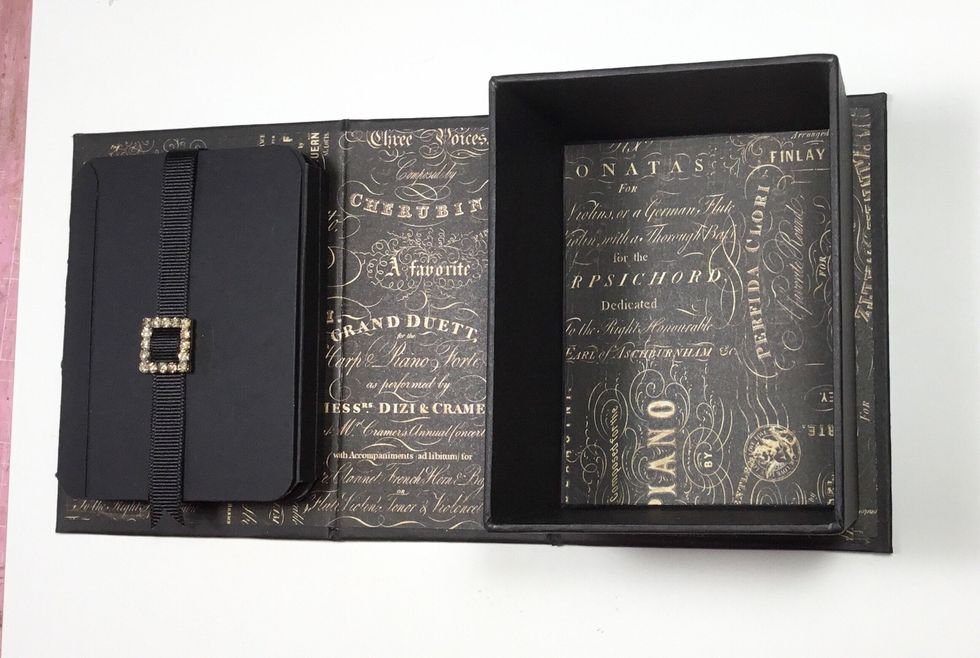
Add pattern paper to the bottom of the box.

Add matching pattern paper and a G45 metal door pull to the remaining piece of cardboard. This will become like the false bottom on the bottom of the box to allow for things to be stored underneath.

Add into the box as shown.
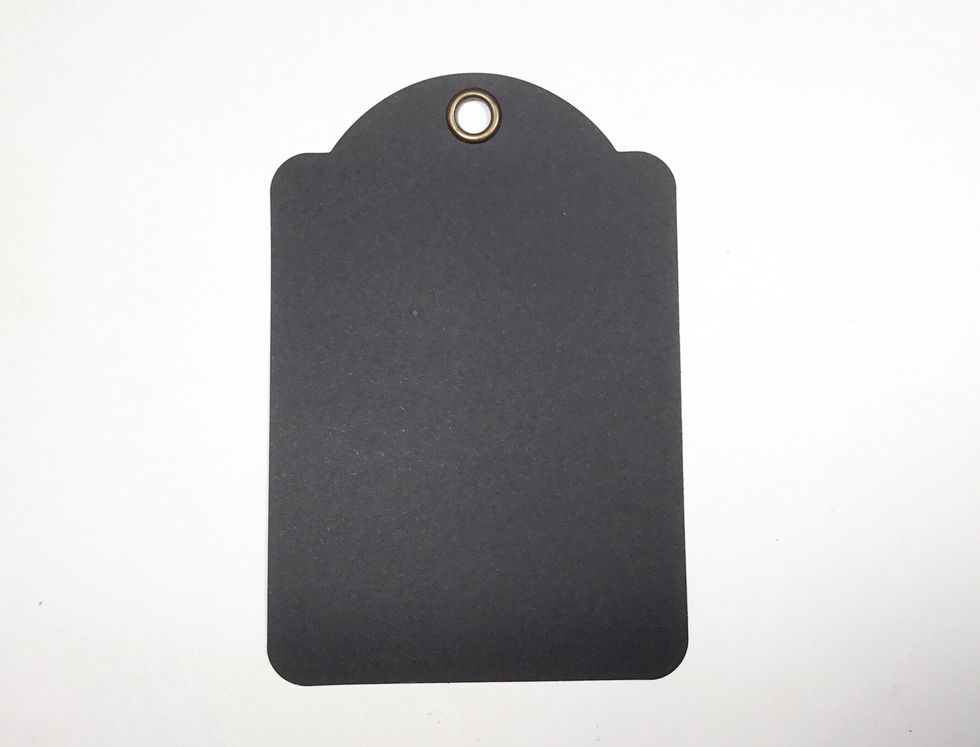
You will need 2 of the Graphic 45 Regular tags in black.
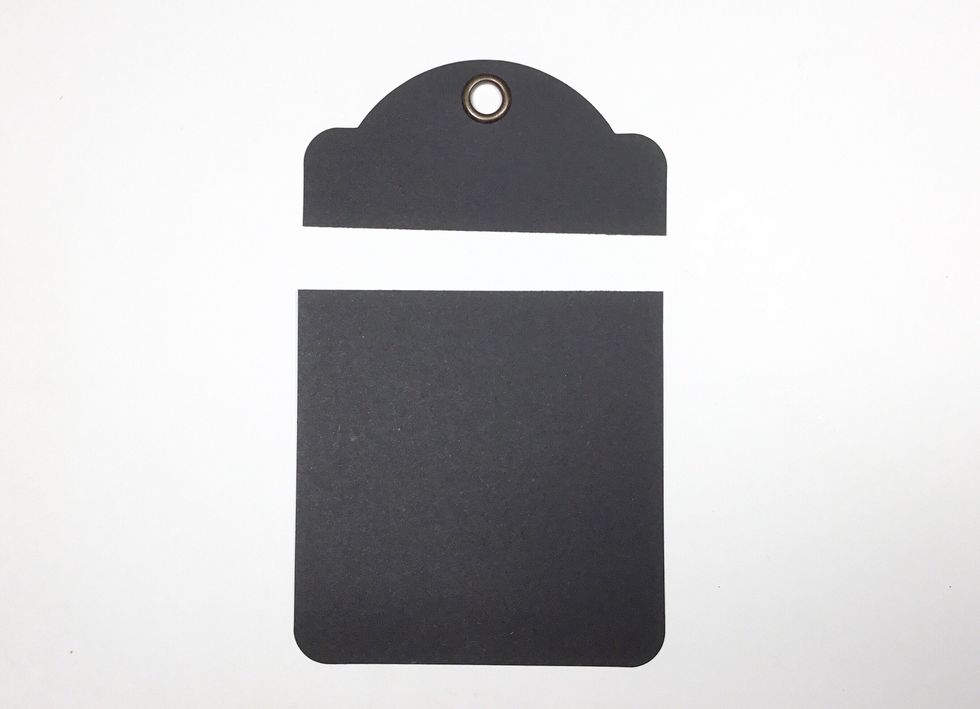
Measure 10cm from the bottom and cut.
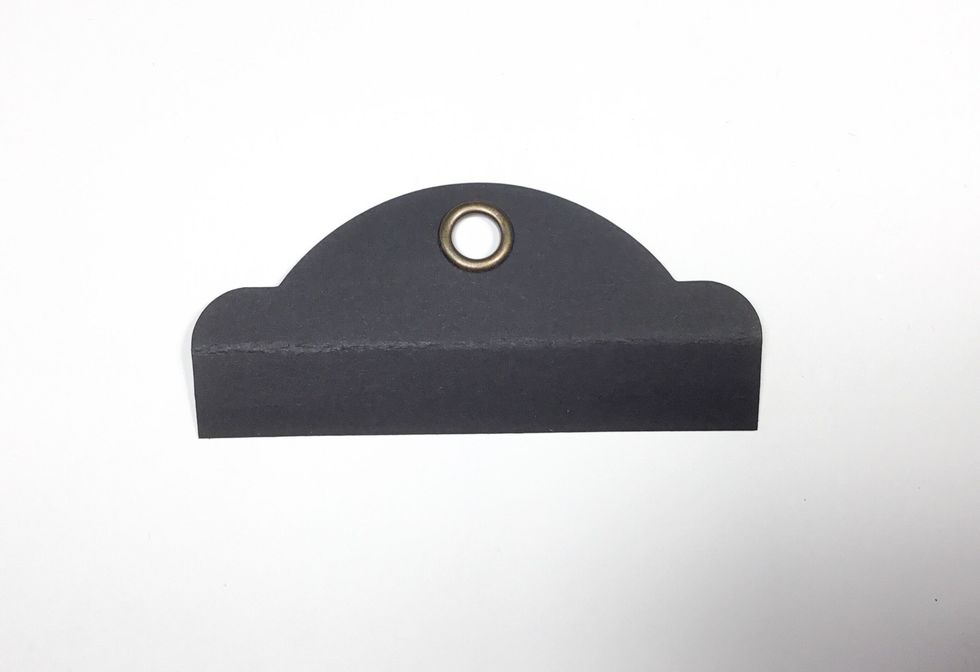
You will now need the tops of the tags. Measure 2.5cm from the top of the tag and fold as shown.
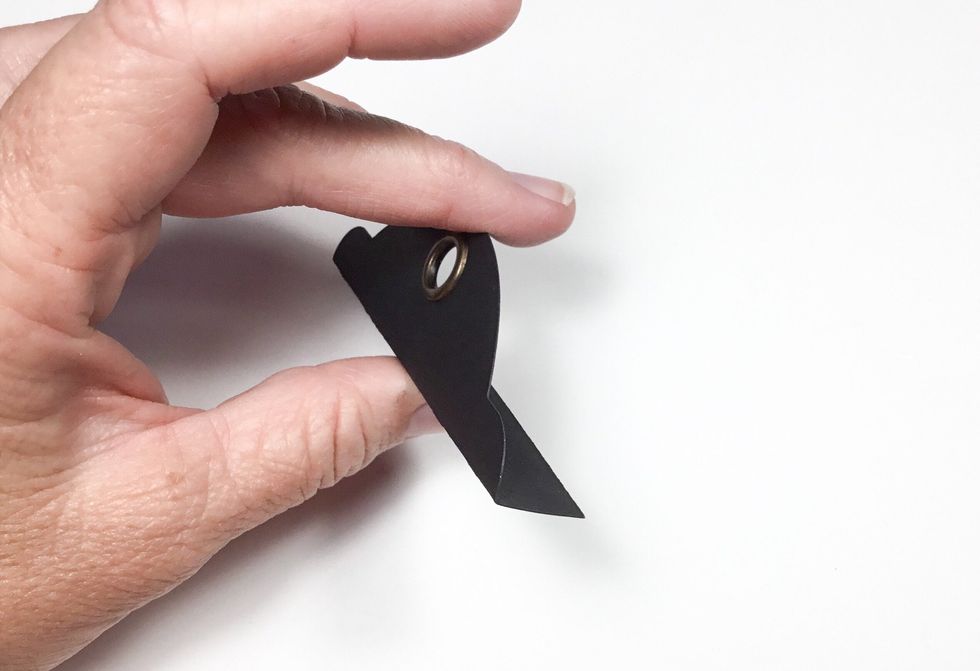
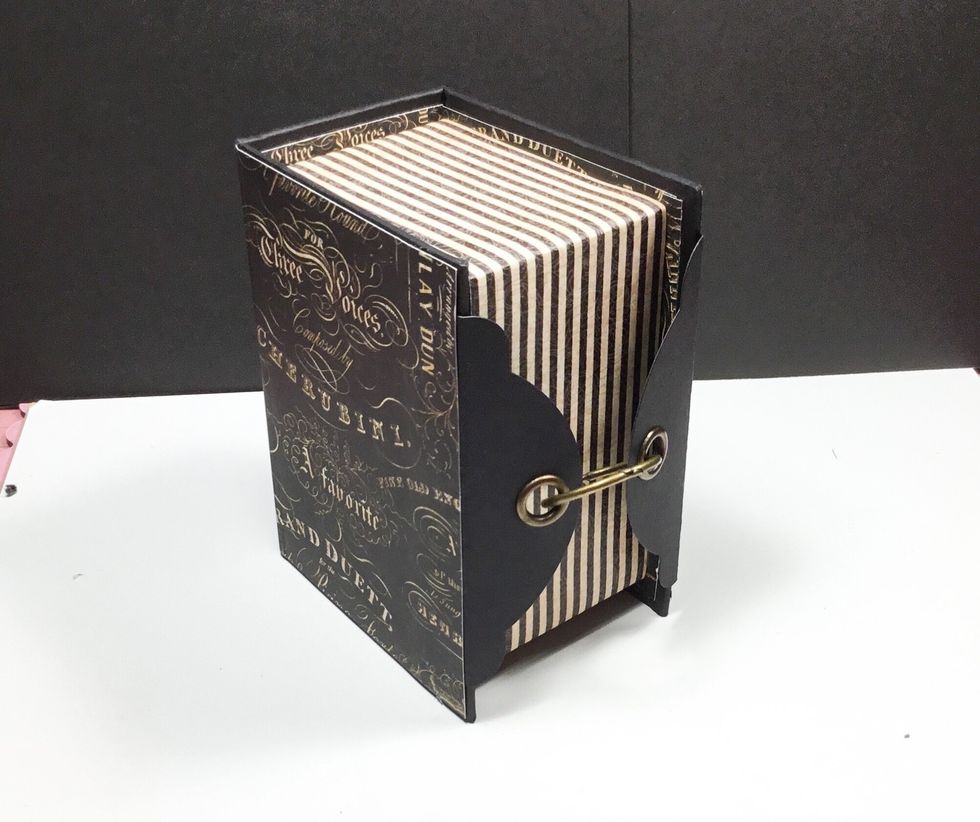
Fold as shown. These are going to be what holds the keepsake box closed.
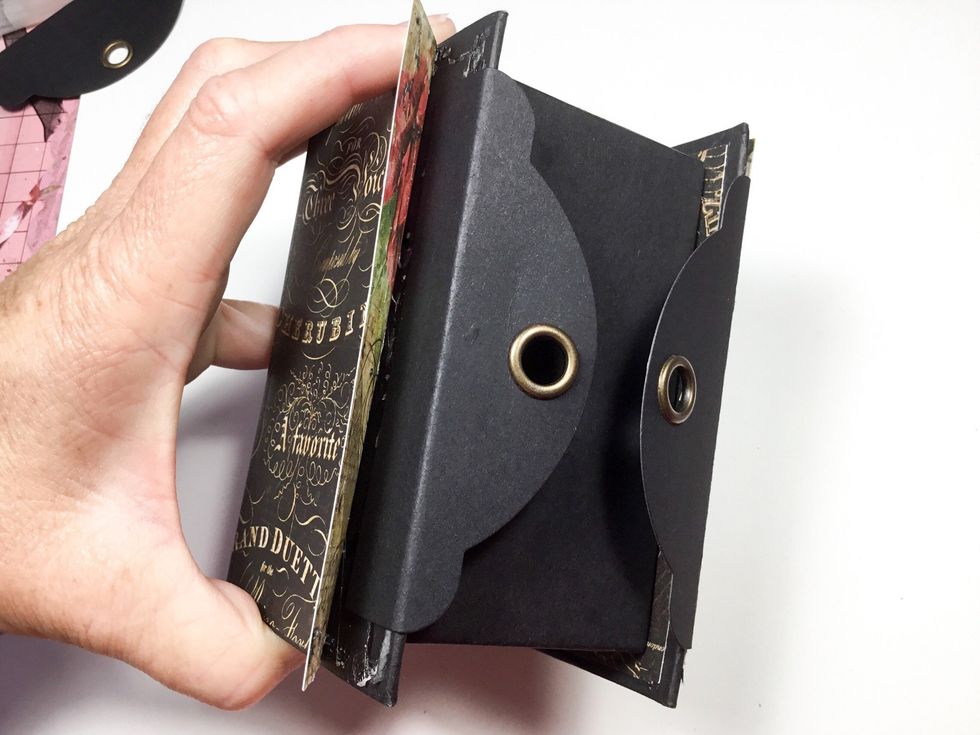
Attach the tag tops to the front and back of the box as shown. Make sure they align perfectly to allow the binder clip to be used to close the box.
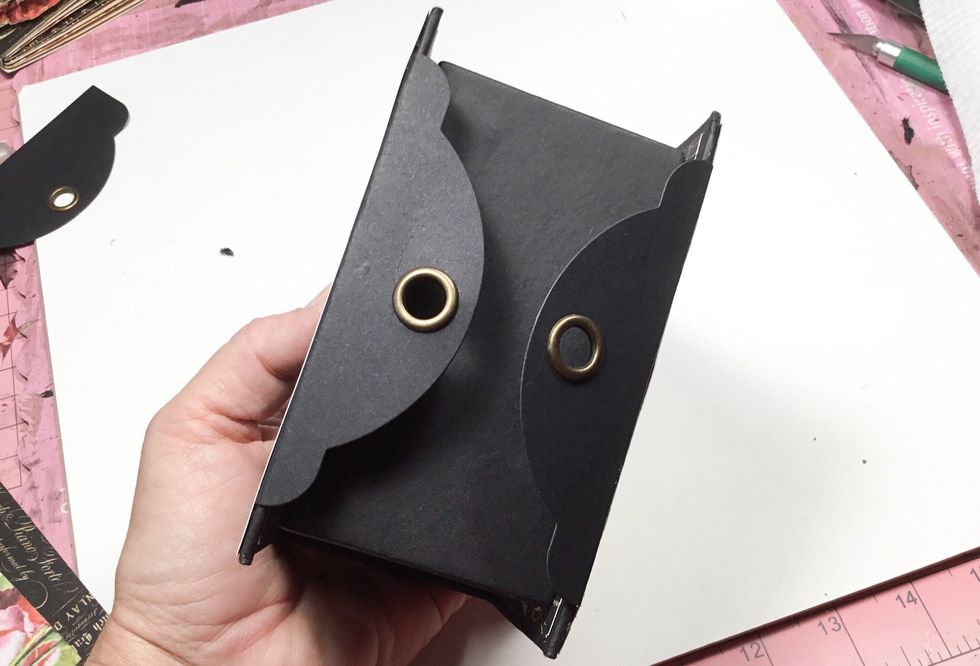
This is what they should look like once attached.
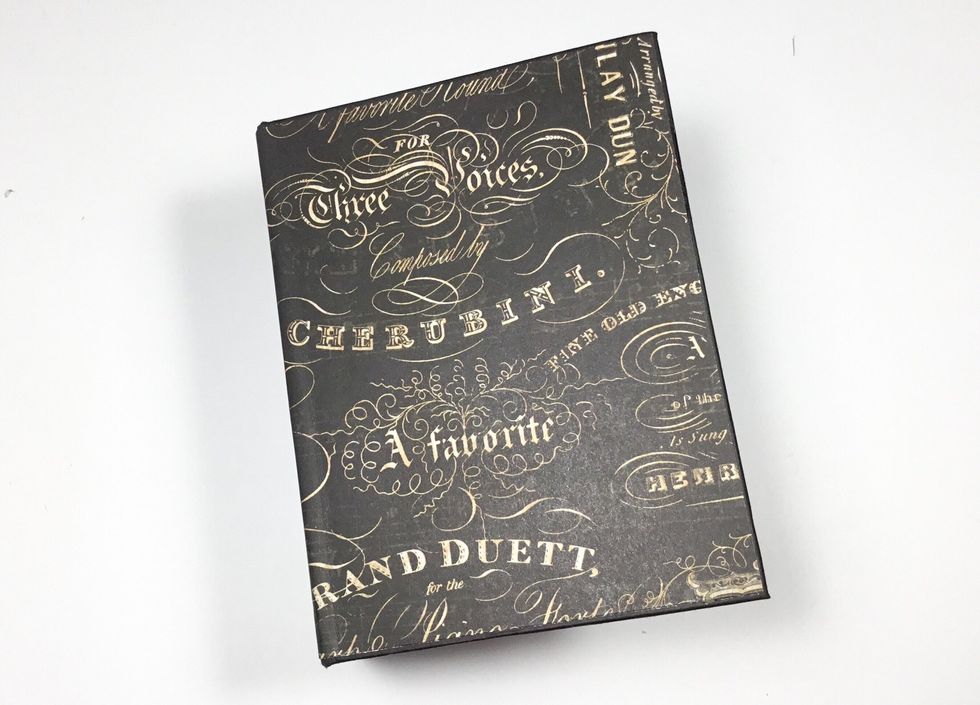
Now cover the outside of the box with you choice of pattern paper.
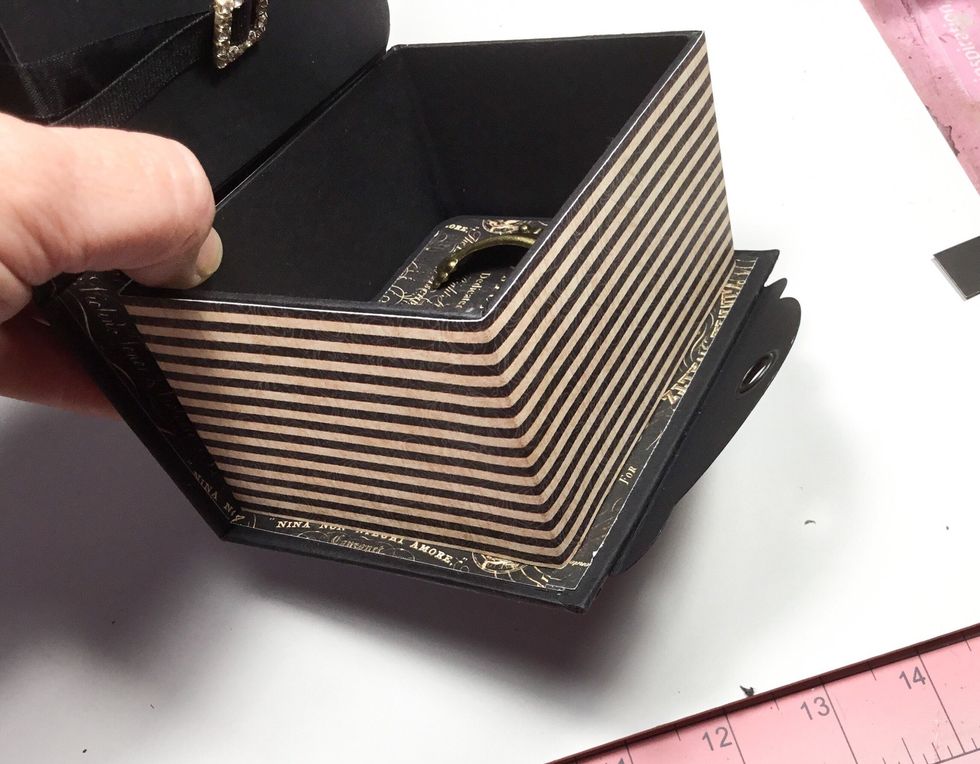
Cover the sides of the inside box with your choice of pattern paper.
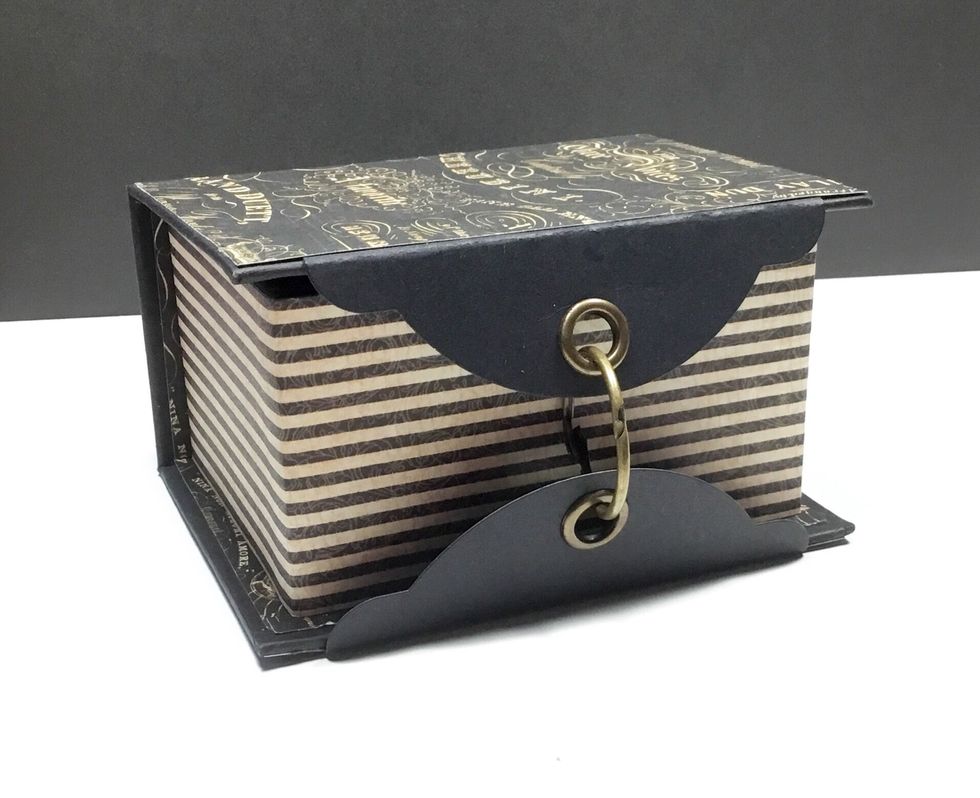
The box and concertina mini album are now complete ready for you to add your finishing details.
The main part is finished ready for you to add all of your own details.
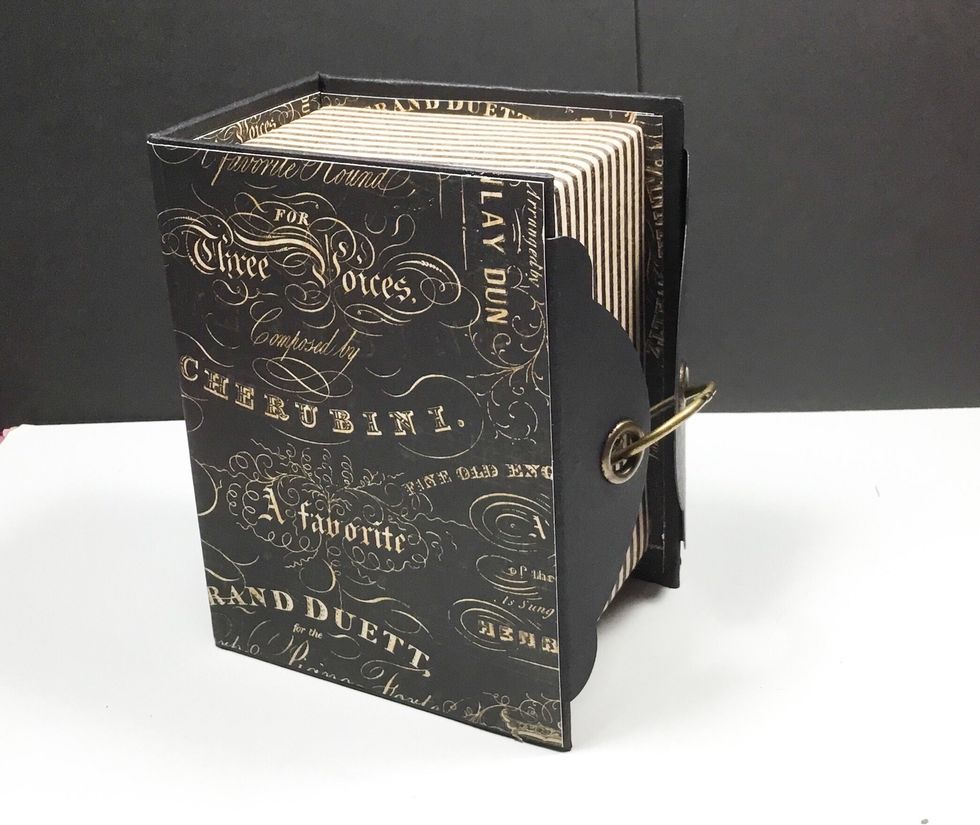
Binder ring holds the box closed perfectly.
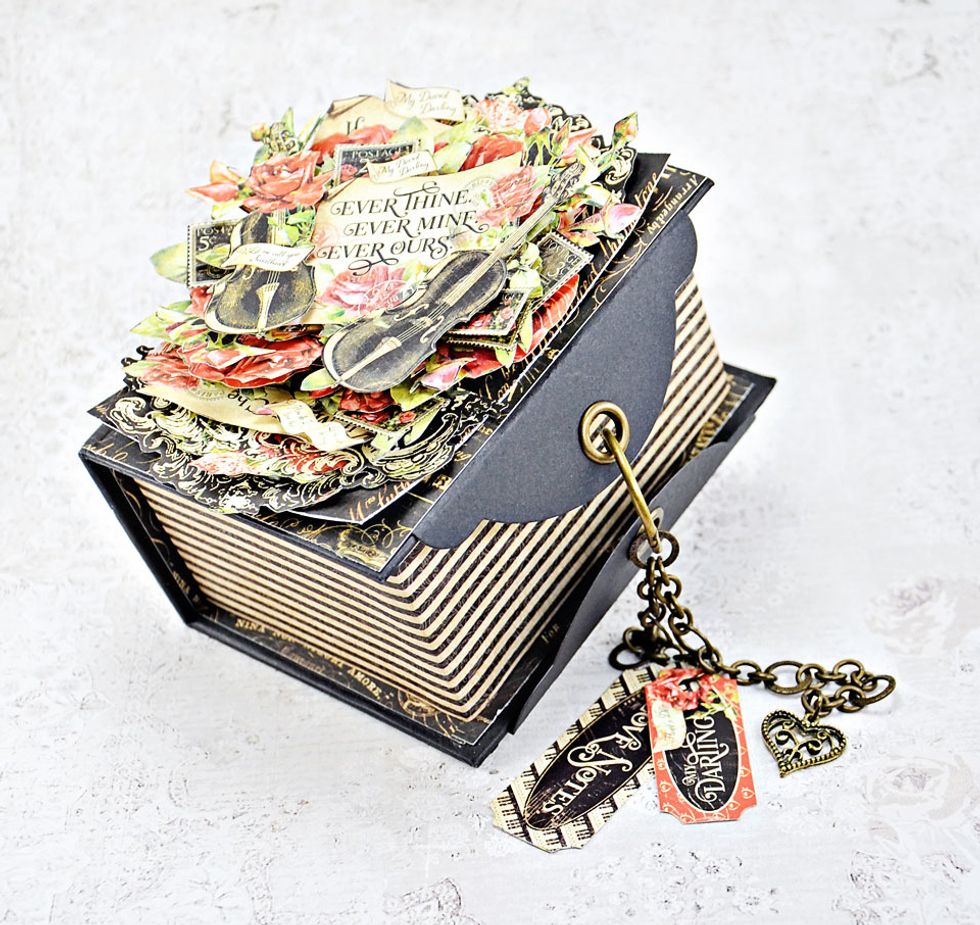
This is how mine finished up. So pretty!!

I hope you have enjoyed my tutorial. Please visit my blog www.scrappinforme.blogspot.com.au