The Conversation (0)
Sign Up
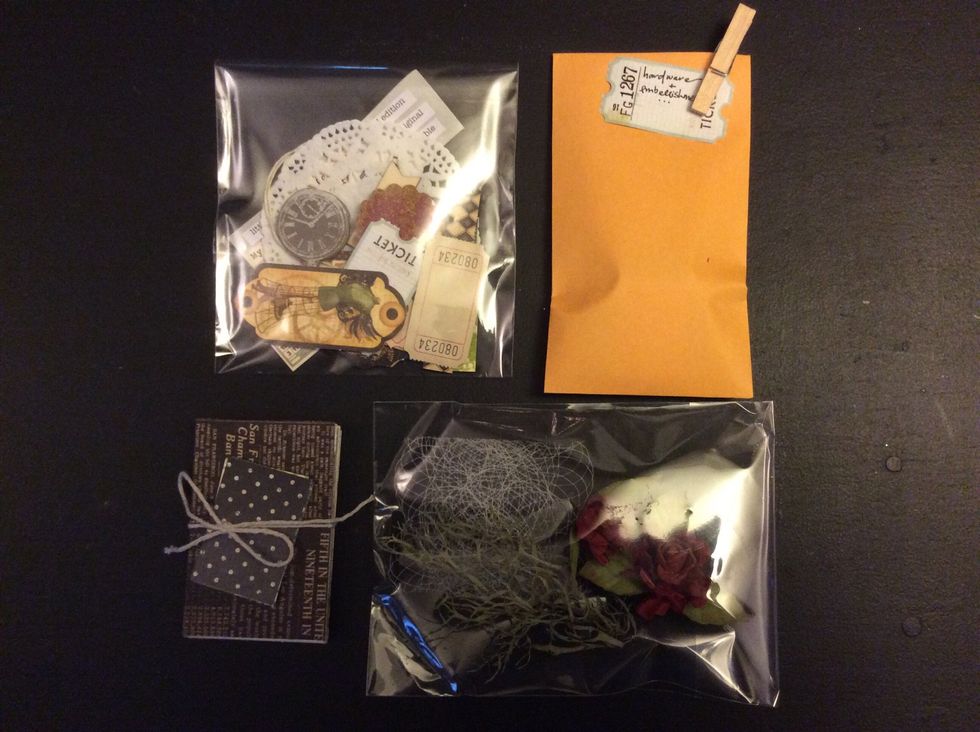
You can order my "Matchbox Collage Kit" @ www.junquesoiree.blogspot.com or gather your own matchboxes, papers and embellishments.

Here are some of the fun embellishments & papers included in my matchbox kit.
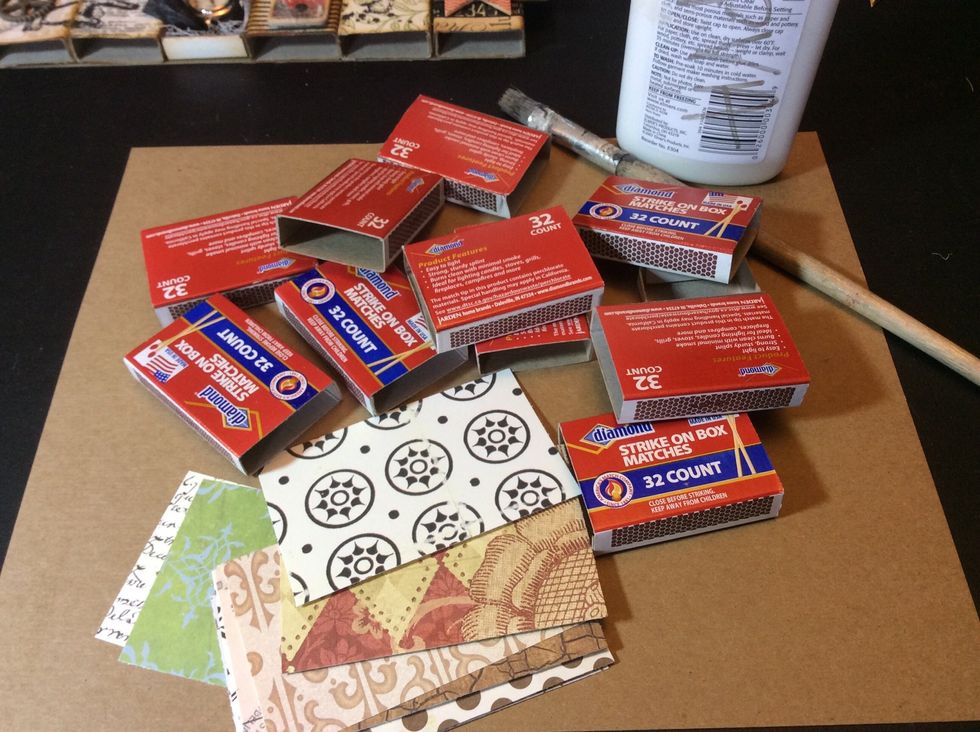
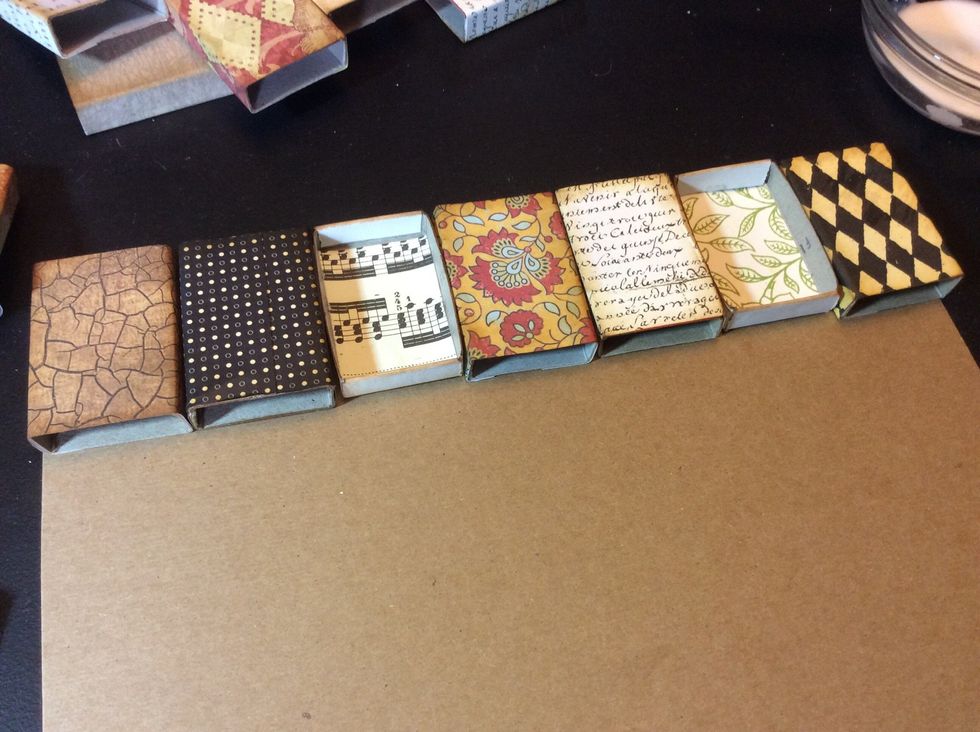
To start, we will cover the matchbox sleeves.
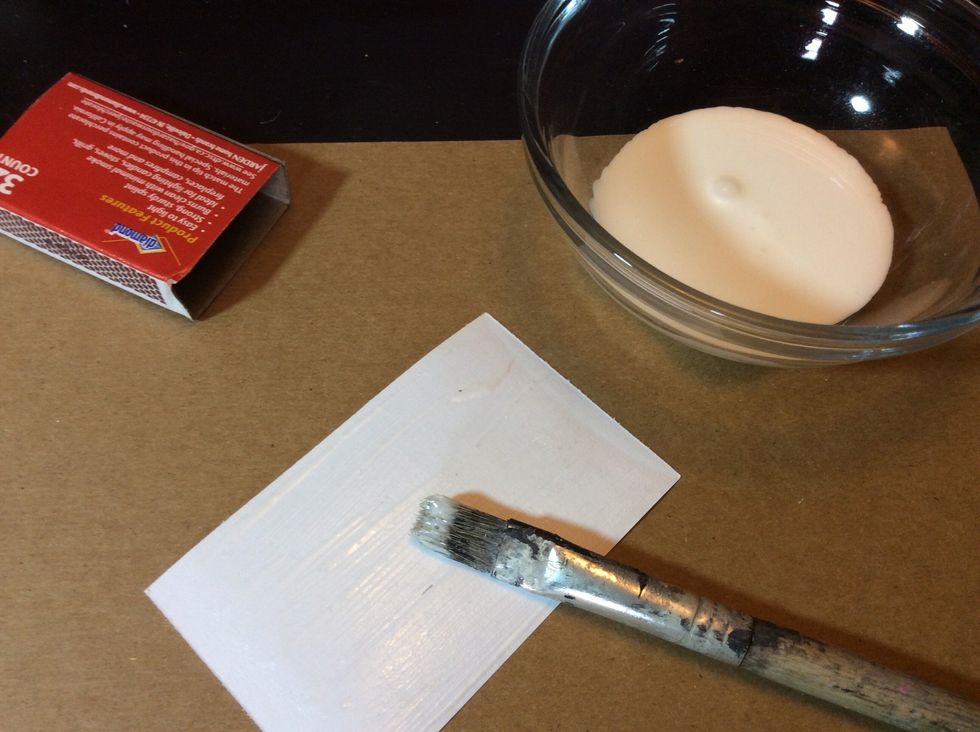
Apply adhesive to paper cover.
Adhere paper cover to matchbox sleeve.
Center the paper and wrap around.
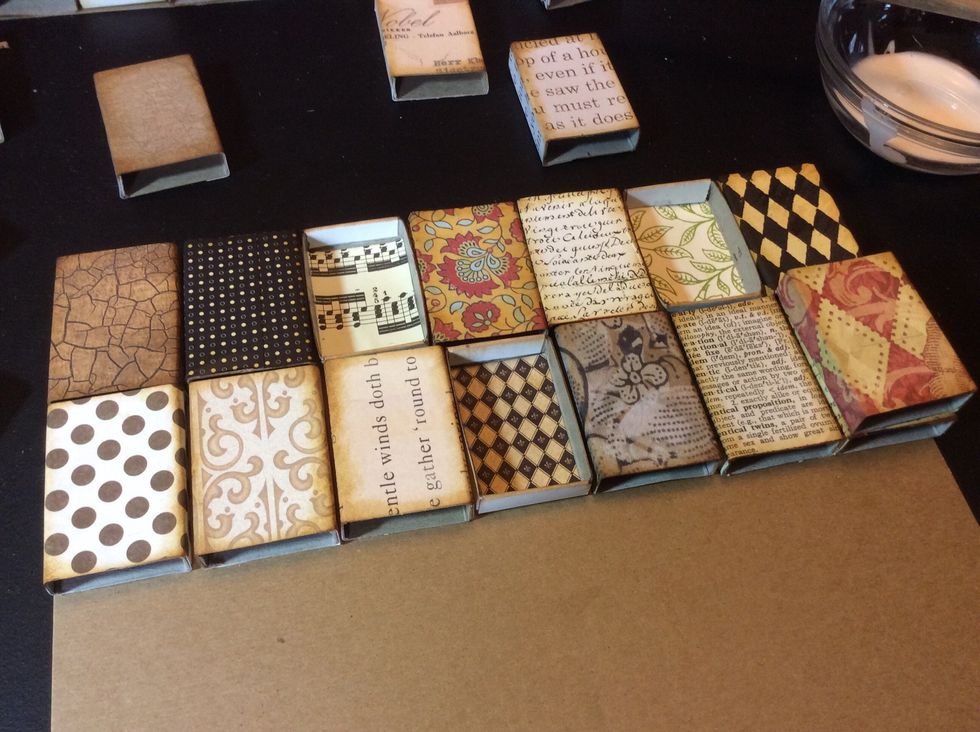
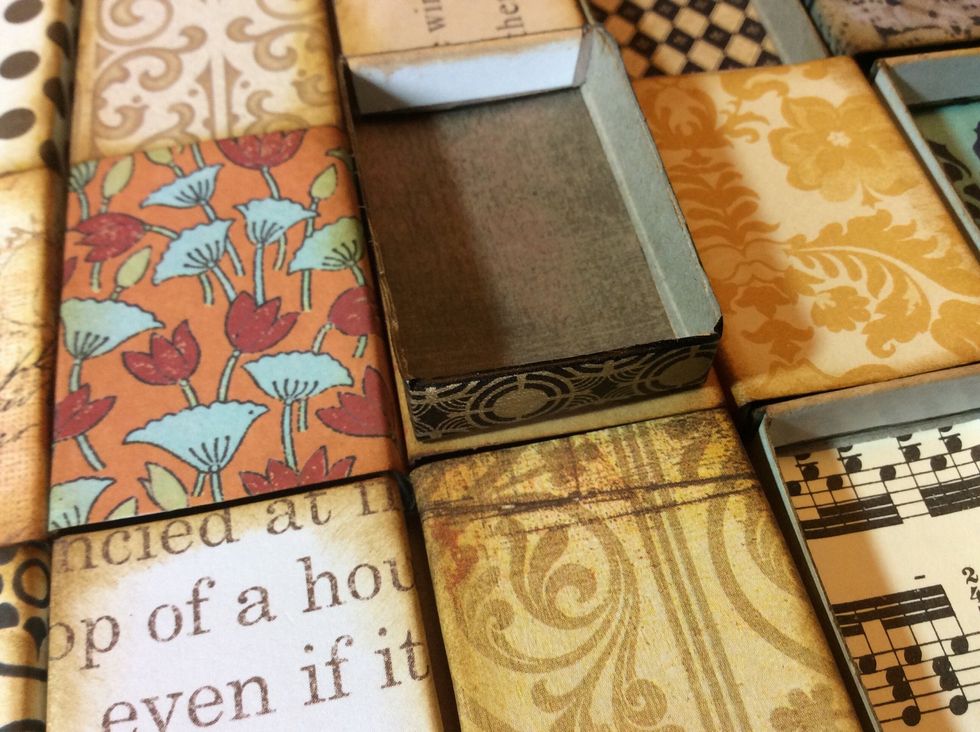
And here we have our beautiful stacks of covered matchboxes.

Kit includes drawer papers too. Adhere paper to the inside of each drawer.
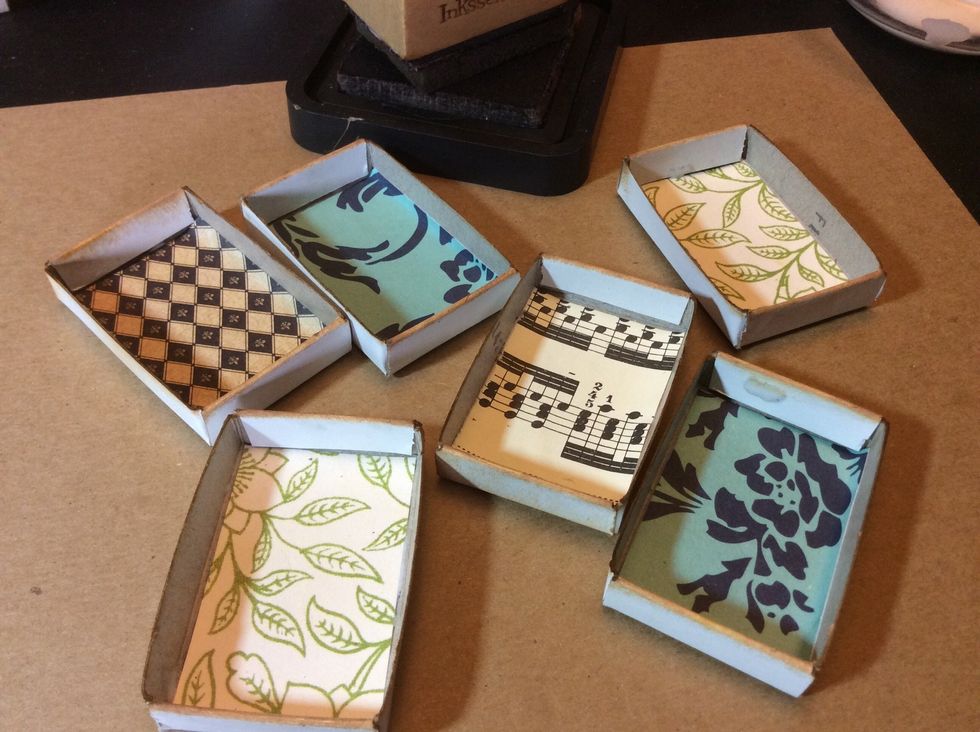
Ink the edges of drawers.
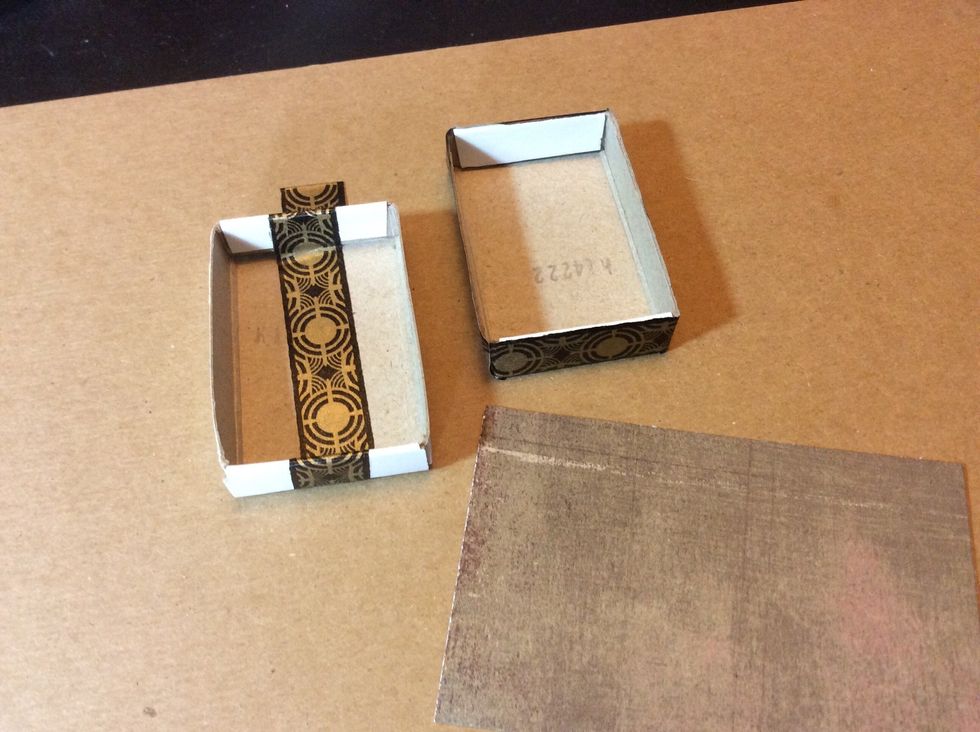
Kit also includes 2 washi embellished boxes. Using one of the cover papers, trim to fit, then adhere to the inside of the 2 pre-prepped Washi drawers.
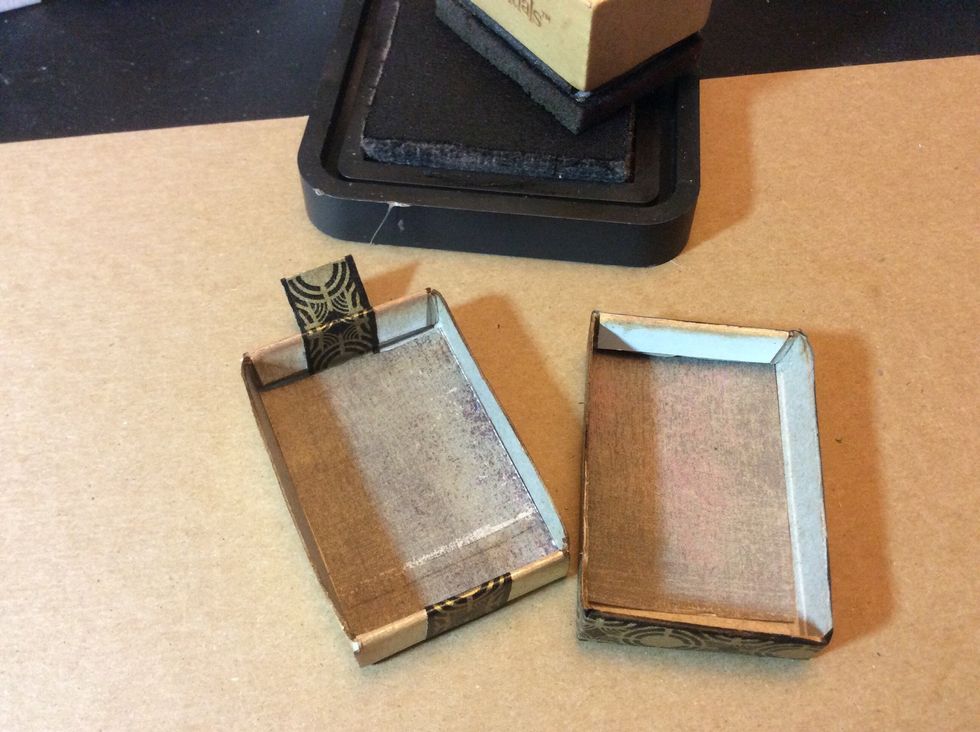
Ink the edges.
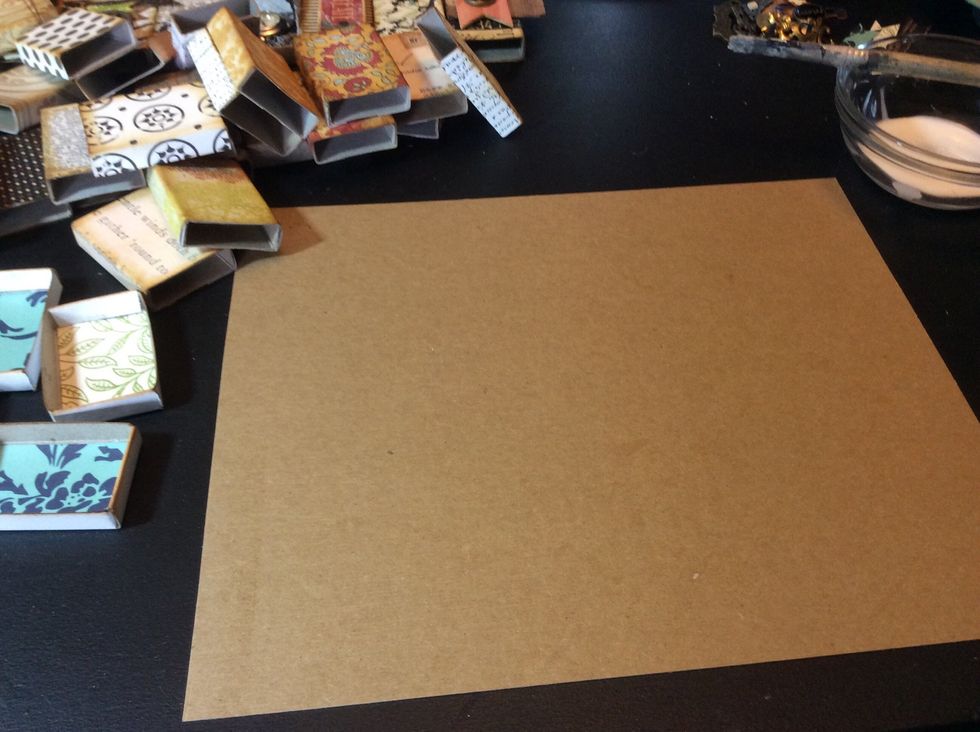
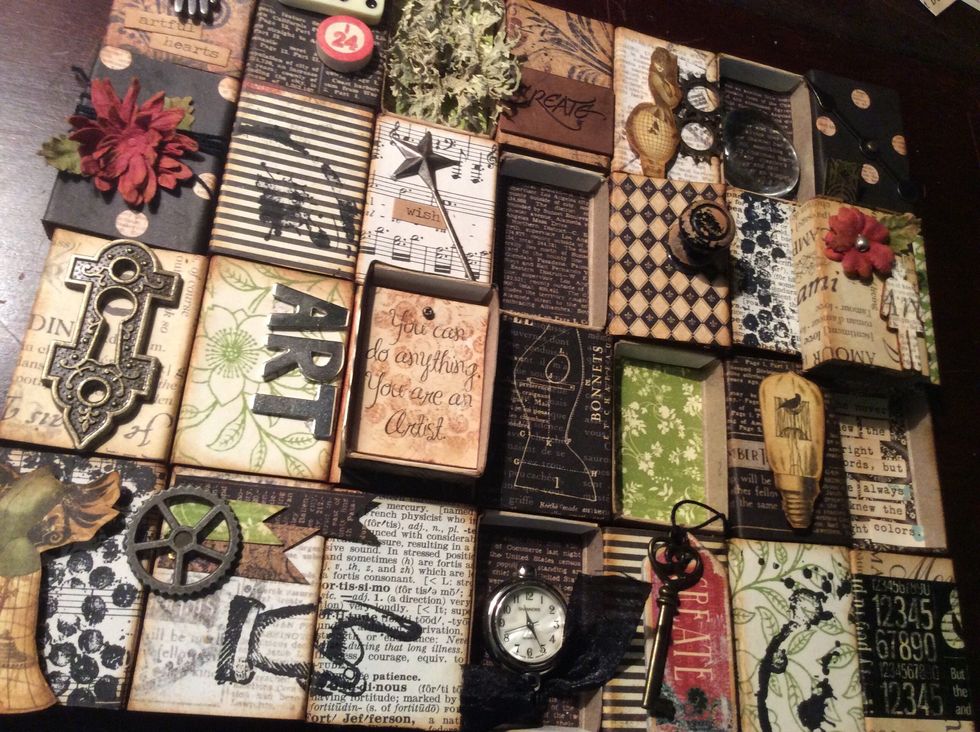
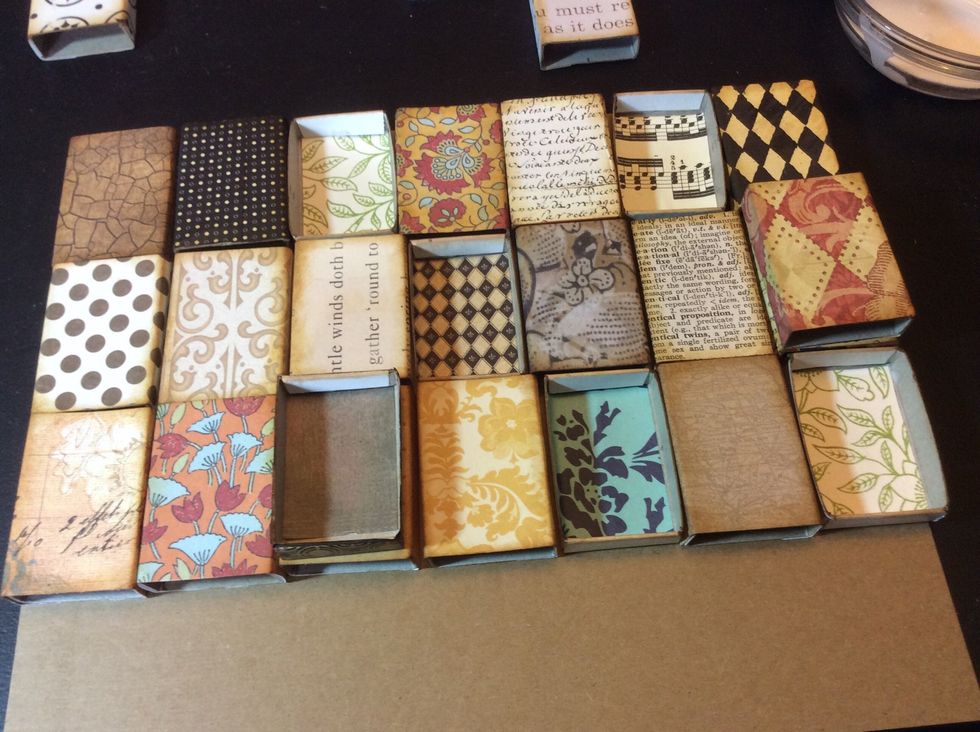
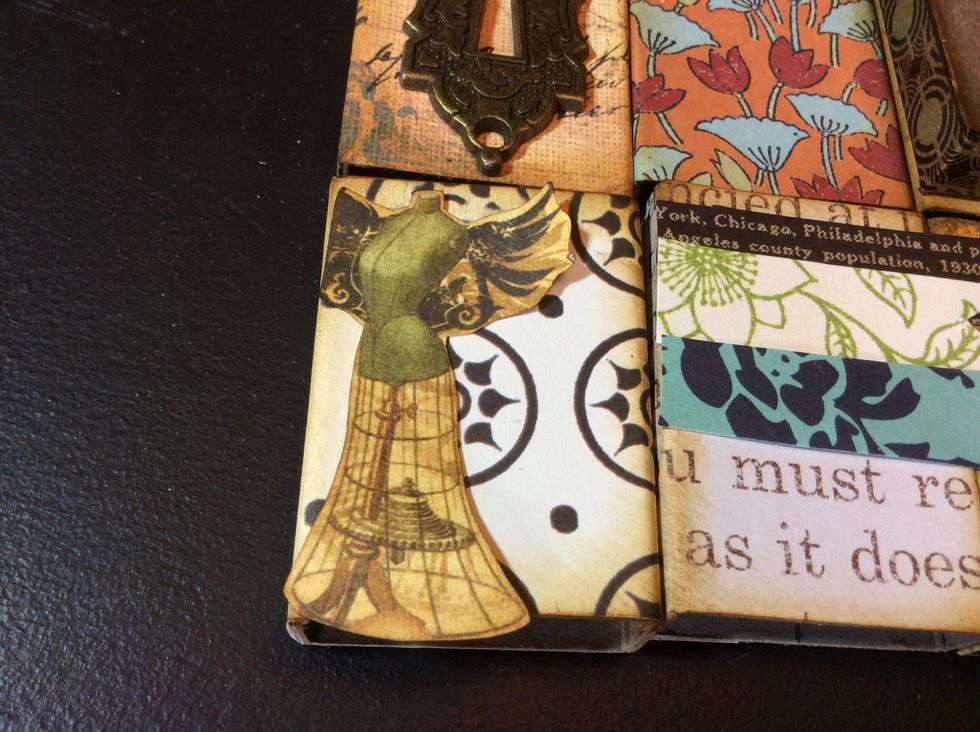
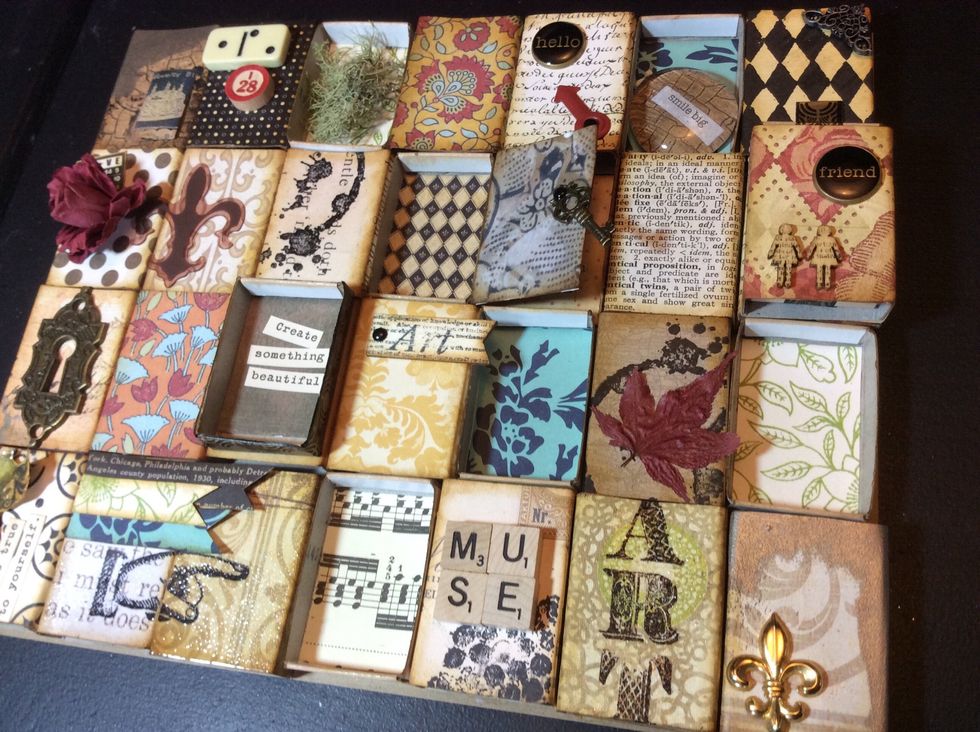
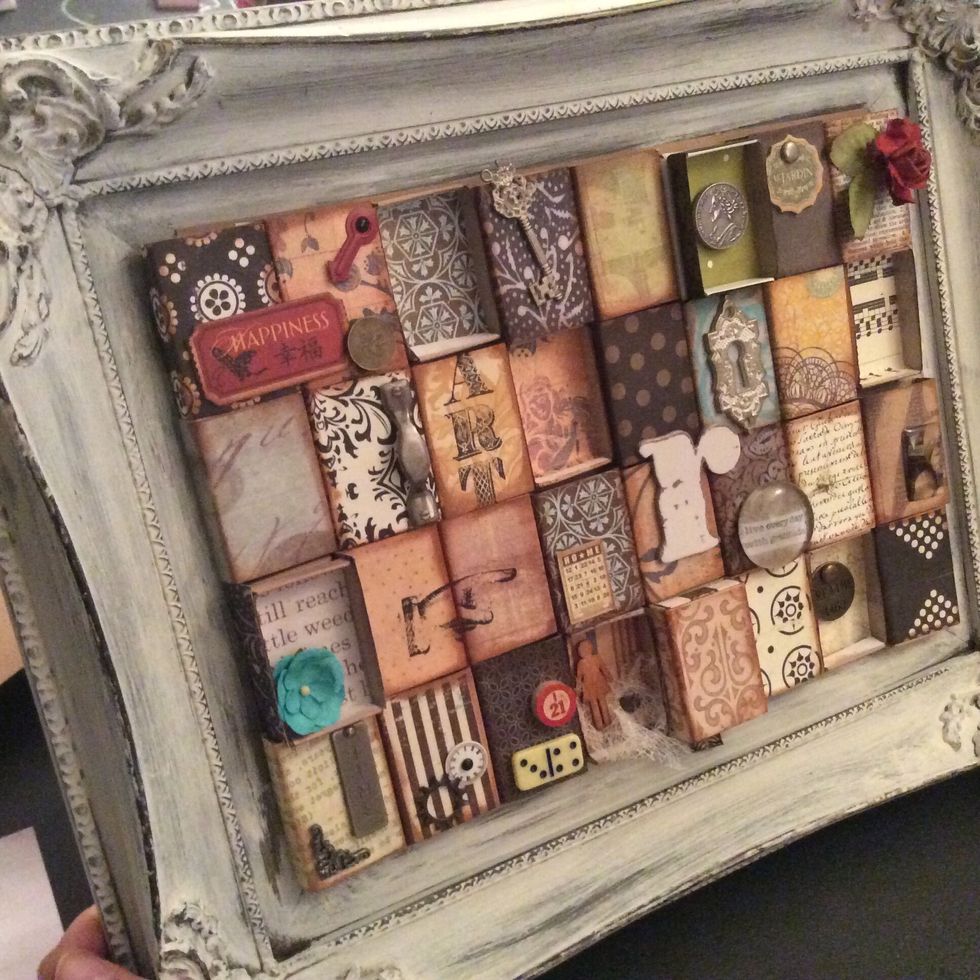
Once all the sleeves & drawers are prepped, begin laying out your design on the included chipboard mounting board.
Don't adhere anything down just yet. For now we just want to layout our design.
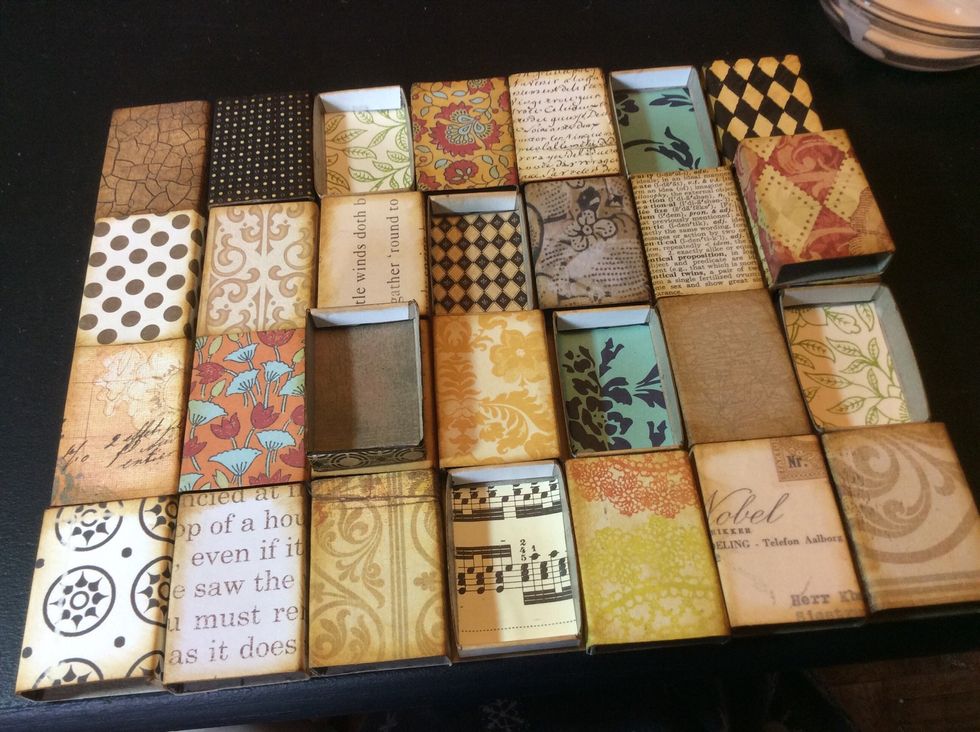

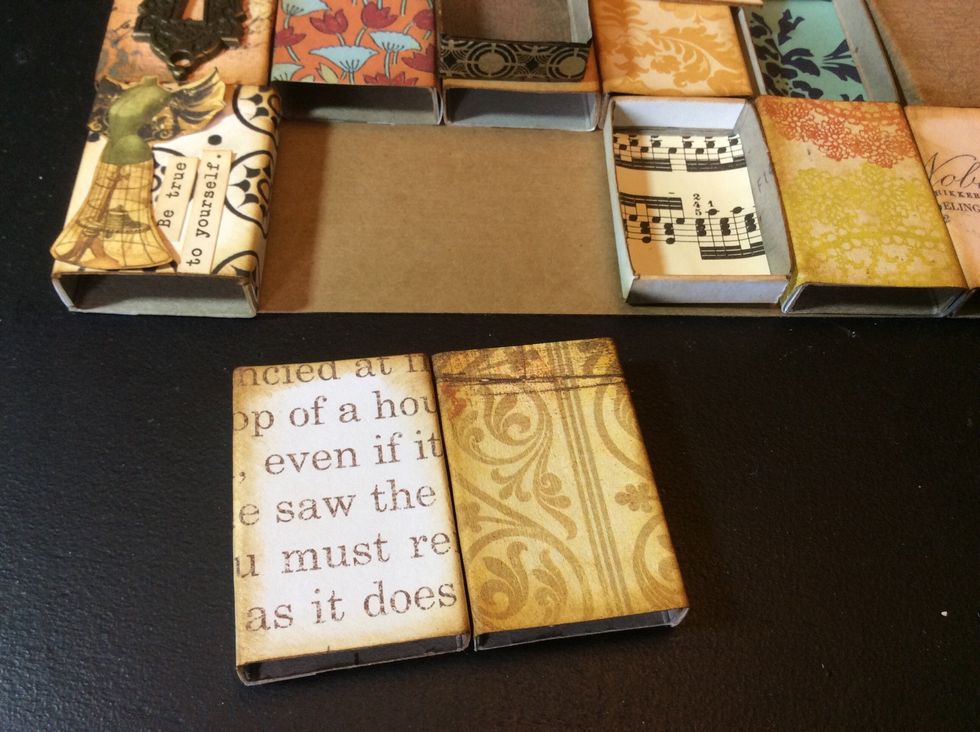
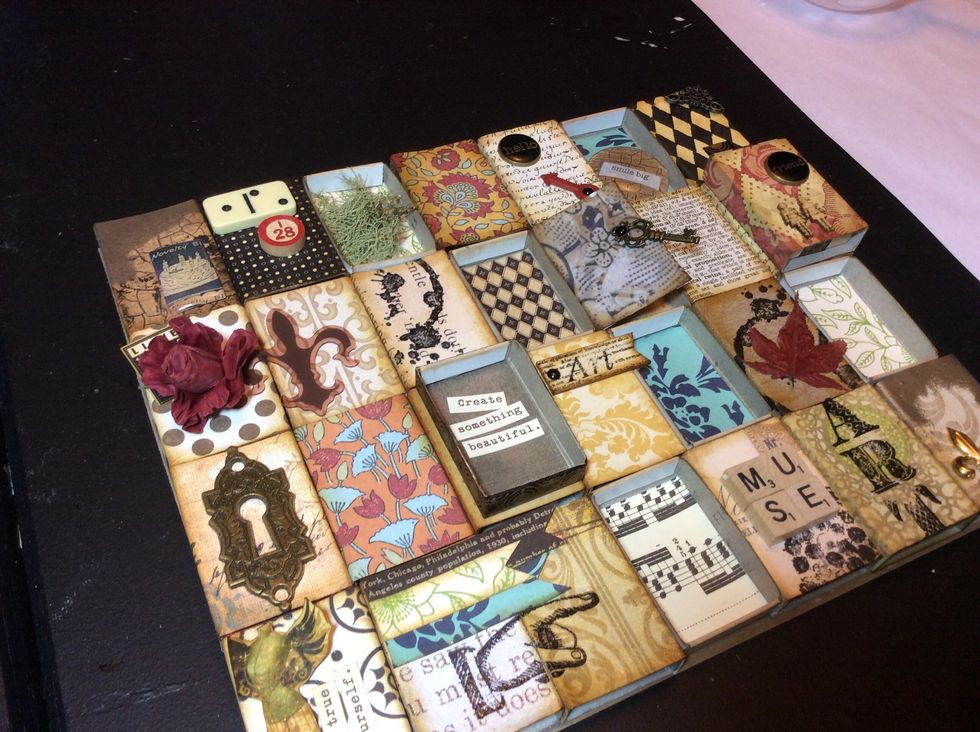
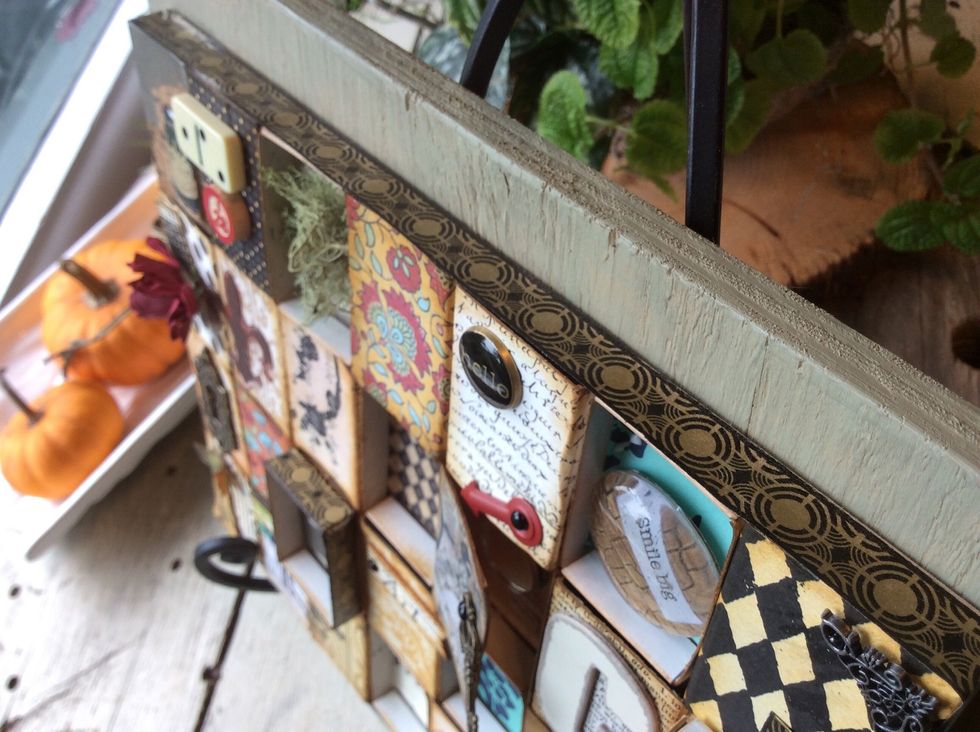
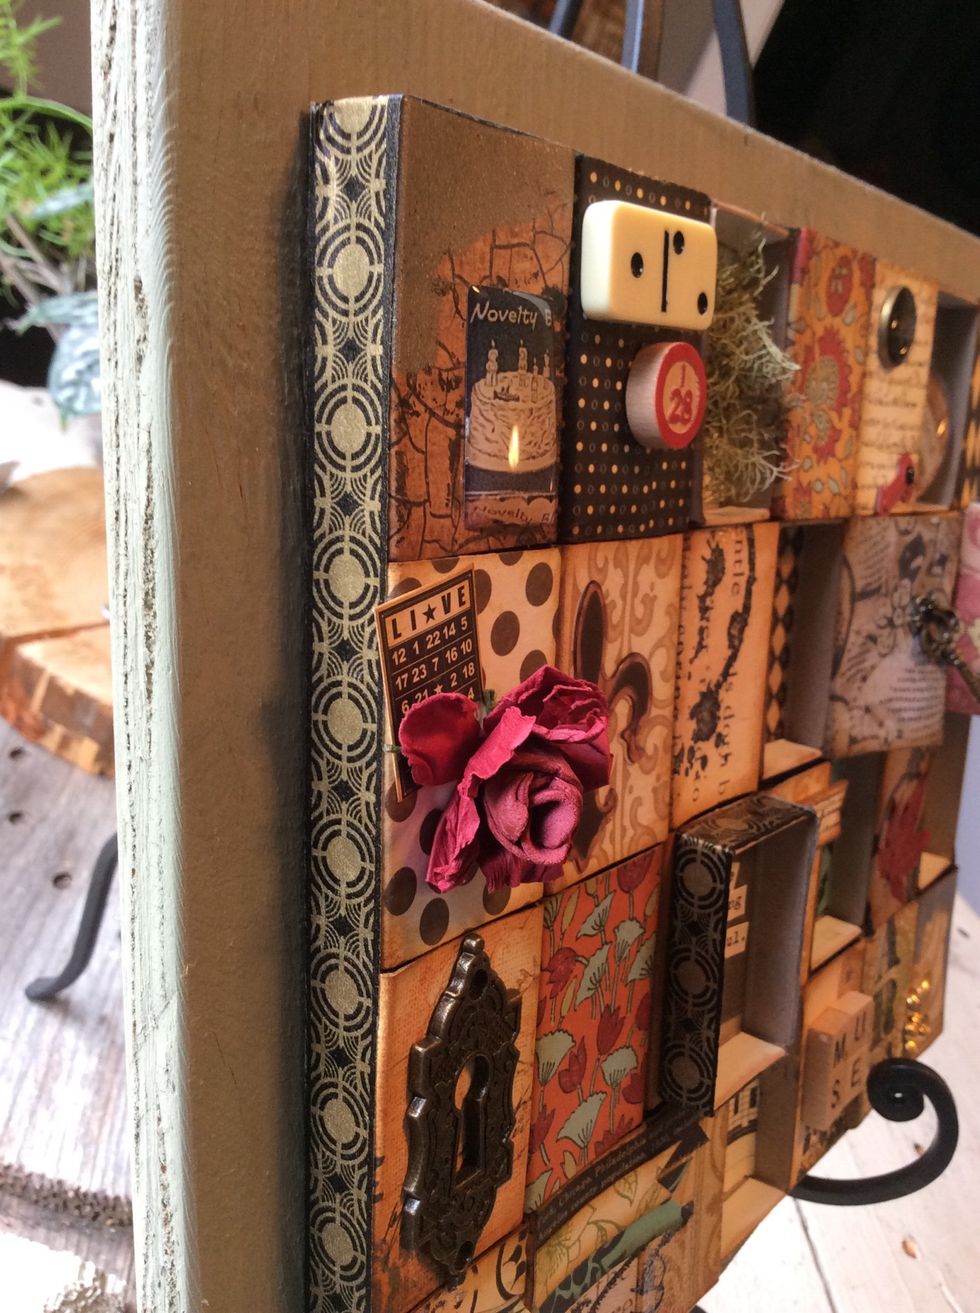
The 2 washi adorned boxes will be stacked, creating fun 3-D elements....
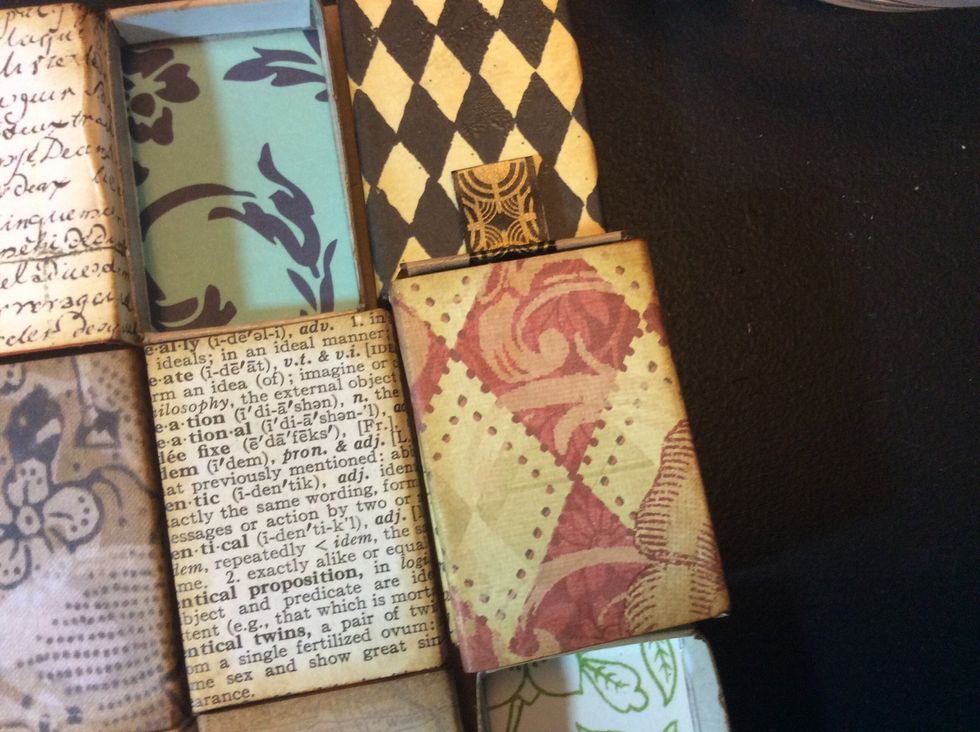
....an interactive, slide out for hidden treasures....
... and a stacked "shadow box" element.
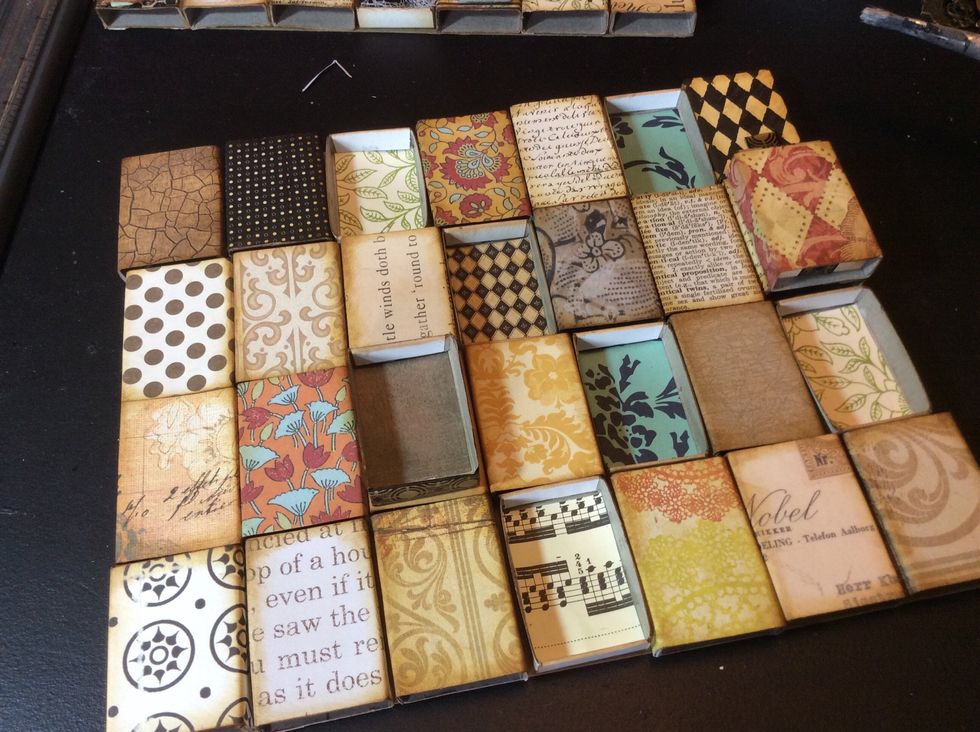
Play with your layout until you achieve the desired design.

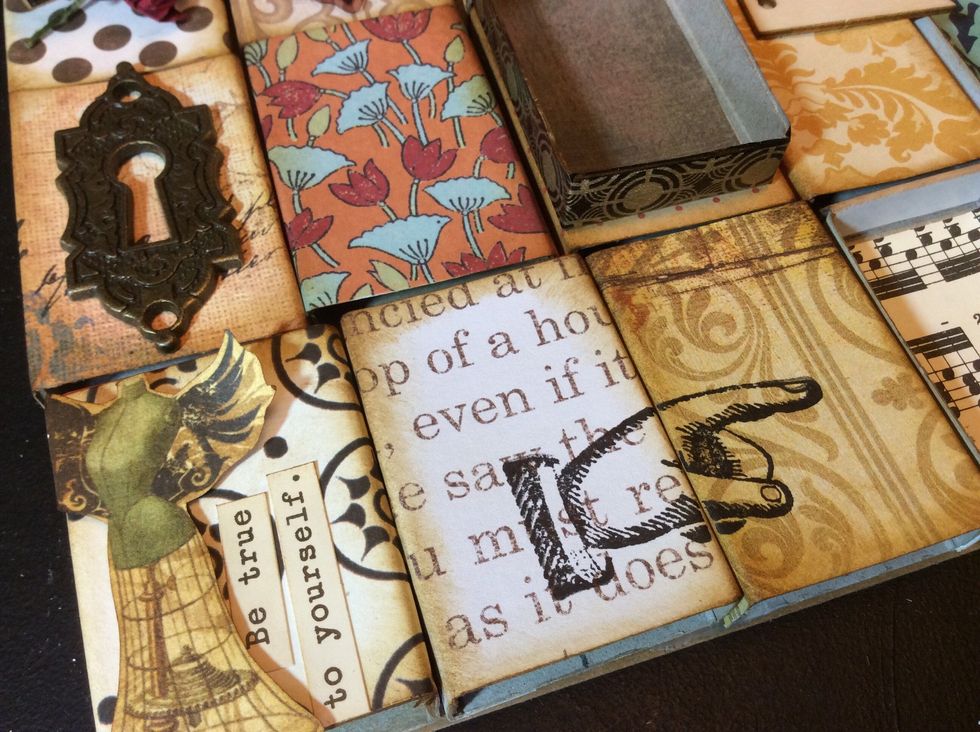
Now embellish!!

Use fussy cut pieces.
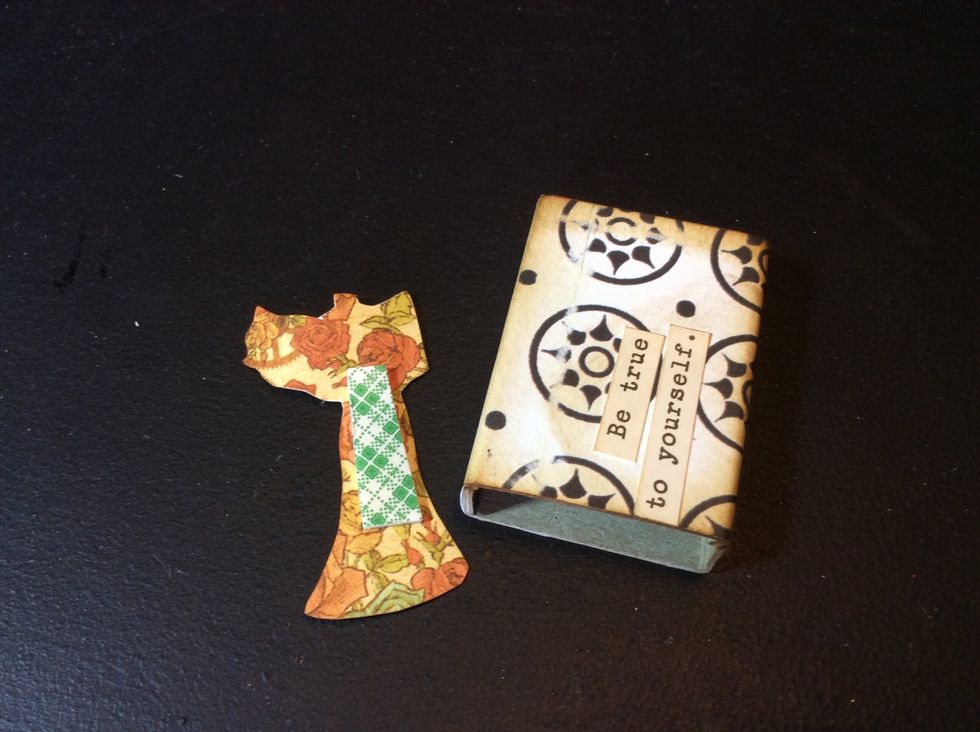
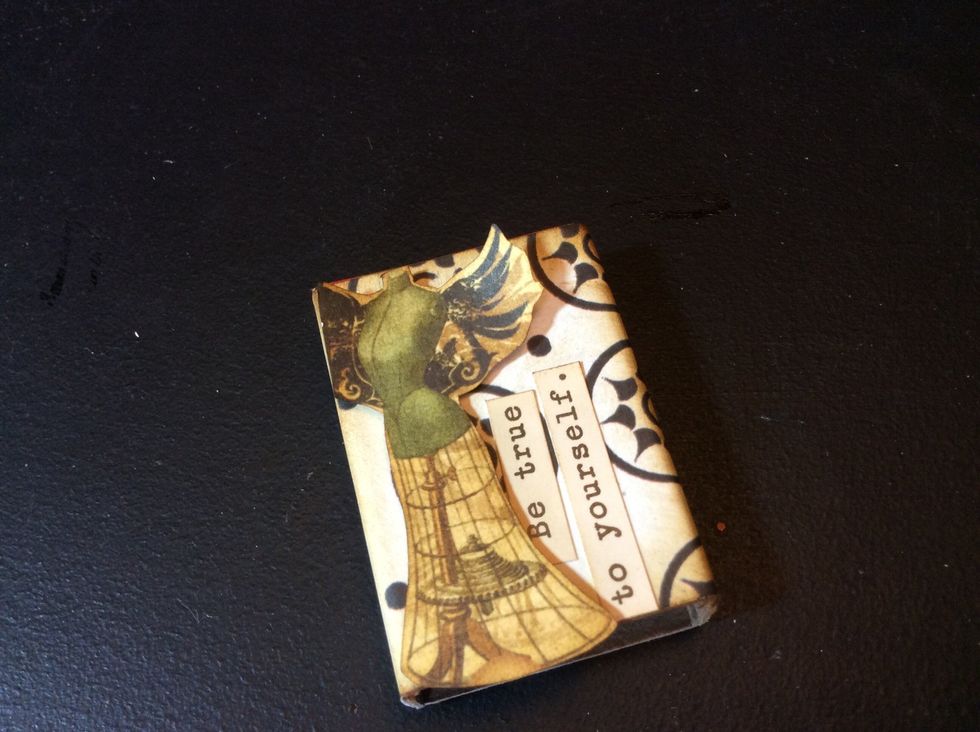
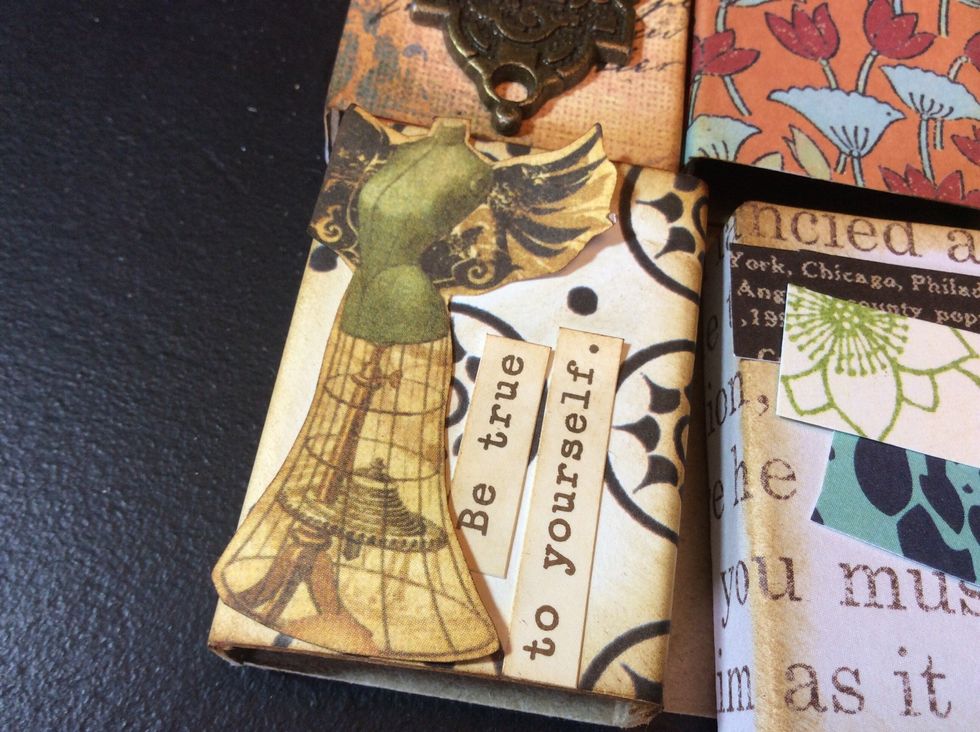
And inspiration word stickers.
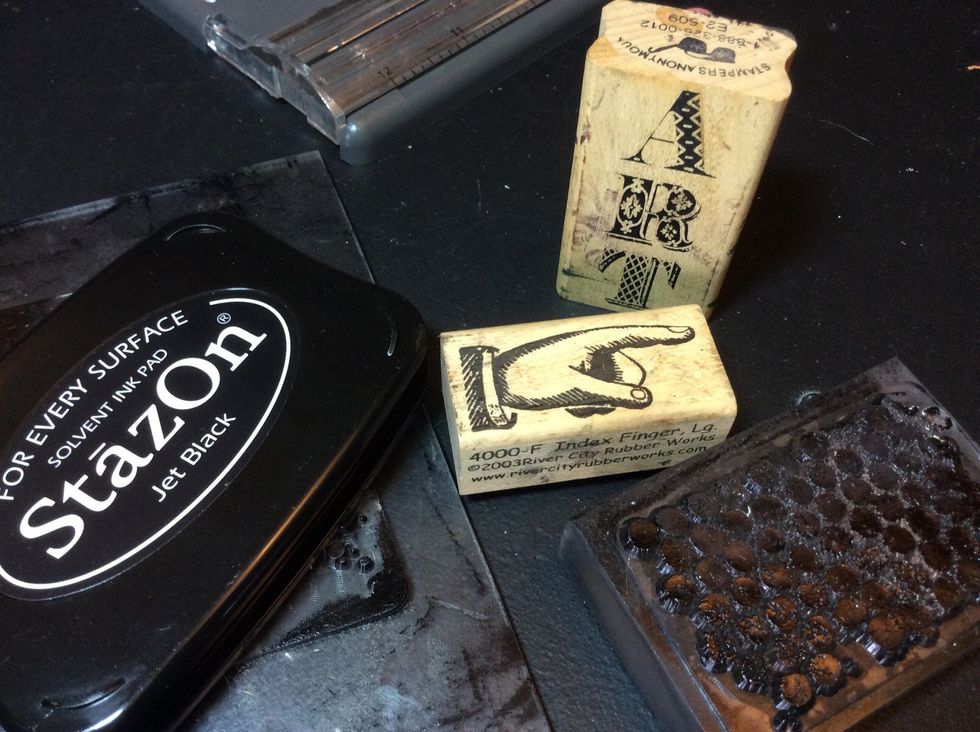
Optional: stamp artsy images and backgrounds.

I stamped 4-5 of the sleeve boxes.
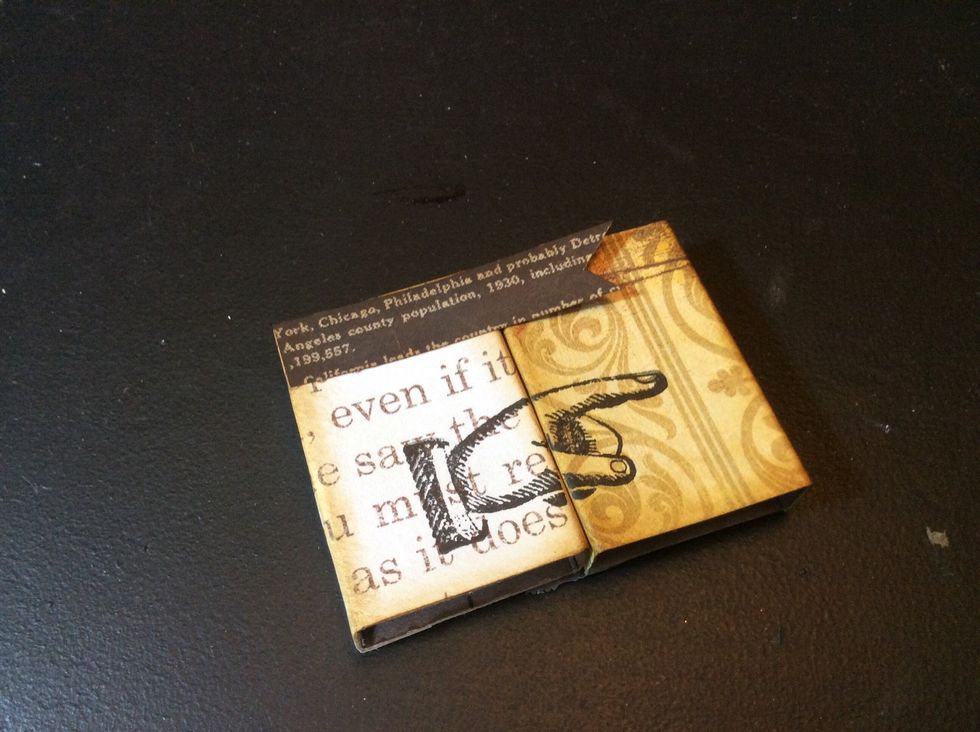
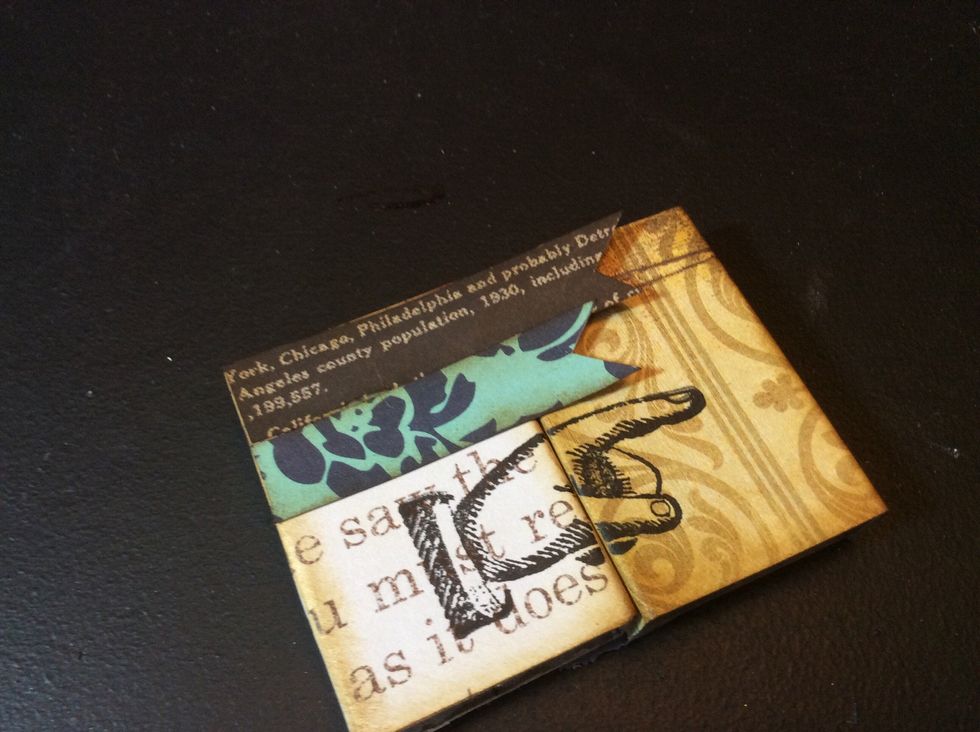
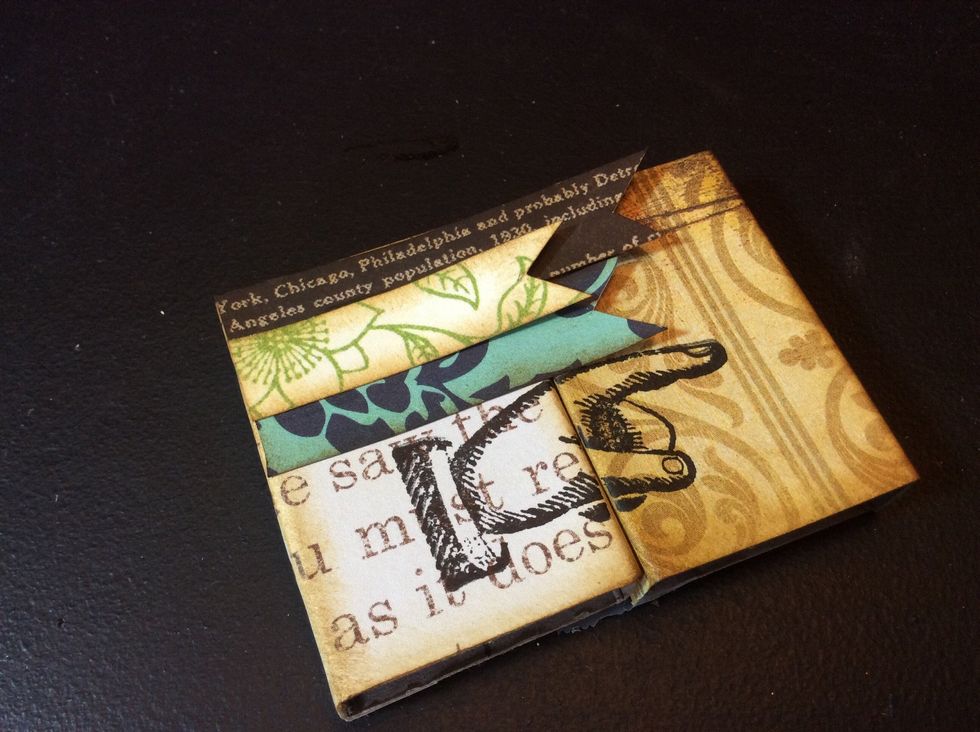
Try this fun technique...stamping on 2 boxes.
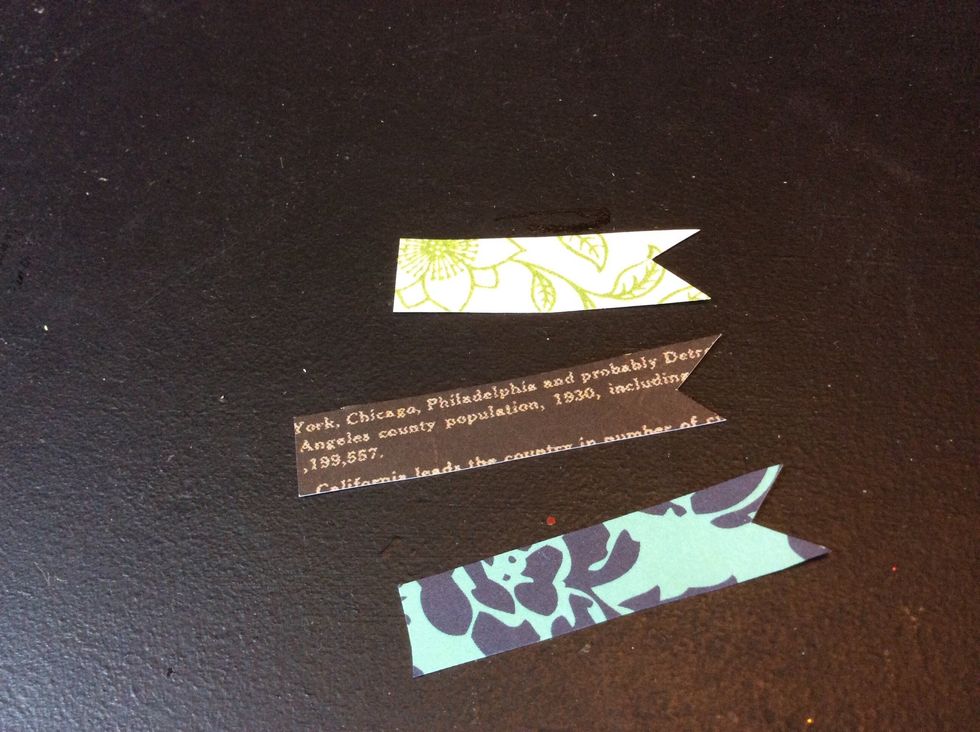
Add banners.
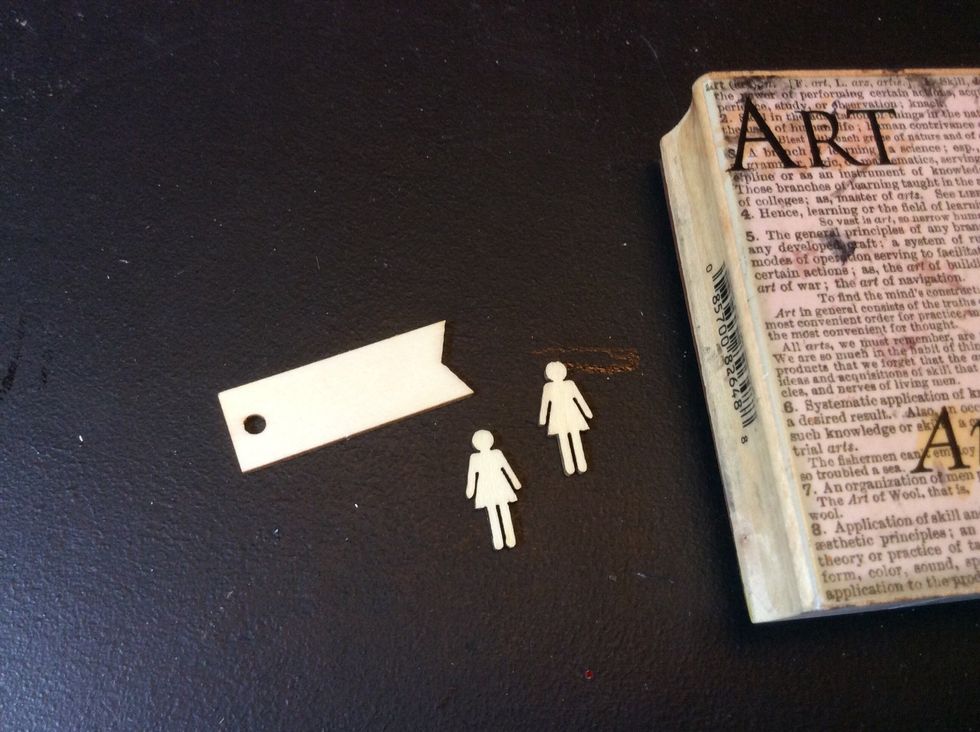
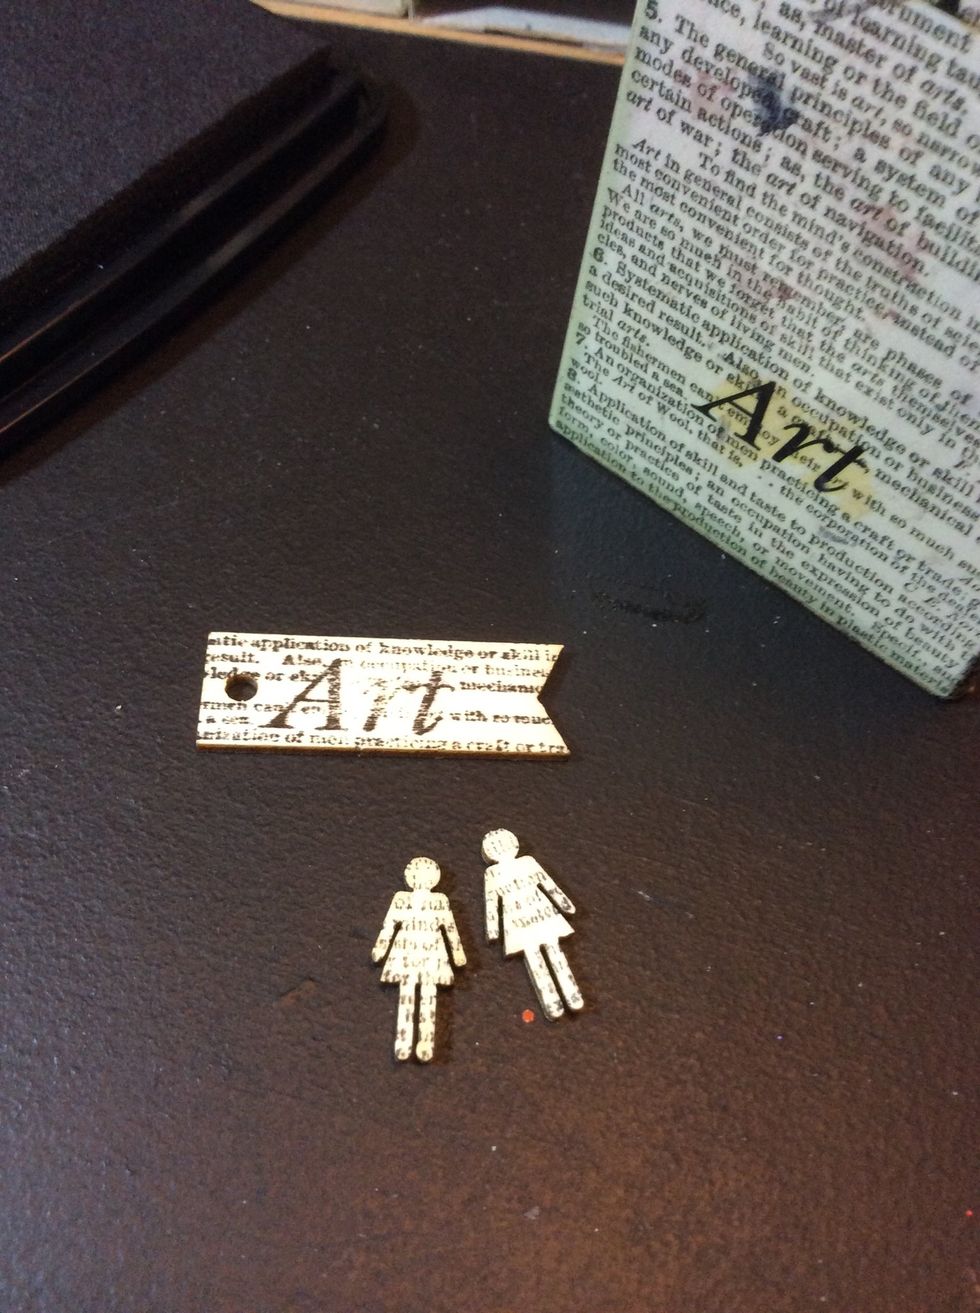
Stamp, paint or ink the included wooden elements.

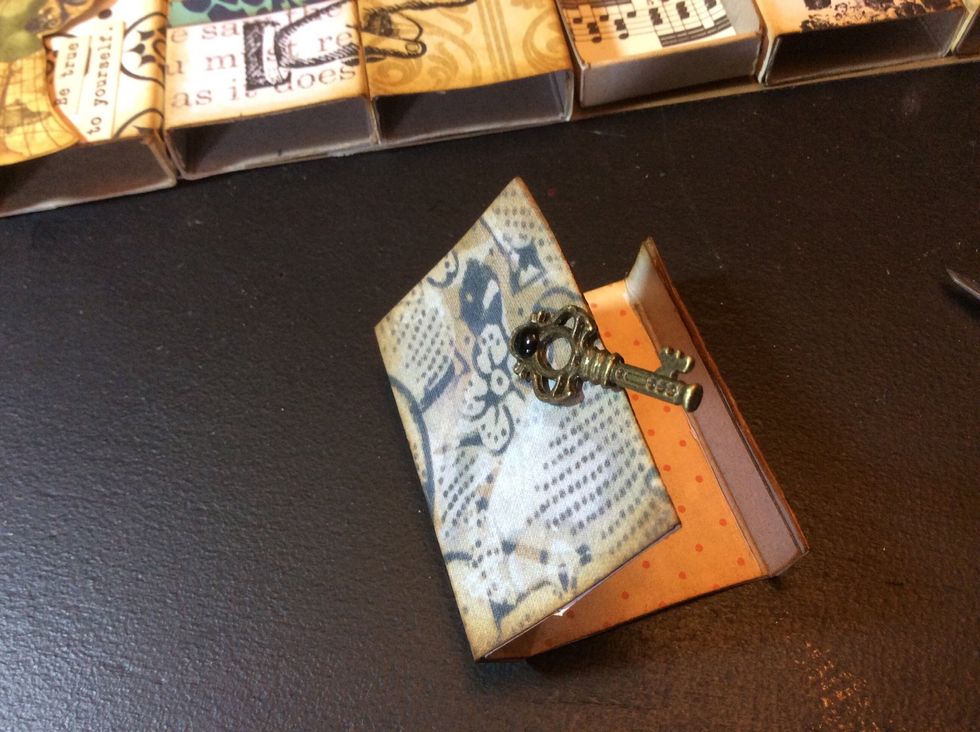
Create another interactive piece...an opening door feature.

Snip the edge of one of the sleeves.
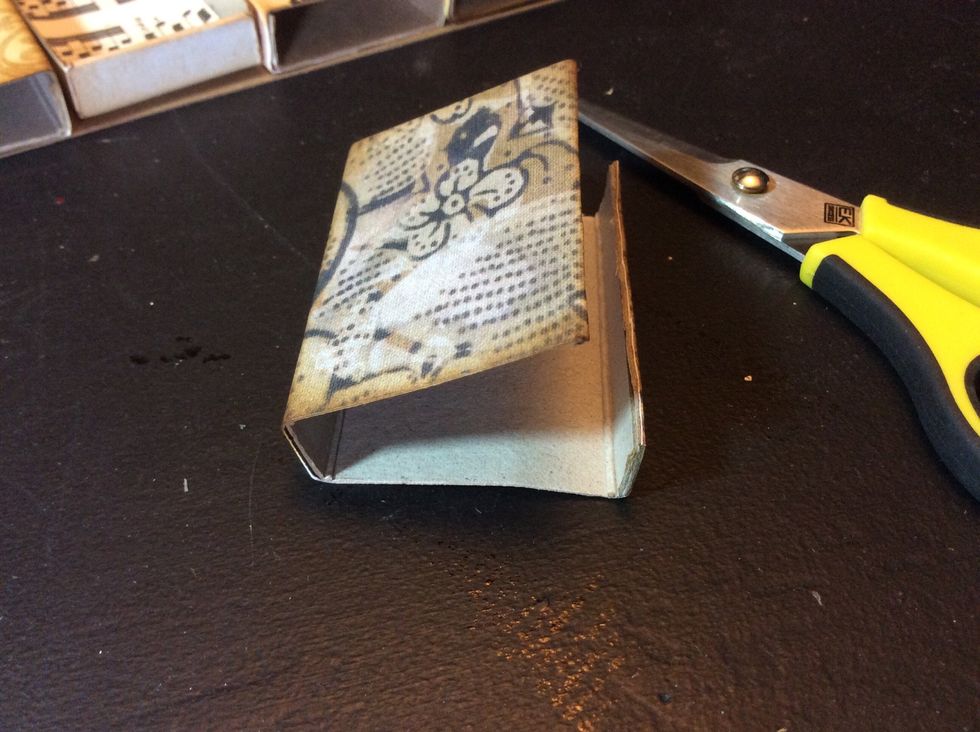

Attach the provided key with the small brad. This will be the handle to open and close the door feature.
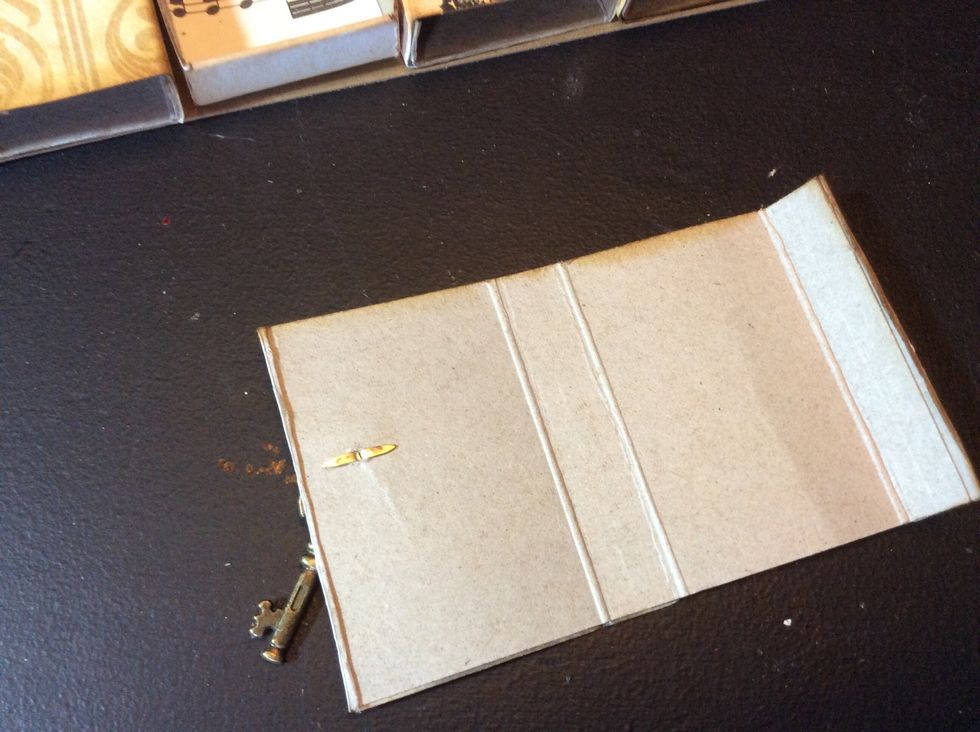
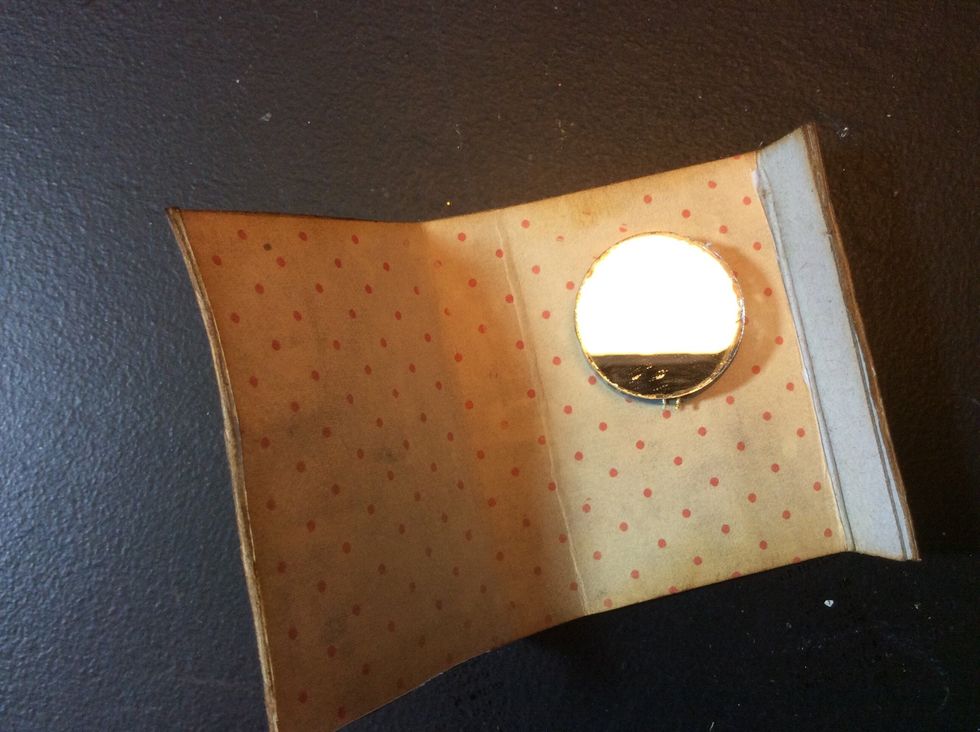
Now we'll cover the inside and hide the brad hardware.
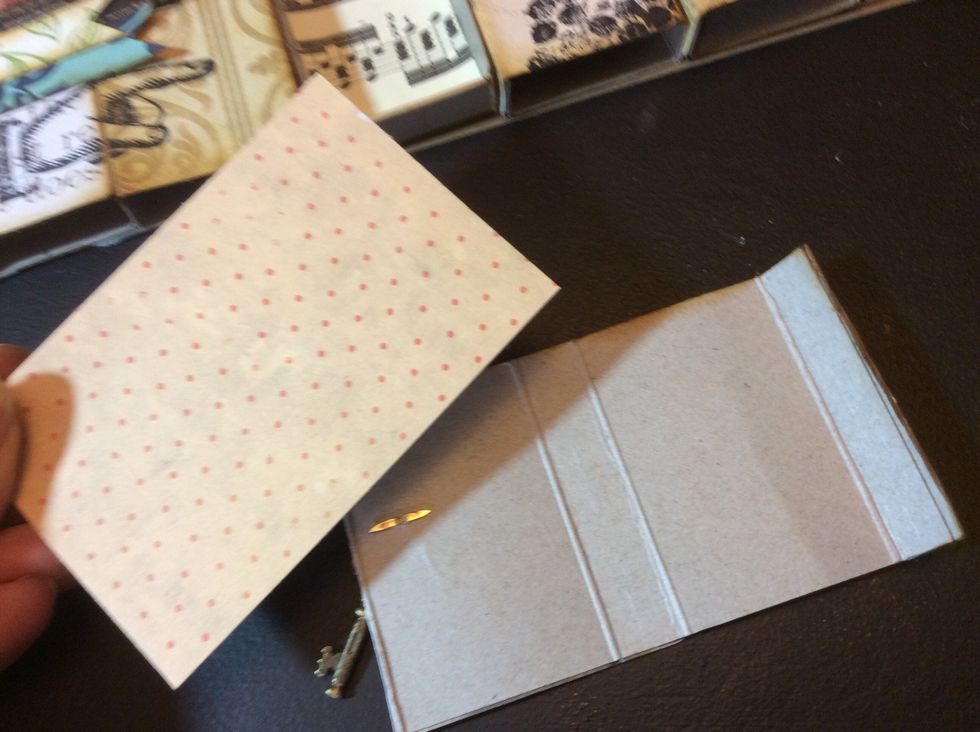
Use one of the cover papers.
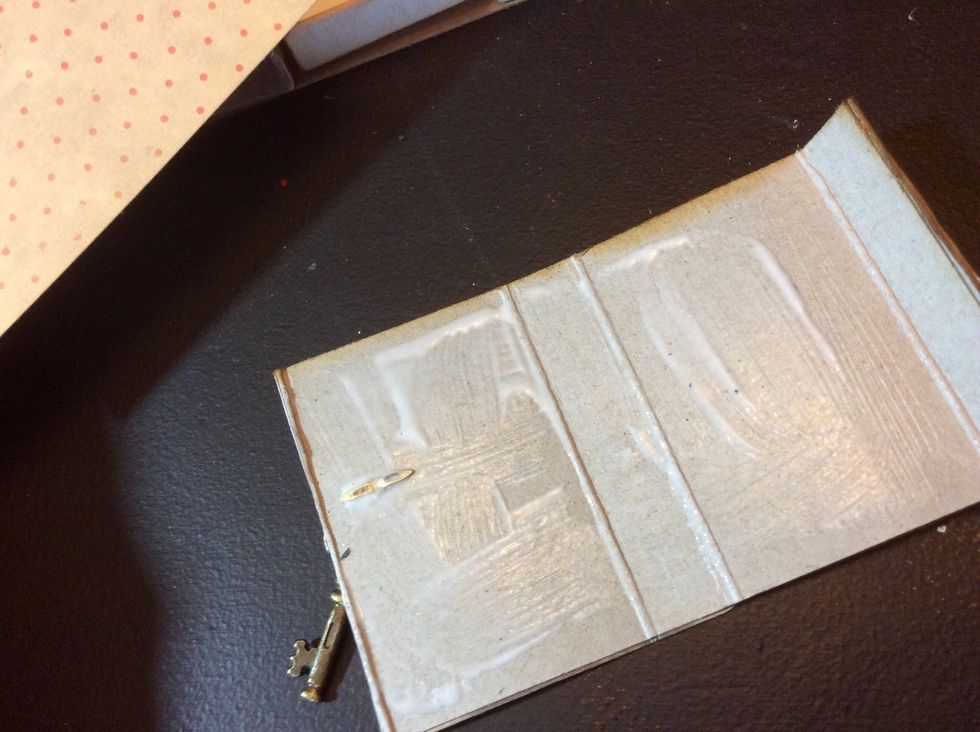
Apply adhesive and adhere paper.
Ink edges.

Adhere mirror.
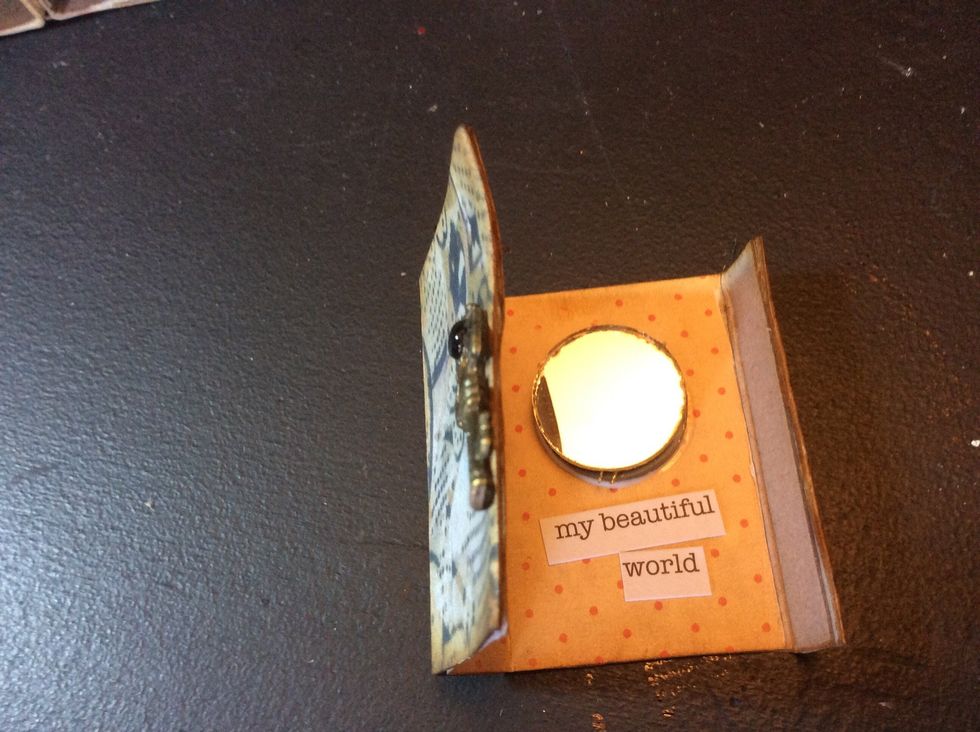
And fun words.

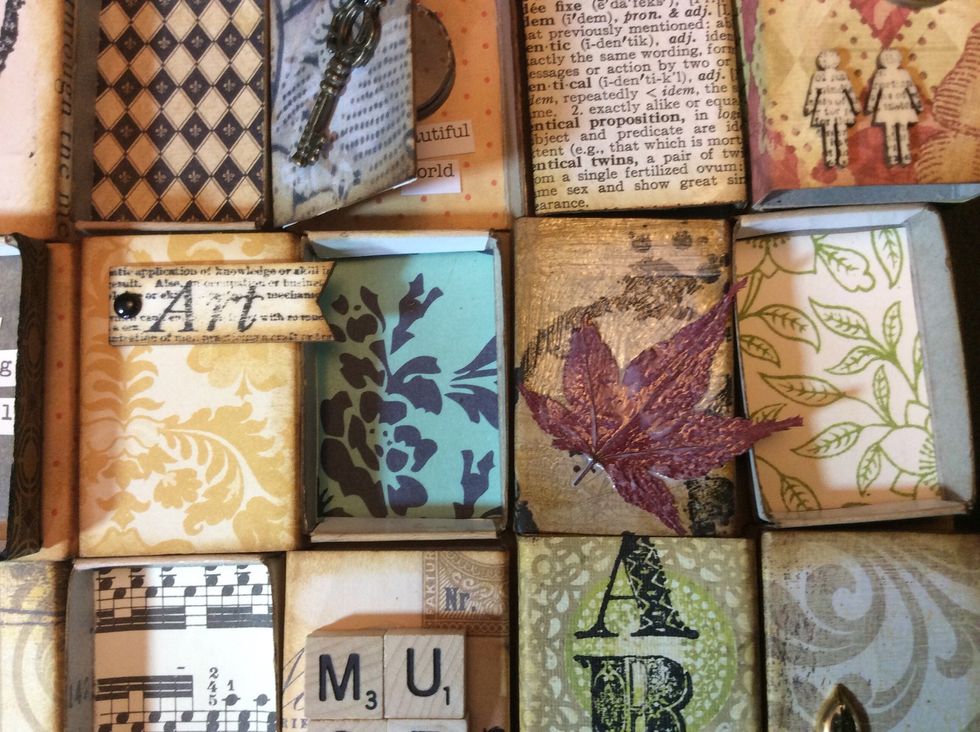
I like to include nature elements & found items for unique texture.
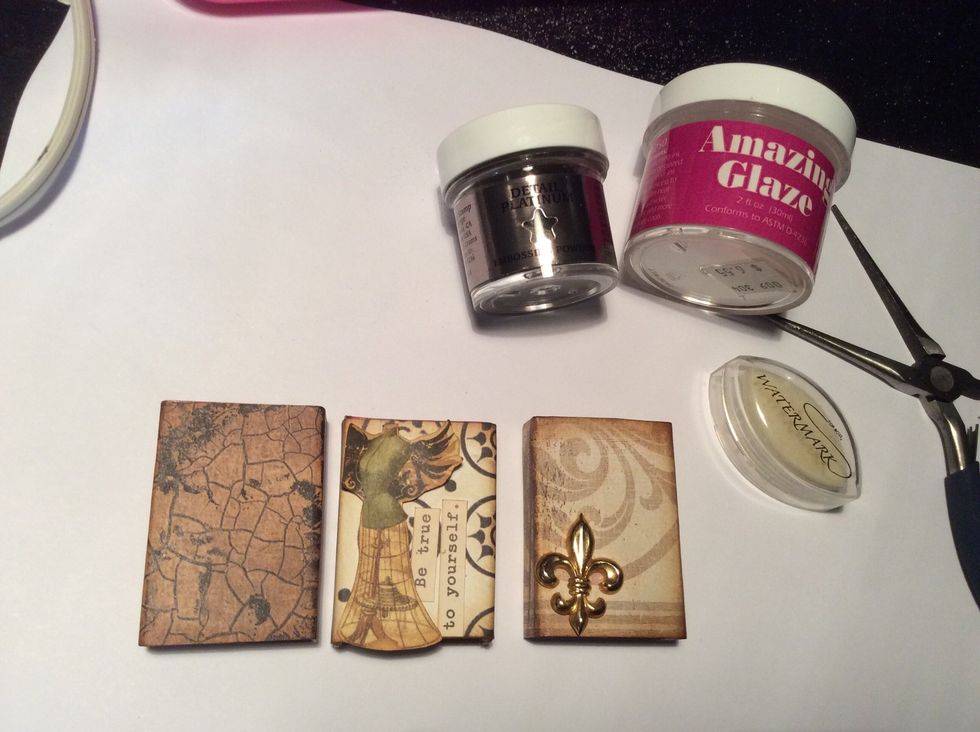
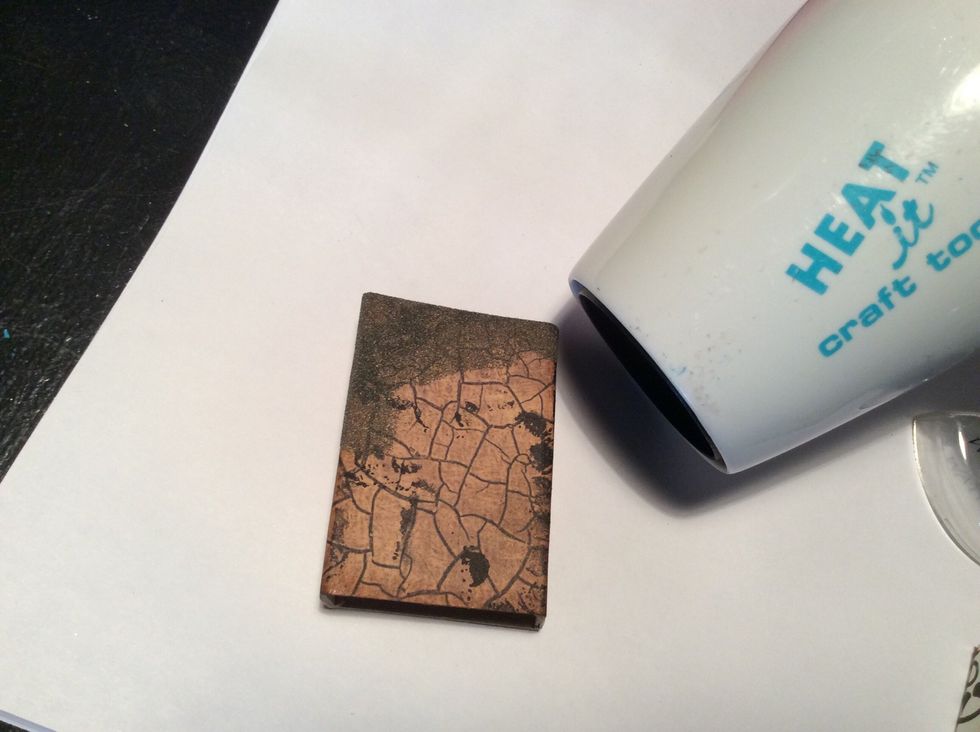
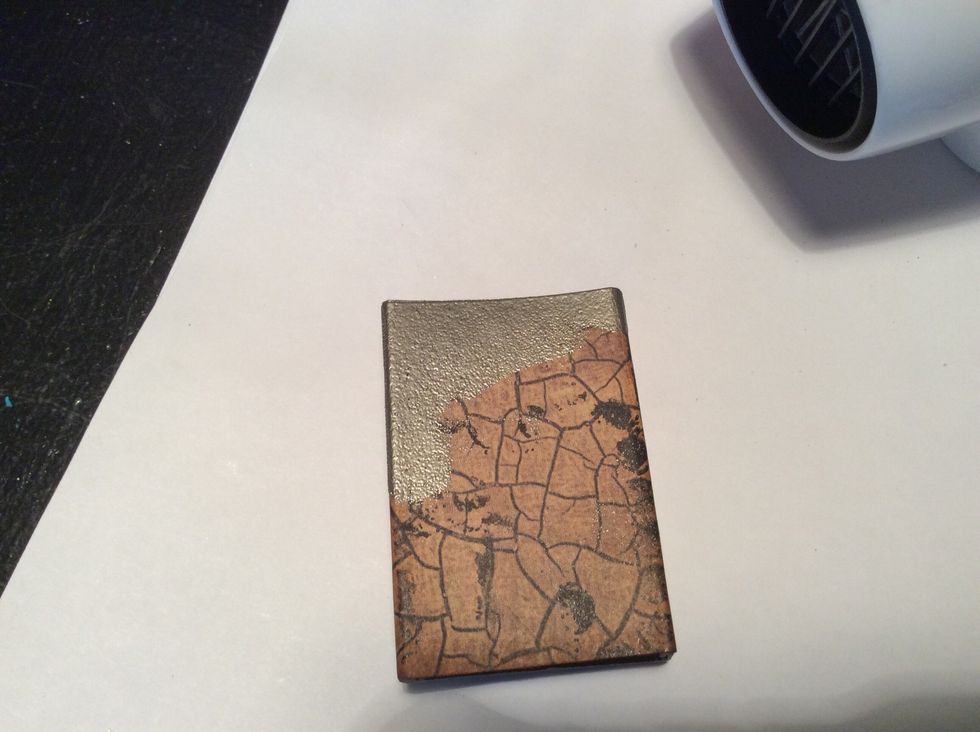
Optional: you can add more texture with embossing techniques shared here....
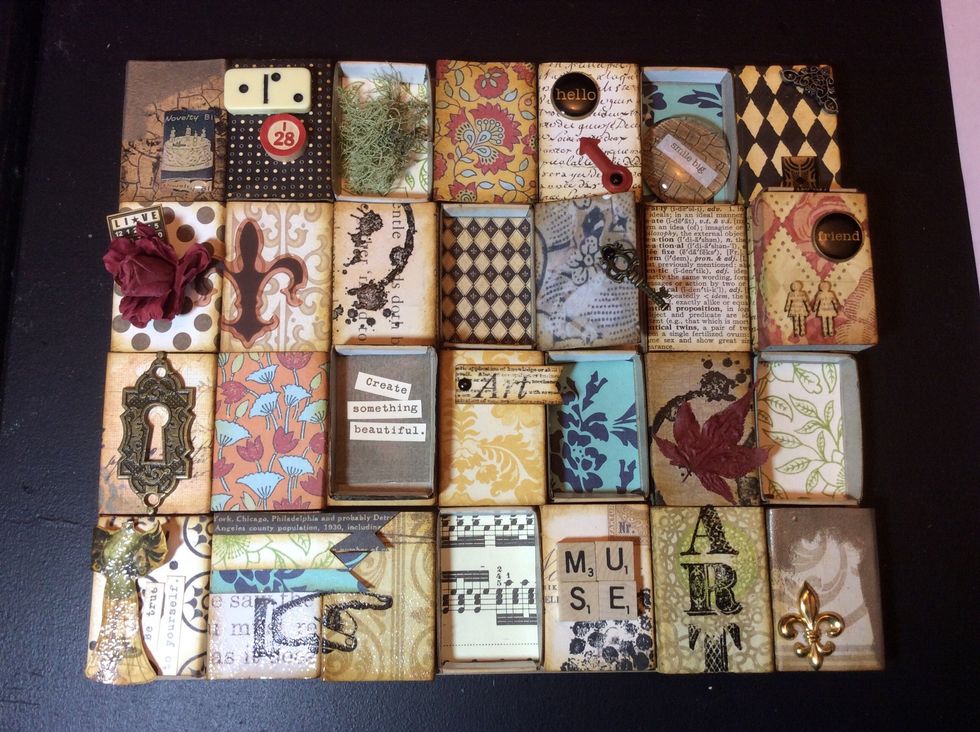
Finish applying all the desired embellishments.
Allow collage & added embellishments to completely dry.
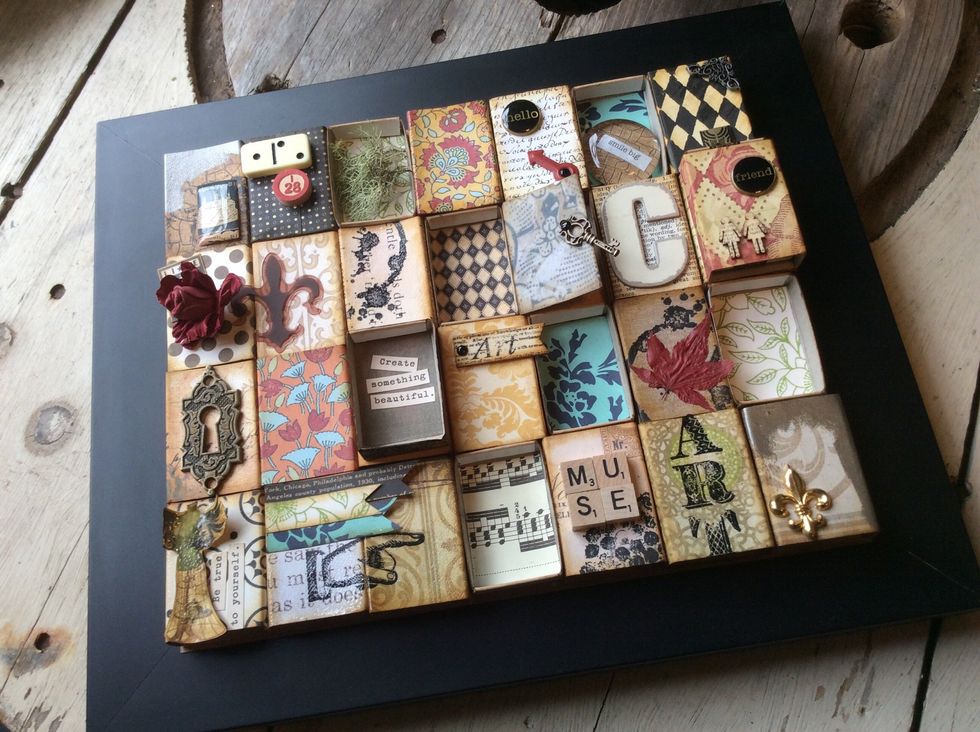
Once collage is dry, adhere boxes to chipboard. Allow to dry.

Mount collage to frame. I used a frame I found at Target. (I removed the glass).

Cut 4 pieces of mounting tape.
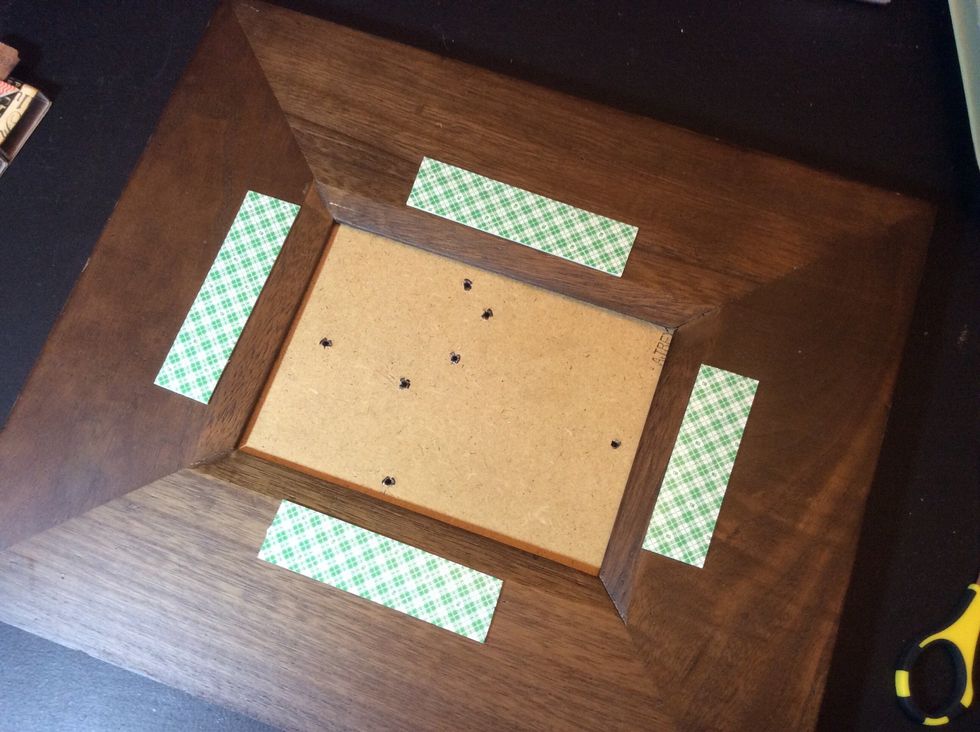
Adhere mounting tape around the opening of frame.

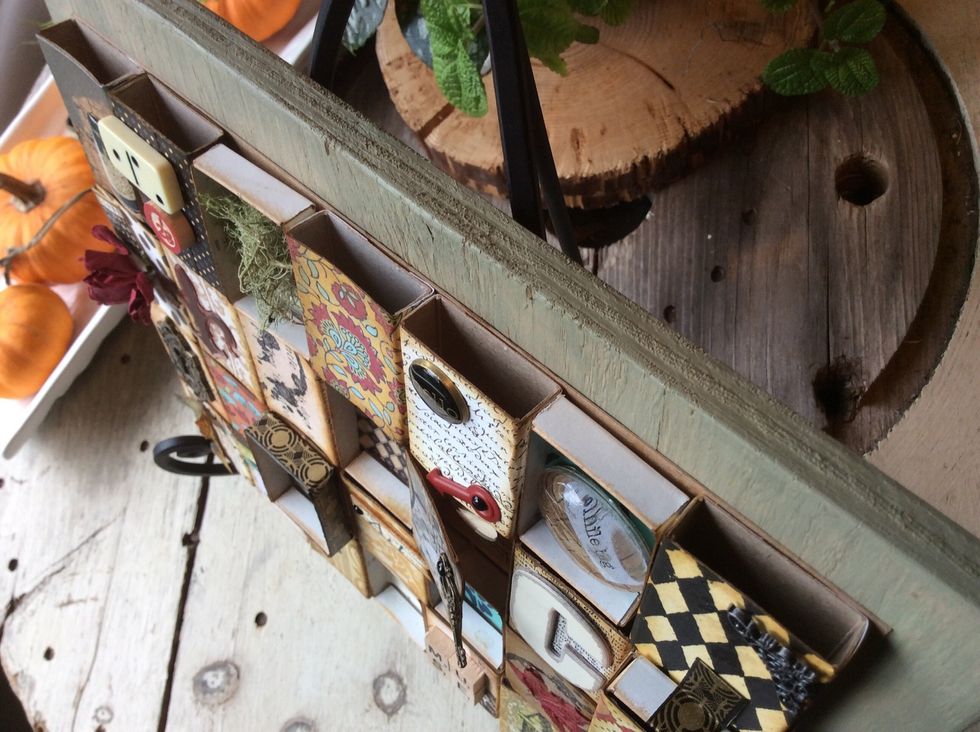
Remove backing from mounting tape and adhere collage to frame. Beautiful!!
Optional: you can add washi tape around the outer edge of collage for a nice finished look.
Simply wrap and stick!
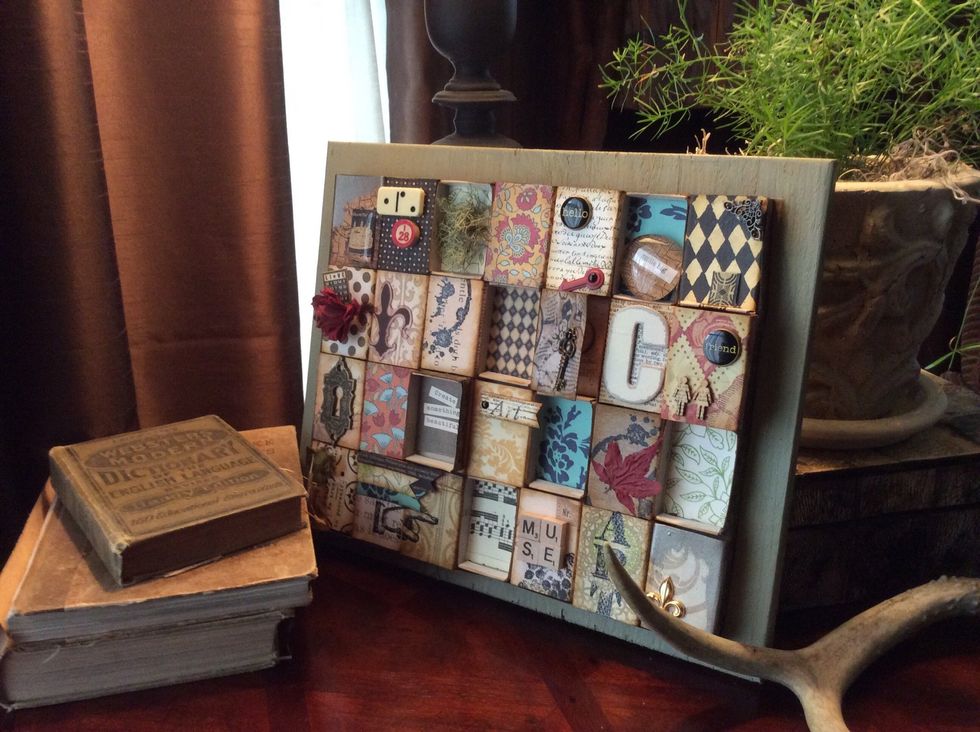
Experiment with different frames.
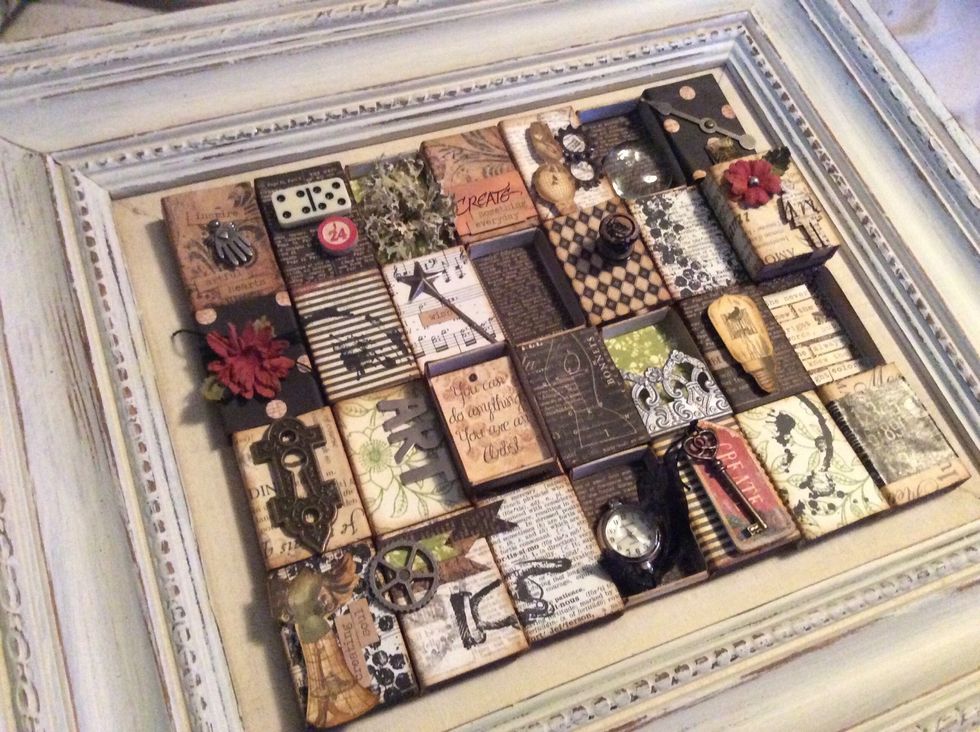
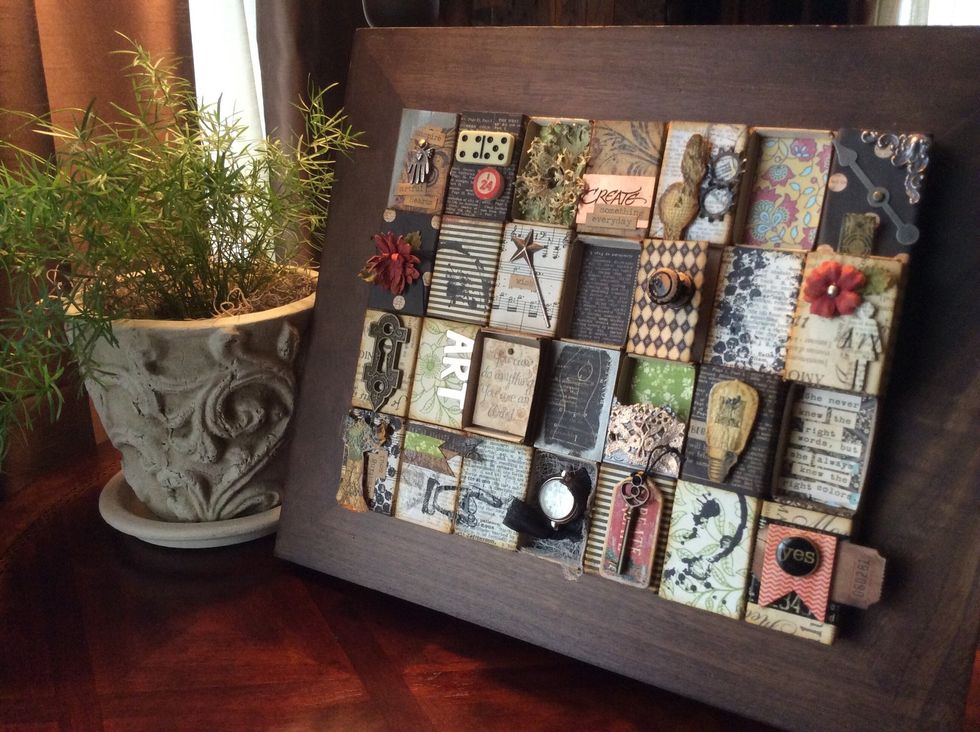
Enjoy!!
www.junquesoire.blogspot.com.