The Conversation (0)
Sign Up
Things to know before you start- Cut off all zip strips before cutting any paper. You will be using some of them to embellish. A zip strip is the top piece of the paper with the design on it.
The first step is to cover all your cardboard pages first. Trace design on back of your paper. Make sure you pay attention and do not glue the wrong pattern to the wrong side.
I use bonding memories glue for gluing down the edges. It will not wrinkle your pages. Be sure to put the glue on the edges of your paper especially around the punched holes. Use a brayer to flatten.

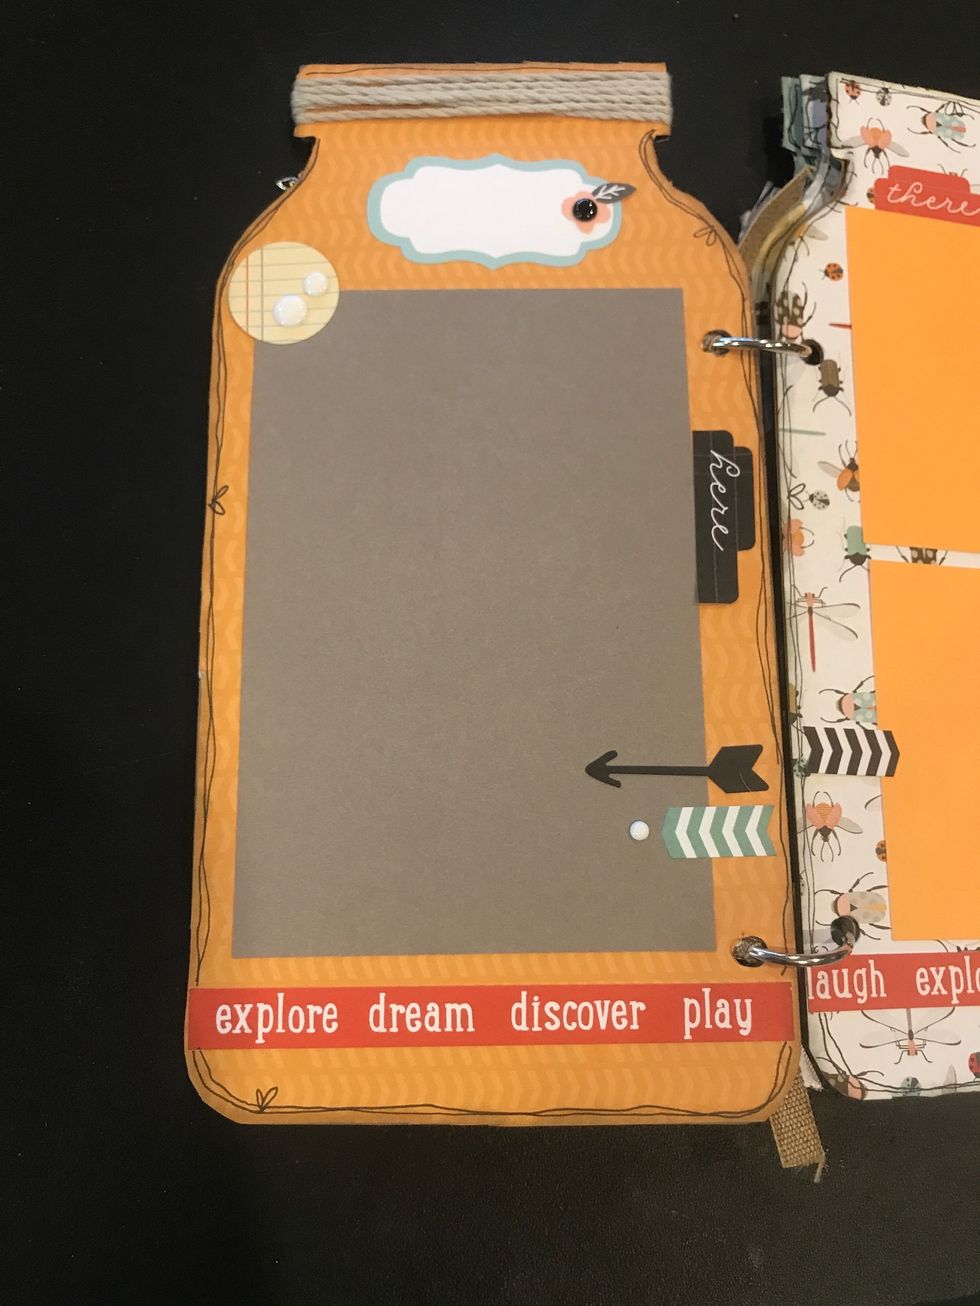
Cover the front of book with woodgrain paper. Using a pocket card in your kit, cut out a 4x 6 Life is an Adventure Card. Trim the card to 4 1/2" x 3 1/2". Mat with black background paper.
Tip- I sprinkle all my stickers with baby powder to make them un-sticky. Then I use 3 D tape to adhere them to the book to make them pop and give the book dimension. This is optional.

Add the following stickers-today (at top), two bees and a flower as shown. Using a journaling pen, draw dashes from Bees! Outline jar if desired.
Back of cover. Decorate as shown. The grey mat size is 4" x 6". Add stickers. The words on bottom are a zip strip. Wrap twine around cover- several times. Add butterfly charms to ends. (see front)
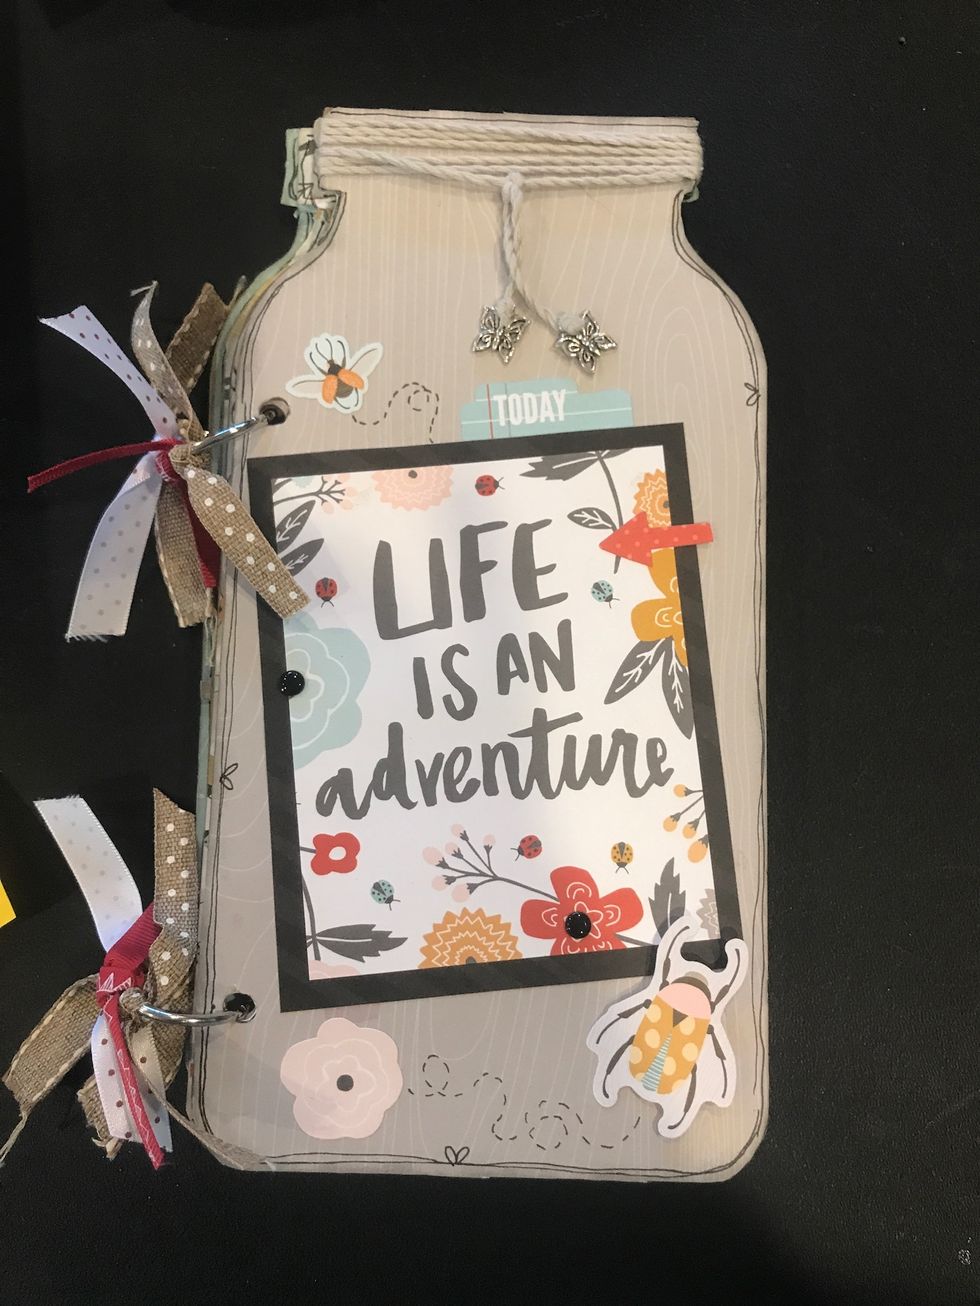
Front of book with butterfly charms.
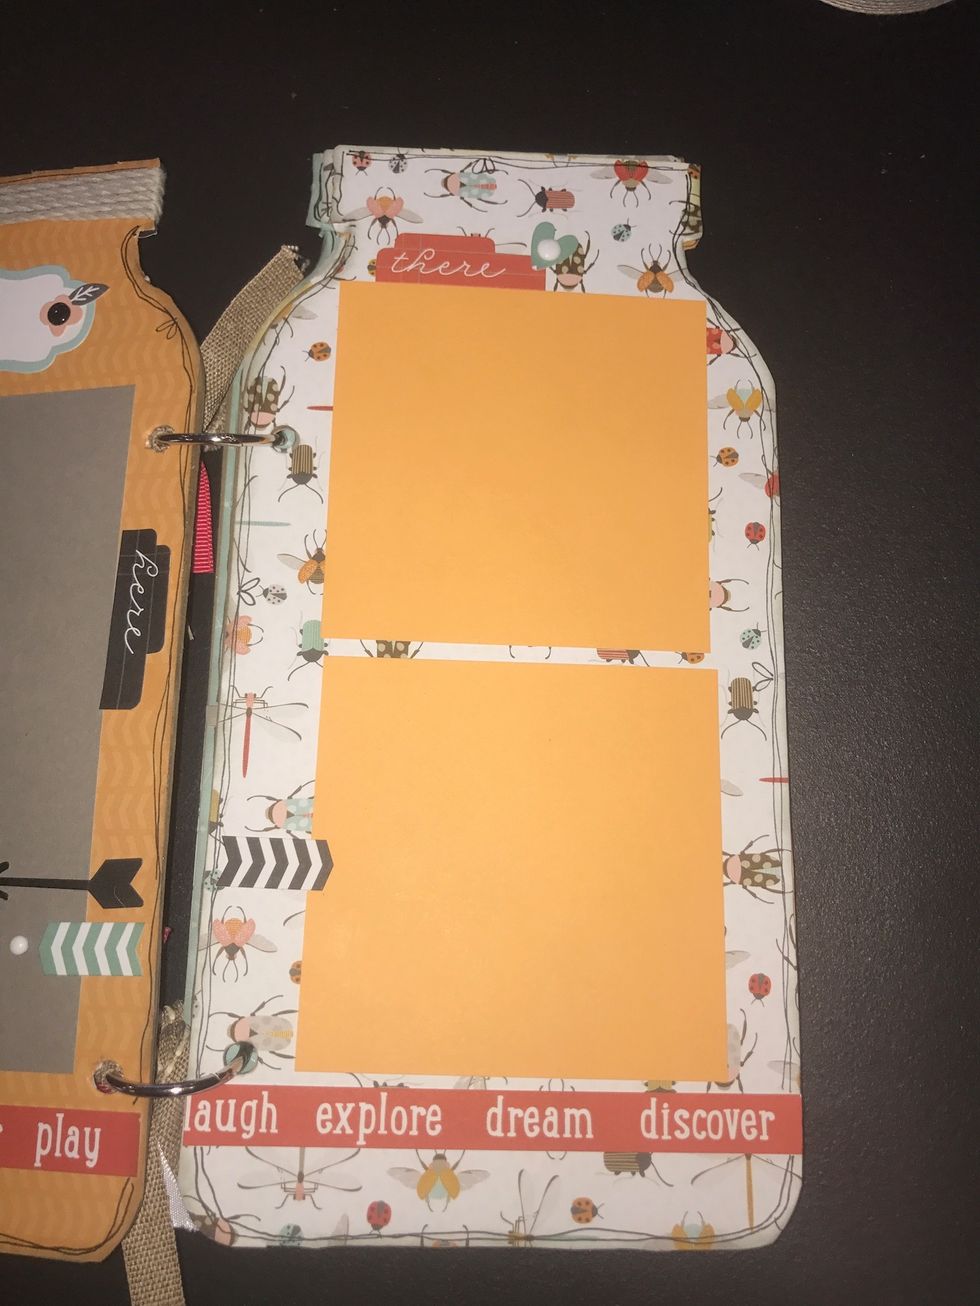
Page 2- Front- Cover with bug paper. Add cheer sticker to top. Add two 3 1/2" x 3 1/2" photo mats. Add zip strip words to bottom of page. Outline with journaling pen.
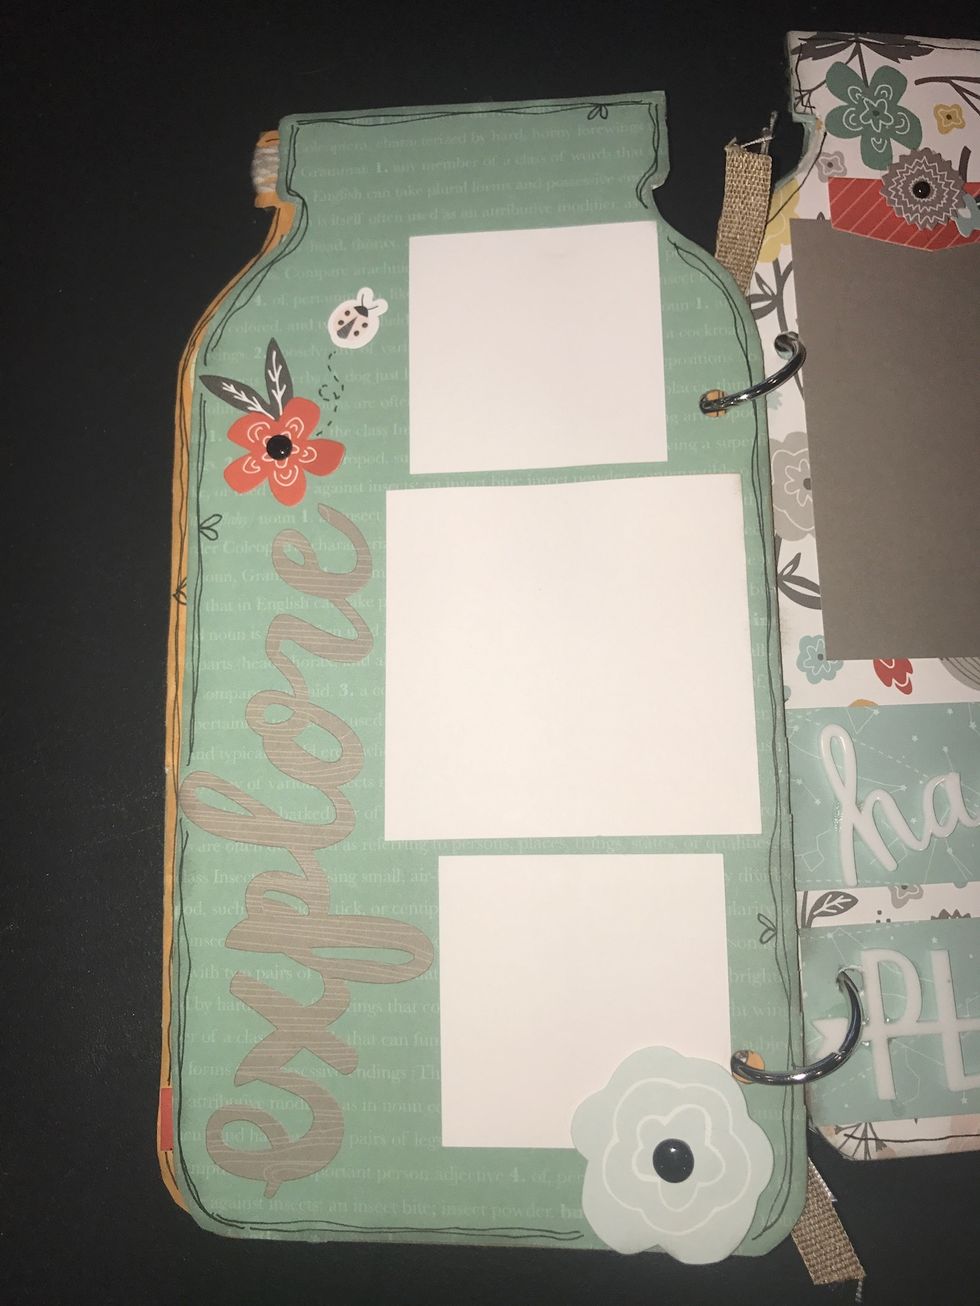
Cover with blue paper. Add stickers. The flower is popped up. Mat sizes are- 2- 2' x 2". Middle square is 3" x 3". Outline with journaling pen if desired.
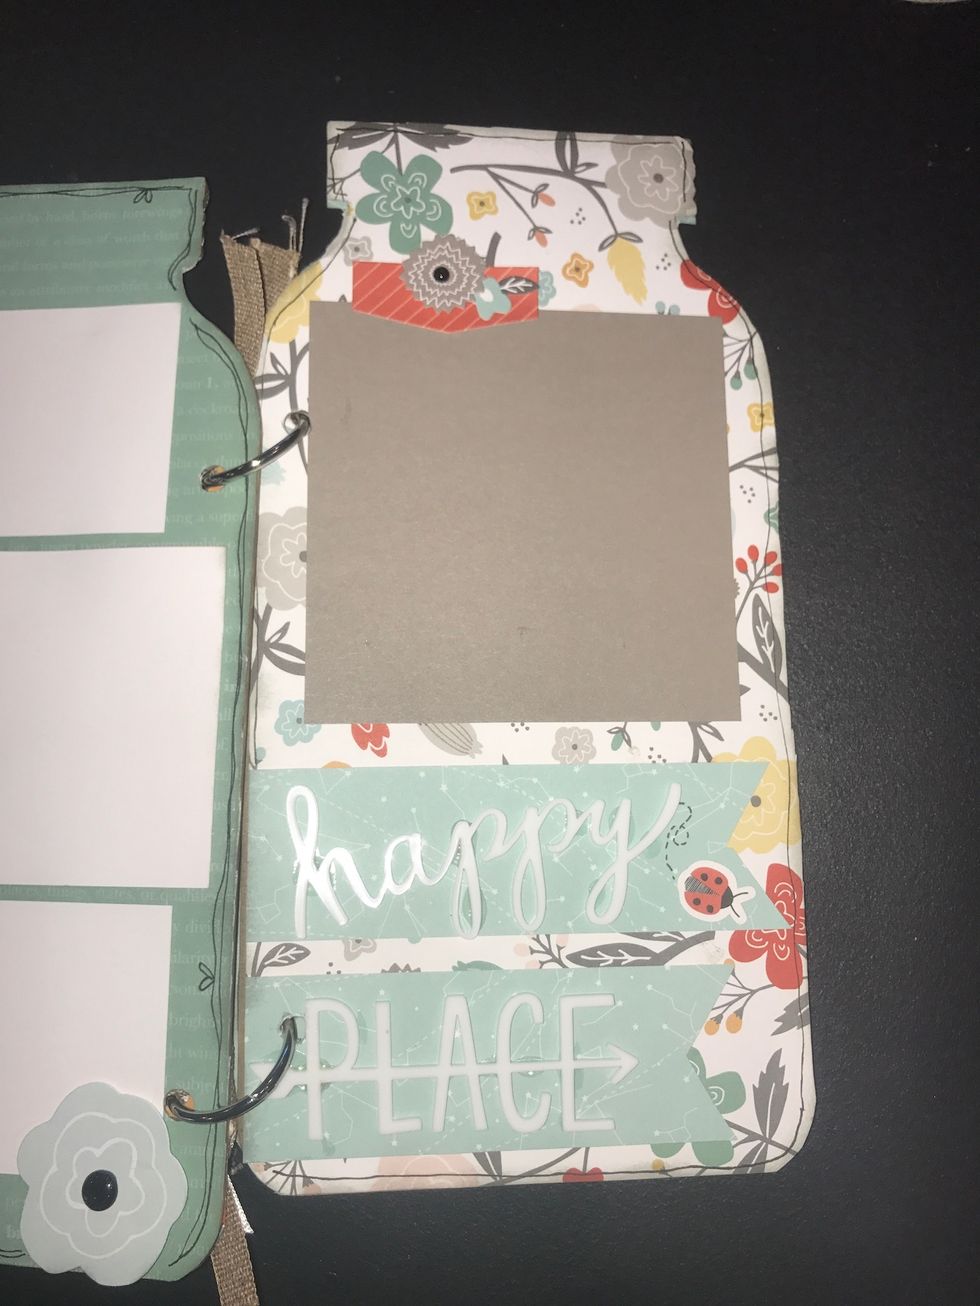
Cover album with flower paper. Add grey mat- 4" x 4". Decorate as shown. The two banners at the bottom are cut out of paper. The sizes are- 1 1/2" x 4 1/2" and 1 1/2" x 4". Dovetail edges.

Glue Happy Place on with a thin layer or liquid glass so it will hold. Liquid glass is a strong adhesive. I use it to adhere heavy embellishments.

Decorate as shown. The mat size is 4 x 6". Add stickers, embellishments and outline with pen if desired.

Cover album and decorate as shown. The yellow polka dot paper is a flip flap so your book can become interactive. Cut out polka dot card and put in flip flap. See next step for the instructions.
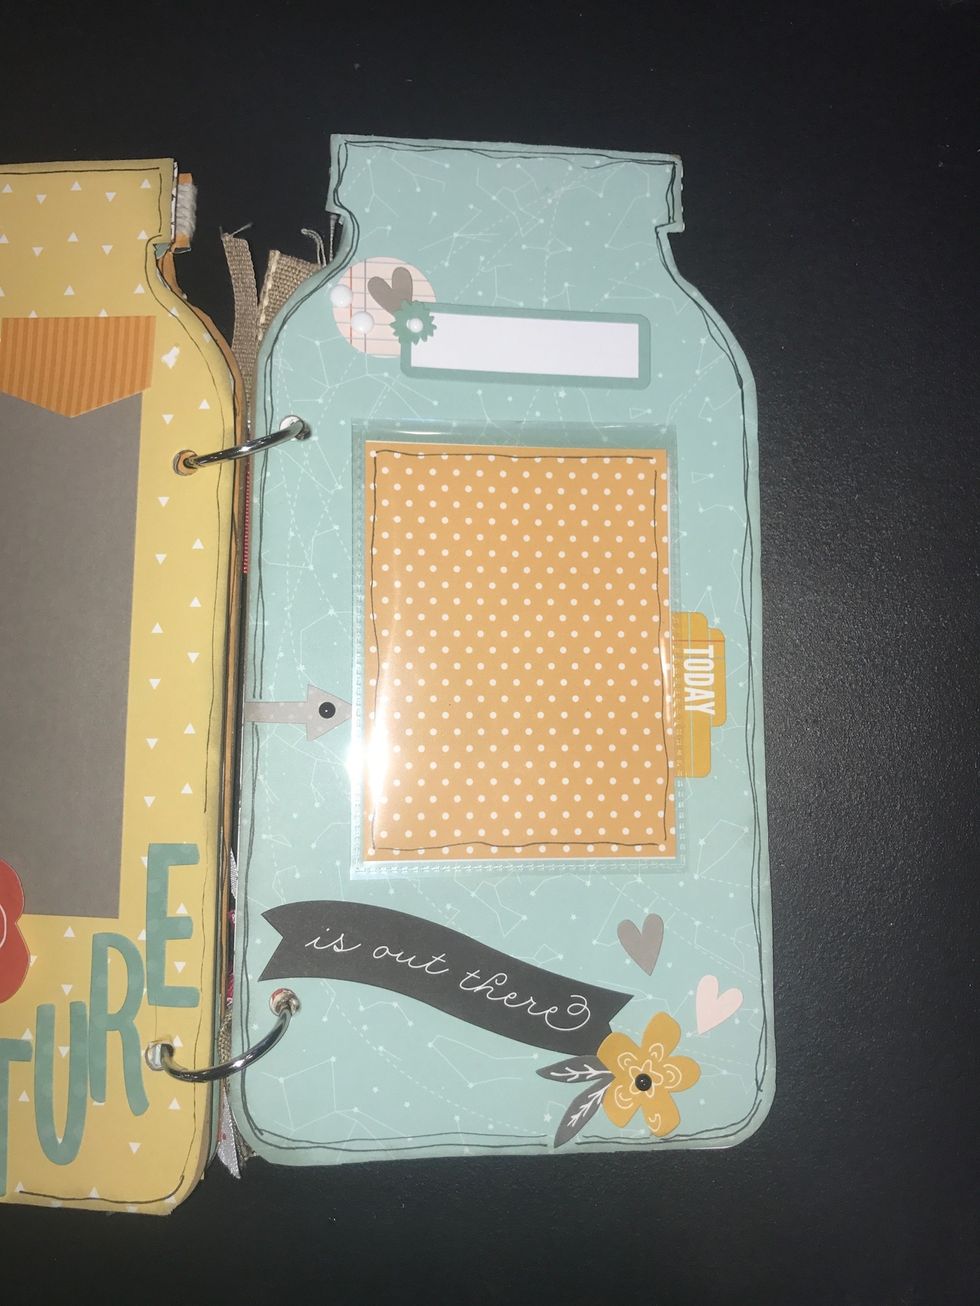
Fold flap over on flip flap and peel so that sticky side is on the outside. Put down over the butterfly card. Outline with pen if desired.
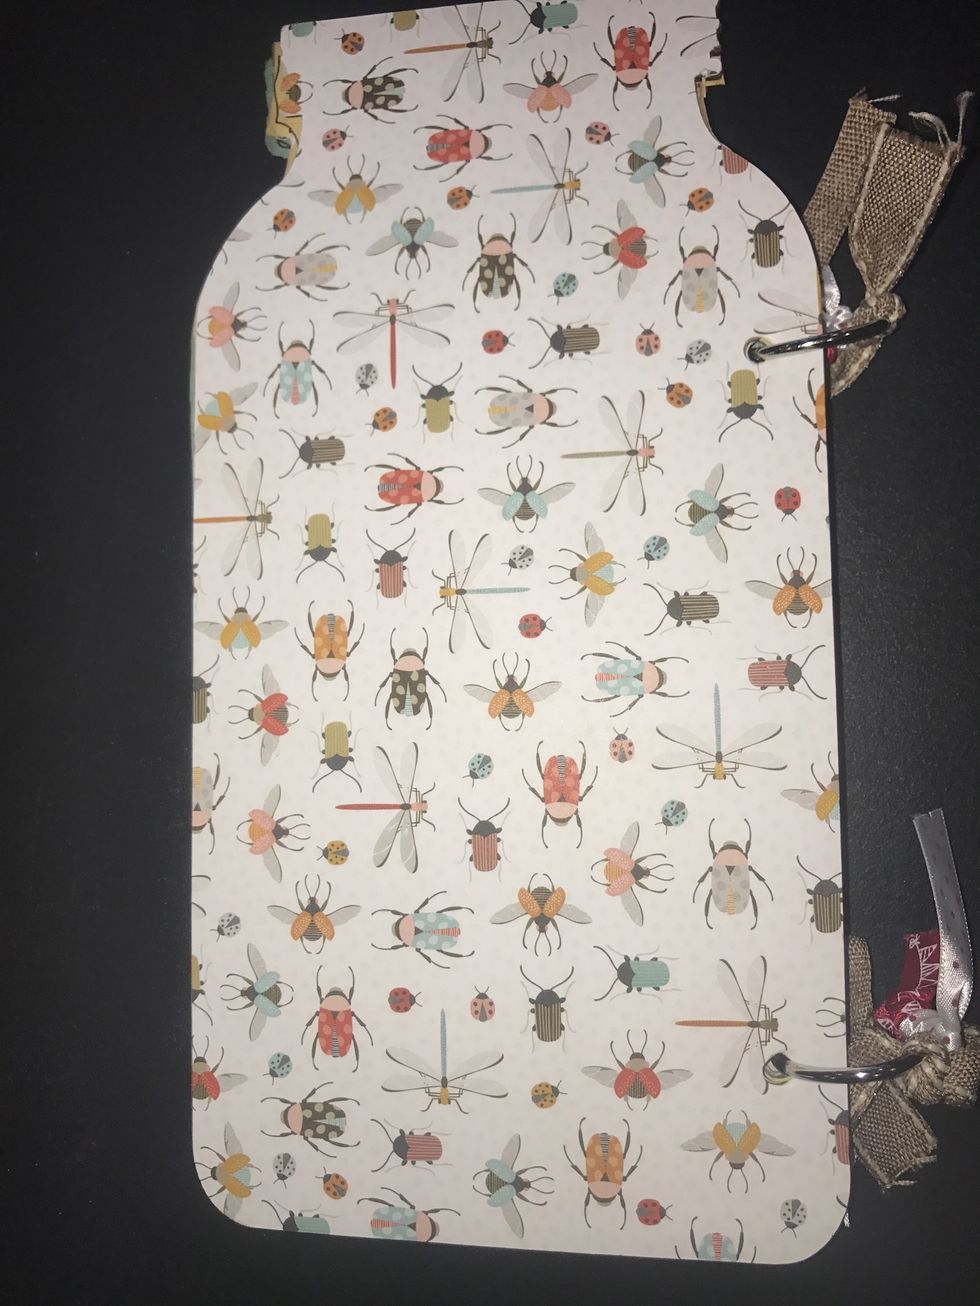
The back of the book is just bug paper. I left it plain!