The Conversation (0)
Sign Up
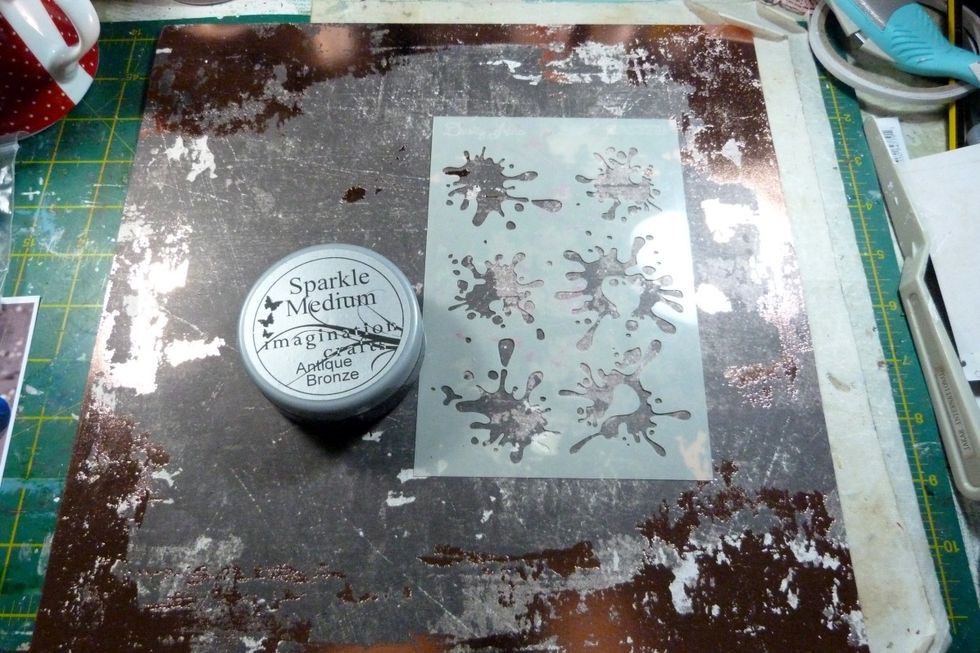
I used the Rossibelle paper 'Notes & Scribbles' as my background paper. I used a Bronze glitter paste through the stencil from the Mediums kit & added 'spats' in a triangle shape from right hand side.
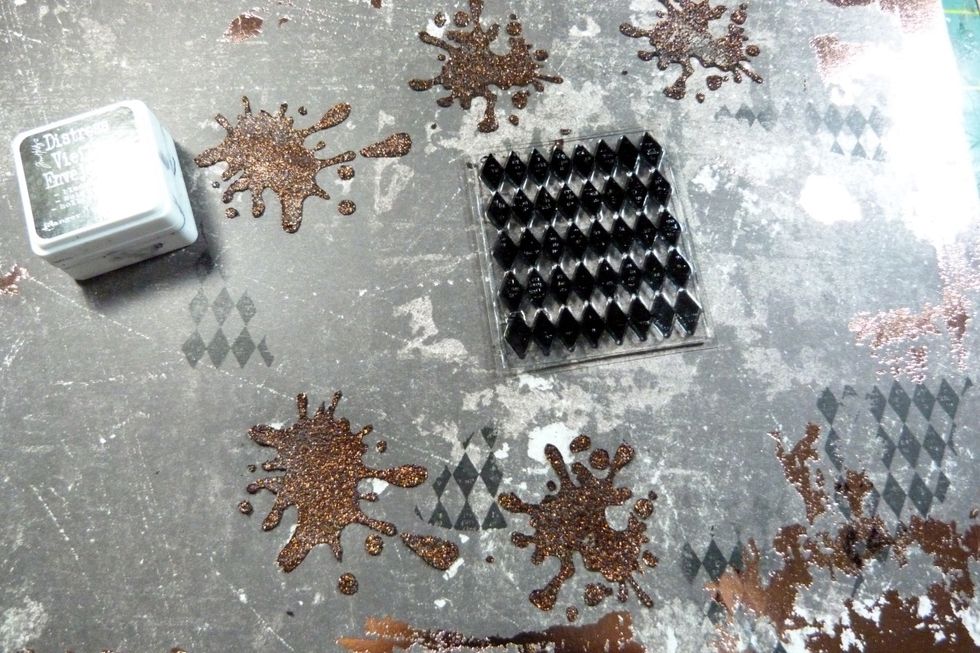
Next I added some stamping in between the dry glitter paste with a black distress ink.
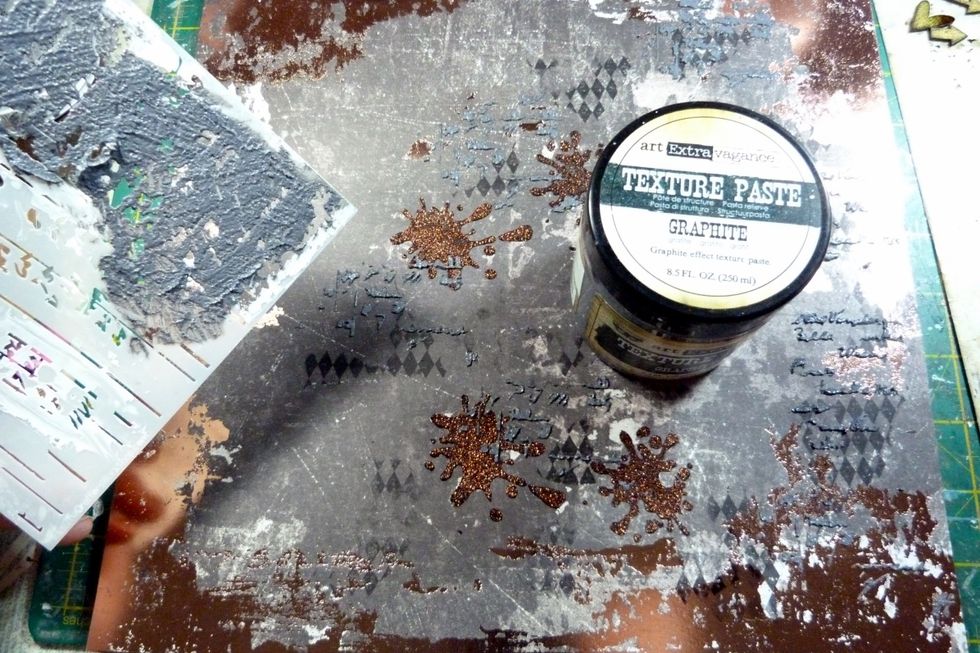
Then I added some graphite texture paste overlapping in places the glitter paste & stamping. Allow to dry.

Using some black acrylic paint & a paintbrush, flick paint over the layout. Dry.
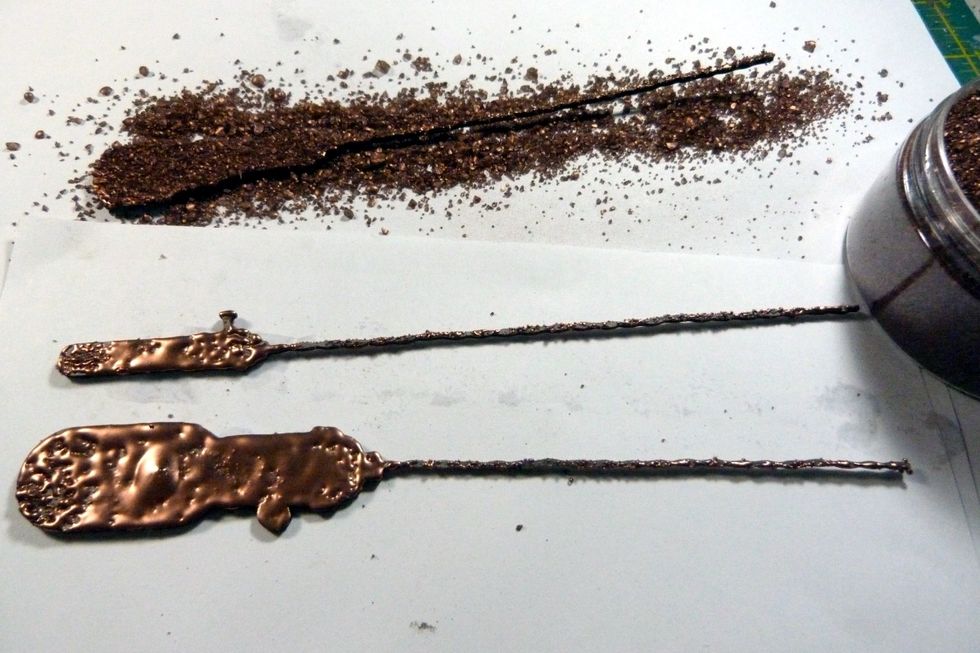
Triple emboss the Light Bulb Chipboard pieces from the Main kit with Ultra Thick embossing enamel (UTEE) in bronze.
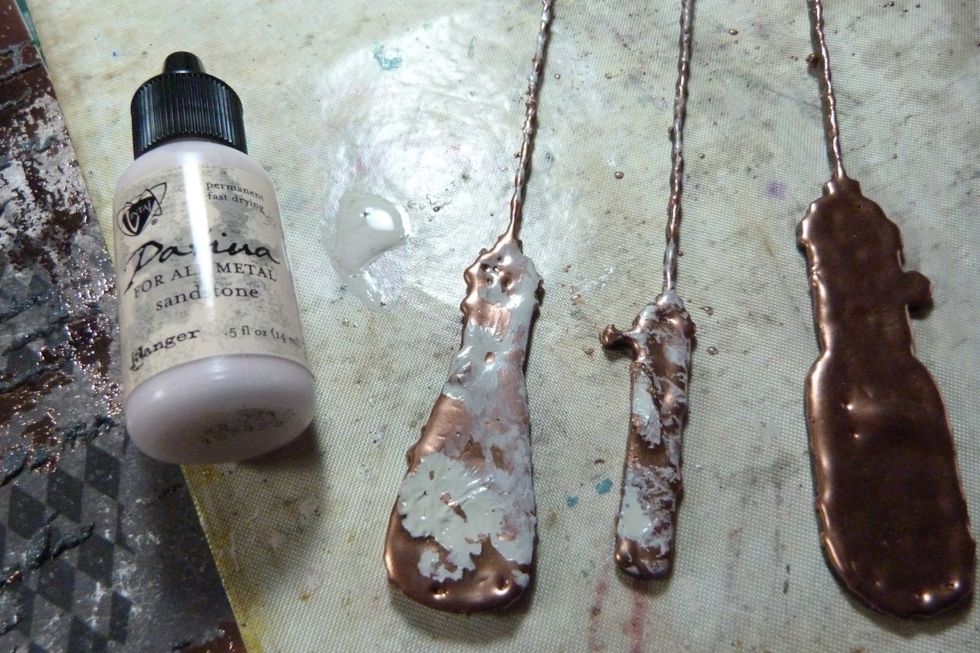
I then decided to see what happened if I added the Vintaj Patina Metals (from previous kit) to the UTEE - I loved it!
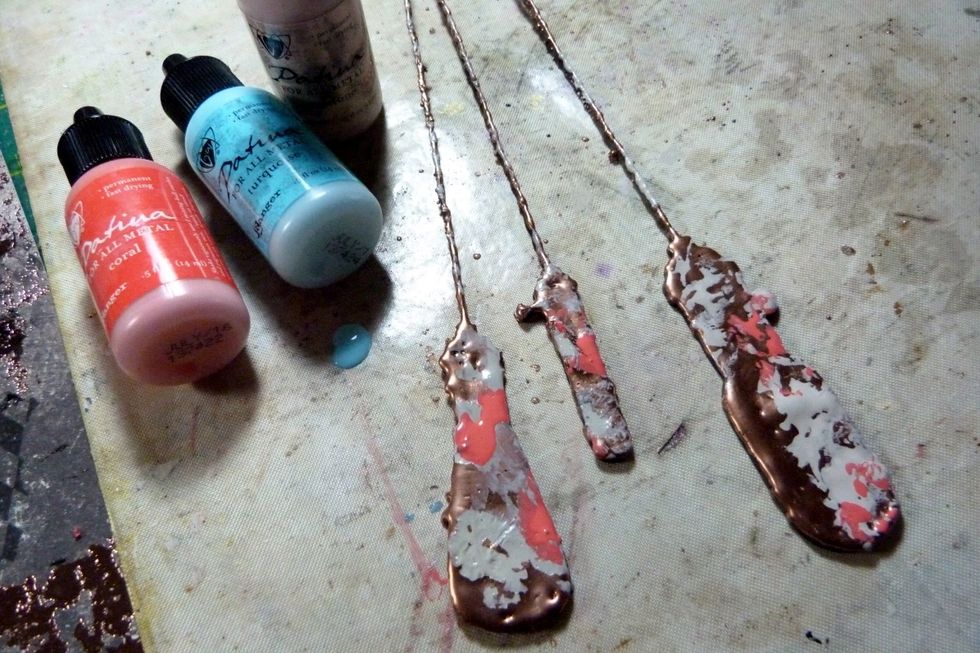
I dabbed the other 2 colours of Patina onto the bulbs with a clothe to smudge together.
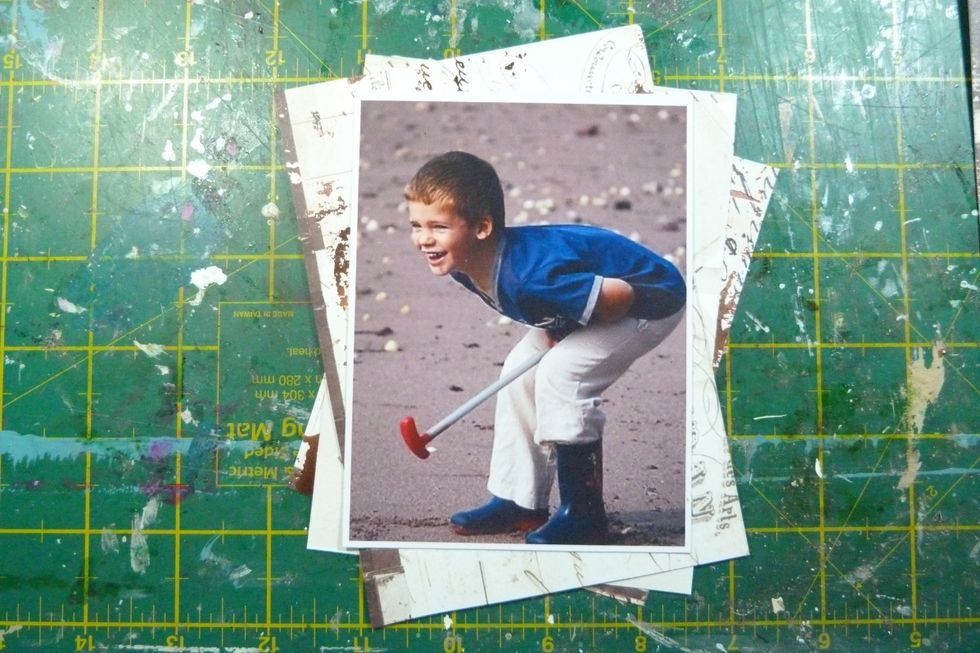
Cut 3 pieces of PP from the 'Nostalgia' paper 1cm bigger then the photo. Layer them up slightly offsetting all of them at an angle to each other.
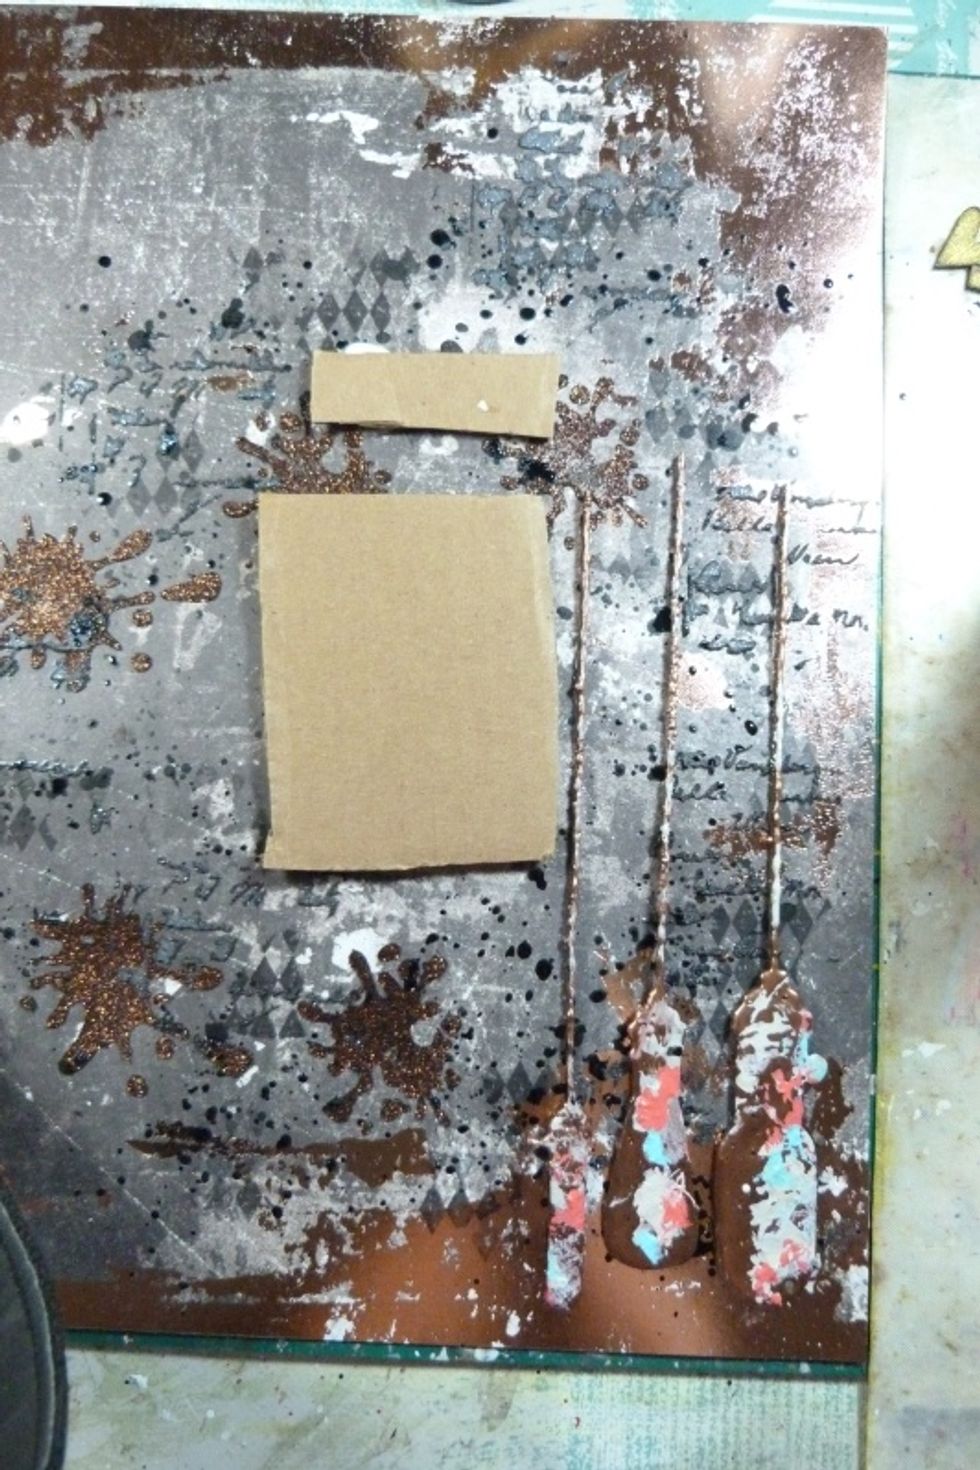
Use some cardboard to mount the photo and glue on to the layout to give it some dimension, along with the embossed chipboard light bulbs.
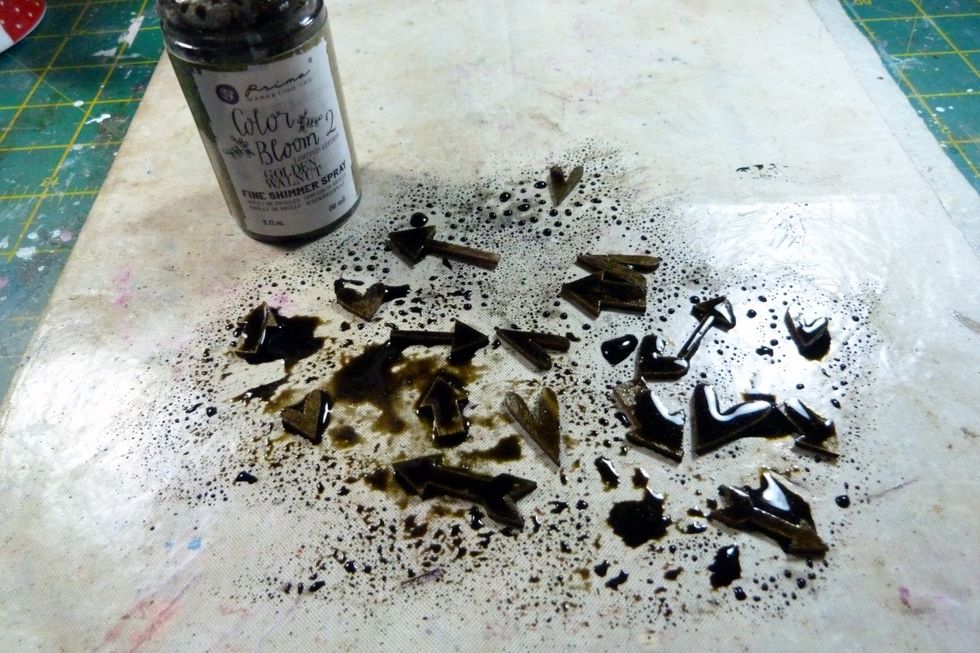
Use the SC Wood Veneer Arrows & Hearts from the main kit & spray with the Color Bloom 2 Golden Walnut Spray from the Mediums Add On kit. Allow to dry.
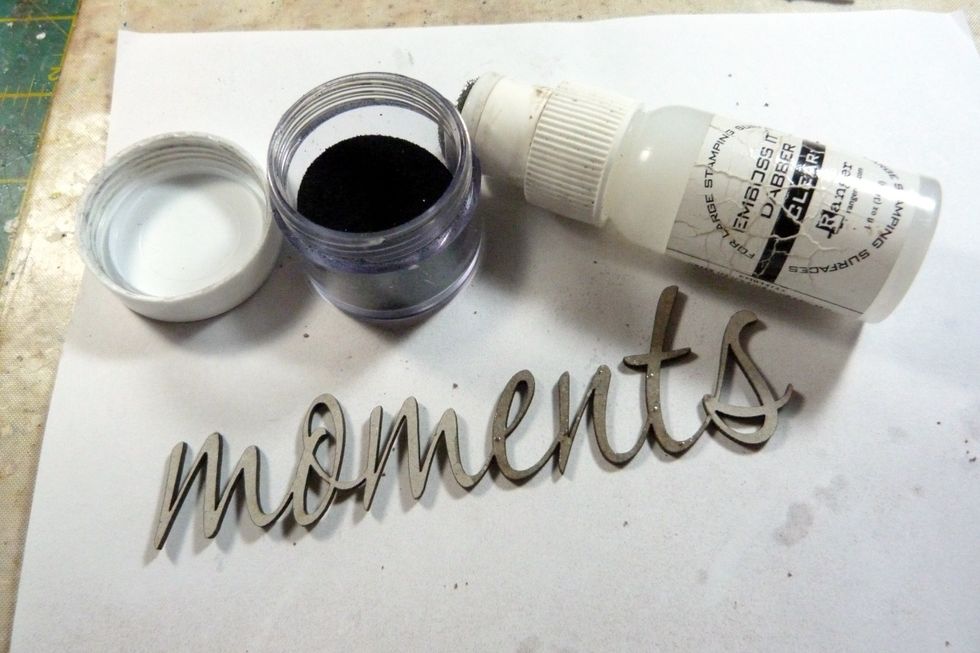
I used the 'Moments' Dusty Attic chipboard word from the embellishment Add On & covered with black embossing powder.
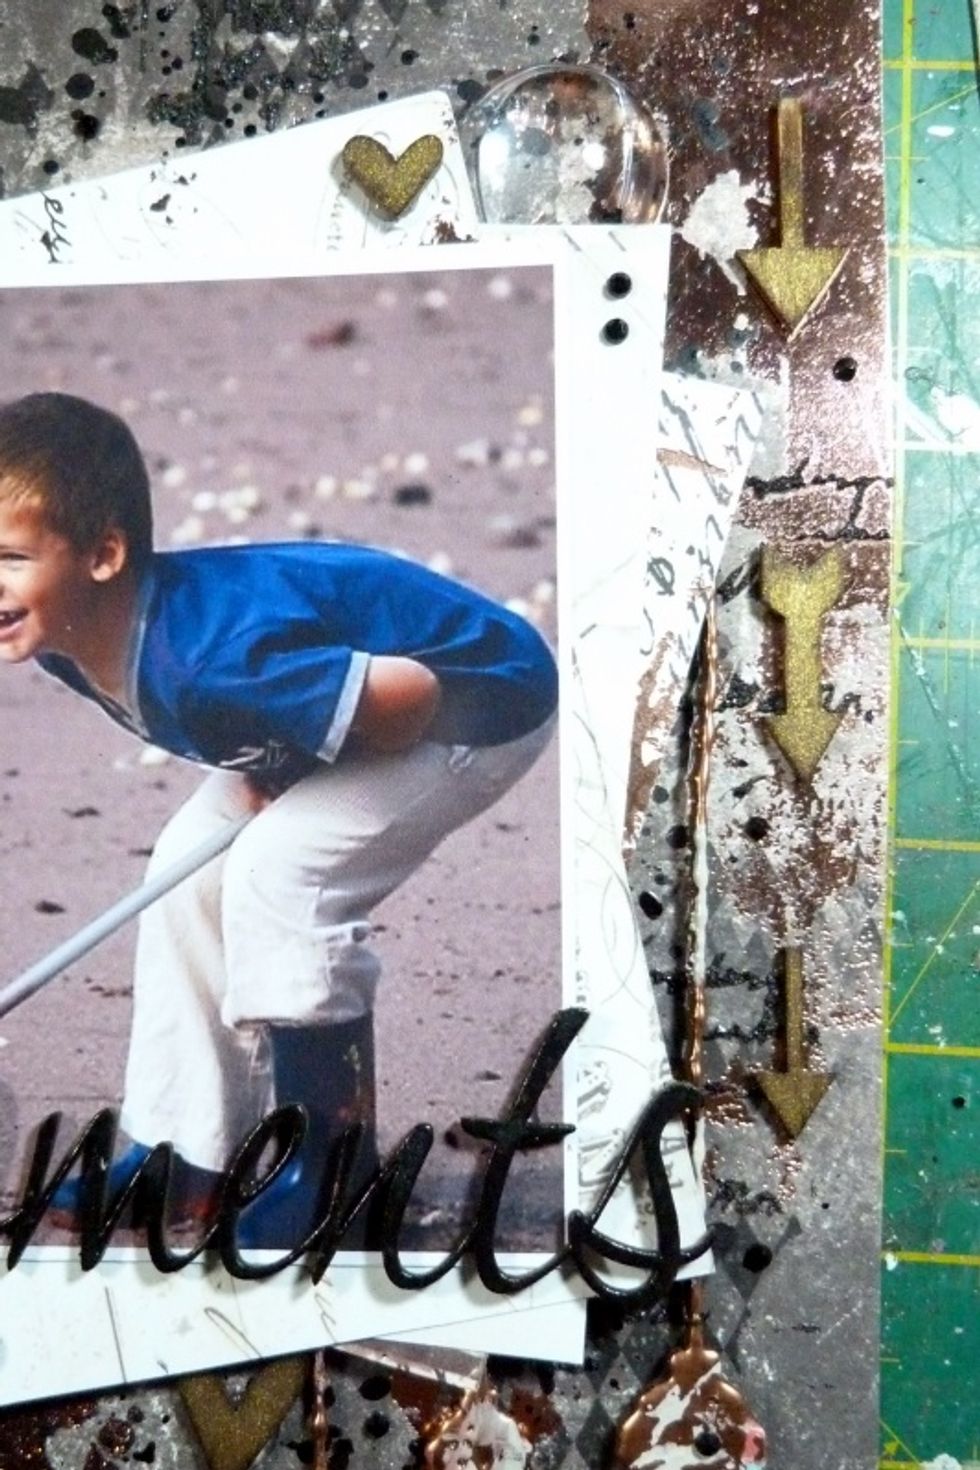
Add the 'Moments' word to the bottom of the photo. Add some Arrows down the right side of the photo & some hearts under the edges of the photo & big glass dome to the top right of photo layers
Now add some arrows across the layout from the photo on right towards the left hand side, together with some of the glass domes. Lastly add some black crystals to two top corners of the PP layers
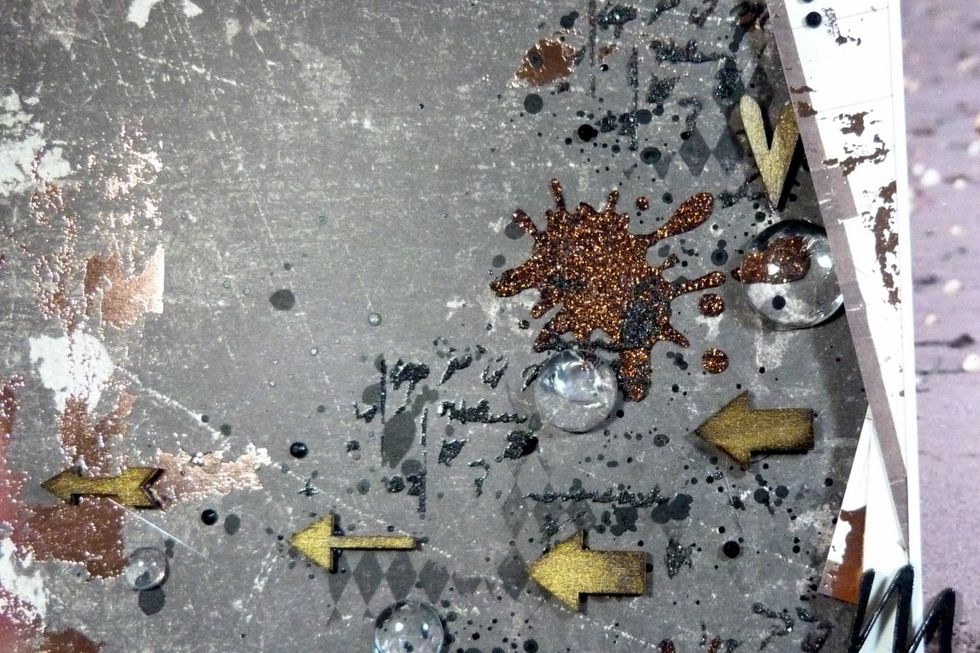
Here is a close up of the mixed media background and the glass beads from the Embellishment Add On.
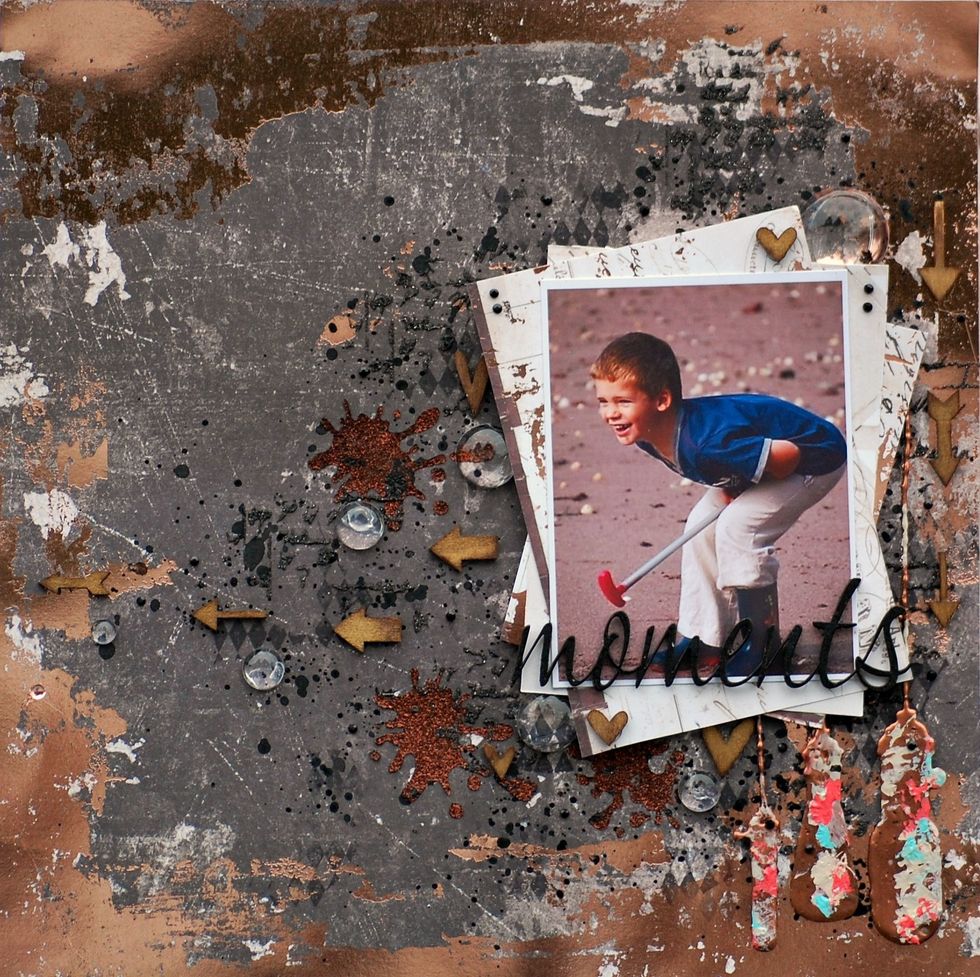
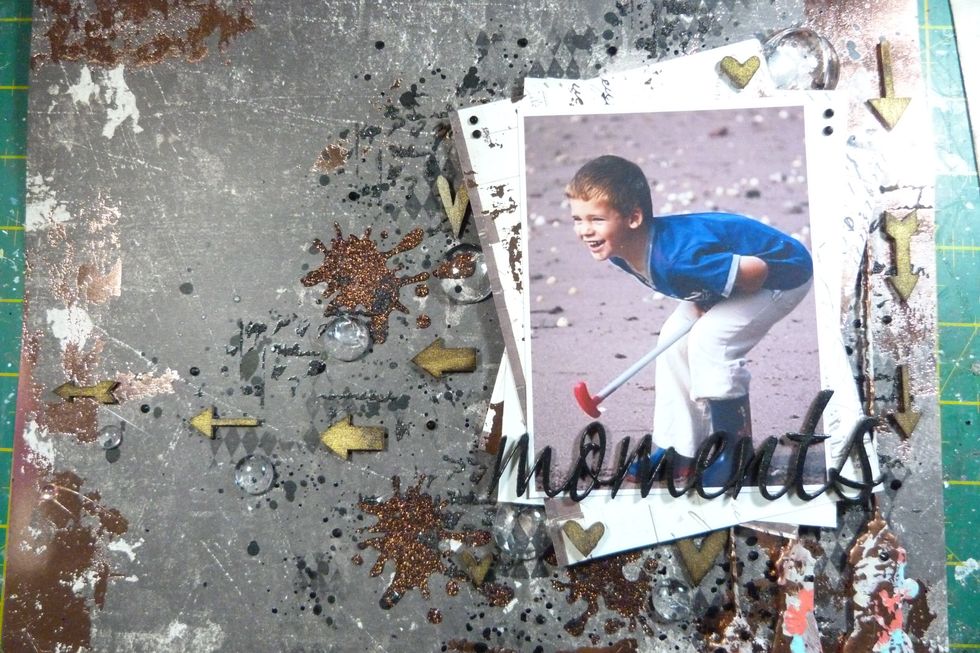
And here it is your finished layout.
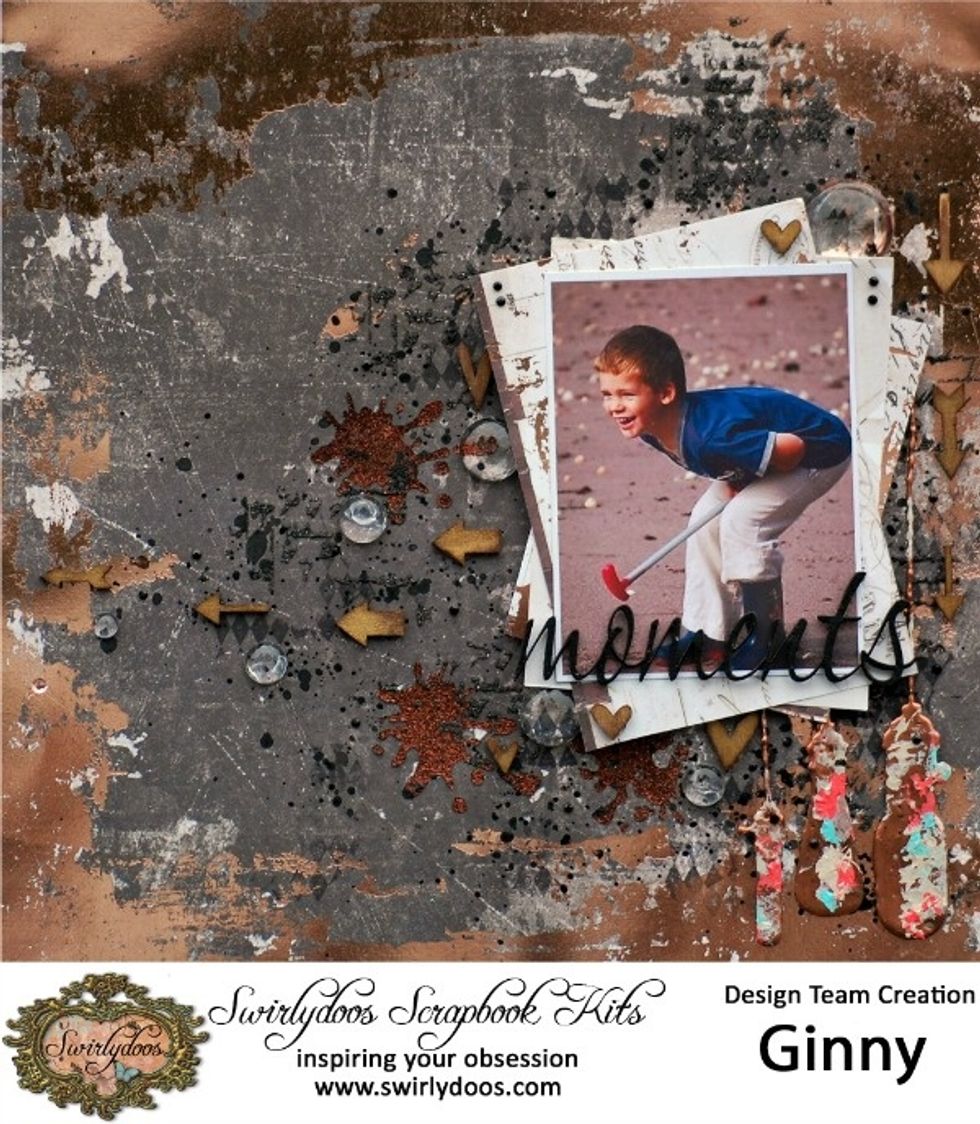
This is a Design Team project I created for Swirlydoos Scrapbook Kit Club. For more details on subscribing to the kits please visit http://swirlydoos.com