The Conversation (0)
Sign Up

My husband gave me permission to paint the entrance to his new wood shop. This is an inside wall of our garage in front of where I park my car, leading to his shop. We were calling it his Man Cave...
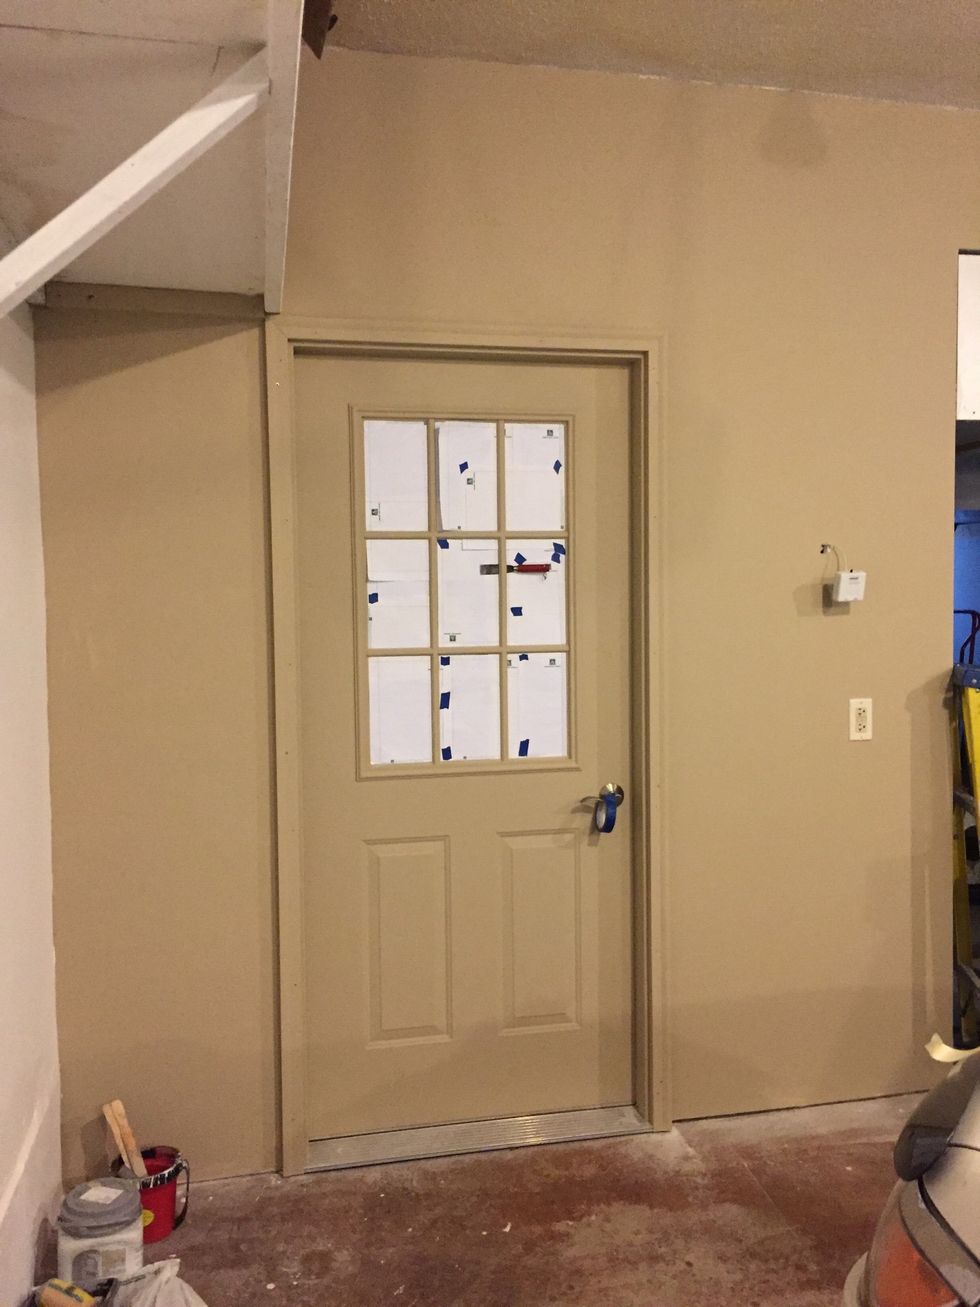
I began painting a solid beige base coat on the wall and steel door. I chose to mask the windows first so there'd be less paint to clean off the glass.
I've had a double "wooly" roller / pan for years I use for faux painting walls. Choose 2 colors close in value. This time I experimented with a third color in another pan & played around more.
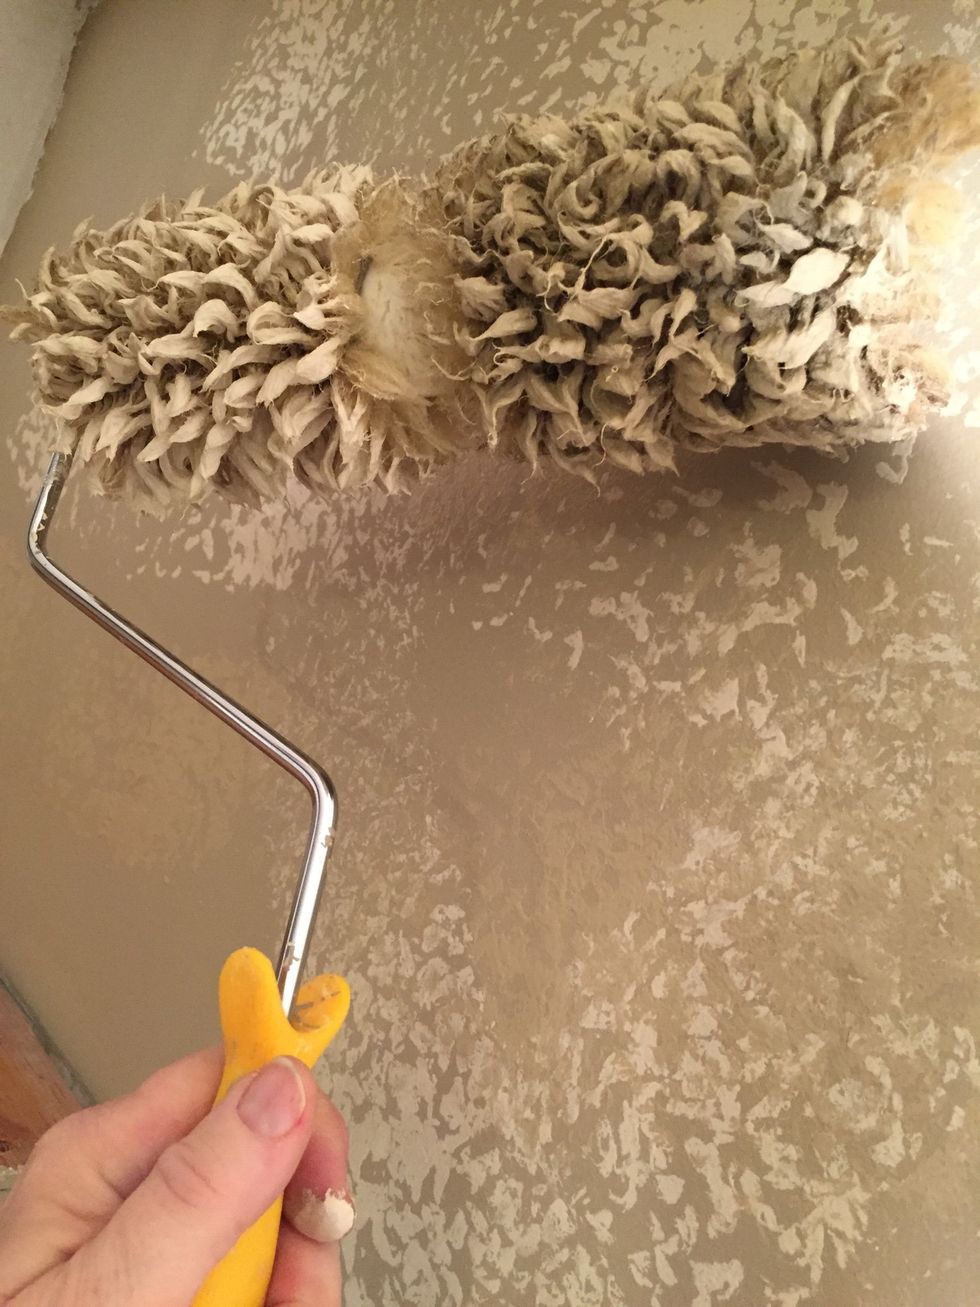
As you roll, you will get the hang of applying 2 colors. It's pretty forgiving. You can get the look of stone with this method. Don't be afraid to be playful.
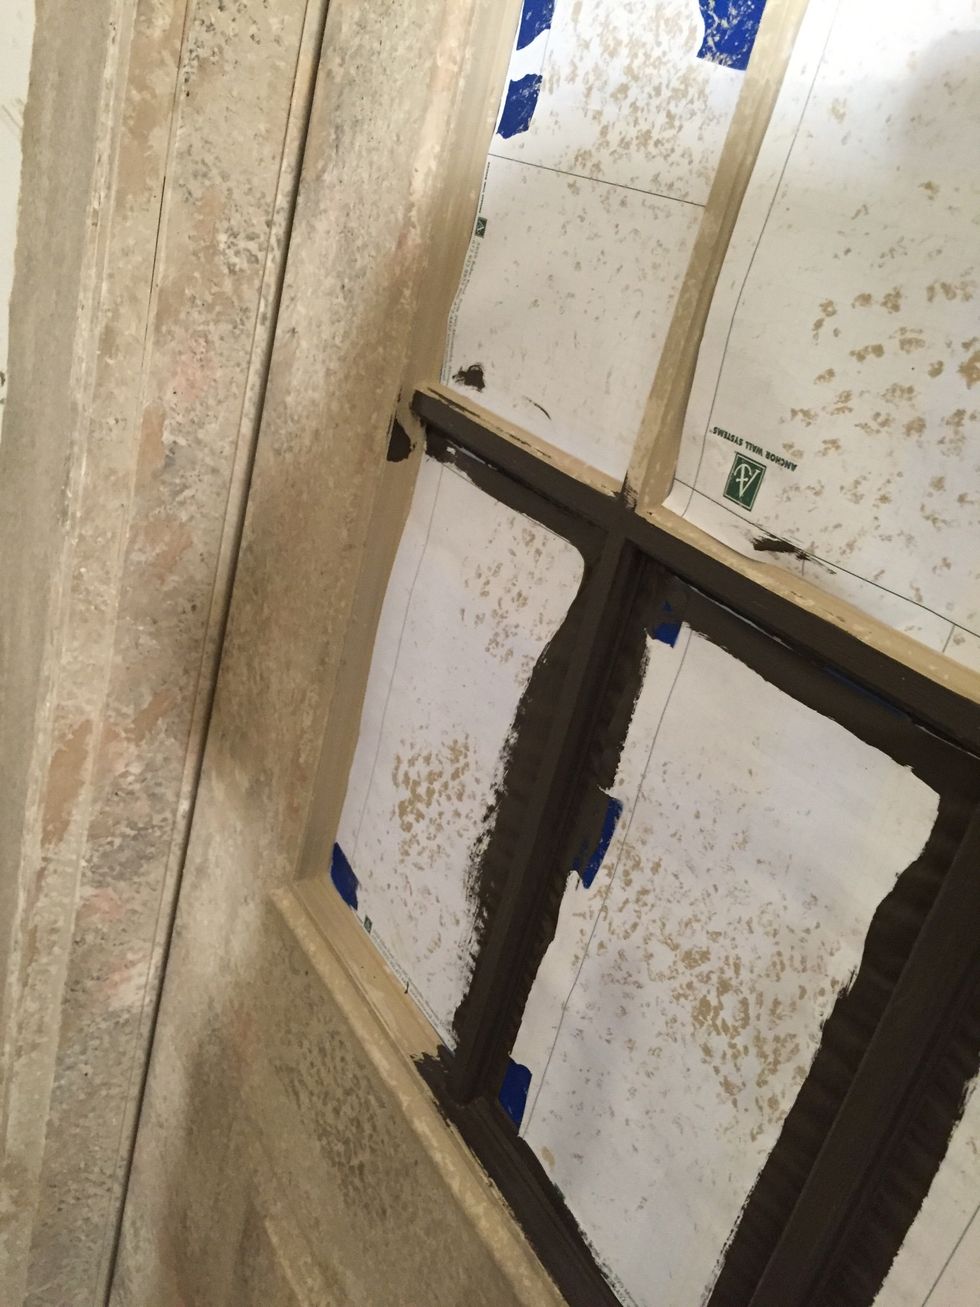
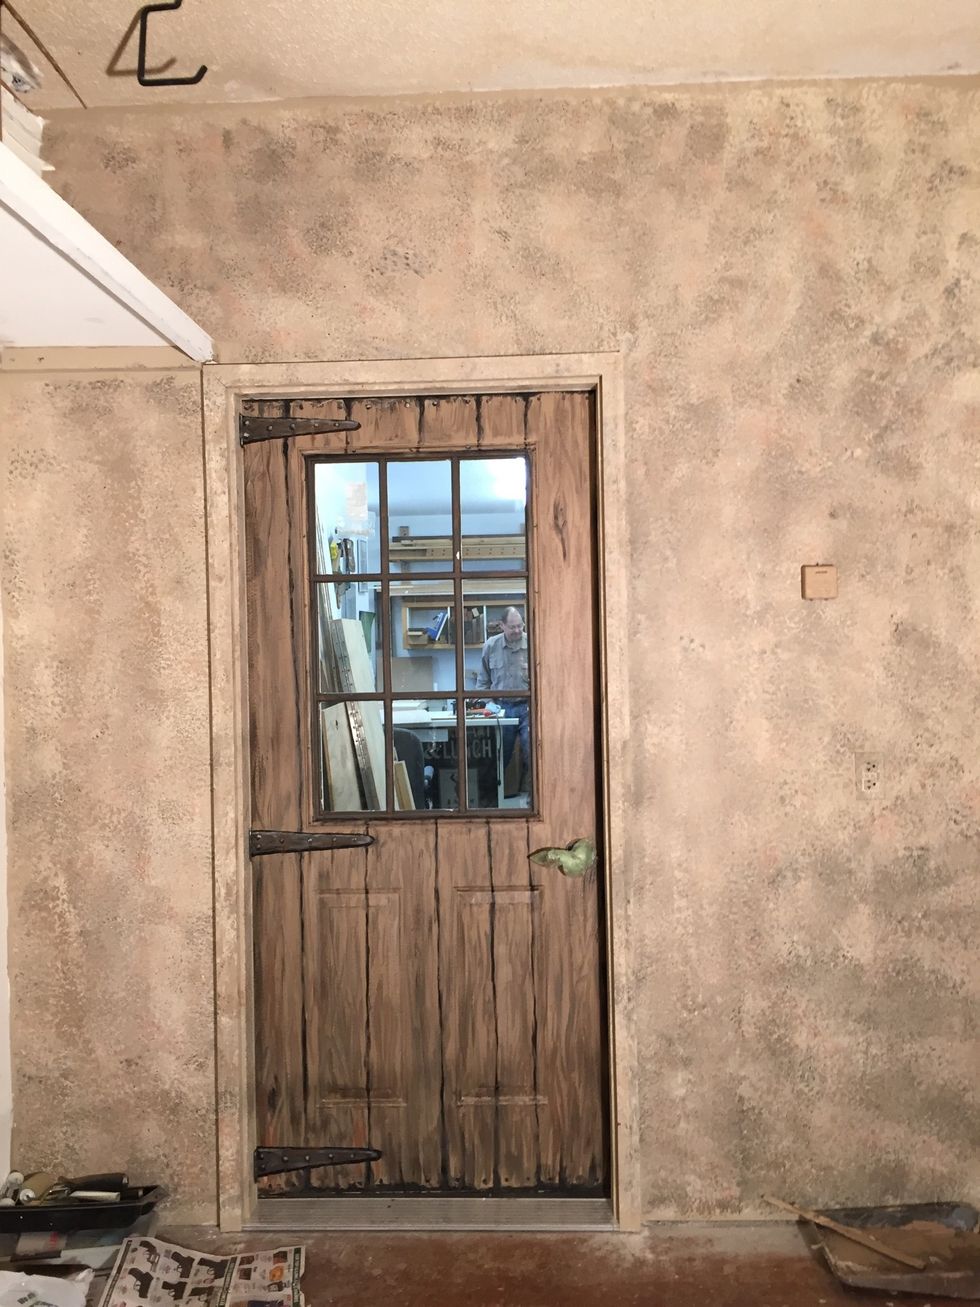
I painted the grills between window panes a black-ish brown. I then decided to make the door look like it had old wood grain and keep the walls as stone.
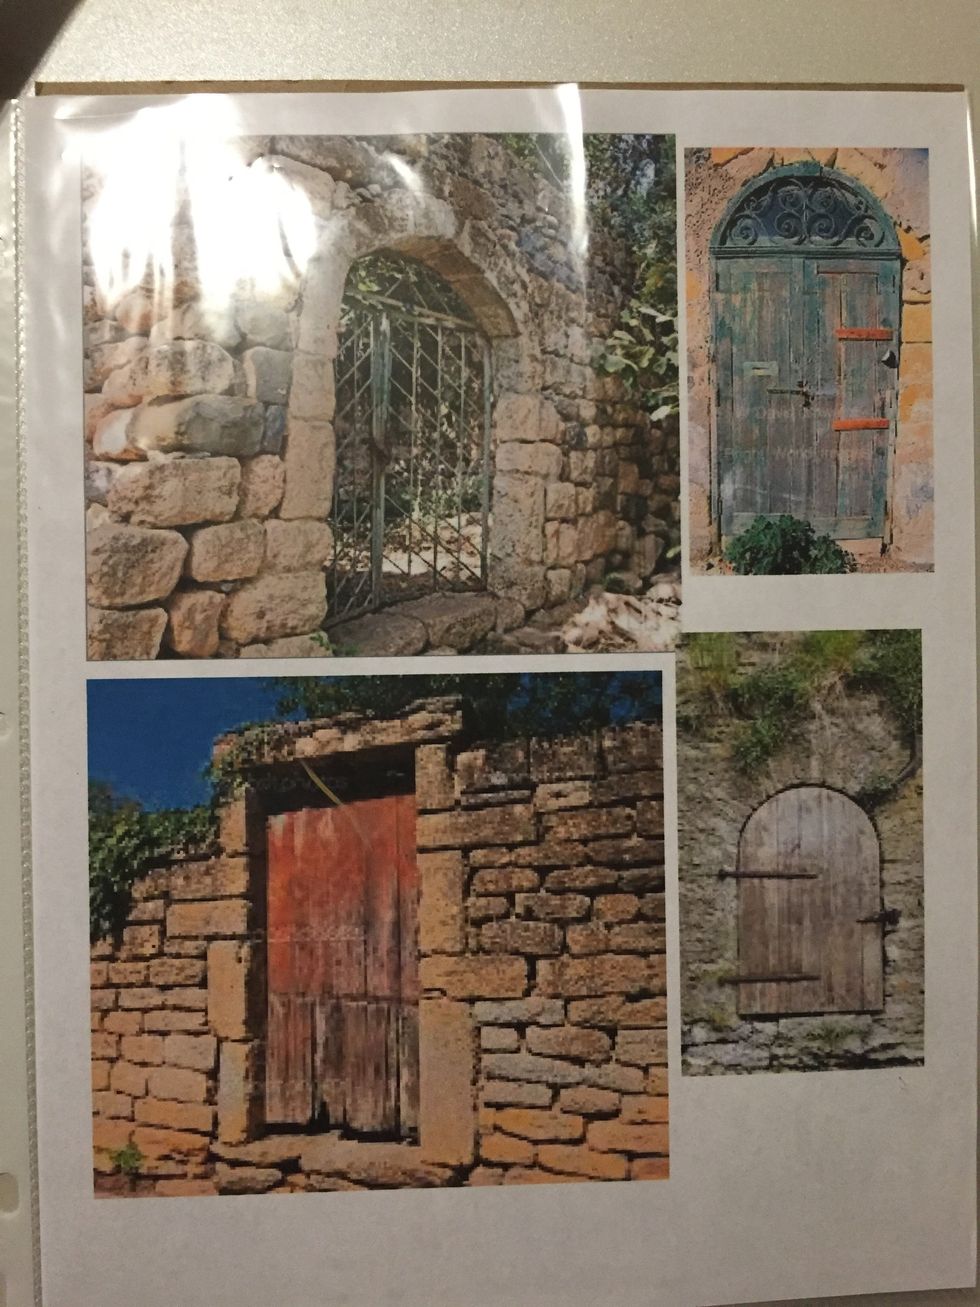
I Googled images of castle and cave doors to give me ideas... because of these reference photos, I decided to paint smaller stones around door & paint on hinges and massive wood grain.
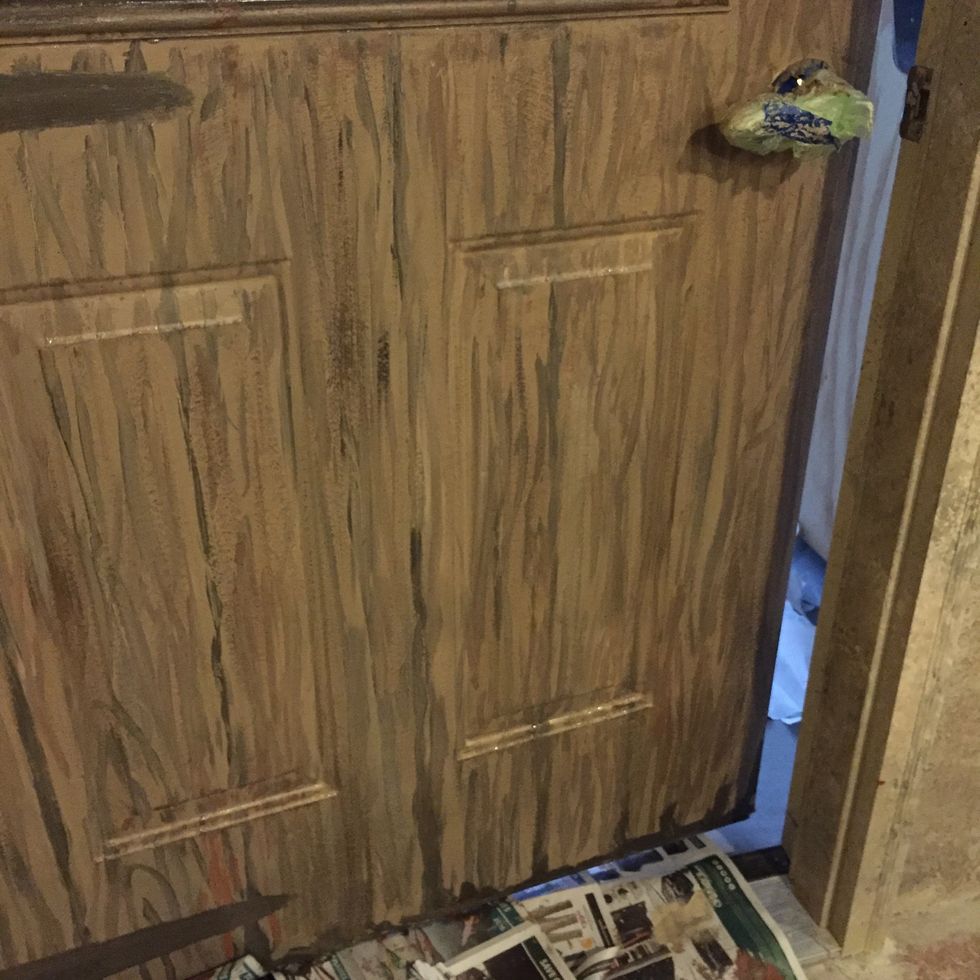
To create wood grain, loosely paint vertical lines with the darker and lighter colors, creating knots.
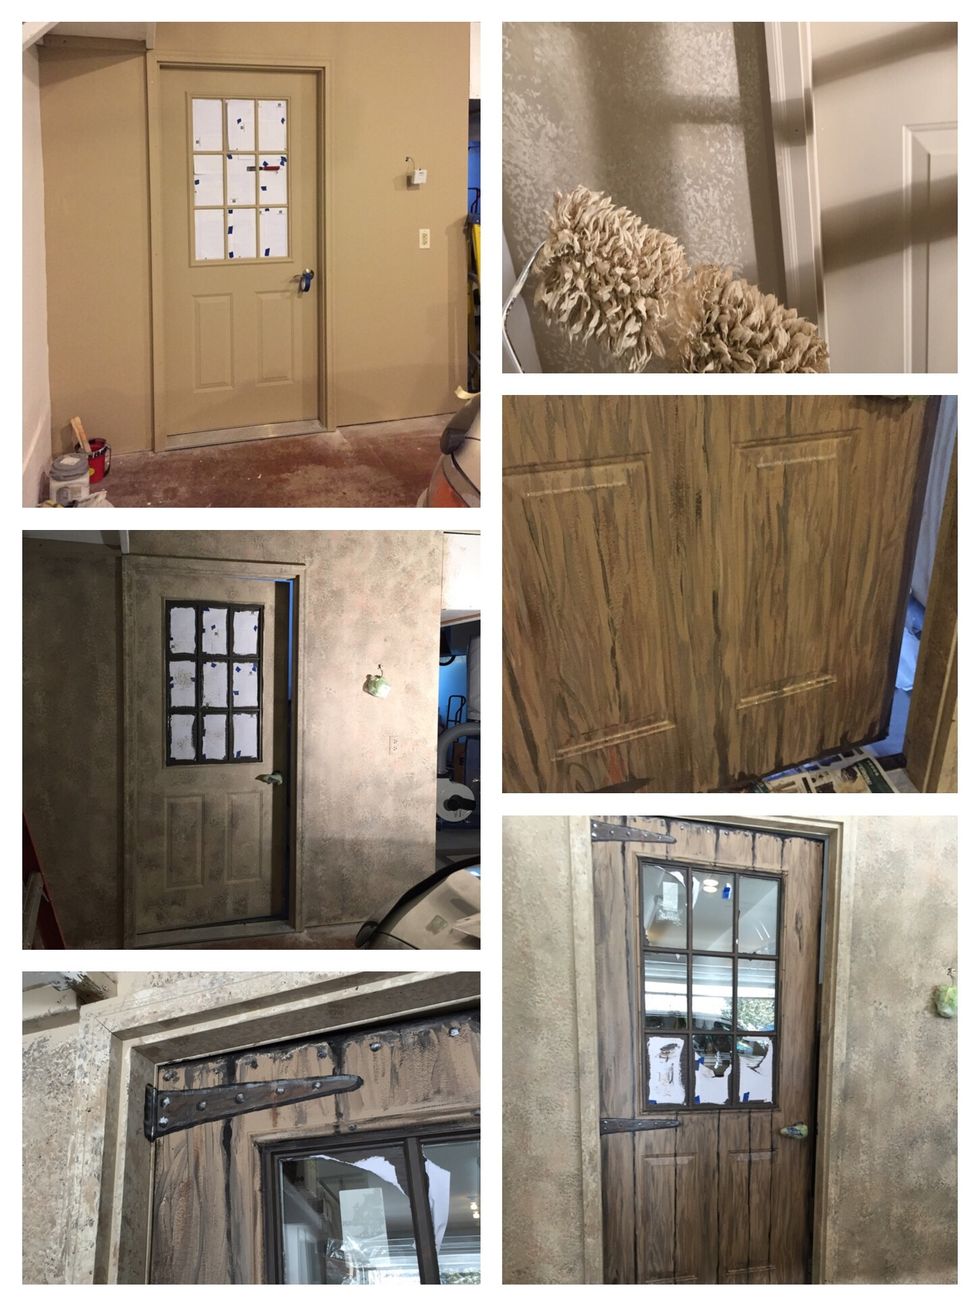
This collage shows some of my painting on the door. I painted hinges and nails, making it look distressed, plus a little silver paint here & there.
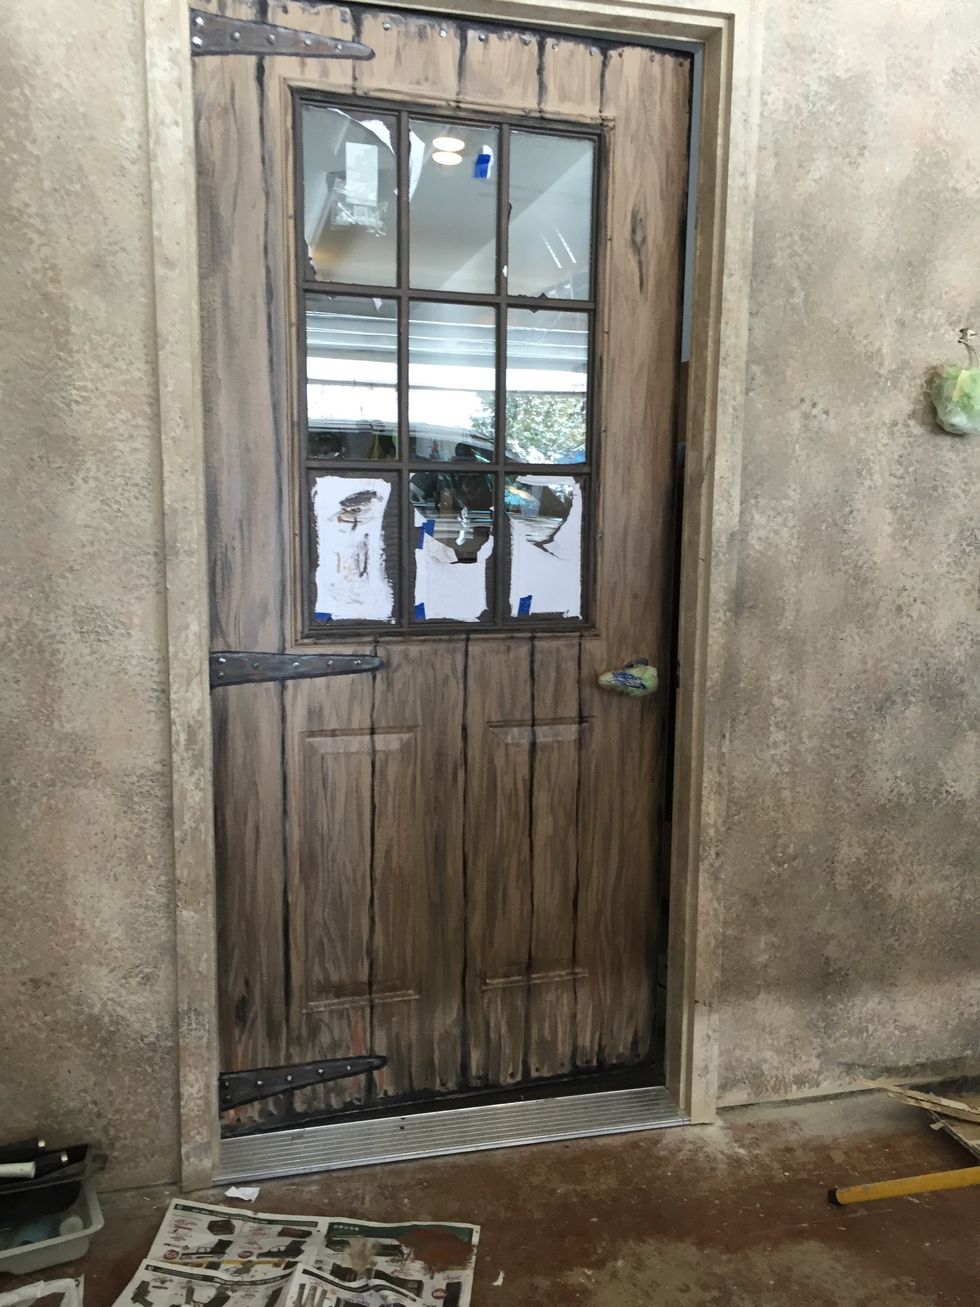
Finished Door. I used some of the black/brown paint to make the door appear to have a space at top & bottom. I wanted it to appear to be an old, massive creaking door.
Once the door was done, it was back to the wall. The faux painting, done, it's taking on a textured stone look.
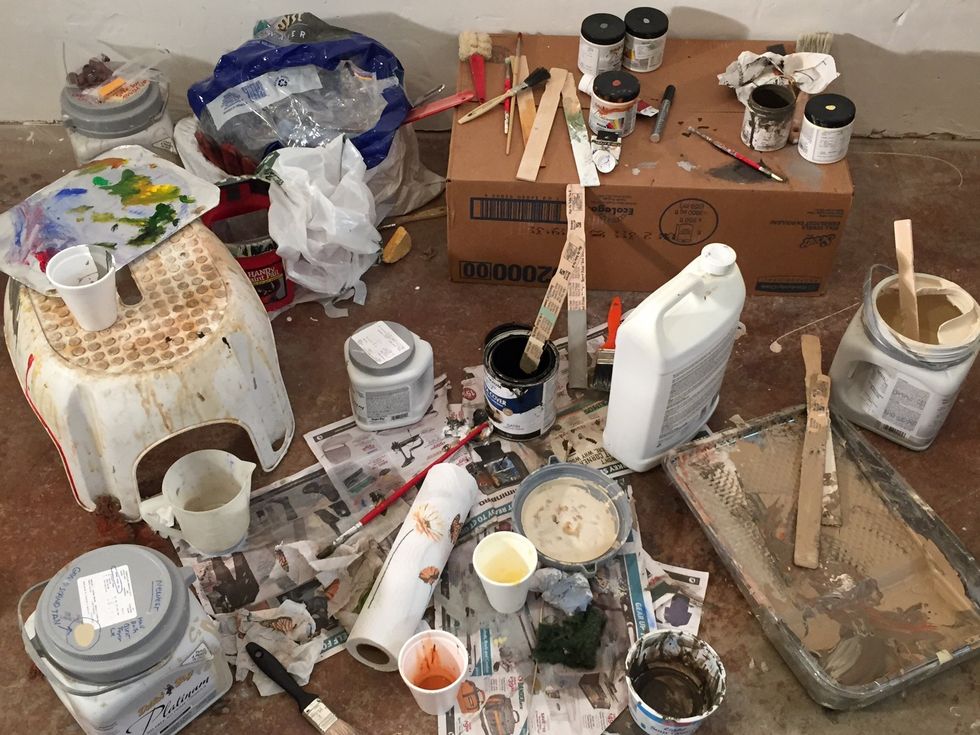
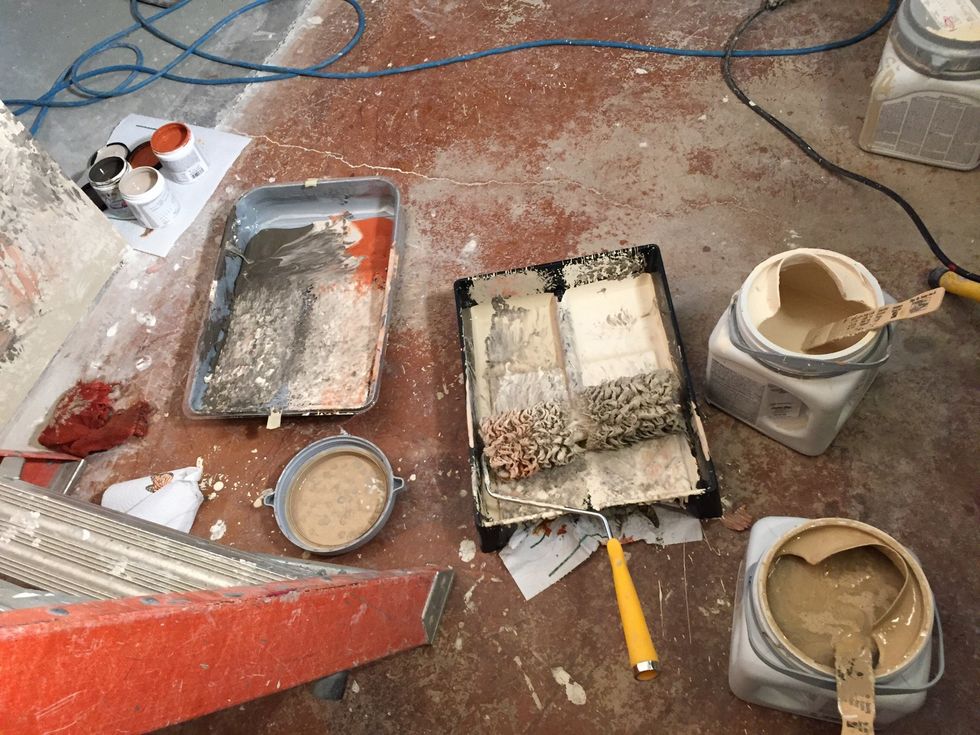
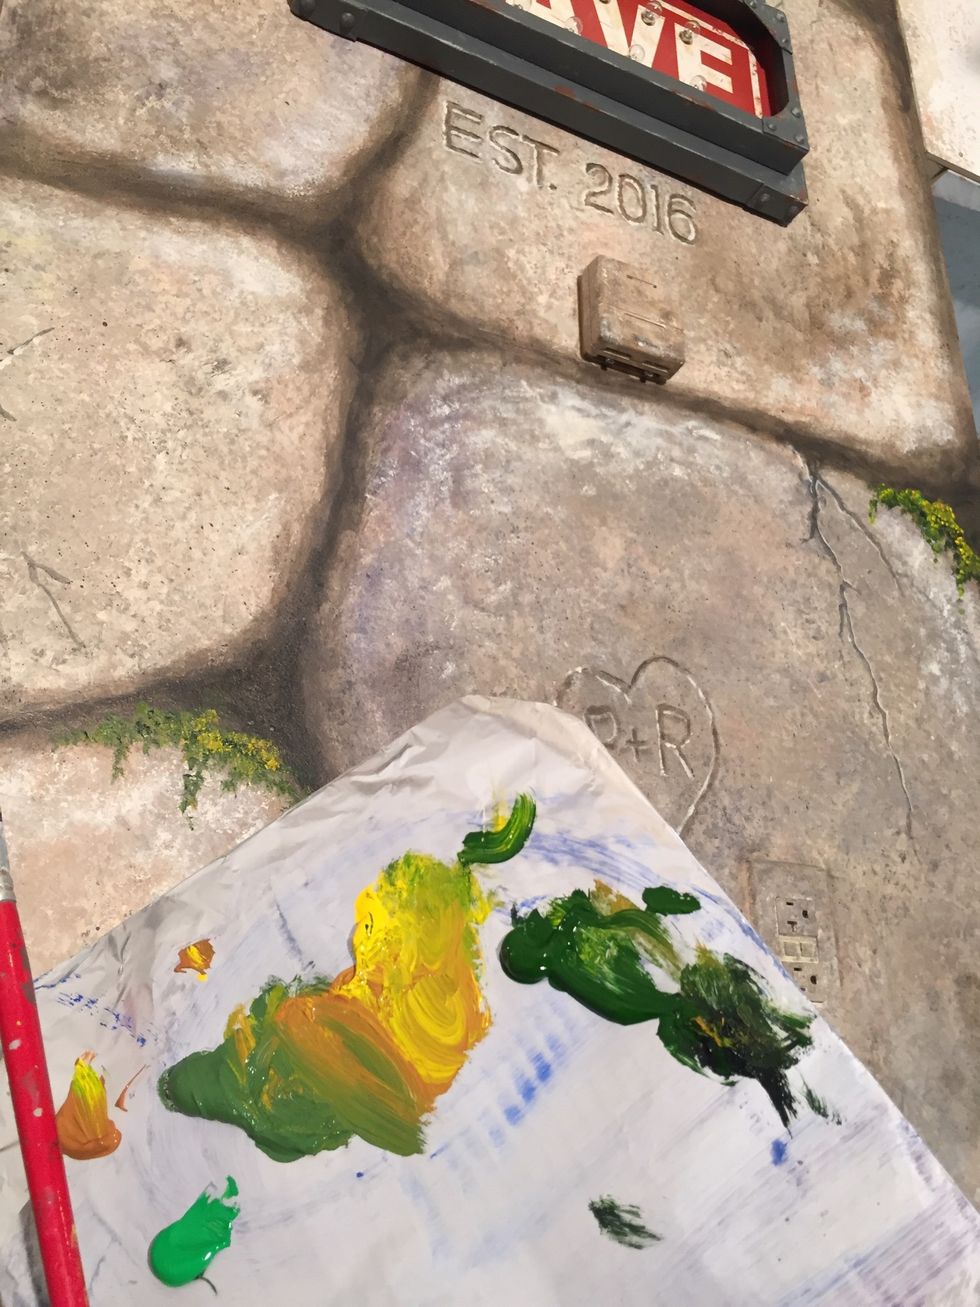
This will give you an idea of the supplies, paint, brushes and FUN MESS I made nearby as I created!
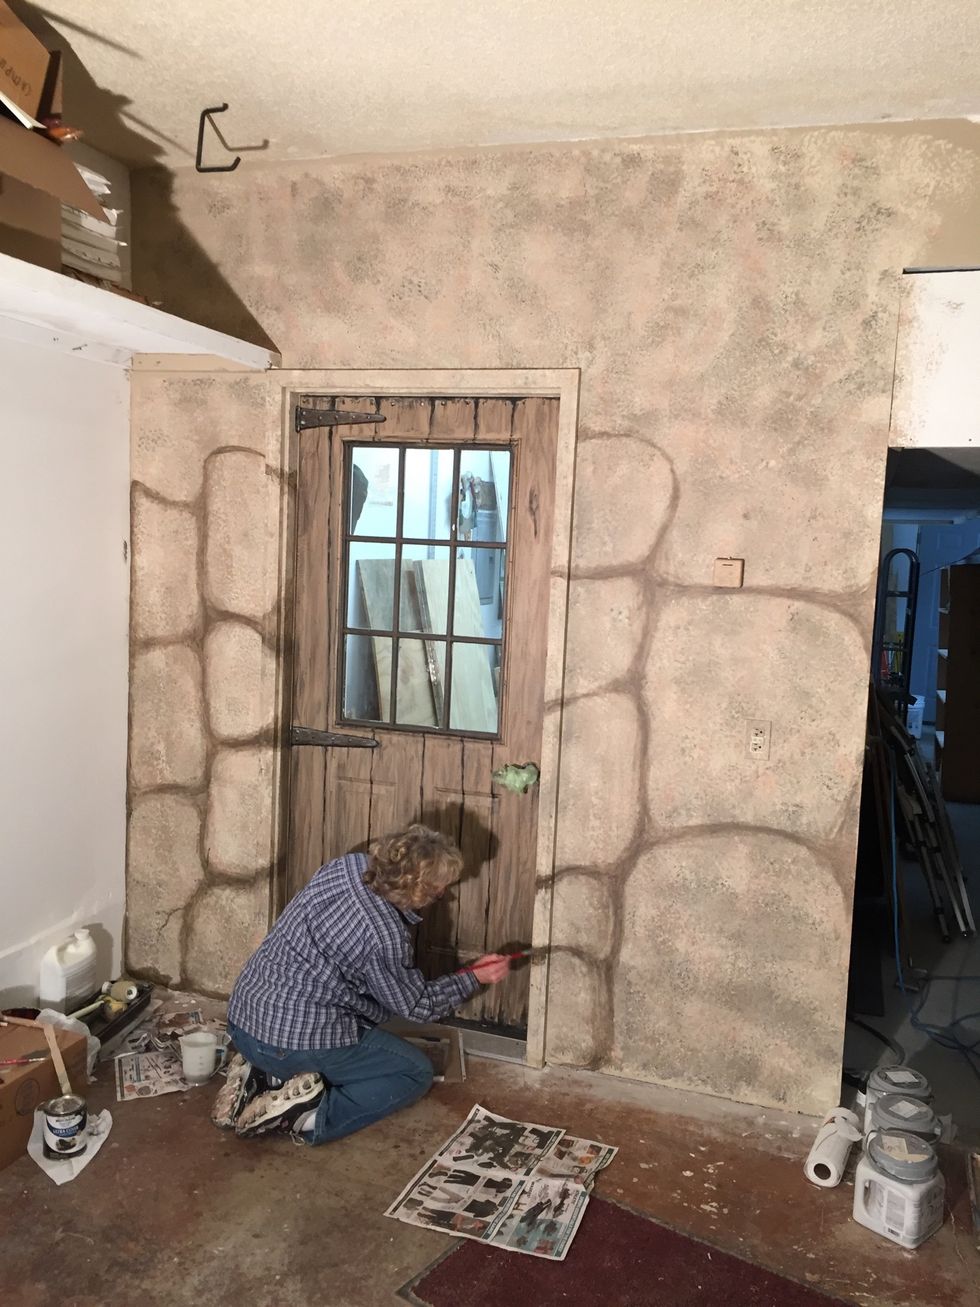
Total time was 5 hrs first day plus 3 the next. This began the most fun part... making STONES appear to be piled up to look like a big CAVE!
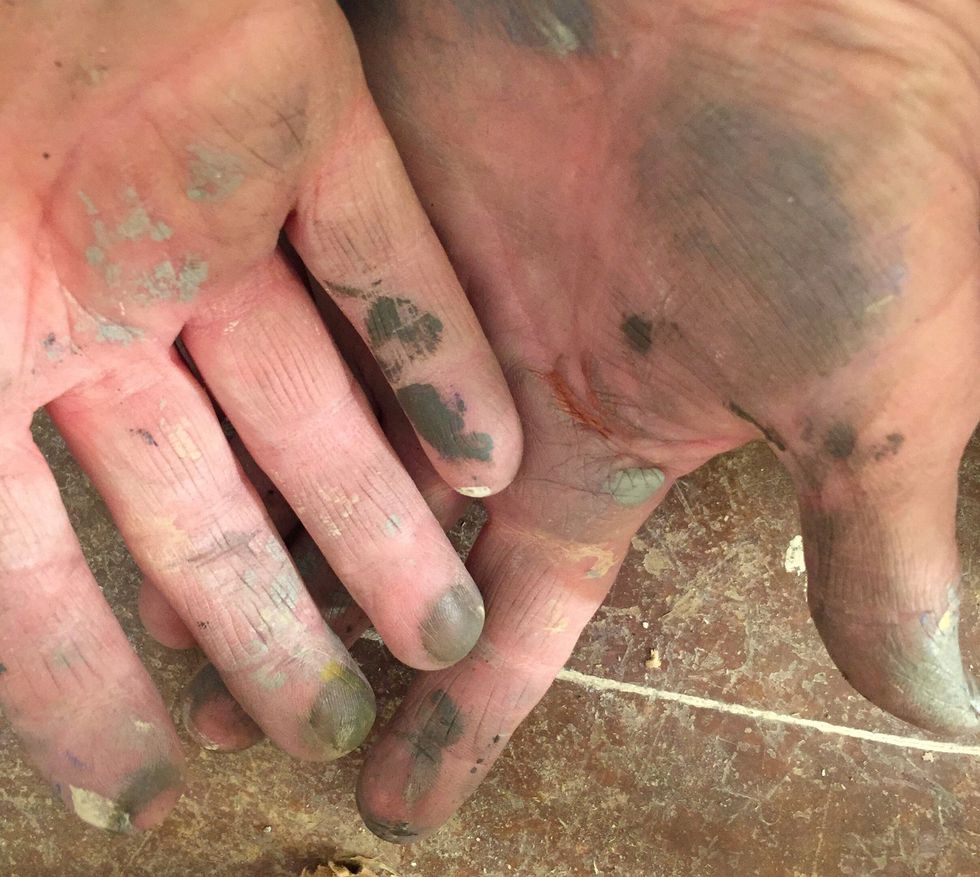
Expect to really “get into it!” One reason I prefer latex paint is it thins/washes with water. Finger tips are also use to paint with as well!
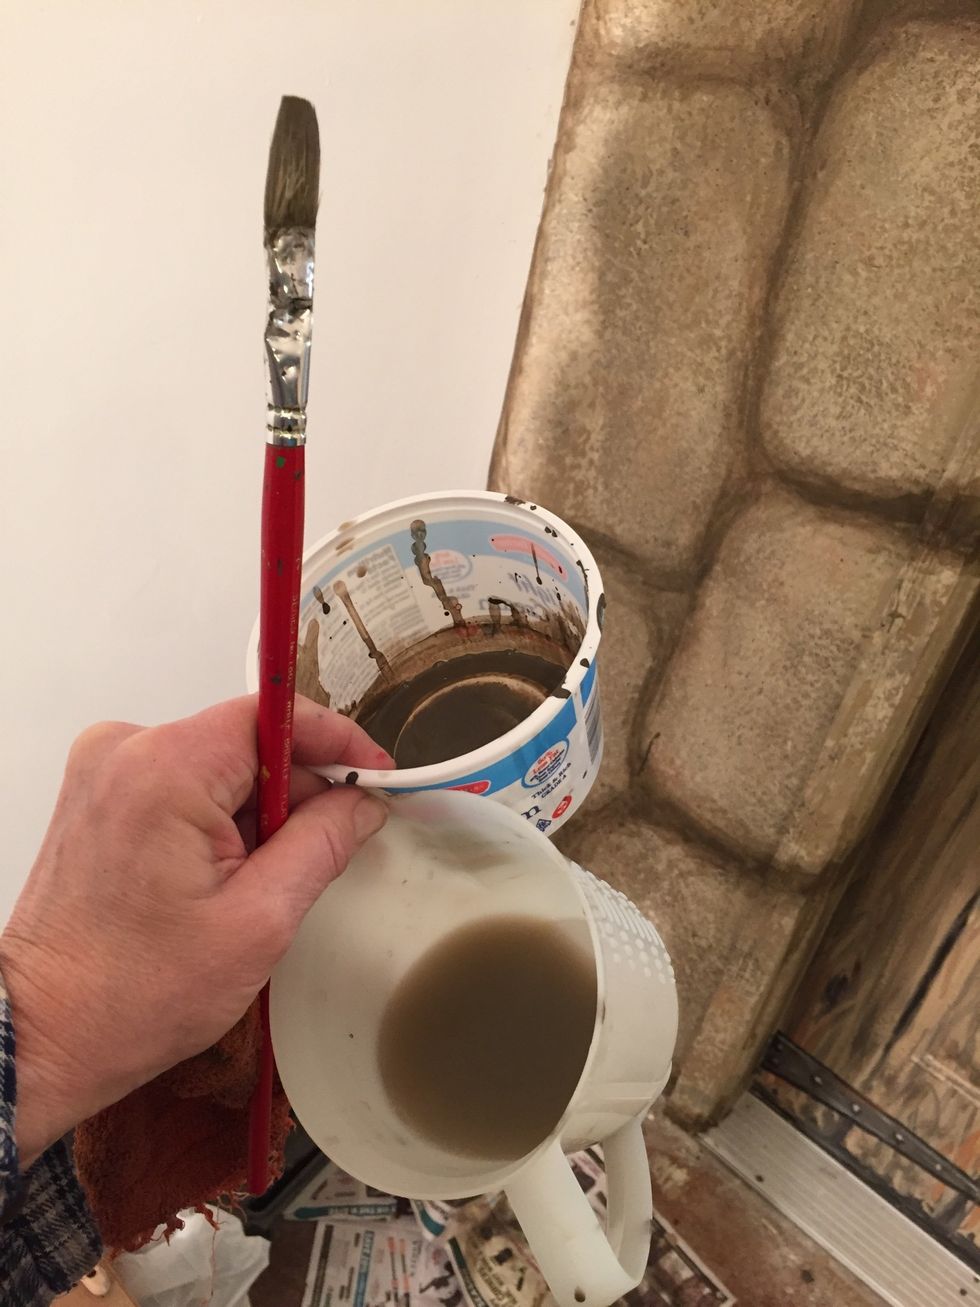
I had dark brown in a plastic bowl and water in the other. Use a combination of straight paint, watery paint and dry brush shaping the stones.
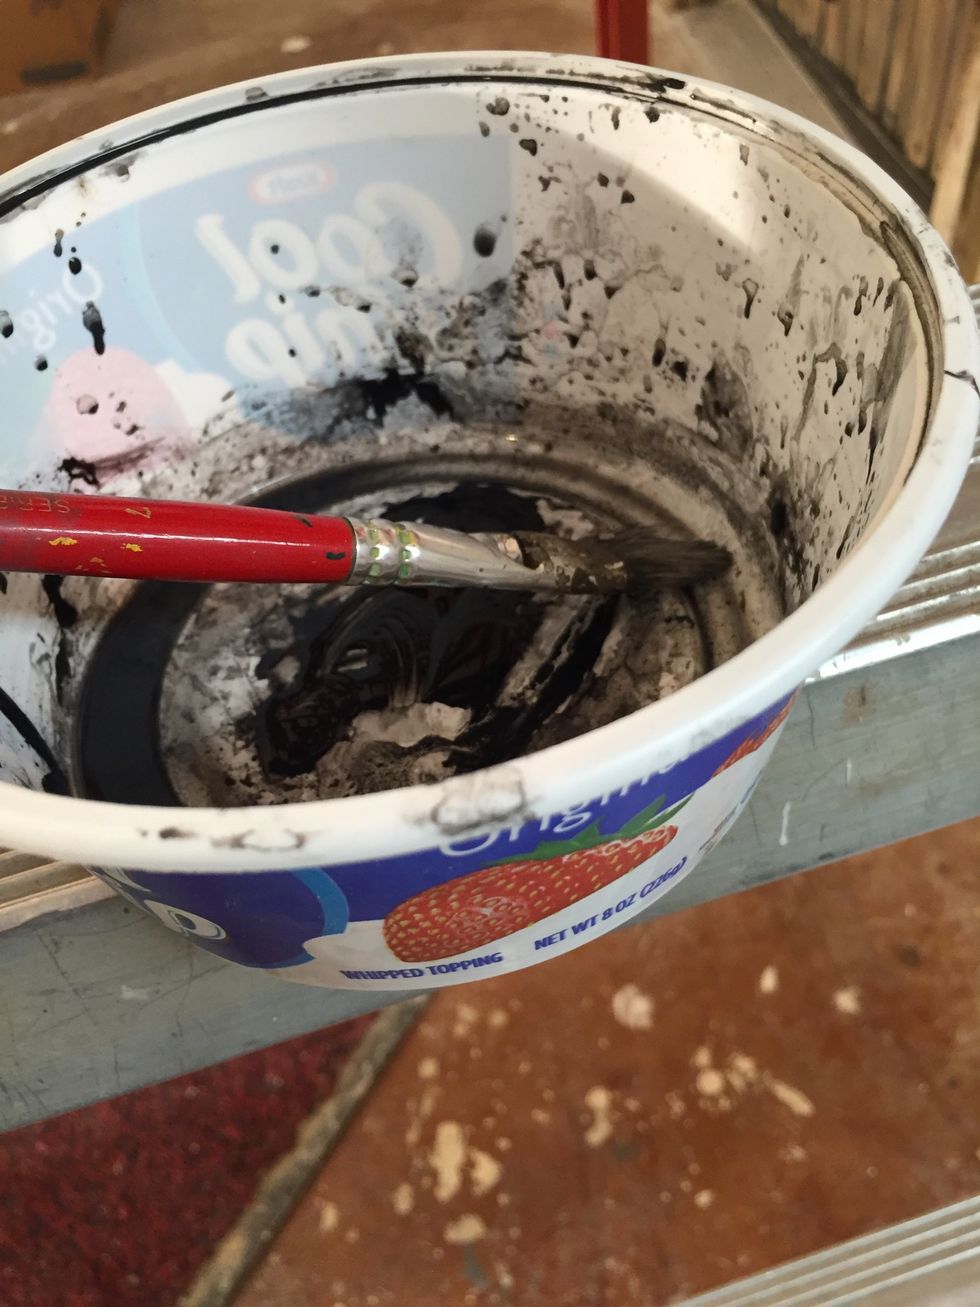
A close-up of the dark color used between stones. Water is used constantly. I wouldn't use your best brushes... an old one works fine.
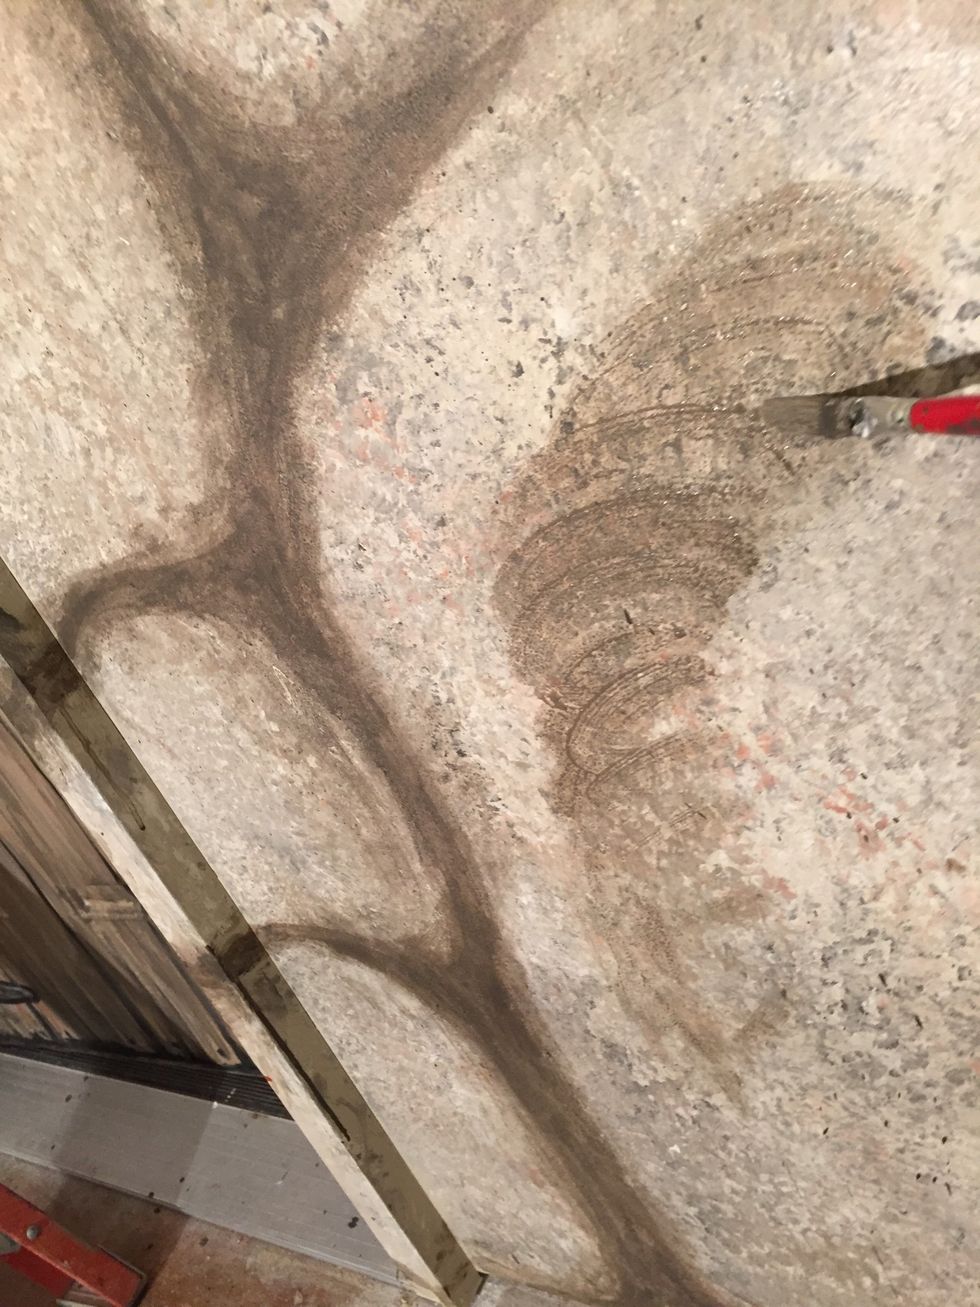
Here I'm using very thin watery paint to add shadowing and shape. Occasionally a finger or rag to blend as well.
Using off-white paint I dabbed stone edges to give highlights and thin lines along the fake cracks and carved lettering for a more 3-D effect.
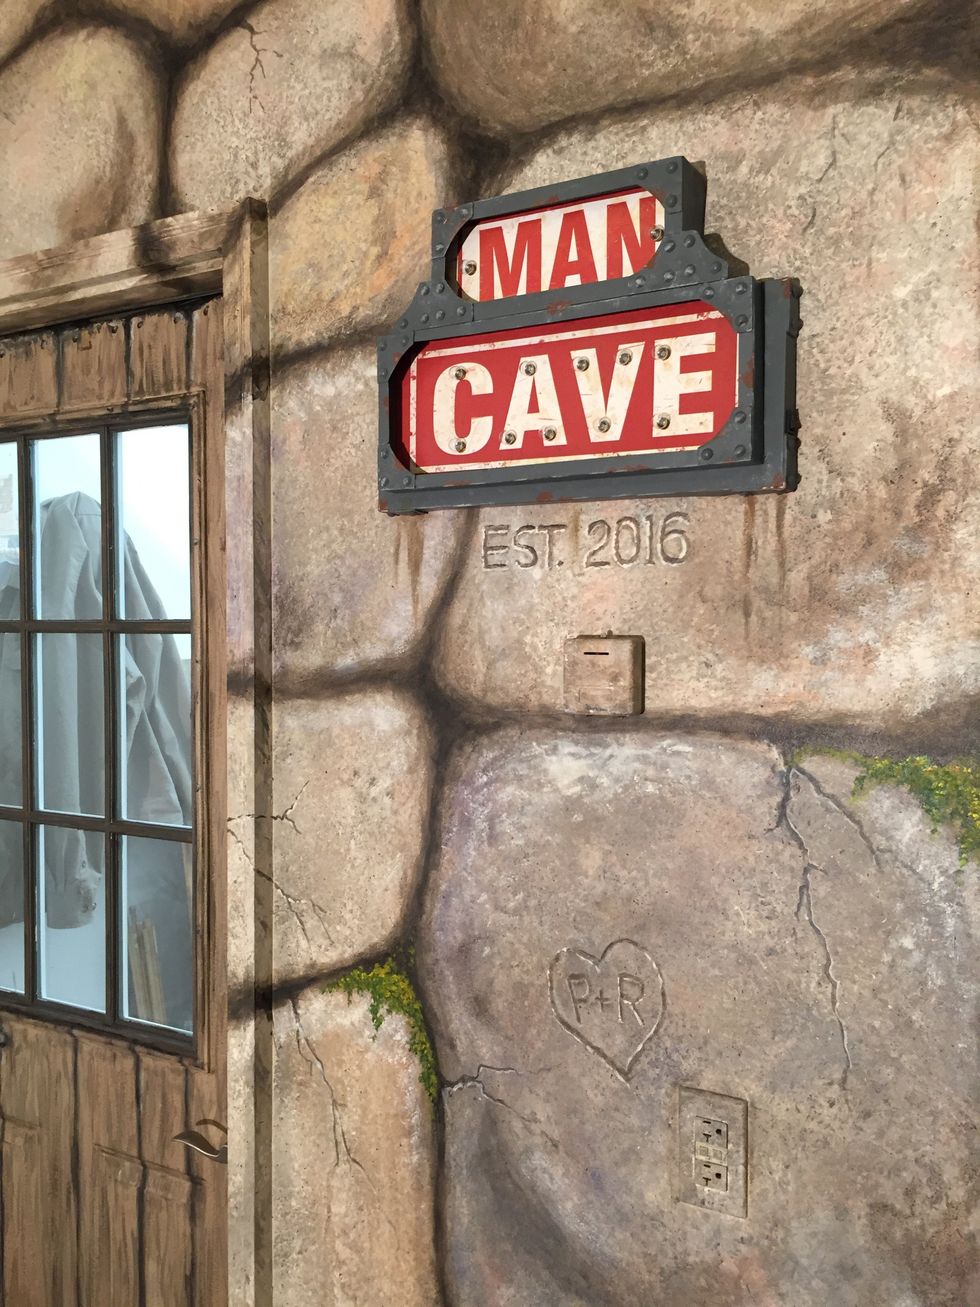
Above I added a sign I found at our local home store. With a thinner brush I painted cracks in the stones & letters to appear carved. Then artist paints to add moss with dry-brush.

Finished project! Total time = 8 hours ... the largest art project I've done to date and a LOT of fun to do!
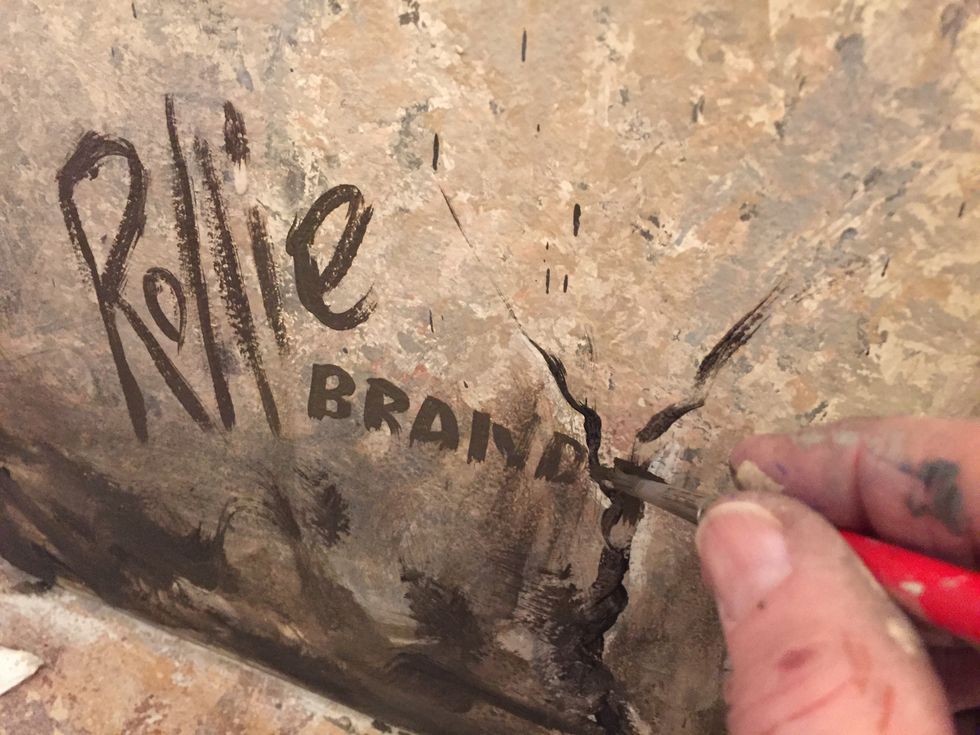
Have to sign it like I do with all my artwork, which you can see by Googling Rollie Brandt and checking out images and my website. I love being an artist and it was fun to make this for my husband!
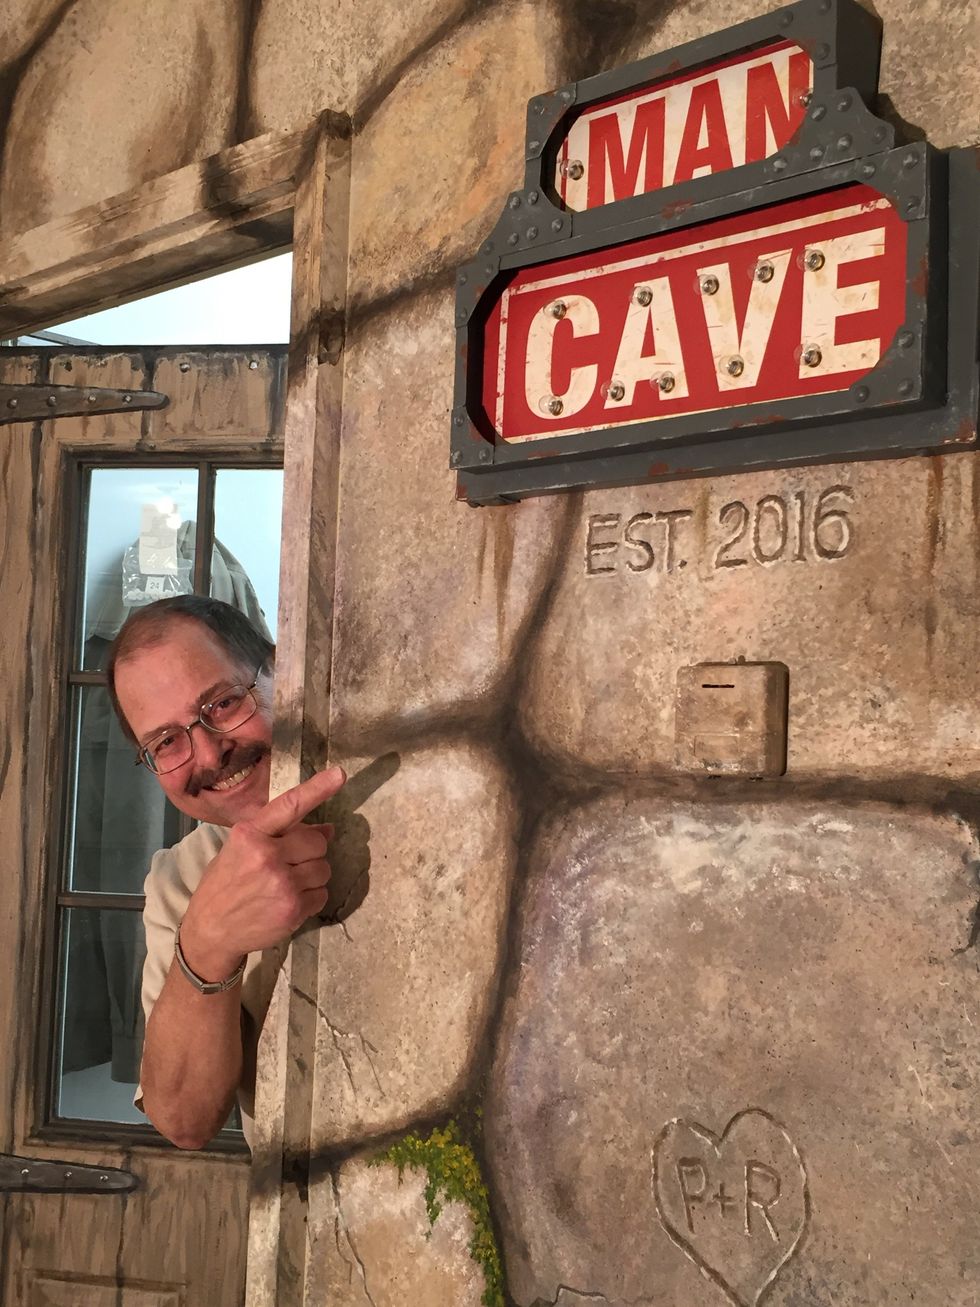
My husband, best friend and fantastic wood-worker craftsman grinning from ear to ear with the results! He's still proudly showing his Man Cave entrance off months later!