STEPS
TOOLS

Cut two pieces of chipboard of 3.5 x 4.5" (8.5 x 11 cm). Paint around the border in any color that coordinates with your paper; paint about 0.5" (1.5 cm). Spray with some metallic color if you like.
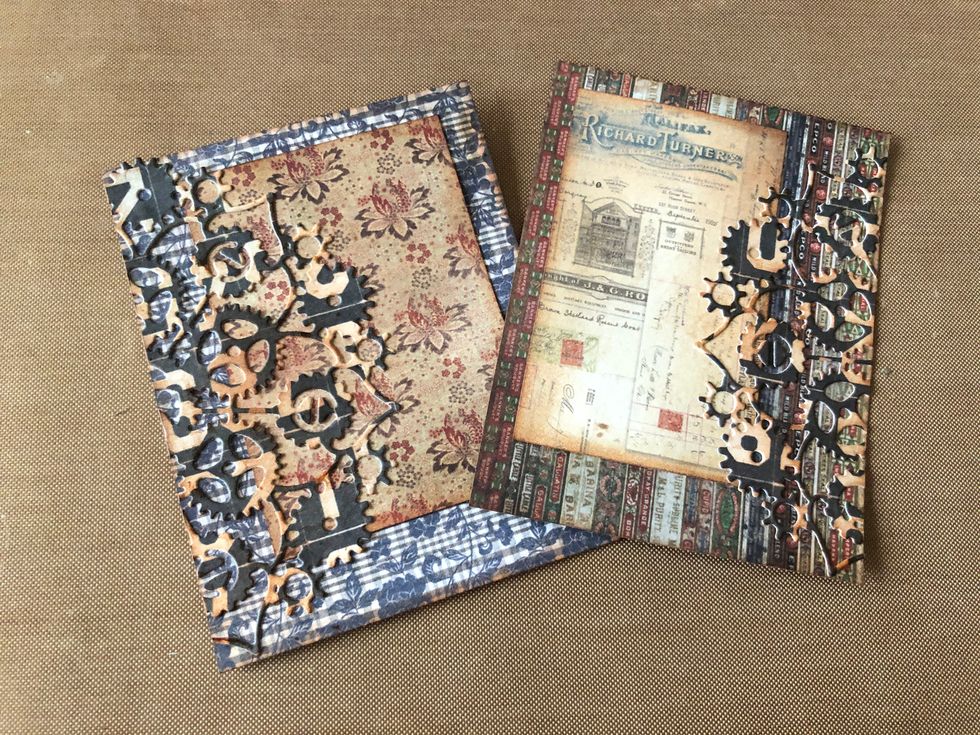
Take 5 ATC cards. Two will remain as they are. Cut two a lot smaller and glue them on, as shown. Use the fifth for extra decoration, for instance by die-cutting a doily. Cut them in half, glue down.
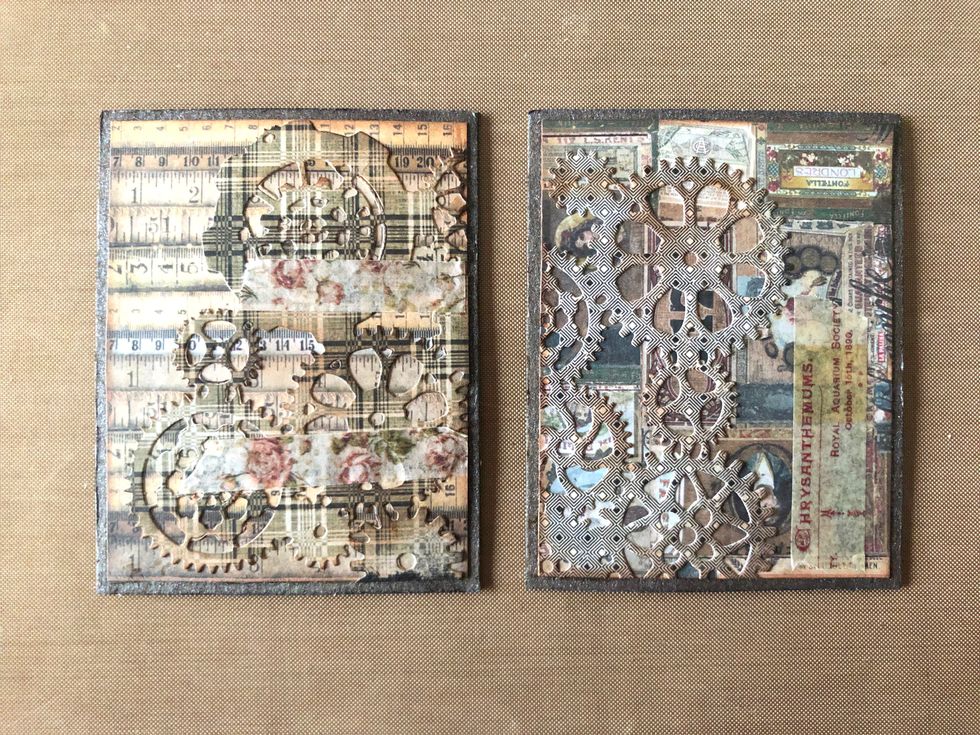
Same as the previous step. Use distress ink if you like, or washi tape, for some extra interest. When you're done, glue 2 of your 4 layouts to 2 chipboard pieces, as shown.
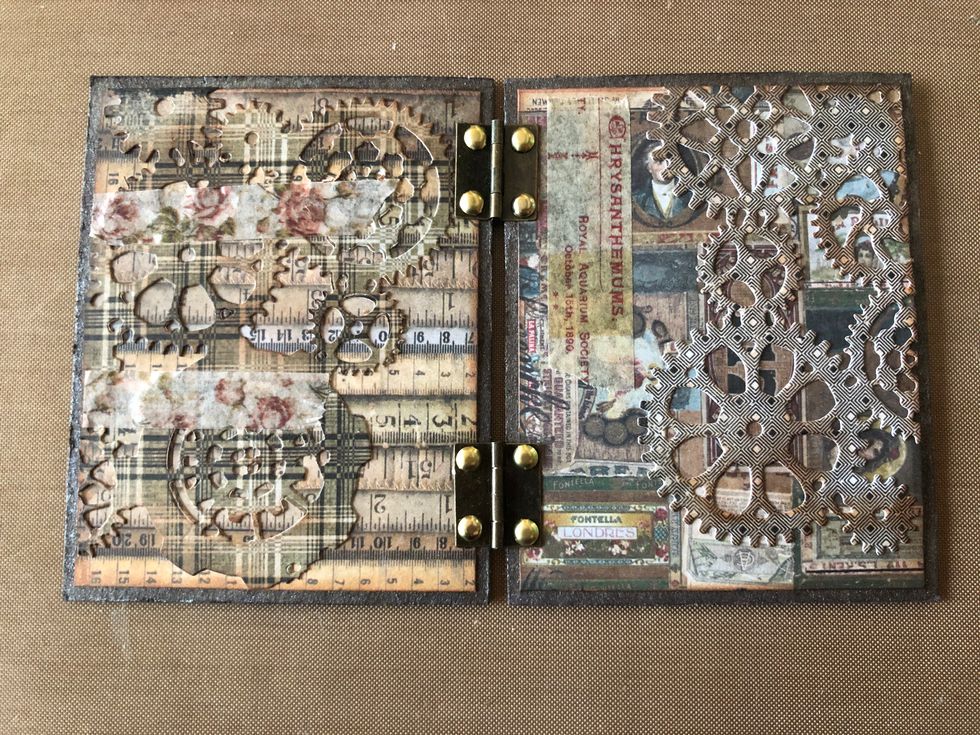
Attach 2 metal hinges to the sides you just glued your paper to. Use brads to attach them.
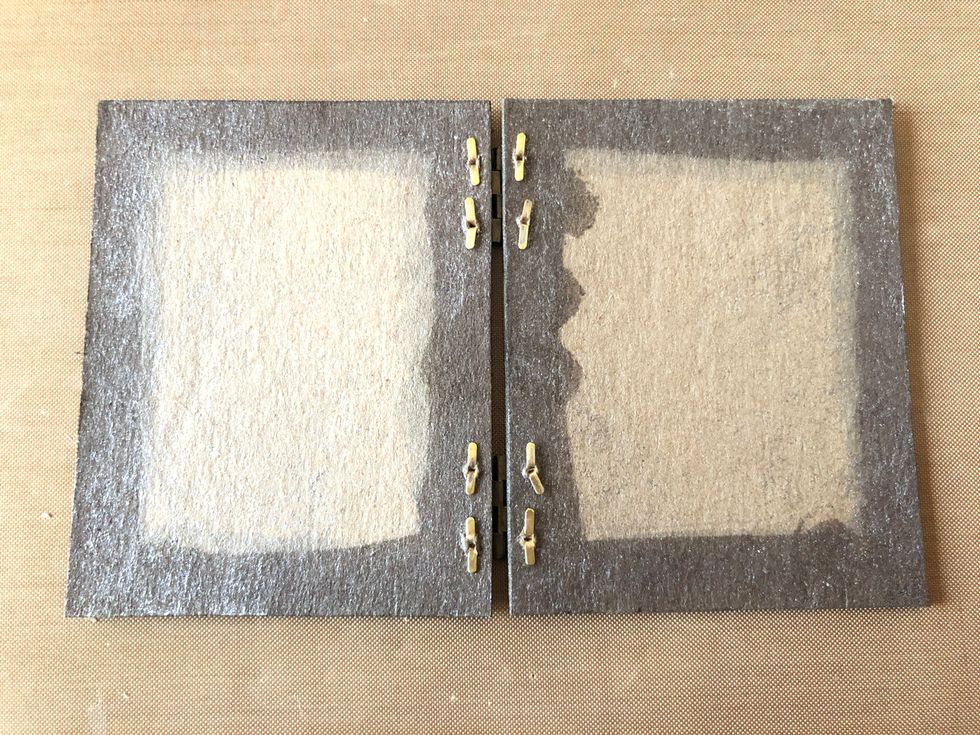
The back of your decorated chipboard is still empty, and will now have the brads' prongs.
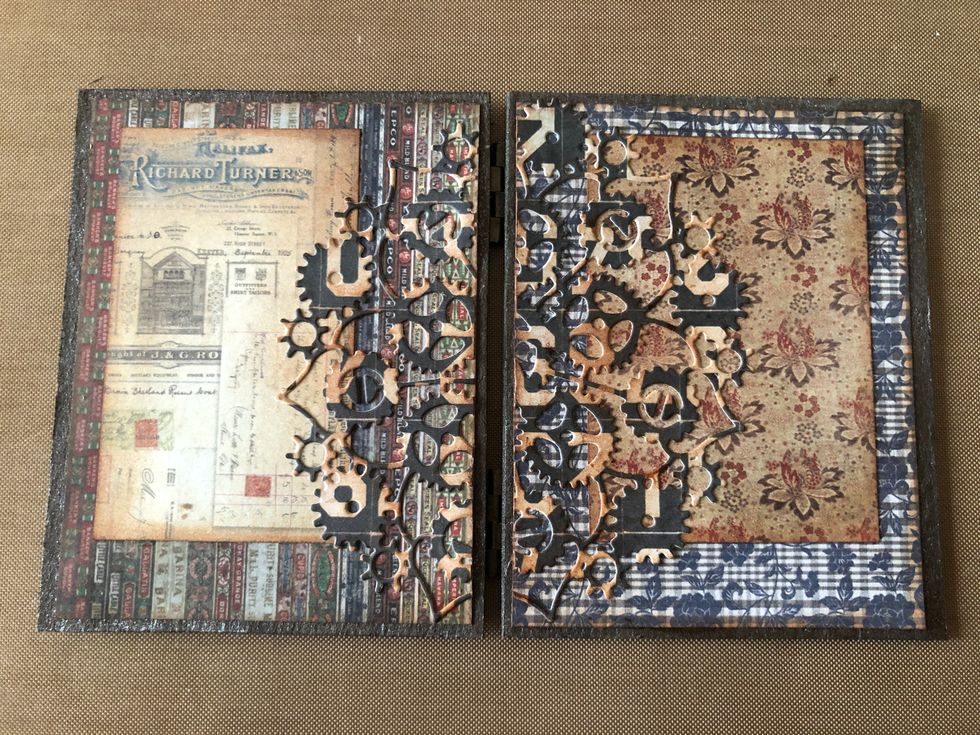
Glue the remaining two layouts to the empty chipboard, covering the brads.

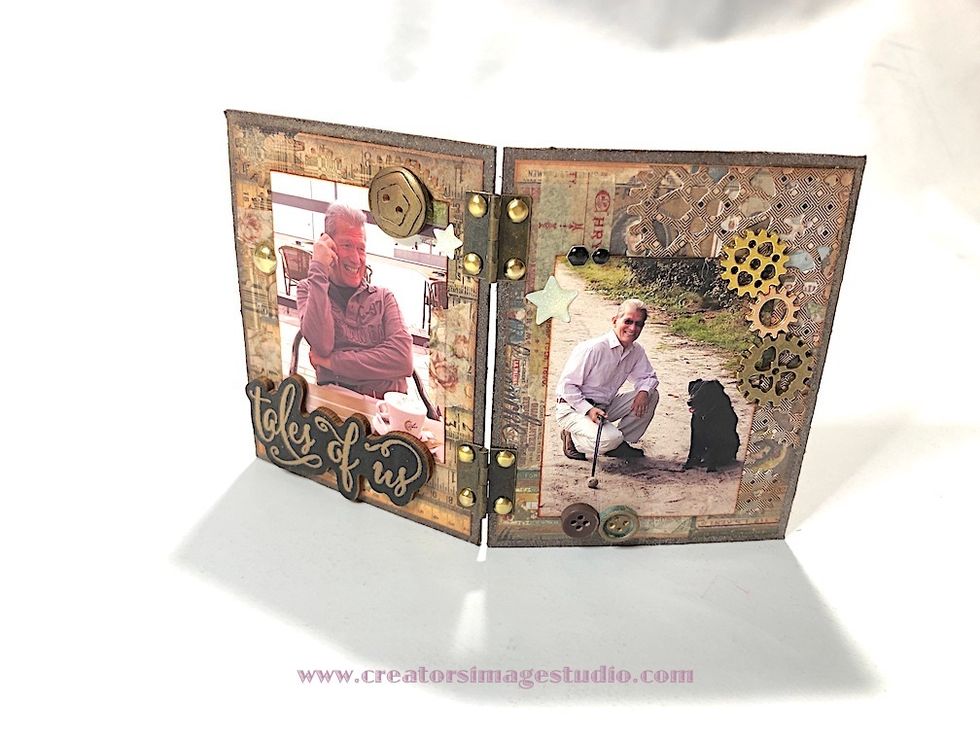
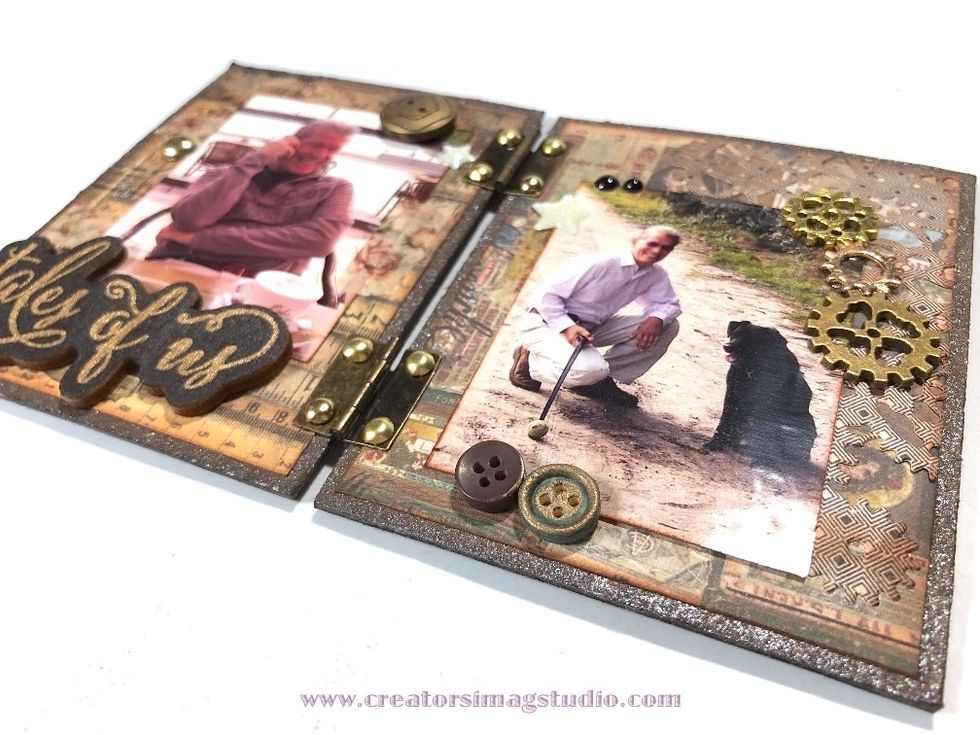
Add (cropped) pictures and embellishments, and you're done!
- chipboard
- 10.0 ATC cards / Project Life
- embellishments
- dies (optional)
- distress ink (optional)
- 4.0 printed pictures
- acrylic paint
- metal spray or wax (optional)
- 2.0 metal hinges
- 4.0 brads for the hinges
- glue
- paper trimmer / scissors
Katja'S Craft
It's my passion to be creative with beautiful, colorful design paper! I love helping others create their own paper craft projects and sharing my inspiration.
Netherlands
The Conversation (0)
Sign Up