The Conversation (0)
Sign Up

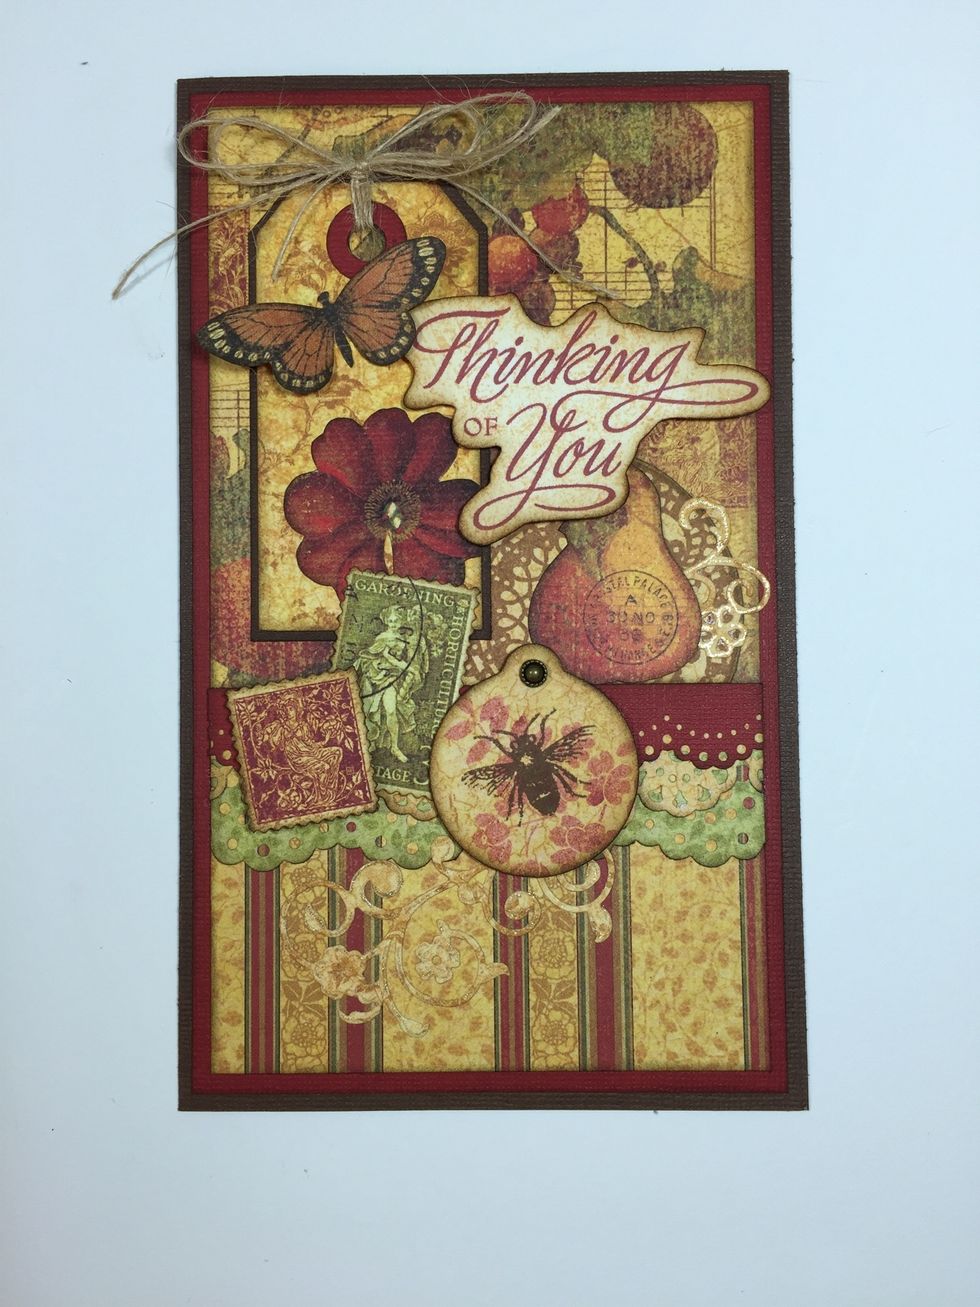
This beautiful layered card measures 4 1/2" x 7 1/2" and is made with Graphic 45's pretty Botanicabella papers.
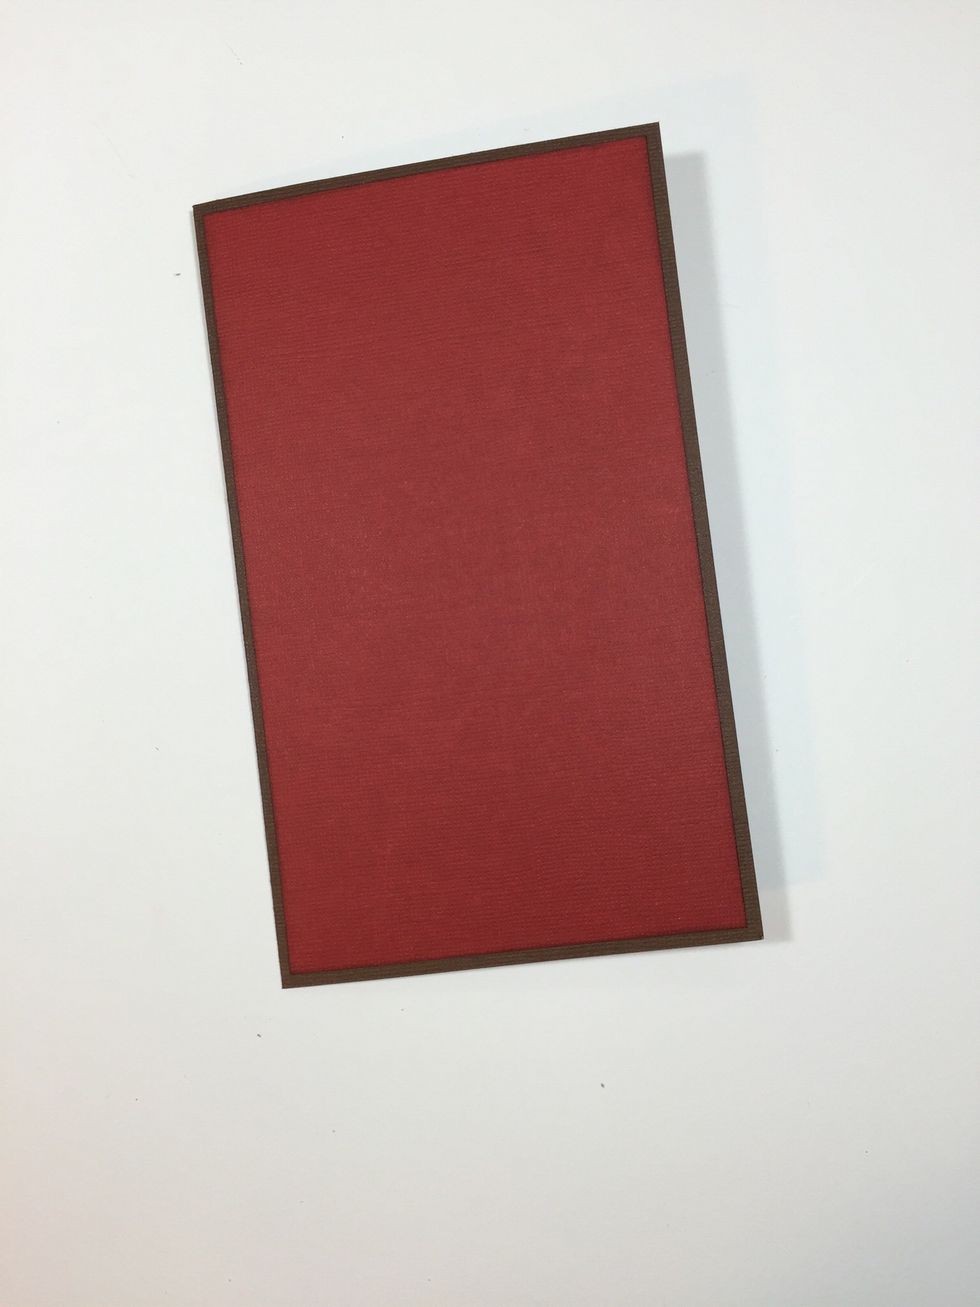
Start by cutting your card base from dark brown cardstock for a 4 1/2" x 7 1/2" card. Cut red cardstock 4 1/4" x 7 1/4" and adhere. (I have inked the edges with Walnut Stain Distress ink.)
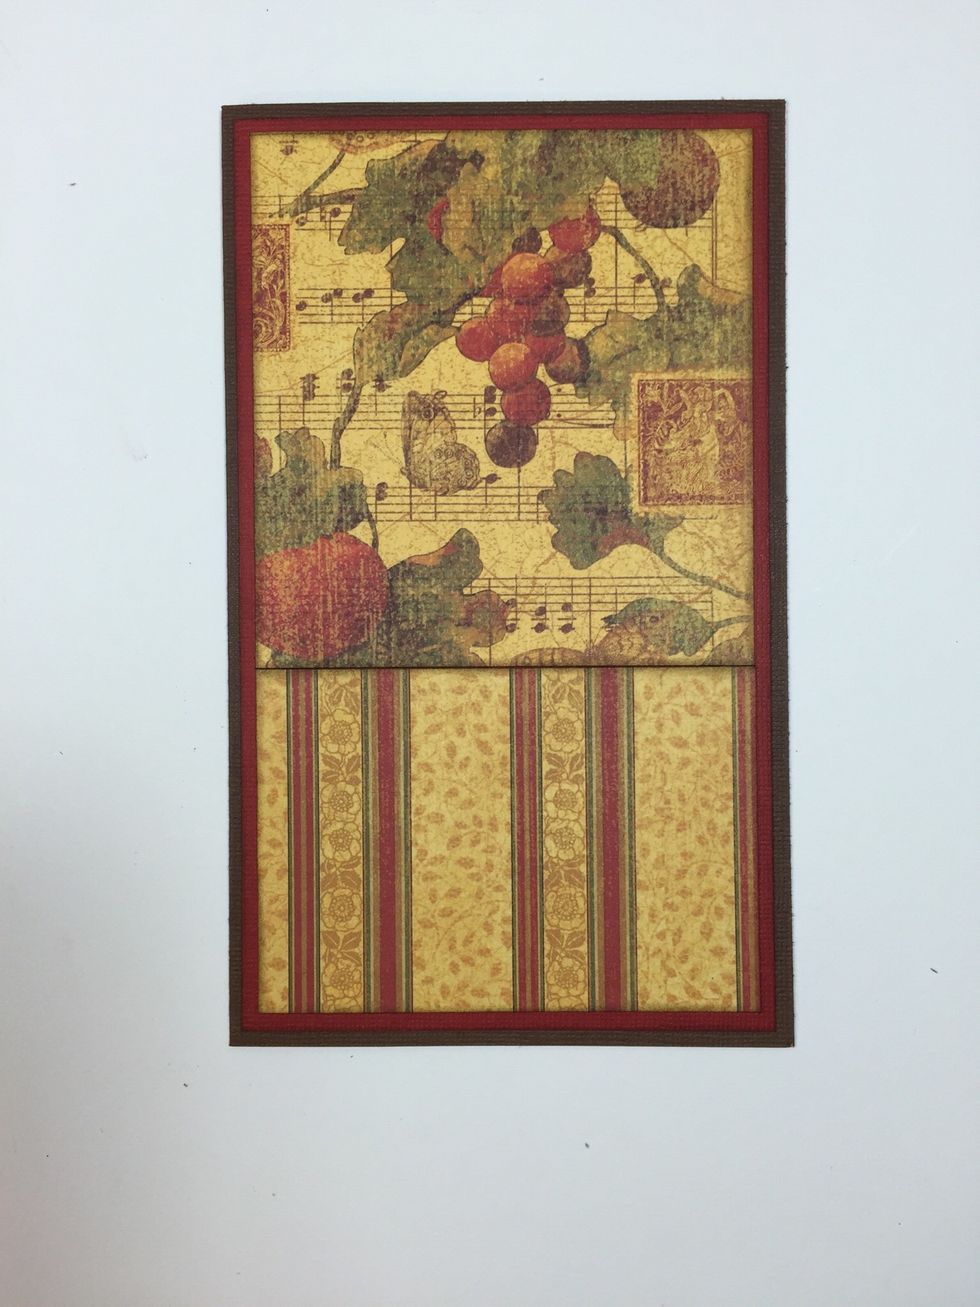
Cut a piece of pattern paper 4" x 4 1/4" for the top, and another piece 4" x 2 3/4" for the bottom. Adhere to card.

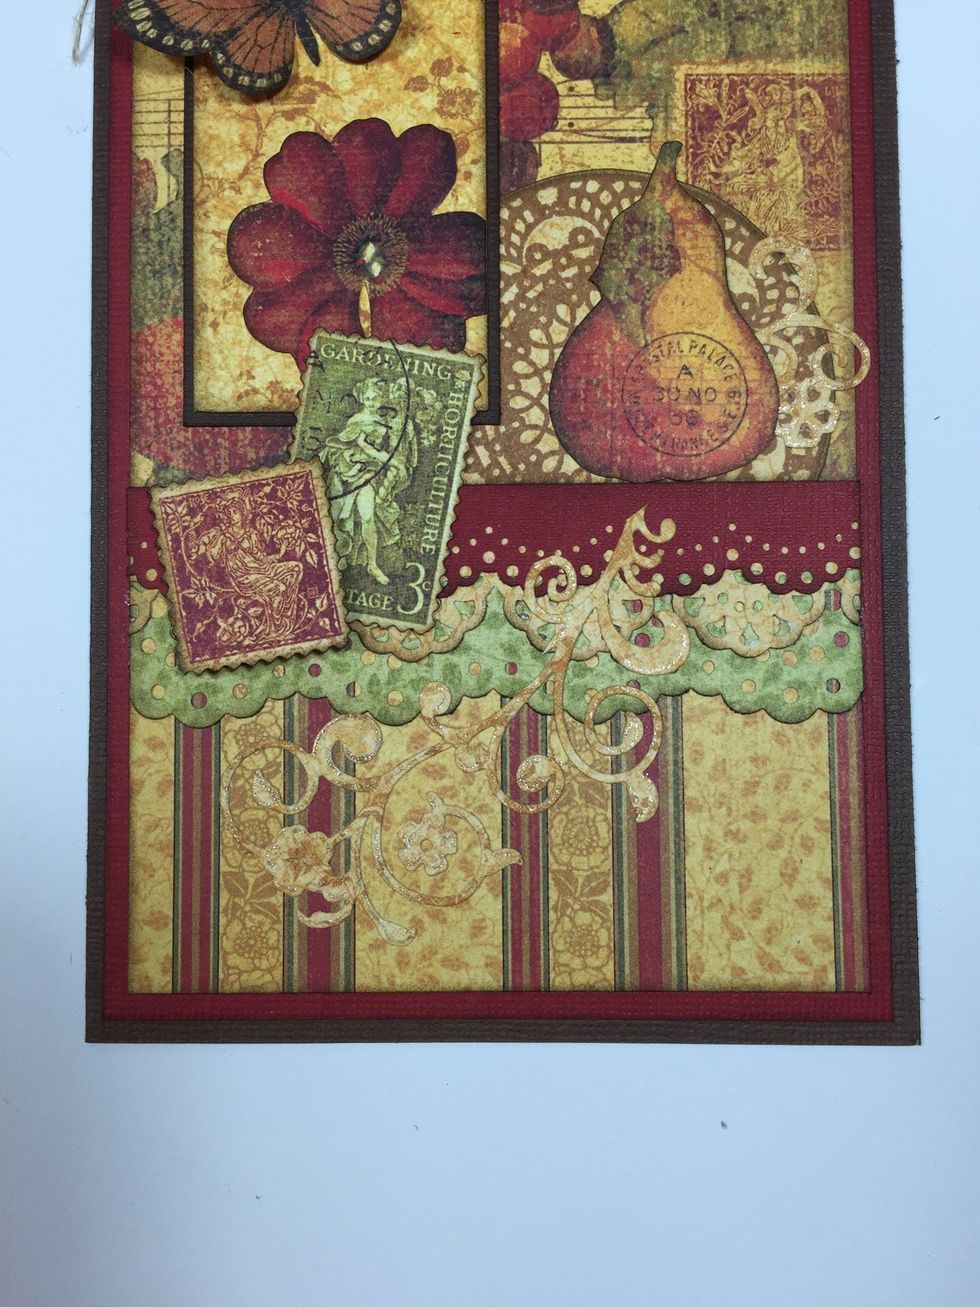
Use different size border punches and various widths of papers & cardstock to create three border strips.
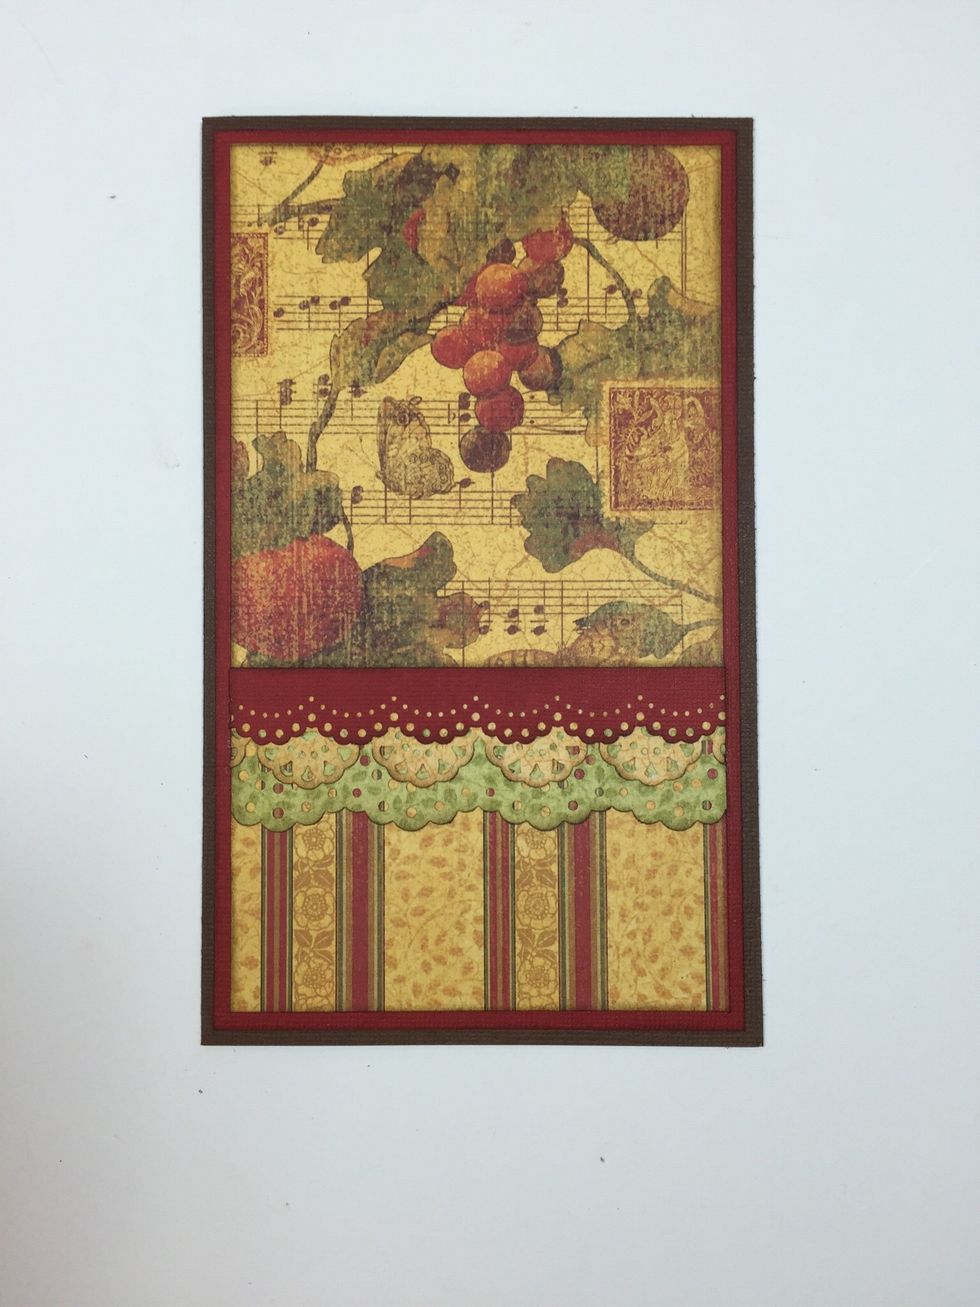
Adhere the punched borders to your card, layering from widest to narrowest, as shown.
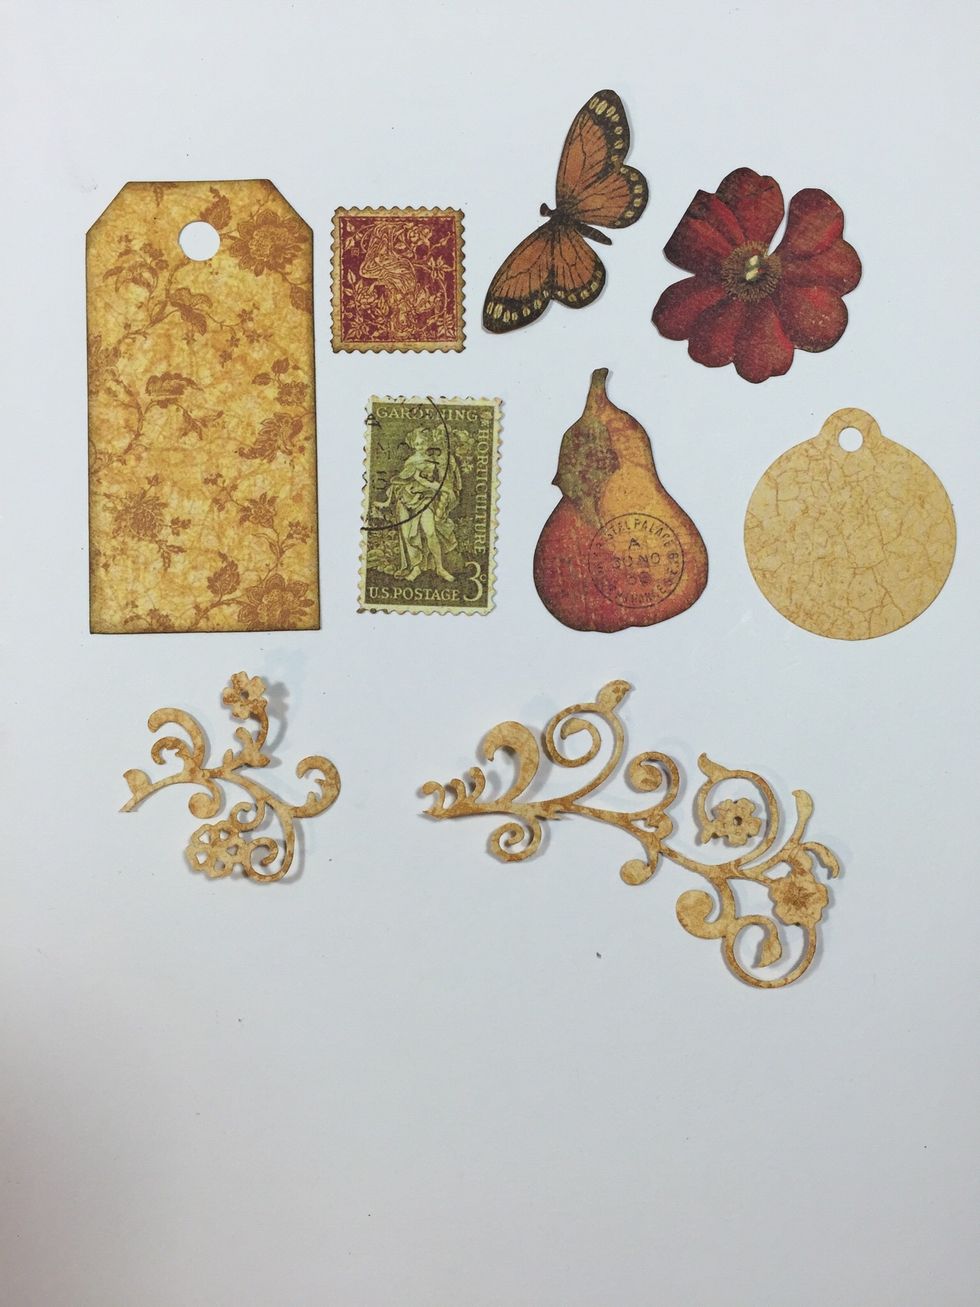
Fussy cut images from the Botanicabella papers, and also use punches and dies to cut a few more items as desired.

Stamp a doily image onto pattern paper using a light brown ink. Cut out and ink edges. Stamp the small tag with layered stamps. I used the "Honey Happiness" stamp set by My Mind's Eye.
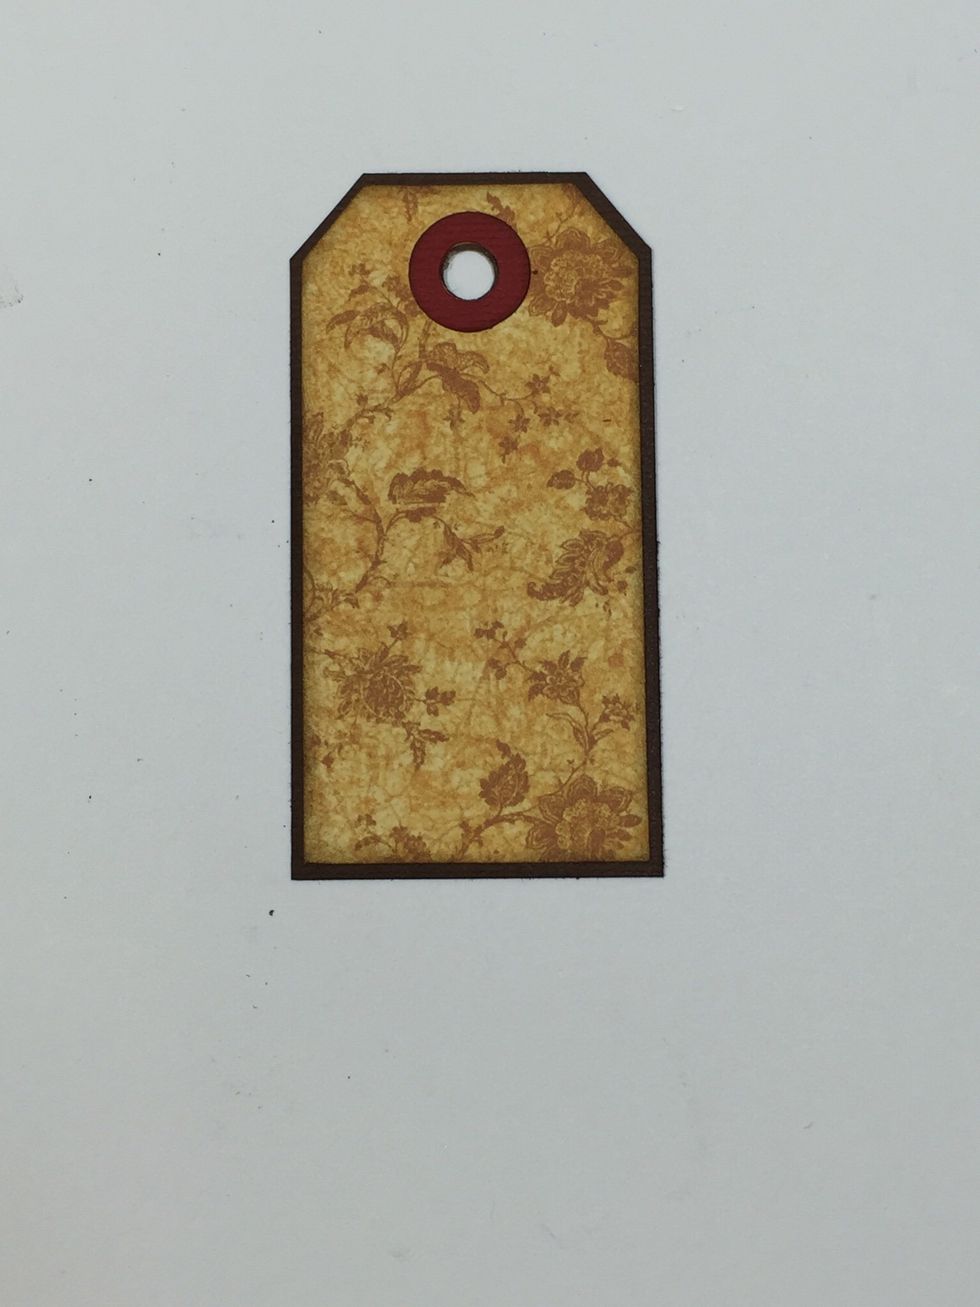
This tag was cut with Tim Holtz's "Tiny Tabs & Tags" die. Adhere to brown cardstock, slightly larger, then punch the hole and add the reinforcer circle.
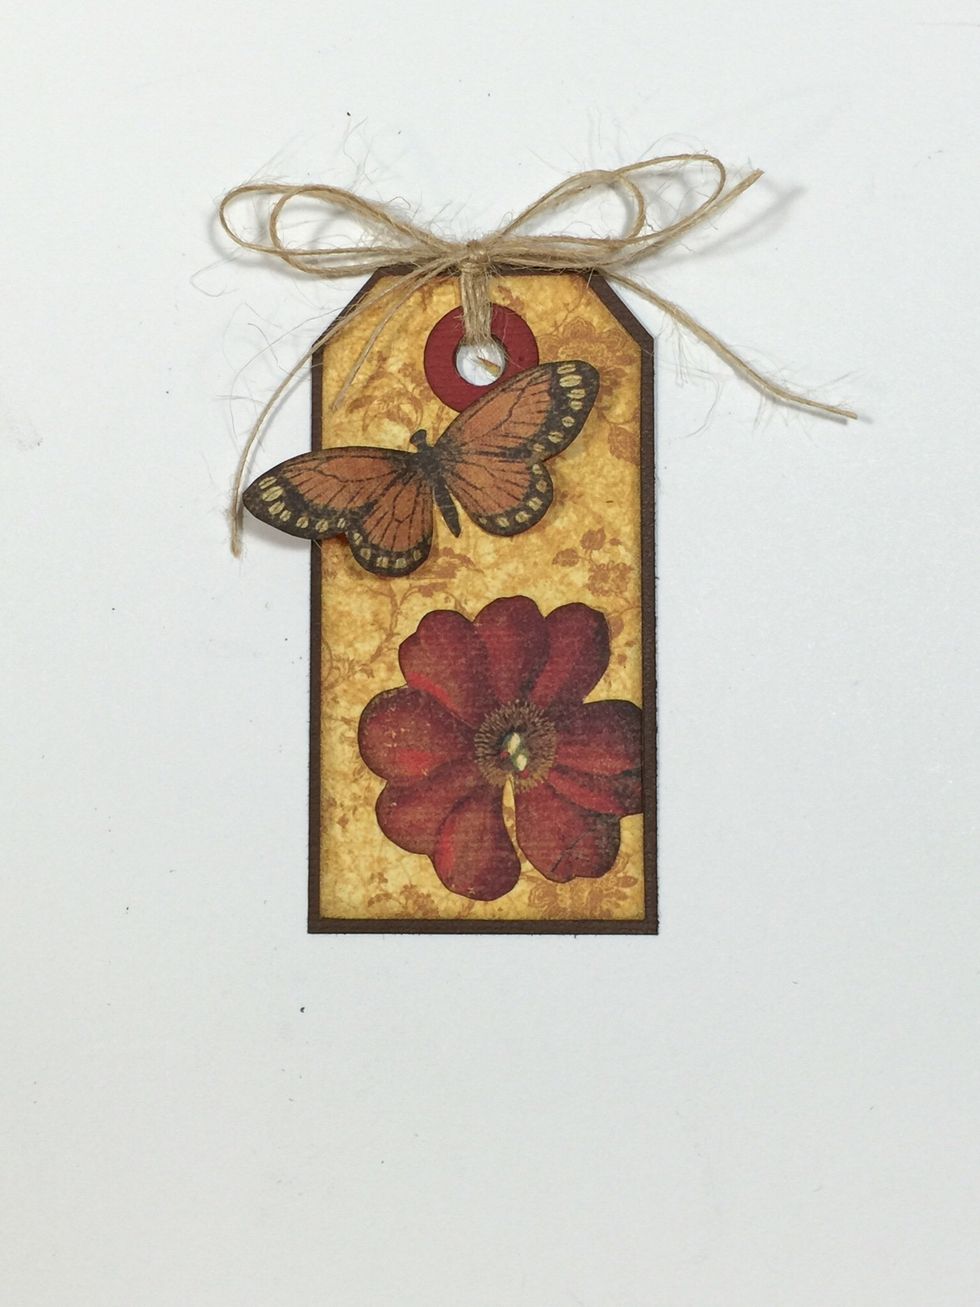
Add the fussy cut butterfly and flower, then some thin natural twine tied into a bow.
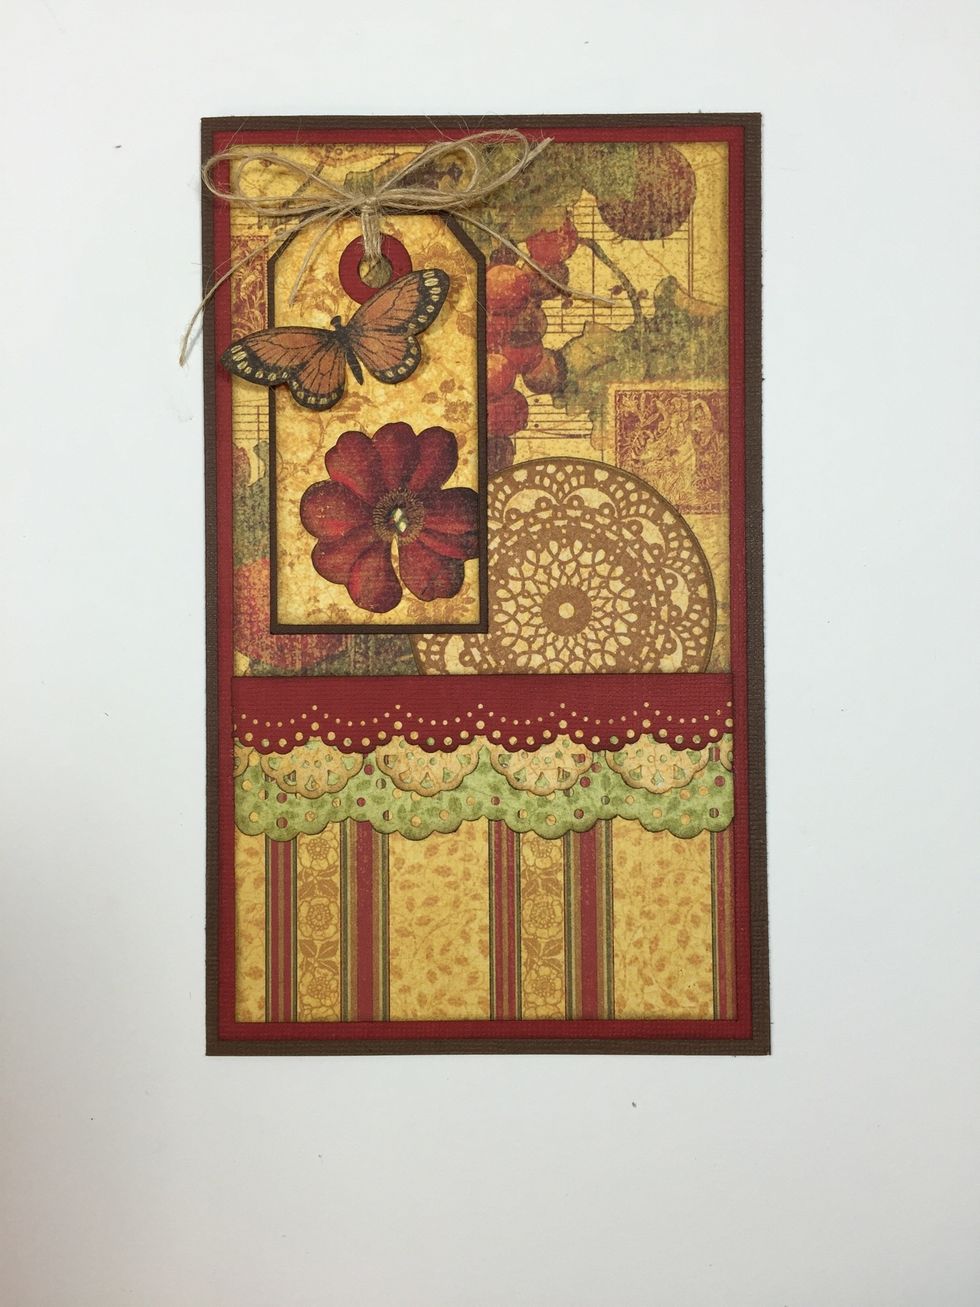
Adhere the doily (trim a bit off the bottom first) and the tag unit to your card.
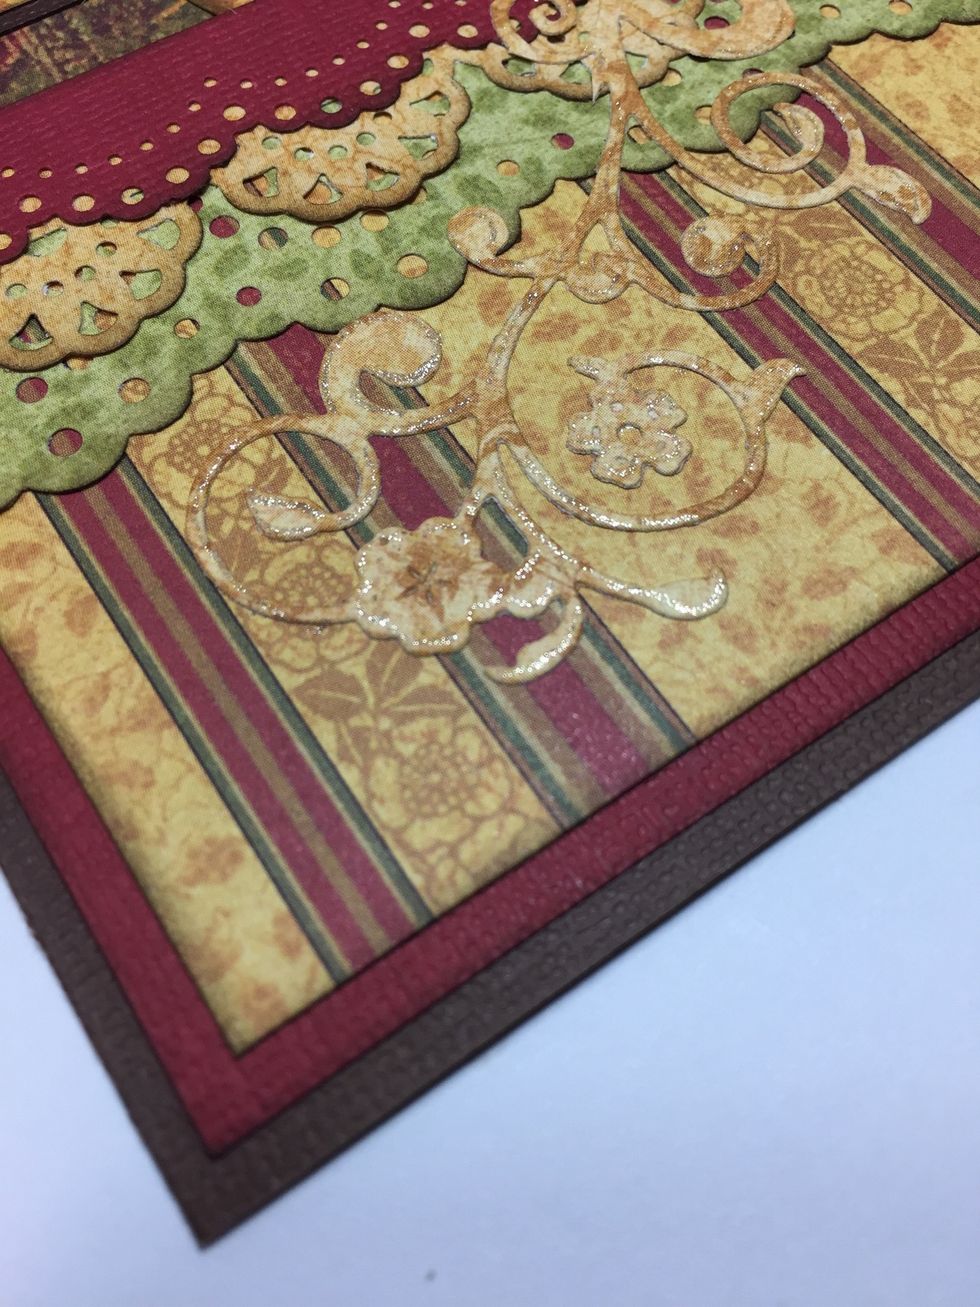
Adhere the die-cut flourish next. To make it "pop" you can add a bit of sparkle with a Gelly Roll Stardust pen. This die is called "Fantastic Flourish One" by Spellbinders.
Adhere the fussy-cut pear, and layer the two postage stamps. To add dimension and interest, use foam squares to pop up one of them.
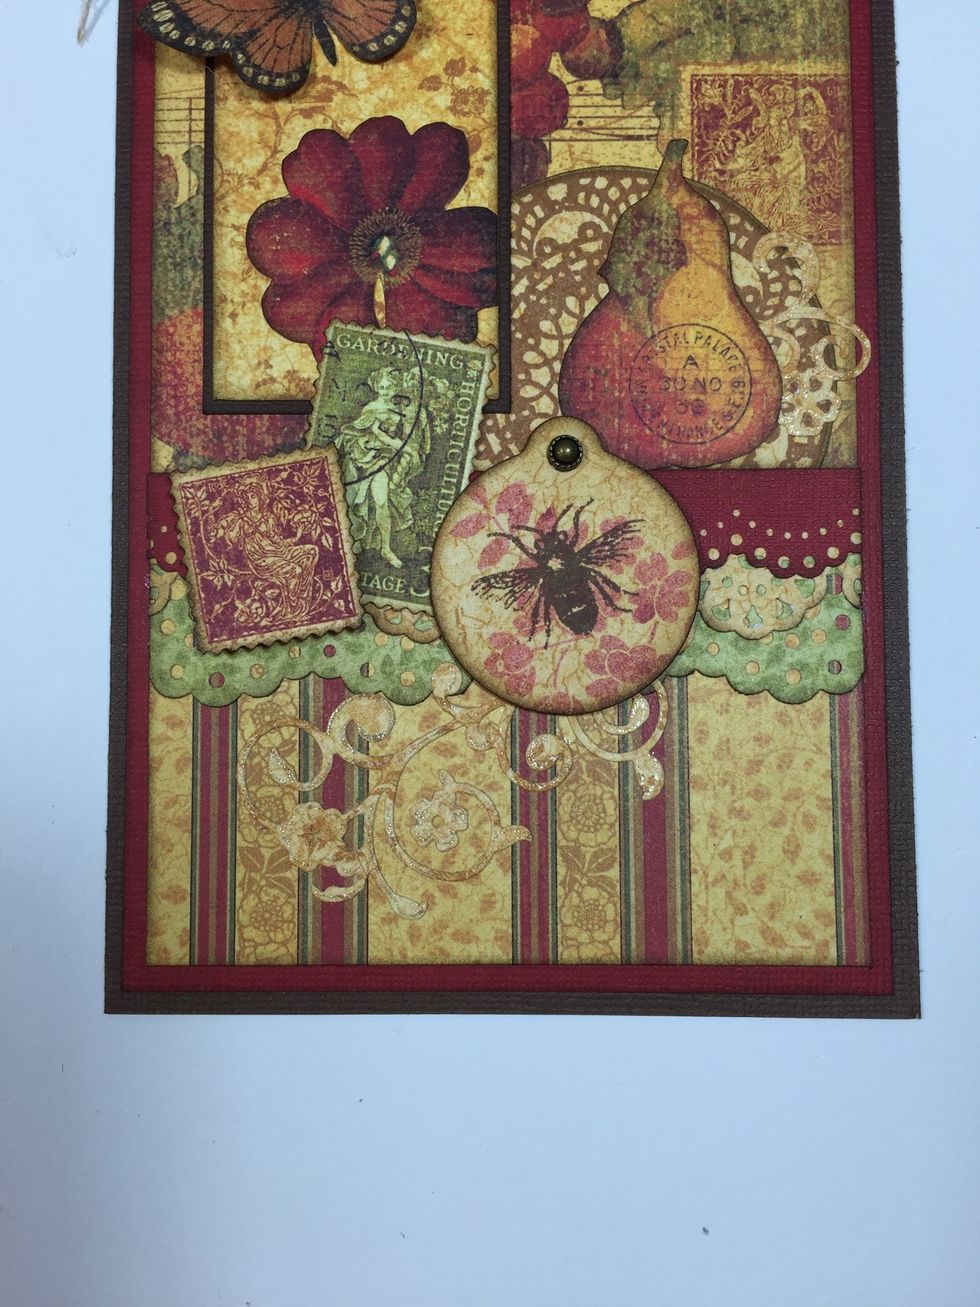
Next is the round tag you stamped earlier. Pop up with foam squares and add a small embellishment over the hole. I used an "Artisan Stud" from Close To My Heart.
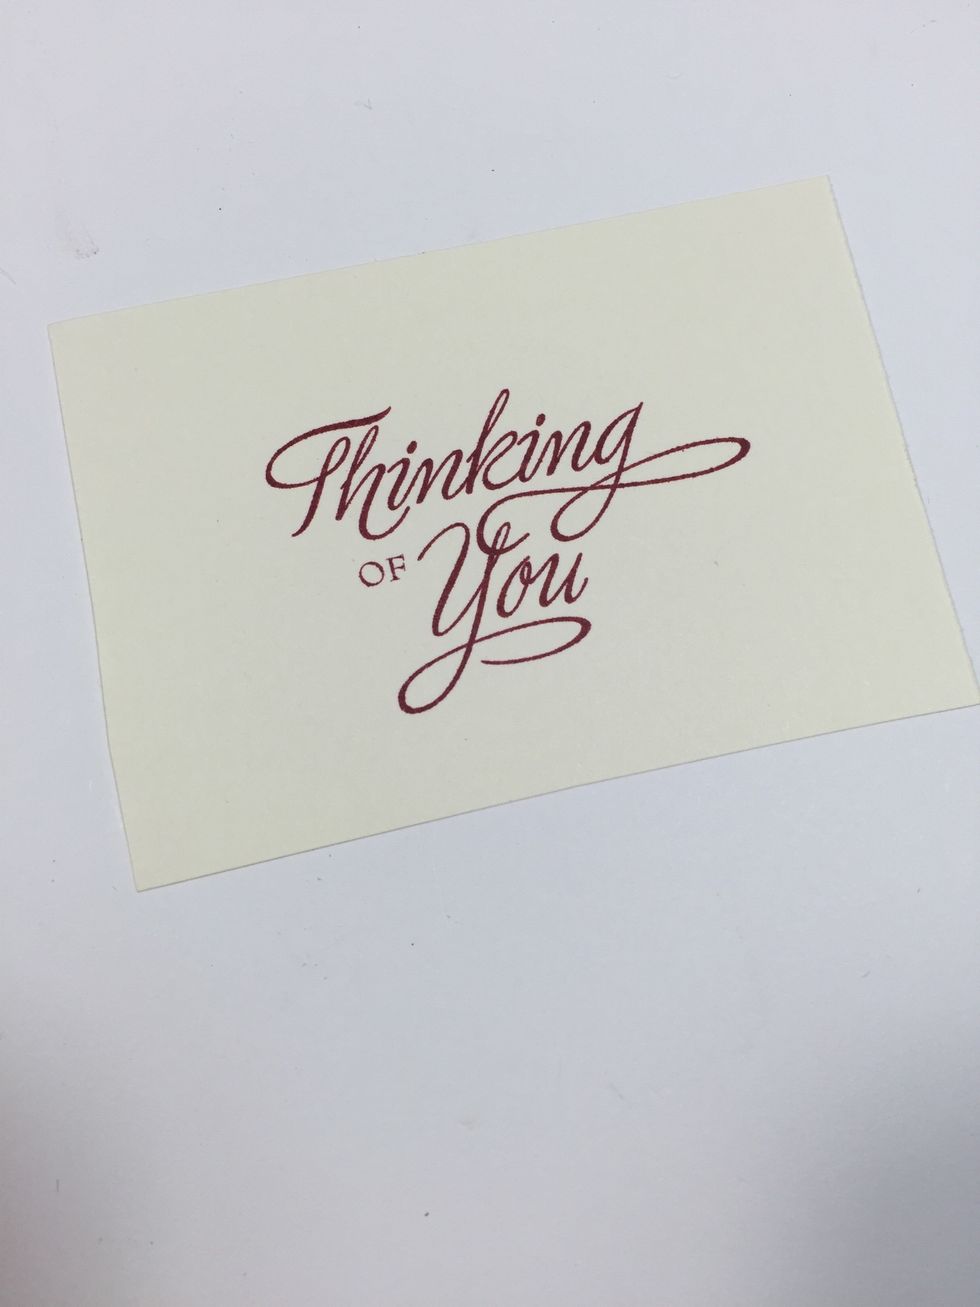
Onto plain ivory cardstock, stamp your desired sentiment with a deep red ink.
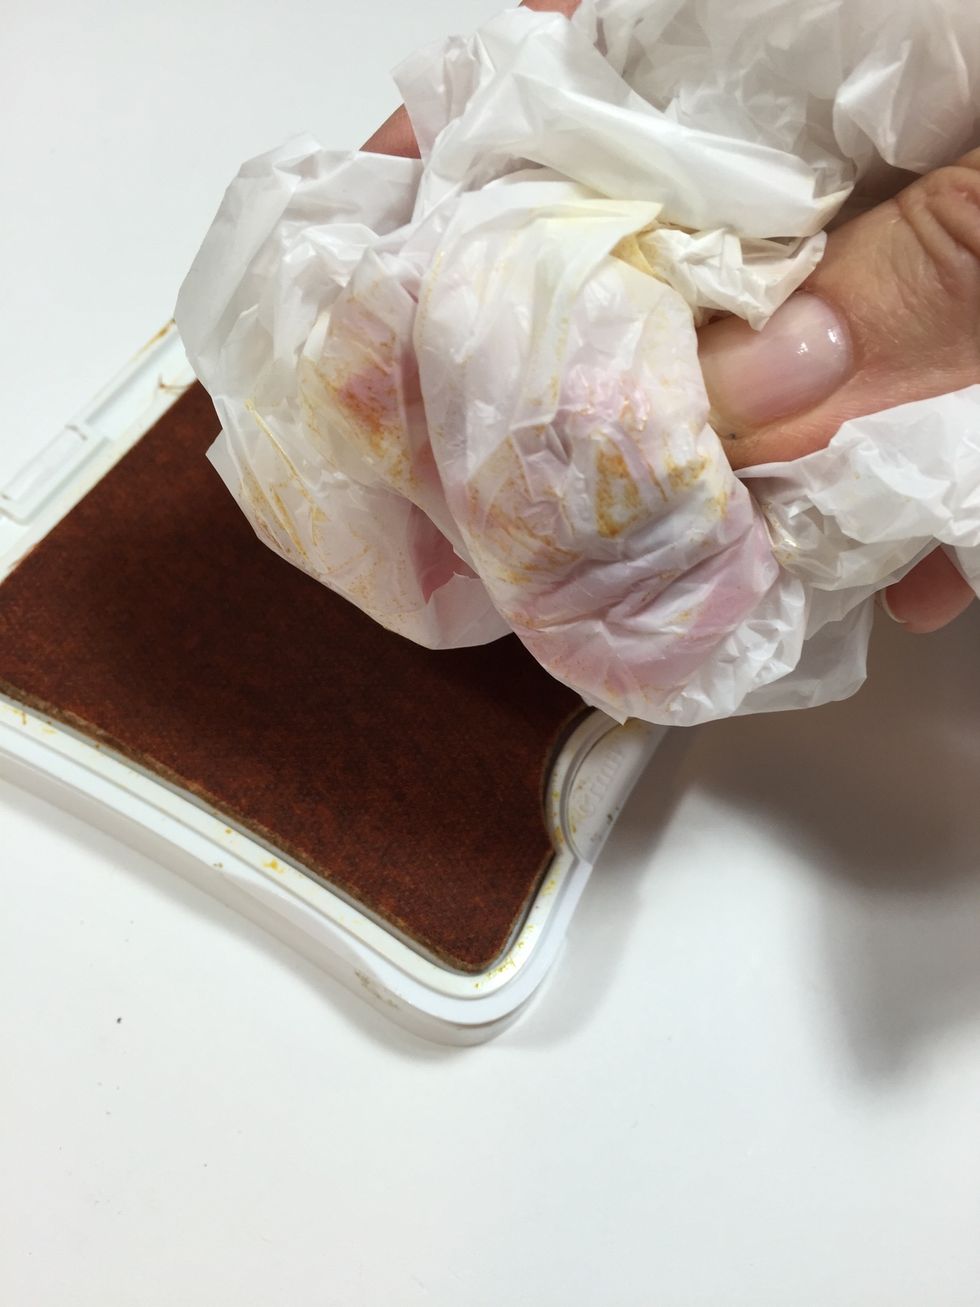
To add some texture to match the feel of your card, wad up a plastic grocery bag and press into desired ink color. My bag is from Target and I'm using a golden yellow ink pad.

Press the wadded-up bag onto your stamped surface. Continue to dip and press until you achieve the desired results.
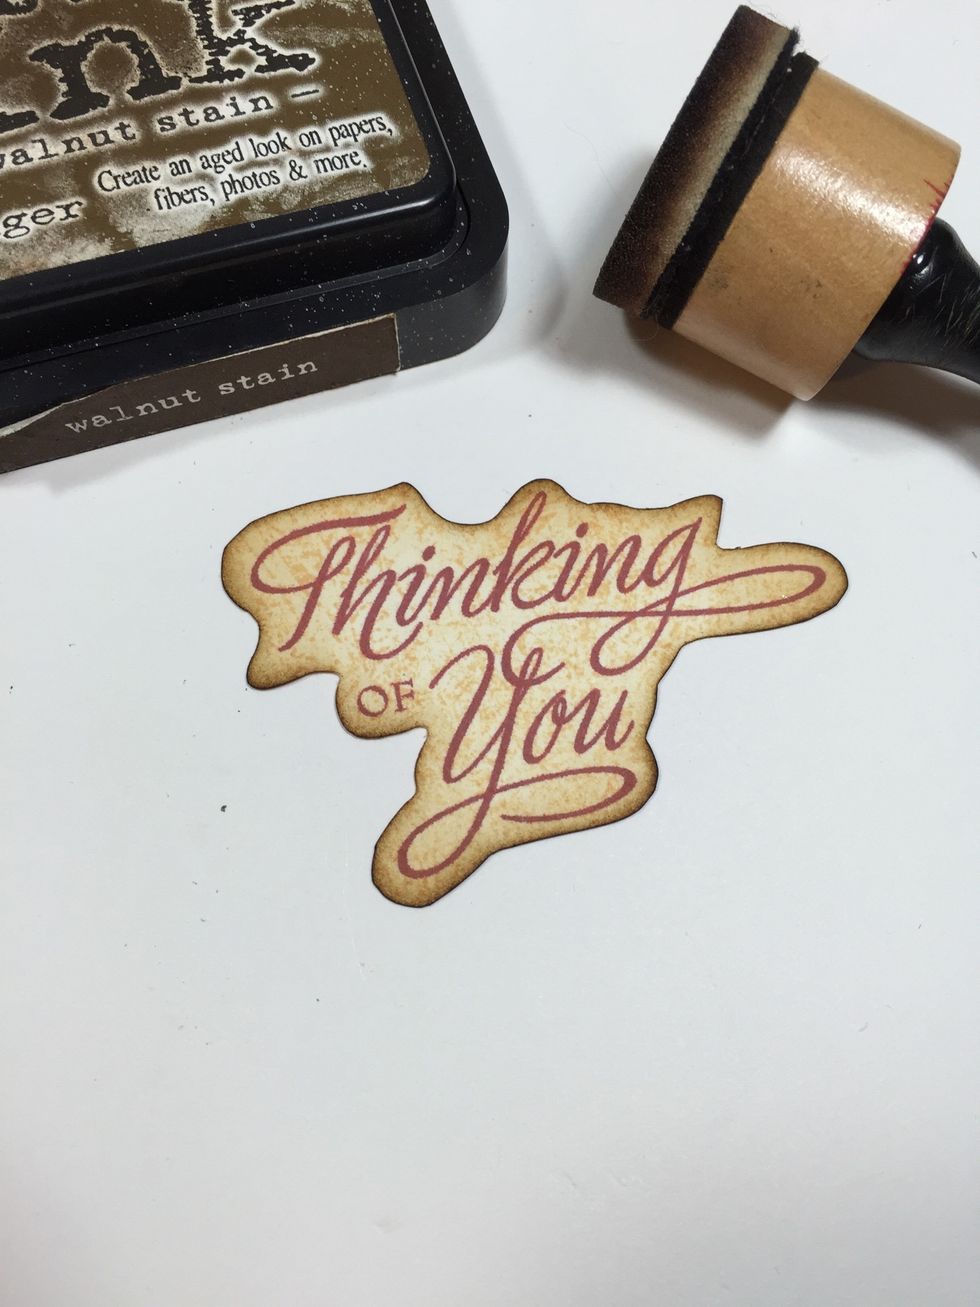
Cut loosely around your stamped sentiment and blend some ink around the edges.

Adhere to your card with foam squares.
Notice how almost everything is overlapping? That's the key to layering. Many of us make the mistake of spreading things all over our card, and wonder why it doesn't have an appealing look.
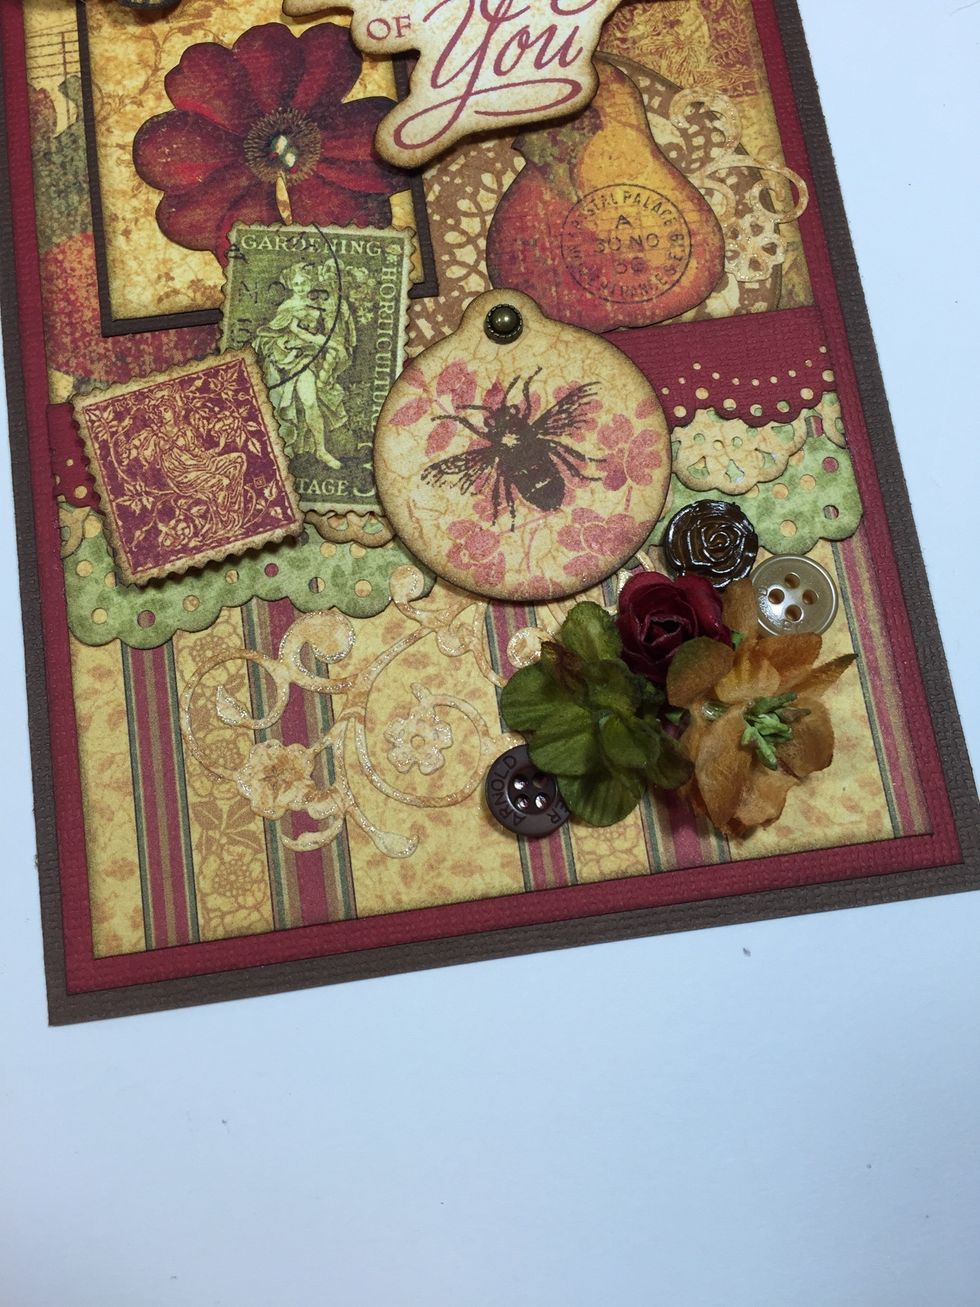
To balance out the card, try adding a few flowers & buttons in a cluster in the lower right corner.
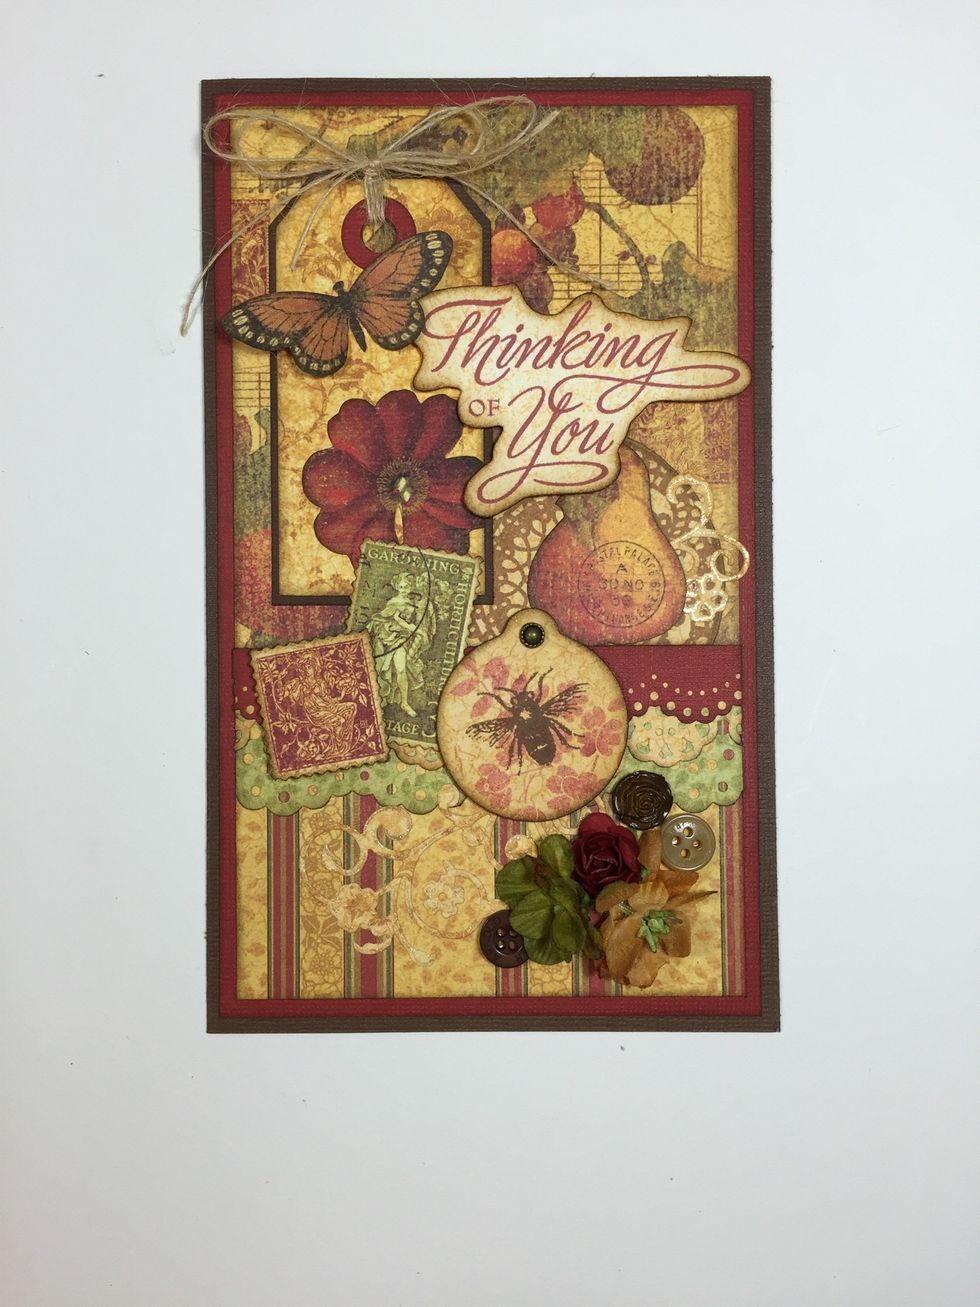
Your card front is complete! I suggest using a 6" x 9" bubble mailer for a card like this. It will require some extra postage, but your beautiful card will be well-protected & delivered safely.
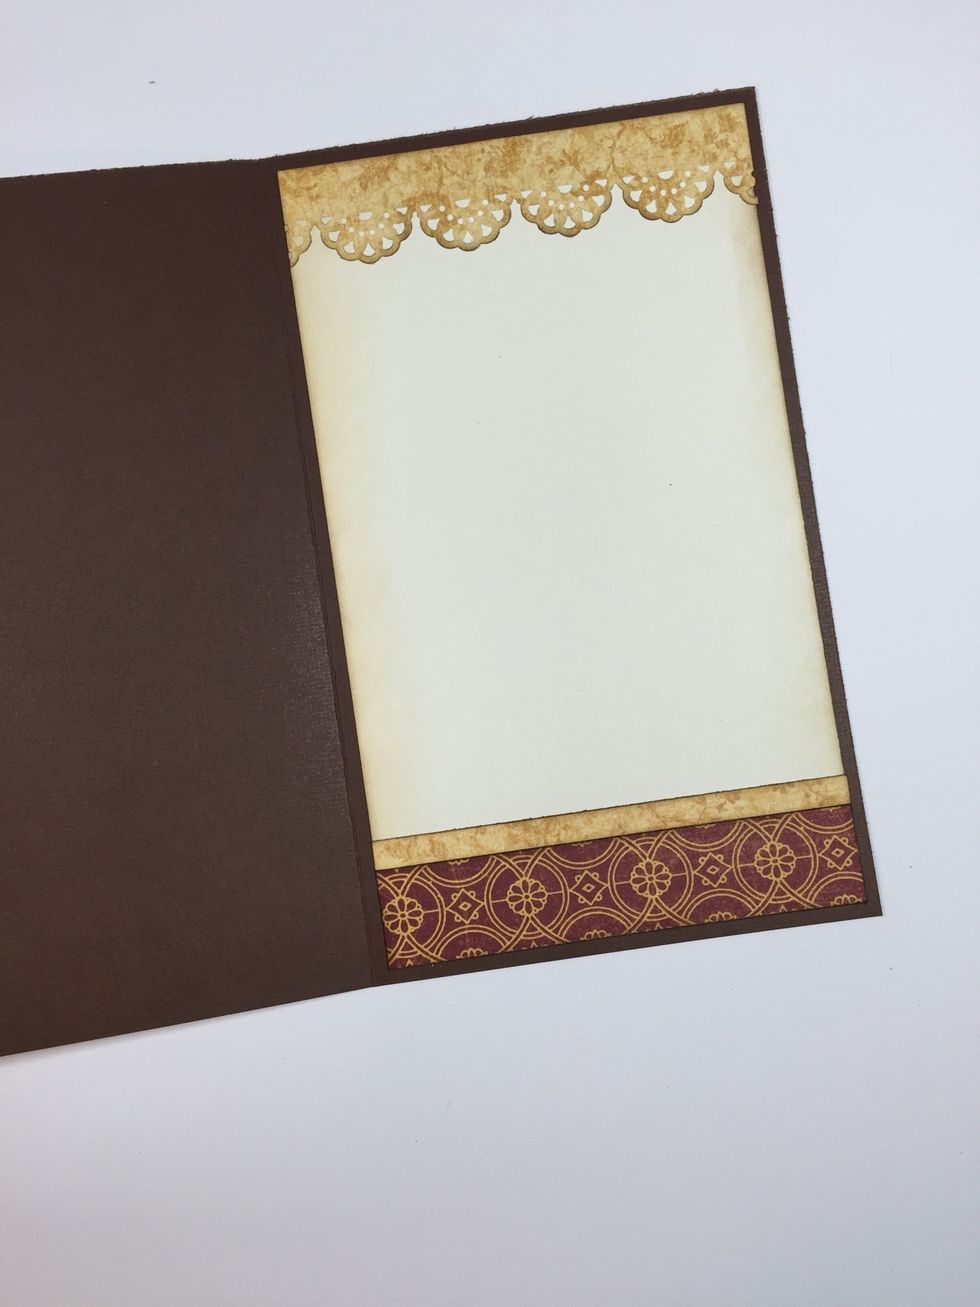
Oh, and don't forget to dress up the inside of your card too! It just takes a 4 1/4" x 7 1/4" piece of ivory cardstock and a few strips of pattern paper.
Thanks for watching my Snapguide. You can find more art, ideas, and inspiration on my blog: AnnettesCreativeJourney.blogspot.com