The Conversation (0)
Sign Up
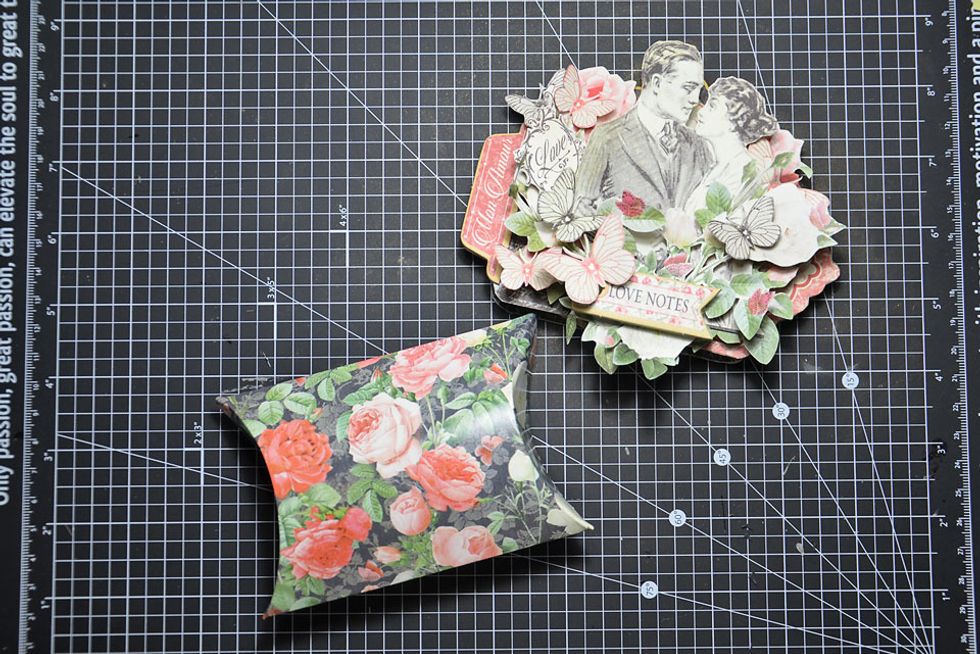
Create the PILLOW BOX base by using the pattern on the inside back cover of the Mon Amour 8x8 paper pad. Simply cut, score and fold on the required lines as the pattern on the back cover is gorgeous.
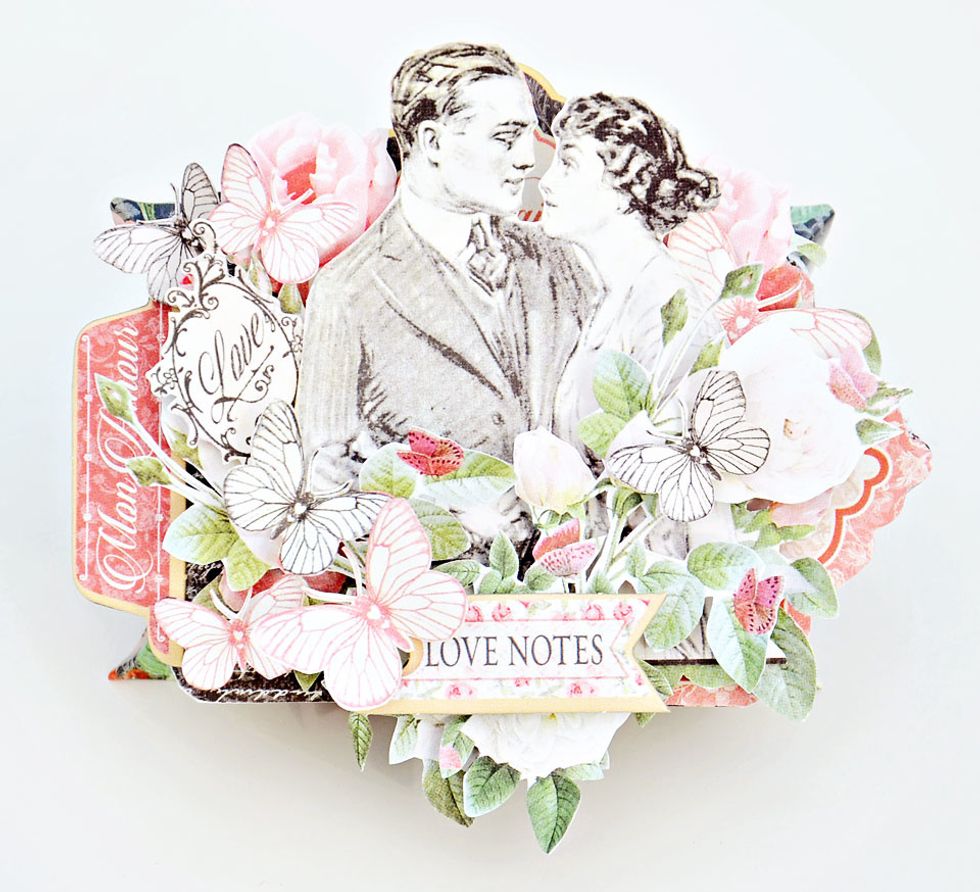
This is what we will be creating. A super sweet card topper to attach to the pillow box.
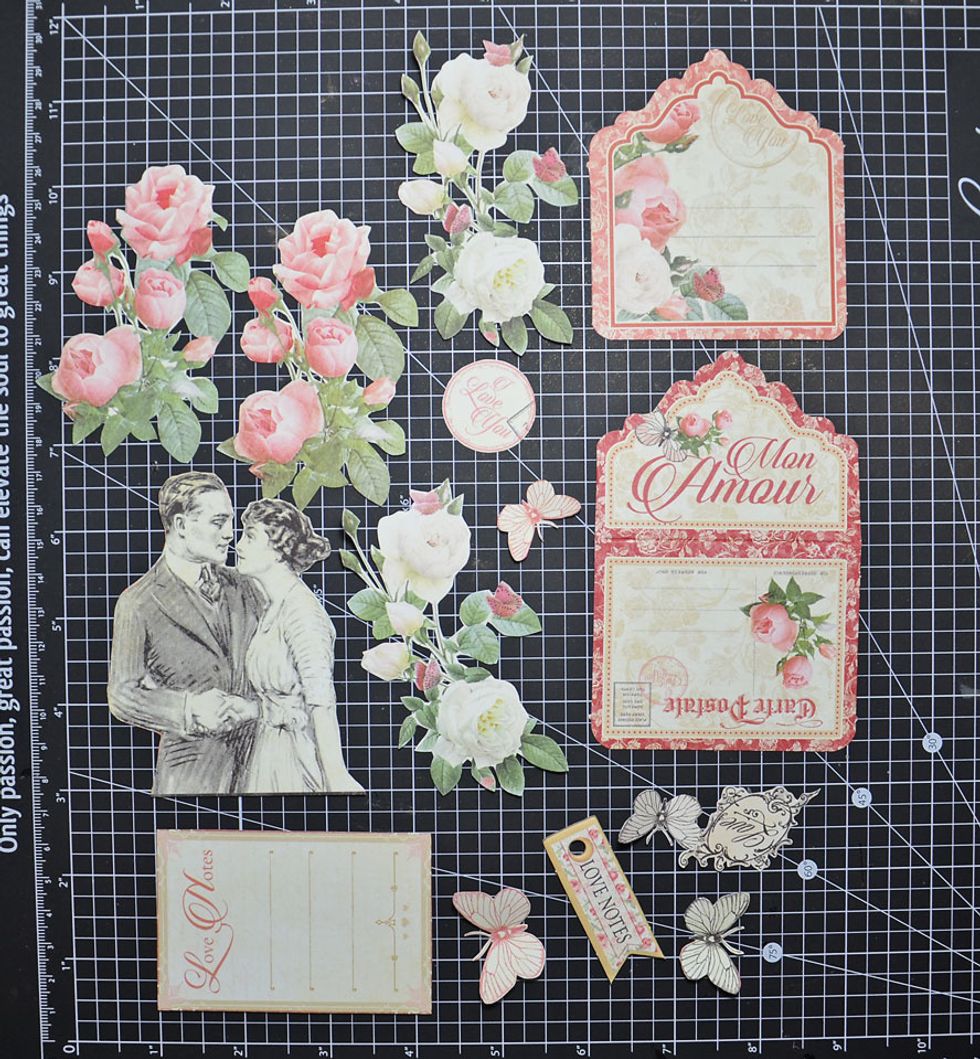
These are the basic pieces required to make the front cover. Most have been cut from the front and back of the Journaling card set.

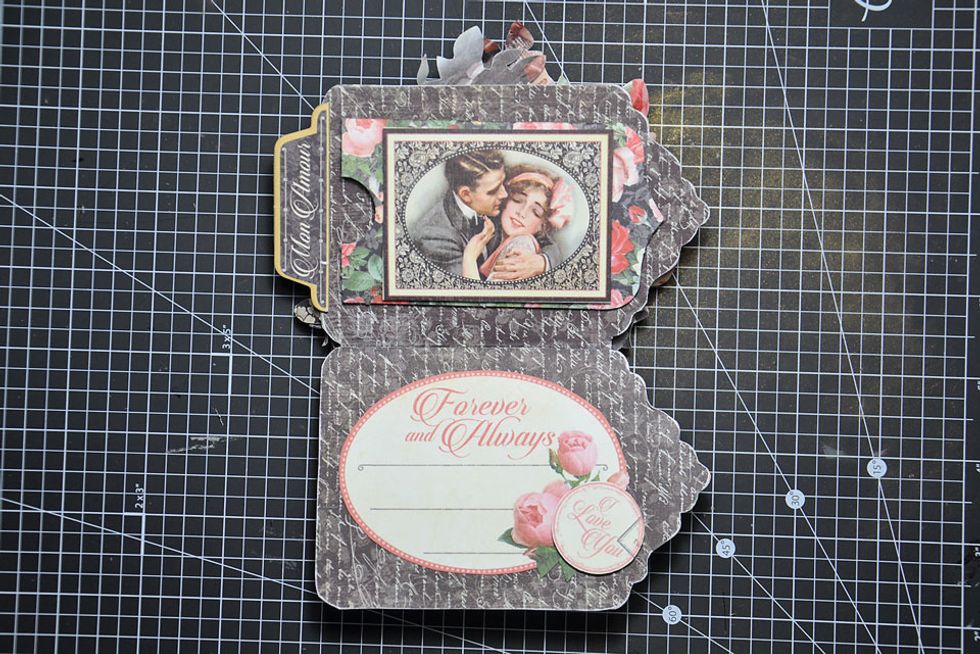
Choose the piece of paper of your choice to create the inside of the card and attach both cardboard tags as shown. Note - you will need to make sure the tags line up with each other.
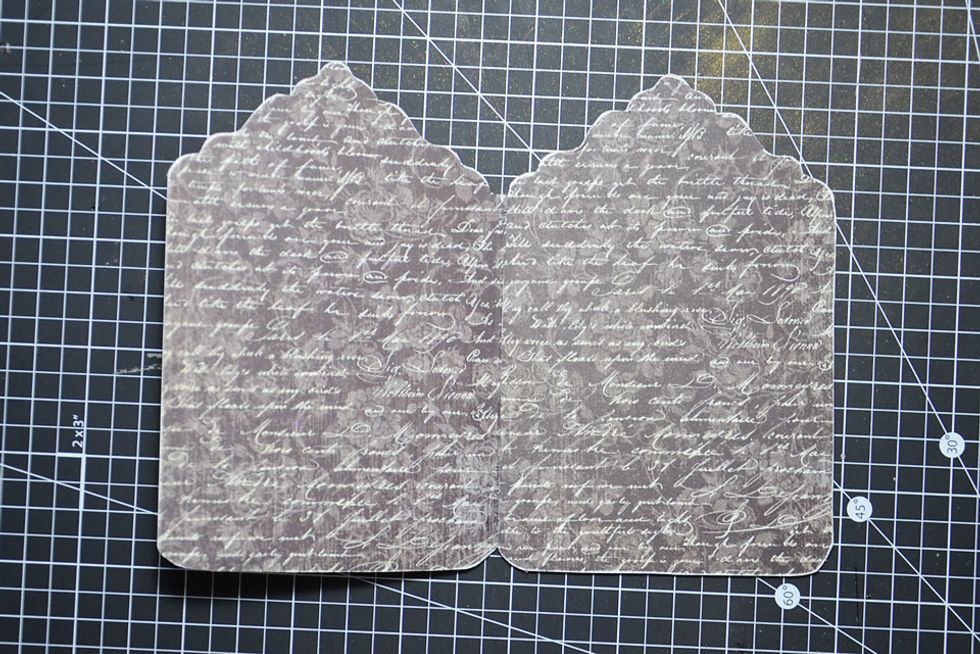
This is what the inside should look like once the paper has been trimmed aroung the tags.
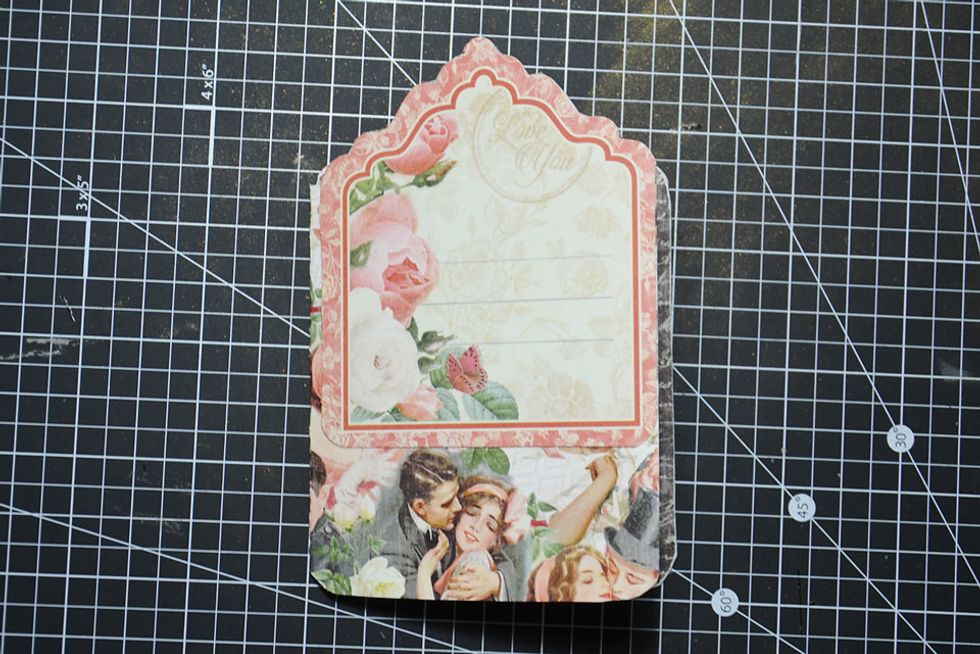
Here you can see that there is a small piece of patterned paper showing along the folded edge. That is perfect as the card when folded is in perfect alignment.

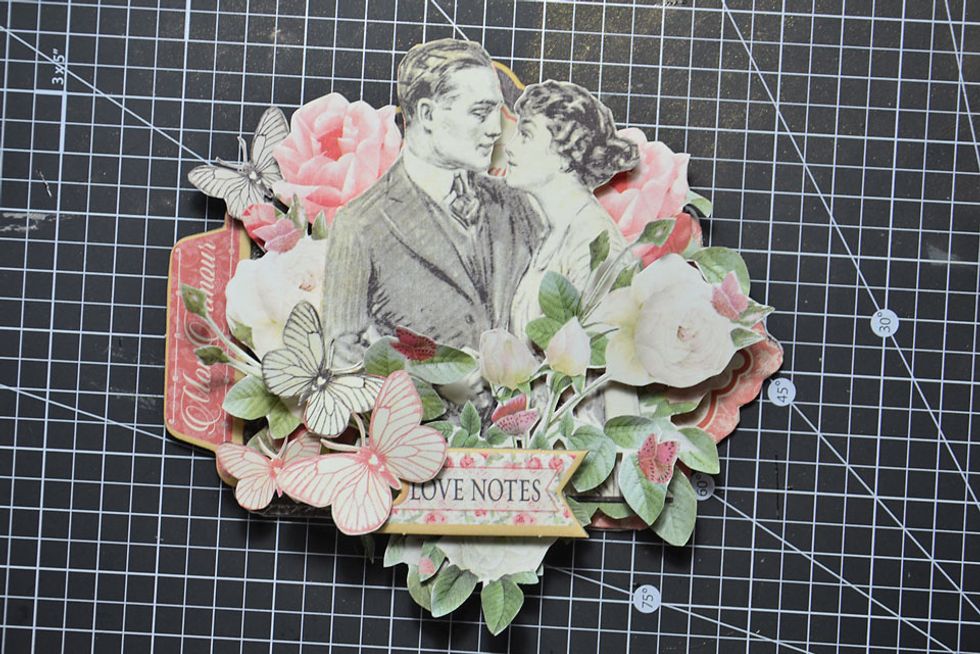
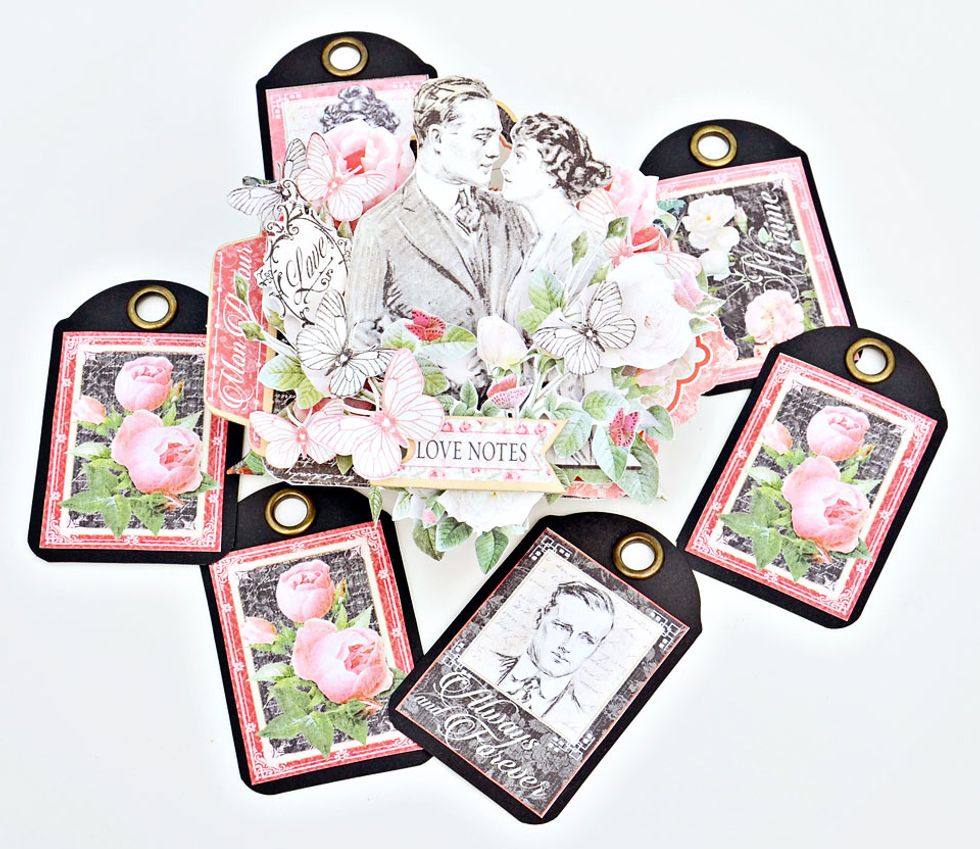
NOTE - Do not stick layers to the card. This base layer has be placed only and not stuck down as we want to get the cluster sized perfect. Start the layers with the pink roses.

Next layer attaching only to the roses and NOT the card, the happy couple.
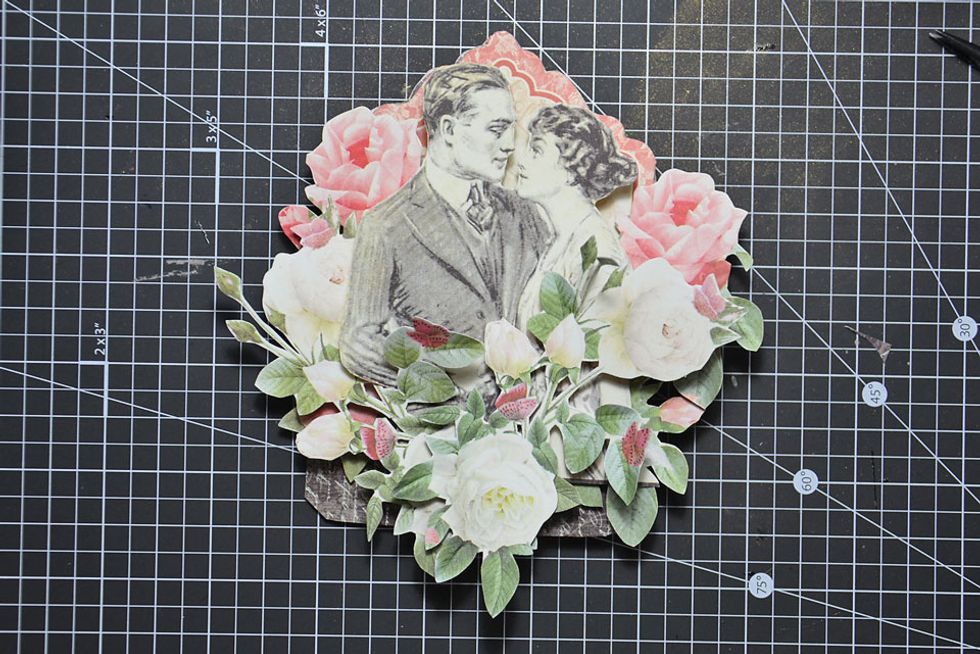
Attach the white roses as shown. I have tucked one just under the arm of the male.
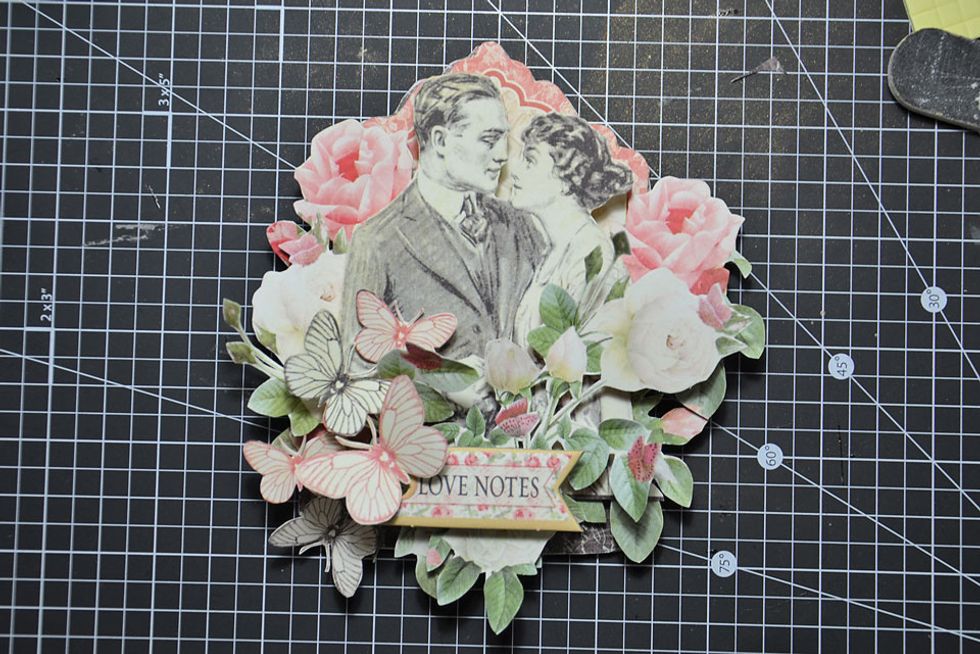
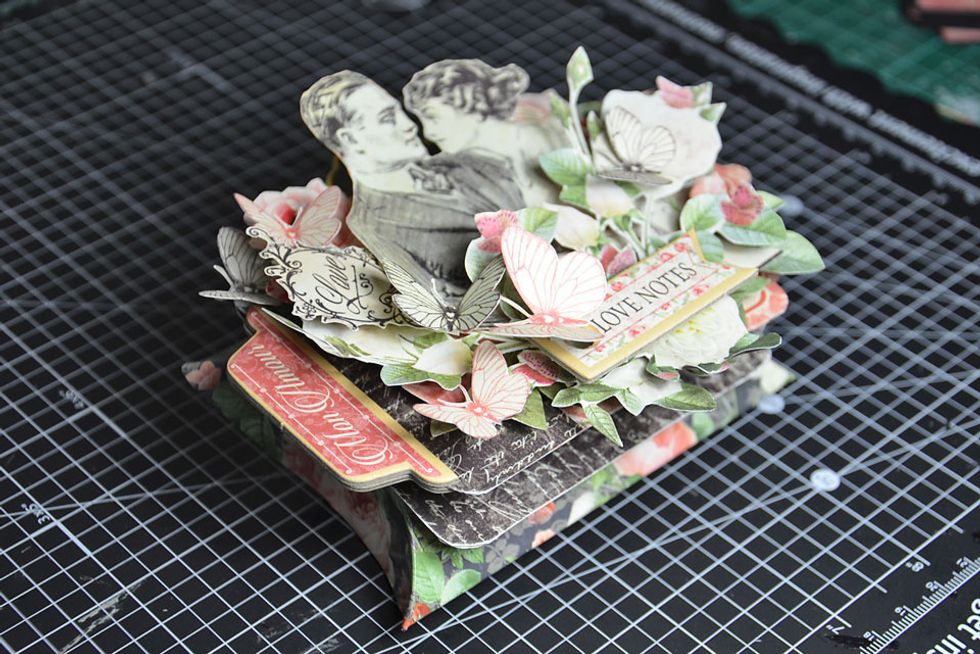
Attach the Love Notes Chipboard Tag and some butterflies as shown.
Take away the cluster from the card and turn card sideways so the opening is to the bottom. Attach the Chipboard tag as shown.
Just showing the cluster removed form card.

Attach the cluster to card as shown. The basic cluster is finished it is your choice if you choose to progress with any extra trimmings. Jump to step 16 if you don't want to add extra trimmings.
If you are here you have chosen to embellish further. Attached the Mon Amour Tab chipboard to the side of the card as shown.

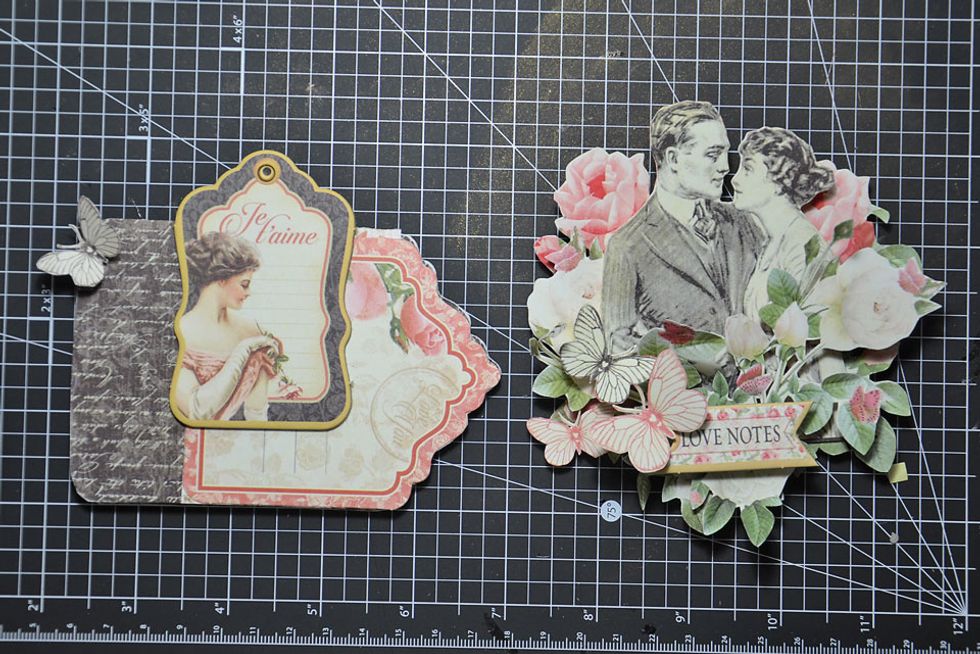
Attach some more butterflies and the fussy cut love word.
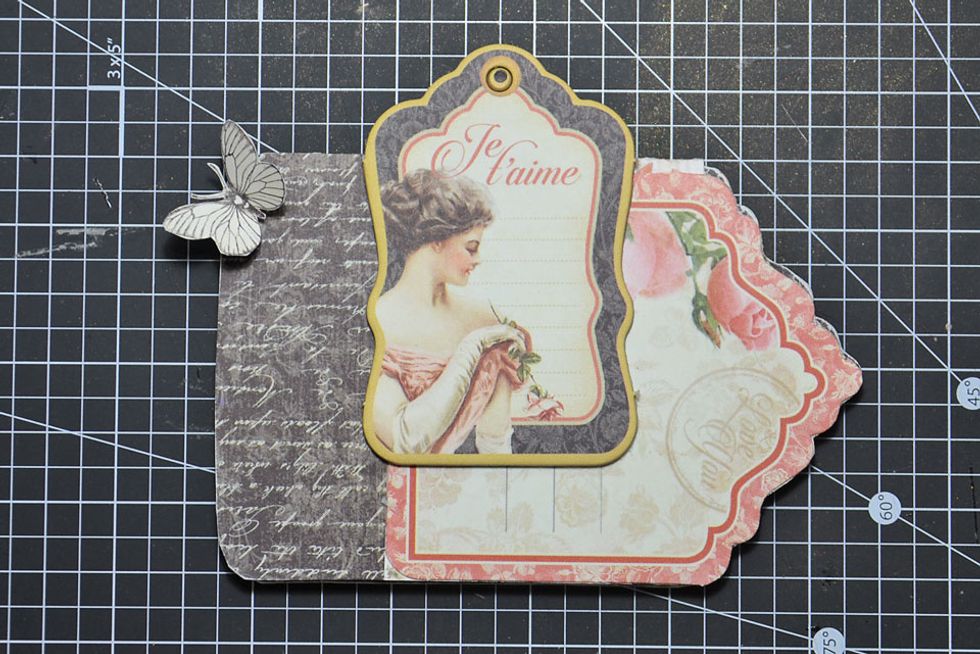
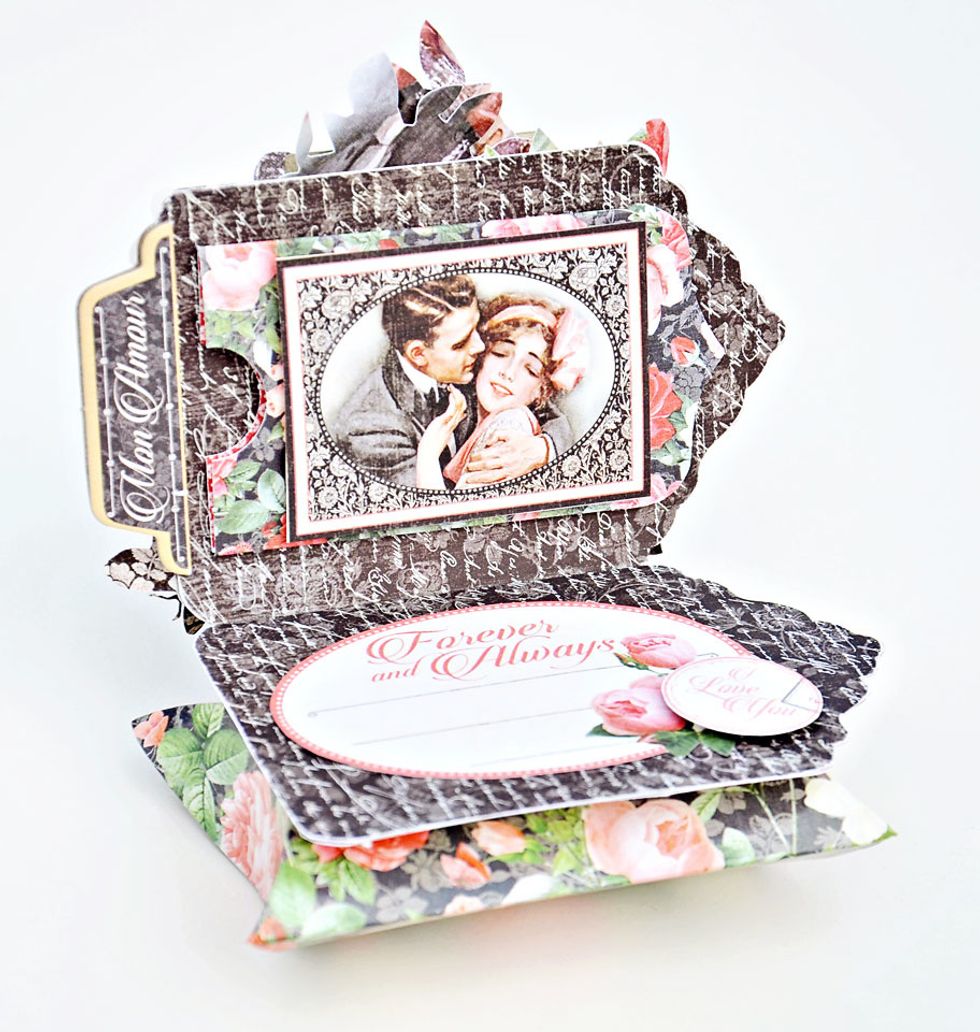
Inside the card you can place anything you choose. I choose to place some fuzzy cut pieces, a chipboard tab and a tag pocket.

Attach the card to the pillow box.
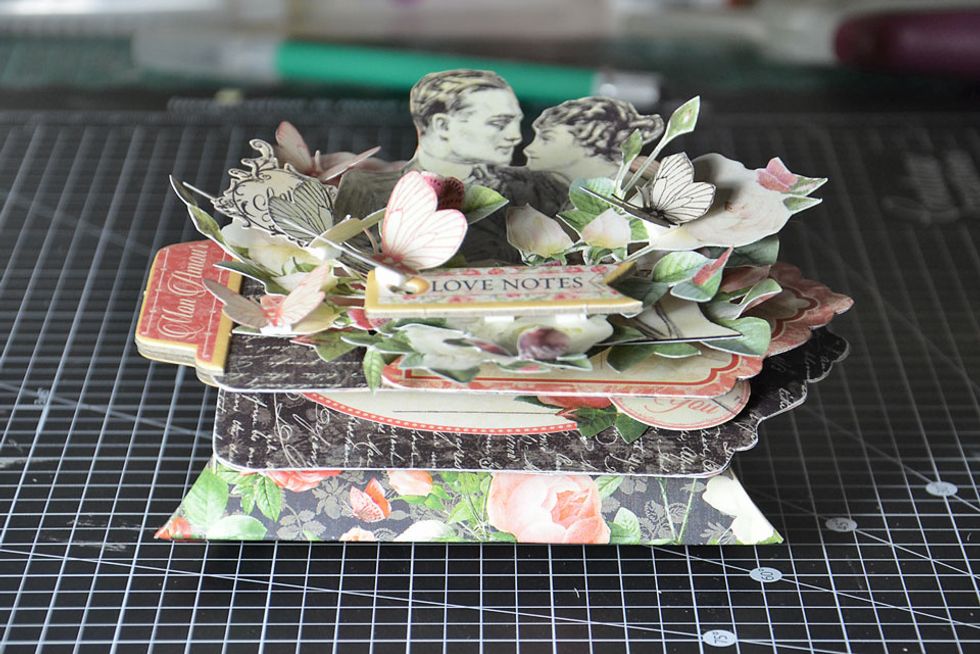
Just some details :)
The Love Notes Pillow Box is now finished. Ready for you to place whatever you choose inside.

So pretty :)
Some more details :)

Thank you for viewing my tutorial. Joanne Bain - scrappinforme.blogspot.com.au/