The Conversation (0)
Sign Up
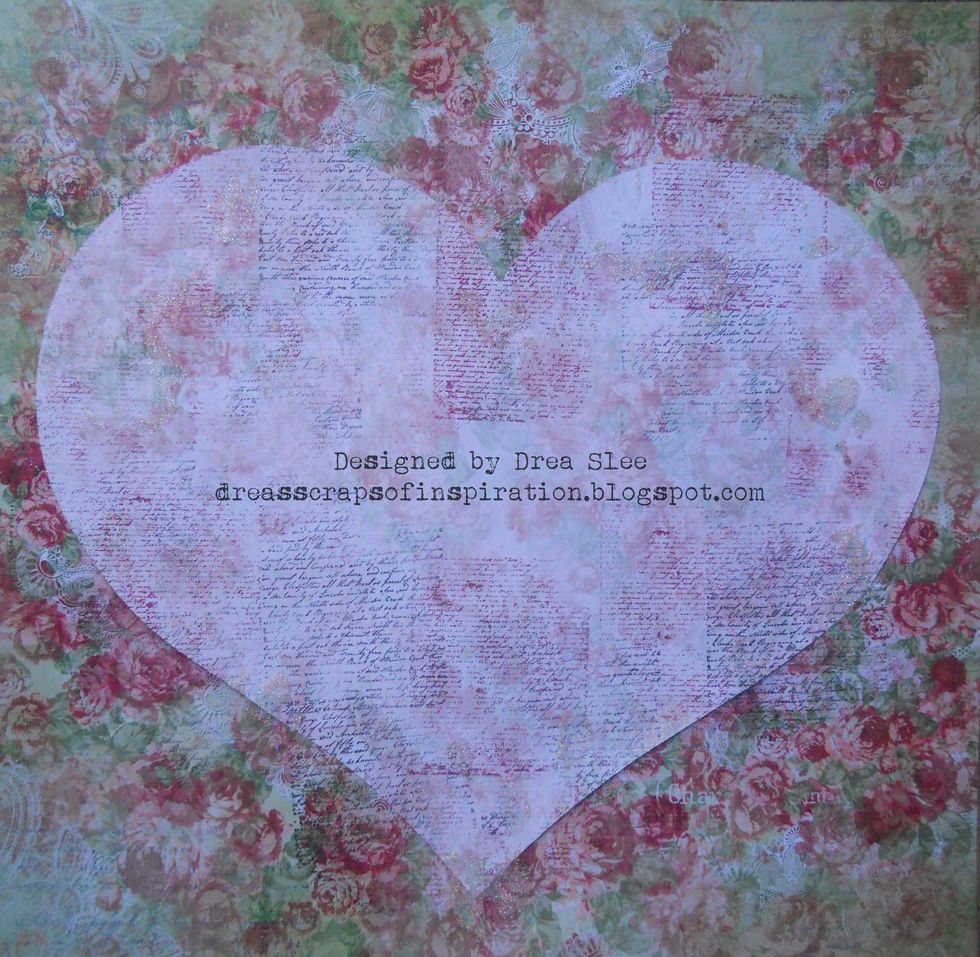
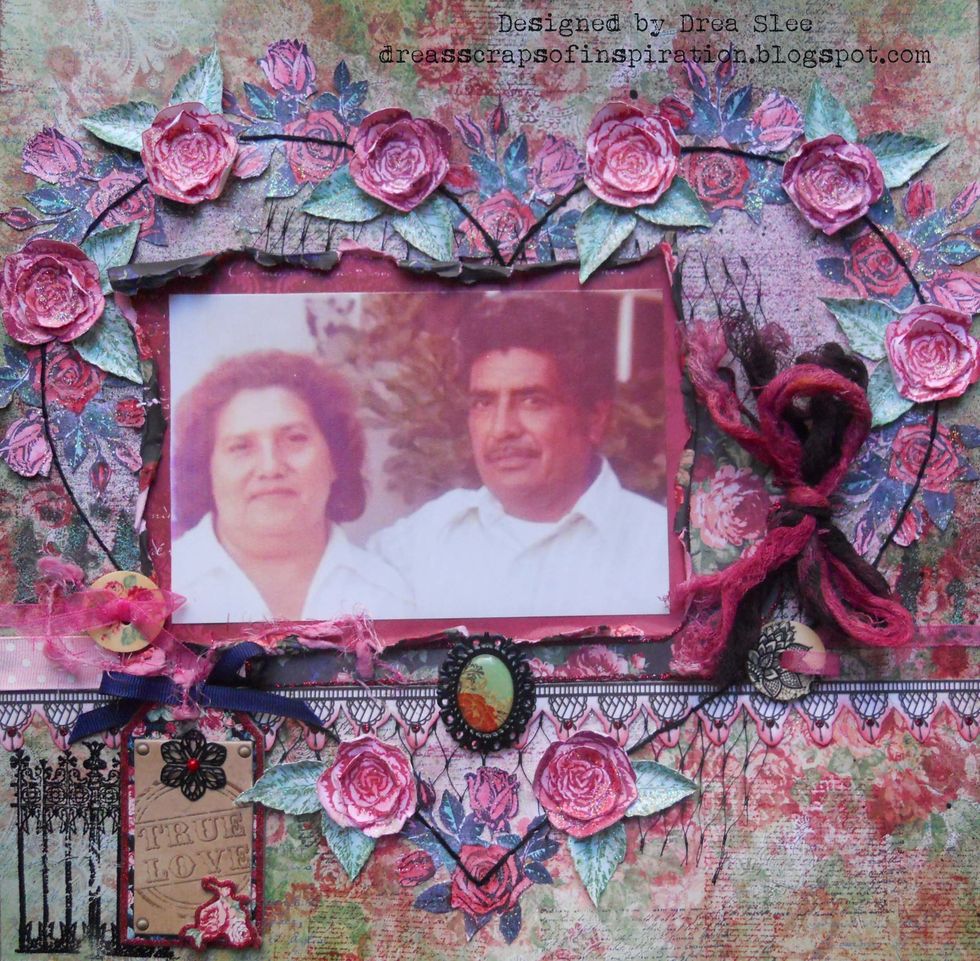
Cut heart from the back of the Love & Lace Devotion paper, and glue onto the back of the Love & Lace You & Me paper.

Using script stamps in red and black permanent inks, randomly stamp over the heart and background. Apply splatters and textures with a popsicle stick, using Bo Bunny Glitter Paste in Sugar.
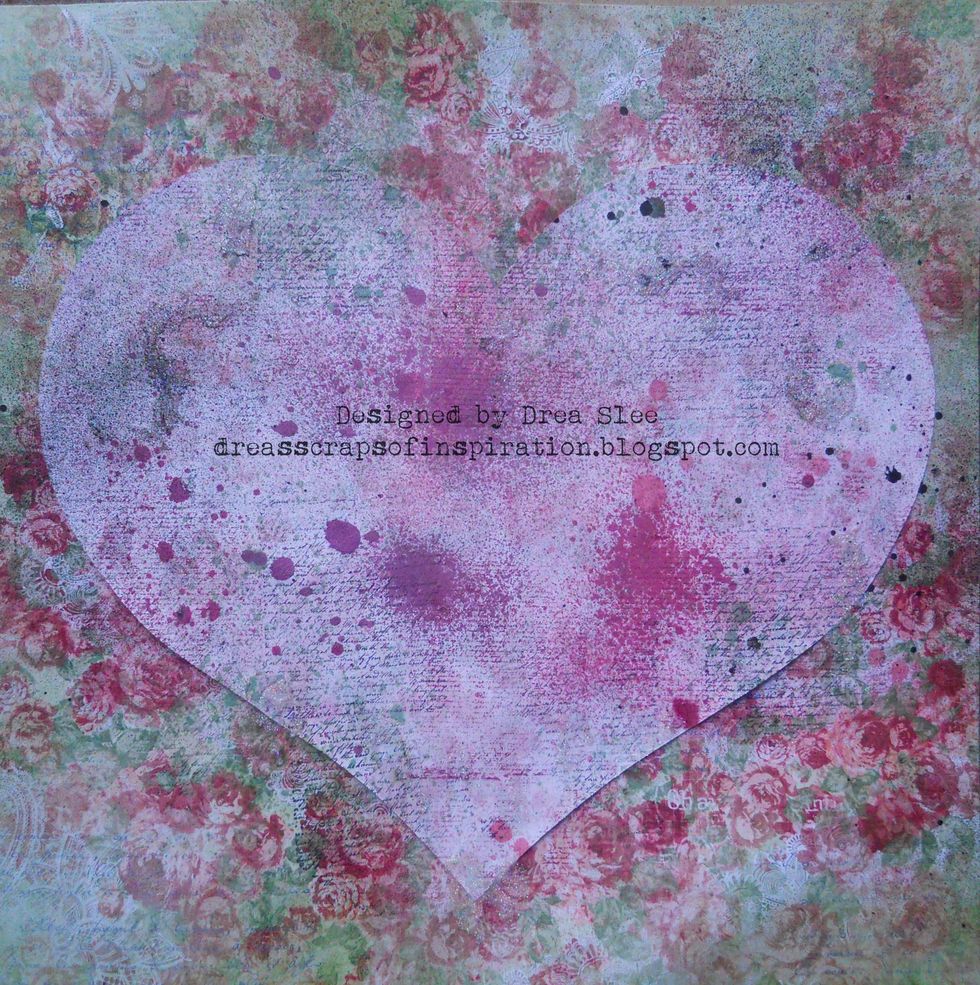
Spray heart and background with mists or sprays. I used some pinks, green, and black.

Using the Crafter's Workshop Texturized Stencil, mask the fence design with some black ink. Then add some Ranger Verdigris Embossing Powder to it and heat set with your heating gun.

Glue strips of the pink sheer and polka dots ribbons from the Ephemera Pack, under the fence.

Add a piece of black netting to the center of the heart overhanging along the bottom. My netting is from fruit net bags.

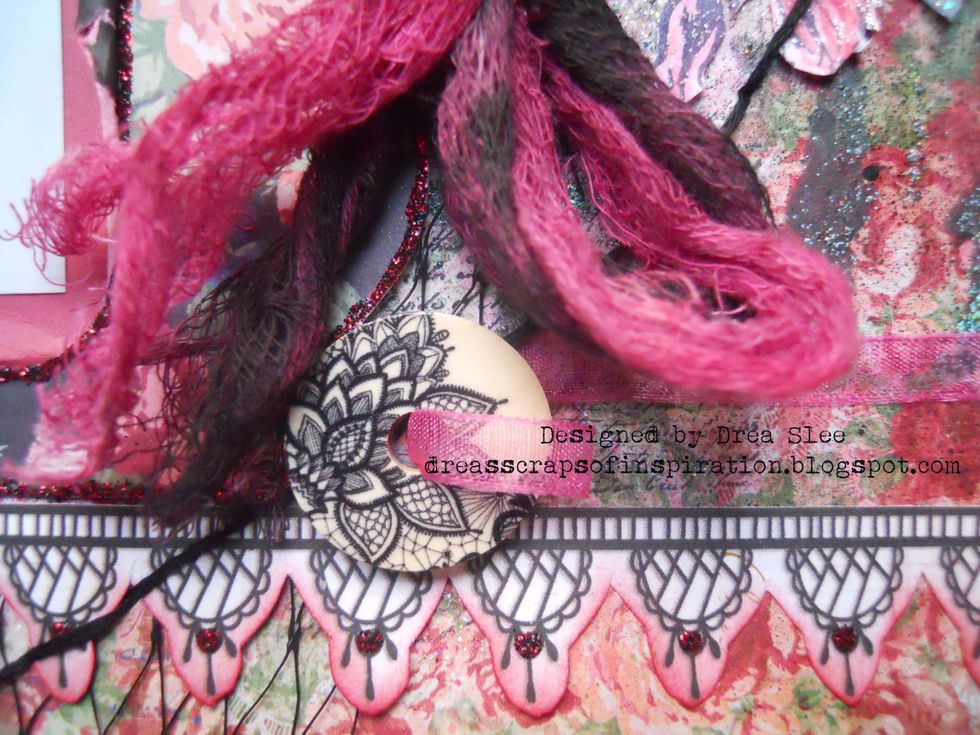
Fussy cut the lace strip from the Love & Lace paper. Use the blending tool with Distress Ink Worn Lipstick along scalloped edge. Add a dot of Burgundy Stickles to the ends.
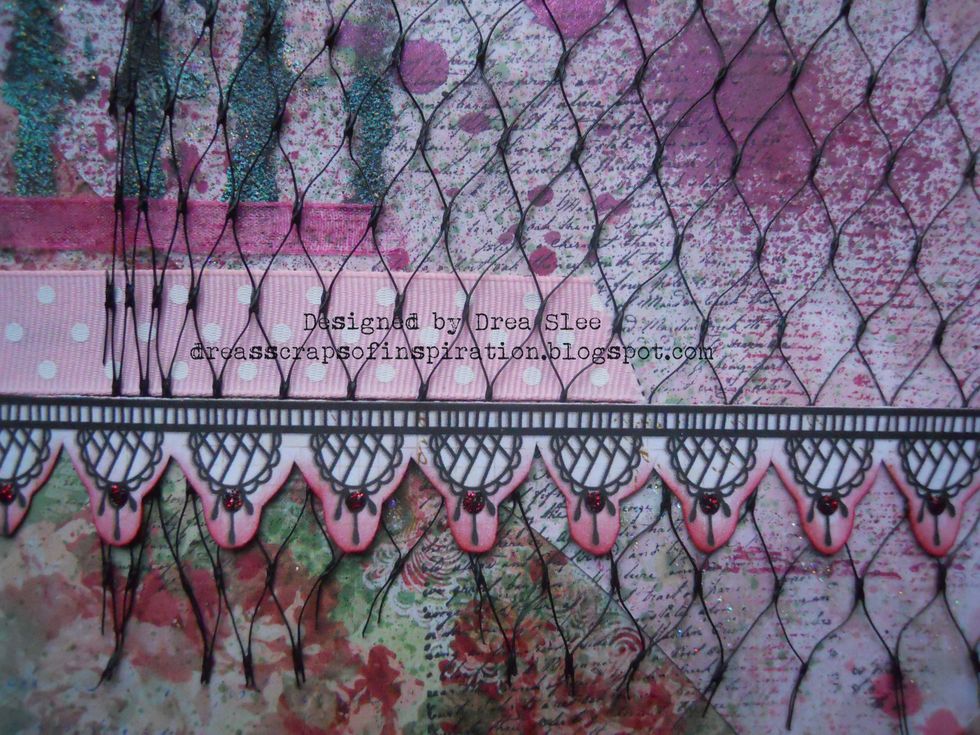
Once dry, glue this strip right along the bottom of the pink polka dot ribbon.

Matte a 4" X 6" photo with Love & Lace Cherish paper, tearing the edges, and inking them with Distress Ink Worn Lipstick. Use a paintbrush with some water to distress the edges.

Punch out the middle of the black floral tag that comes in the Ephemera, and outline edges with Burgundy Stickles. Make a bow for the tag from strips of cheesecloth, colored with mists.
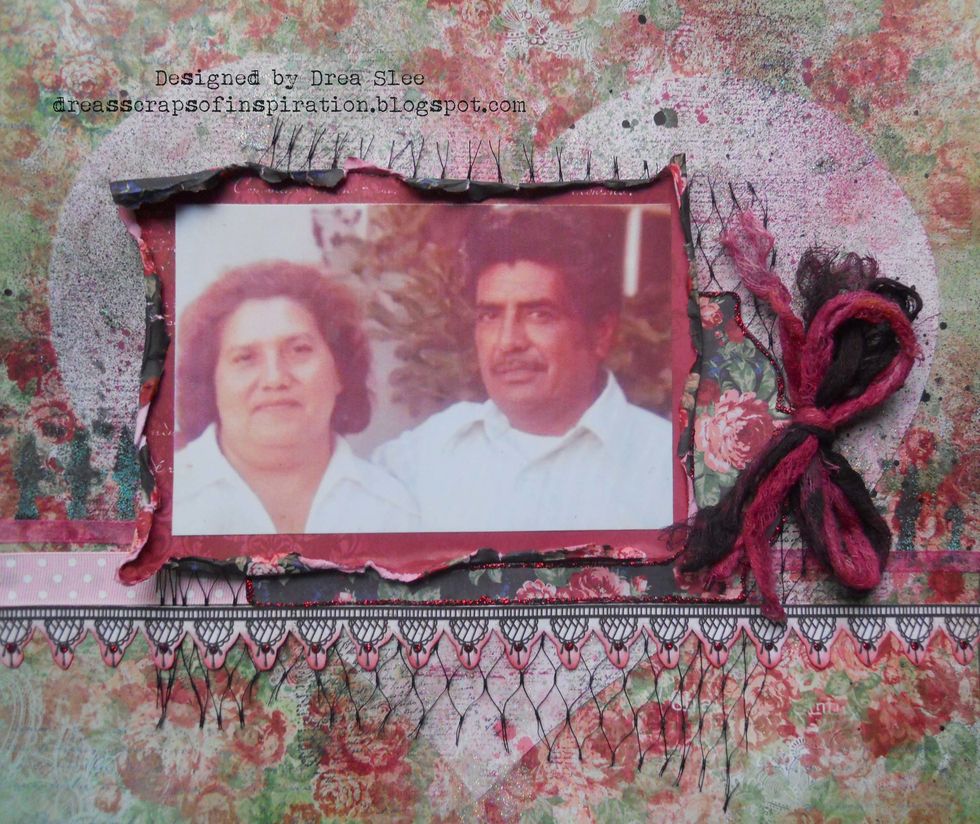
Glue tag over the lace border, adding the photo into the frame of it.

Glue 8 rose clusters onto white cardstock. First, use the Bo Bunny Floral Stamp, color them with Tim Holtz Water Brush Detailer and some Distress Inks.
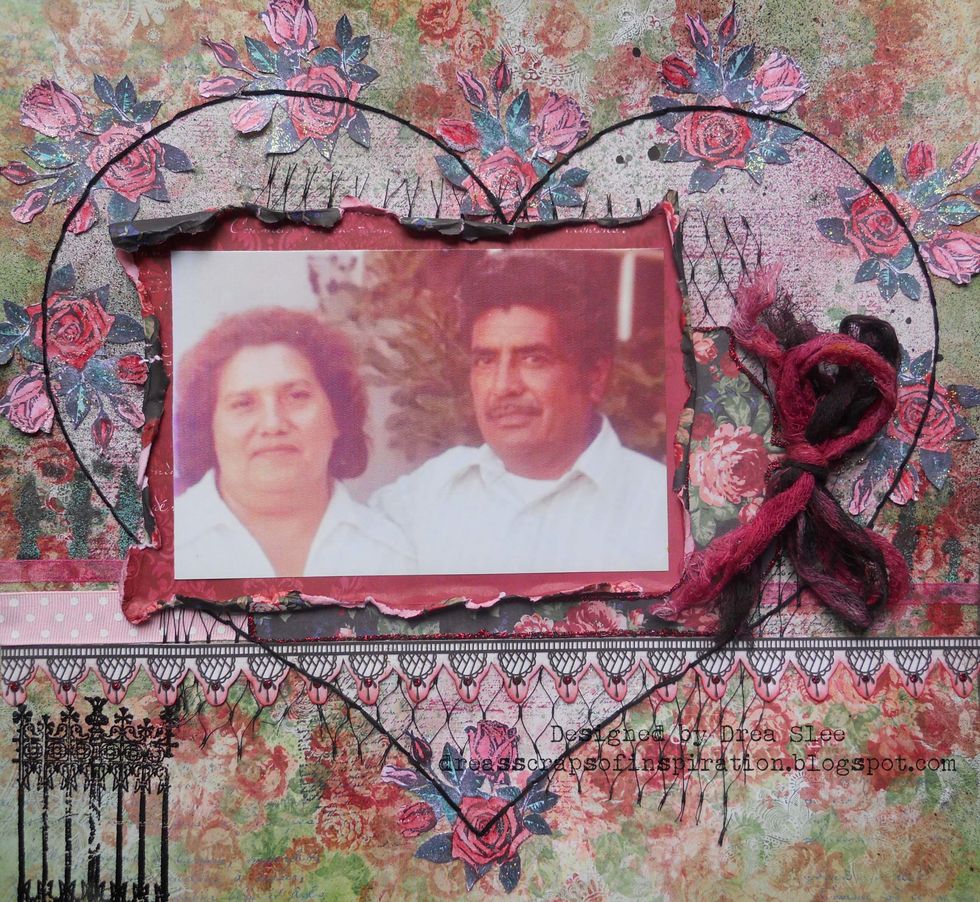
Add Eucalyptus Stickles to the leaves and Cotton Candy Stickles to the flowers. Add some black stitching around the heart. Use black embossing powder to stamp the fence in the lower left corner.
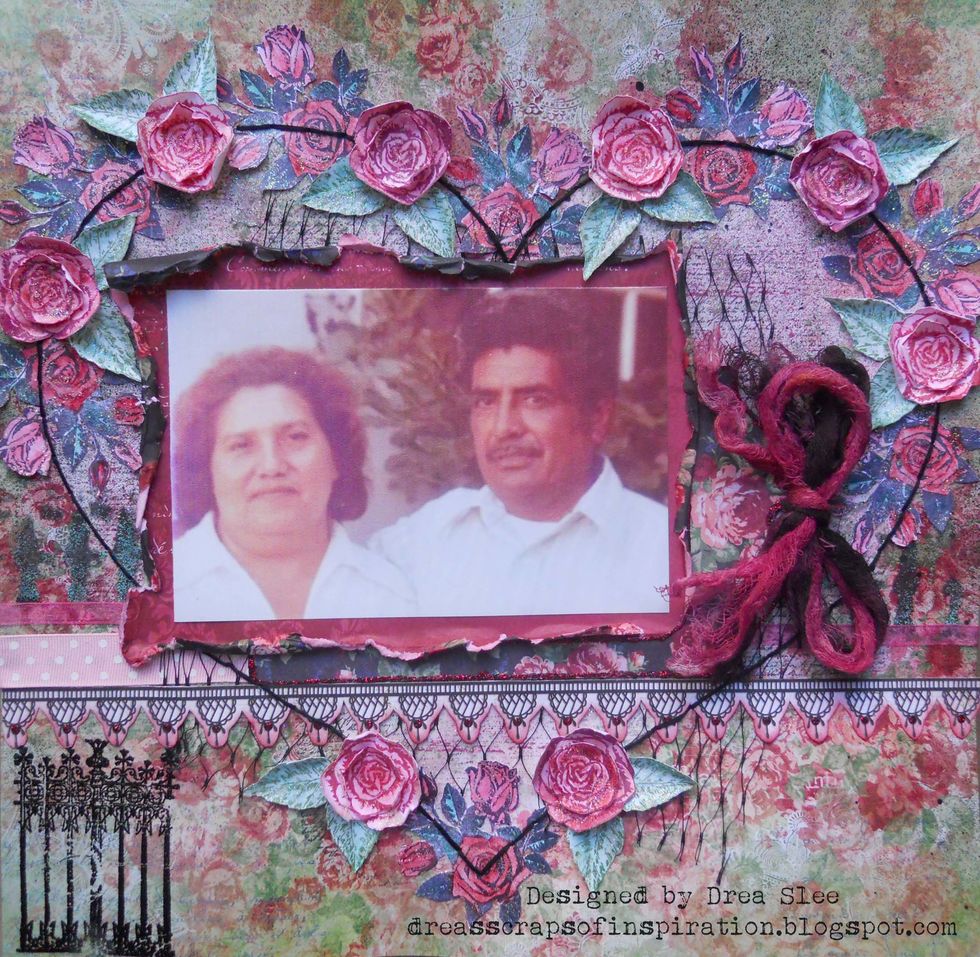
Use the Bo Bunny Floral Stamp to stamp the other roses and leaves using permanent red, burgundy, and green inks. Color again with Distress Inks and the Tim Holtz Water Brush Detailer.

Layer, by stamping twice, cut near the middle rose. Add water to edges and curl the petals. When dry apply Glitter Paste Sugar sparkle. Glue the small rose onto the larger, adding leaves underneath.
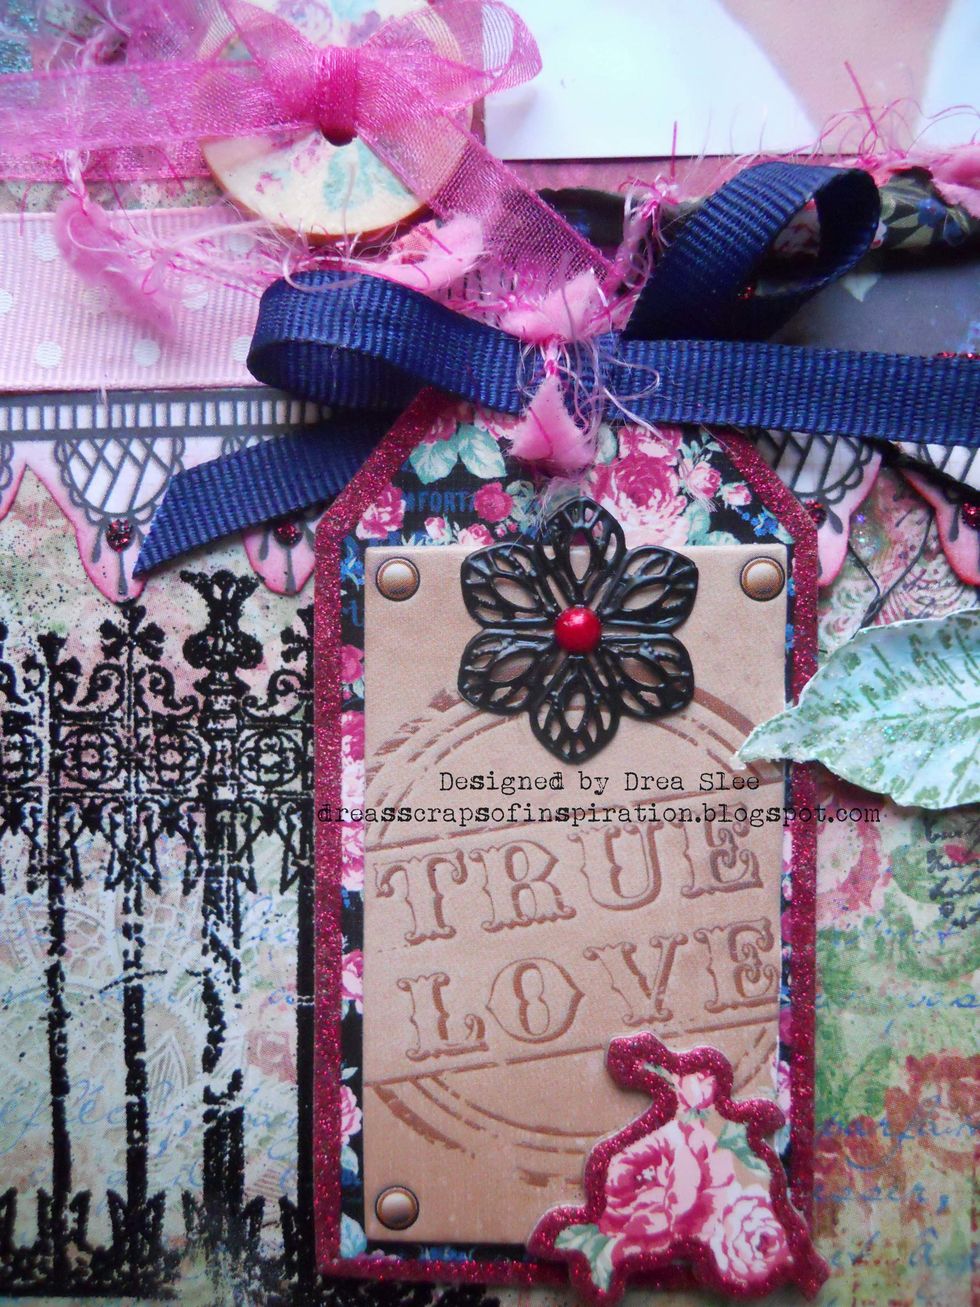
Add title tag to the right of the embossed fence. From the Ephemera I used the black metal flower and black ribbon, adding some pink fiber from my own stash.
Add sheer ribbon from the Ephemera to the wood buttons, making a bow to the one on the left, and a loop from the one on the right.
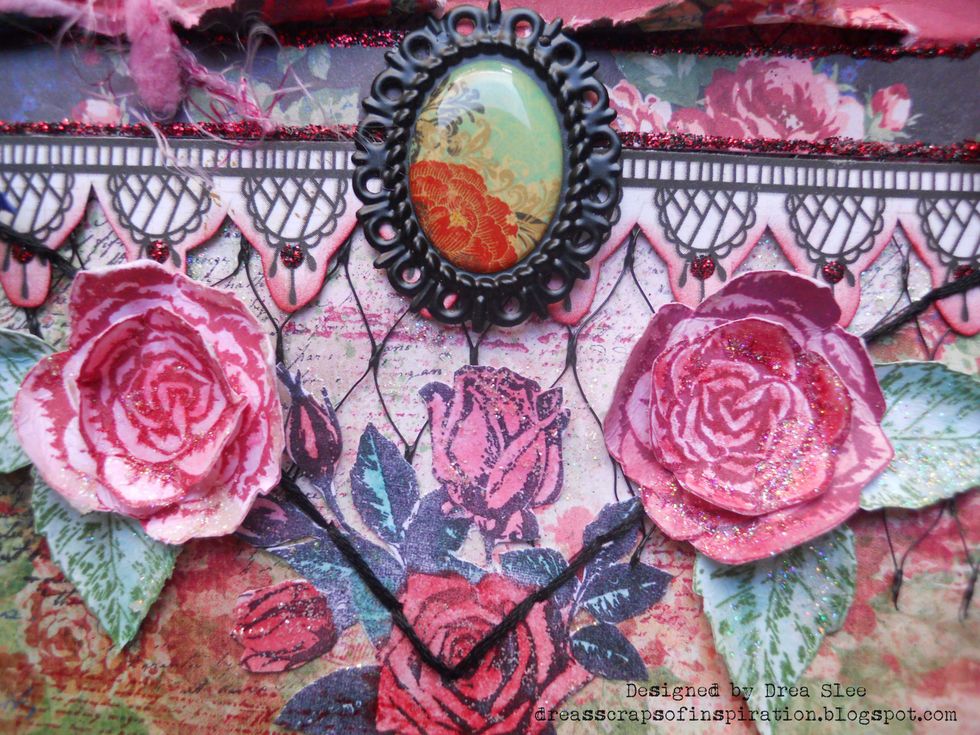
For the final touch, I added the oval metal piece that can also be found in the Ephemera, to the center of the paper lace strip.
I hope you'll try some of these techniques on your next layout! You can find all of these supplies at www.FotoBella.com This tutorial was created by FotoBella Design Team Member Drea