The Conversation (0)
Sign Up
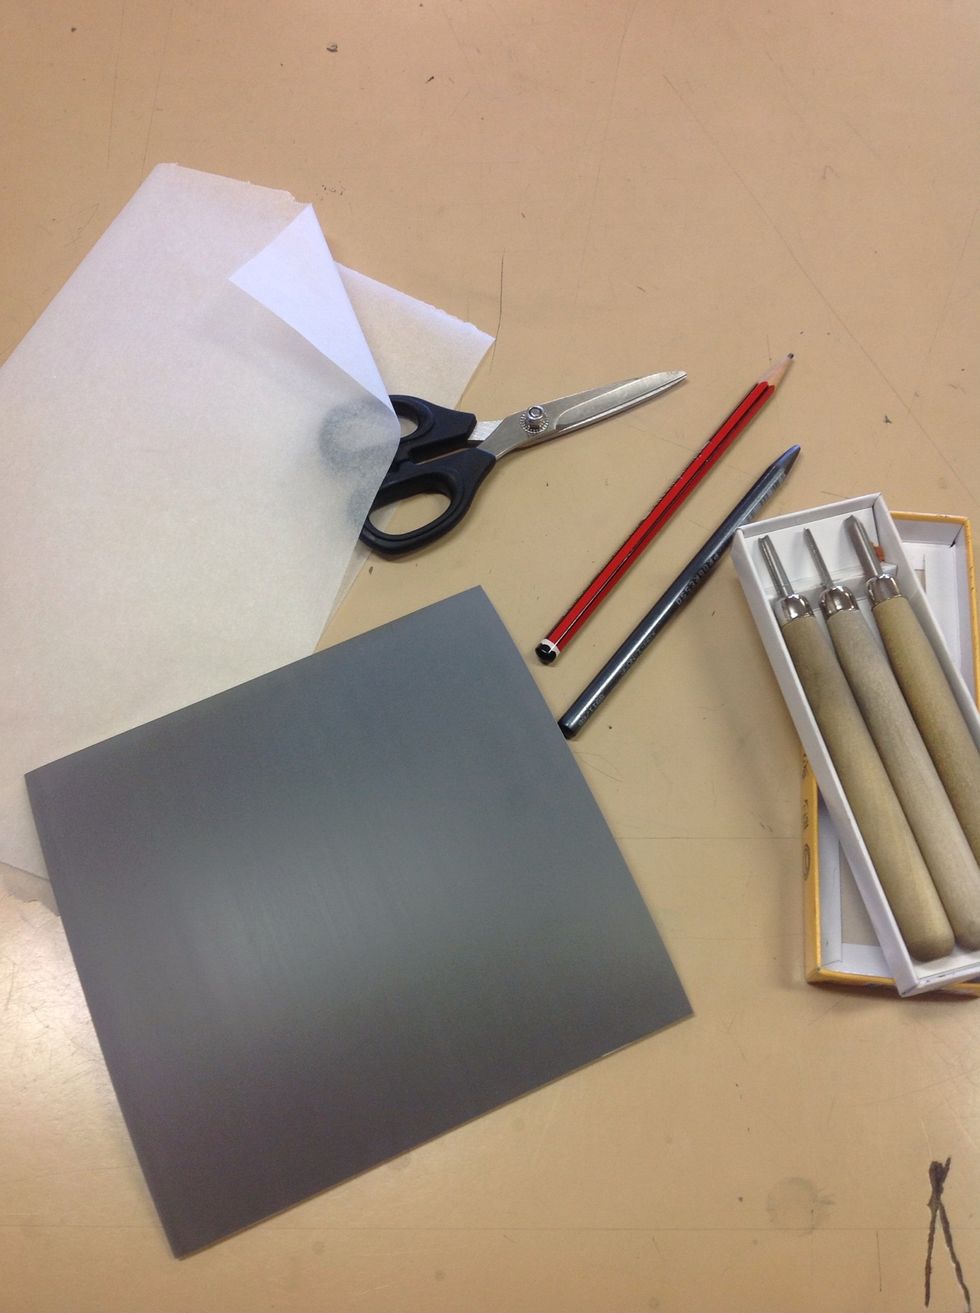
The tools you will need to create your Lino stamp are: Lino, Cutting tools (v shaped and u shaped), Pencils, Tracing paper, Scissors
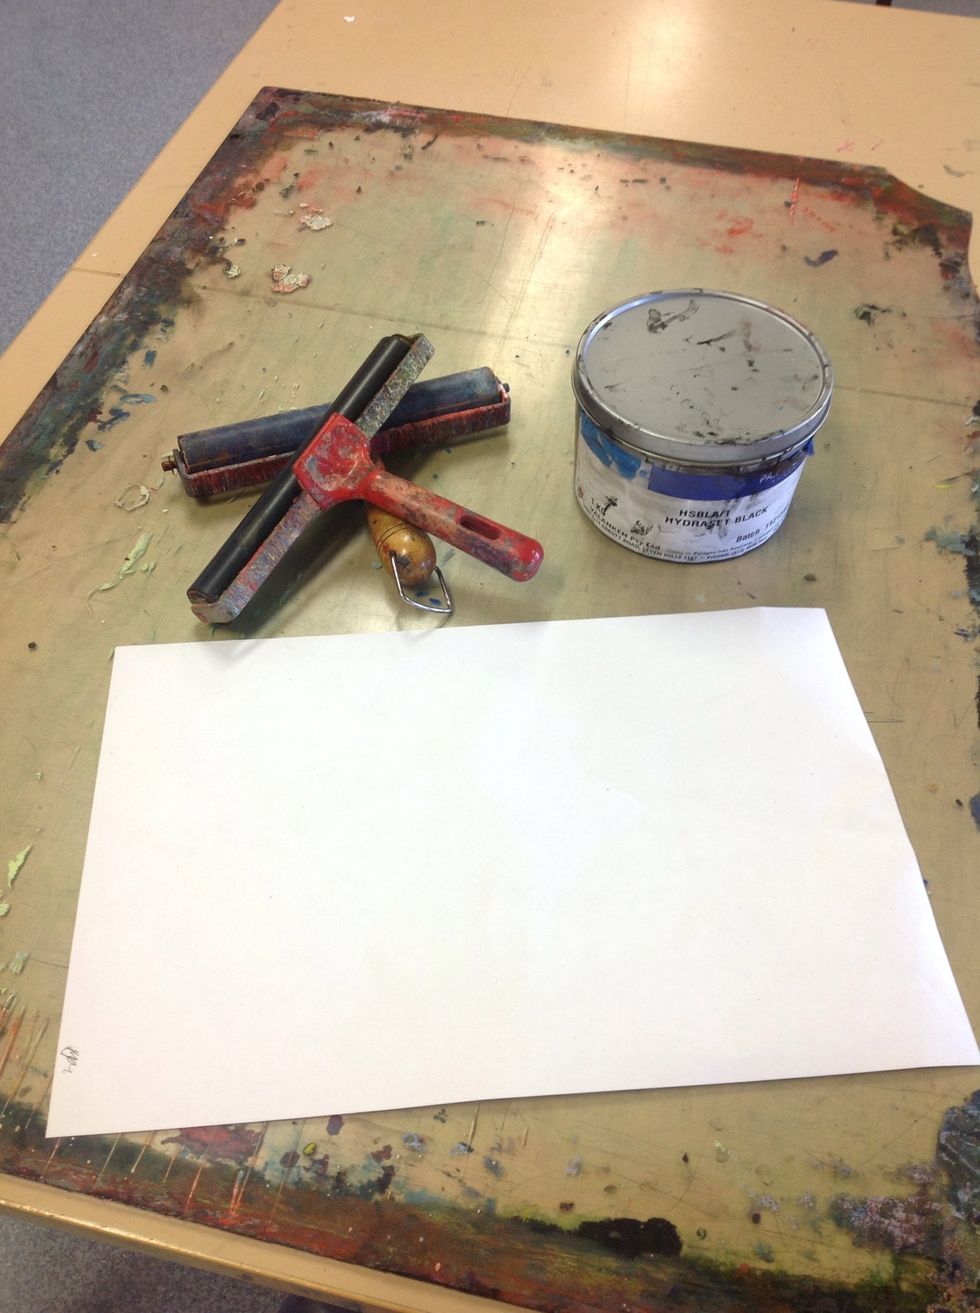
And here is what you will need to print the stamp. 2 brayers (rollers), water based printing ink (we have used hydraset black), paper to print on and a large piece of Perspex or a non-porous surface.
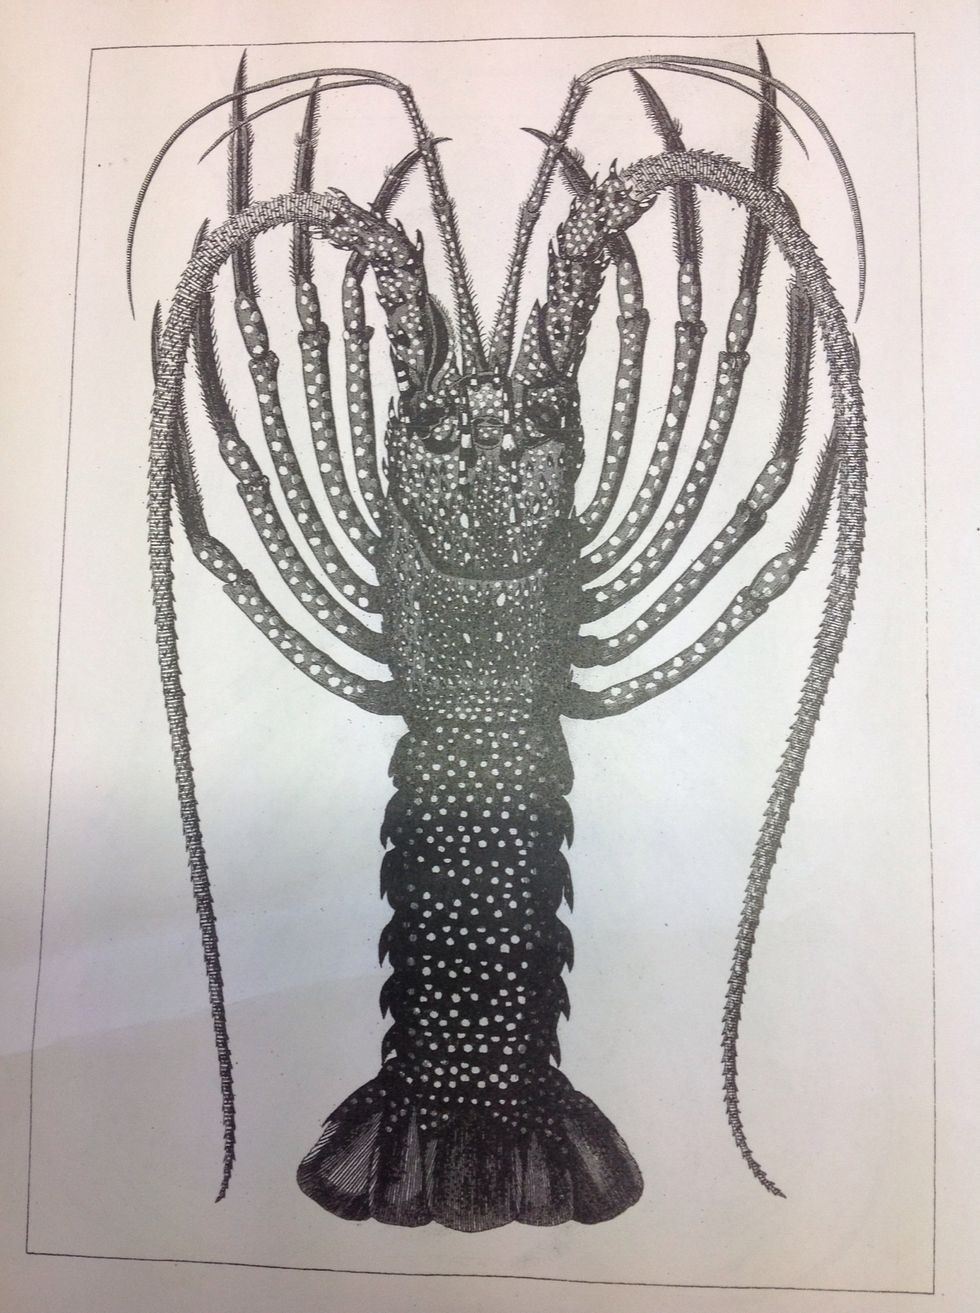
Choose subject for your Lino stamp. In the case we are using an animal drawing.
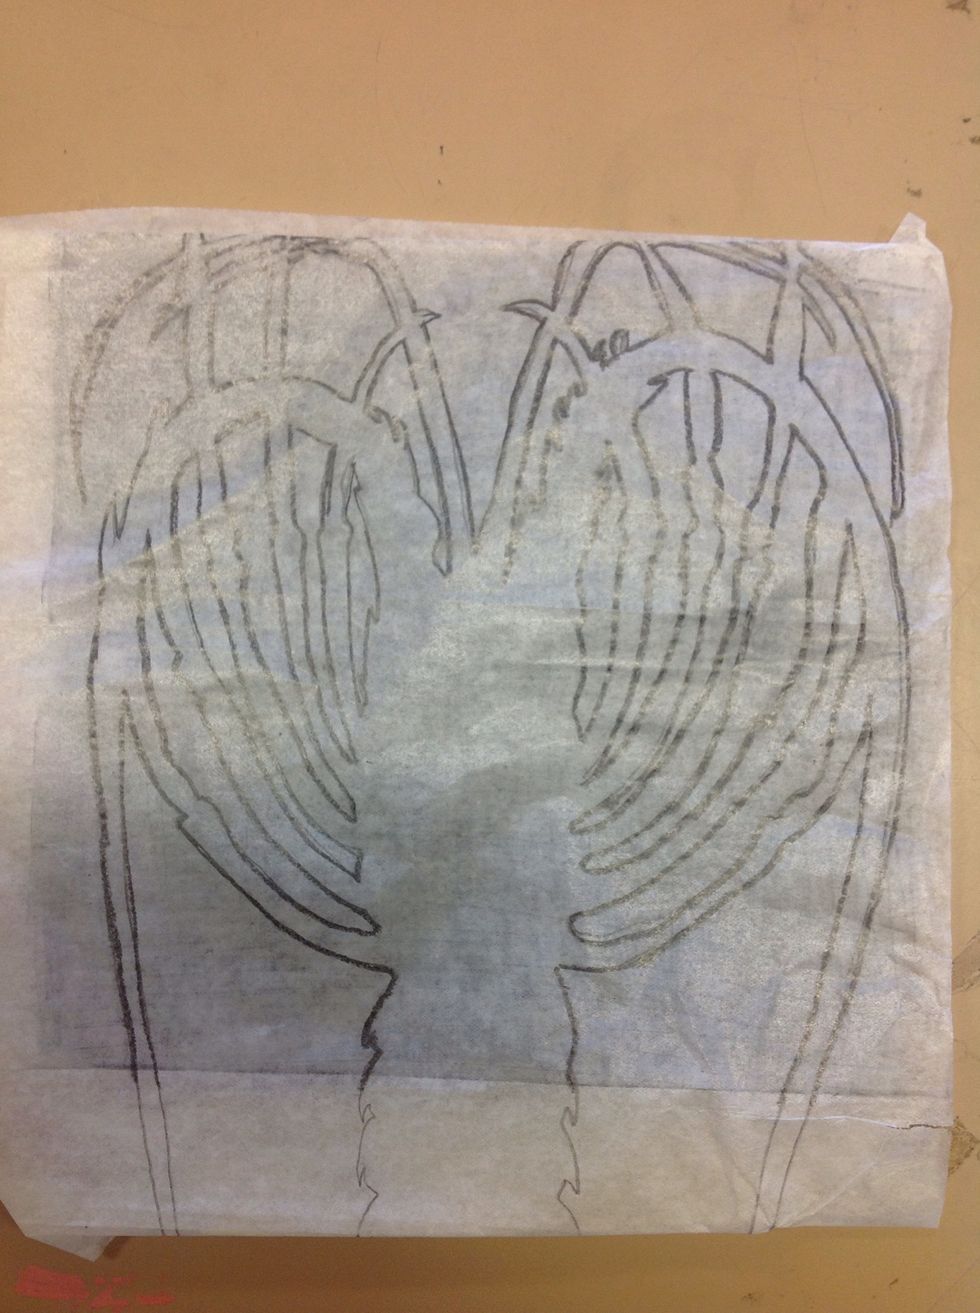
Using the tracing paper, trace around the outline of the animal. Don't worry about details at this point they can be drawn in later.
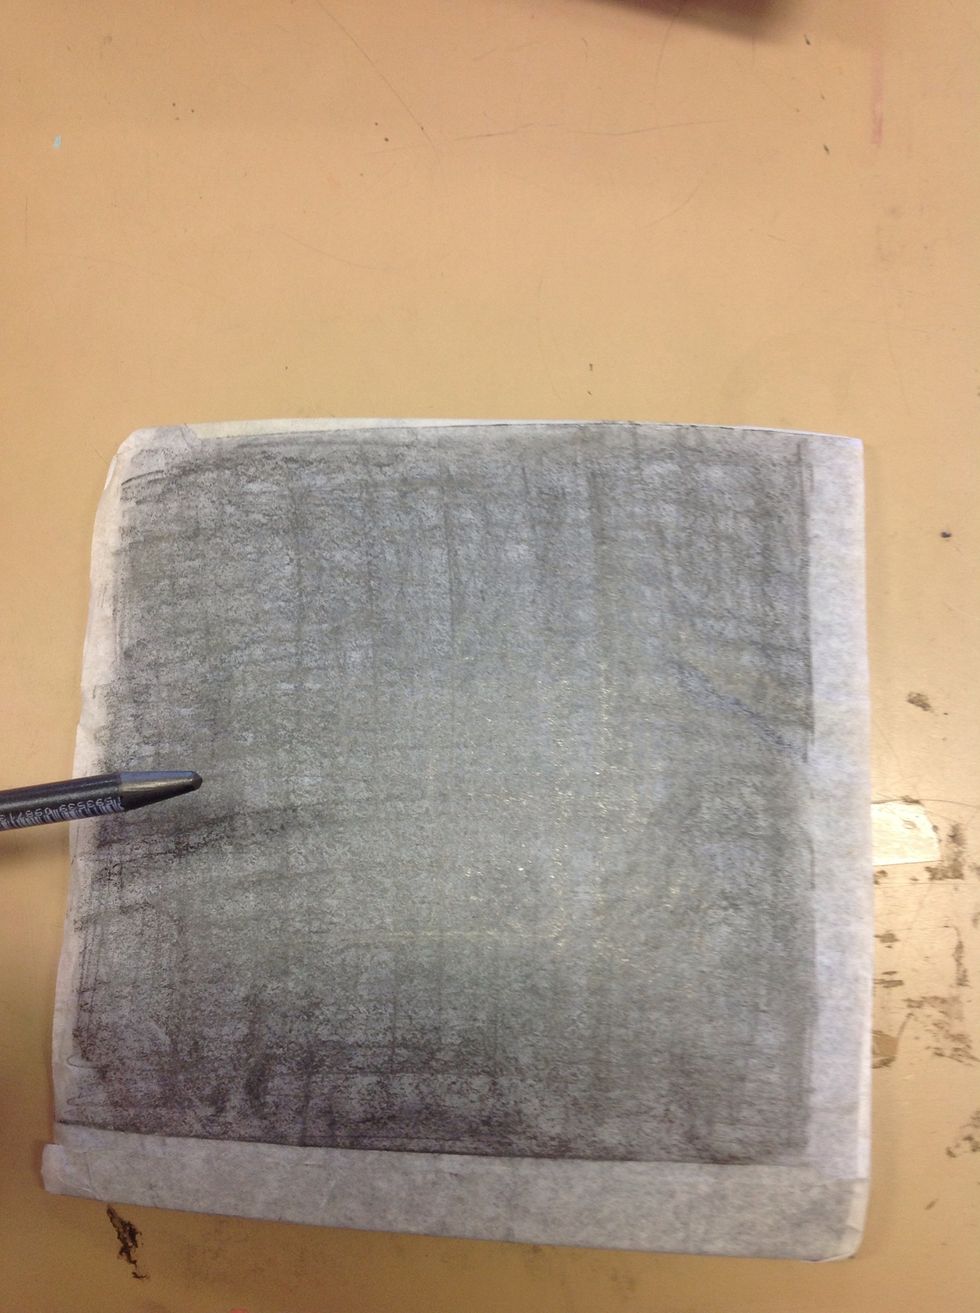
Place tracing paper, drawing side down, on your Lino and with a graphite pencil shade over the back of your drawing. This will transfer the lead pencil drawing from the tracing paper to the Lino piece
If the transfer is not dark enough to see well, go over the lines with a pencil or fine pen.
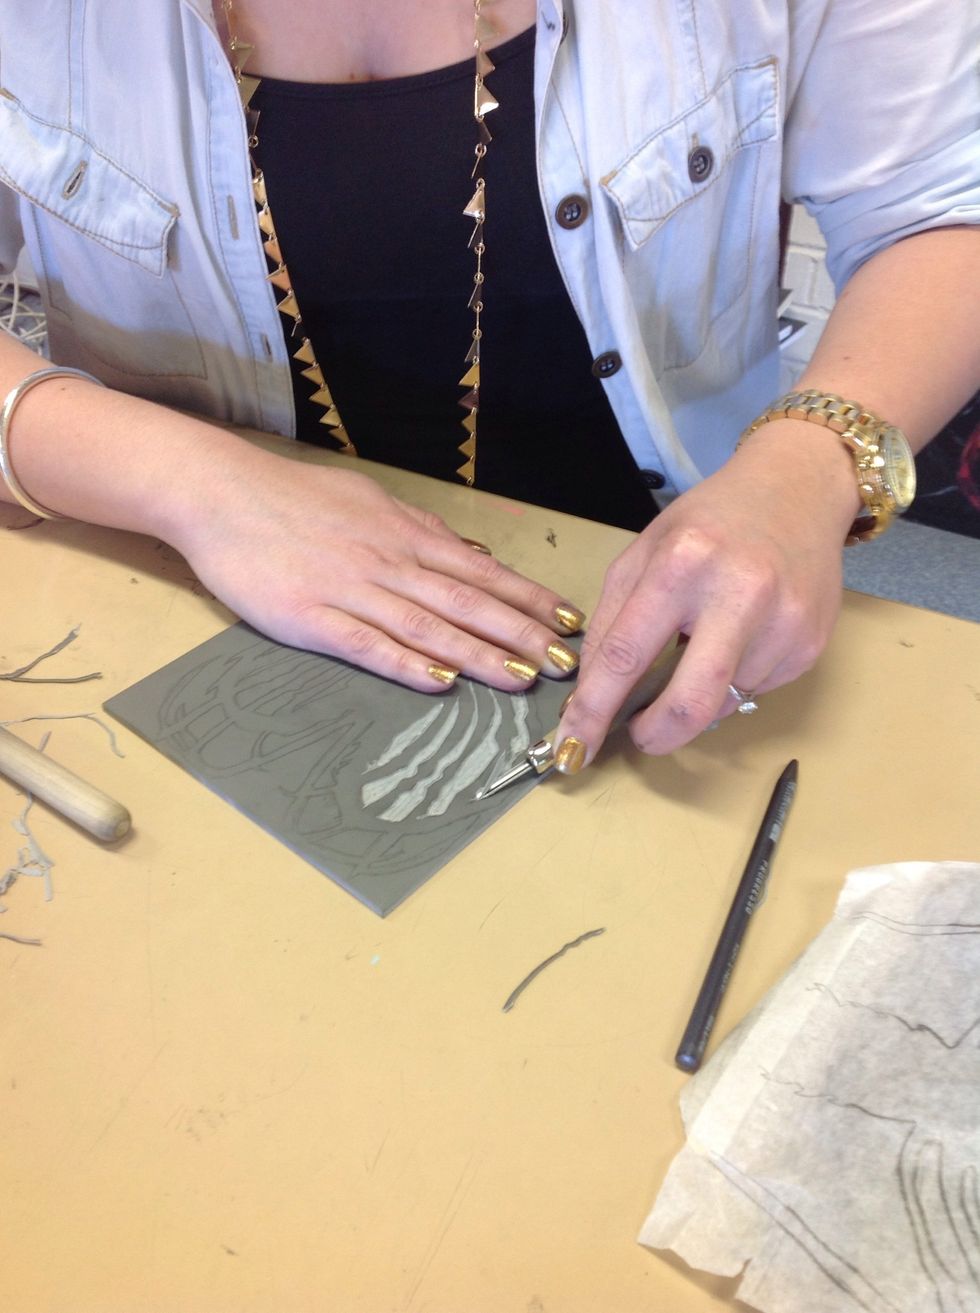
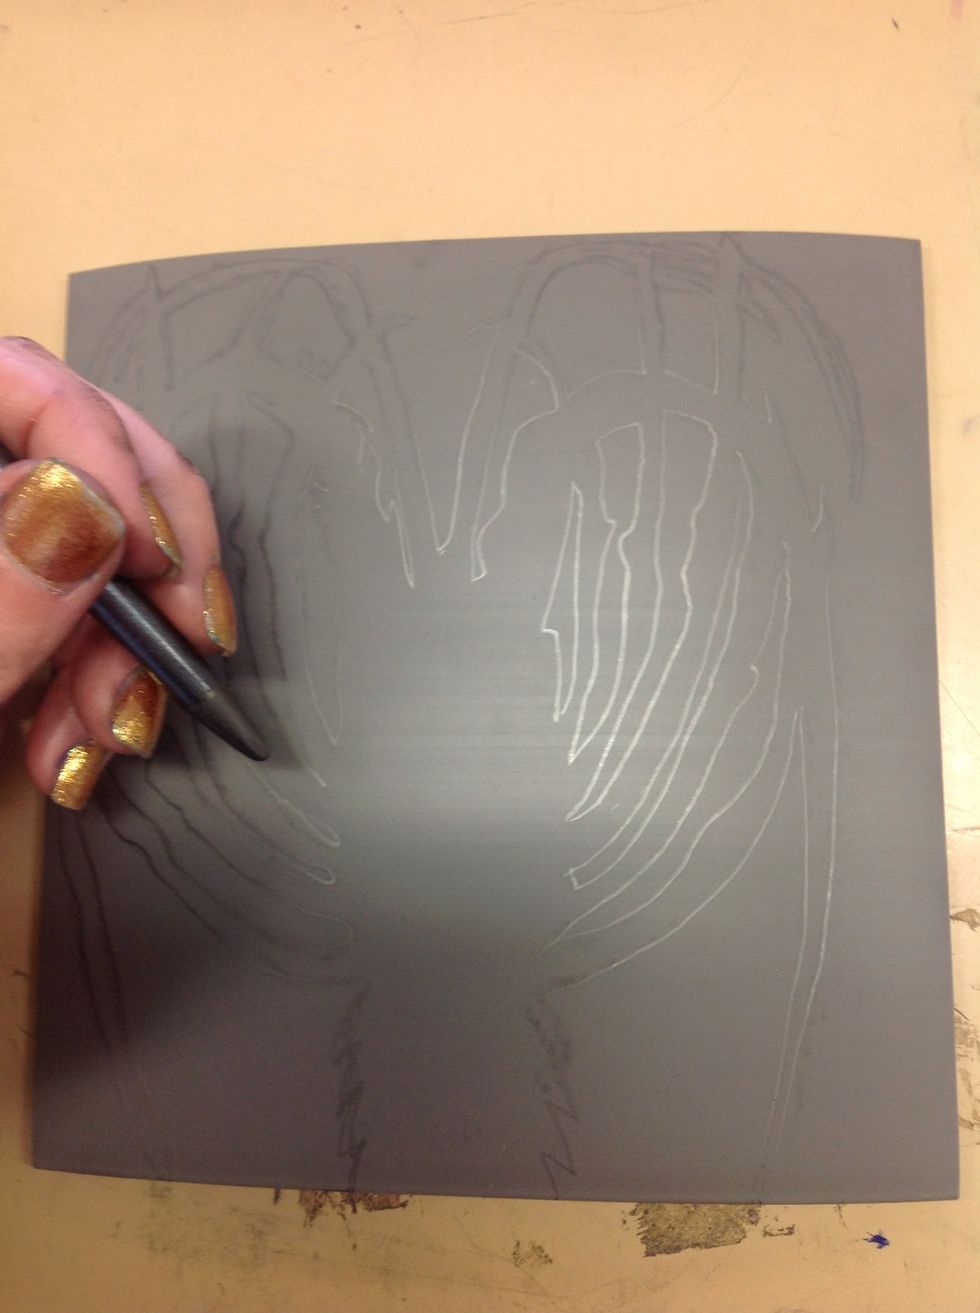
Now start cutting with the Lino cutting tools, always keeping your hand behind the cutting tool! Remember before you start cutting that what you cut will not print and what you leave will print.
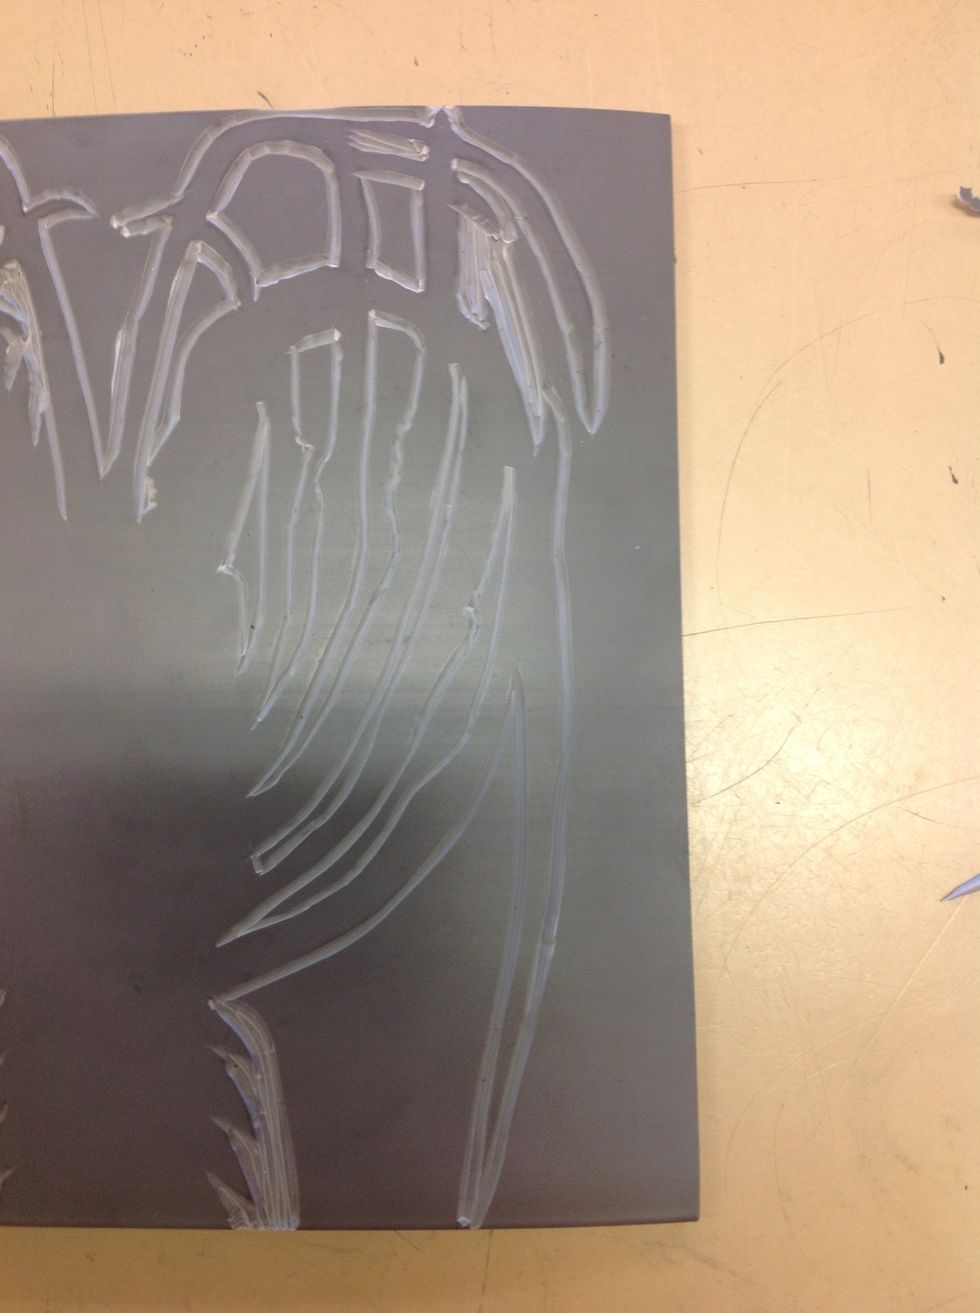
Start with the outlines, cutting fine lines with the v-shaped tool. Then carve out the larger areas with the u-shaped tool. Don't worry about the outside areas as we will be cutting out the animal.
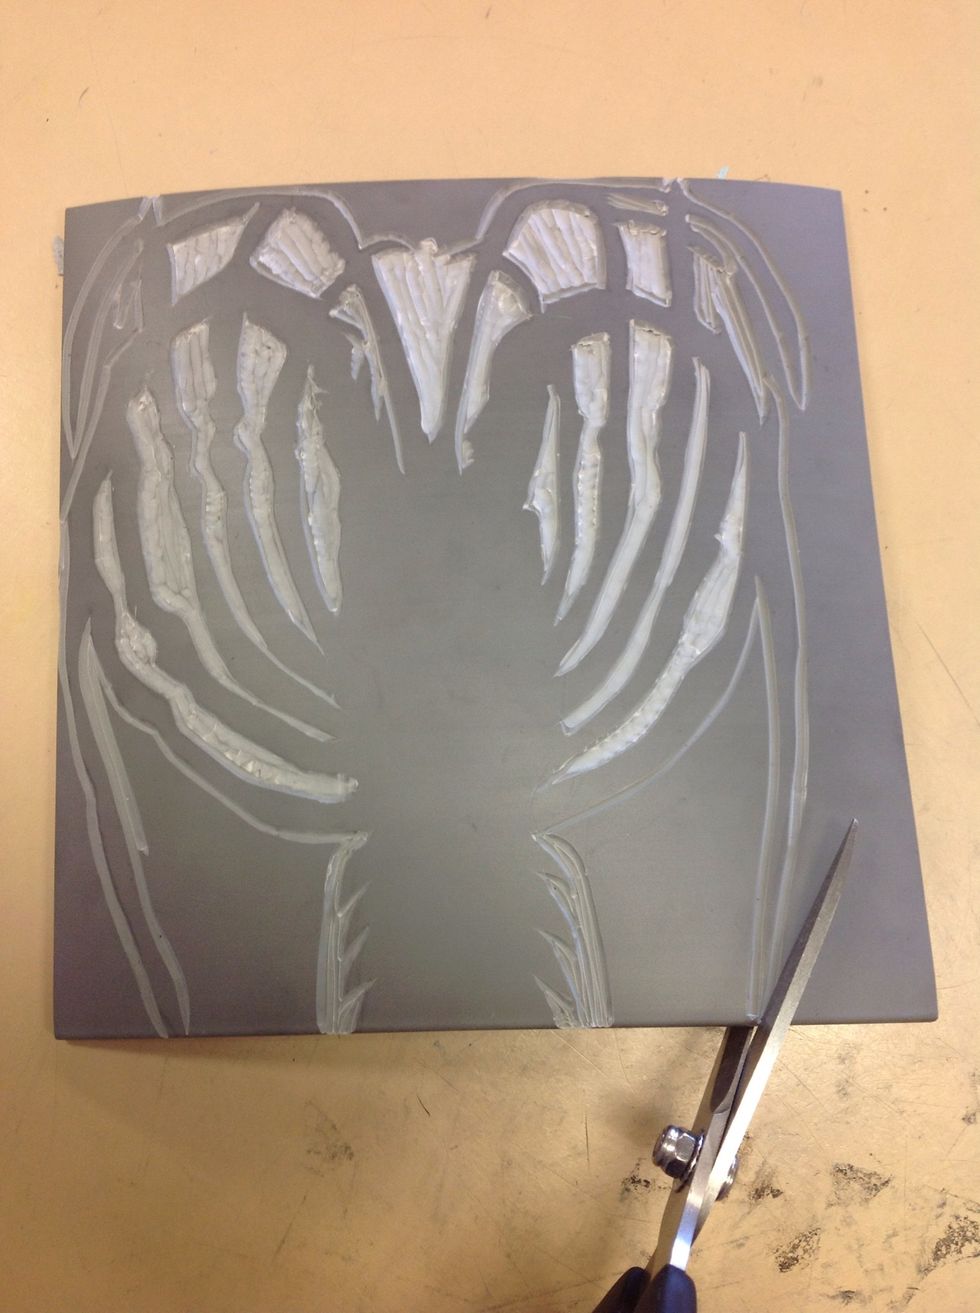
Once all the inside areas are carved out, use scissors to cut out the larger outer area.
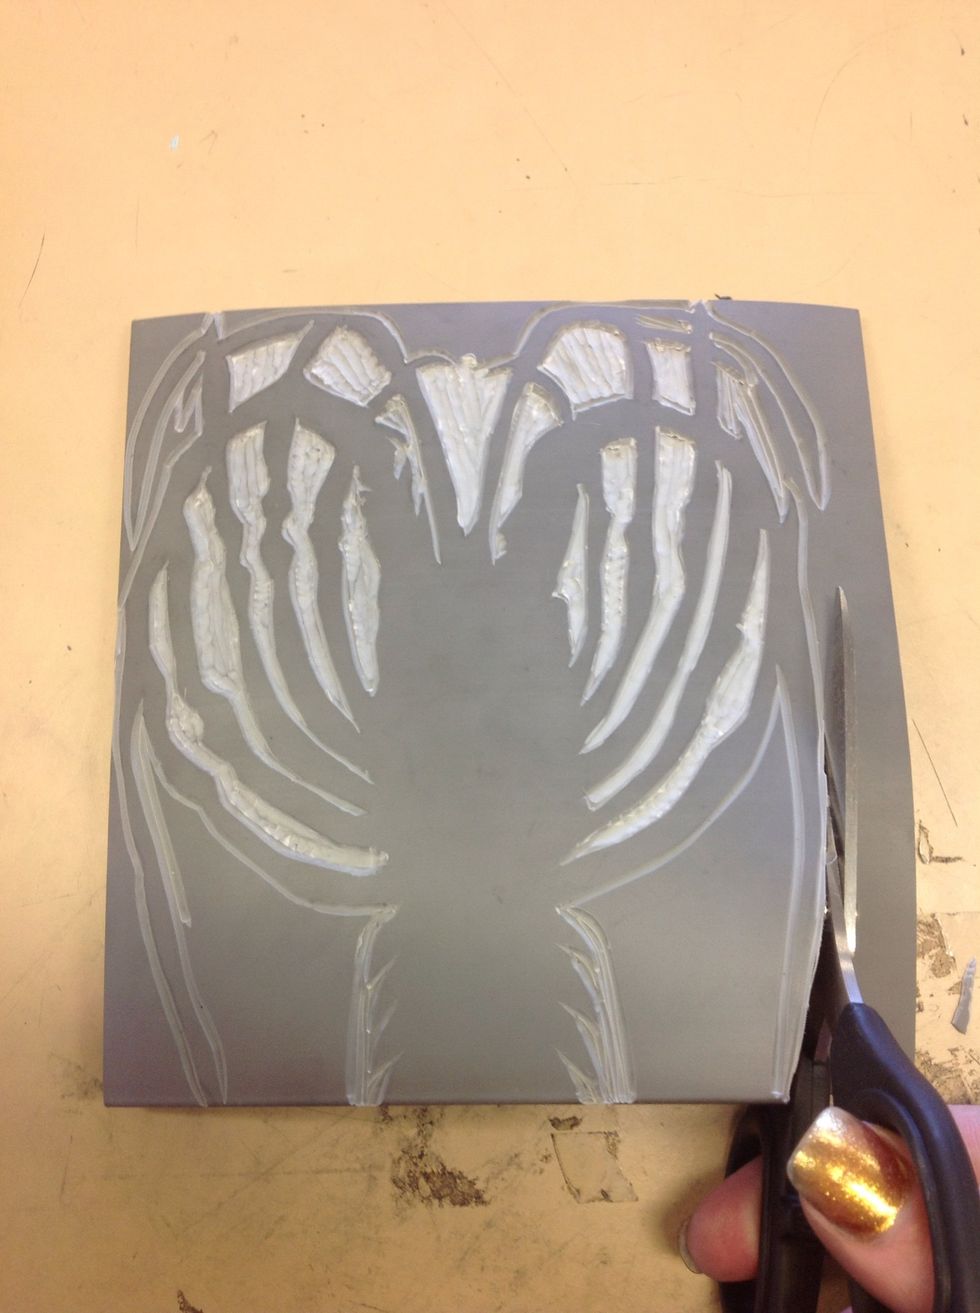
Cut inside the lines you have carved around the object.
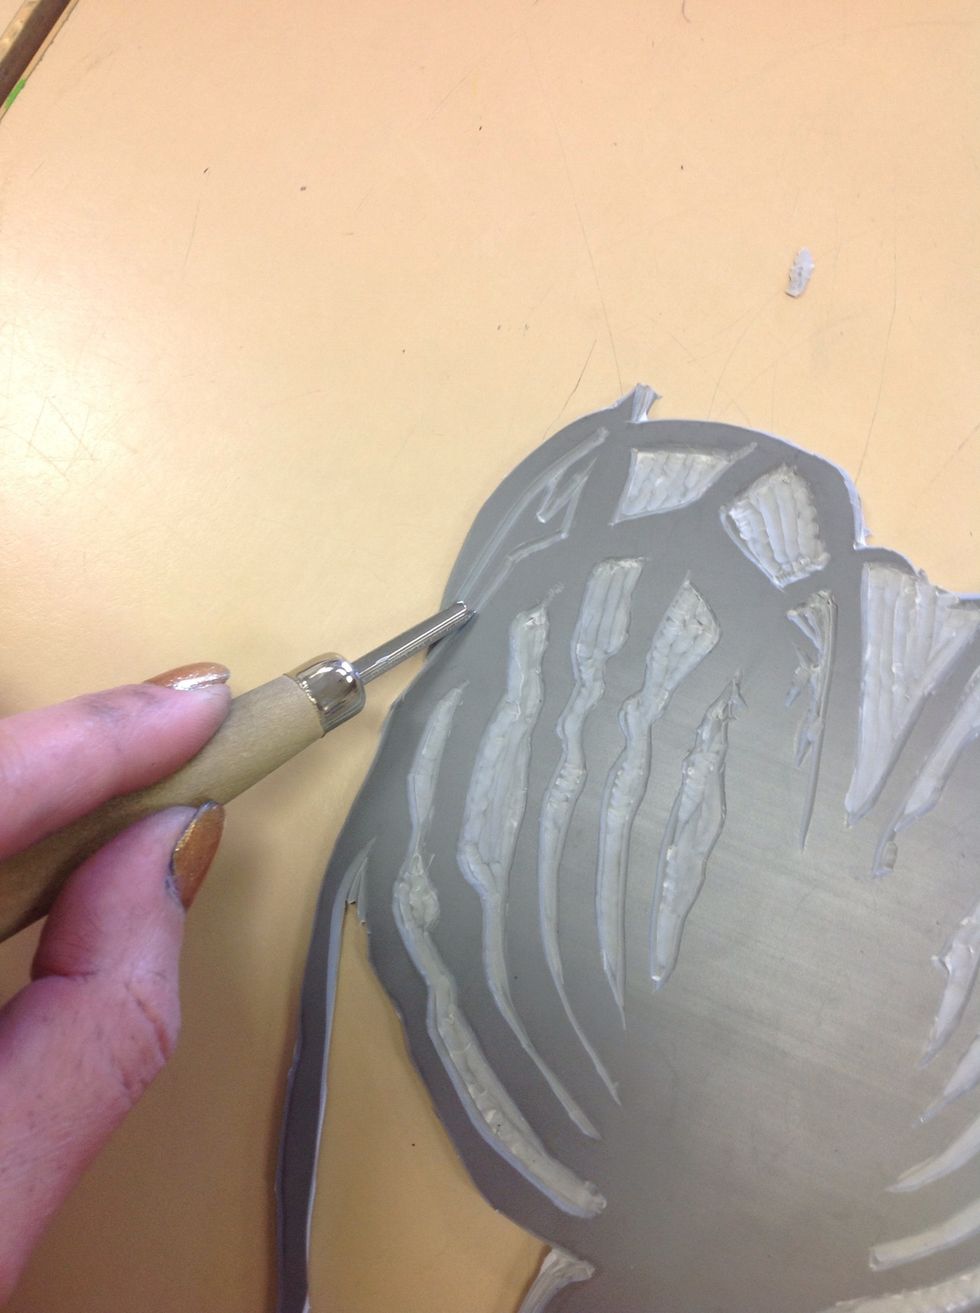
If there are any areas left that were too small for the scissors, simply carve them out with the carving tools.
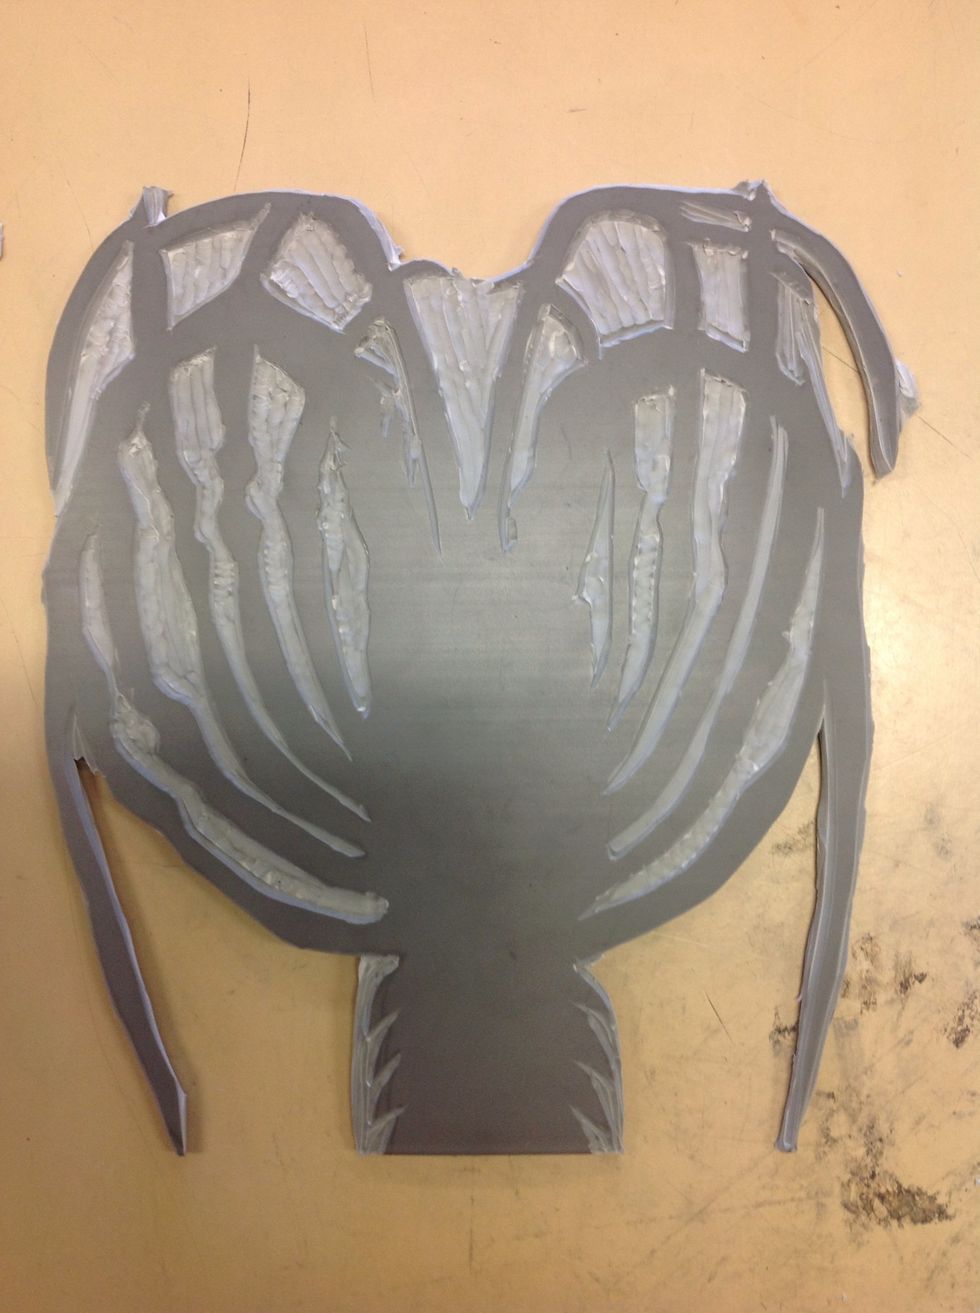
Once all the areas of the main sharp are carved out, it should look like this.

Add details to create a more interesting print.

Now to print! Using a water based printing ink, plenty of newspaper to keep the tables clean and a palette knife to scoop out the ink.
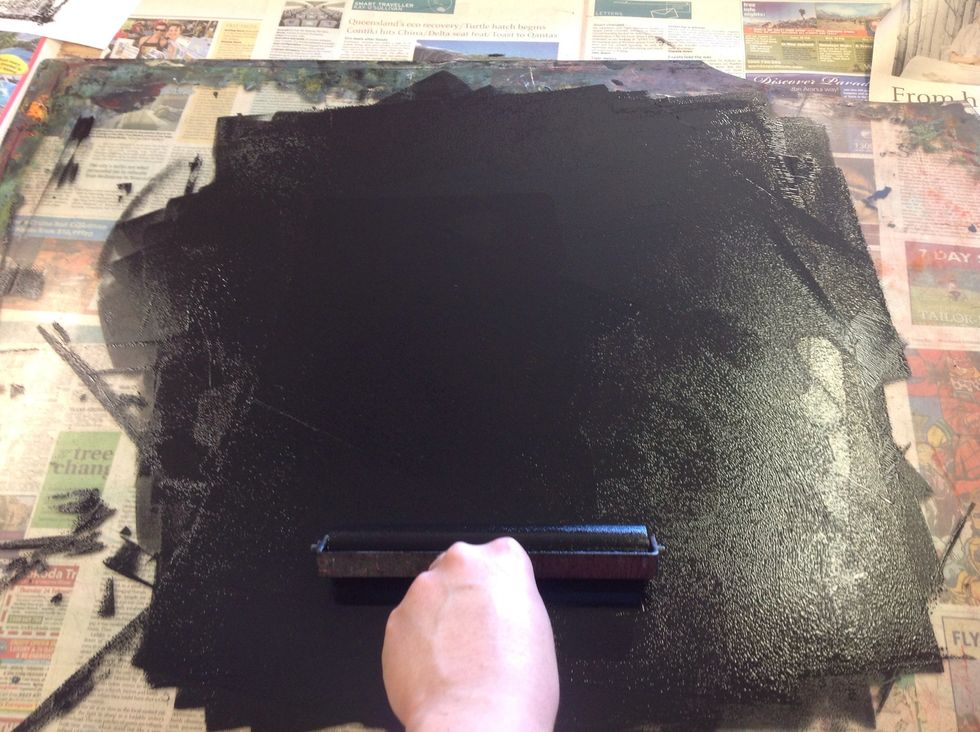
Distribute and evenly roll out ink onto a large piece of Perspex or any other non porous surface.
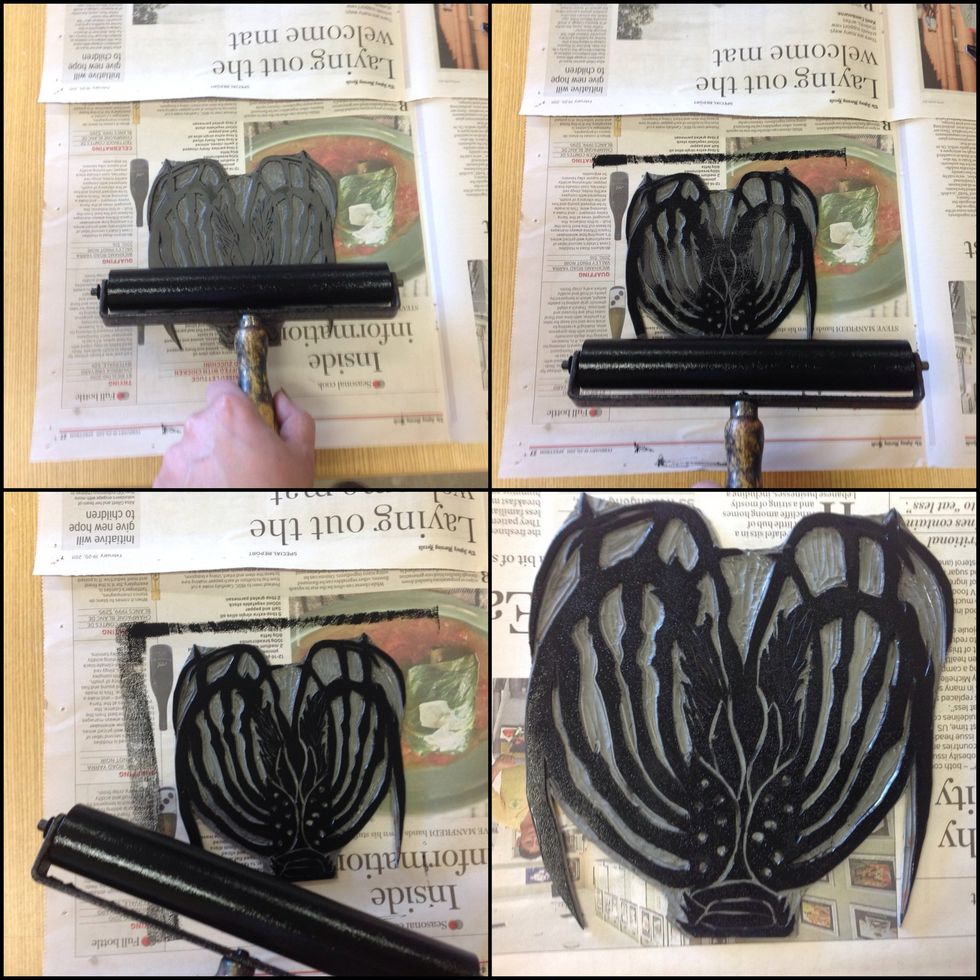
With the brayer, evenly cover the Lino stamp with ink
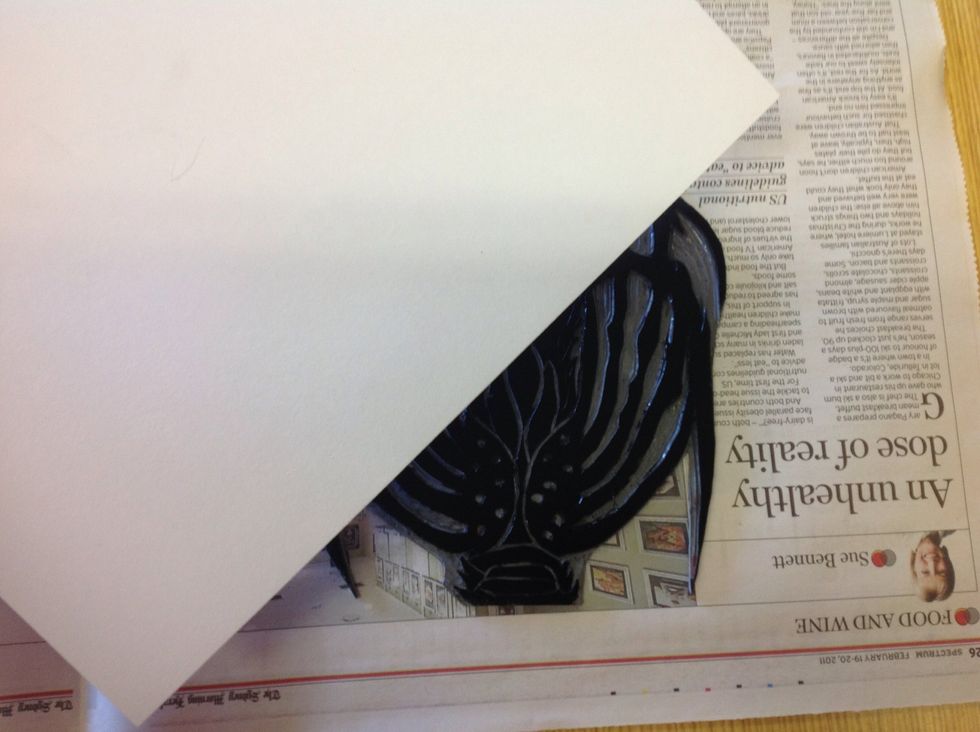
Move the stamp to a clean area, free from ink and place the paper you wish to print on, over the top of the Lino. Once the paper is on the Lino make sure it does not move around or the ink will smudge
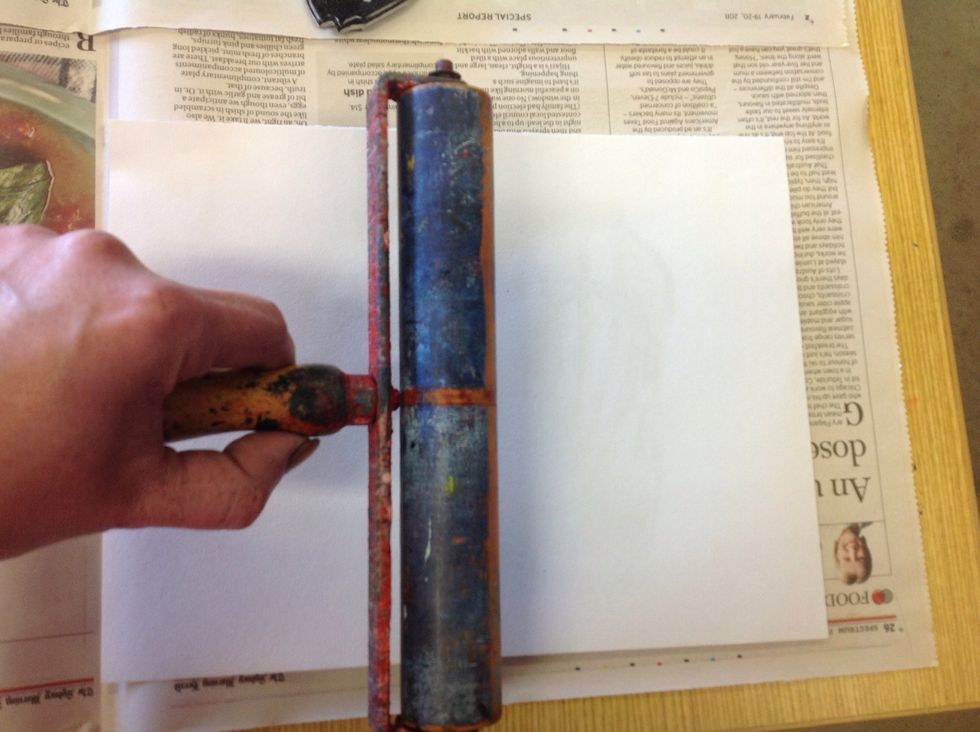
With a clean, dry brayer, roll over the paper with a medium pressure. Do this several times. You should be able to slightly see the outline of your print.
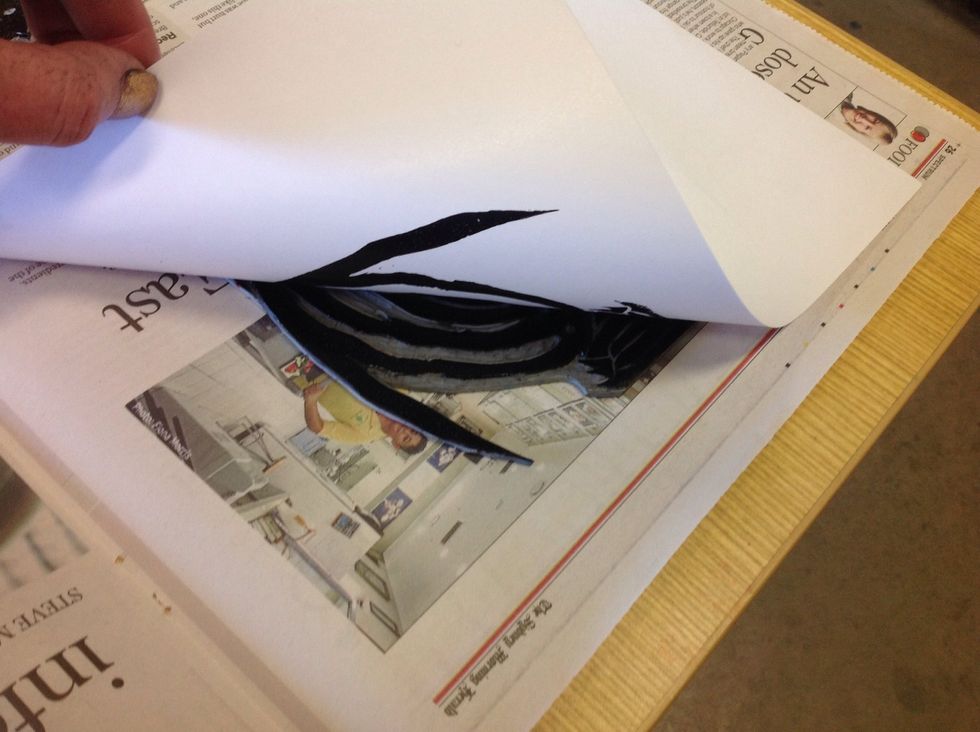
Slowly peel the paper away from the Lino stamp.
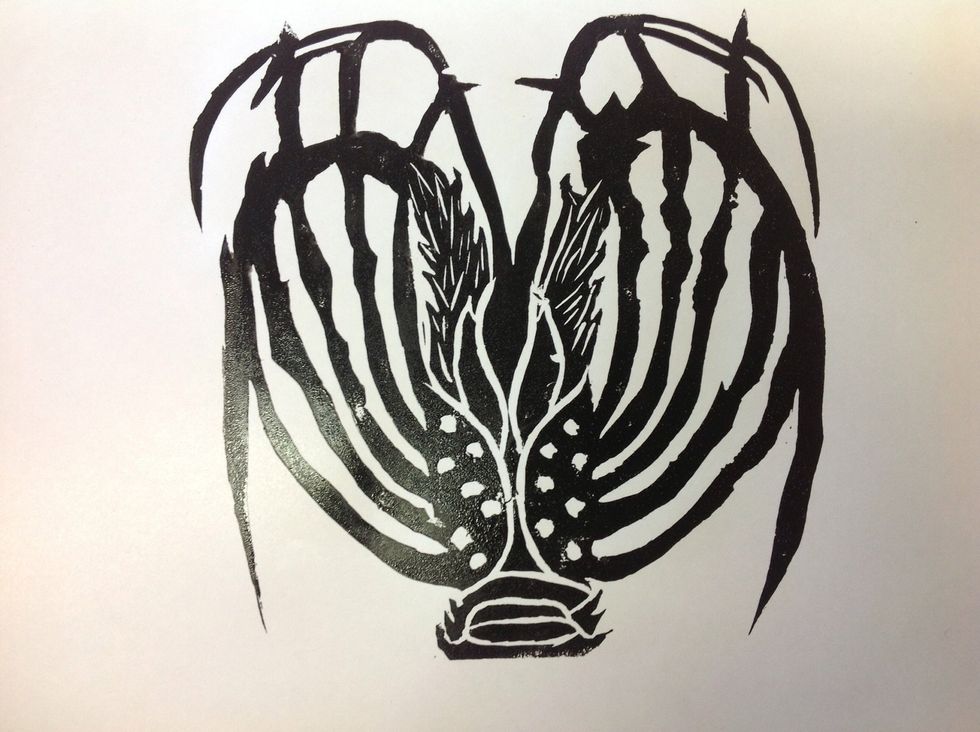
The final Lino print.
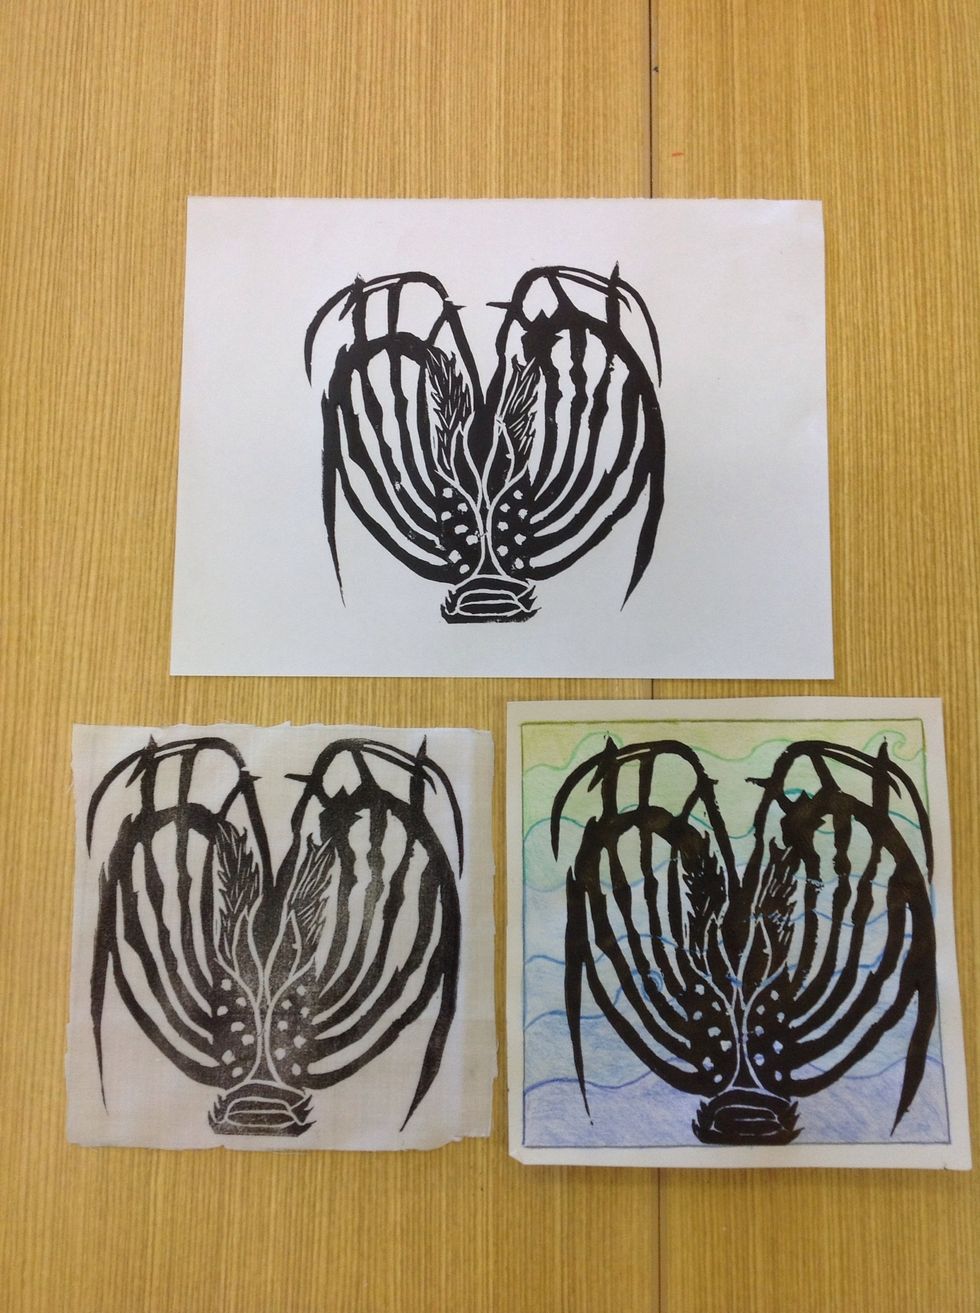
You can now print on a variety of surfaces, such as different papers and fabrics. You can even create a coloured background to print onto.