The Conversation (0)
Sign Up

Using a flat angled brush...
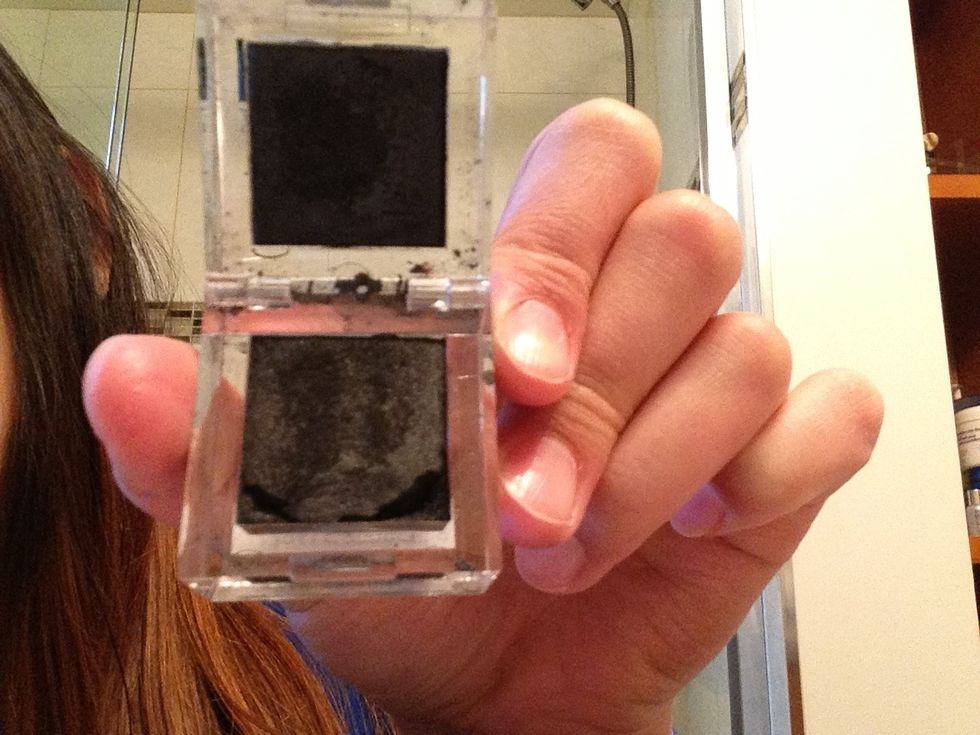
Take some black eyeshadow...
And apply it like you would apply gel eyeliner. You can choose to create a slight wing which we will be defining later on in the next step.
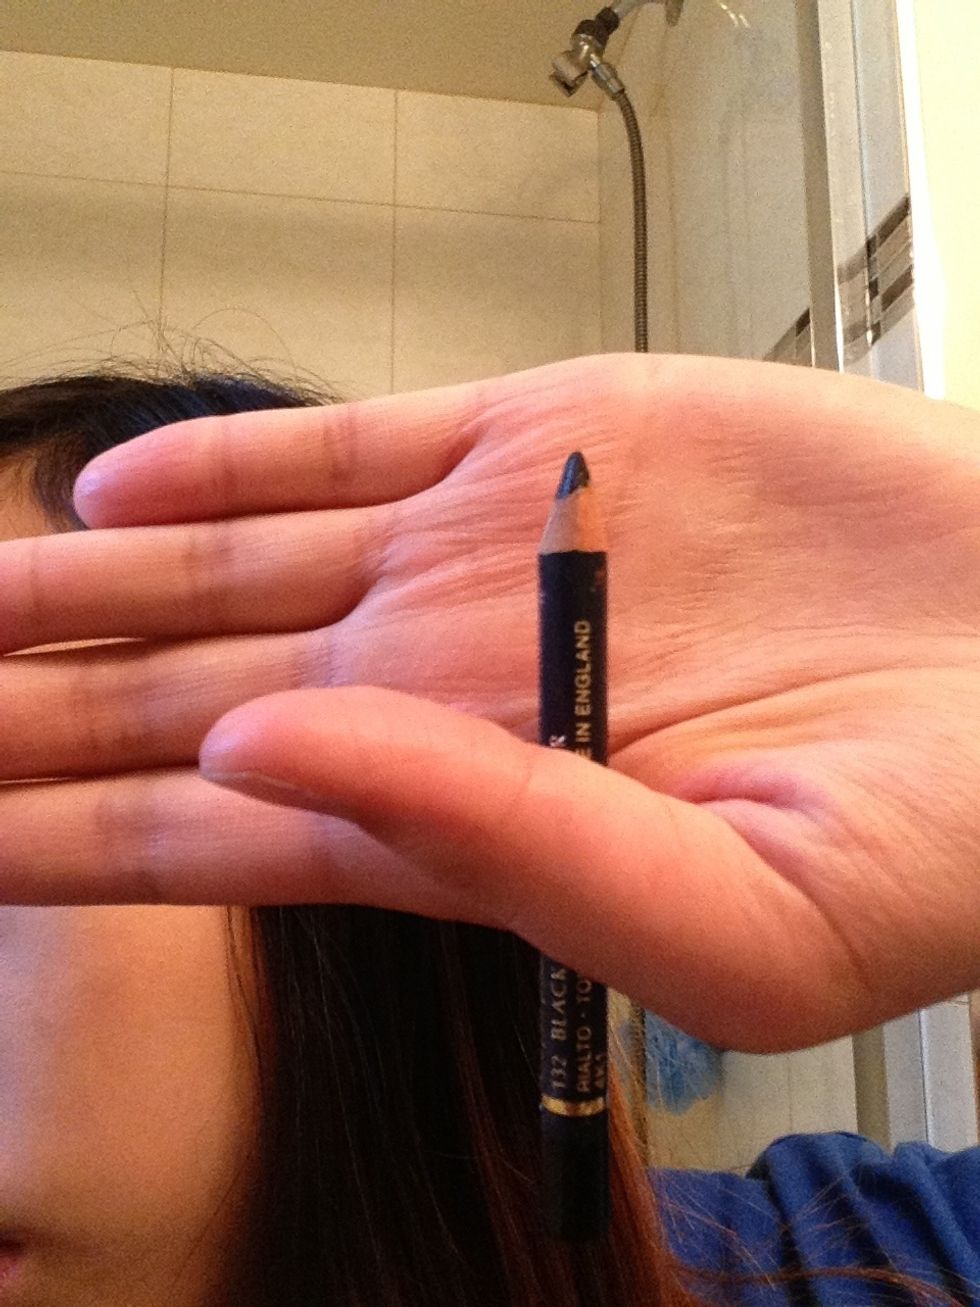
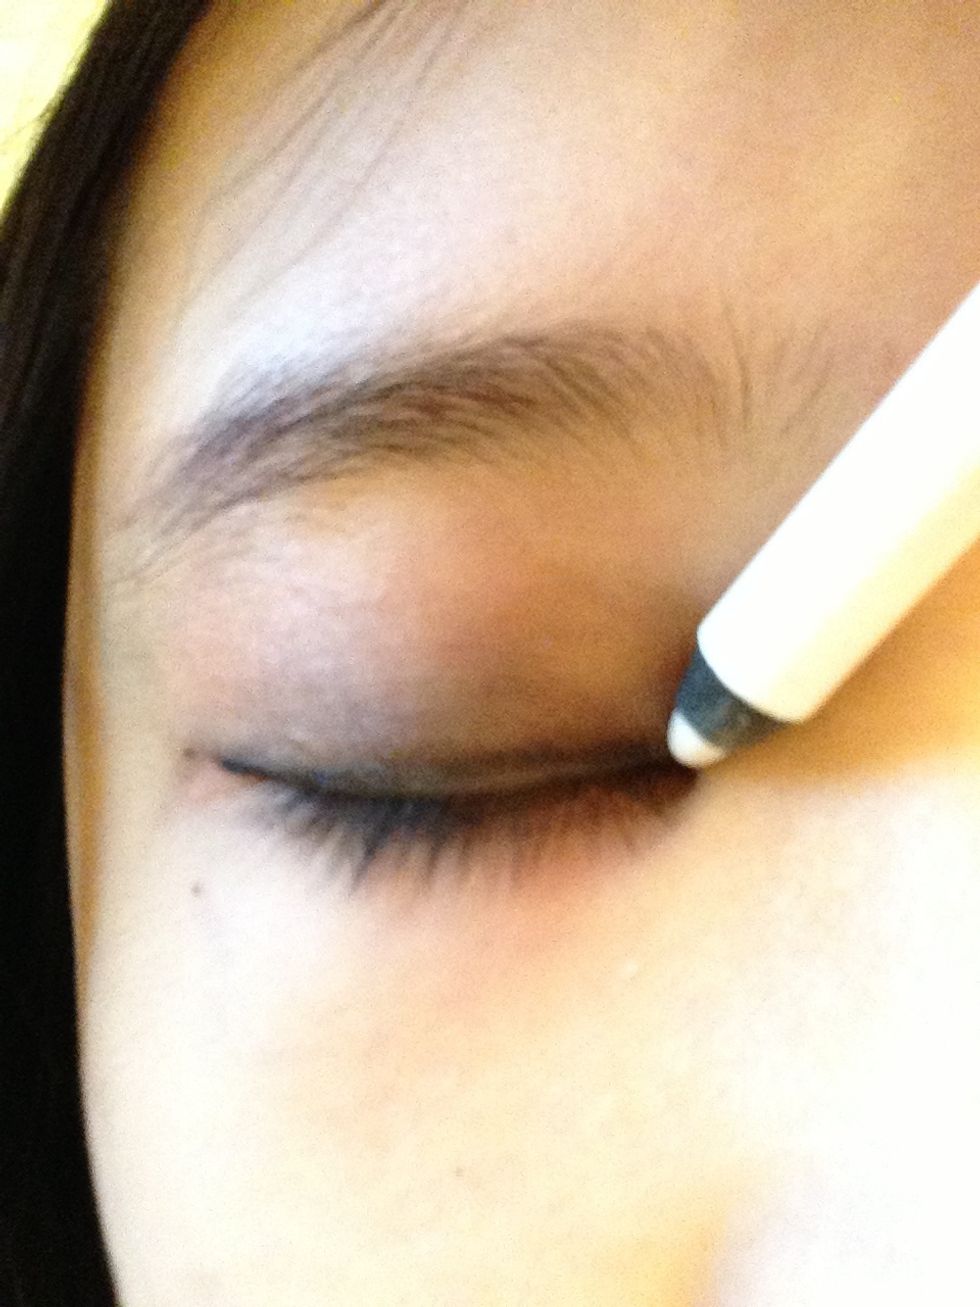
Using a black eyeliner, define the eye look so far if you want...
Or add a slight wing to give the illusion of longer eyes.
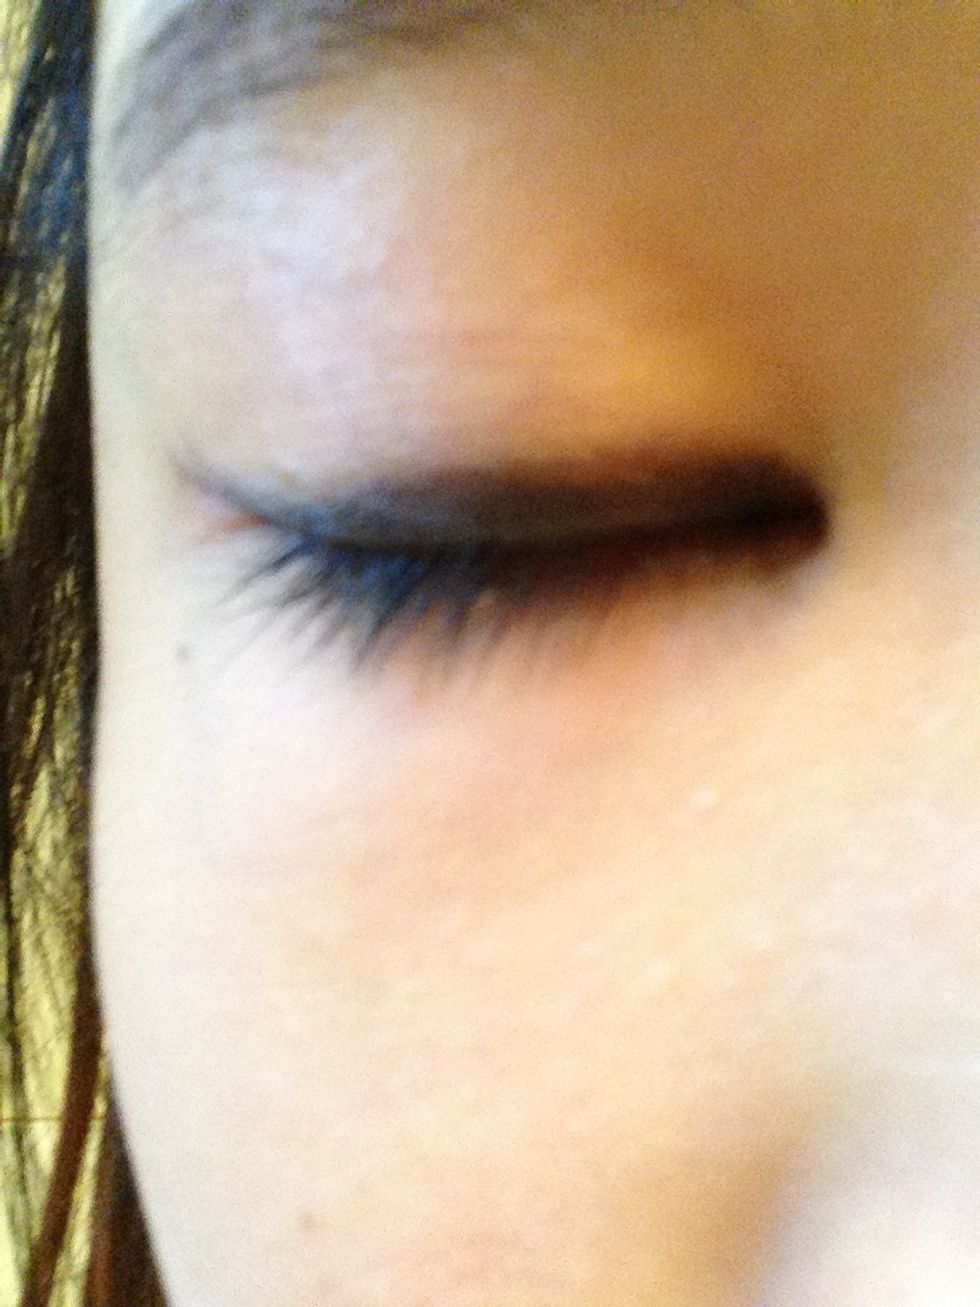
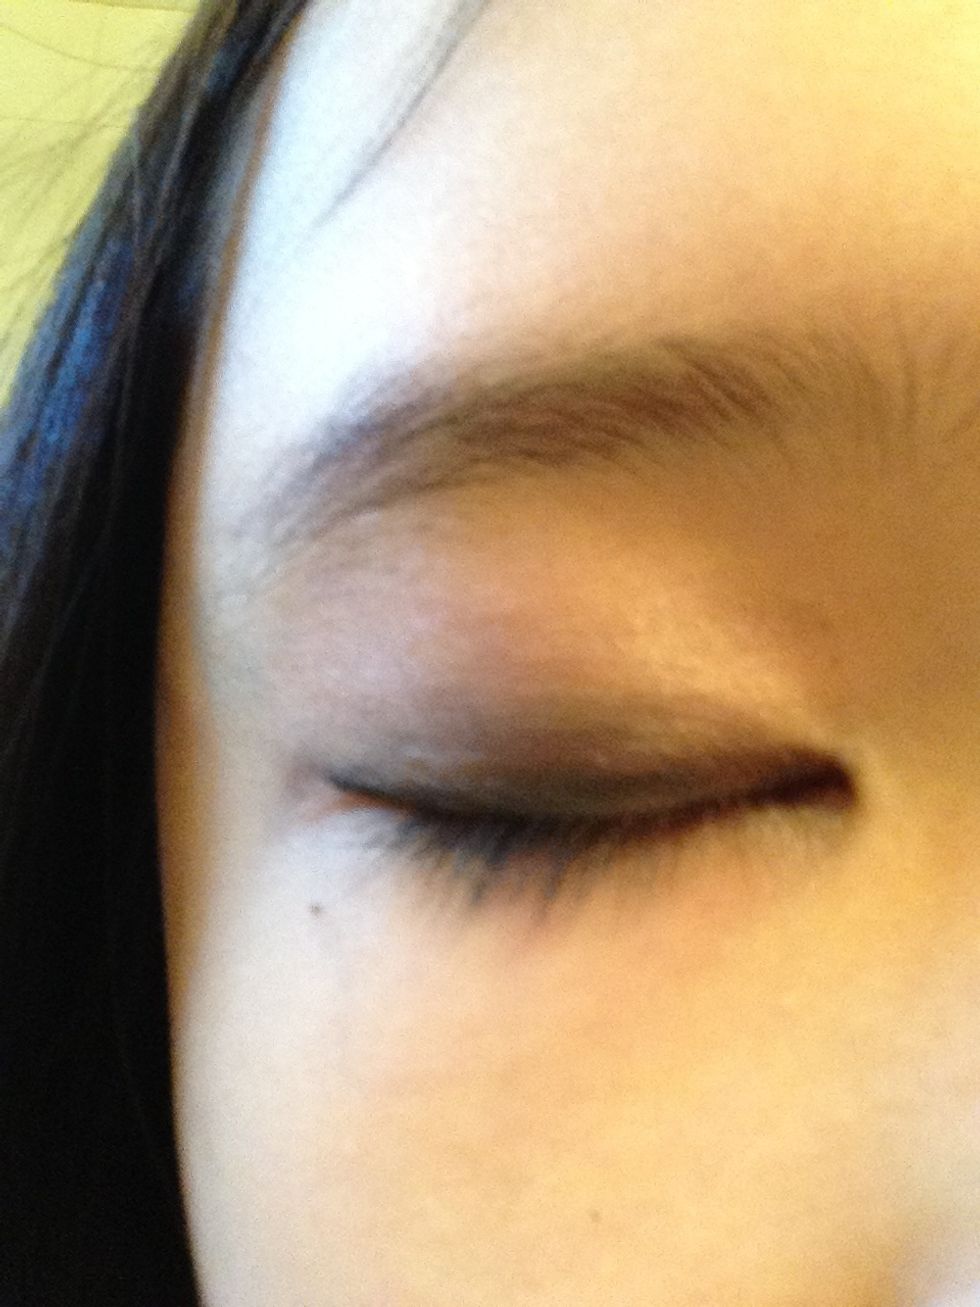
So far, it should somewhat look like this.
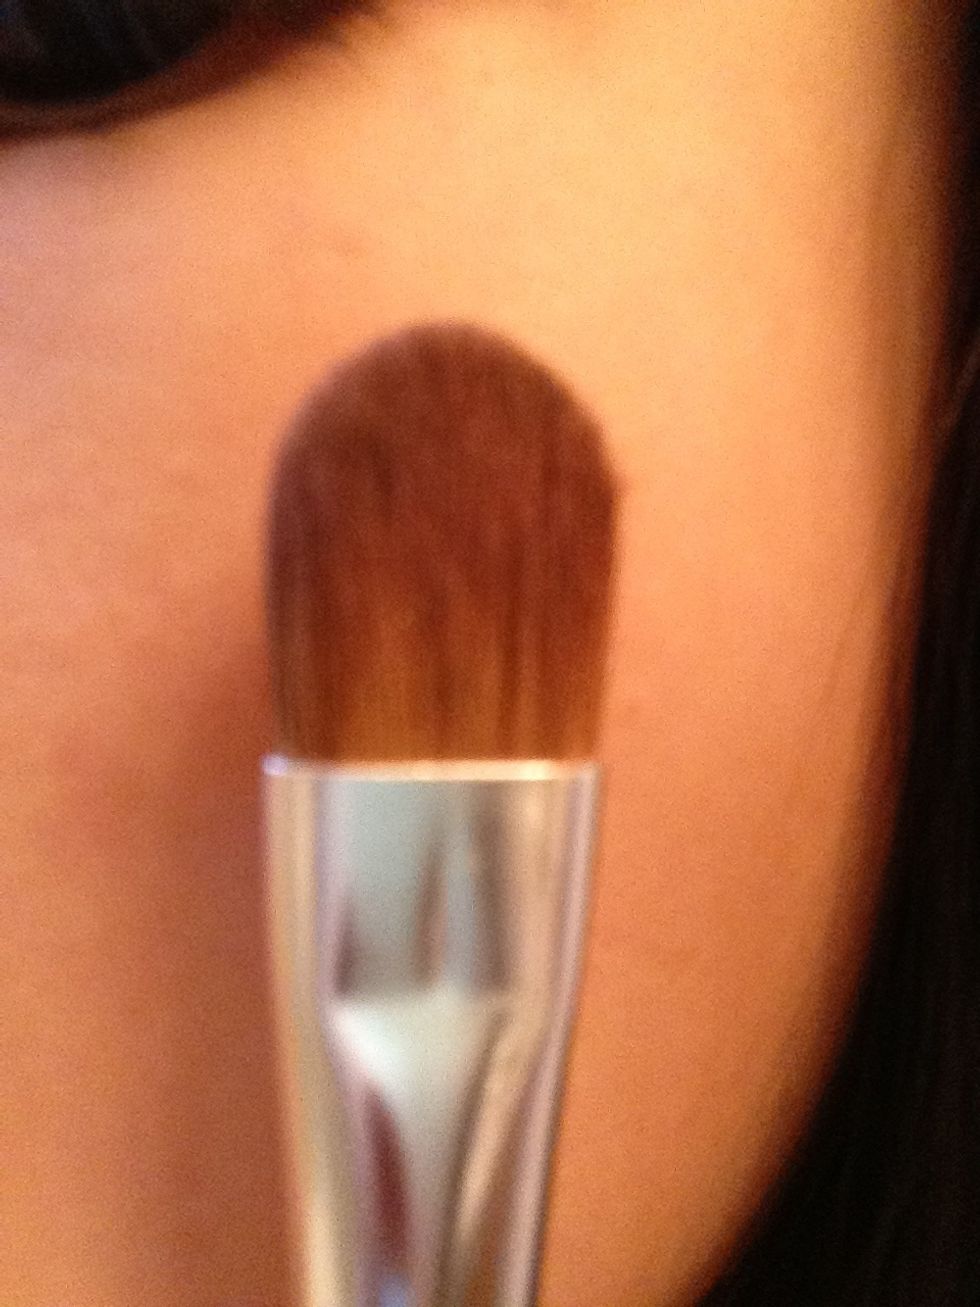
Use a eyeshadow brush...
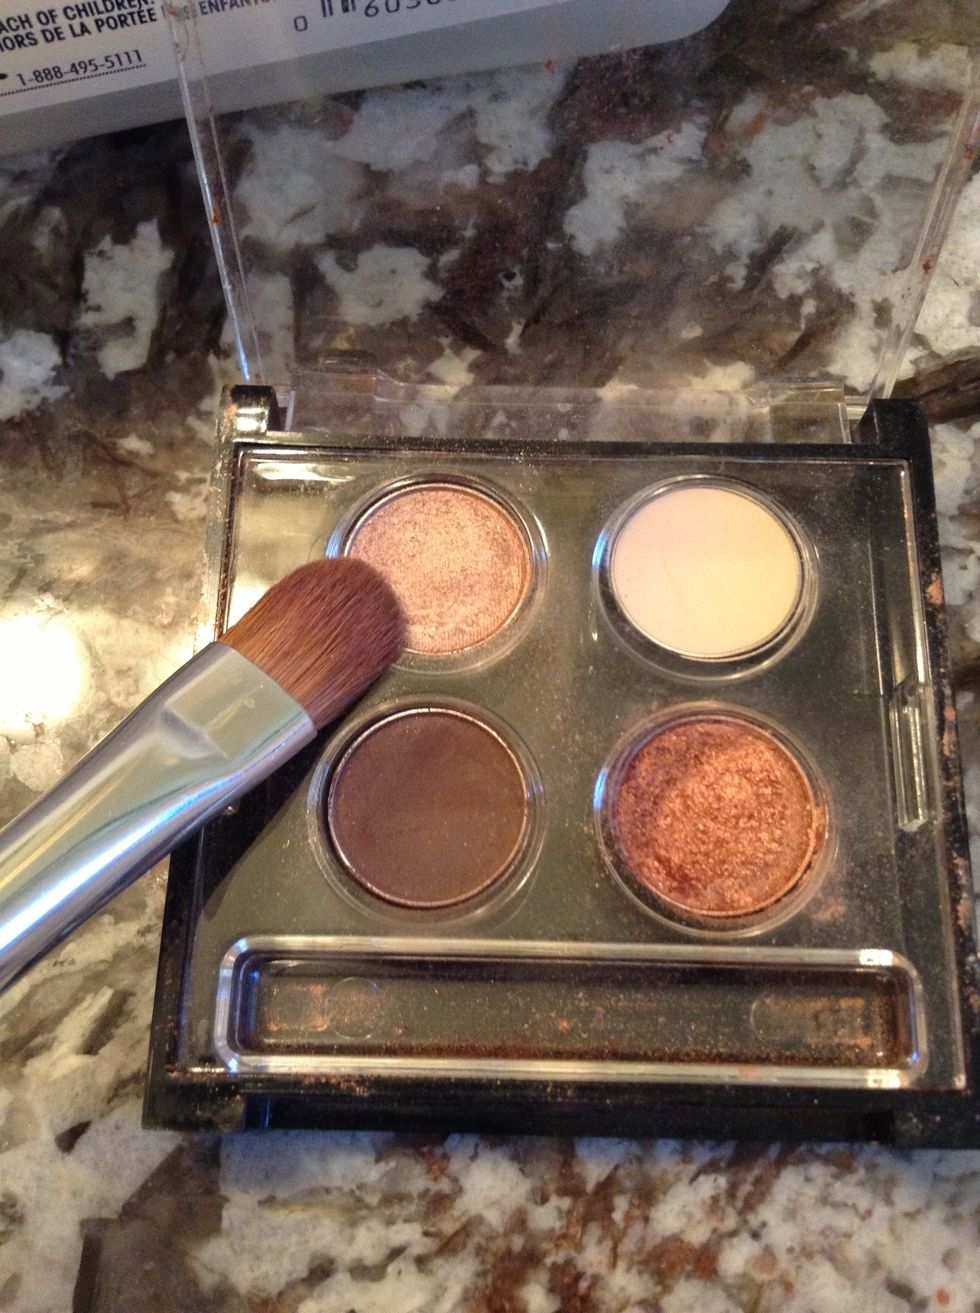
And get a plum or light pinkish colour mixed with a darker metallic shade.

Apply all over lids and blend well, just make sure not to smudge the black...yet!
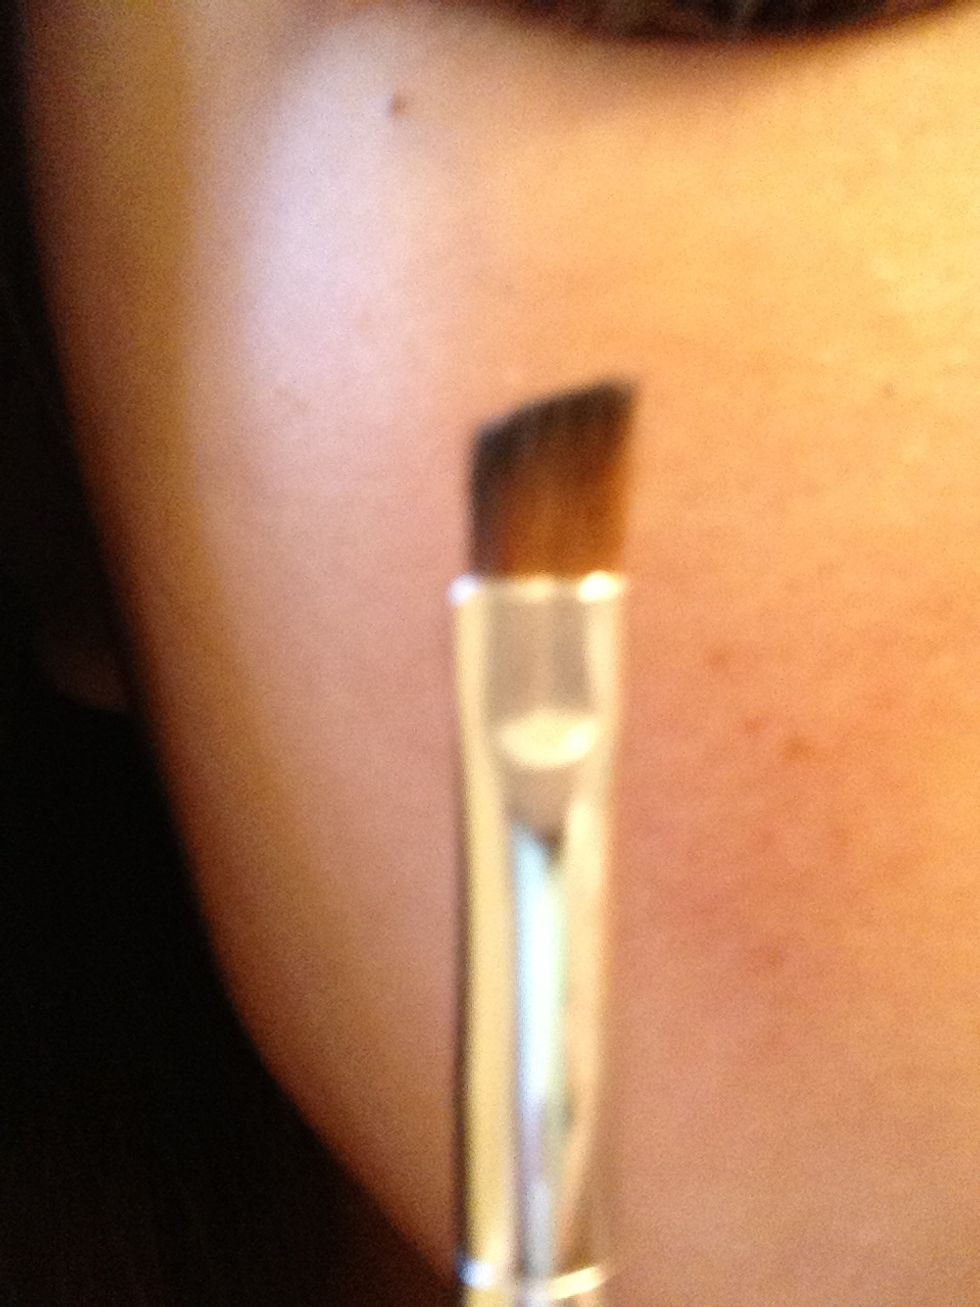
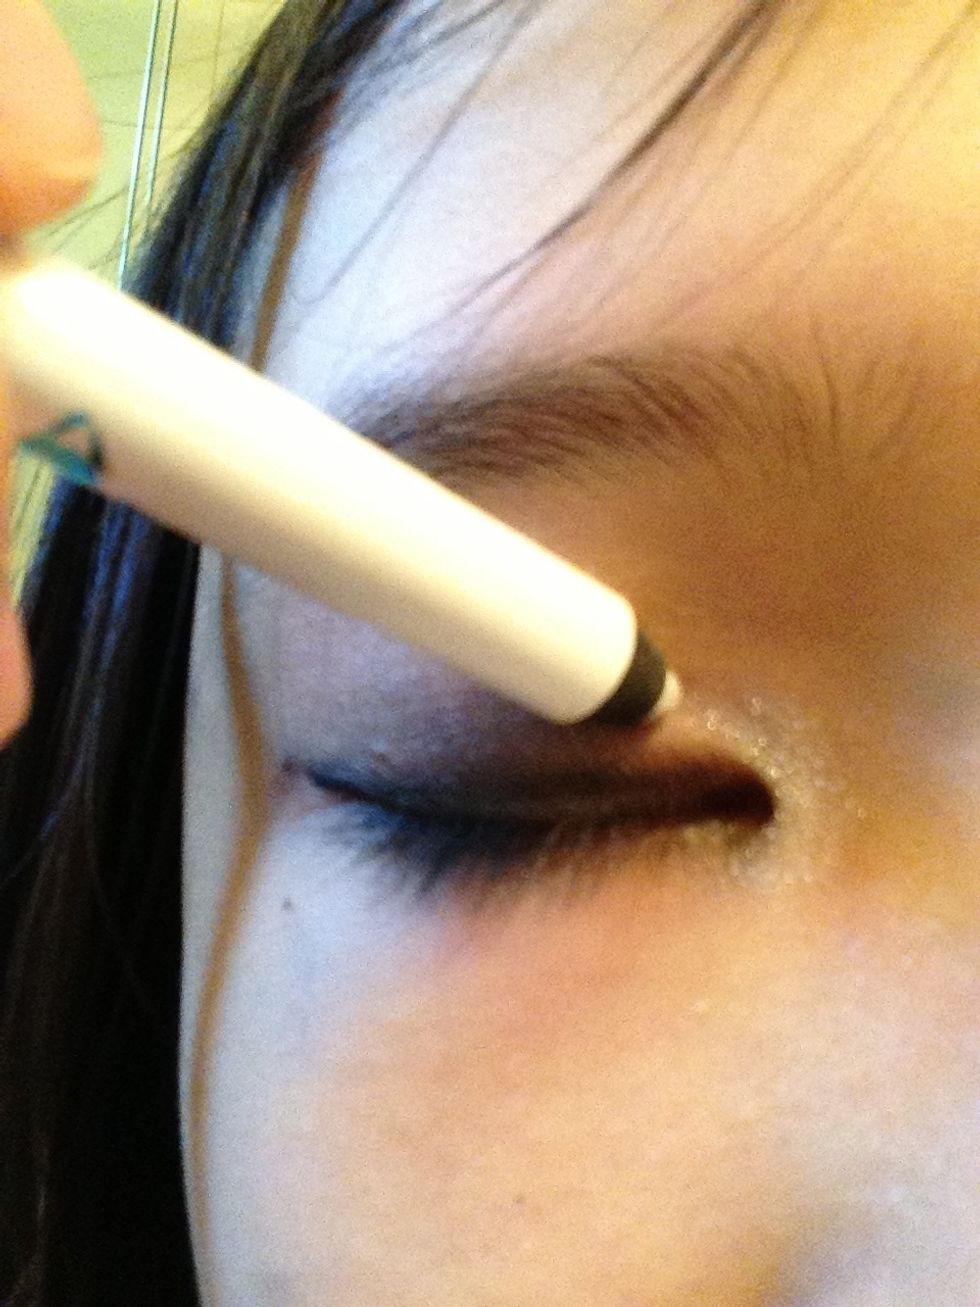
Use your flat angled brush again...
And apply more black to create the smoky look. Make it light or just over the crease to keep it nice and not overdone.
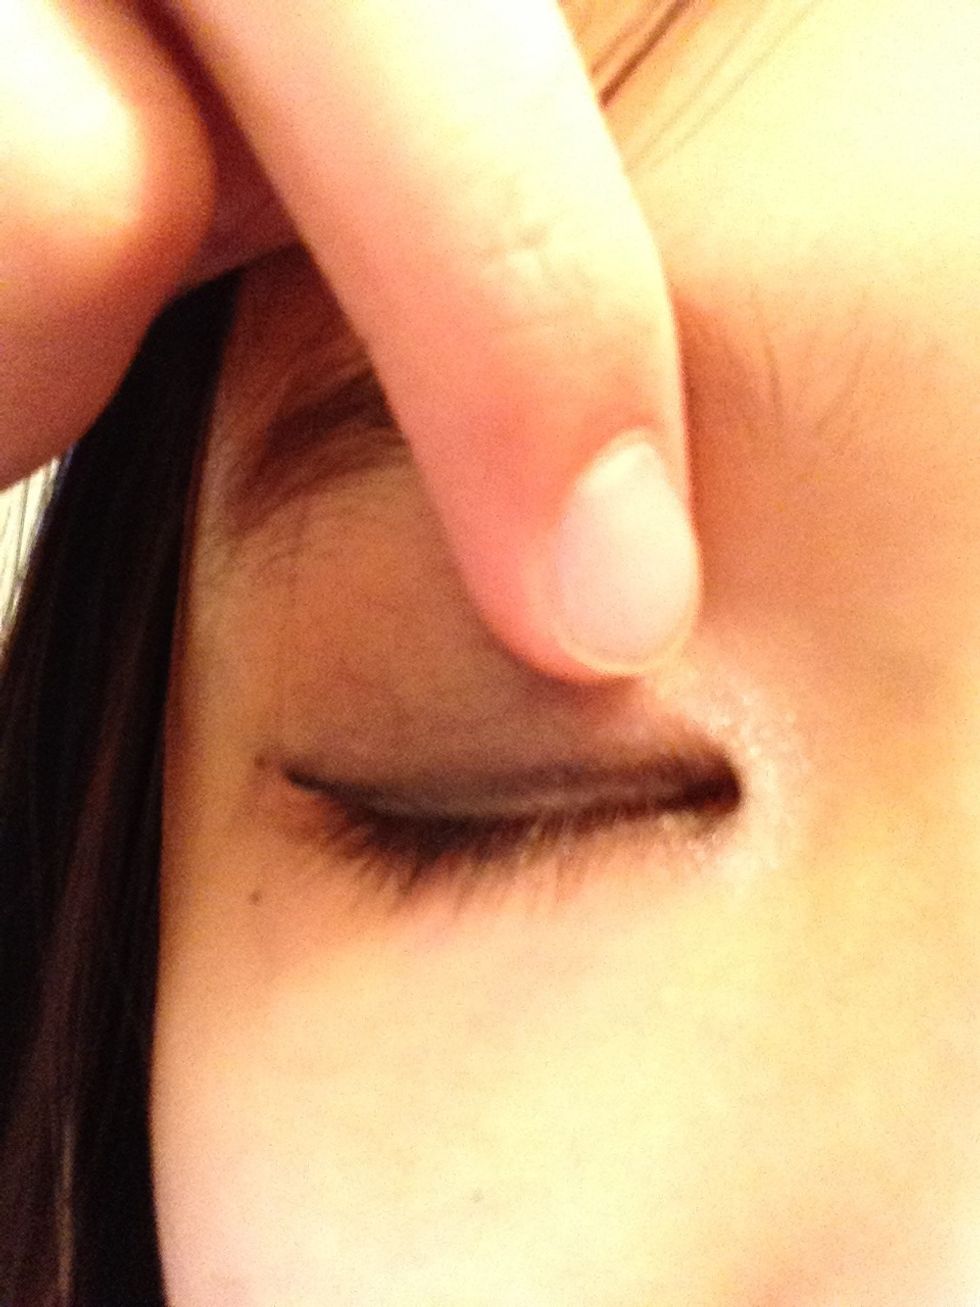
Blend well all over your lid with your ring finger or an eyeshadow brush.

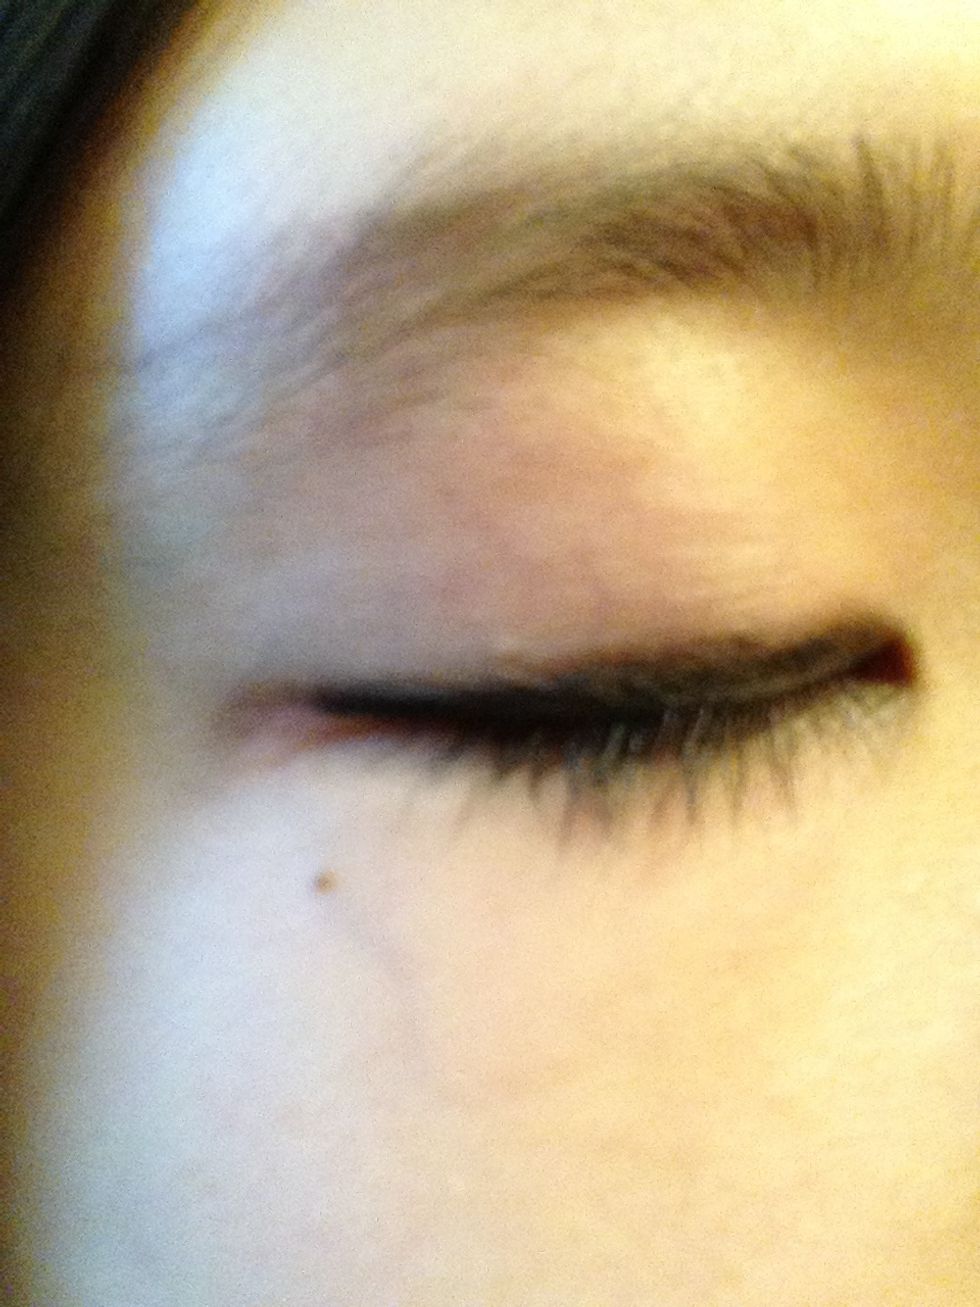
Re-define your eyeliner and trace over the wing again to maintain a fresh and clear look. Just remember not to overdo the eyeliner or it might look dirty!
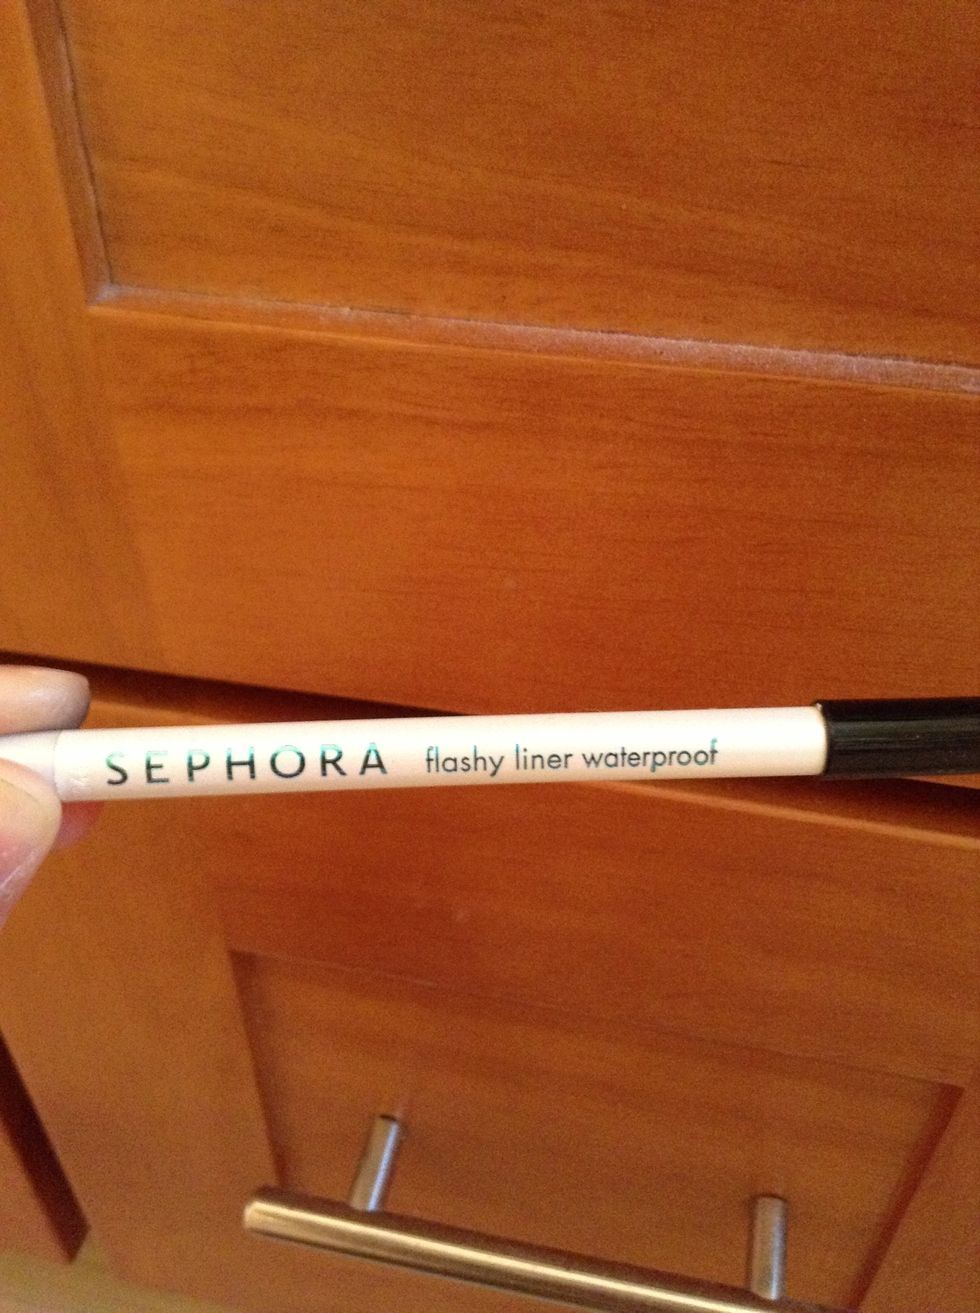
Use a glitter white eyeshadow or eyeliner...
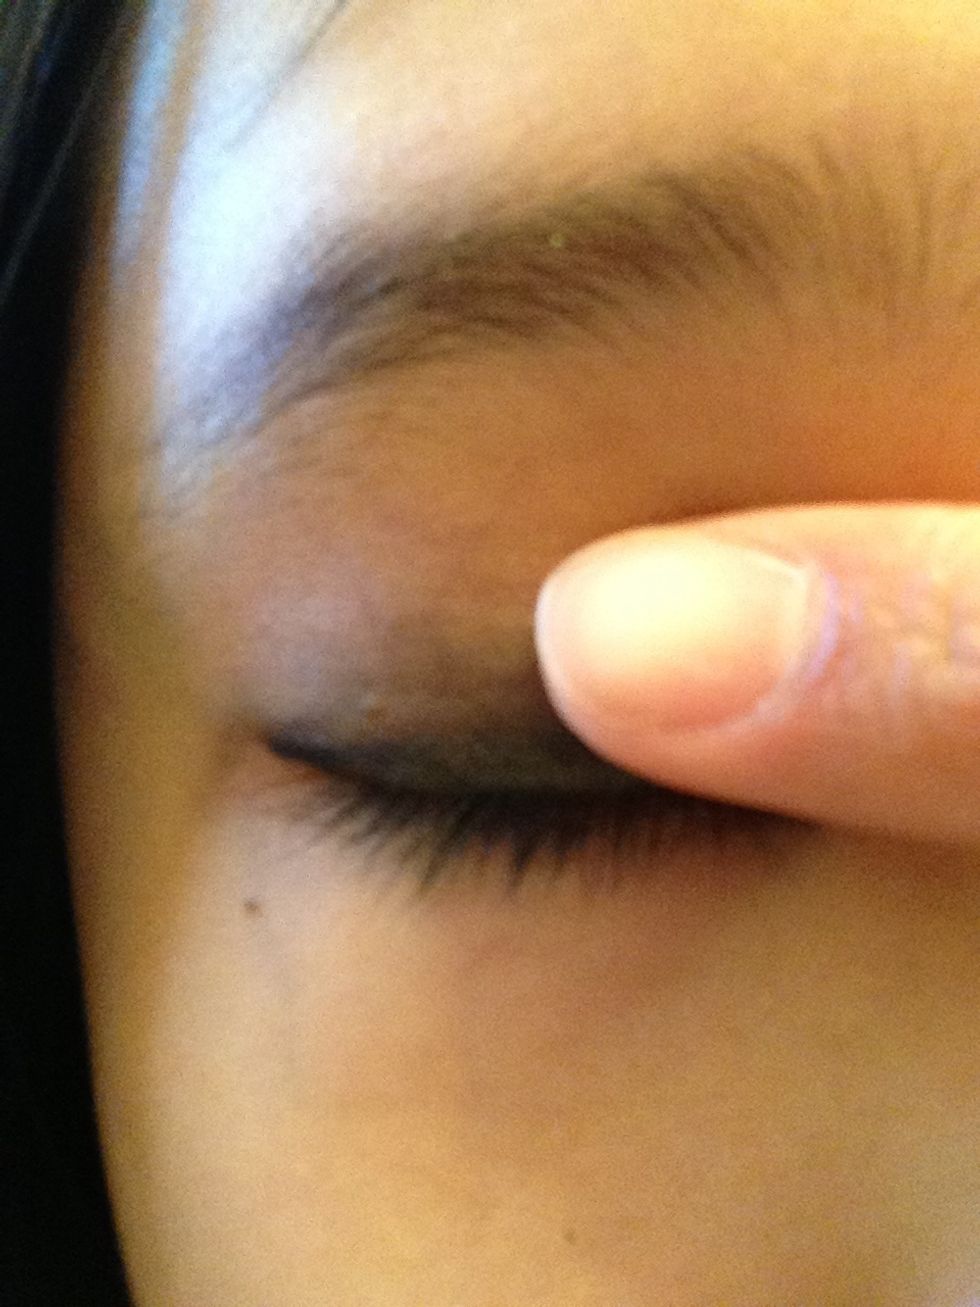
And apply at the inner corner of your eyes.

Trace the pencil back and forth a few times in the corner like a backwards C. Make sure it looks overly noticeable because you will be blending it, which makes the shade a bit lighter.

Blend with fingers in the backwards c motion and up into the eyelids.
Using the glitter white pencil again, apply some near the top of the lid (as shown) to add a more natural eye and to add a little sparkle to brighten up those peepers!
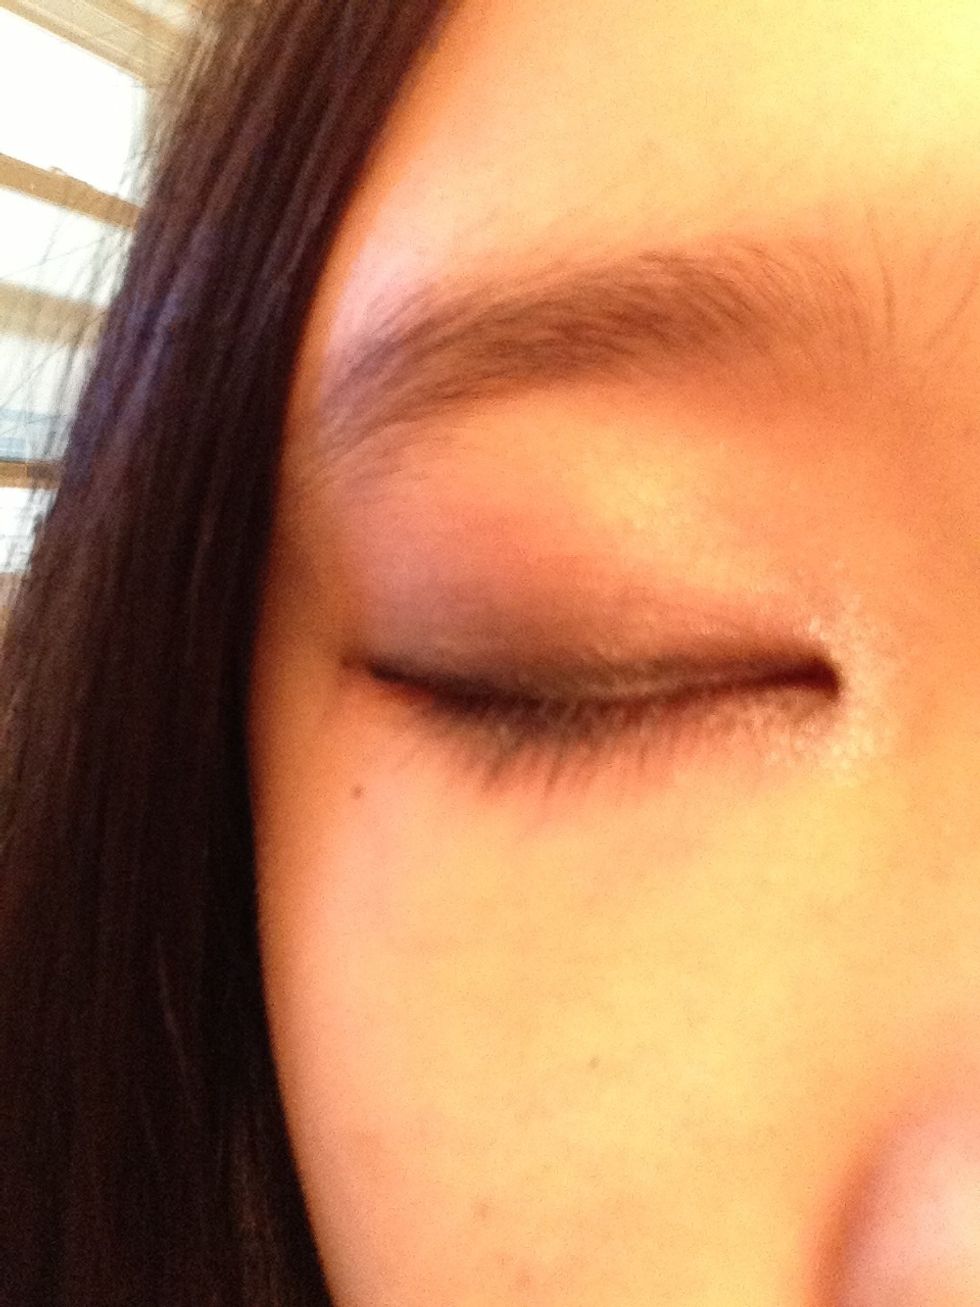
Blend again...

Now blend your whole lid with an eyeshadow brush, make sure excess eyeshadow/colour is off before doing this step.
Tadaaaa! Finished product!
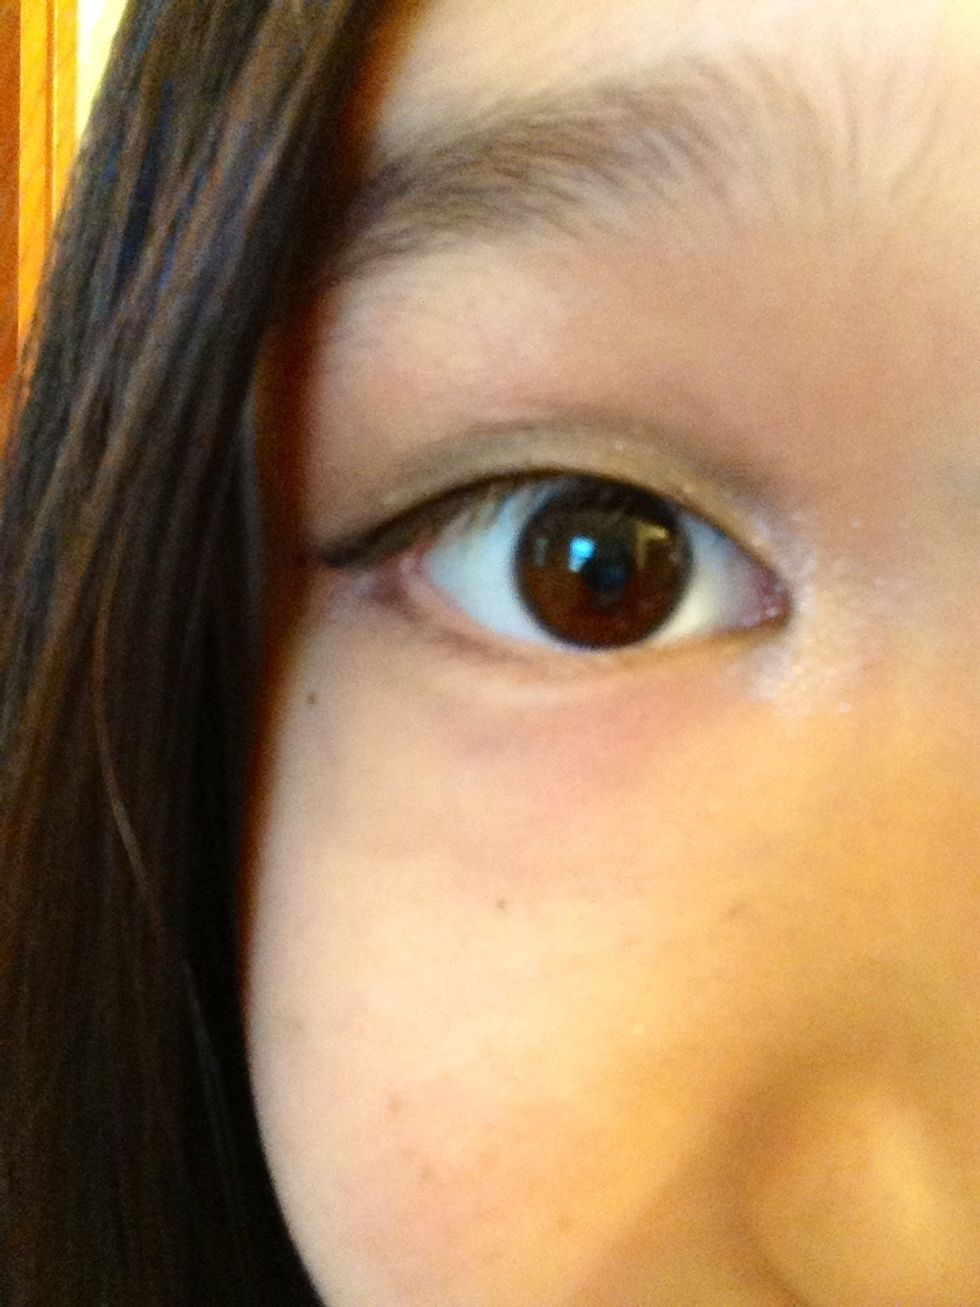
Finished product!