The Conversation (0)
Sign Up

Begin with painting the pallates with the chalk paint....this is ideal because it has a mat finish. Don't be too concerned about perfect coverage as this is meant to look rustic and weathered.Let dry.
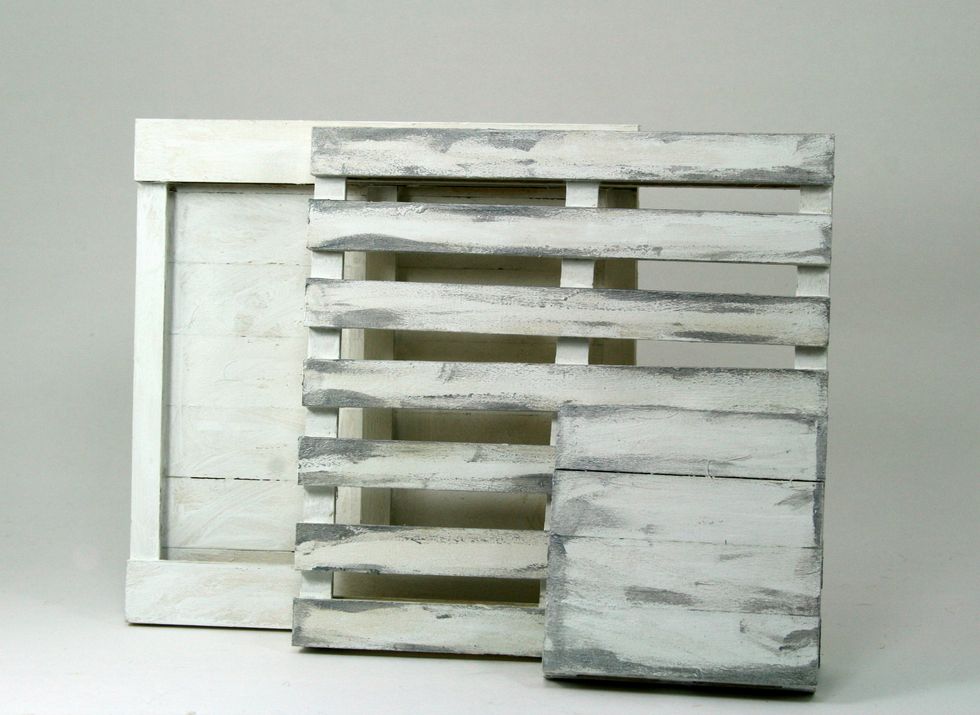
Using your finger apply the silver metallic paint to areas of the pallates the would naturally be worn like edges and ends. Allow to dry.....I used a heat tool but it's not required.
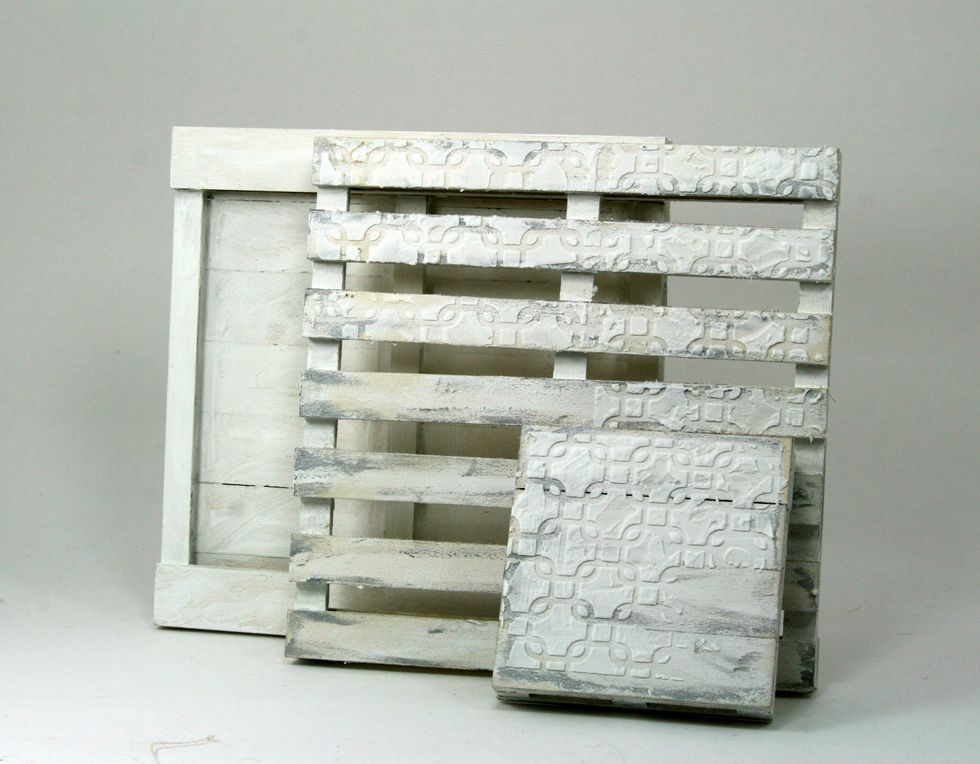
Using the adhesive stencil apply texture paste. Once again do not try to get a perfect impression. I laid out my pieces before I started this so I would know where the texture would show.

Using 110lb cardstock cut 1 piece at 6x1" and score down the middle. Cut second piece 6x3" and score 1/2 inch in from outside edges. Using hot glue attach to palate with the small piece on top.
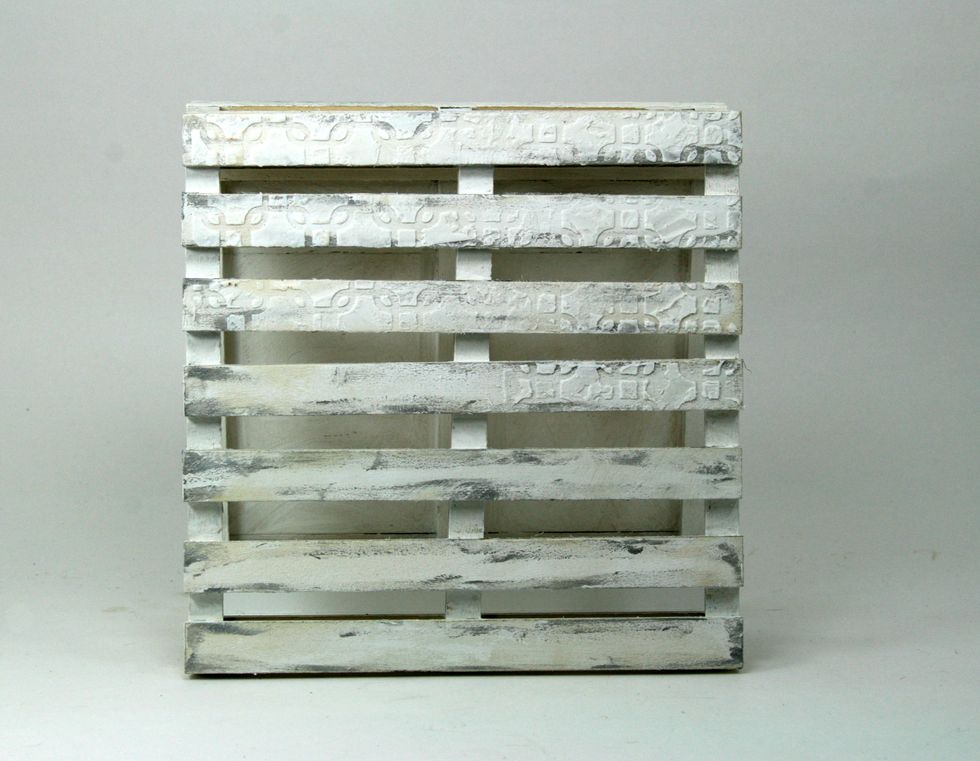
Attach front pallate creating an easel shape. This will allow the display to sit upright and be sturdy.
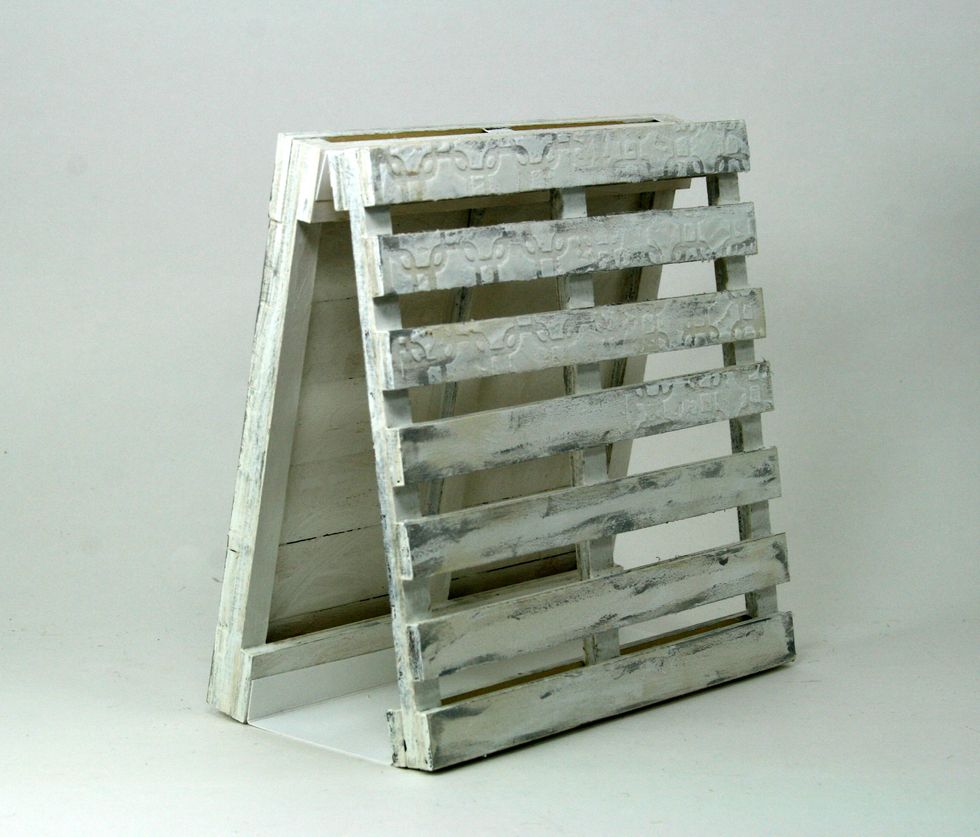
As seen from the side.
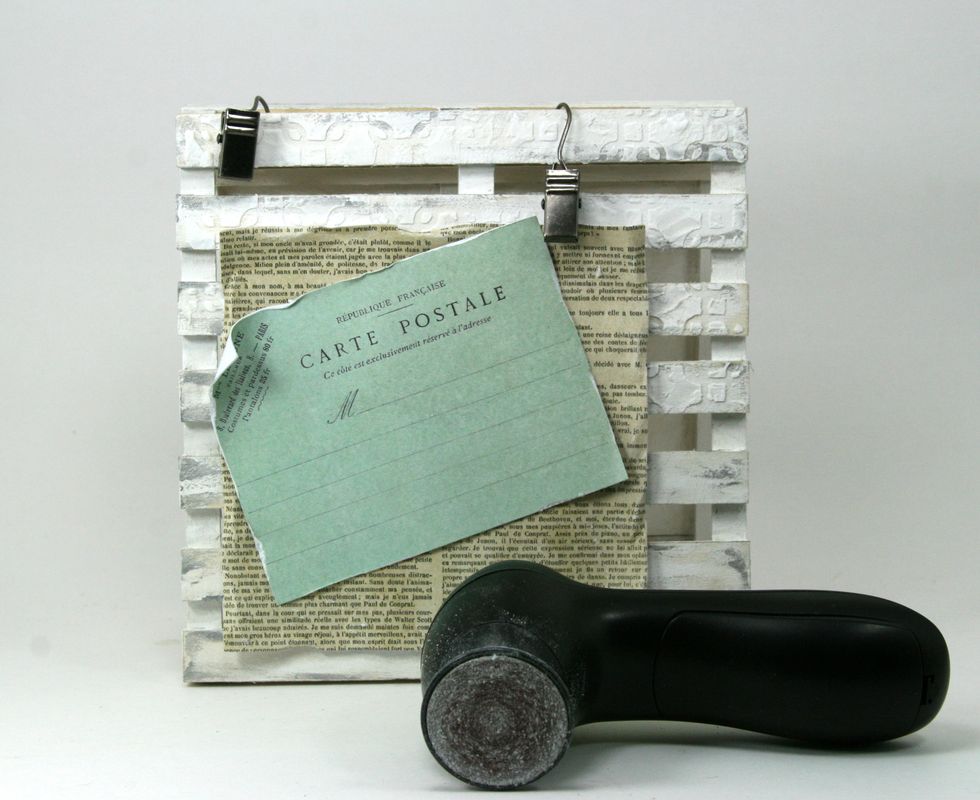
Using the Groove Tool distress edges of papers from Botanical Kit and adhere them . With small pliers bend the hooks from the clips so they can be inserted over the top and through the cardstock.
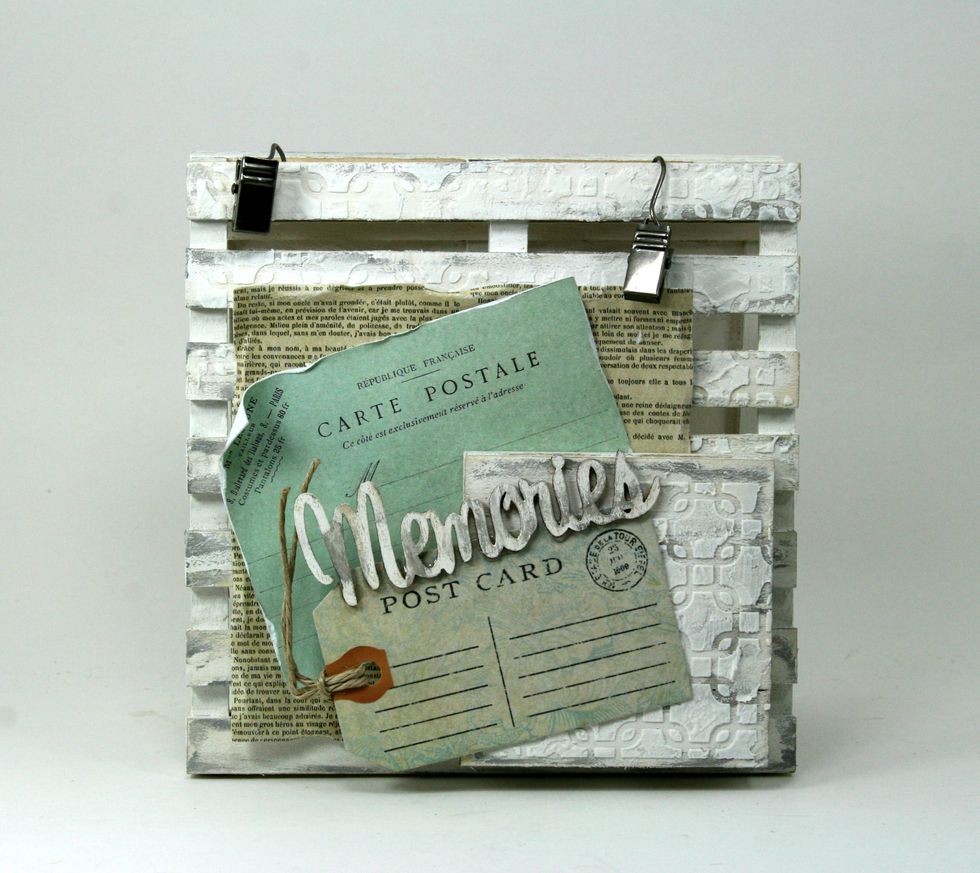
Now add the smaller prepared pallate and layer on the tag and wooden laser cut sentiment from Ephemera Kit. I've finished the wood with the paints listed to coordinate with the aged rustic look.
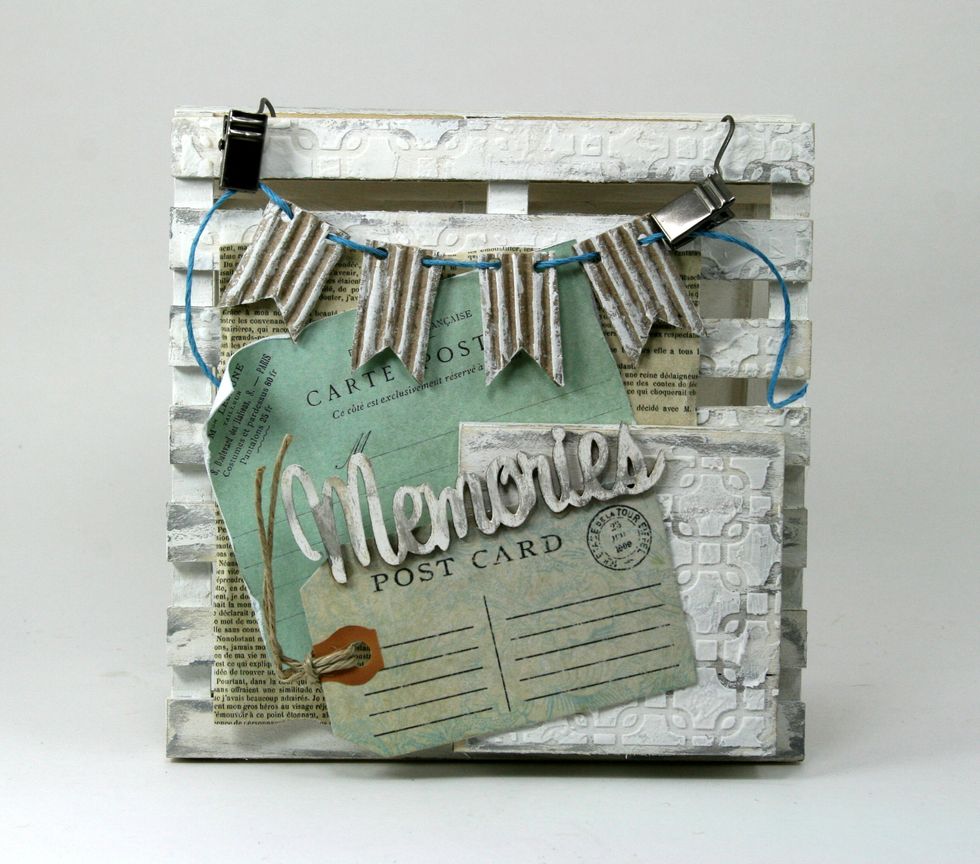
Create small pennant shapes with the correlated paper from the kit and punch holes to string on twine. Add foam spacers to back and insert to clips and adhere with spacers.
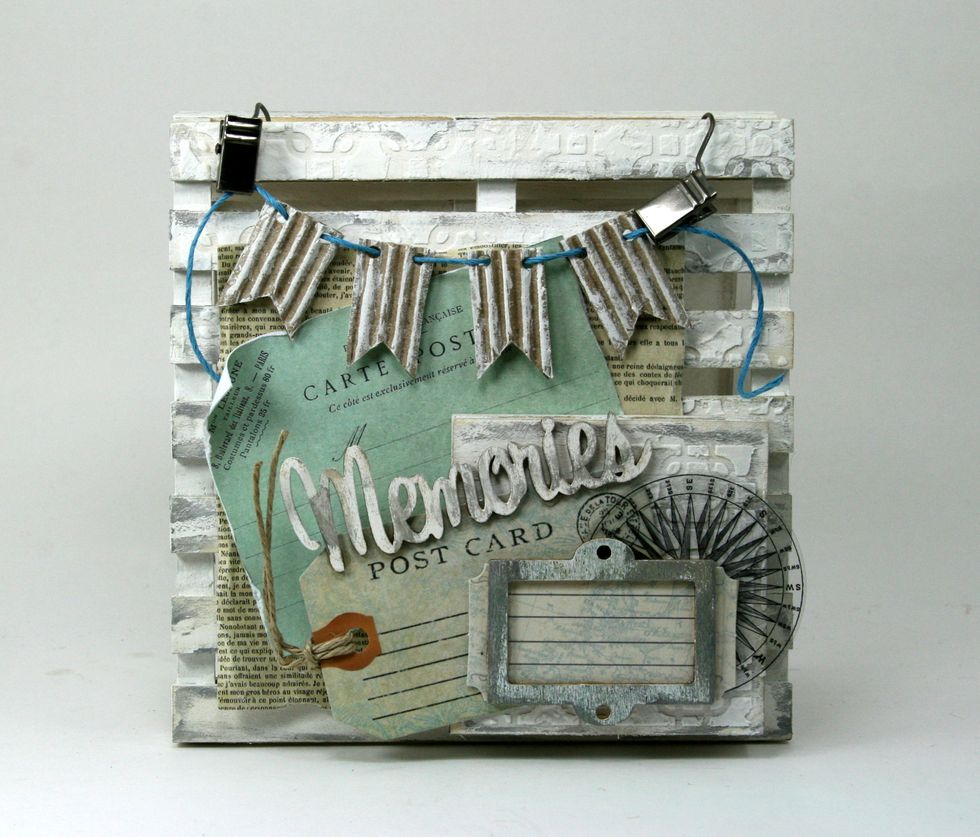
Apply additional embellishments from to kit. I used hot glue for this to ensure they would be stuck tight.
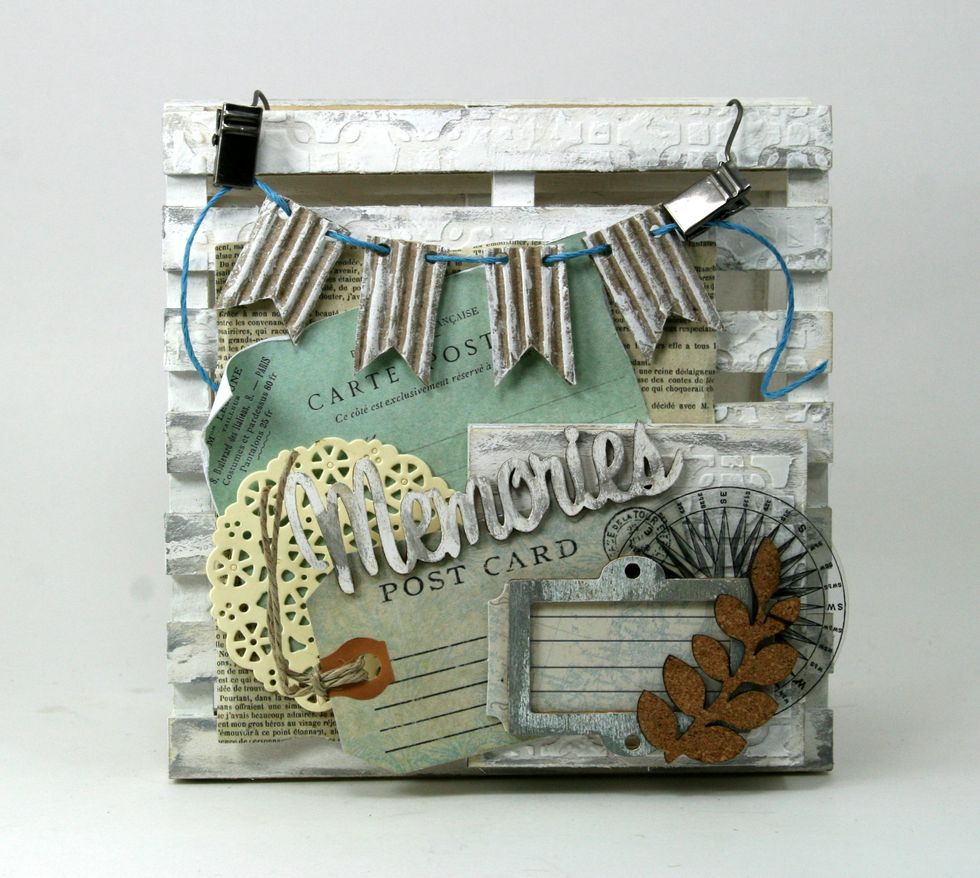
Attach cork leafs and tiny doily from Botanical Kit.

Finish off with keys wrapped in twine and folded butterfly image. Last step add chunky wooden buttons to banner.
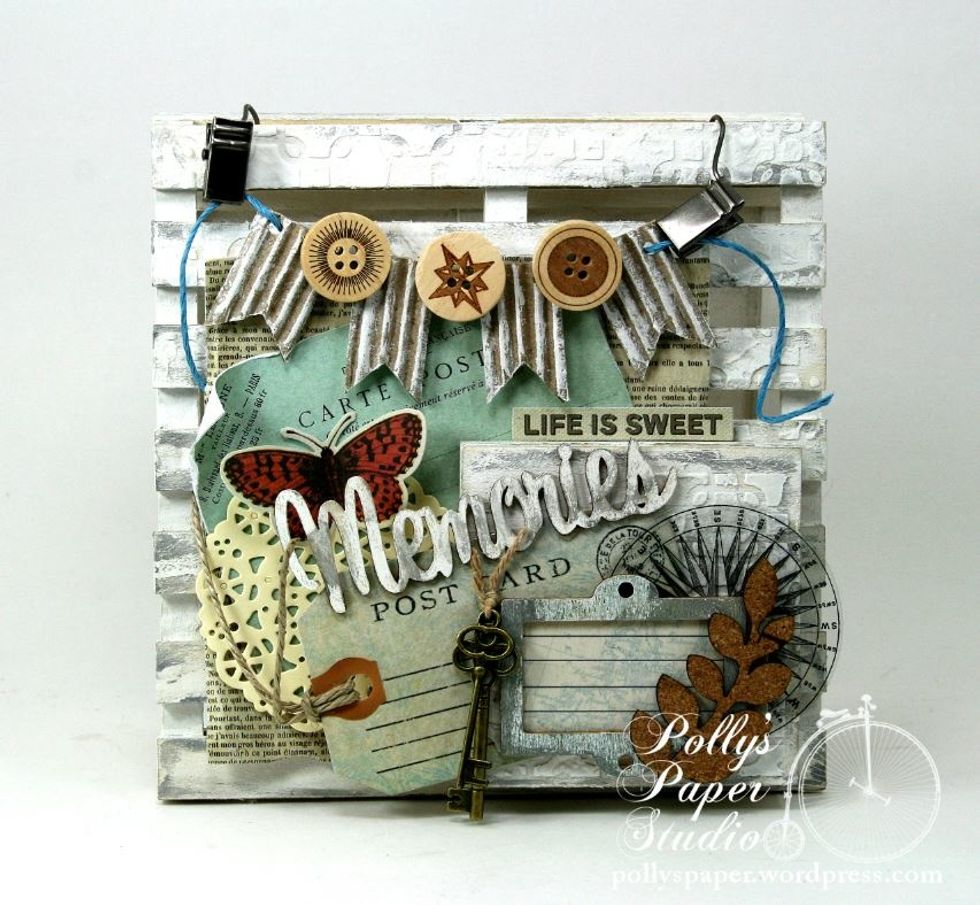
Finished project from front.

And right side.
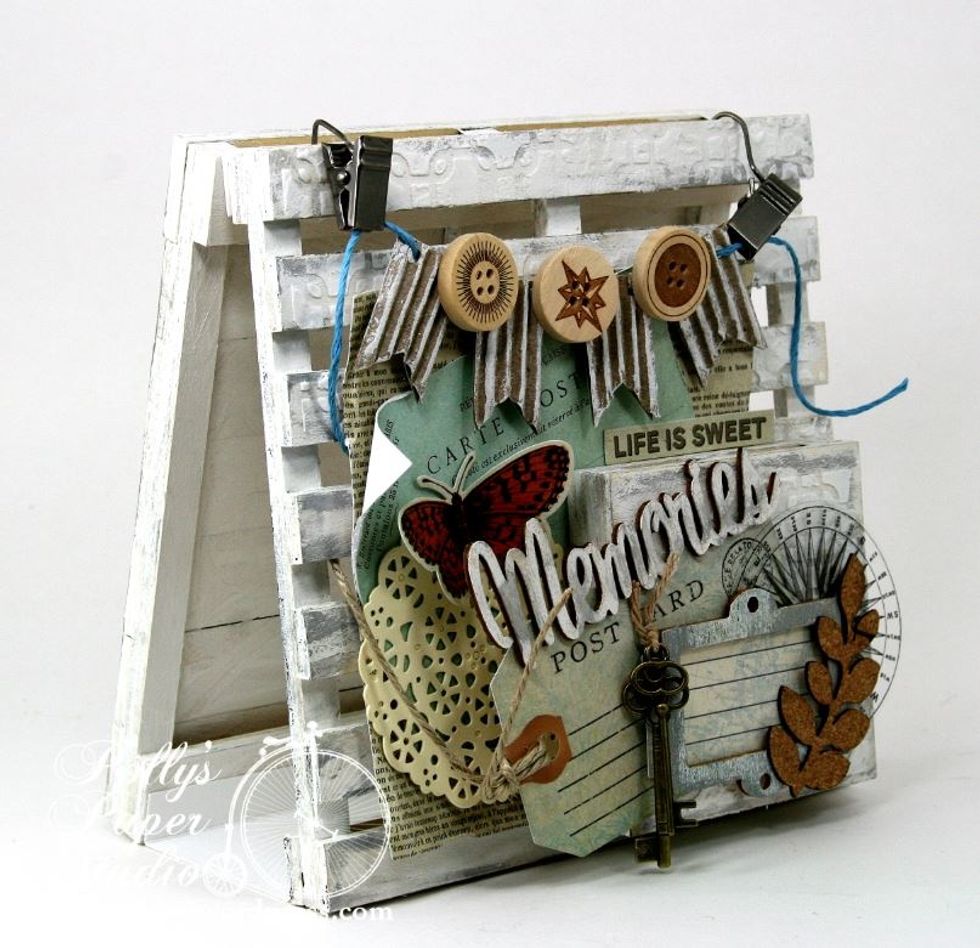
And left.