The Conversation (0)
Sign Up

Gather your remaining supplies from the December 2015 Swirlydoos kit, All That Glitters. Here's a peek at what I have left.
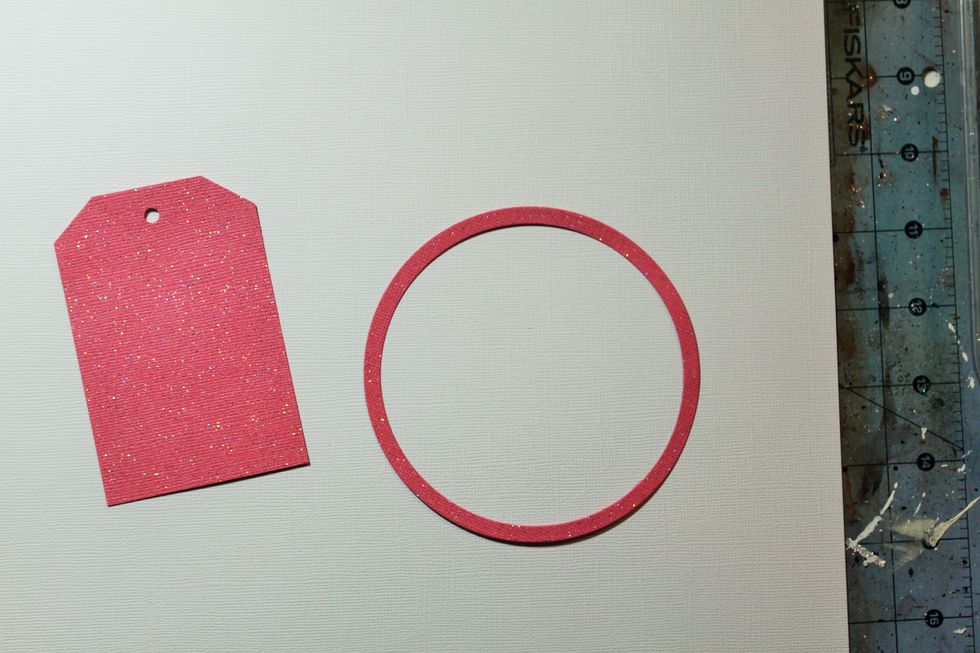
Now cut a small tag and circle from the pink glitter cardstock.
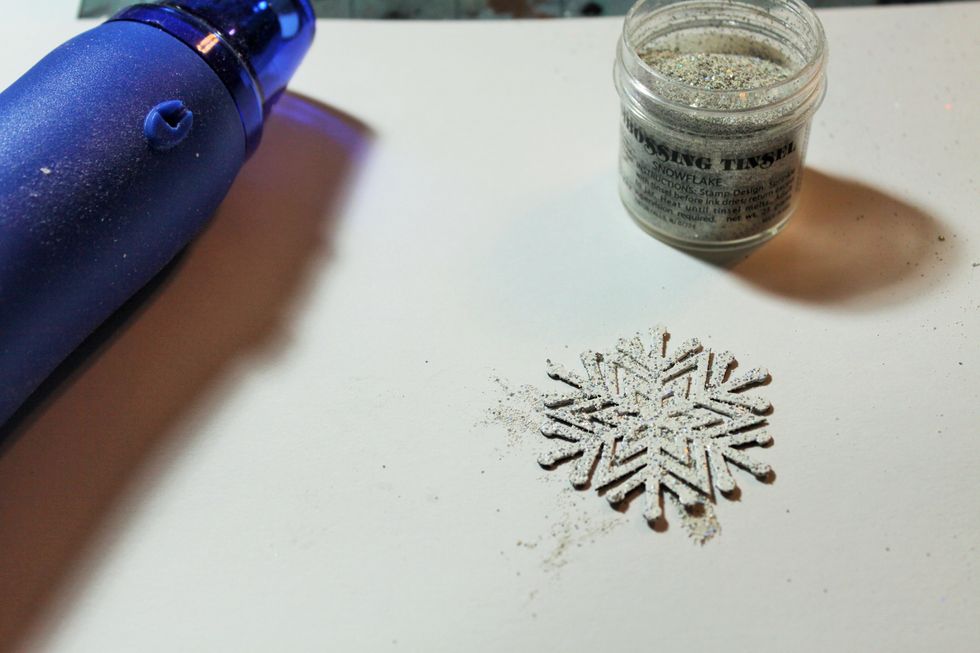
Paint the remaining chipboard snowflake with white gesso then embossing with embossing powder. Here I used Embossing Tinsel in Snowflake.

The Emboss It Dabber by Ranger is great for adding embossing to intricate pieces.

Now, add some background stamping with a few of your favorite stamps. This will add some interest to the background paper.

Add a few random strips from the cardstock sticker sheet.
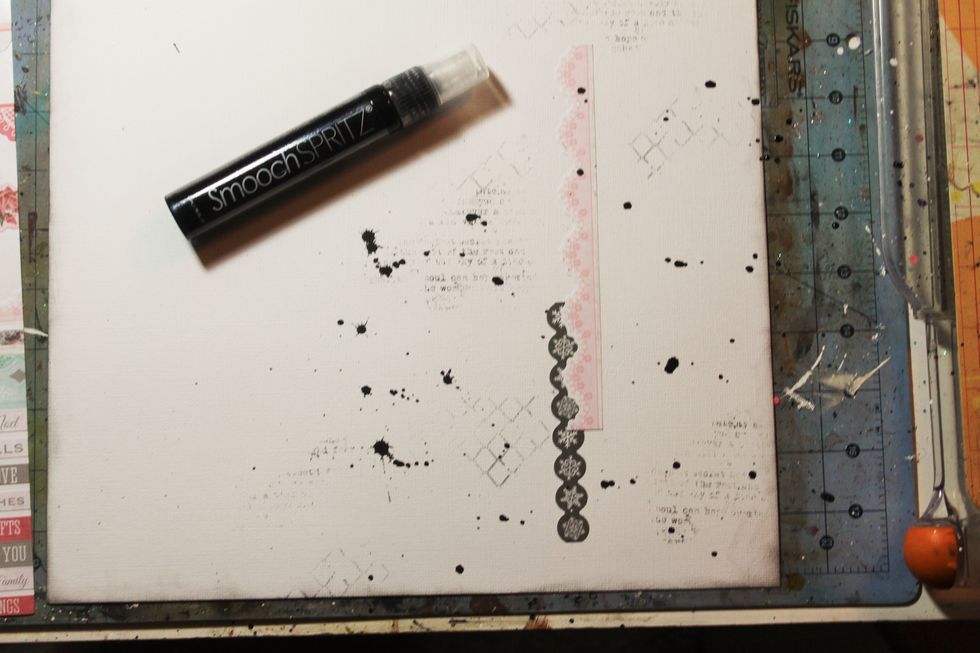
Unscrew the spritzer from the black Smooch and use it to splatter the background with the black Smooch.
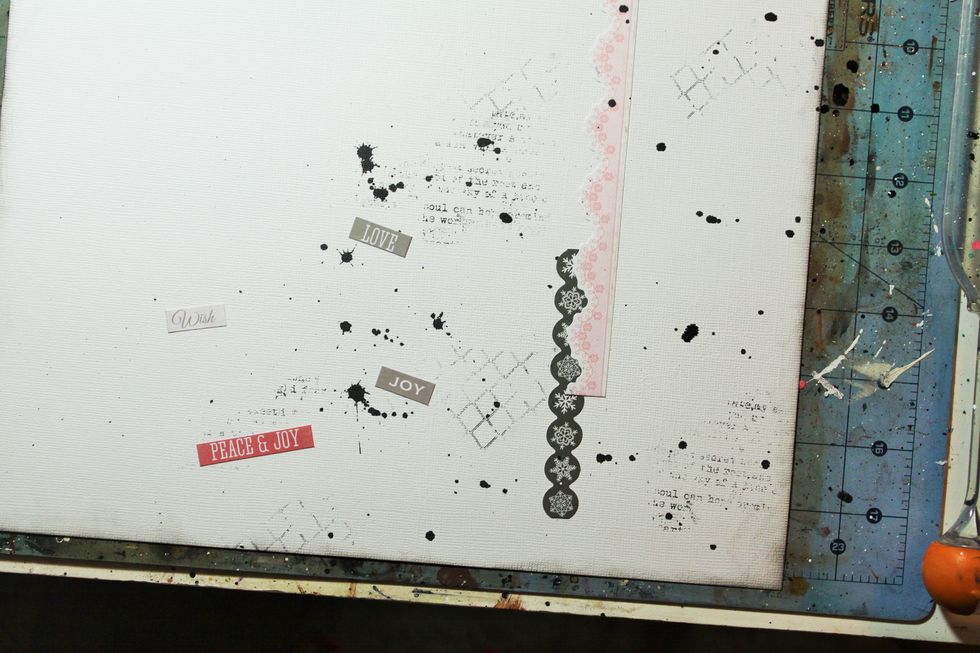
Add some random word stickers from the cardstock sticker sheet.
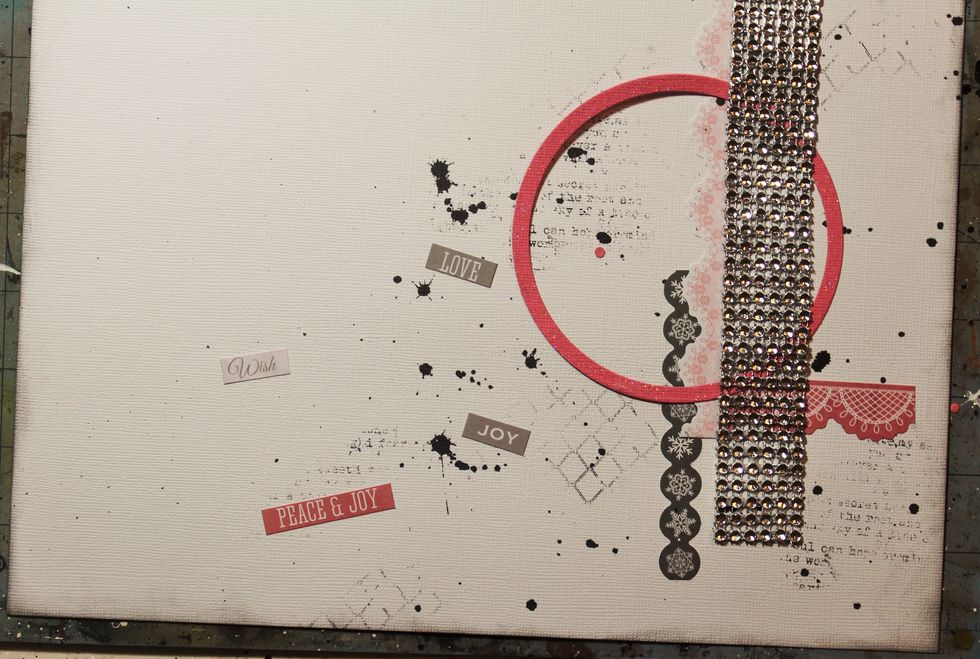
I used 3D Gloss gel to add a strip of the silver bling that was included in our December kit. Then, tucked the circle underneath.
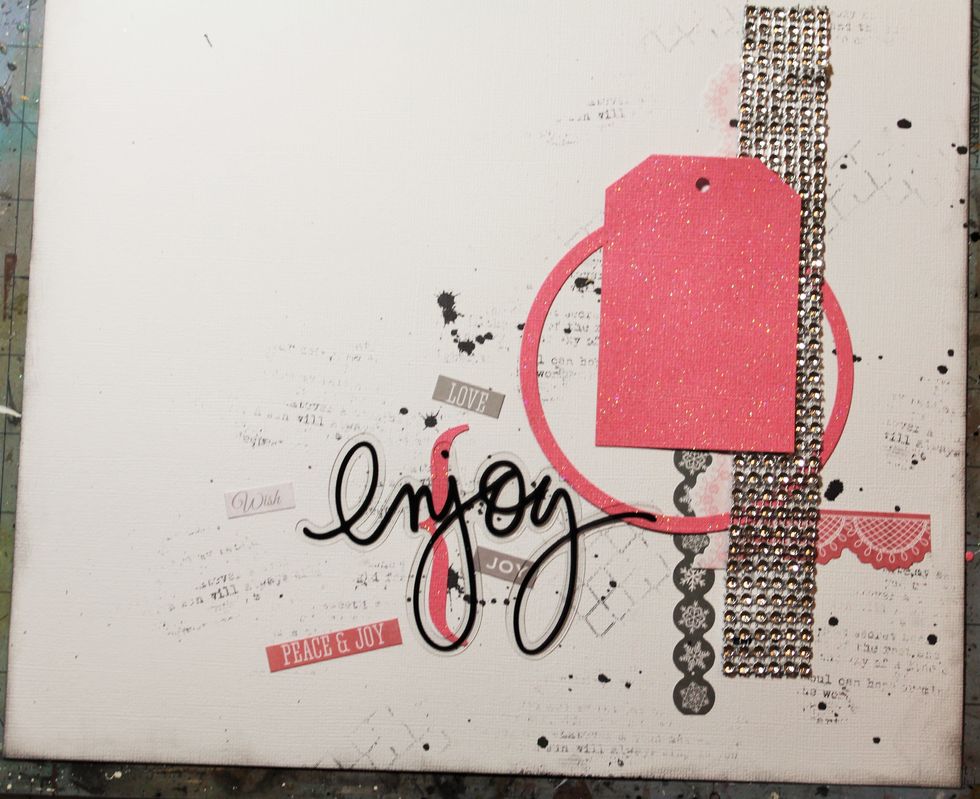
Now the pink tag goes over the top. I added another cardstock strip horizontally.

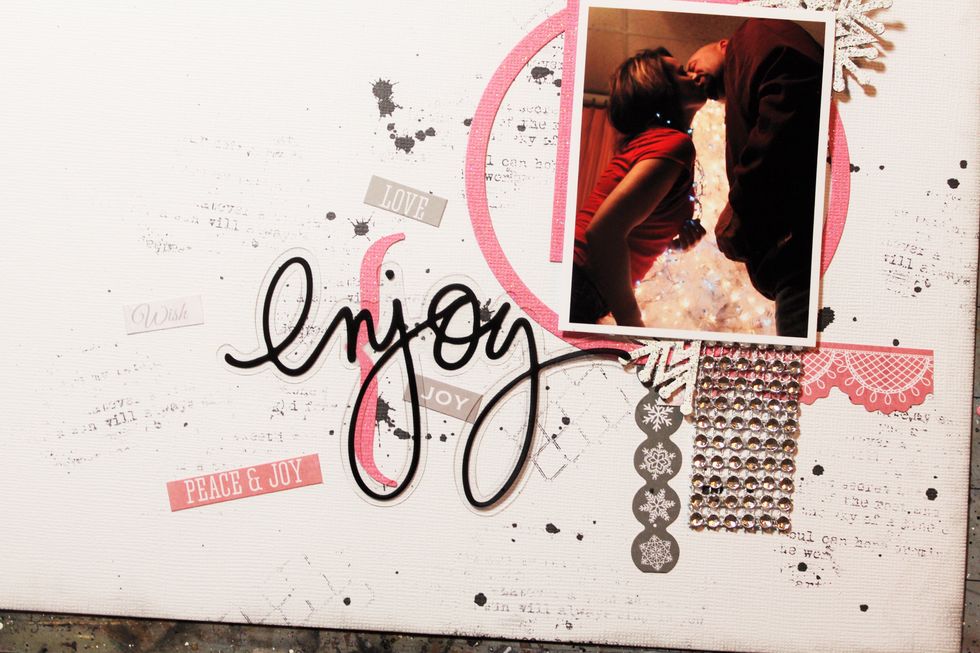
I snipped the chipboard snowflake into 2 pieces and used part along the top and bottom of the photo.
Add a title.
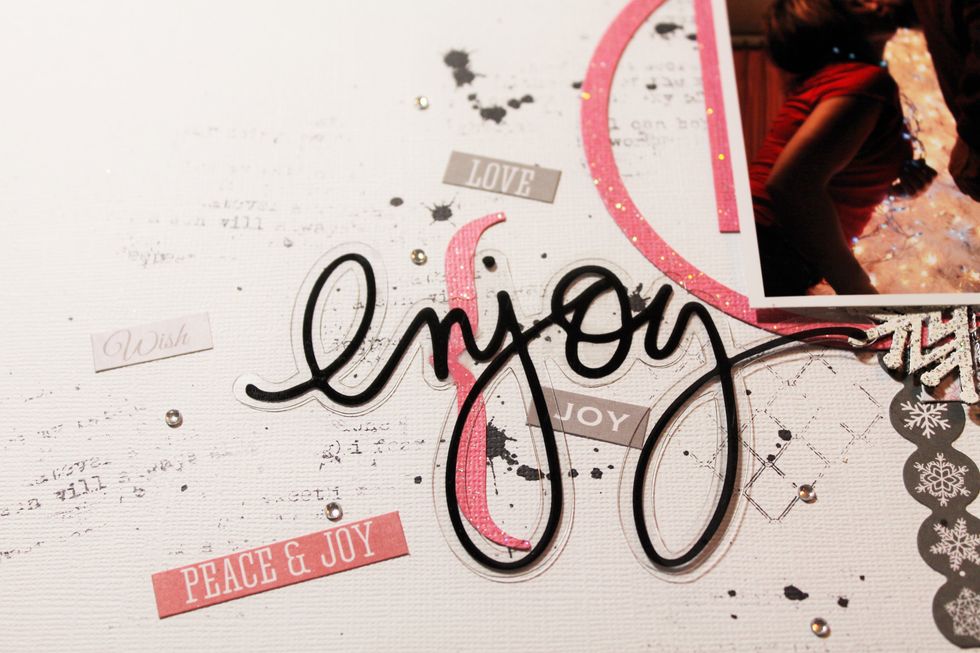
Here's a close-up of the title layered over the word stickers and a diecut.
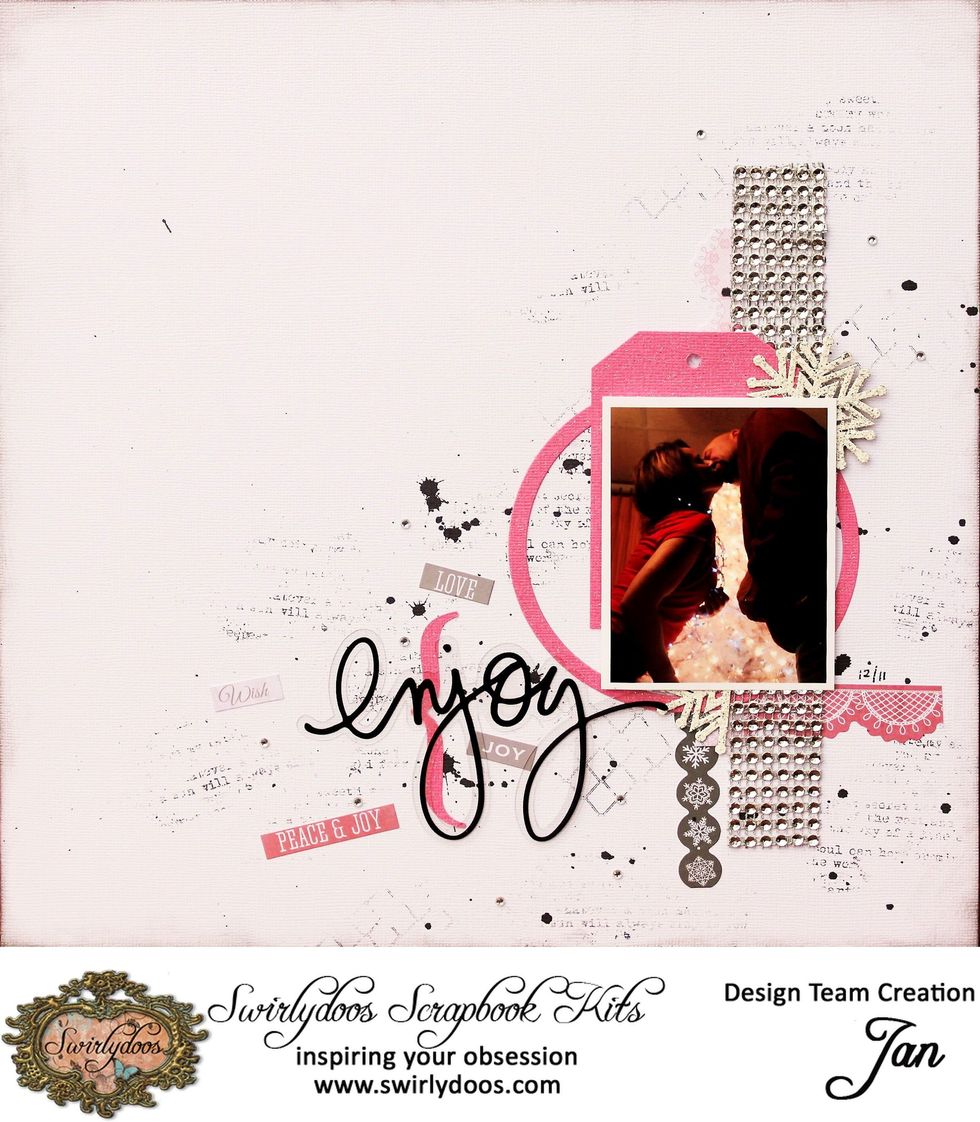
Here's the finished layout.
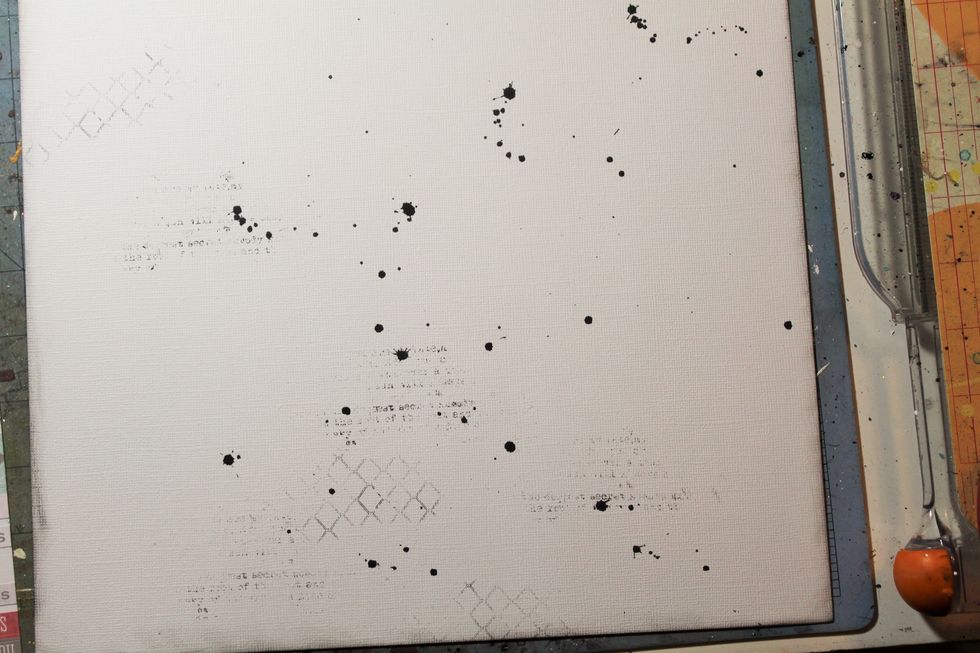
Bonus! This is a two-page project! So, more random stamping and splats of black Smooch on the white cardstock to begin the second layout.
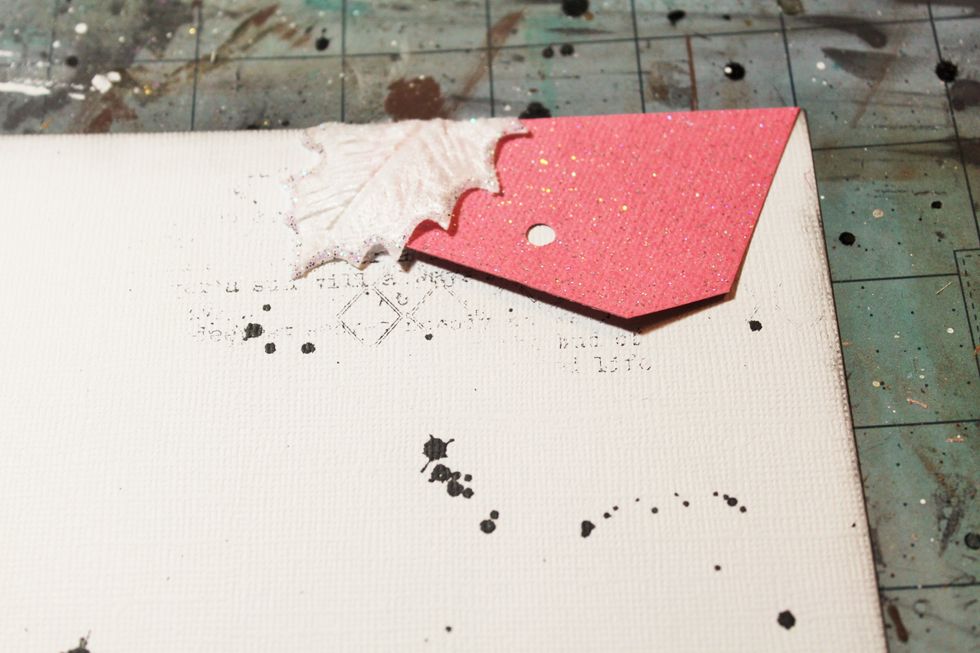
Another pink tag is cut and added diagonally along the top right of the page. Add a white holly leaf, too.

Cut a rectangle from the pink glitter card stock and add it over the top of a strip from the card stock sticker sheet.
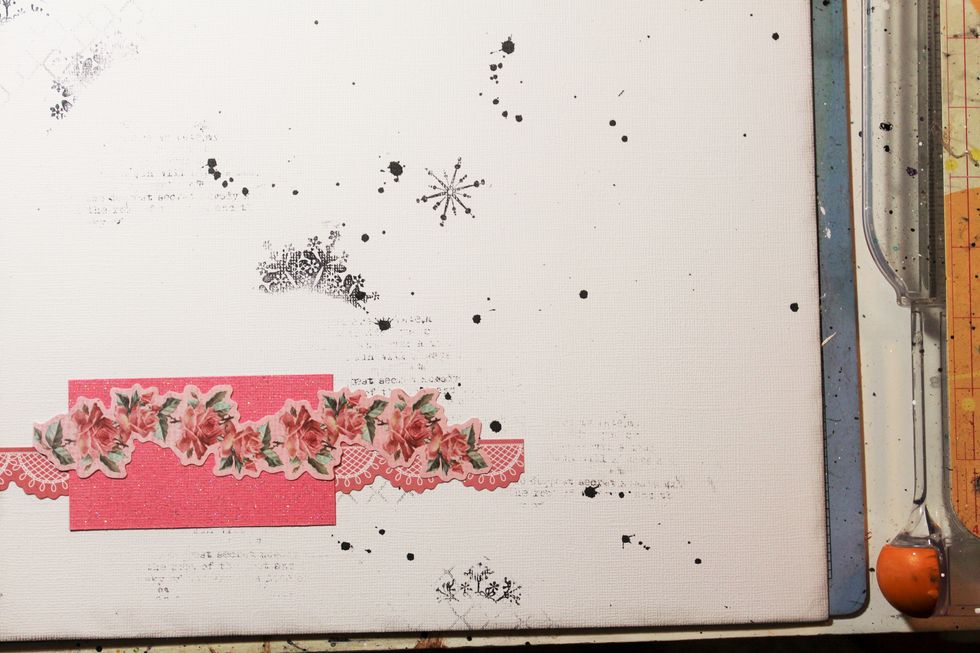
Add another card stock strip over the top of the pink rectangle. Then do some random snowflake stamping in black Archival ink.
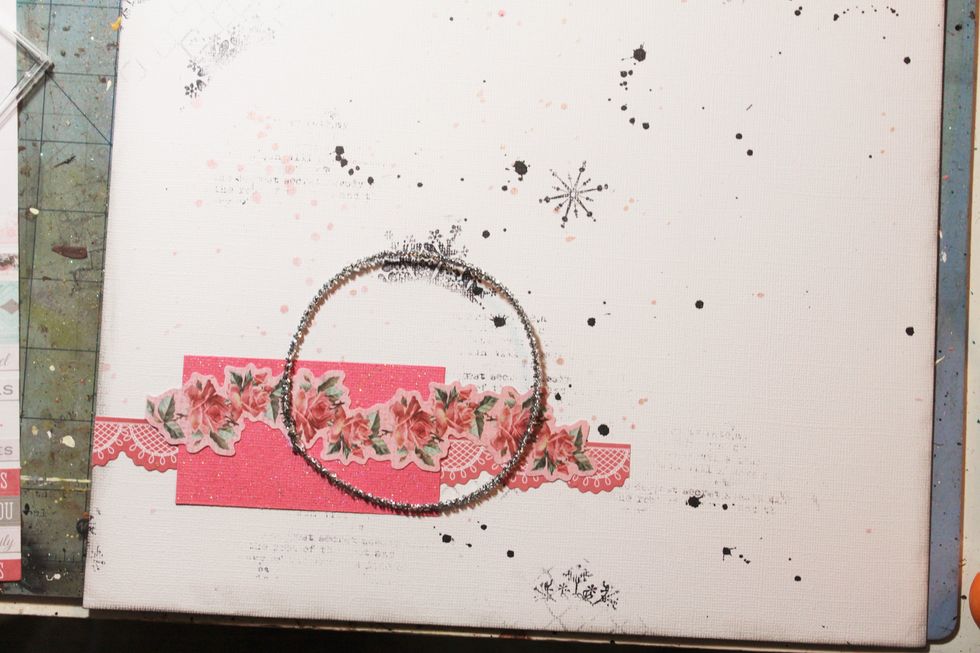
Form a piece of the silver pipe cleaner into a circle and place along the edge of the layers you have built up along the bottom left of your page.
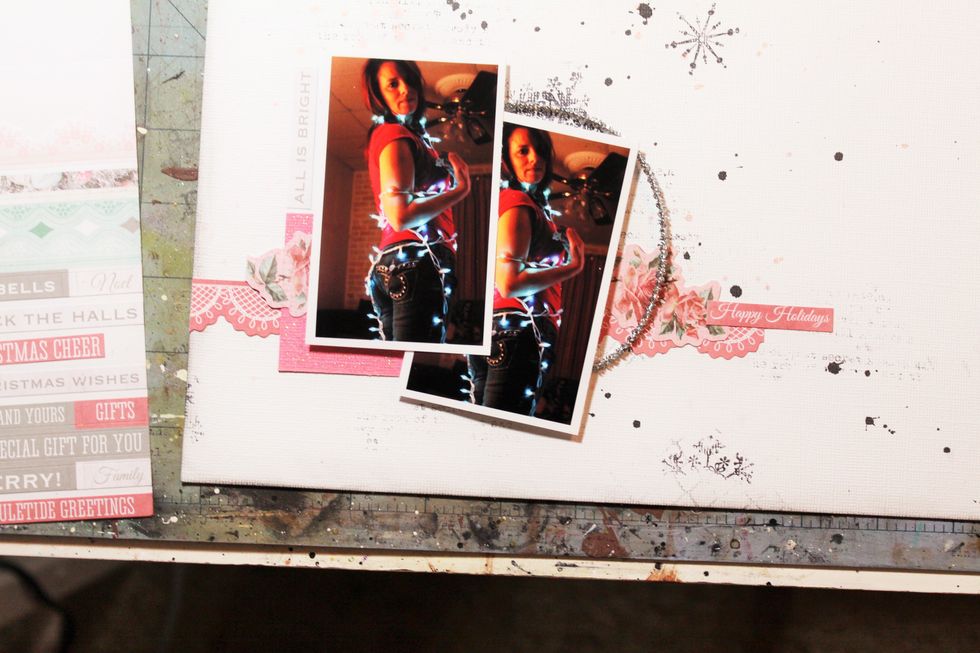
Add your photos.
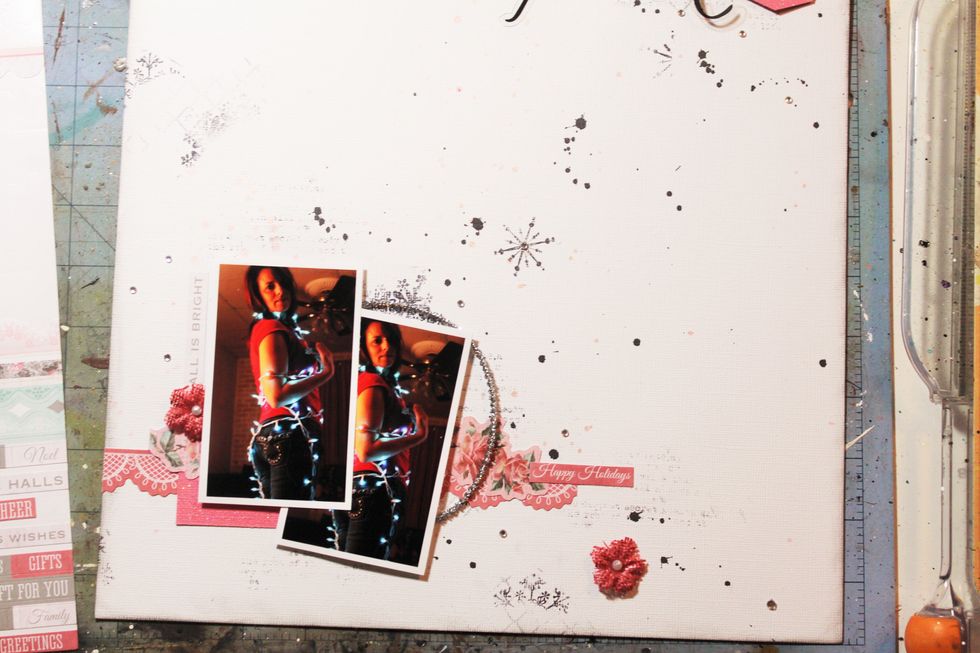
Add some random silver bling rhinestones to the page.
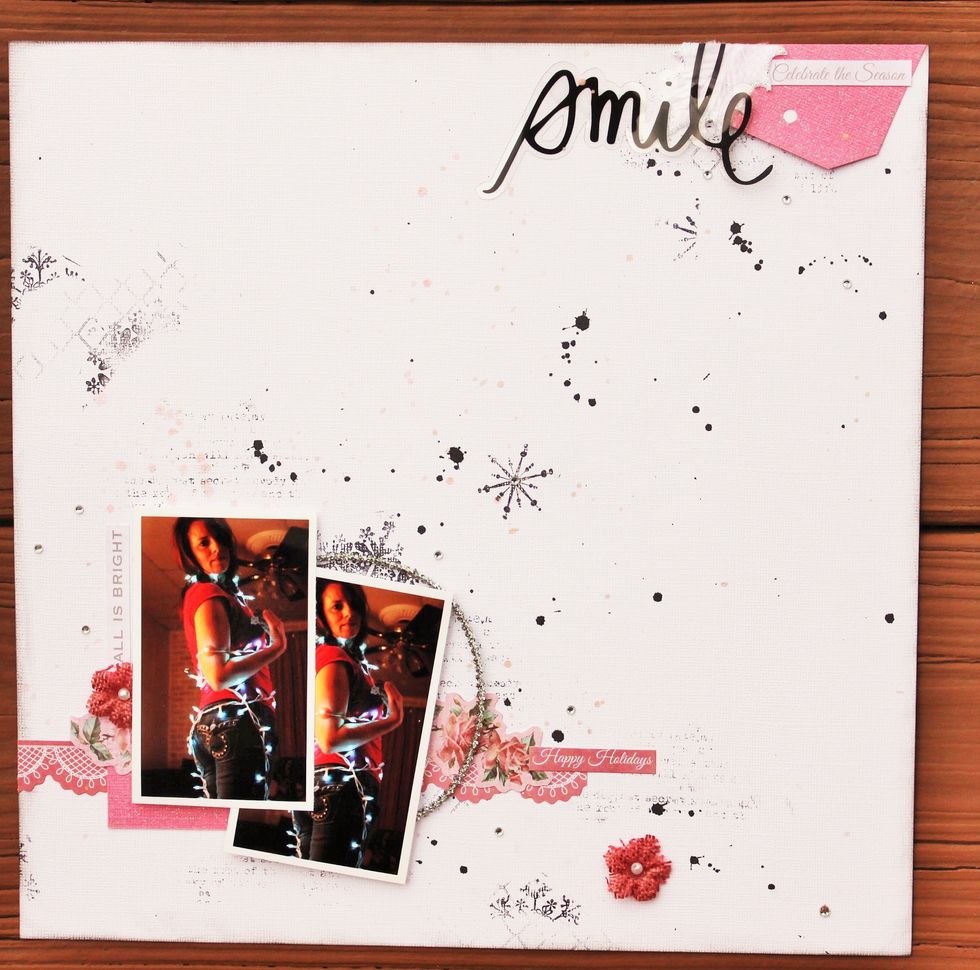
Add a word strip and title along the top over the tag and holly leaf.

Add one of the remaining burlap flowers to the page and call it done!