The Conversation (0)
Sign Up
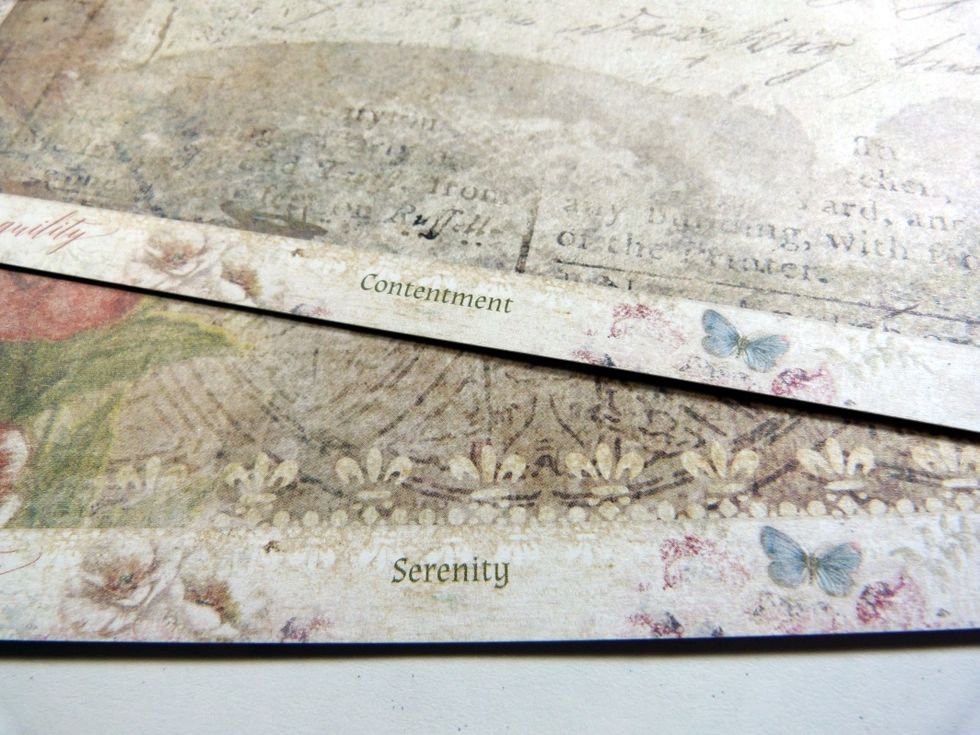
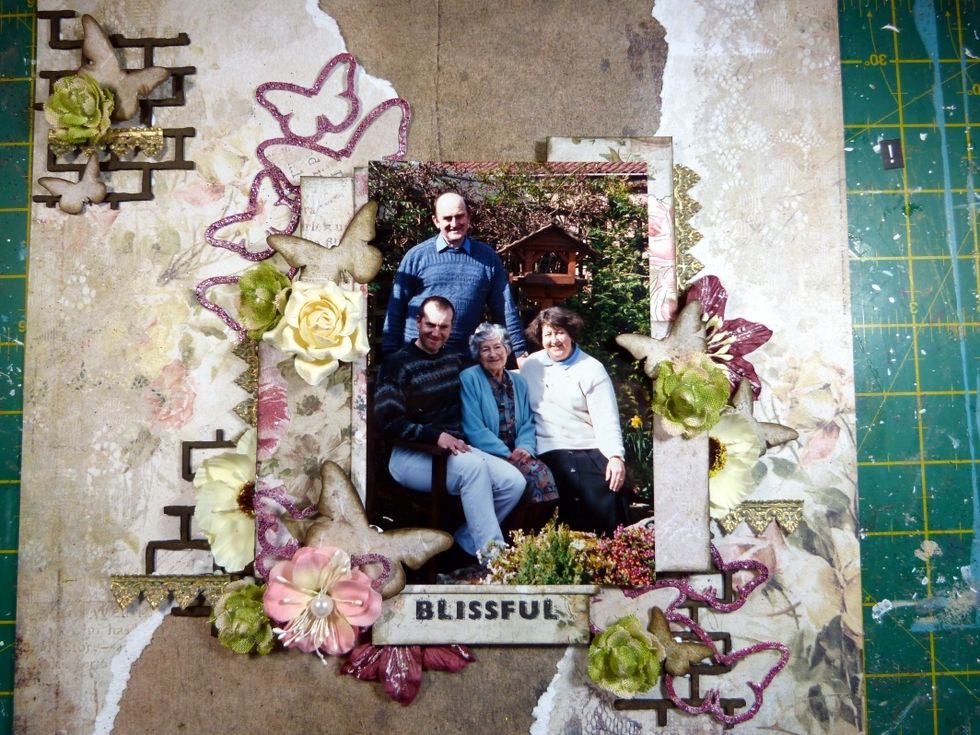
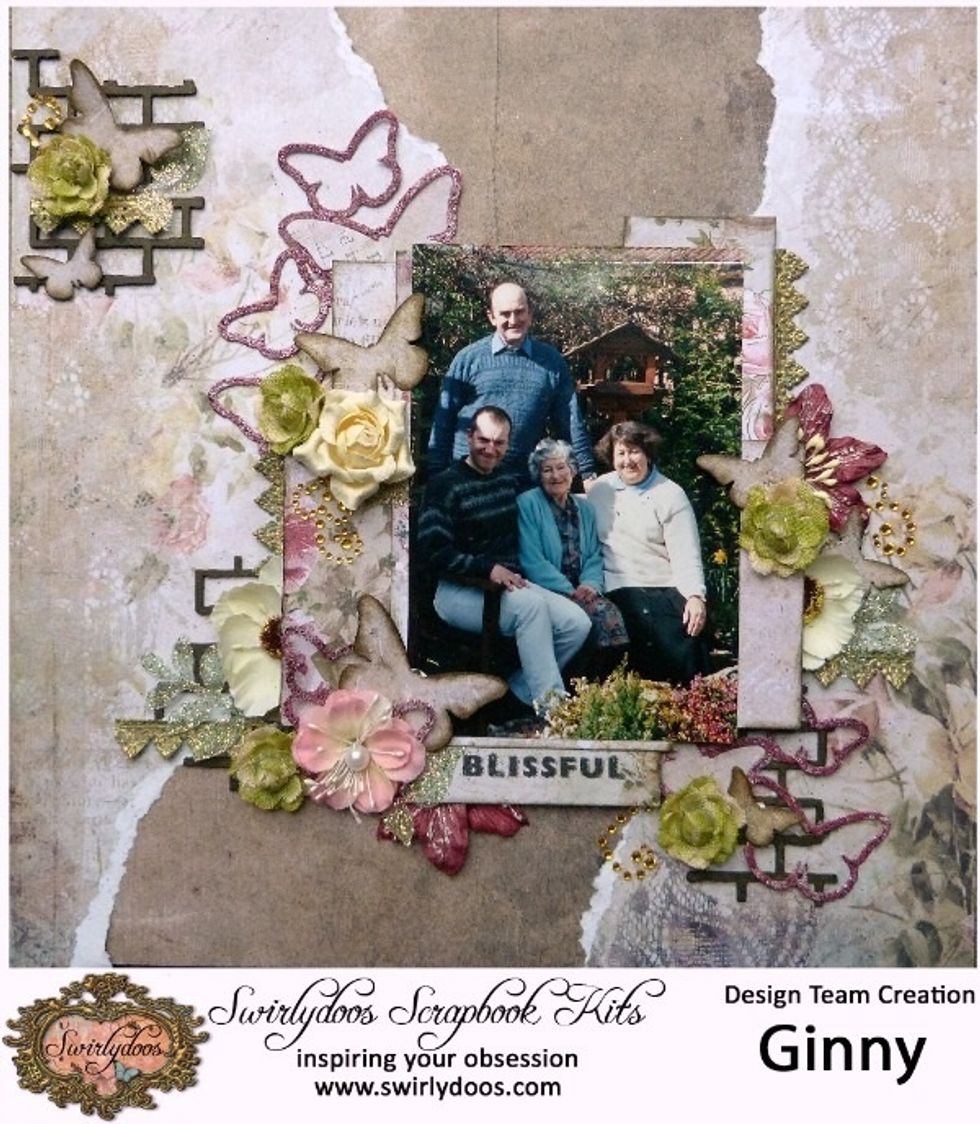
The two papers used from Blue Fern Studios.
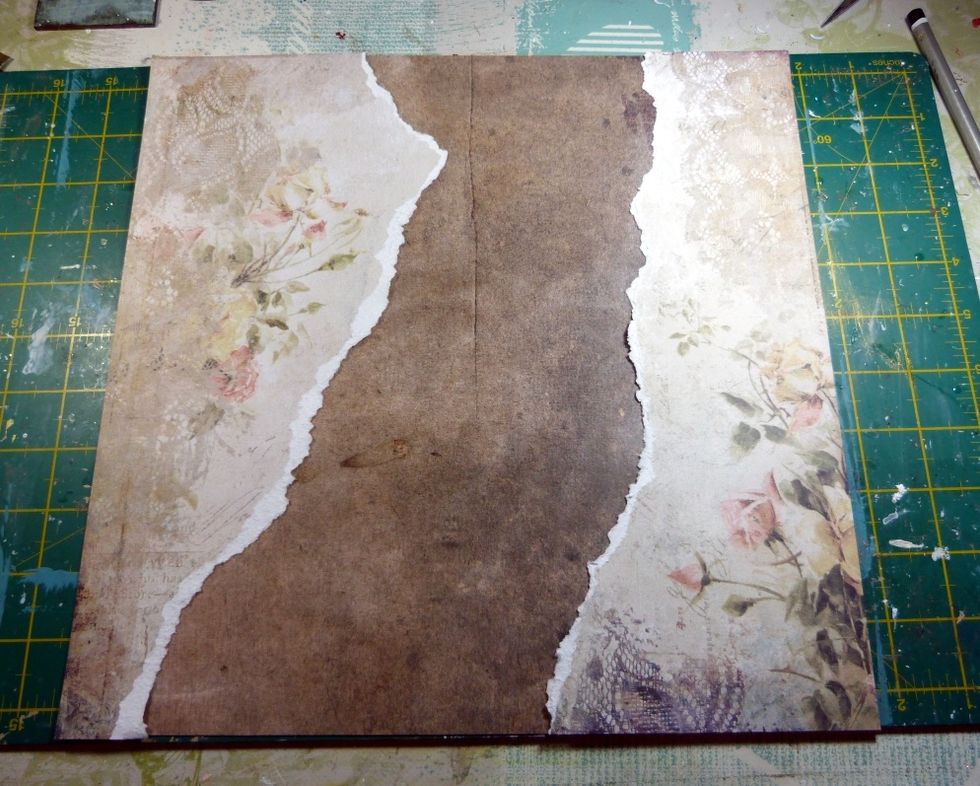
I tore the 'Contentment' paper as above and mounted it on the 'Serenity' paper.
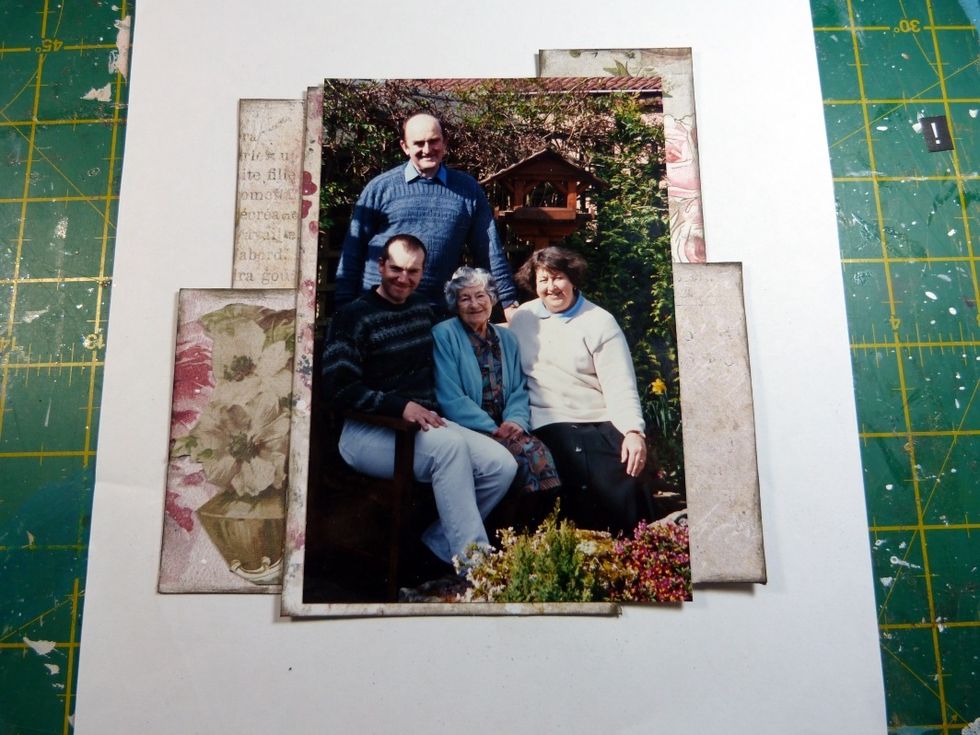
The photo was mounted on some left over pieces of the Blue fern Studio papers. Edges inked with Walnut Stain.
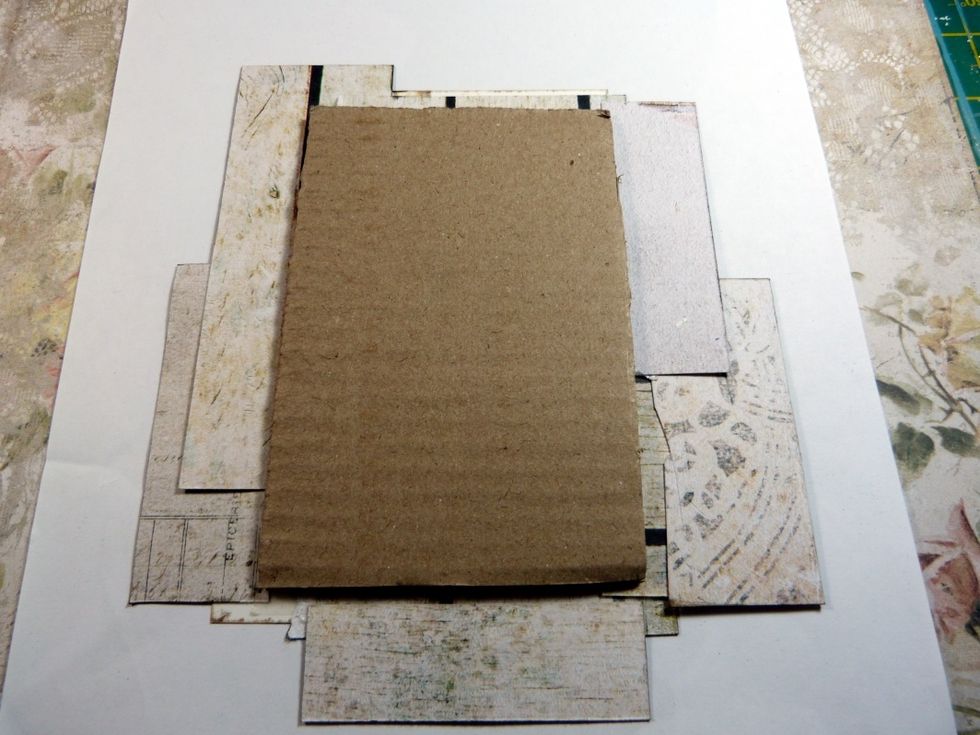
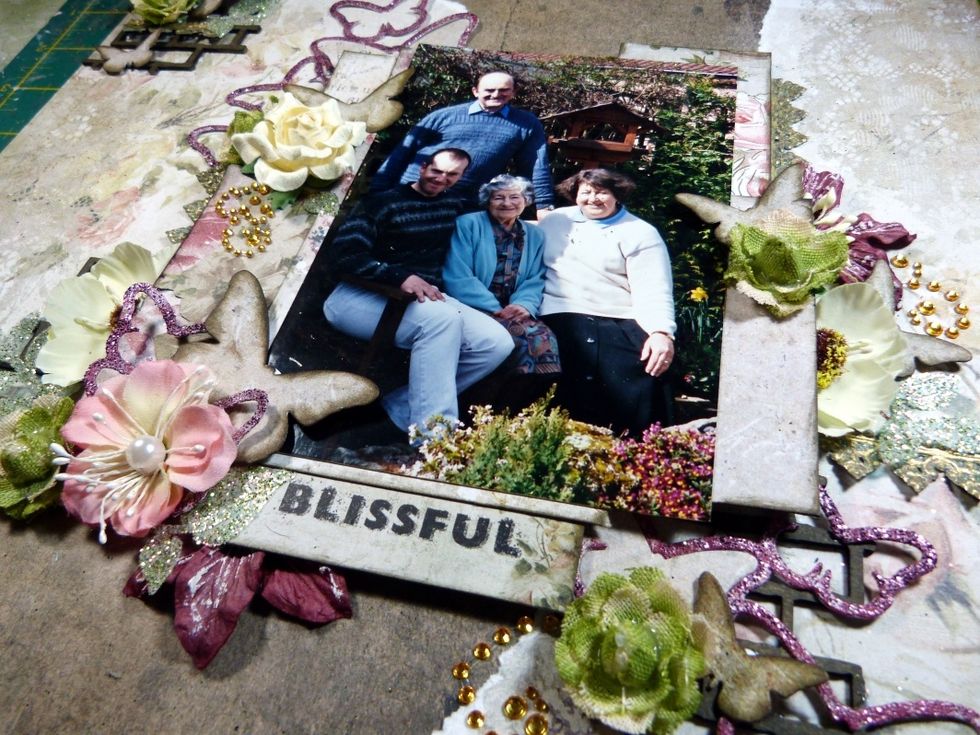
Mount the back of the photo piece with a good size piece of cardboard so it will be slightly raise off of the layout when glued on.
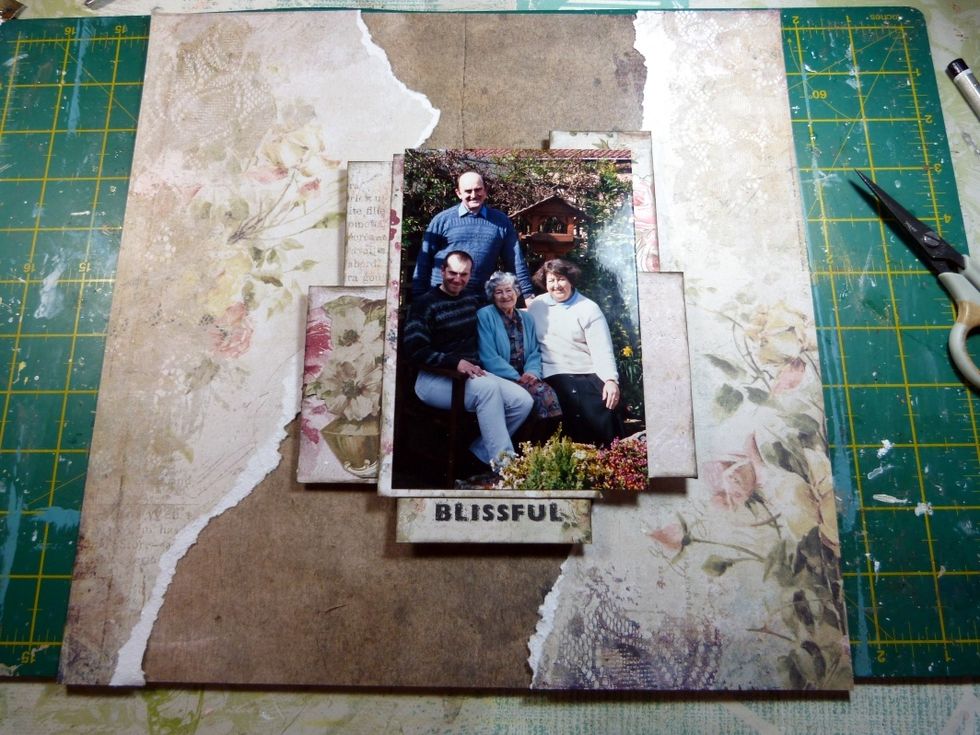
Glue on to layout. Add title, from the 'Calling cards' paper, also inked up edge.
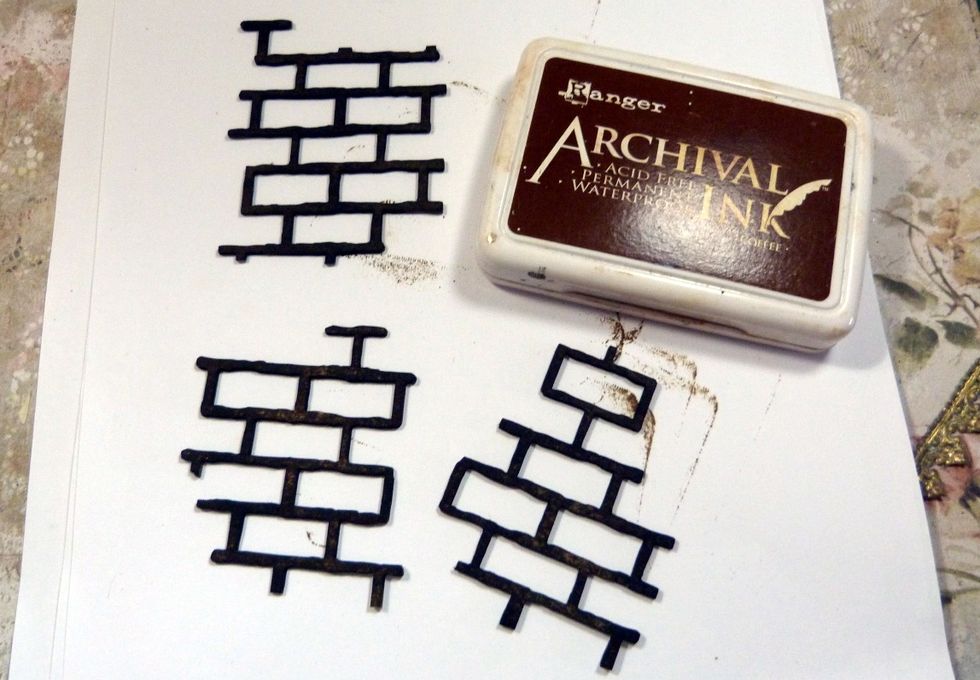
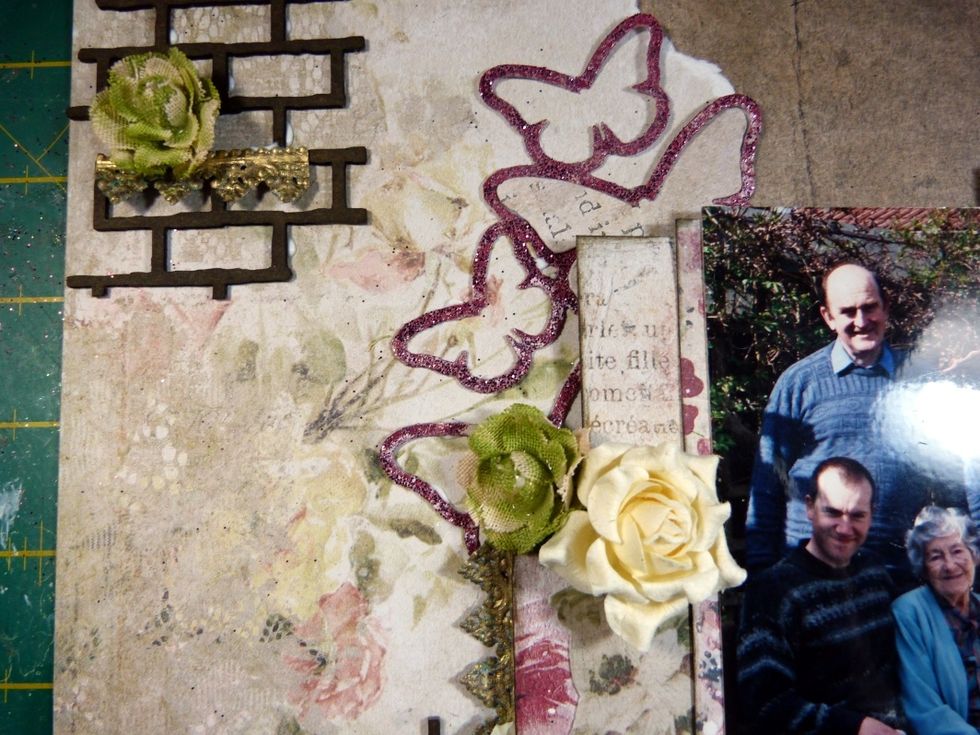
Cut the BFS brick chippie into 3 pieces and ink all over with Coffee Archival ink.
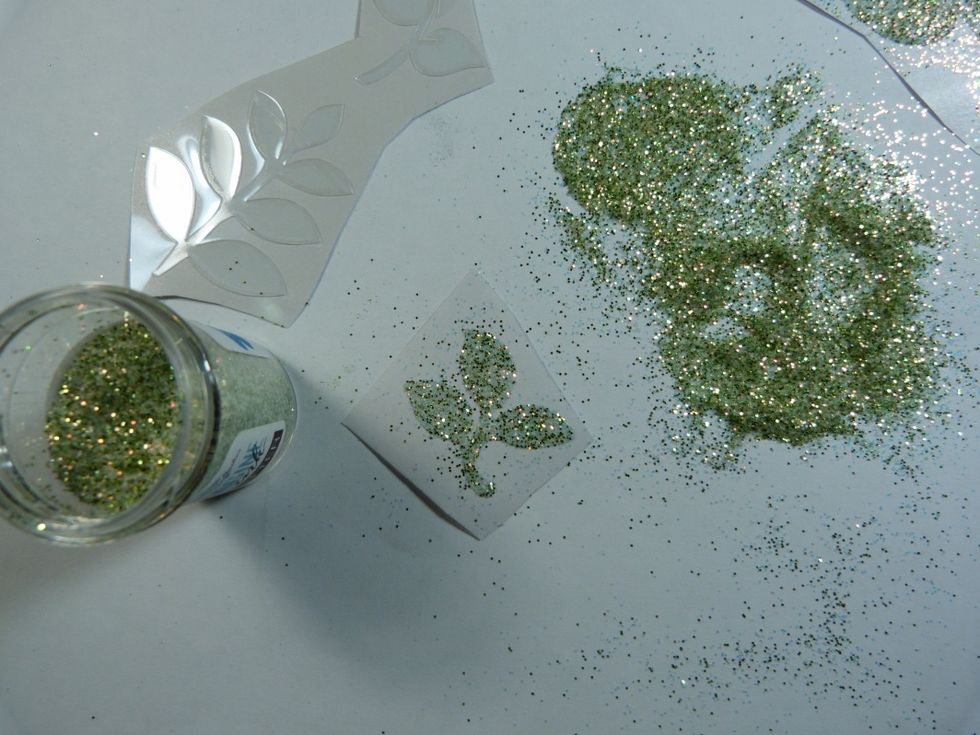
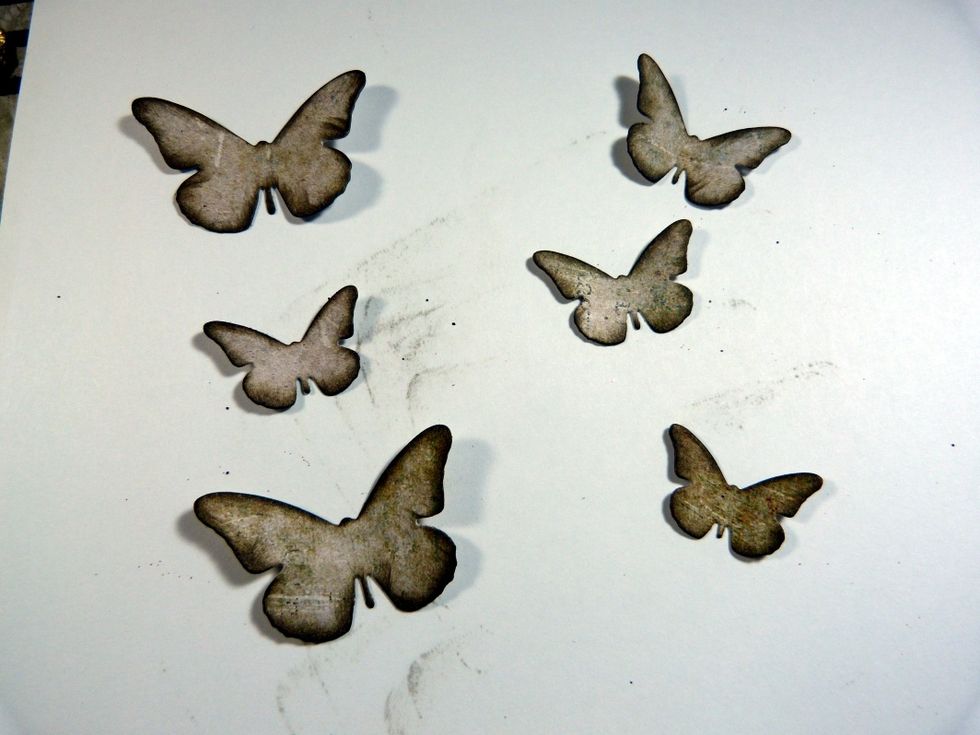
This is the Die of the Month. I embossed it with the BFS embossing powder 'Magenta' and then cut into 3 pieces. I left 2 of the butterfly pieces left in the frames.
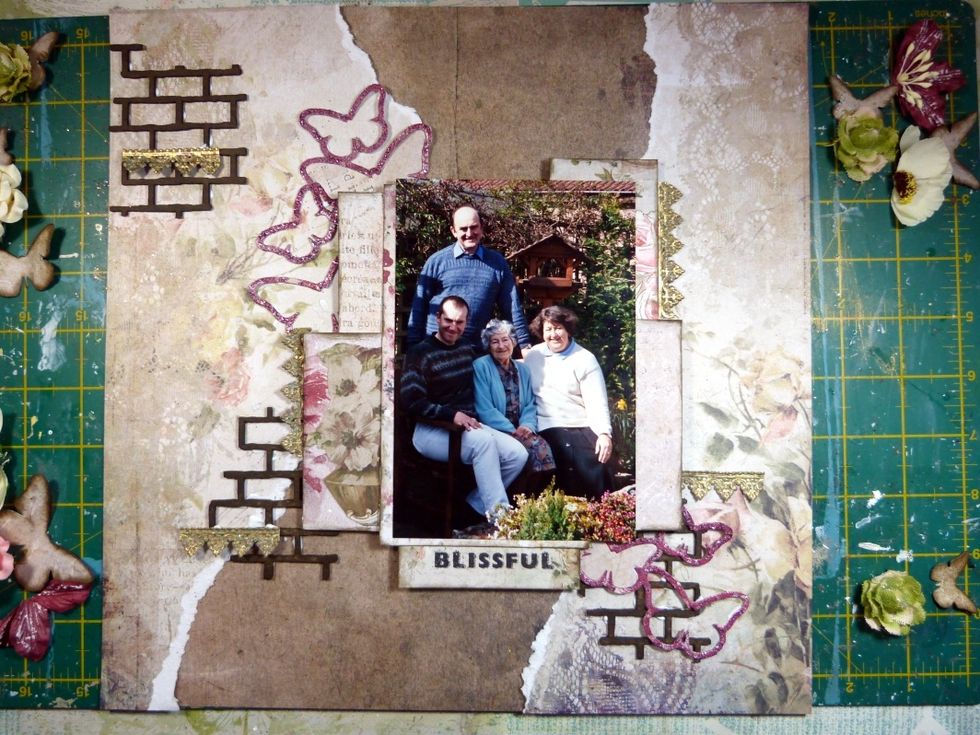
Add the chippie and butterfly pieces to the layout. I also added some gold foil trim altered with the VerDay 'Brass' paint and Patina solution from the Technique Add on kit.
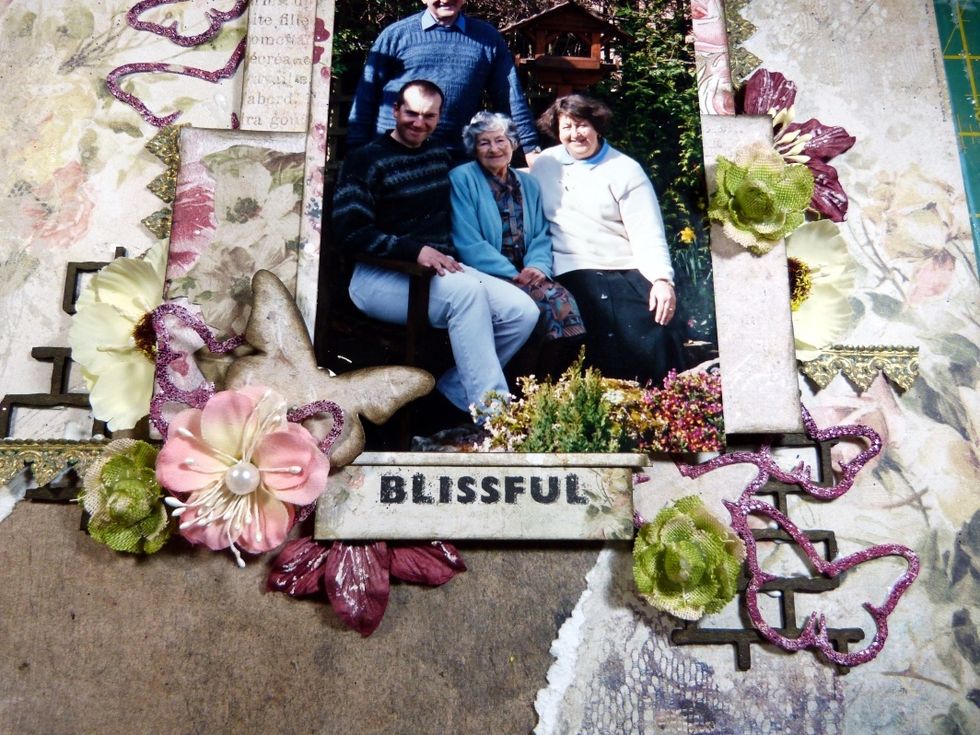
Next Flowers! Add flowers under the photo mat to add depth. Two of the flowers I cut in half and slotted them under papers, this makes flowers go further! This is the bottom clusters.....
..... and the top clusters.
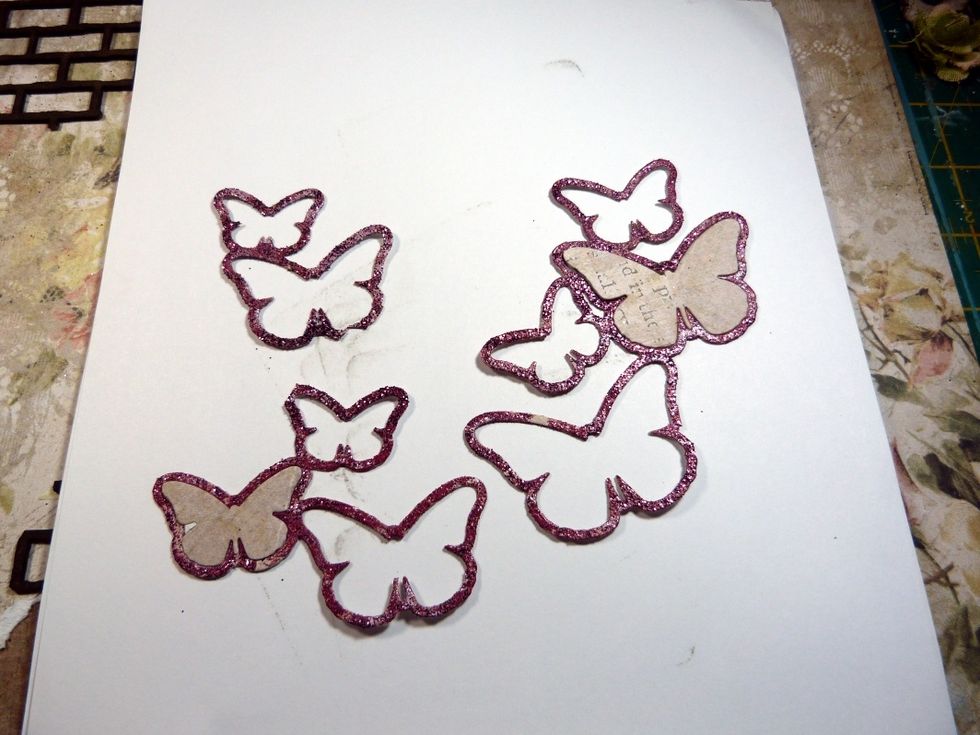
The left over butterflies from the Die of the Month I inked the edges with Distress Ink Walnut Stain.....
.... added them around my layout.
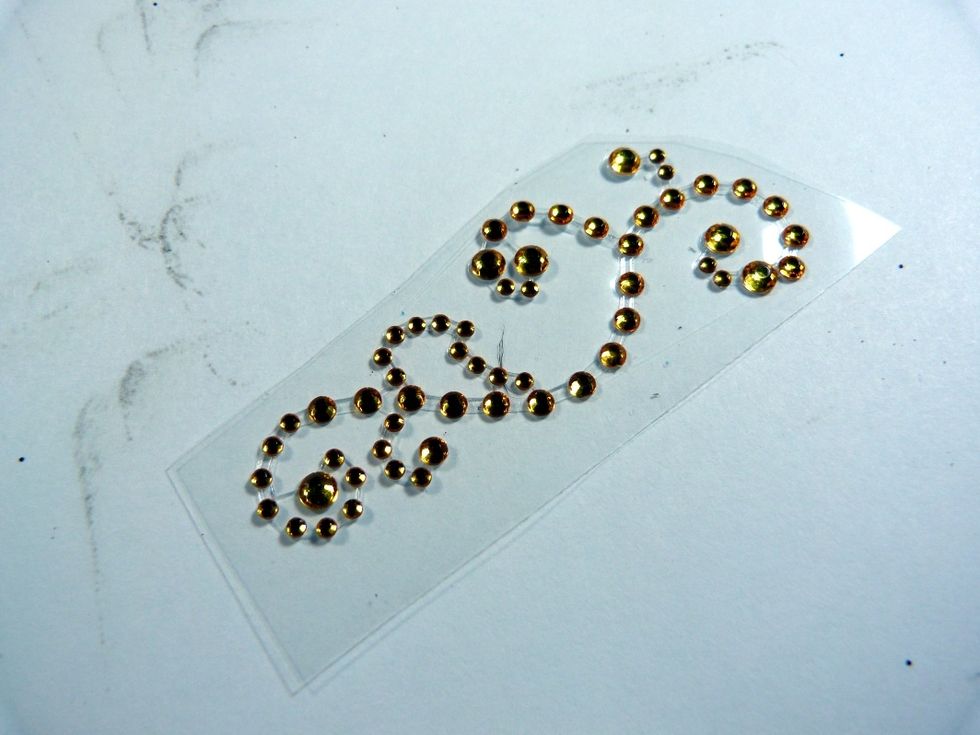
Take one of the Eyelet Outlet crystal swirls and cut into sections......
..... and add to the flower clusters around the layout to finish.
This is a design team project for Swirlydoos Kit club. To receive perfectly coordinated kits to your door monthly please visit http://www.swirlydoos.com/ and http://www.swirlydoos.com/store/