How to create a layout using your photo for inspiration
Create a Layout Using Your Photo for Inspiration
129
STEPS
TOOLS
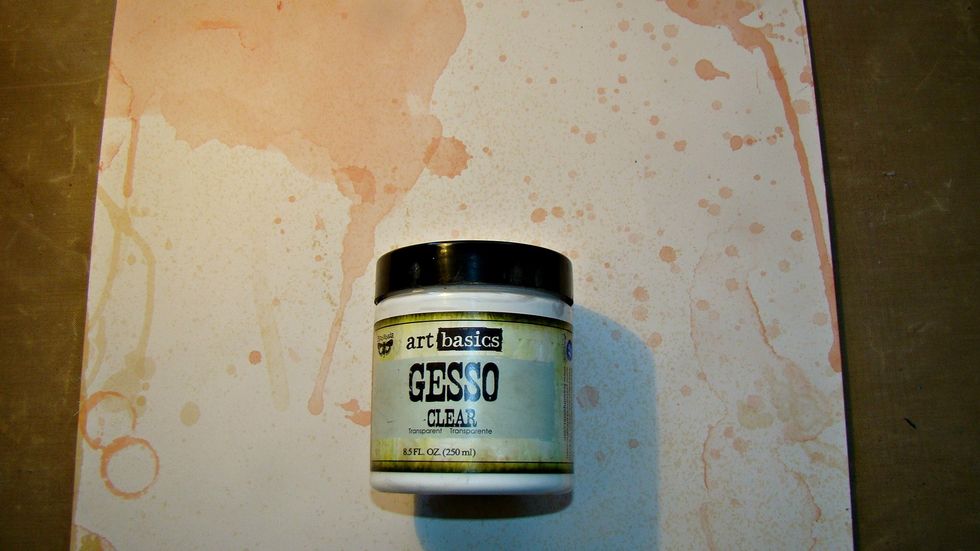
I first coated the paper with clear gesso, this provides a primer for my paper and it's clear so it doesn't cover up the pretty splatters that were already on the paper. Allow to dry.
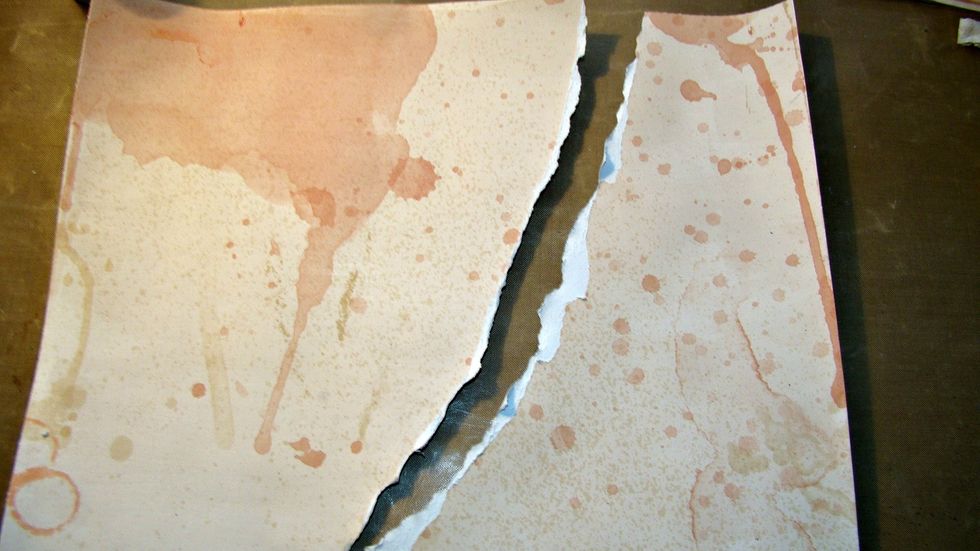
Rip a section out of your paper.
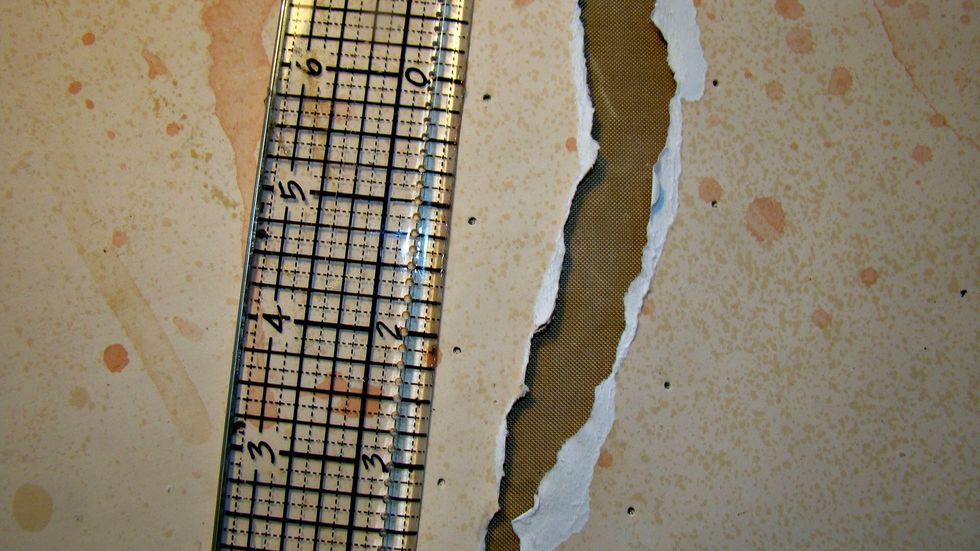
Make little holes to provide a template for adding your eyelets for lacing.
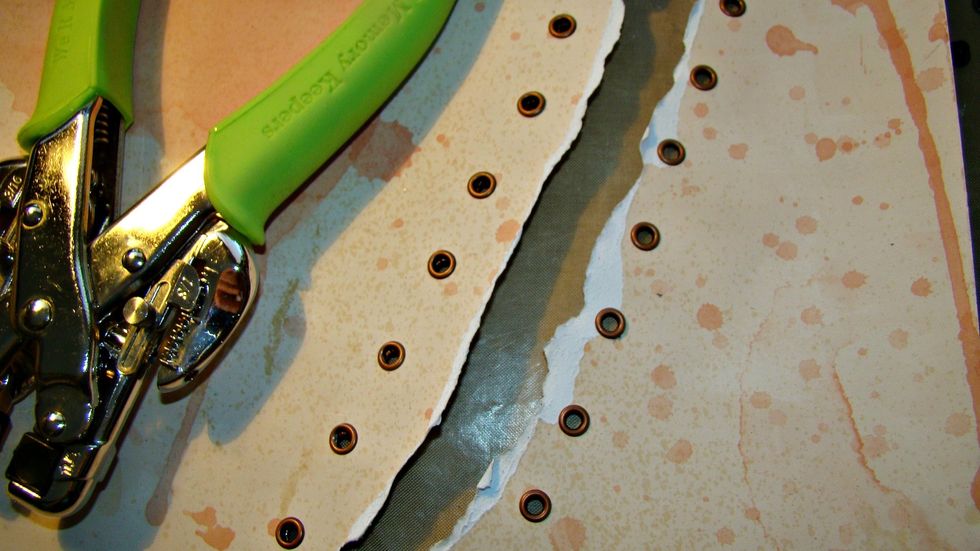
Set your eyelets.
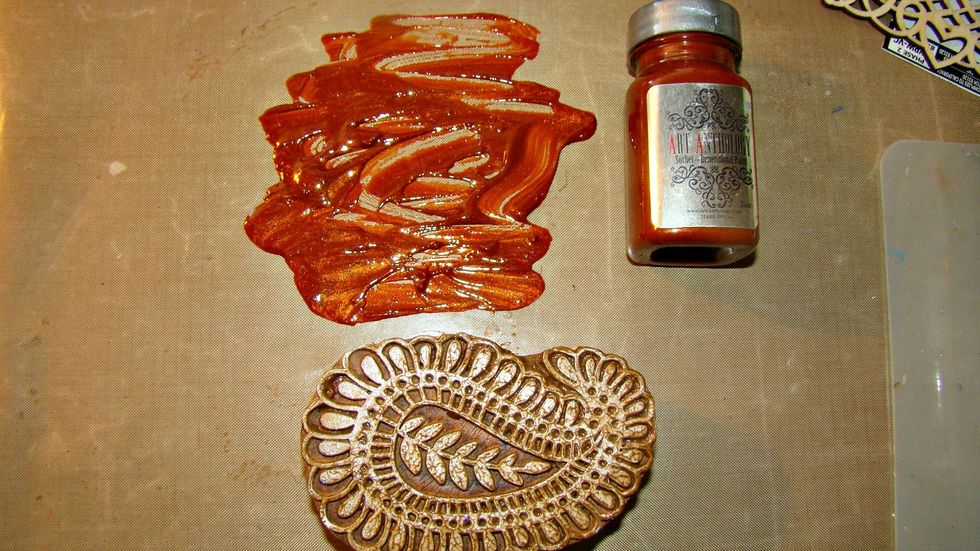
Using your paints with a stamp is easy. Smear a portion on your craftmat and stamp your image randomly. Make sure you clean your stamp thoroughly after stamping.
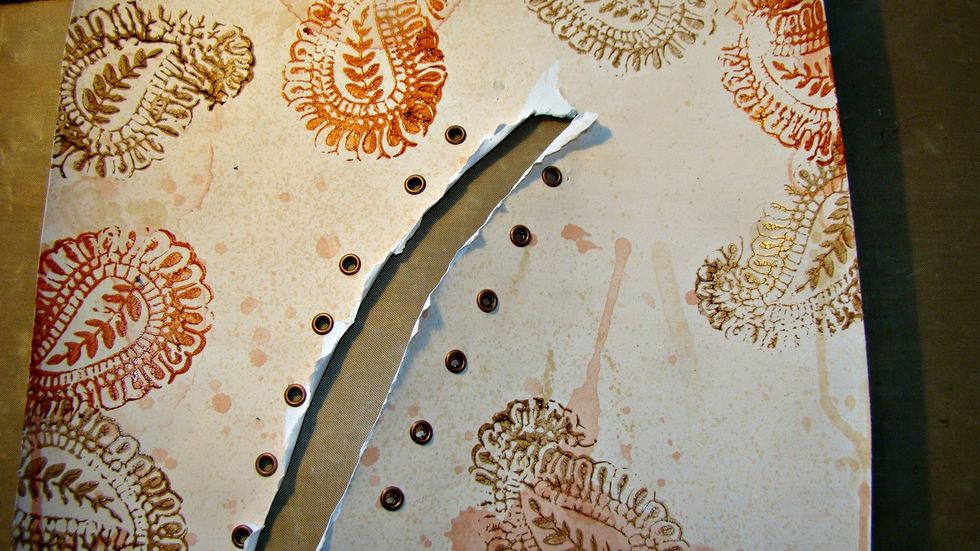
Here's a photo with the stamps and eyelets in place.
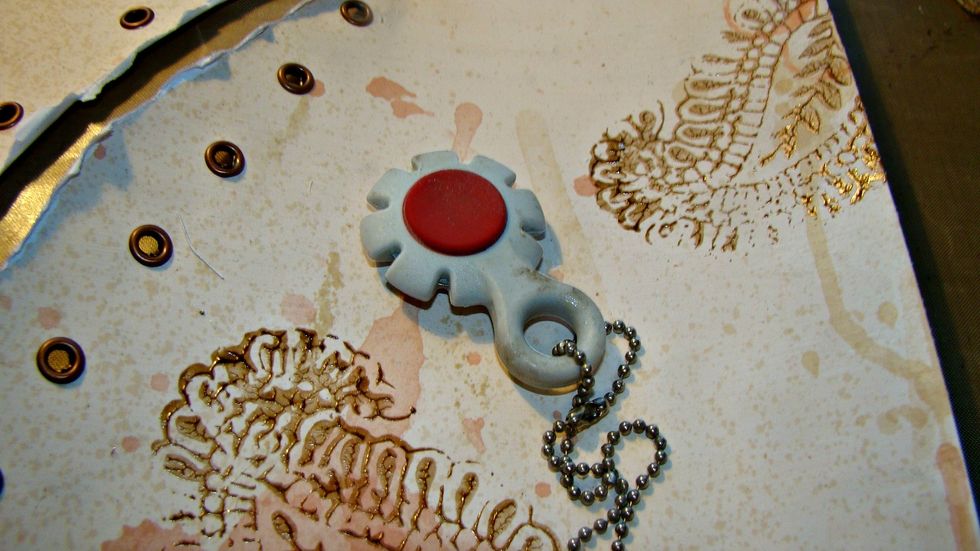
Using a distress tool or your scissors, distress the edges of your paper.
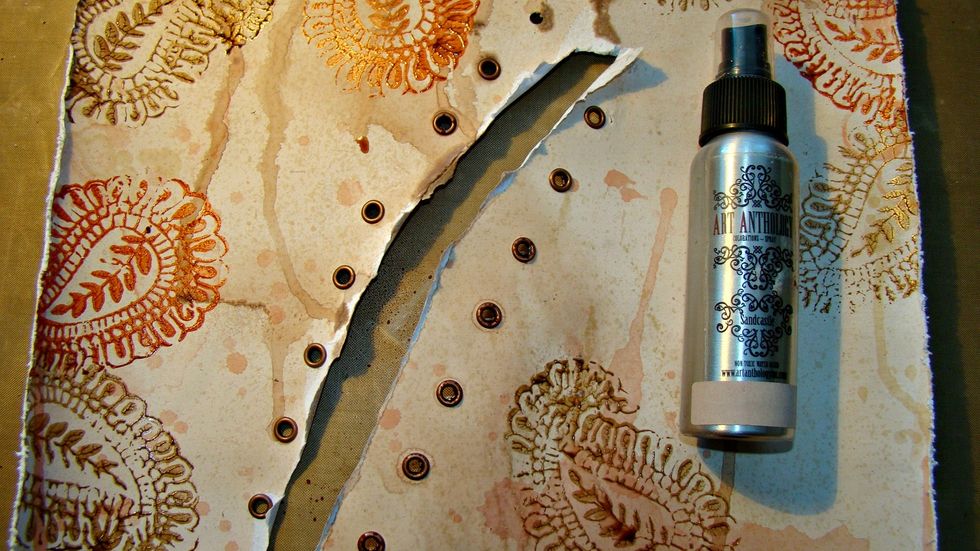
Let's added some warm colors to your layout. Using Sandcastle Colorations Spray provides just that !
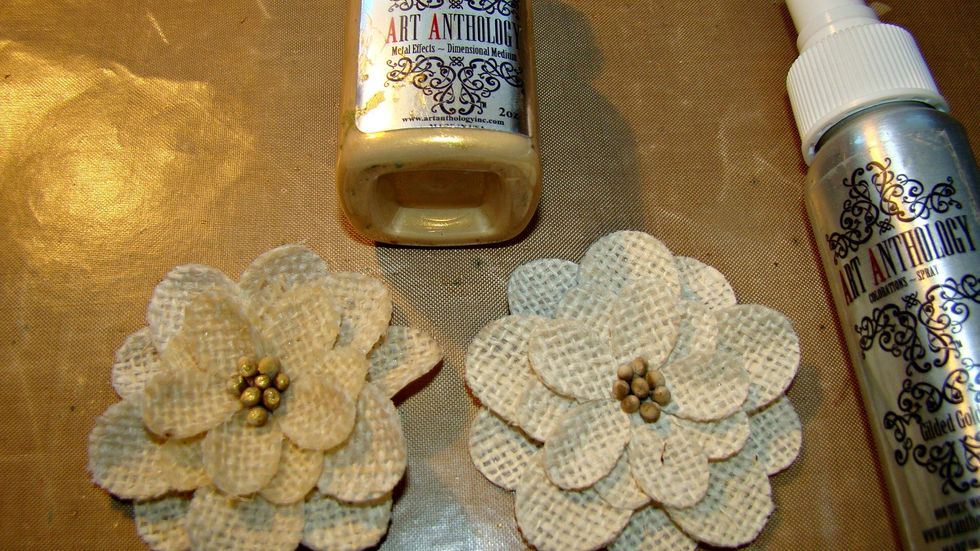
I wanted to sparkle up my burlap flowers so I used Fairy Dust in Gilded Gold and Ice and then dabbed on Metal Effects in Gold on the flower centers.
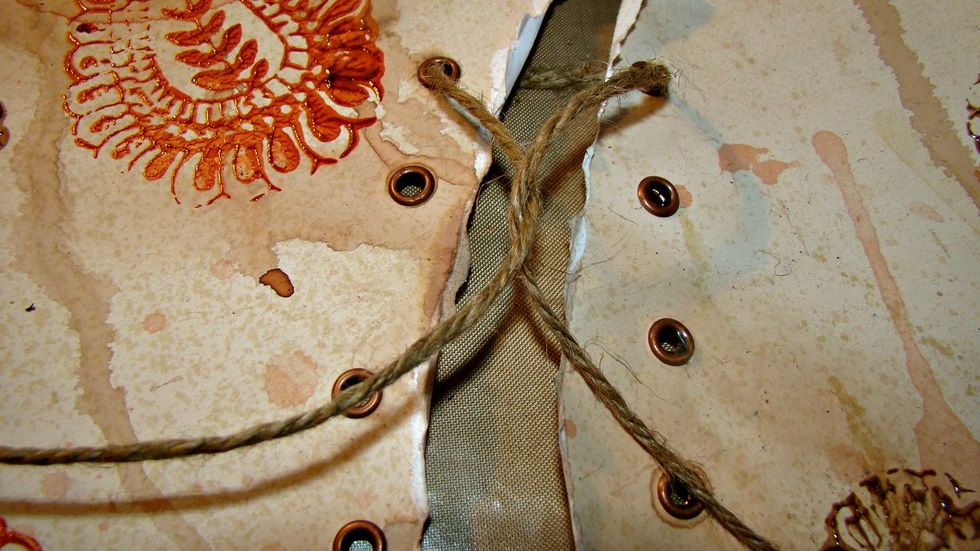
Now for lacing... start like lacing a shoe and twist once and then skip an eyelet and go in the next one. Then come back up and lace in the eyelet above and repeat the steps above.
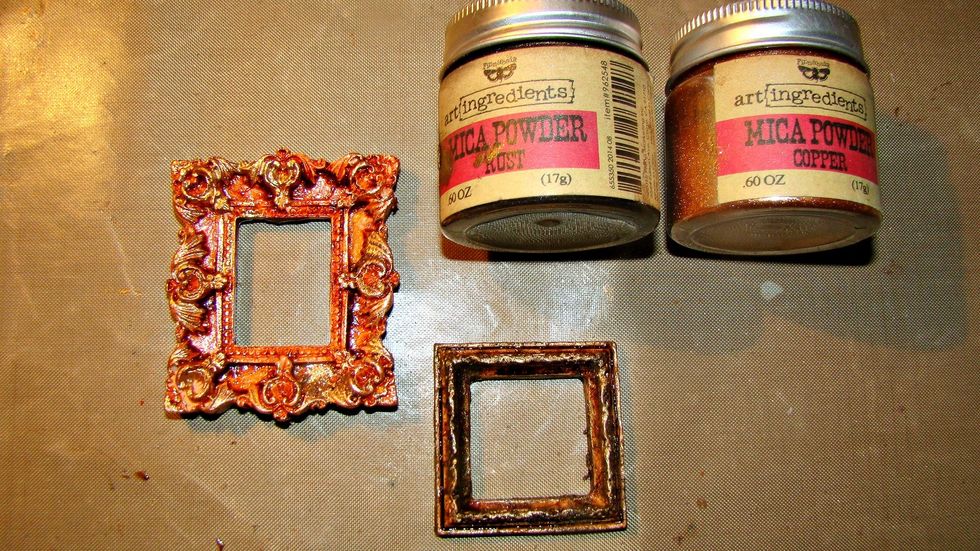
ese little frames were white and I painted them with Sorbet Kenyan Copper and Chocolate then once dry I brushed on Mica's to give it that gilded look.
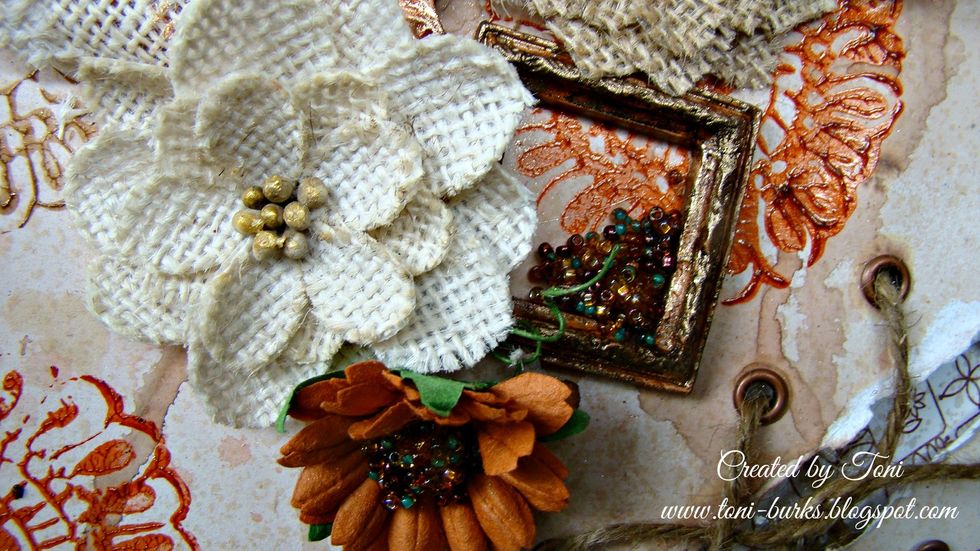
Seed beads were added for more interest. I used 3D Gloss Gel to adhere them but any good adhesive will do.
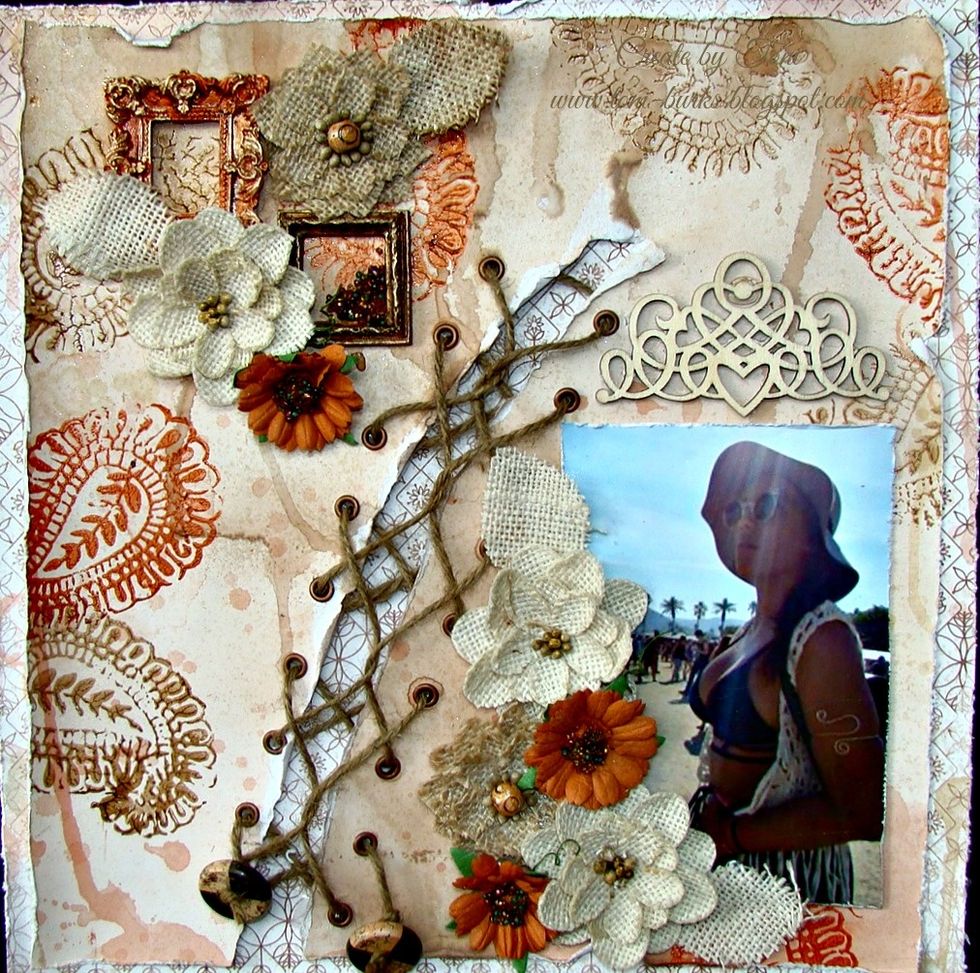
I left the wood piece above my photo natural and applied to layout using adhesive. Add all your frames and flowers.
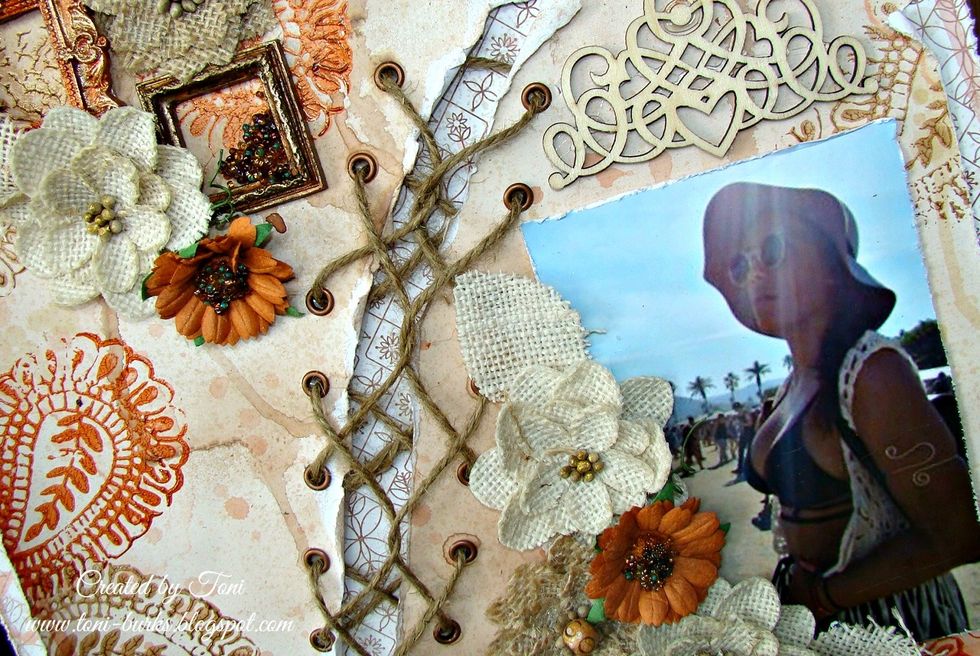
Here is a closeup of the lacing. Adds a fun look to your layout.
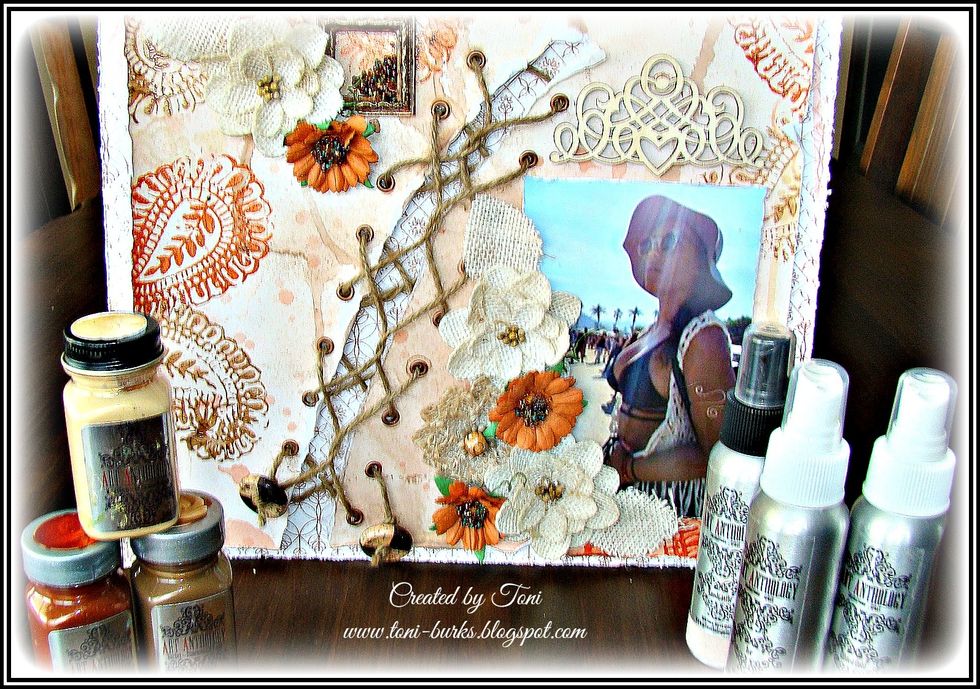
And there you have it.... I hope this has inspired you to use your paints with stamps... They add that pretty sparkle your looking for to enhance your projects. Have fun ! Comment
Let your photos guide you on the effect you want to achieve on your layout. Hope you have a creatively wonderful month... xoxo Toni
For more inspiration visit my blog @ www.toni-burks.blogspot.com Pinterest @ https://www.pinterest.com/tonilburks/ & Facebook https://www.facebook.com/toni.burksgrijalva
- Background paper of choice
- Clear Gesso
- Assorted Embellishments
- Eyelets
- Crop A Dile
- Paper Distresser
- Twine
- Seed Beads
- 3D Gloss Gel
- Colorations - Sand Castle
- Fairy Dust -Ice, Gilded Gold
- Sorbets-Kenyan Copper, Chocolate
Toni Burks-Grijalva
♥ getting messy with my inks & paints. I hope I can provide some fun tutorials for your creative journey. Visit my blog @http://www.toni-burks.blogspot.com/
Rancho Cucamonga, California
The Conversation (0)
Sign Up