The Conversation (0)
Sign Up
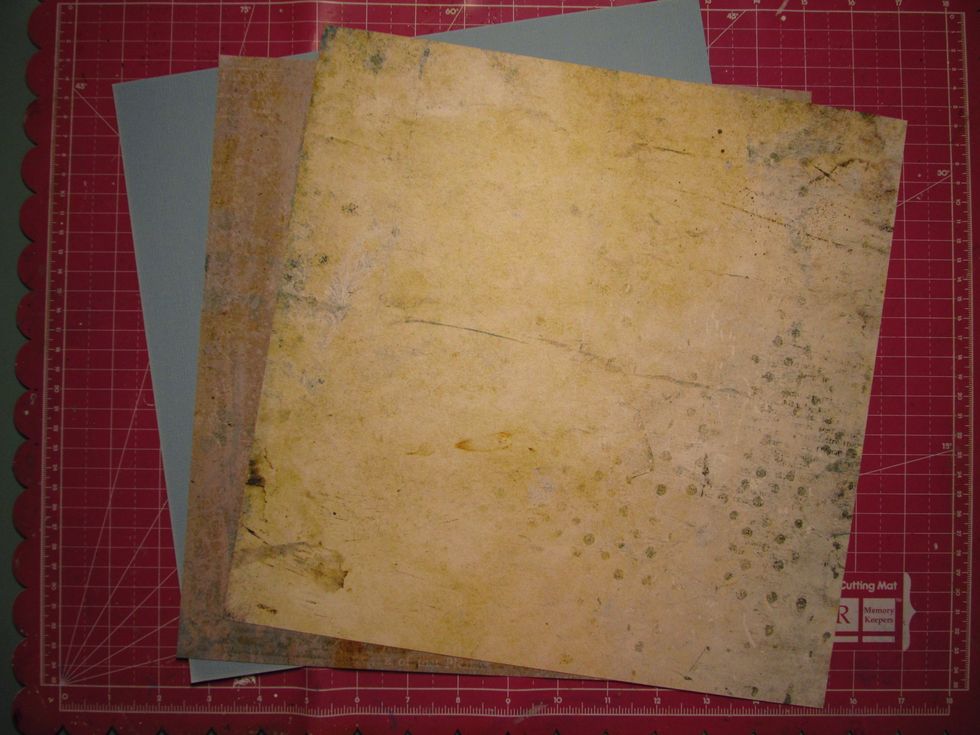
Select the papers you want to use from the kit, along with a sheet of cardstock.
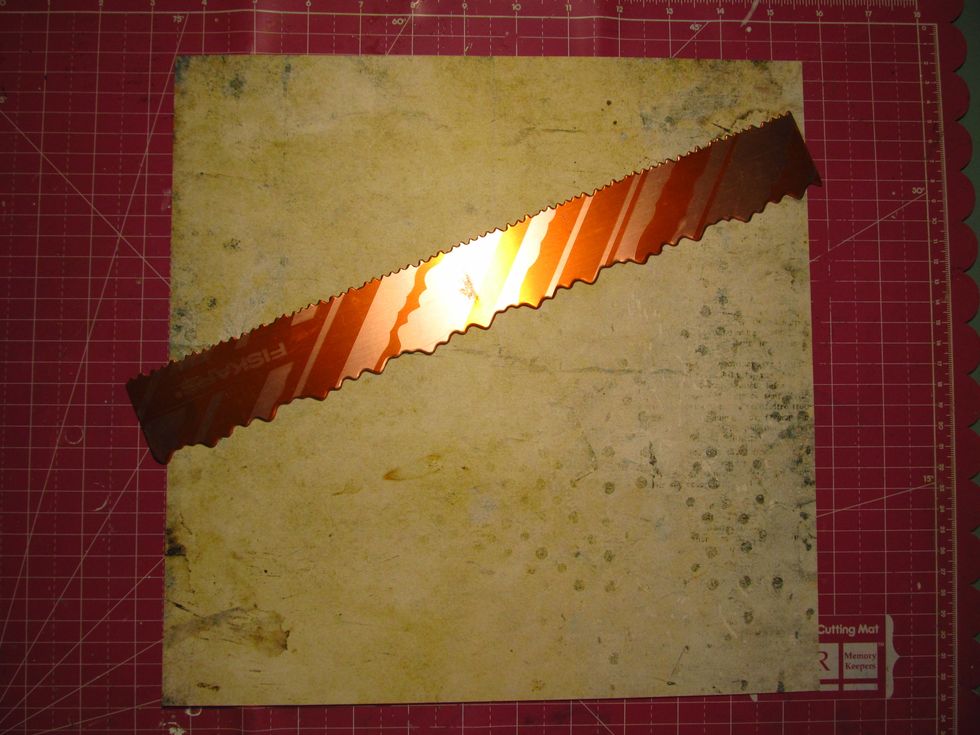
Use a tearing ruler with an uneven distressed edge (or just rip it free handed) on an angle and tear your paper.
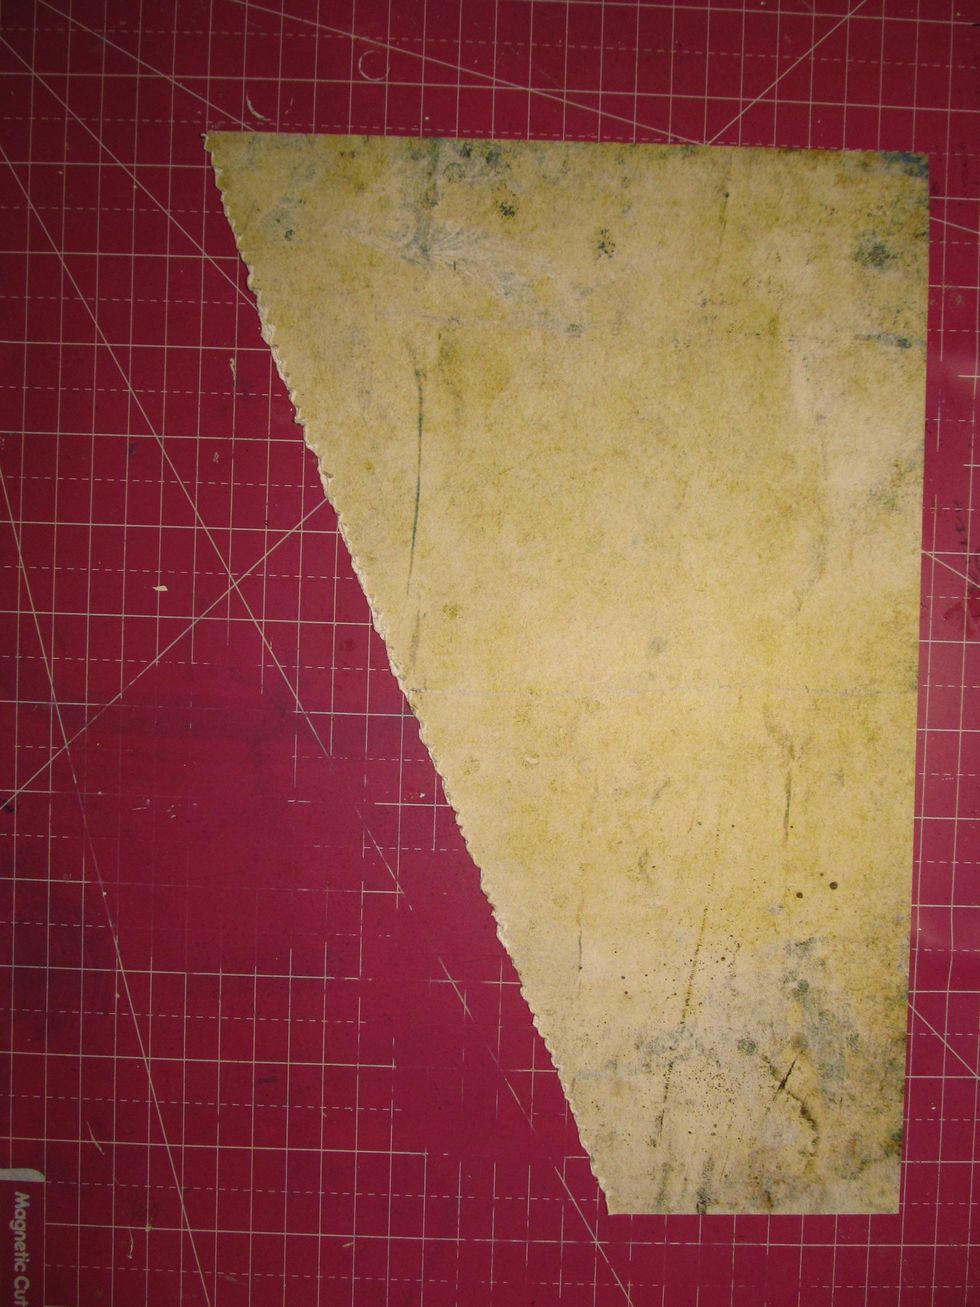
You want to distress your torn edge a bit more for the extra worn look.
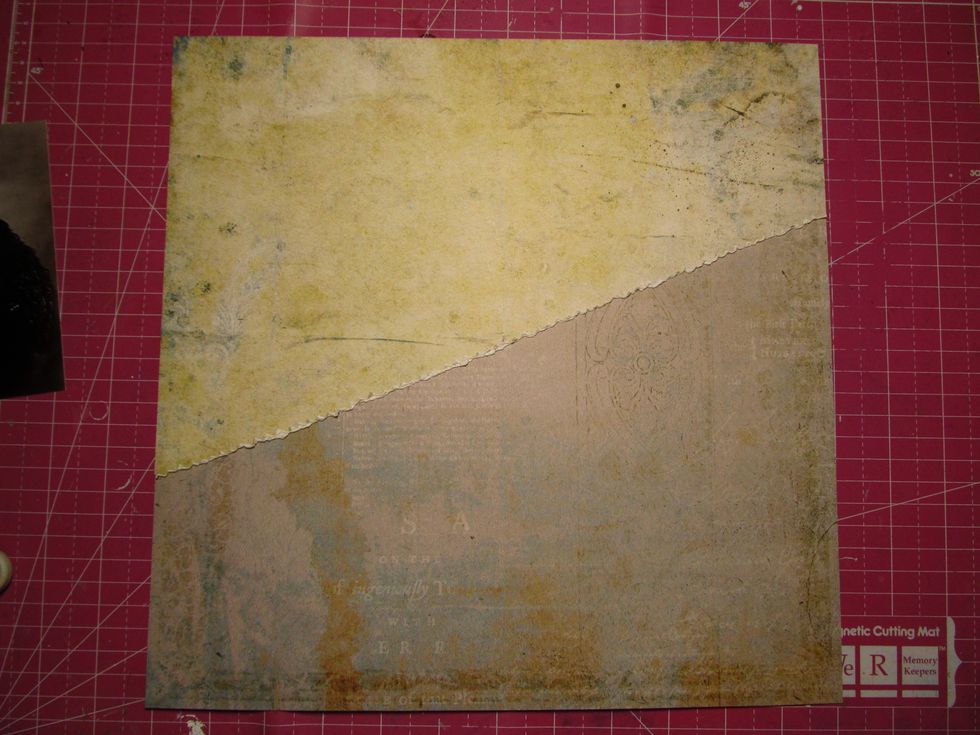
Adhere your torn sheet to your full sheet of paper. Don't glue your torn bottom completely down. We will be tucking some goodies under it.
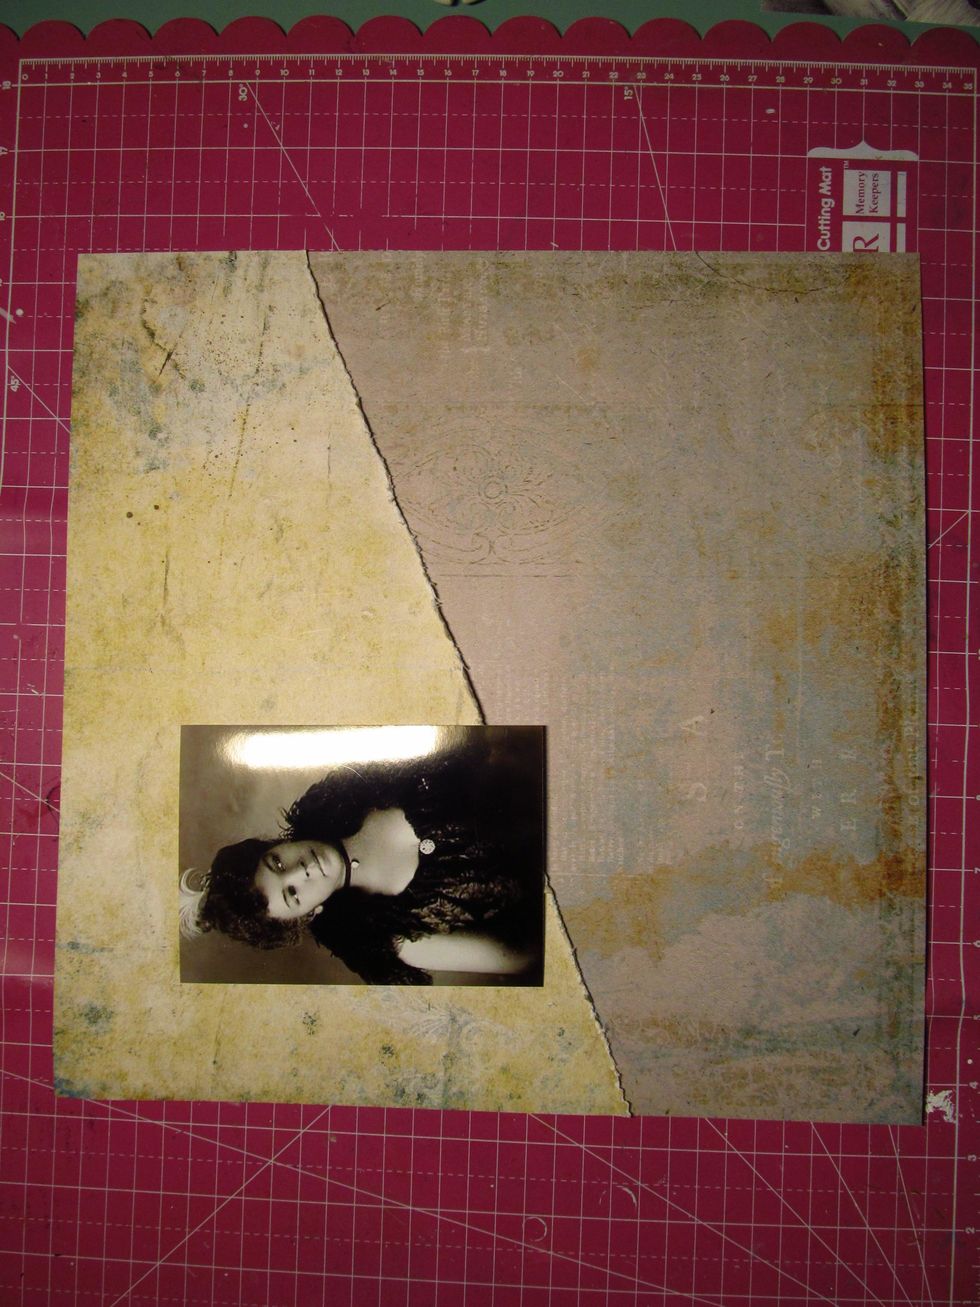
Lay your photo down and mark off your placement with a pencil. I do this so when I do some stenciling and stamping on my background, I know exactly where my photo will be.
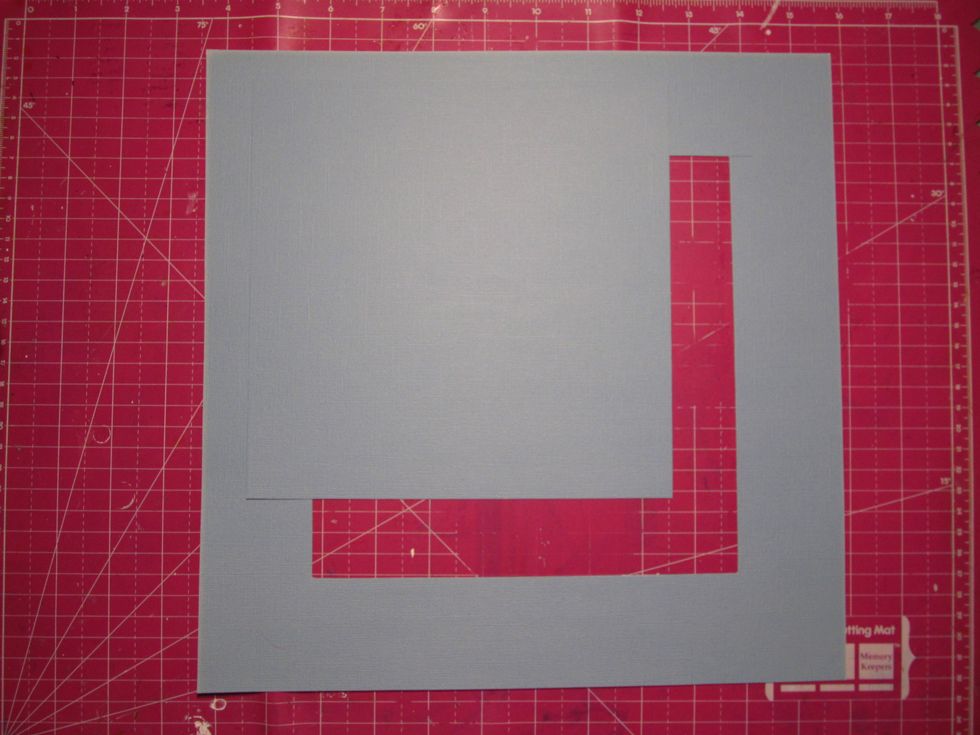
Take your card stock and cut an 8x8 square out of the center. Take your trimmer and move it 2 inches in and then cut down 2 inches. Do this all the way around.

You are going to use the outside square to adhere to the back of your patterned paper. Save the inside square because we will be using that as well.
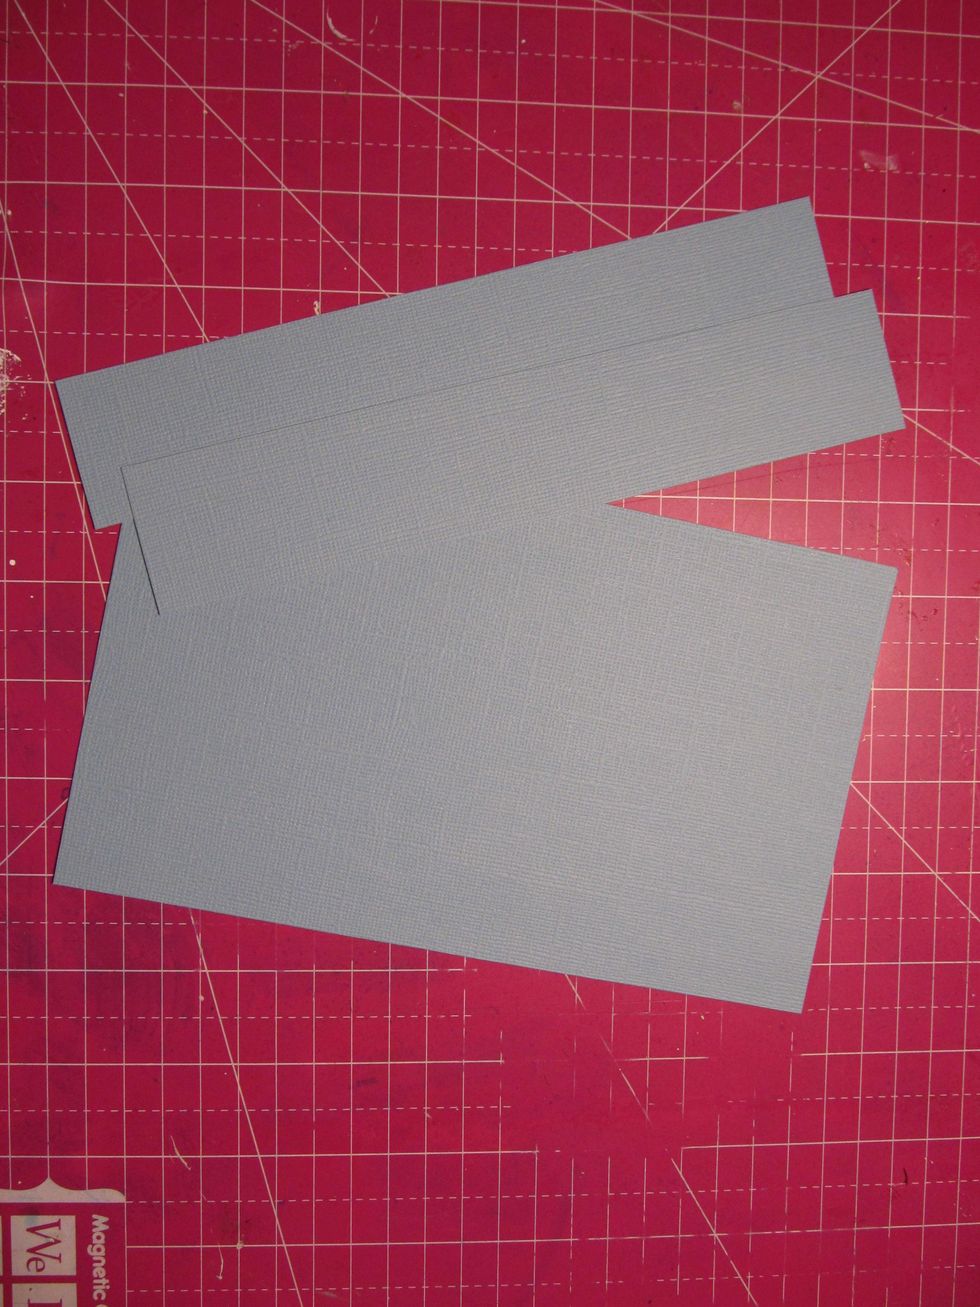
Cut 2 2 inch pieces from the 8x8 square.
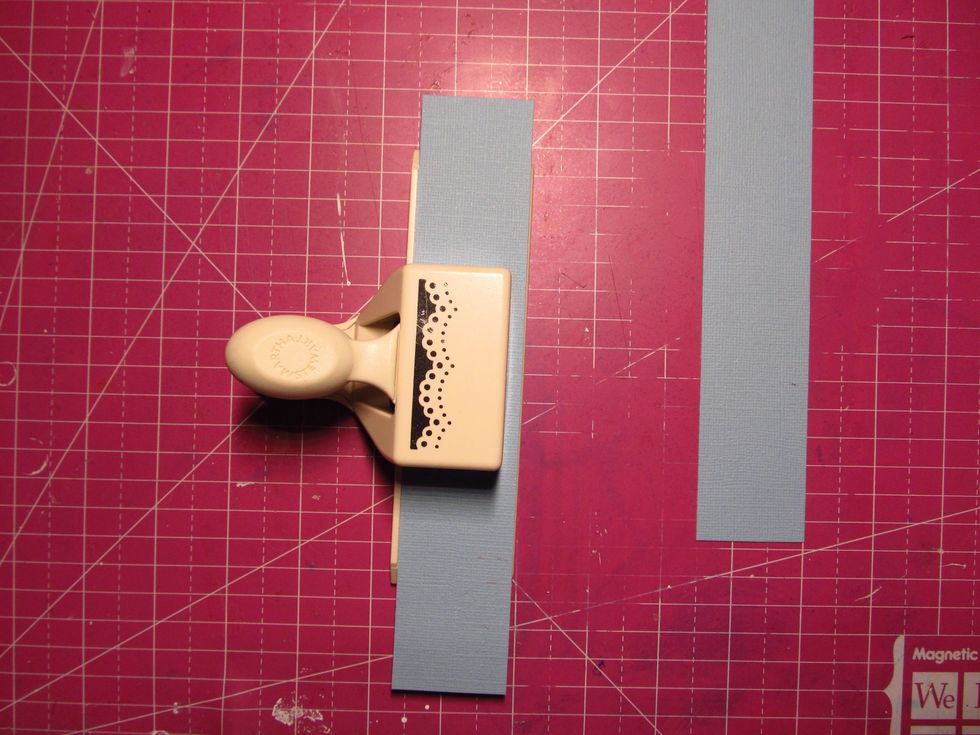
Take your favorite border punch (preferably something delicate) and punch one side of both pieces.
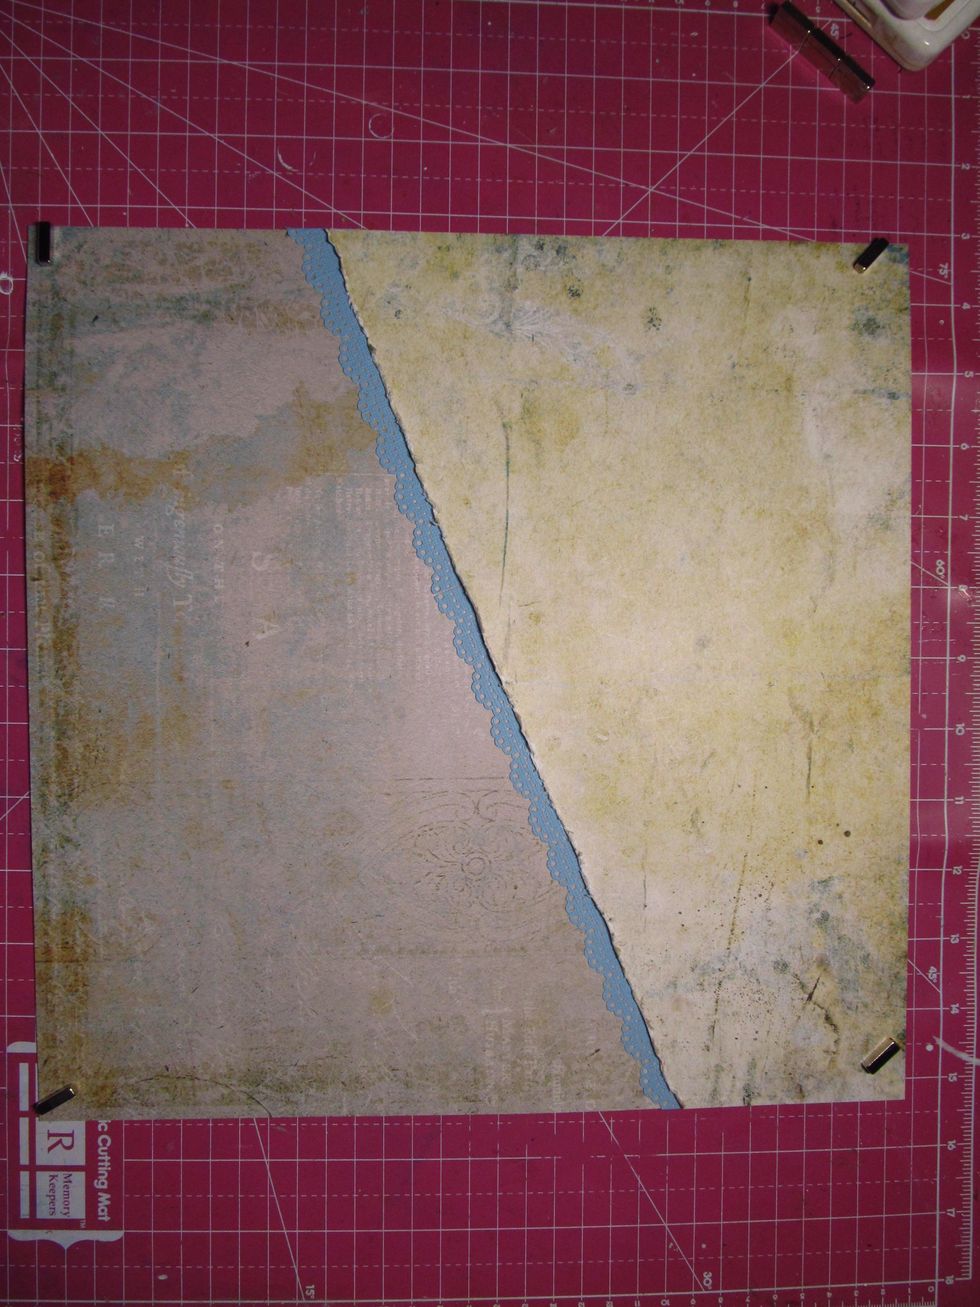
Tuck the border strip under the distressed edge of your patterned paper. You will need both strips to make it all the way across.
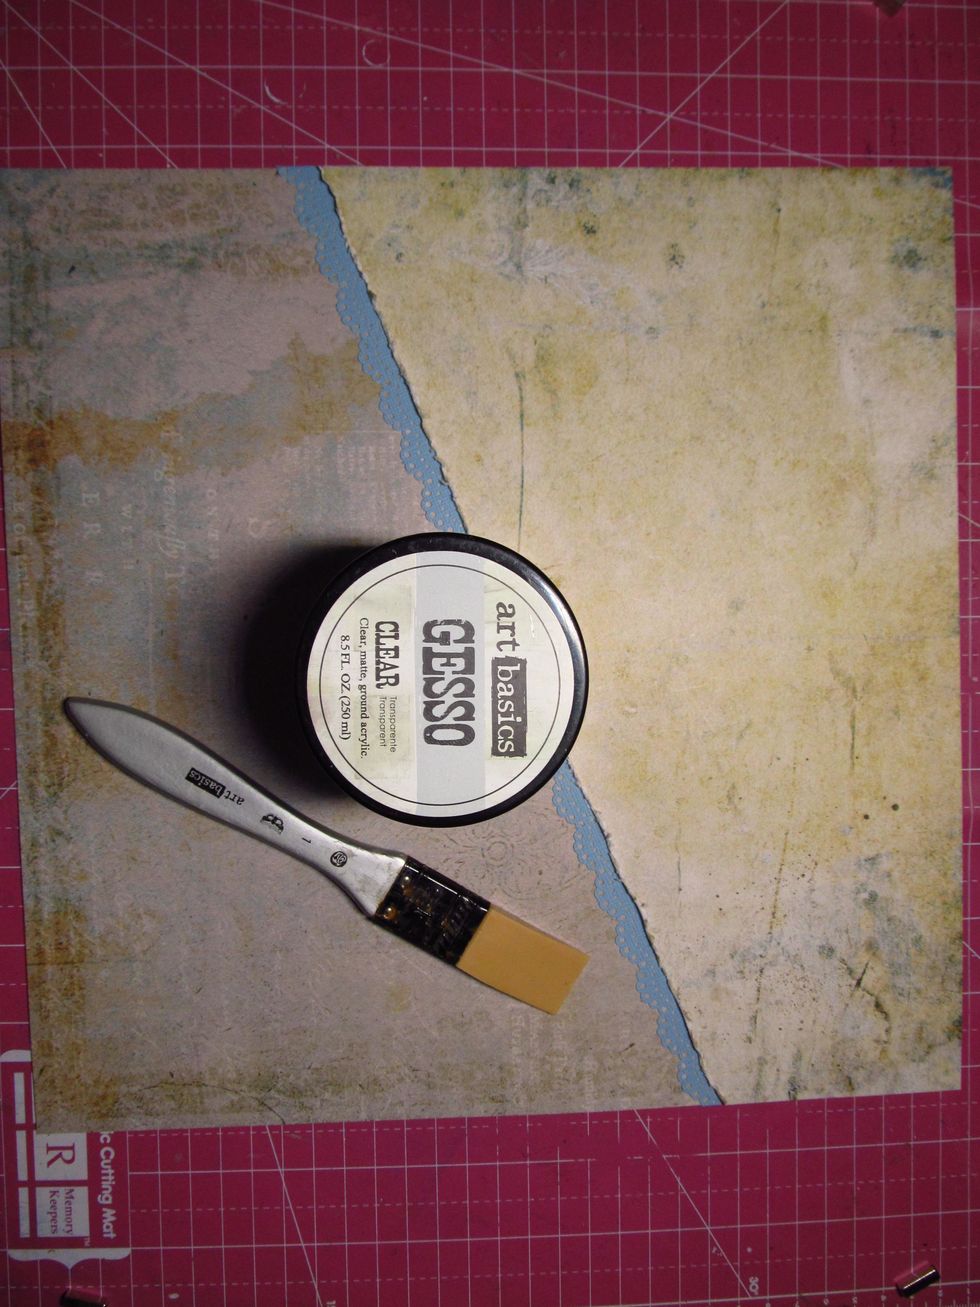
Now add a thin layer of clear gesso to your entire sheet of paper.

Grab your favorite stencil and some modeling paste. We are going to do some light random stenciling to the background.

Gather a couple of pieces of the chipboard stems from the kit along with the glitter and your favorite glue that dries clear. Add the glue to the stems and sprinkle with the glitter.
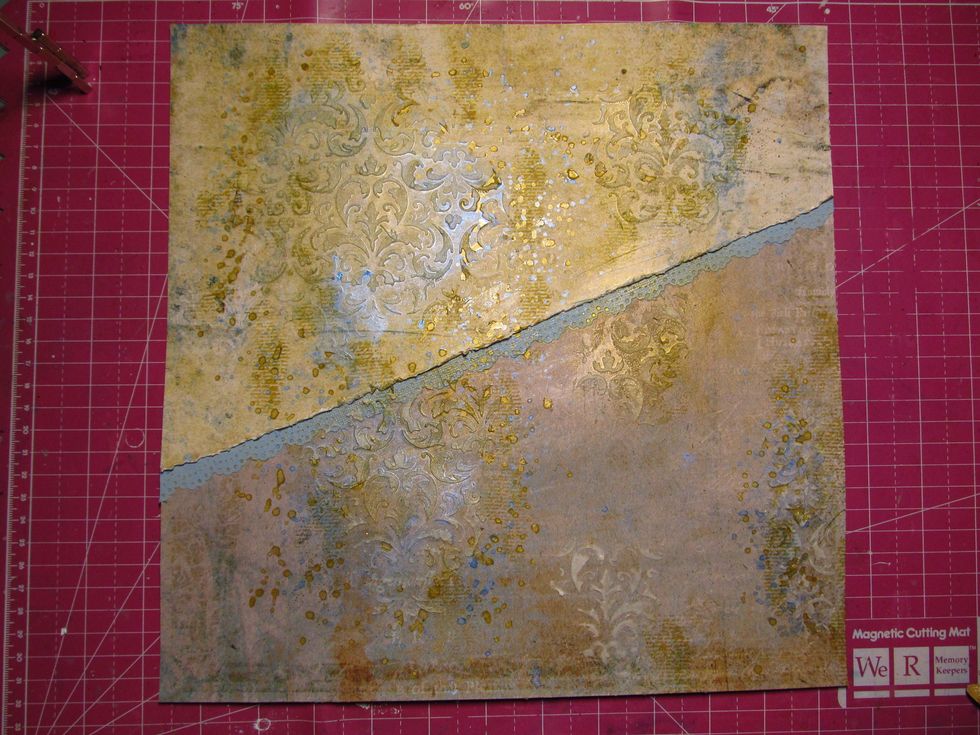
Using your favorite mist, spritz and splat until you are happy with the look. Baby wipes are your friend when doing this. We used the clear gesso first, the mist won't soak into the paper right away.
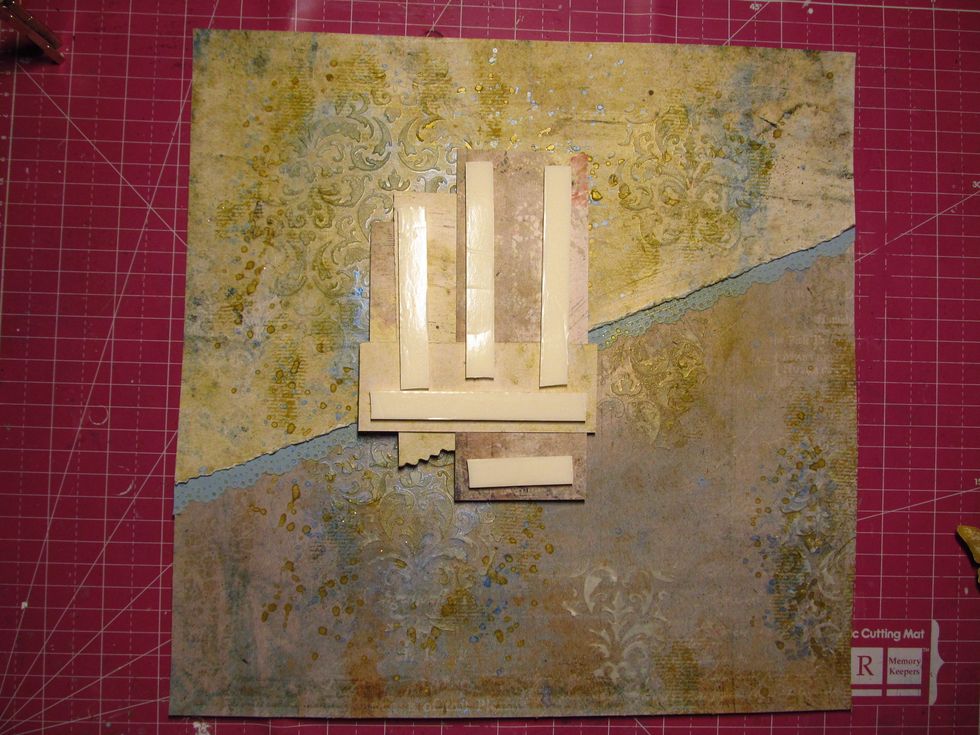
Using the the other half of the ripped paper, build layers behind your photo. Once done, use foam tape (or cardboard) to pop your photo up of the page.
Once your photo is set, start adding your embellishment. Most everything is from the kit. Don't forget to tuck bits and pieces under your photo and in between your layers like with the doily.
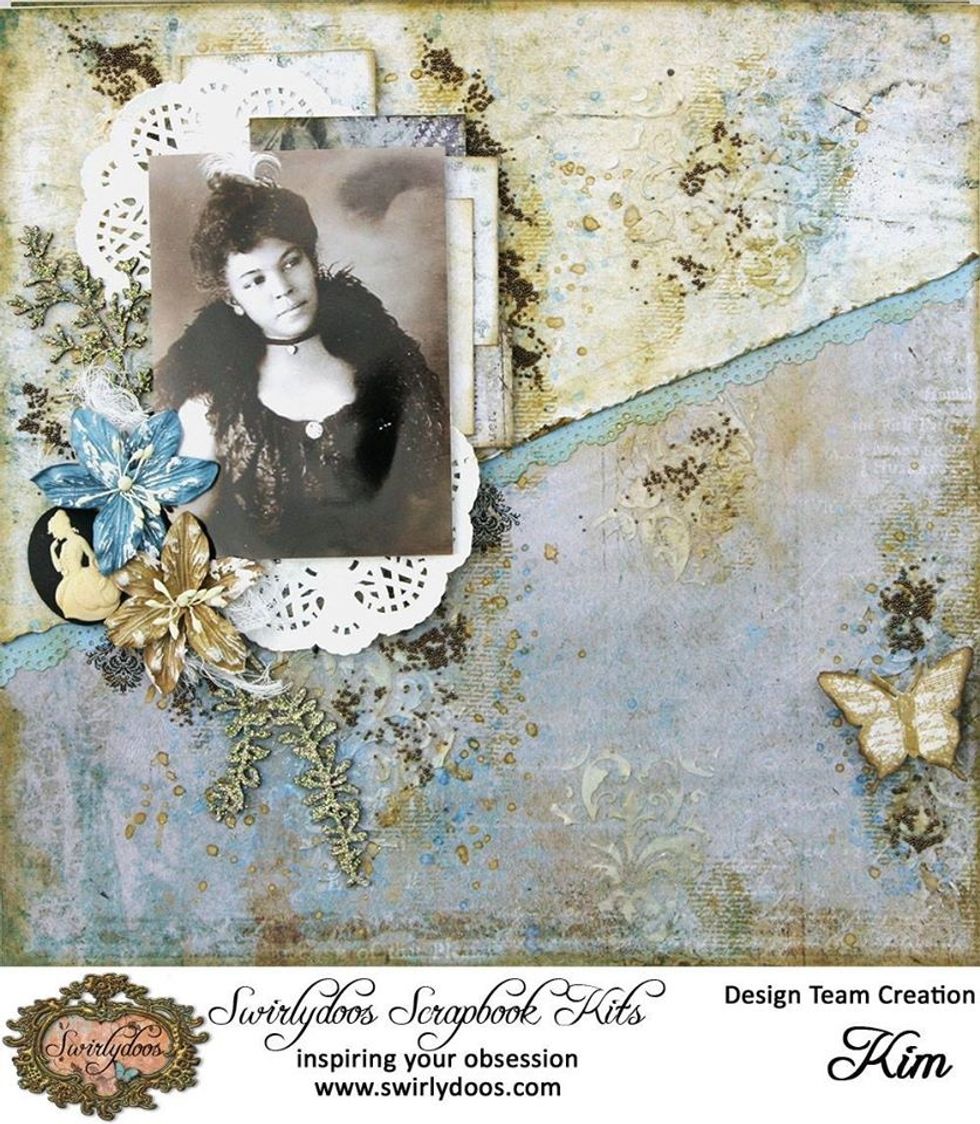
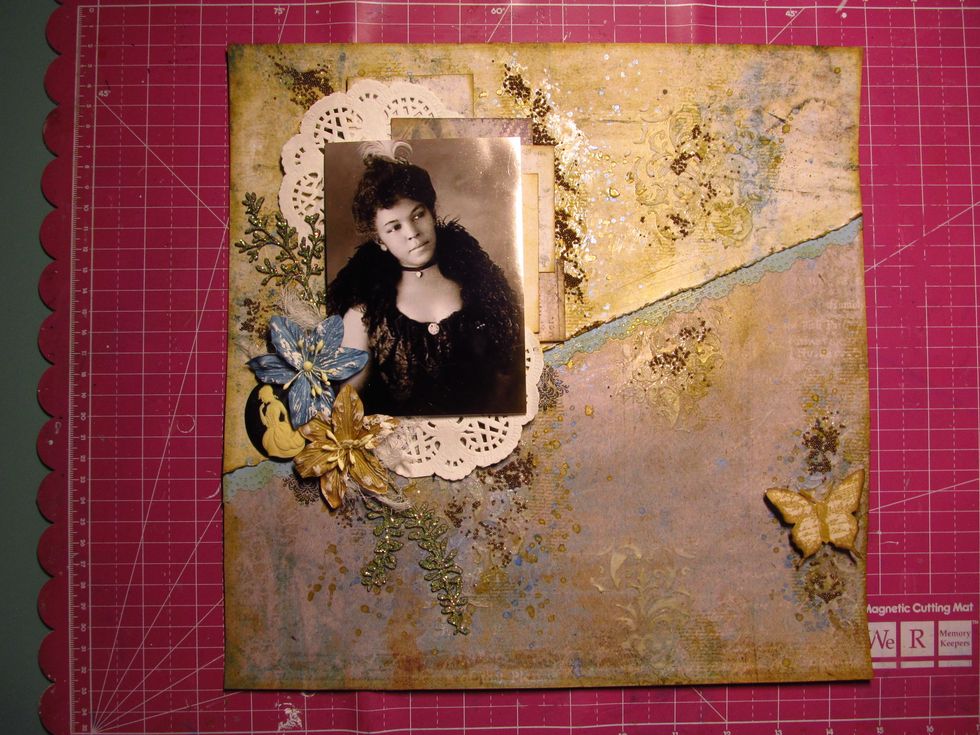
Here is the completed layout.