The Conversation (0)
Sign Up
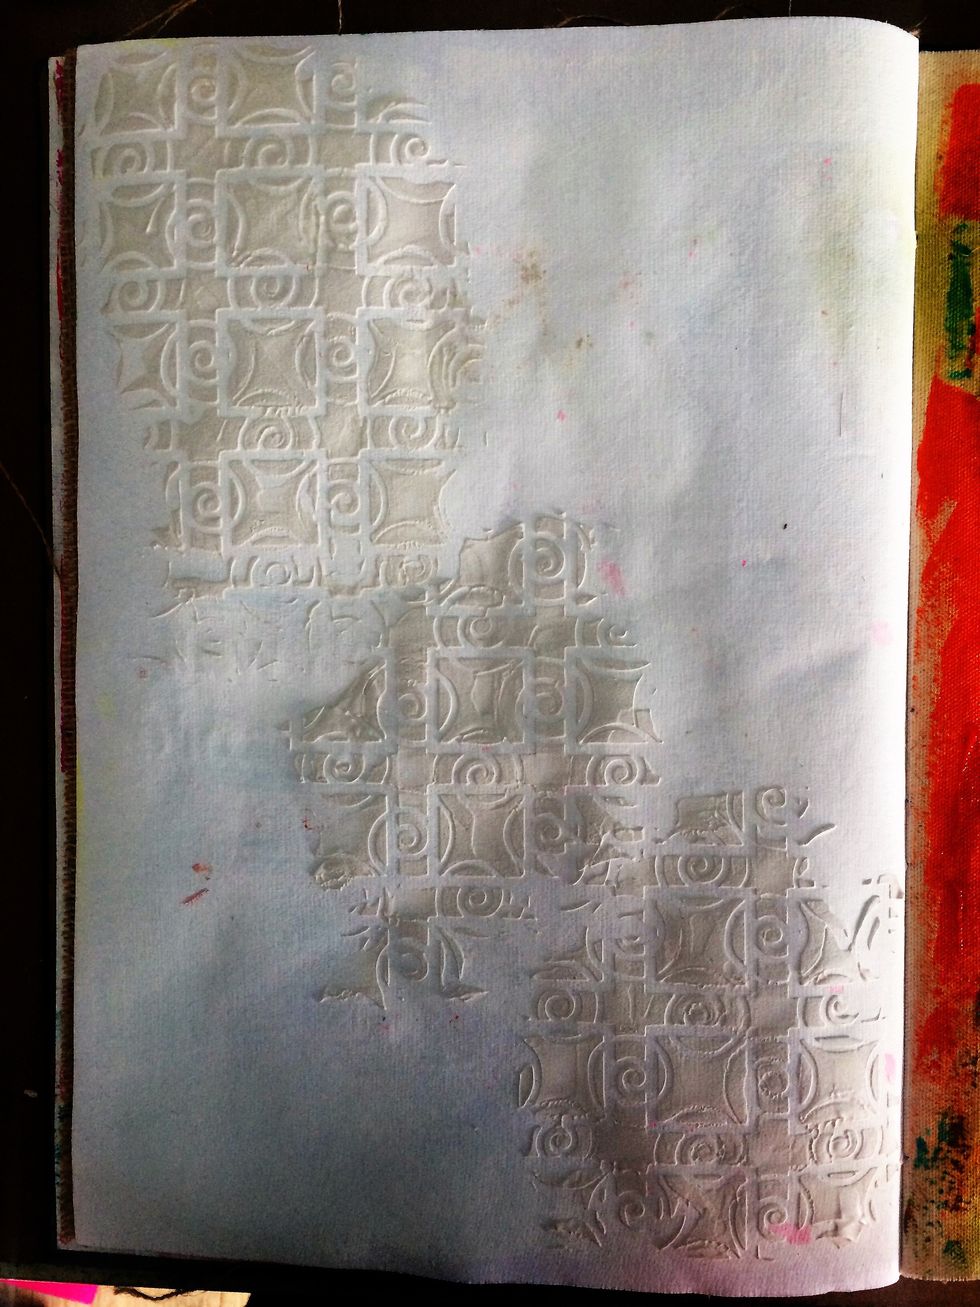
With the Moroccan stencil and the Mud I started to first add texture to my page.
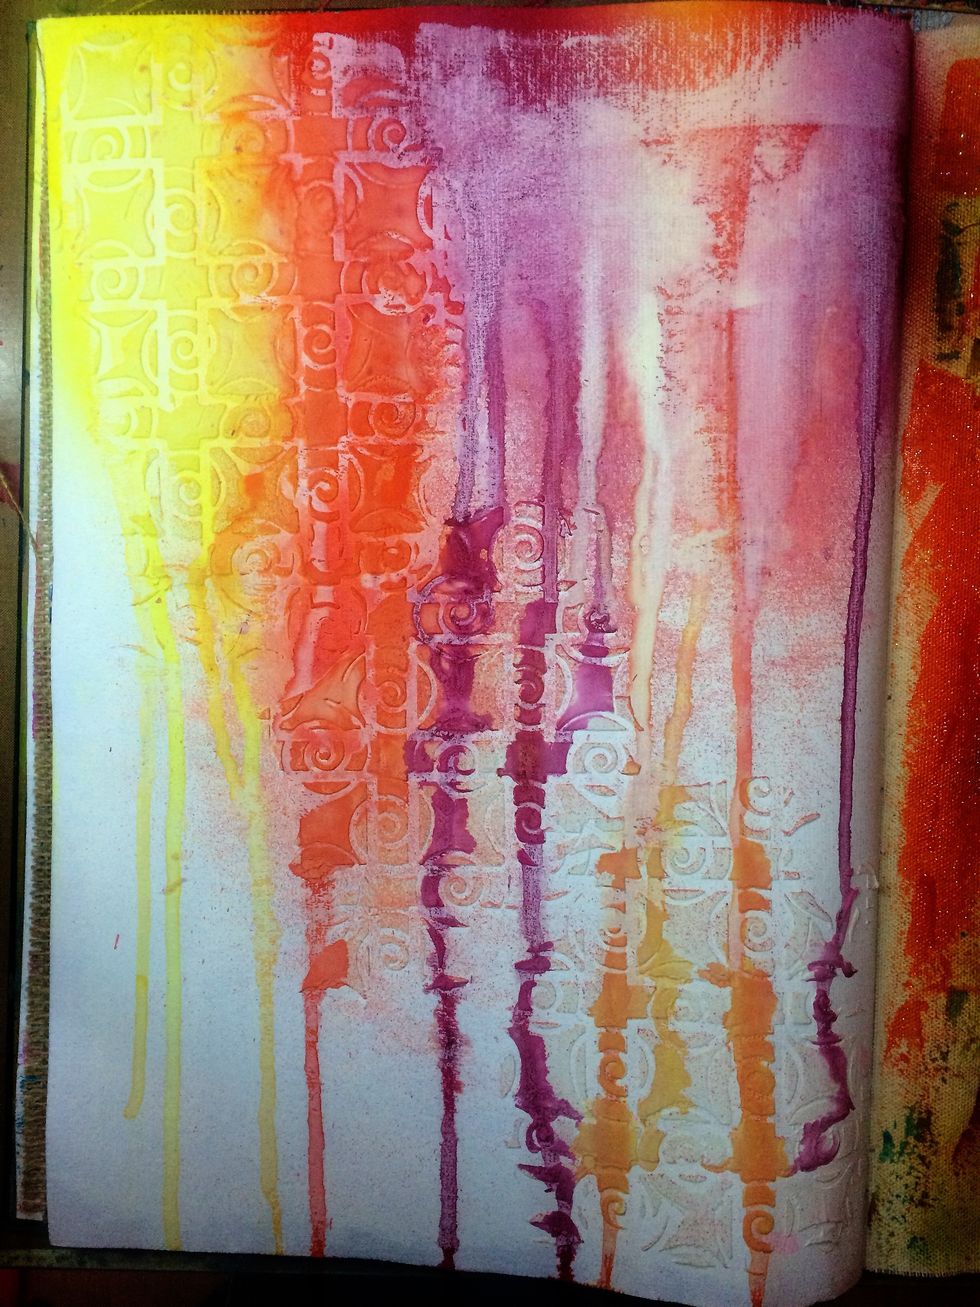
When the mud was completely dry, I picked up my art journal, held it straight and started spraying, so I would get nice drips of ink. Let this dry completely as well!
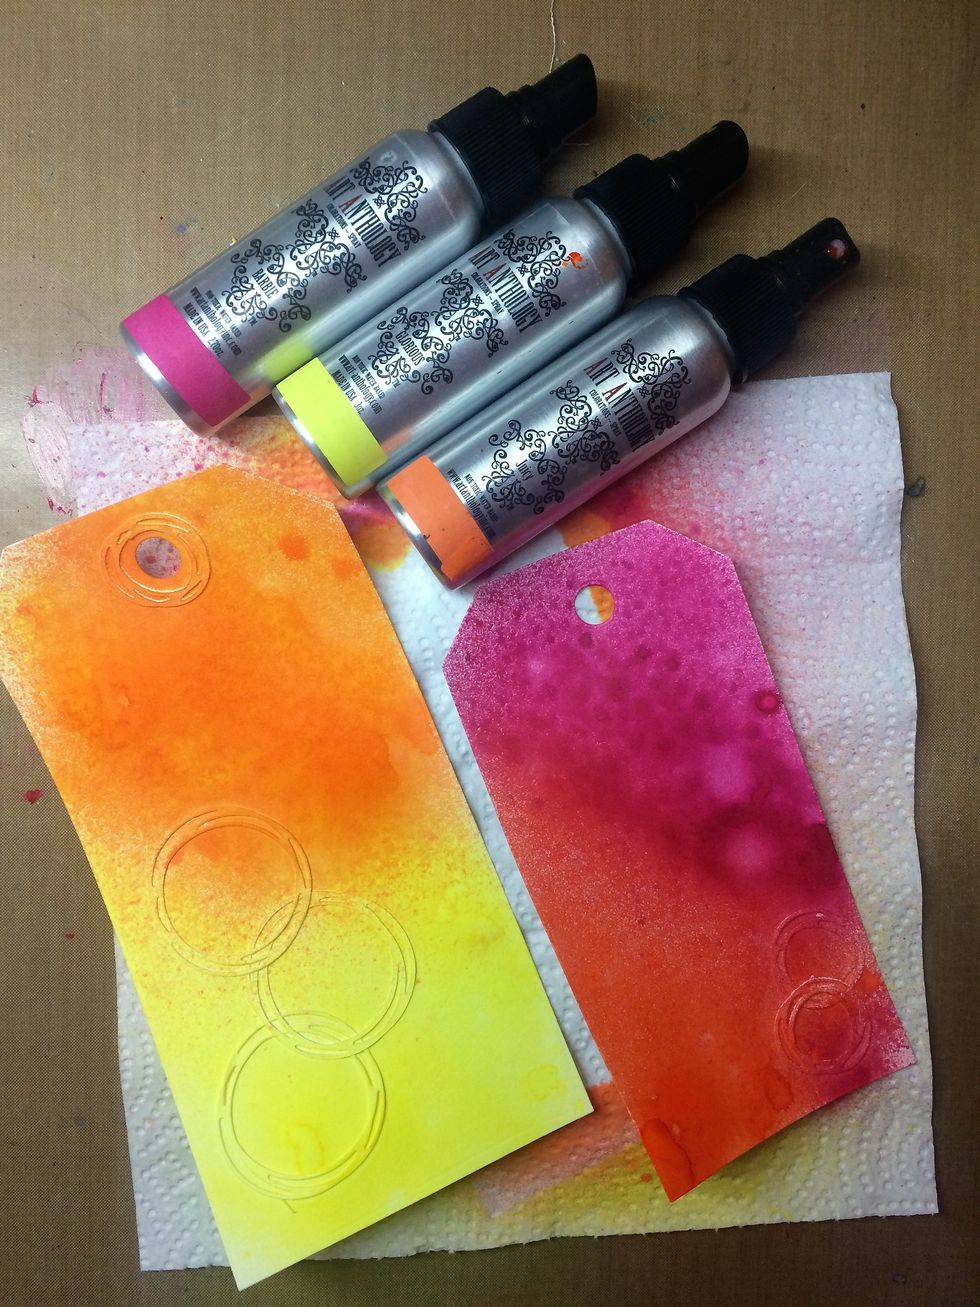
I added die cuts to two tags and sprayed them with colorations.
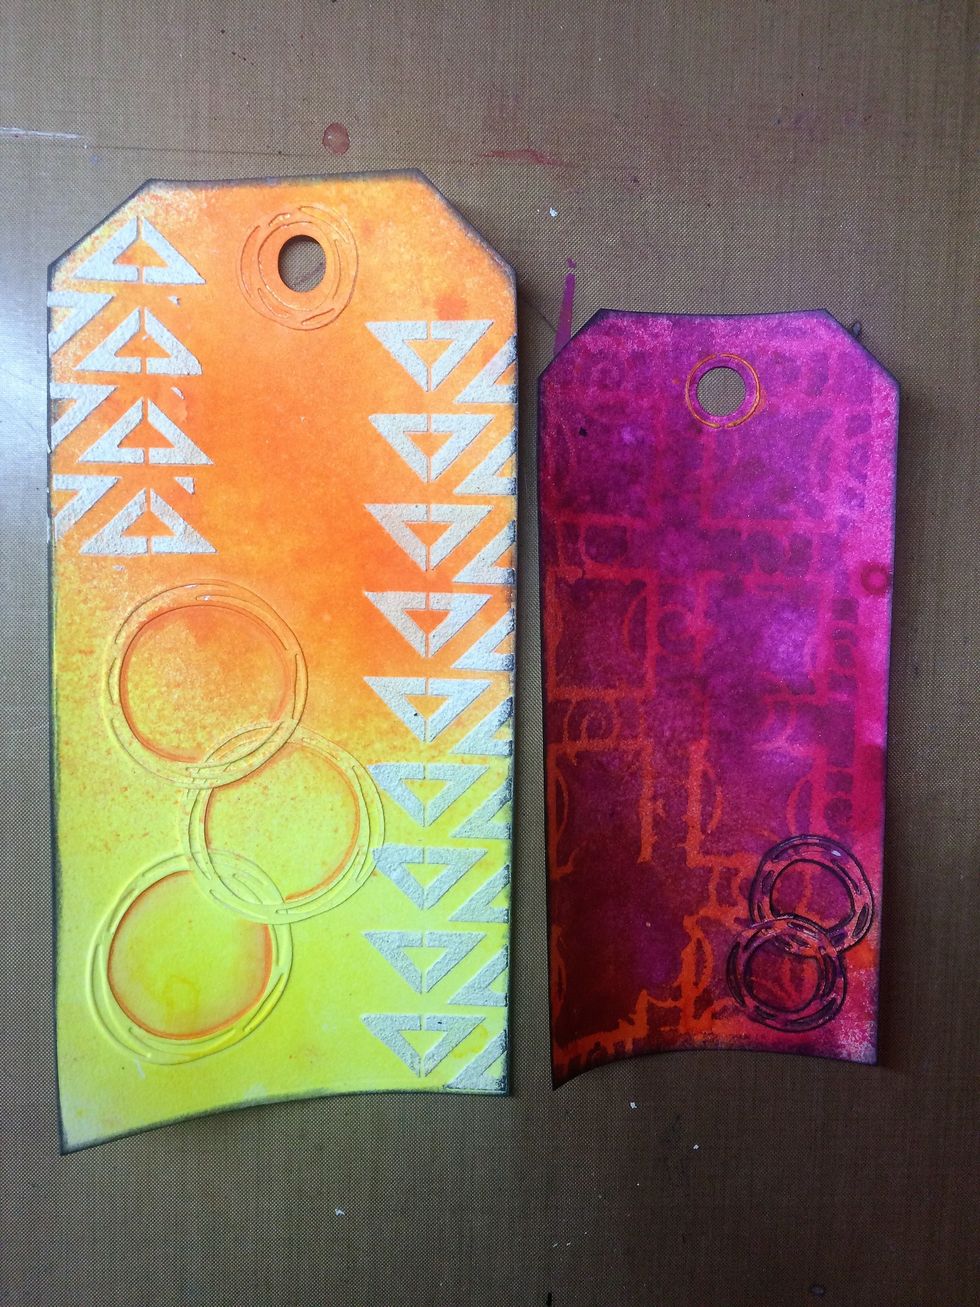
I finished my tags with the bone stone effects and hazards stencil on the left tag and the Moroccan stencil and colorations plush on the right tag.
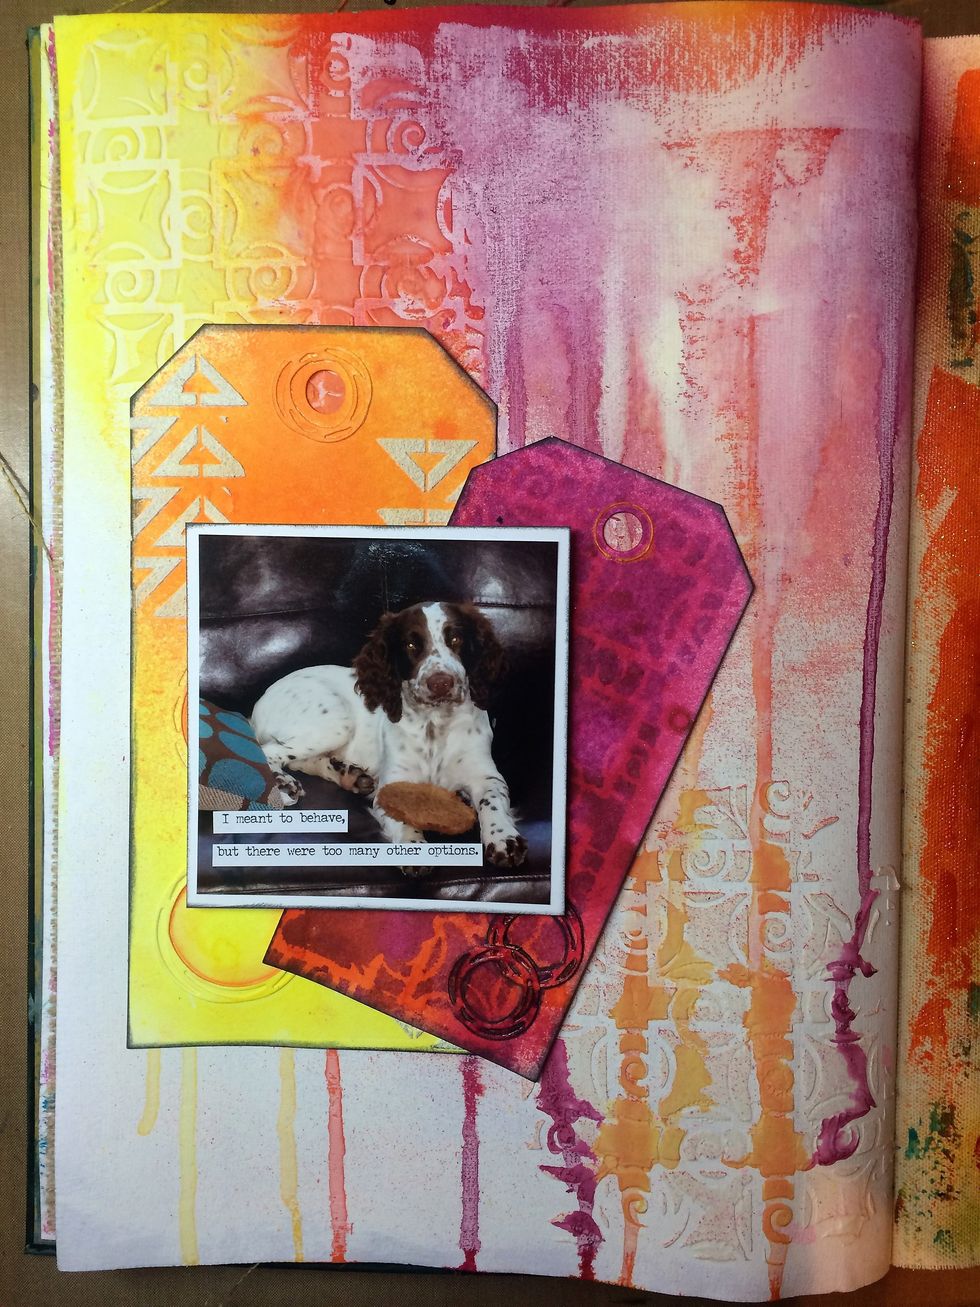
Glue down both tags in a playful way and add a pretty picture. I used one of my parents' dog. Aslo I added a funny quote. Now your page is done! Quite easy right?
If you need more inspiration check out Art Anthology on Pinterest and YouTube. Join our Facebook group Art Anthology’s Adventures in Art, where you can share your creations!