STEPS
TOOLS

This tutorial was created for Blue Fern Studios.
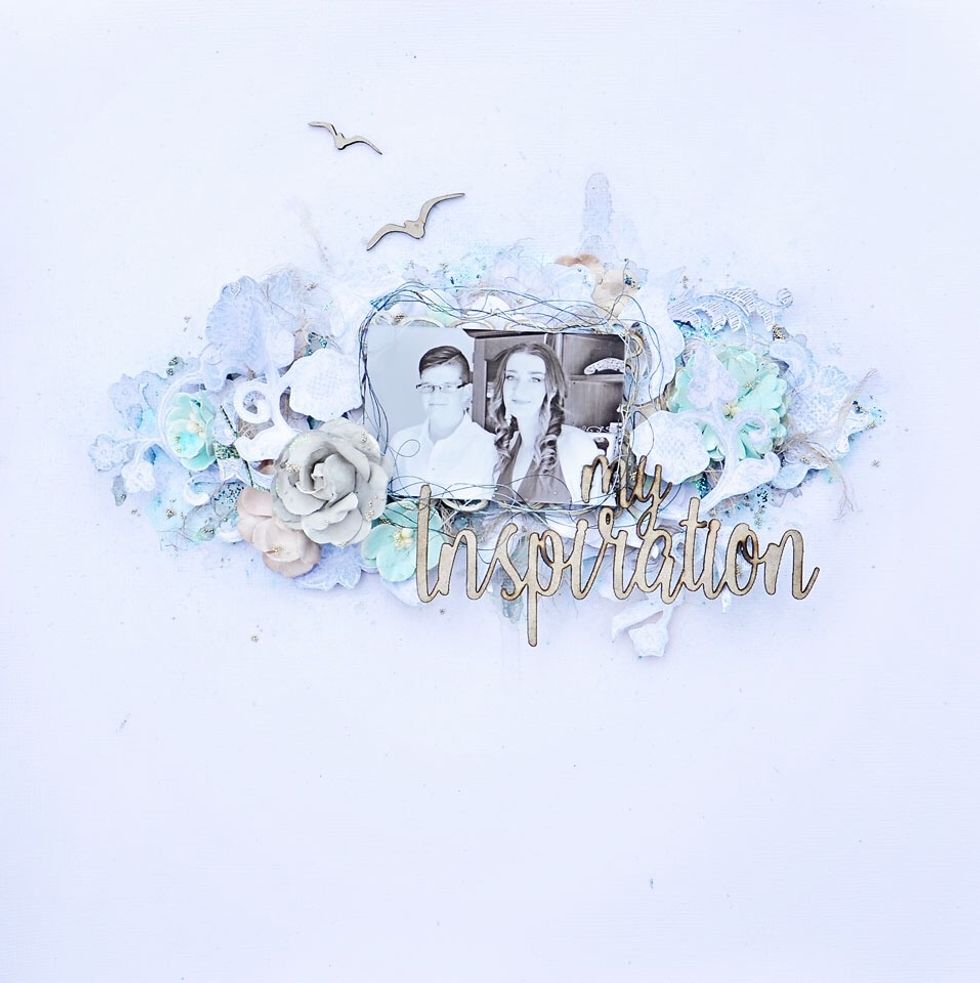
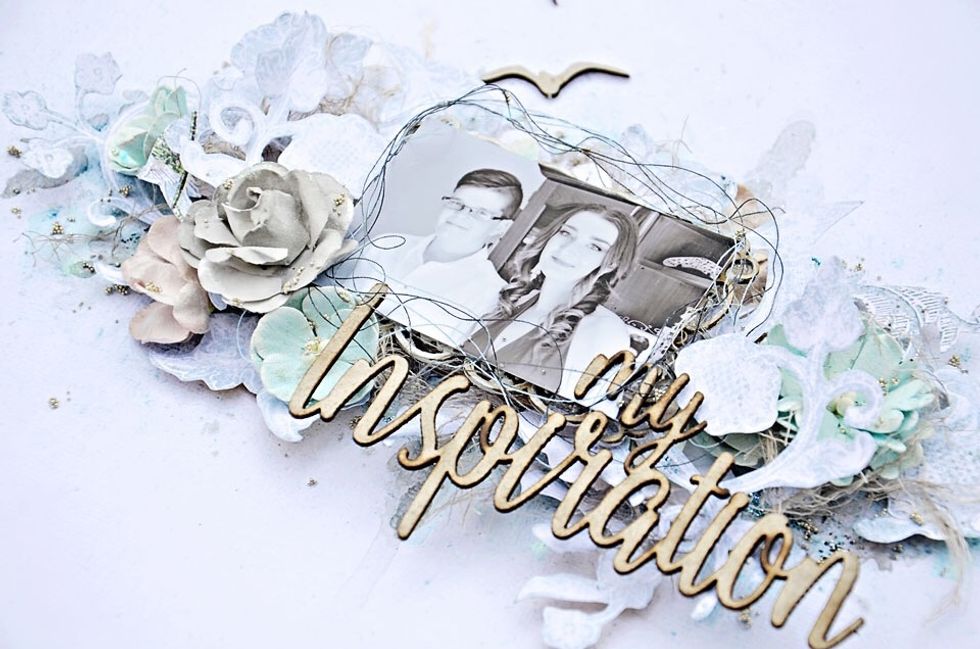
This is the layout we will be creating.
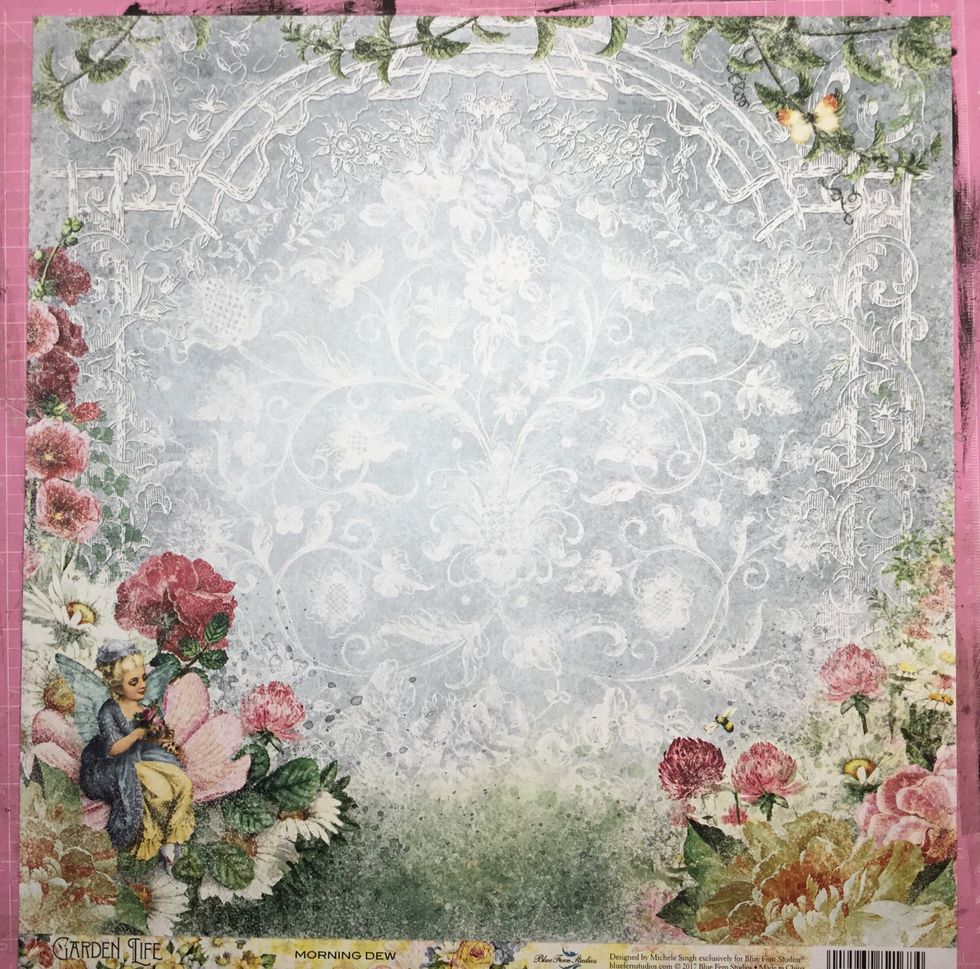
Locate Garden Life Morning Dew pattern paper. Fussy cut the centre flourishes.
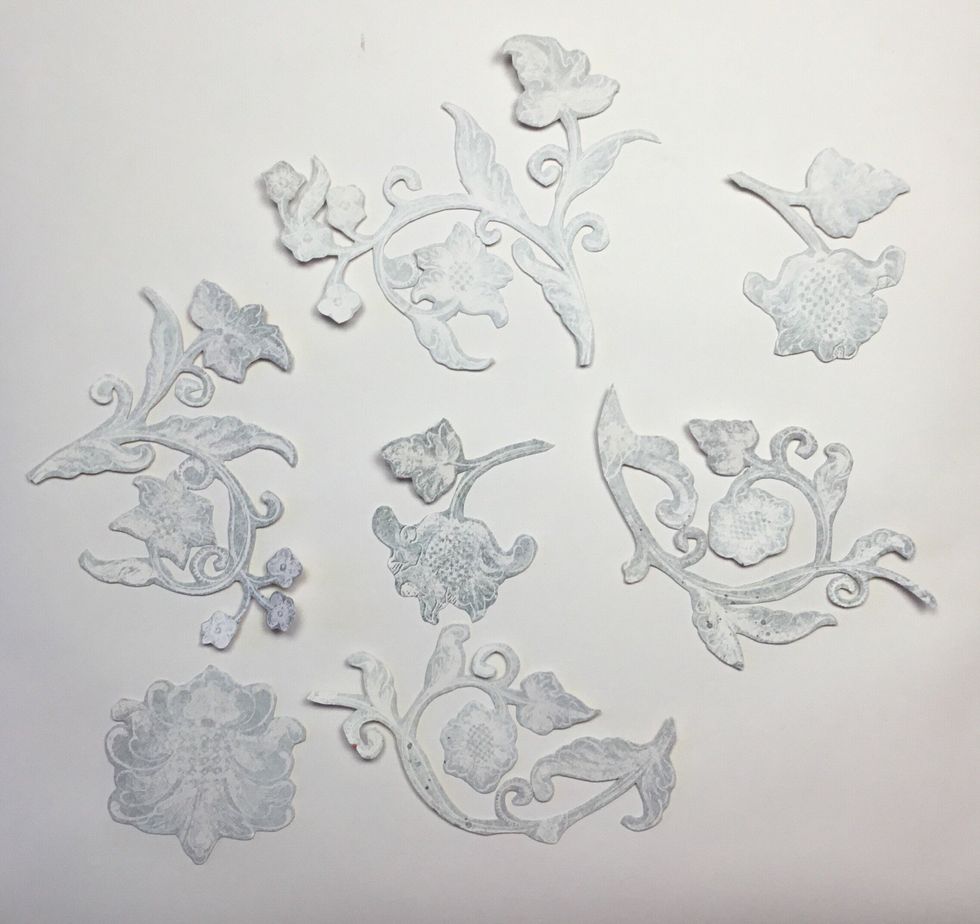
Fussy cut flourishes as shown.
Next you will need a mixture of flowers similar to the ones shown.
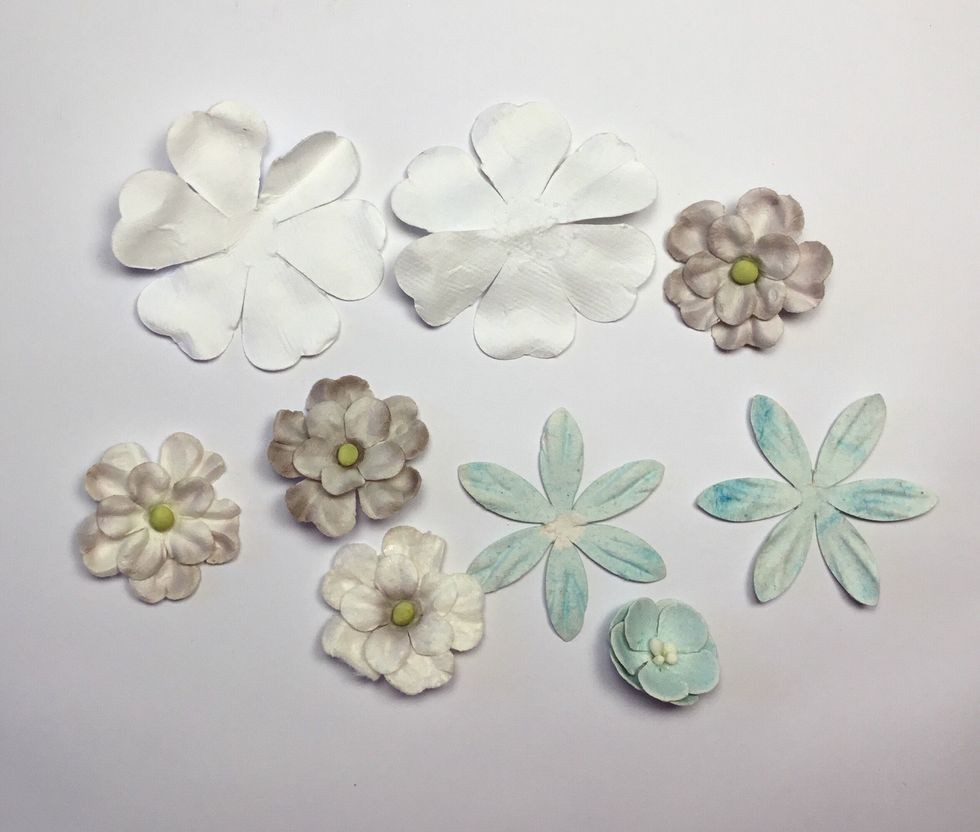
Flower varieties required.
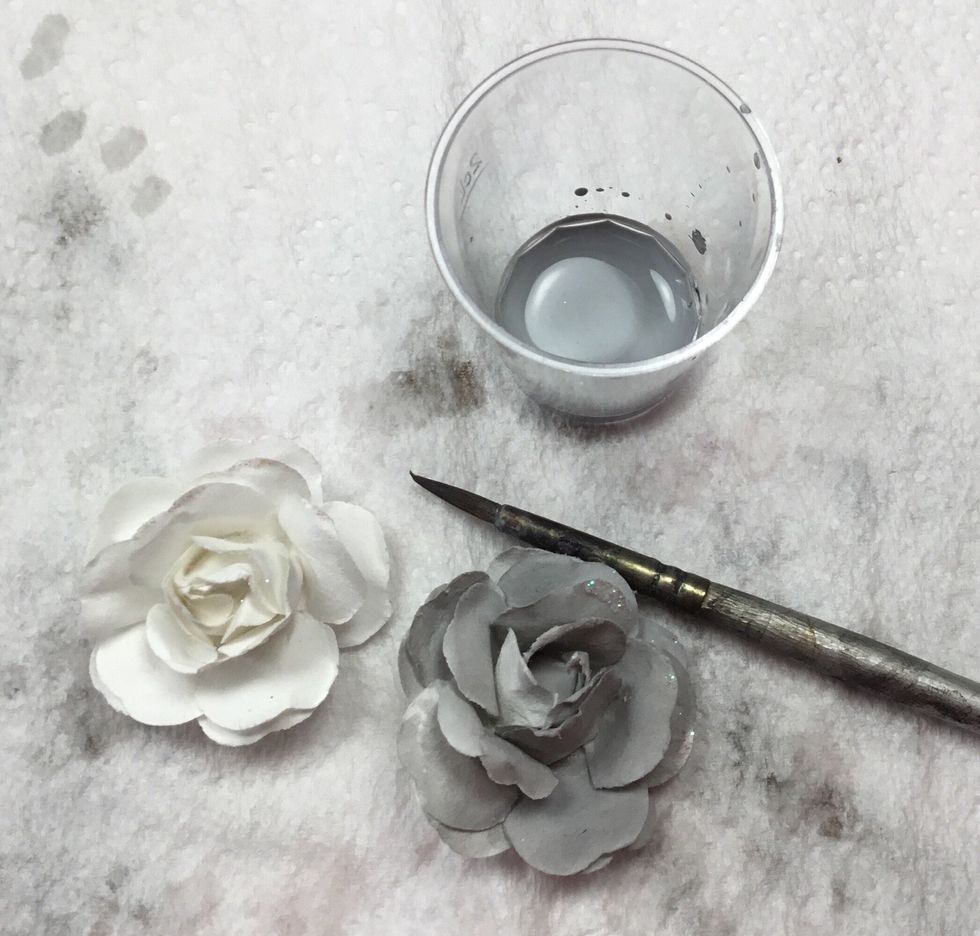
You will need one of the white roses from the Blue Fern Garden Blooms set. Recolour grey as shown.
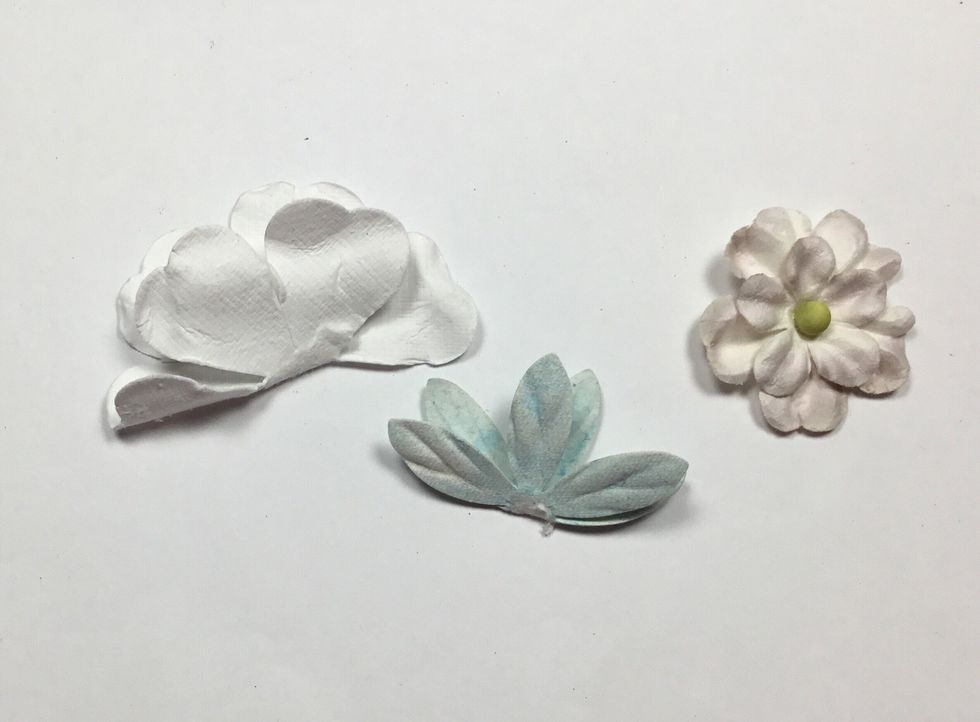
Fold the flowers as shown.
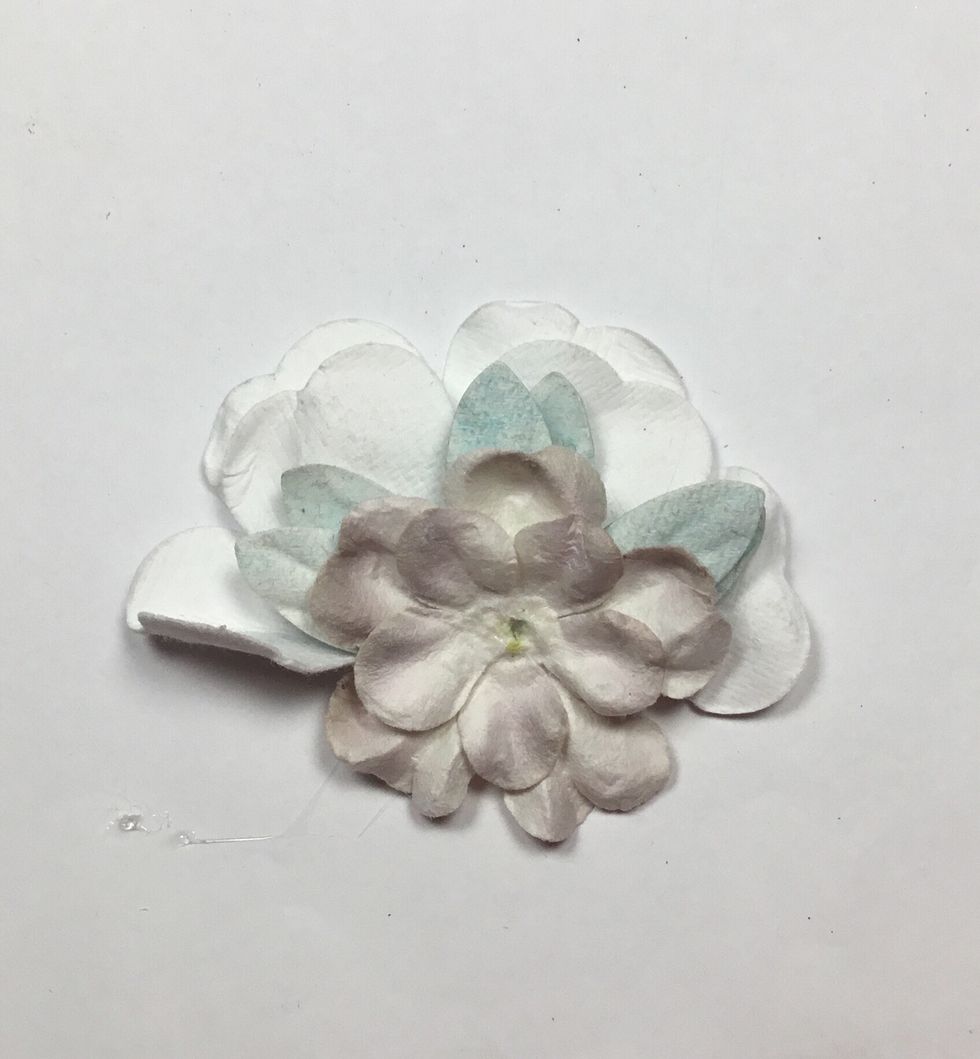
Layer flowers as shown.
Next step is to create the background. To create my background I have used Deep Water Mica Powder and a grey watercolour paint.
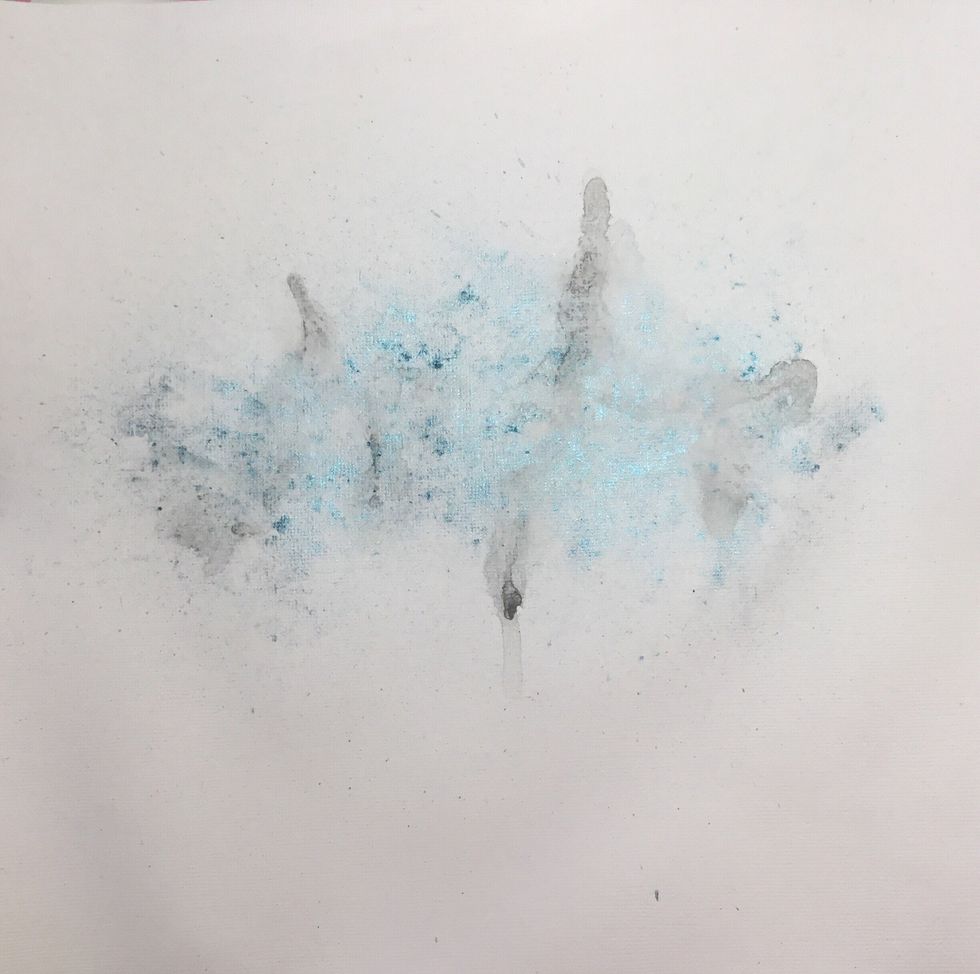
My background once dry.
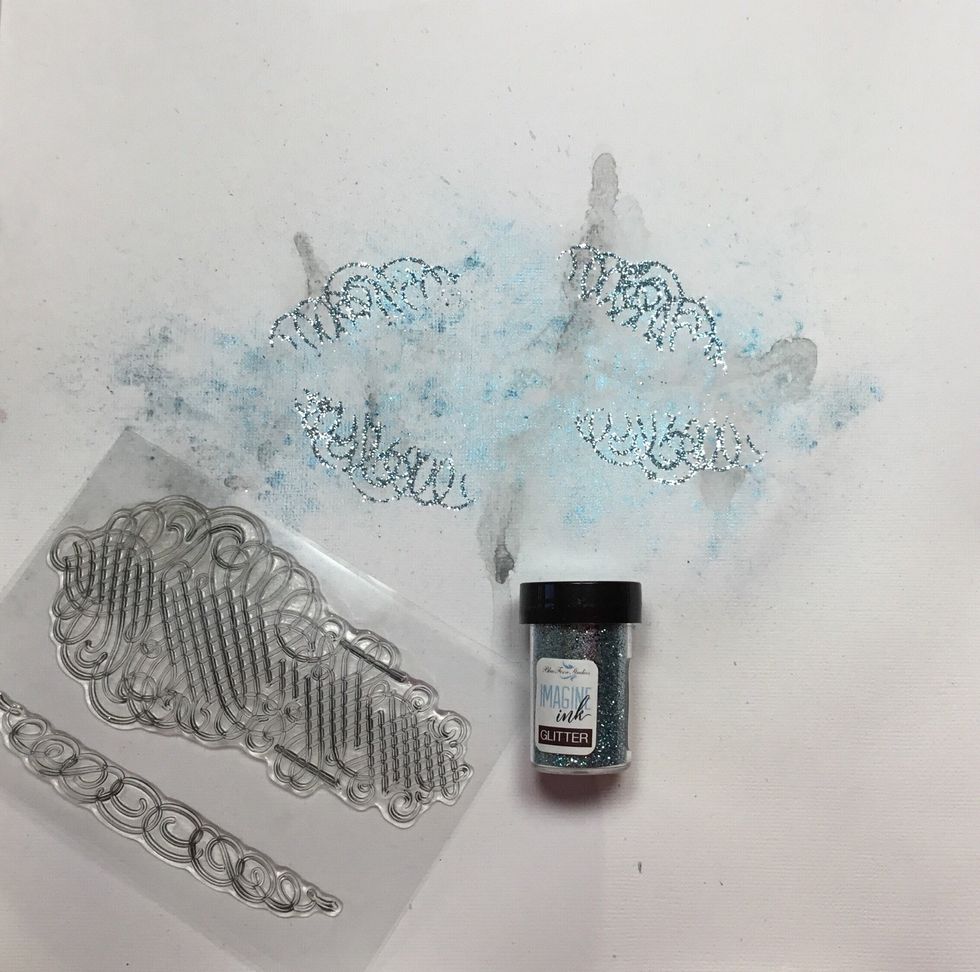
I then used a glue pen on the stamp and stamped the image onto the background one at a time and then added Blue Ice glitter.

Closer look at the background.
The next steps are building the centre cluster.

Start layering as shown.
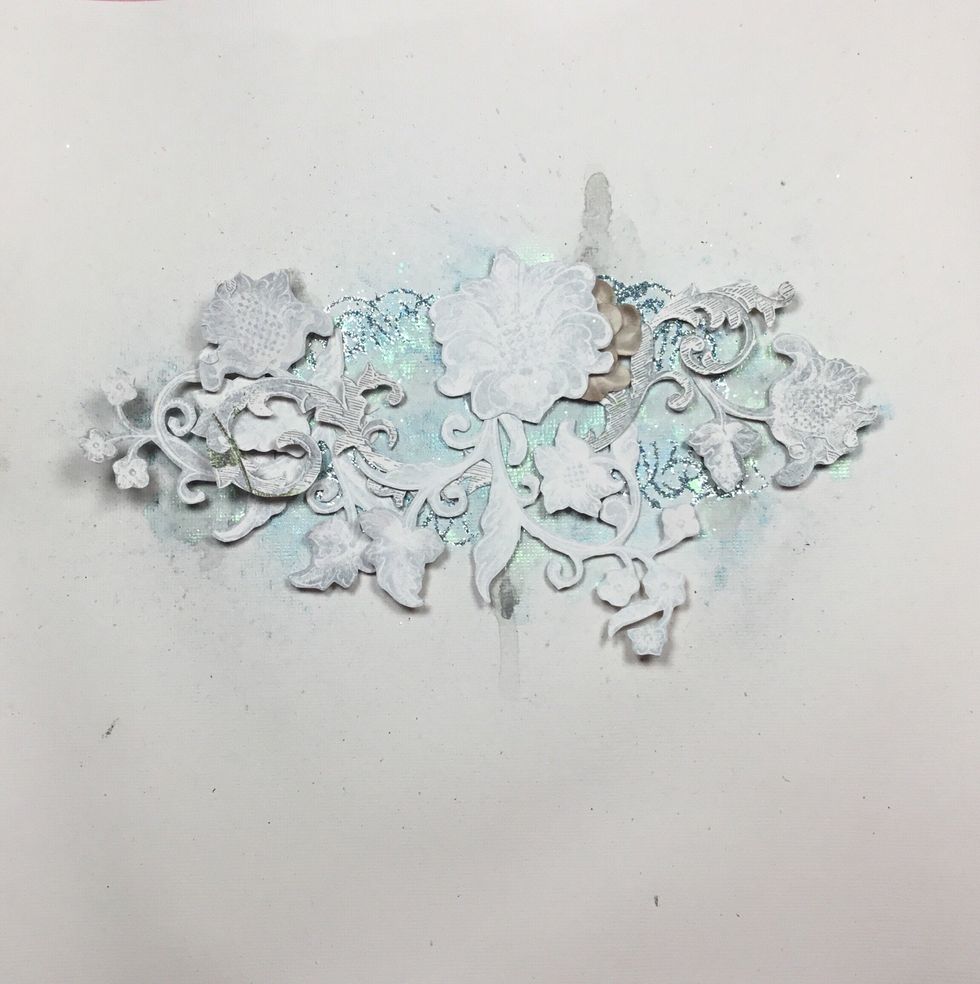
Add next layer as shown.
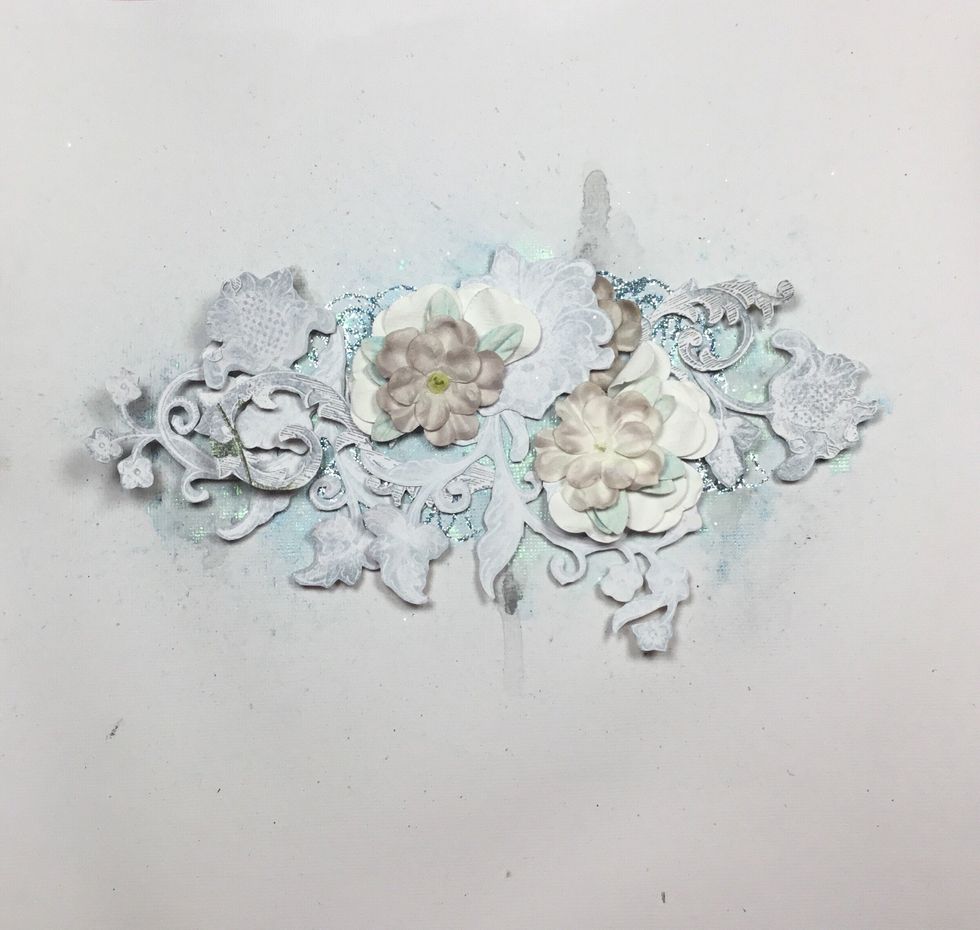
Add flowers as shown.

Add another layer as shown.
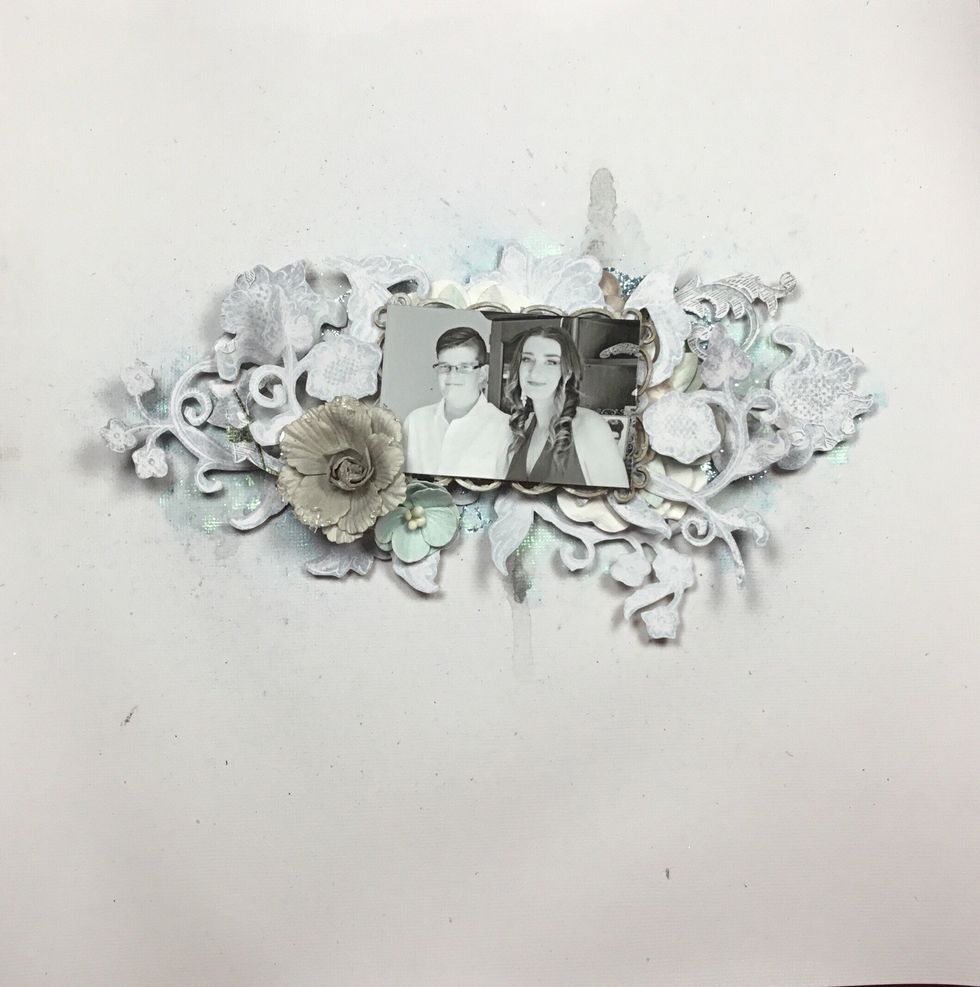
Add photo and main cluster flowers as shown. The larger grey flower is the one we coloured grey, not the flower shown.
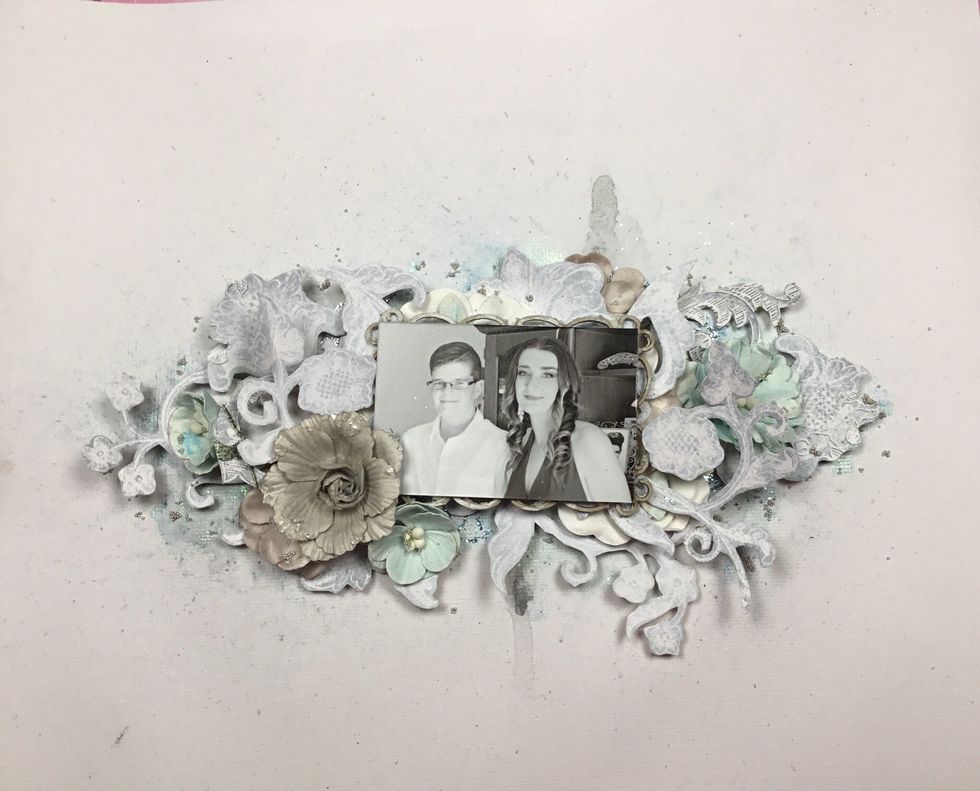
Add Stirling Silver and Glass seedlings. Add as many or as little as you like.
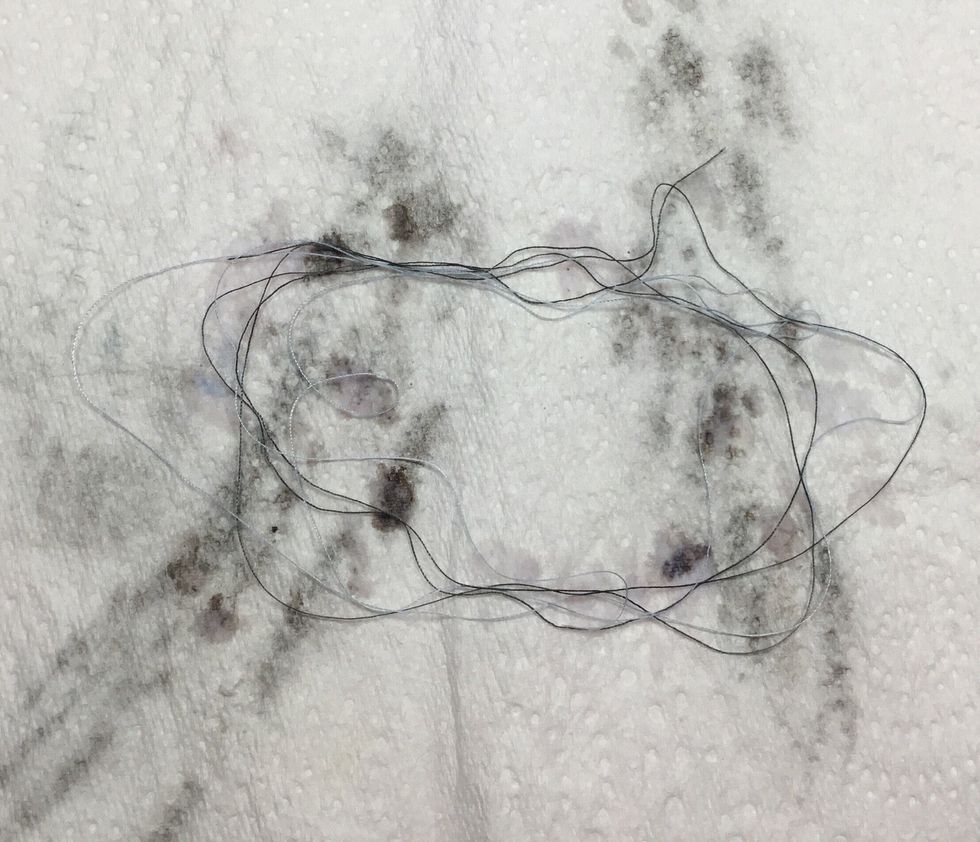
Cotton thread to create a frame around the photo.
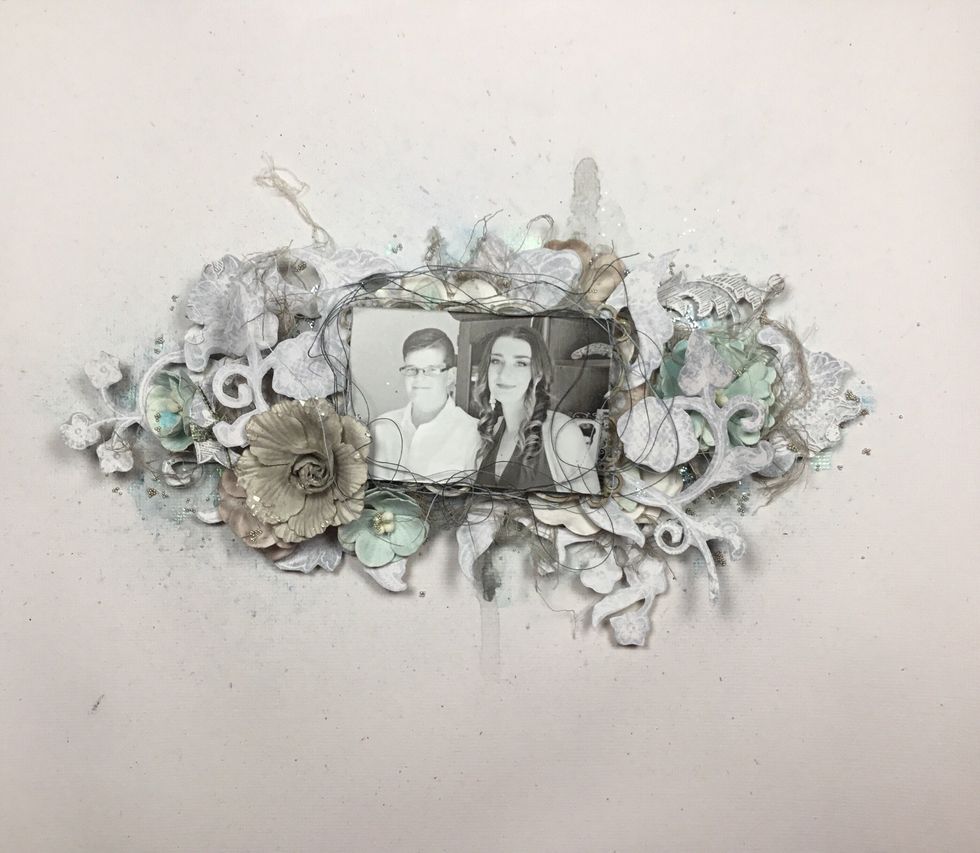
Add cotton thread frame as shown, I attach this with gel paste.
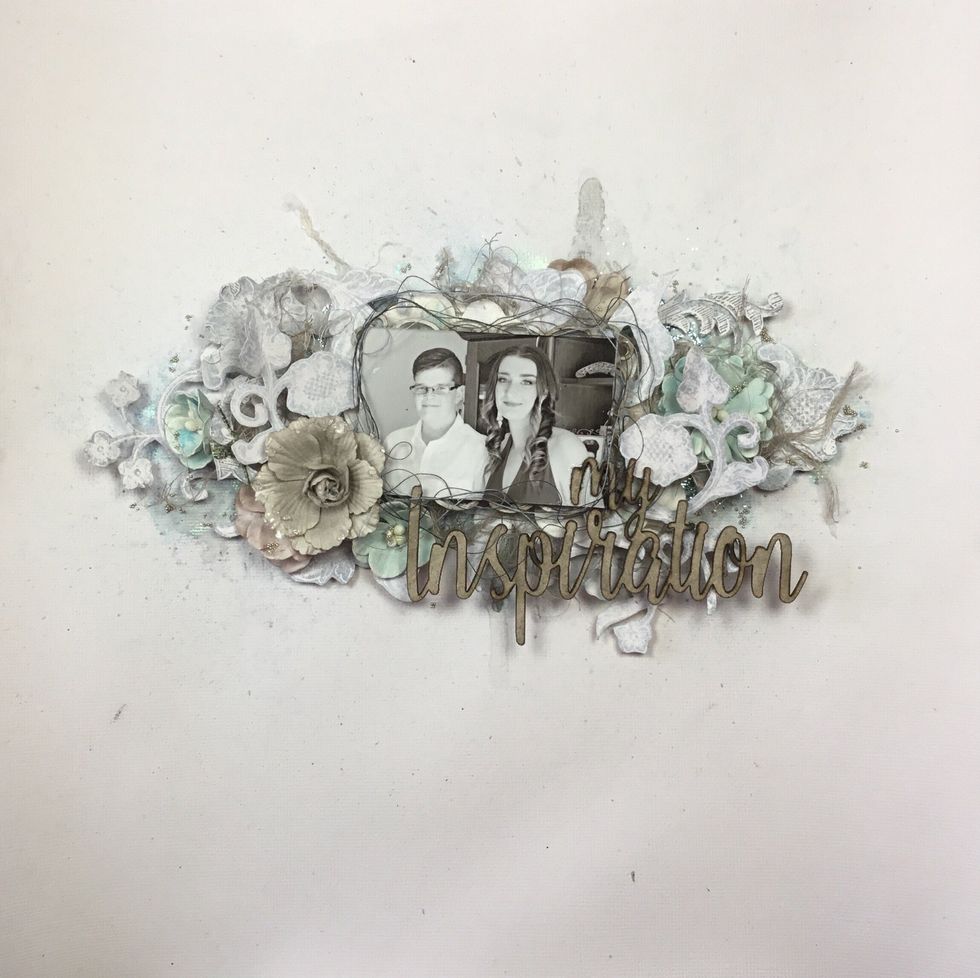
Add chipboard title as shown.
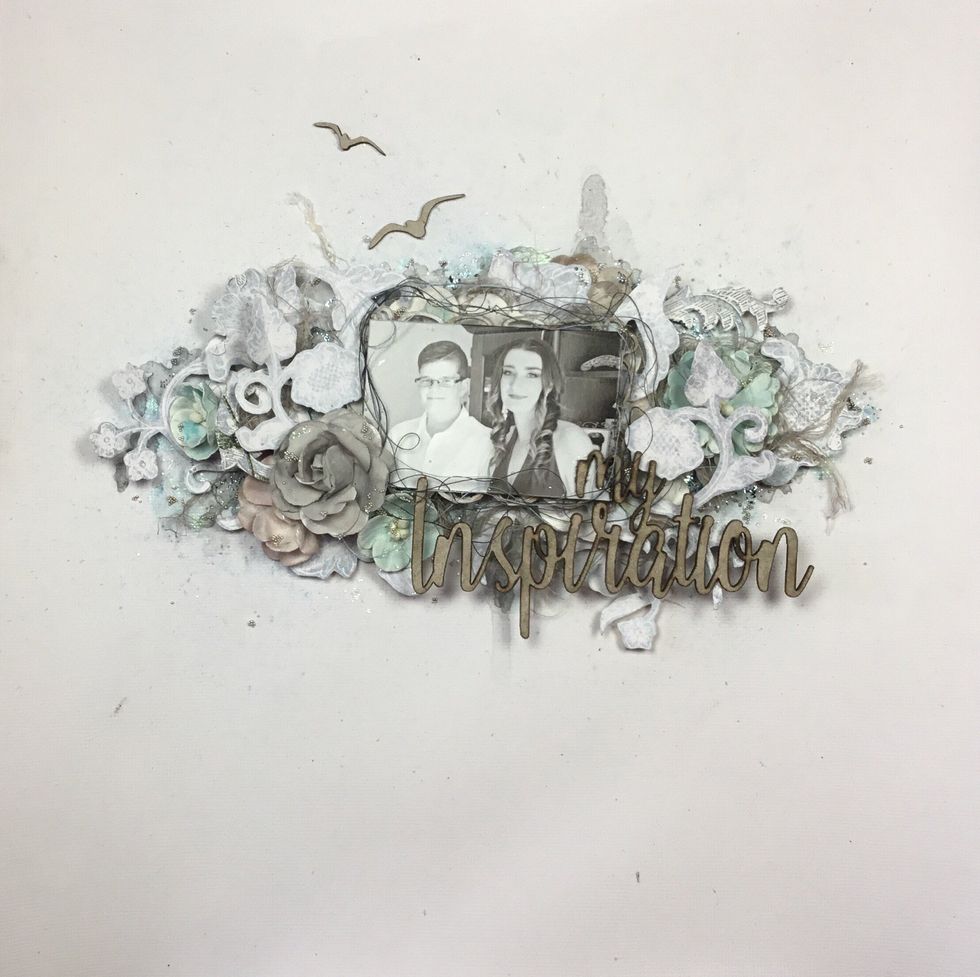
Add extra glitter and seedlings.
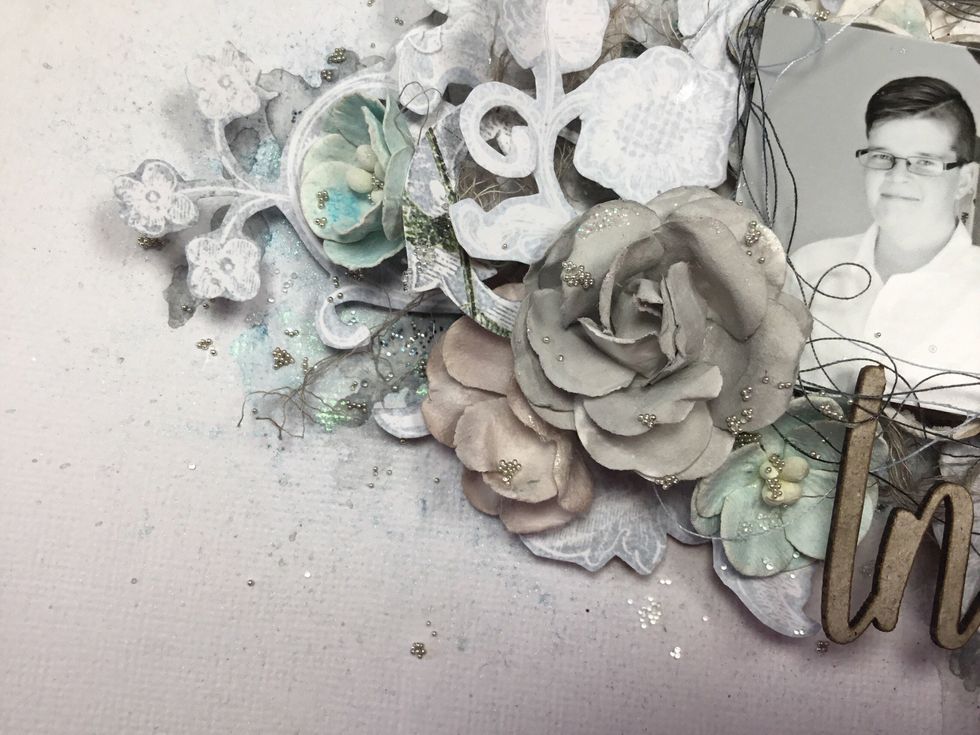
Your layout should now be finished.

This layout was created for Blue Fern Studios. Close ups continue next.
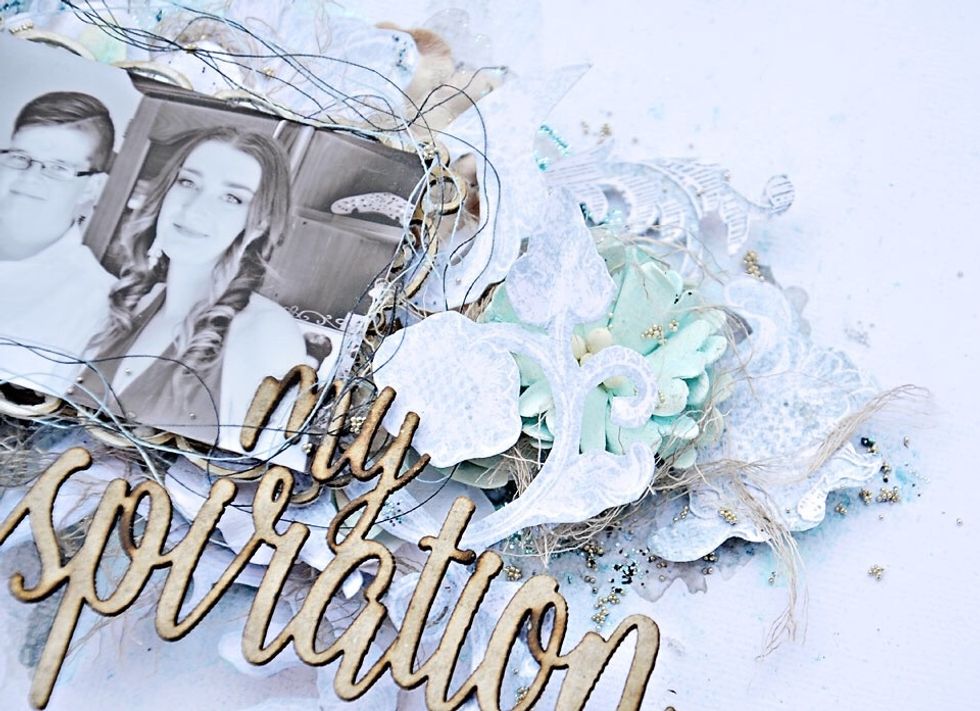
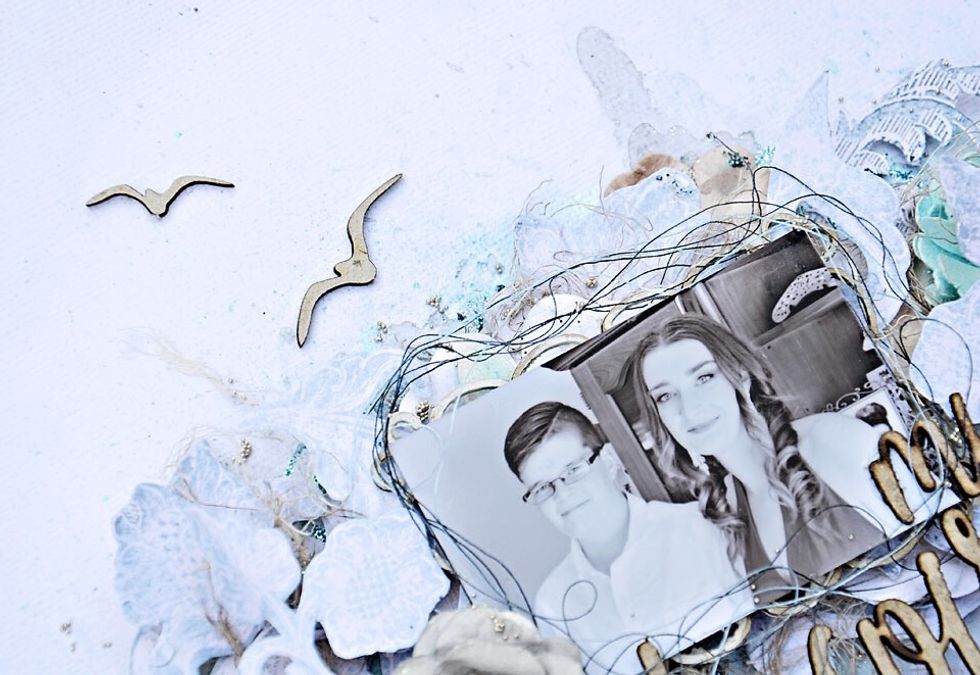
Some close ups for you.
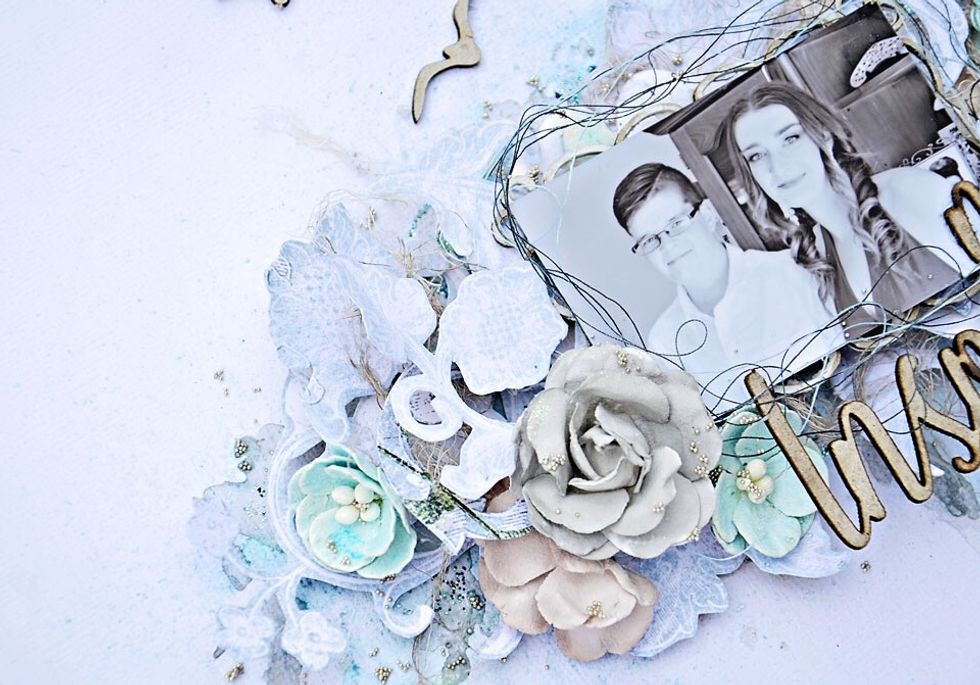
Love the soft colours.
I hope you have enjoyed my tutorial. Feel free to visit my blog www.scrappinforme.blogspot.com.
- White Cardstock
- Blue Fern Studios Garden Life - Morning Dew
- Blue Fern Studios Penned Flourishes Stamp
- Blue Fern Studios Blue Ice & Black Ice Glitter
- Blue Fern Studios Stirling Silver & Glass Seedling
- Blue Fern Studios Chipboard Title
- Blue Fern Studios Garden Blooms
- Deep Water Mica Powder
- Grey Watercolour Paint
- Cotton Thread
- Cheesecloth