The Conversation (0)
Sign Up

I ripped a square from a shipping box for the base of this project. Then peeled away the top layer to expose the corrugated cardboard underneath. Peel it away until you have the look you want
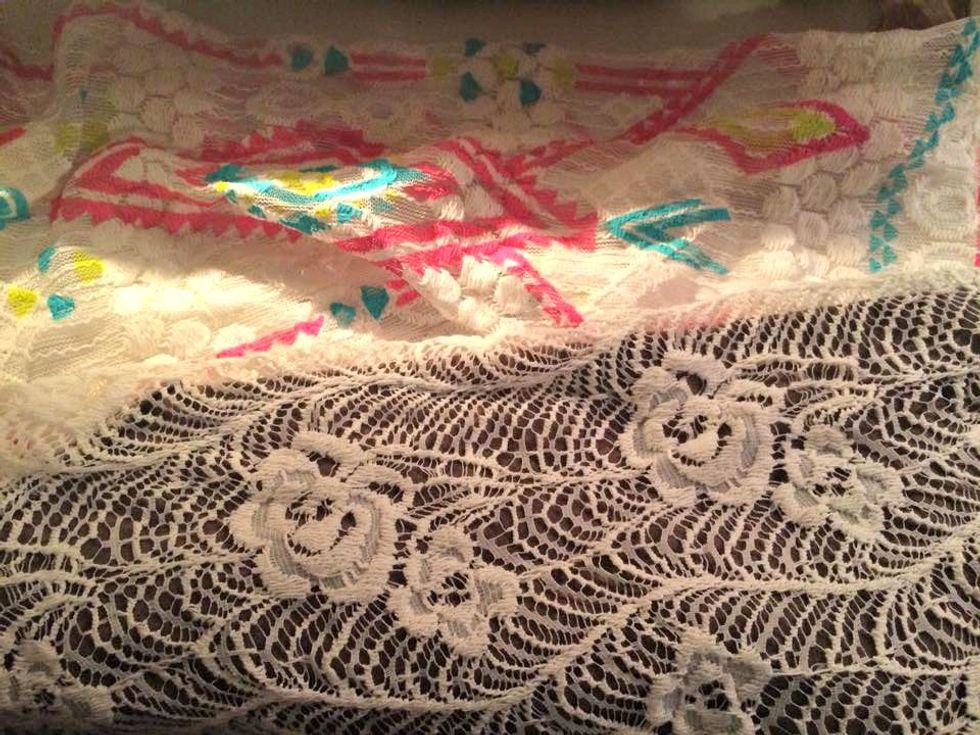
Ok..this lace came from shirts I got for $1.00 off the clearance rack at Rue 21. Lace can be expensive, and when I saw these tops with all this lace for $1.00 the wheels in my head started spinning
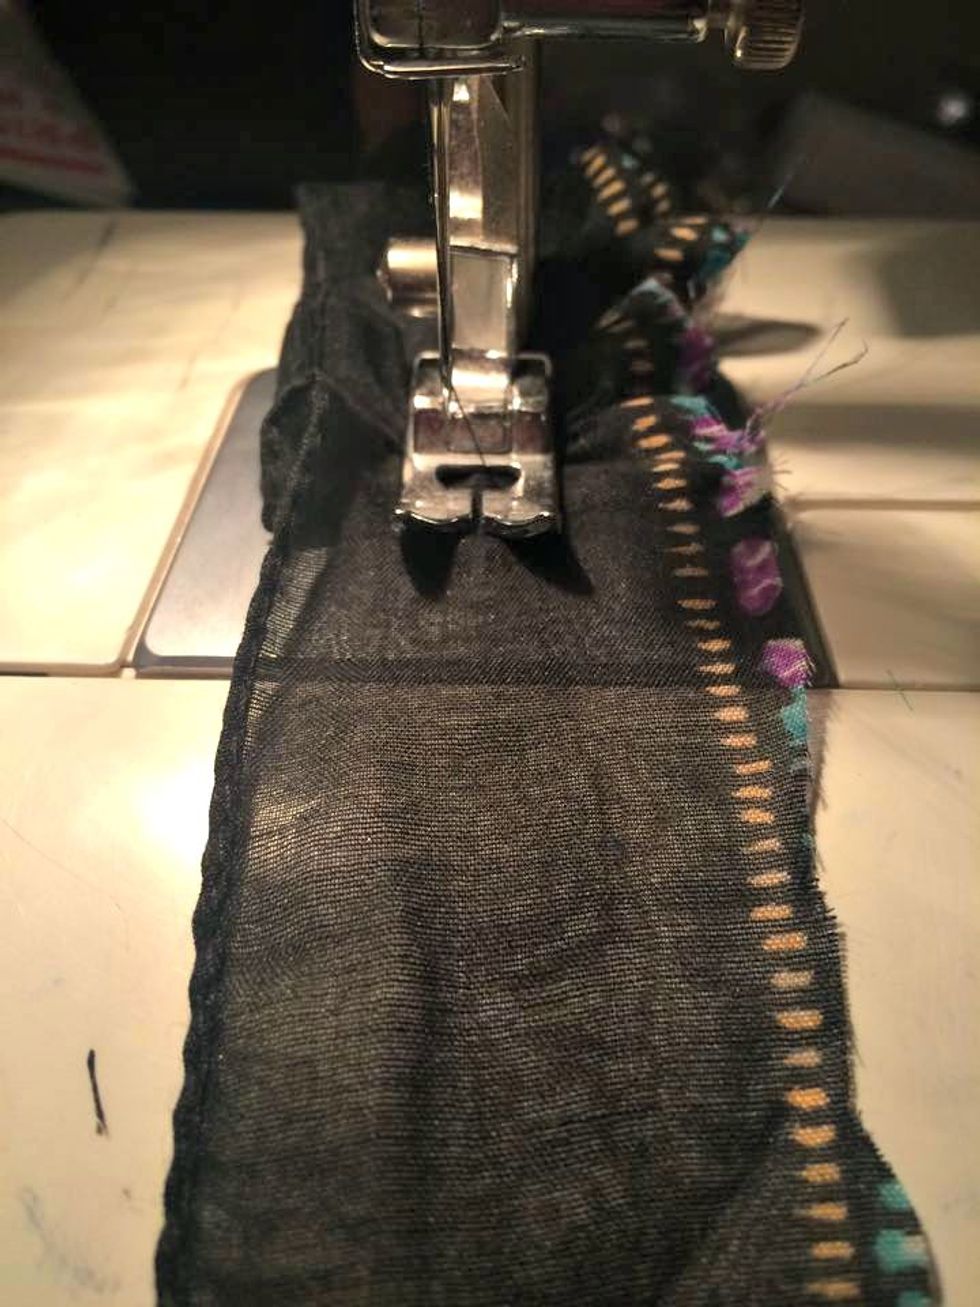
This fabric is also from a scarf I got for $1.00 clearance. I roughly cut a piece from the edge of the scarf. Here I am using my sewing machine to do a rough gather. Just pushing it under the needle.
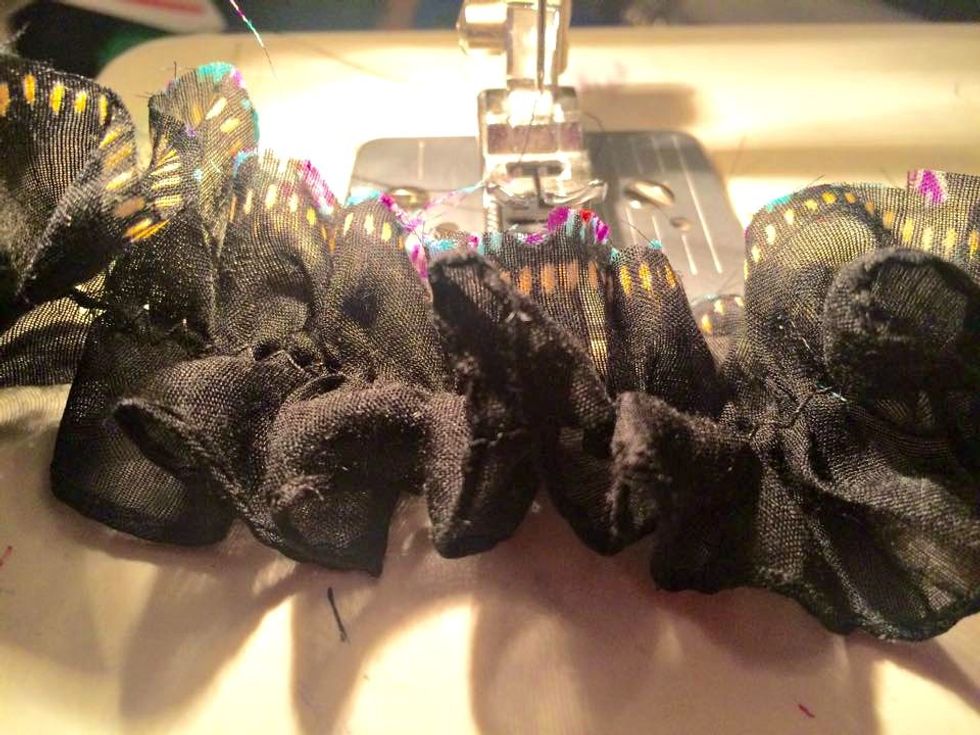
Here it is all gathered..not perfect by any means and thats just fine. I did two pieces like this to add to my project. There is also fringe at the bottom edge which is going to add awesome texture.
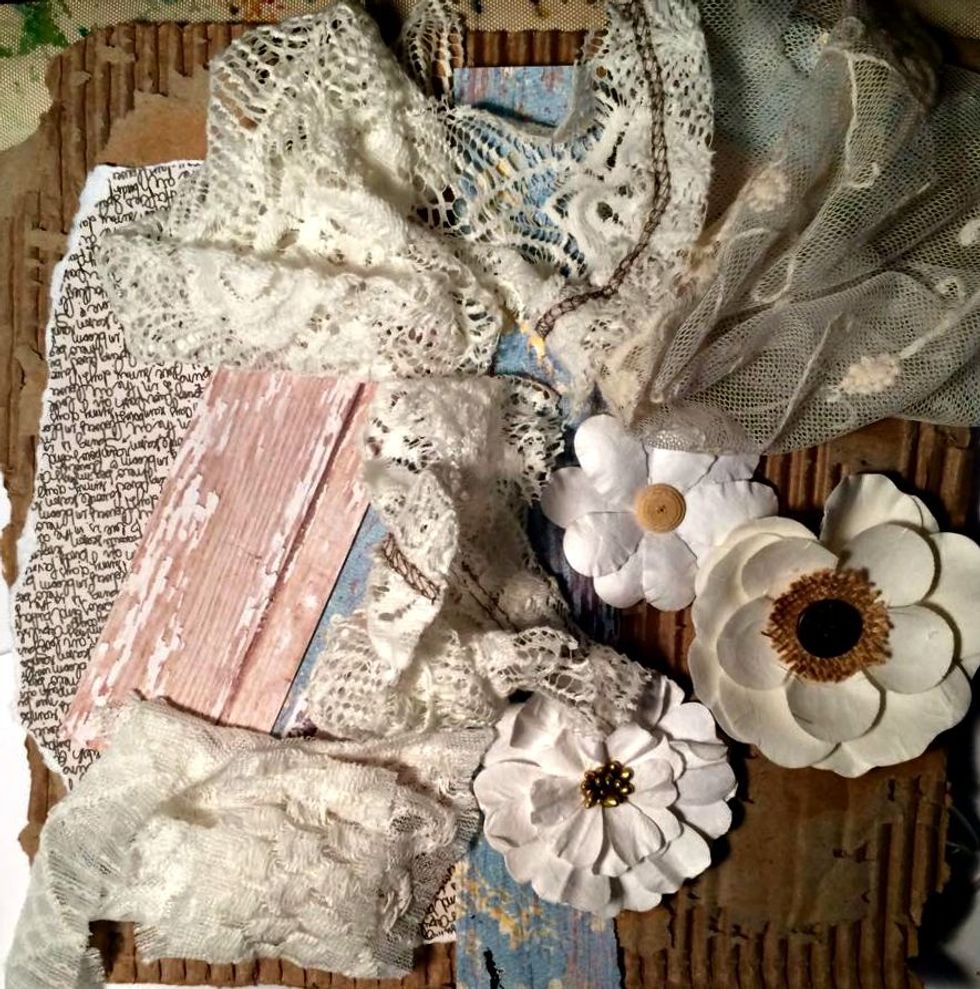
Here are some of the other elements I gathered up. Some scrap paper, flowers, the lace. I'm going to sew all of these pieces to the corrugated cardboard. Not the flowers, just the paper, lace, fabric
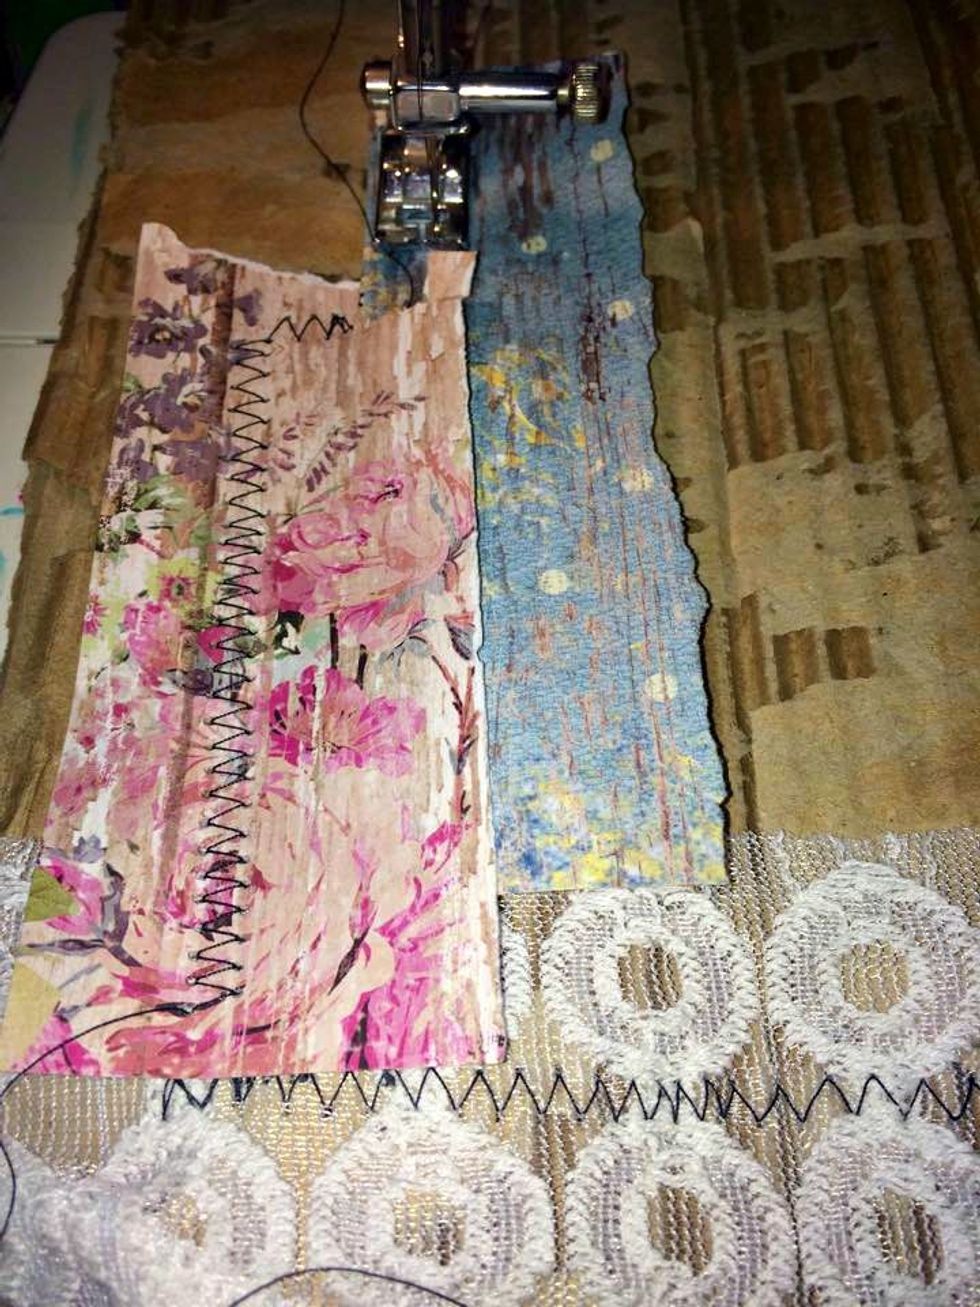
I love using the zig zag stitch setting on my machine, and I almost always use black thread. Here are some of the paper and lace being sewn onto the corrugated cardboard, overlapping to create layers
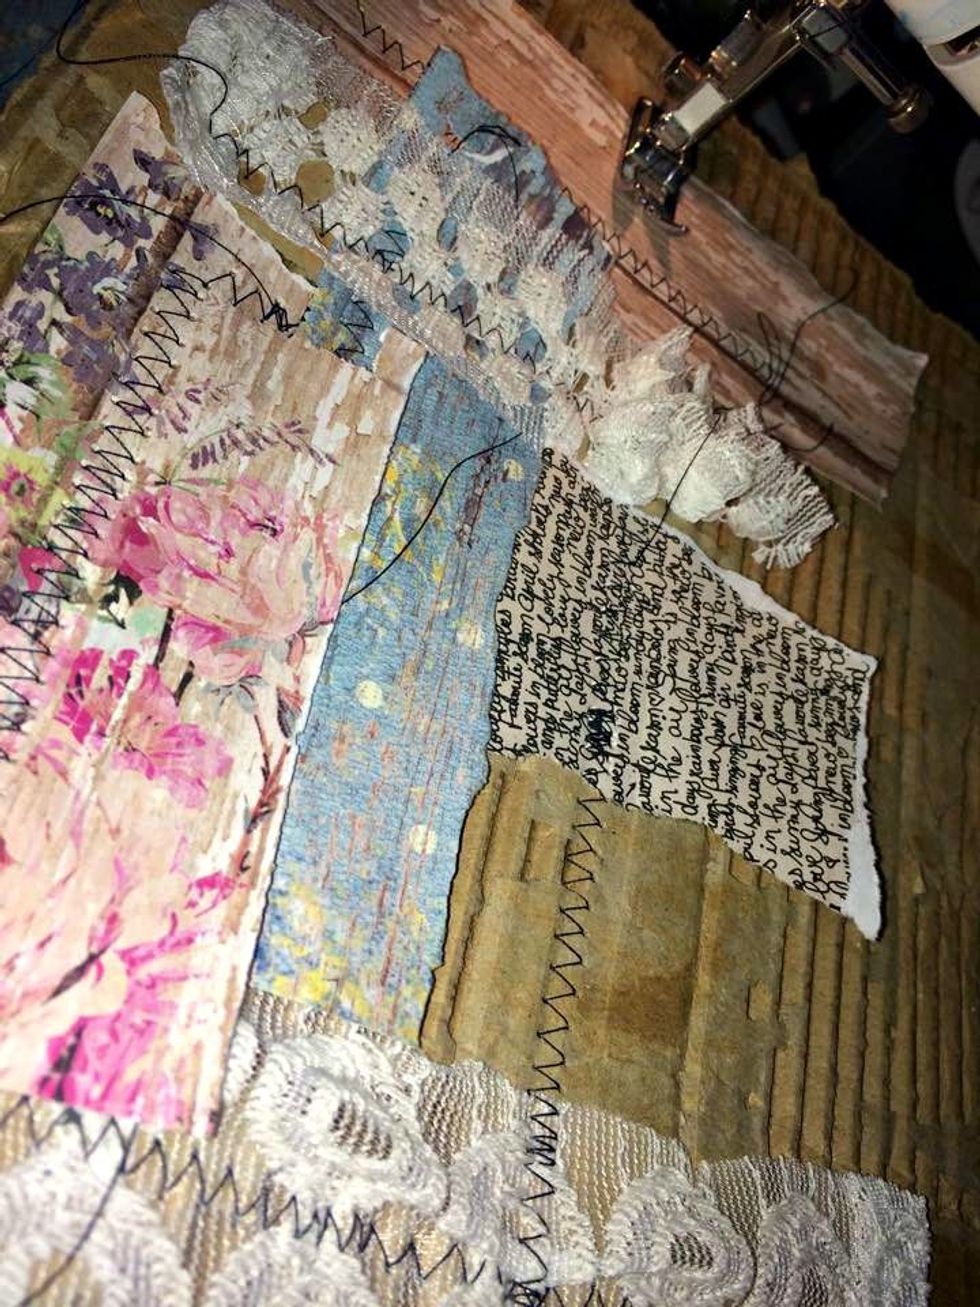
More paper and lace. It doesn't have to be perfect. Sew things on in different direction, layering them a bit on top of each other as you go. You can also do this with glue if you dont have a machine
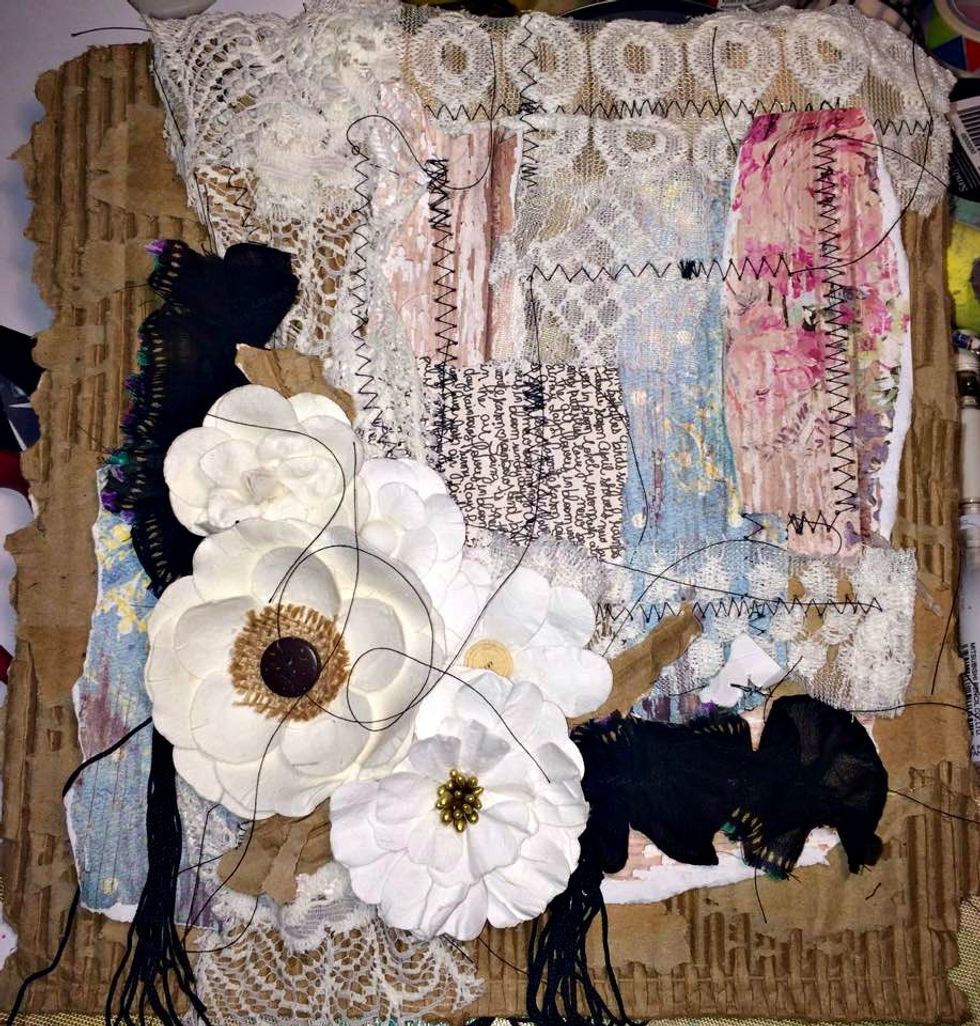
So at this point I've got my elements sewn on and now I'm just playing with placement of the flowers and that fabric that I gathered before. Just trying to see how everything will best fit together
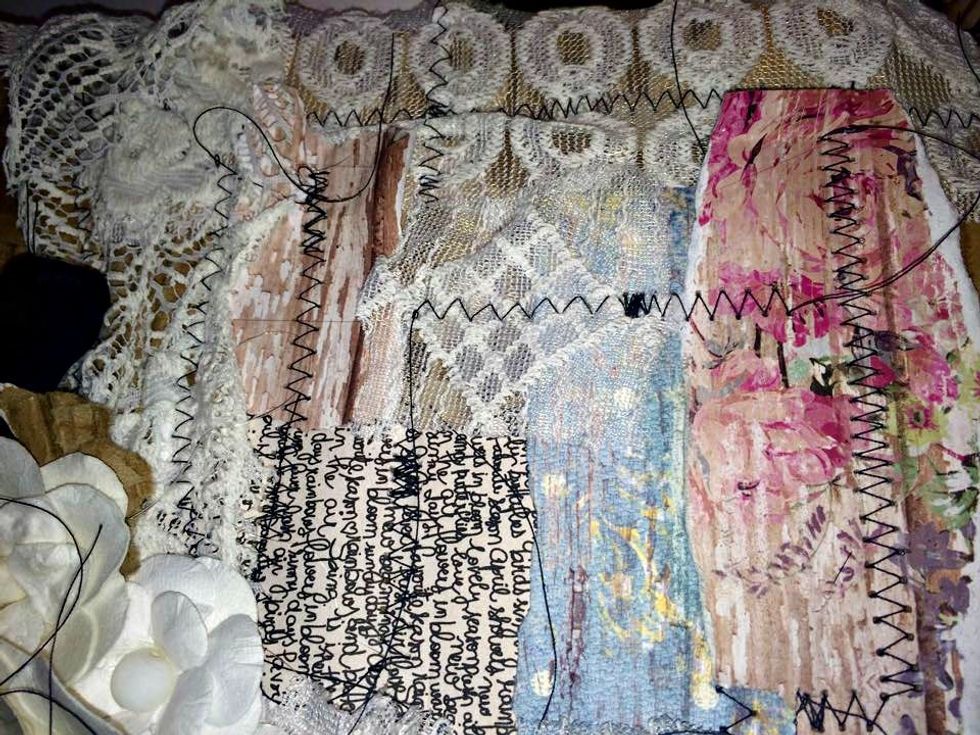
Here's a close up shot of leyers of papers and lace. I leave the long ends of my thread on most of the time. I like how it looks and it adds more texture and interest.
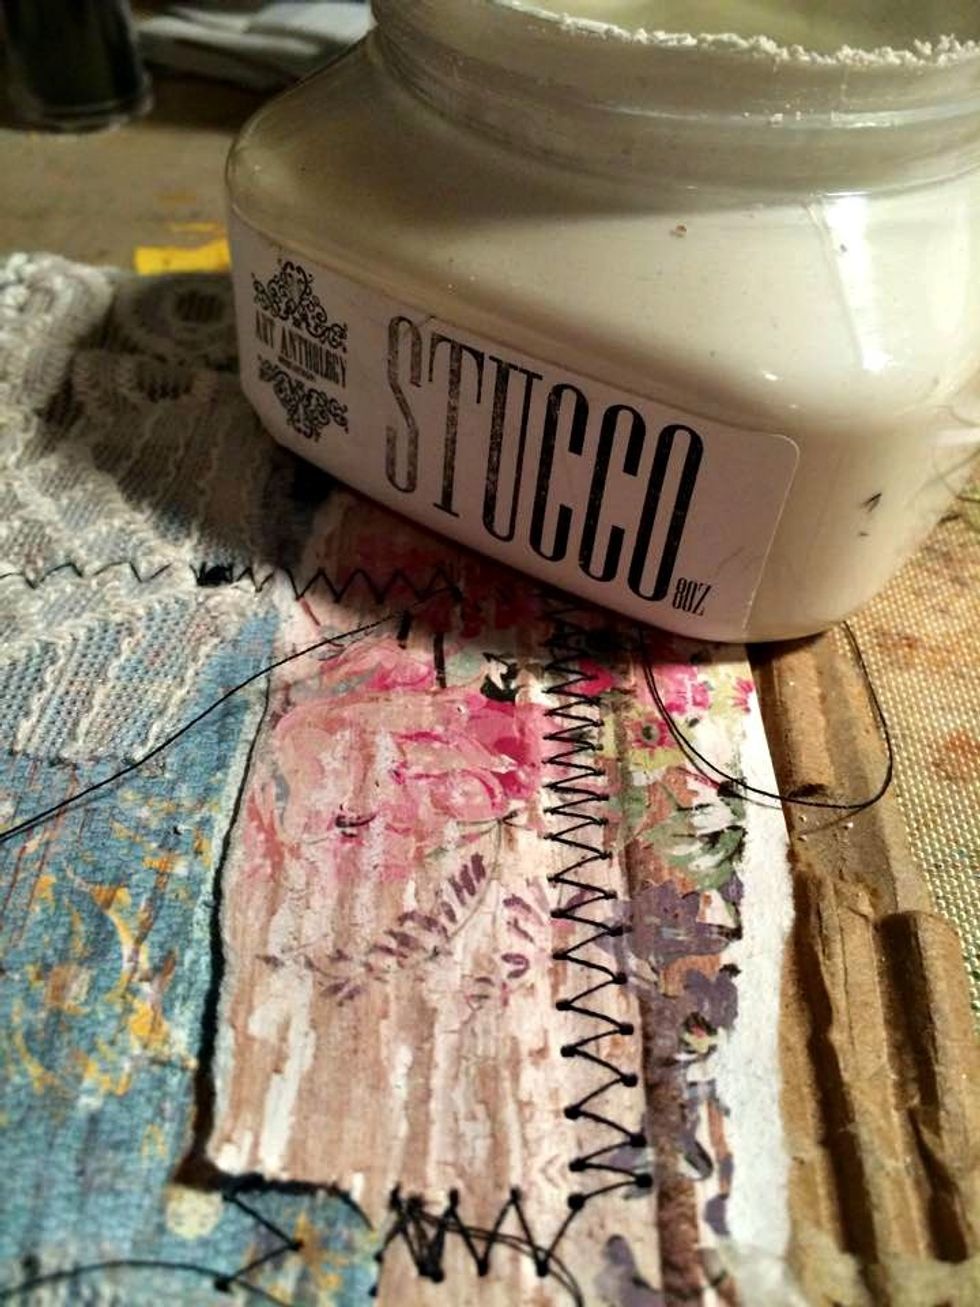
Ok..let's add another layer. Get your Stucco and a palette knife. We are going to have some fun now. I use my palette knife to mix the stucco good as it settles when it sits.
I added the stucco along the edges, and on some of the lace and overlapped it onto the paper as well. I got a good amount on the end of the palette knife and let it fall off forming little balls.
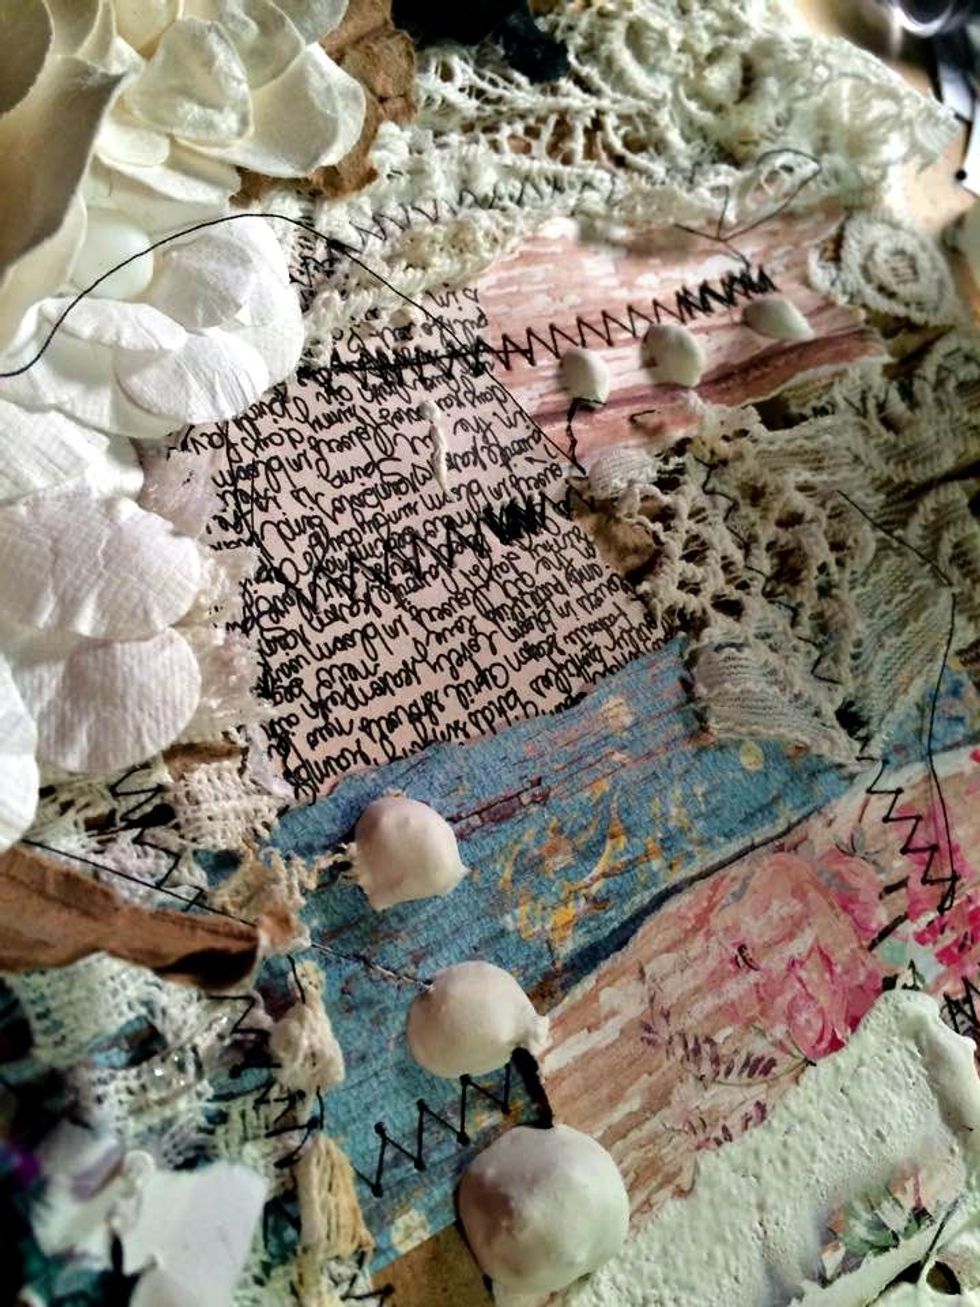
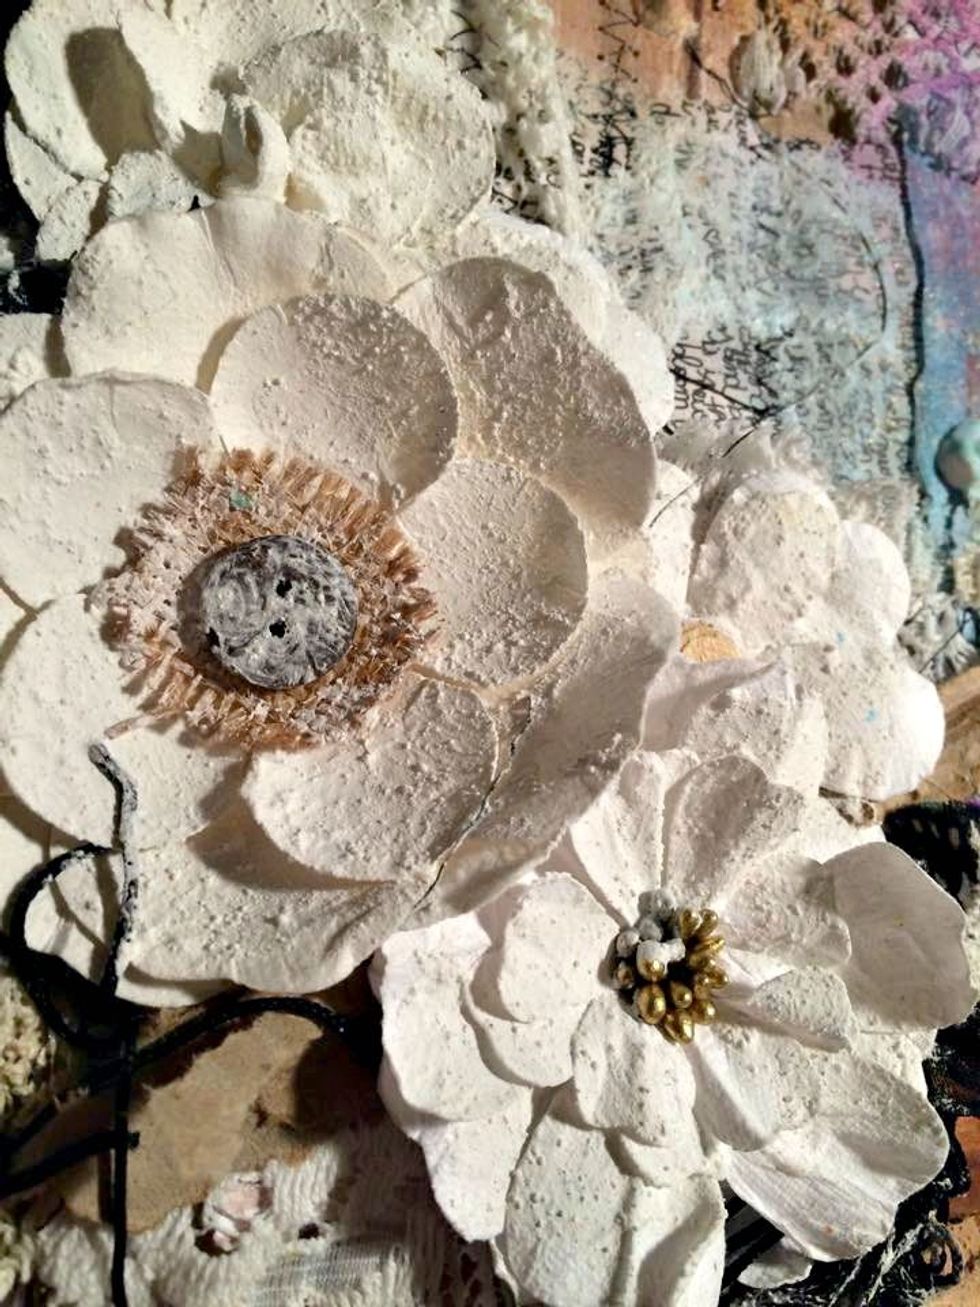
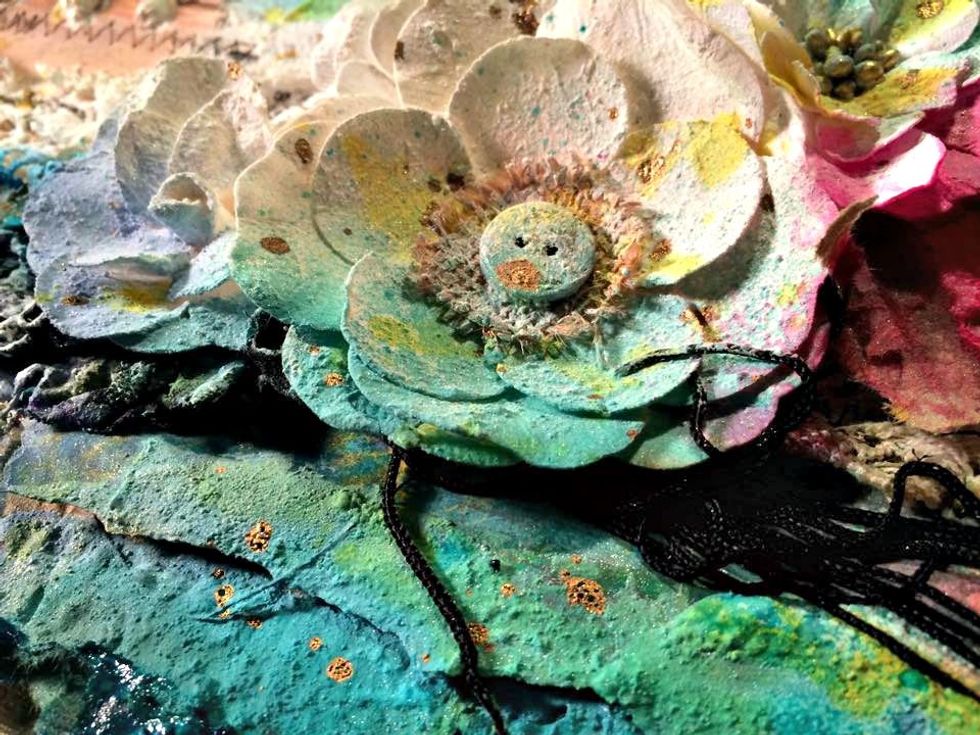
Before I added the Stucco I had hot glued down my flowers and the gathered fabric. I added the Stucco to the flower petals and also the gathered fabric. The mist will take differently to each surface
Here I have misted a bit with the Cinnamon Toast and Salted Caramel. A little Waimea Bay and Patience. Dry with a heat gun. We are layering color now and you want it dry between layers.
The texture that the Stucco added to everything is awesome. It's also going to provide color variation to the parts that have it, and don't have it. The mists will absorb differently
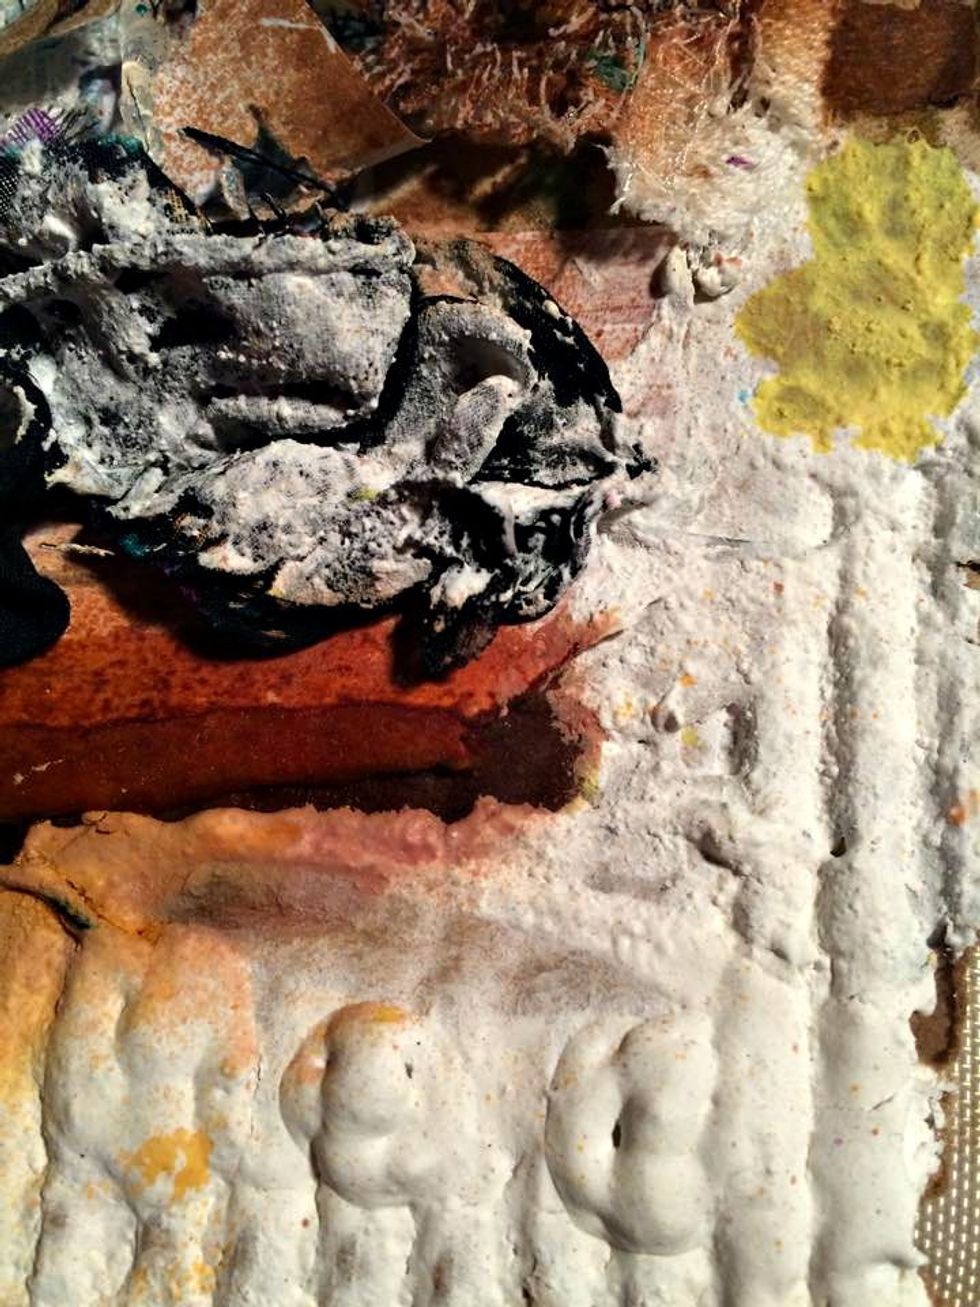
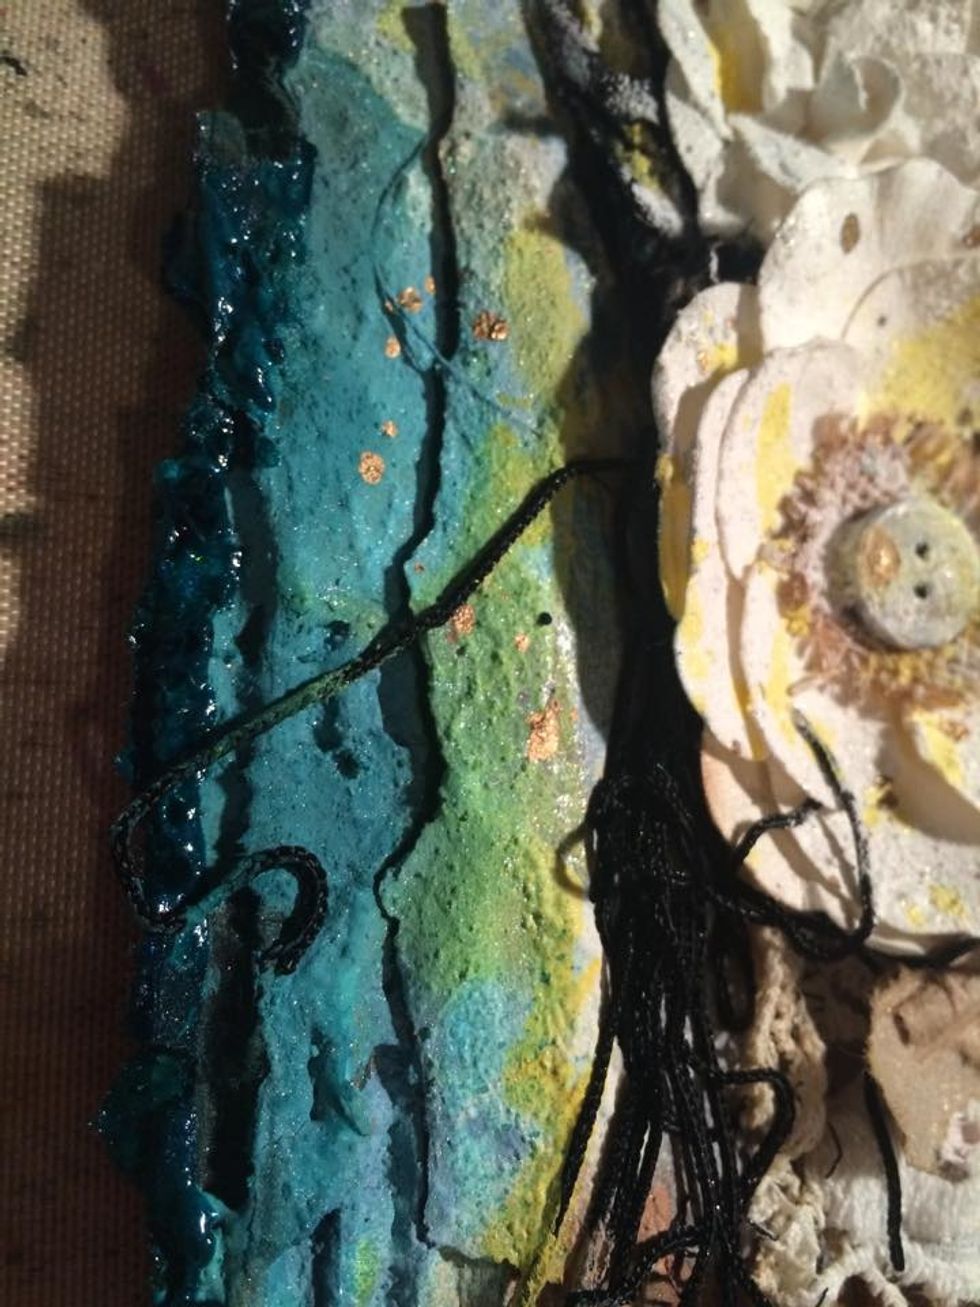
Here is another close up of the layer of Stucco. I love how it settled into the crevices of the corrugated cardboard. I put some on the gathered fabric as well because I wanted color with the black
Here I am using Art Anthology Velvet in Veridian just along the edges of the corrugated cardboard. Giving it a frame so to speak. I used a good amount and I love how it framed the piece
Here I am playing with some other embellishments. Also see the gold splatters on the flowers and paper, that is from a gold pen. I just shake it up then fling it on the surface.
Here you can see layers of paper, Stucco paint, misting. I have also used the AA Gold mist in between some of the layers of other misting. It adds such a beautiful shimmer to the project
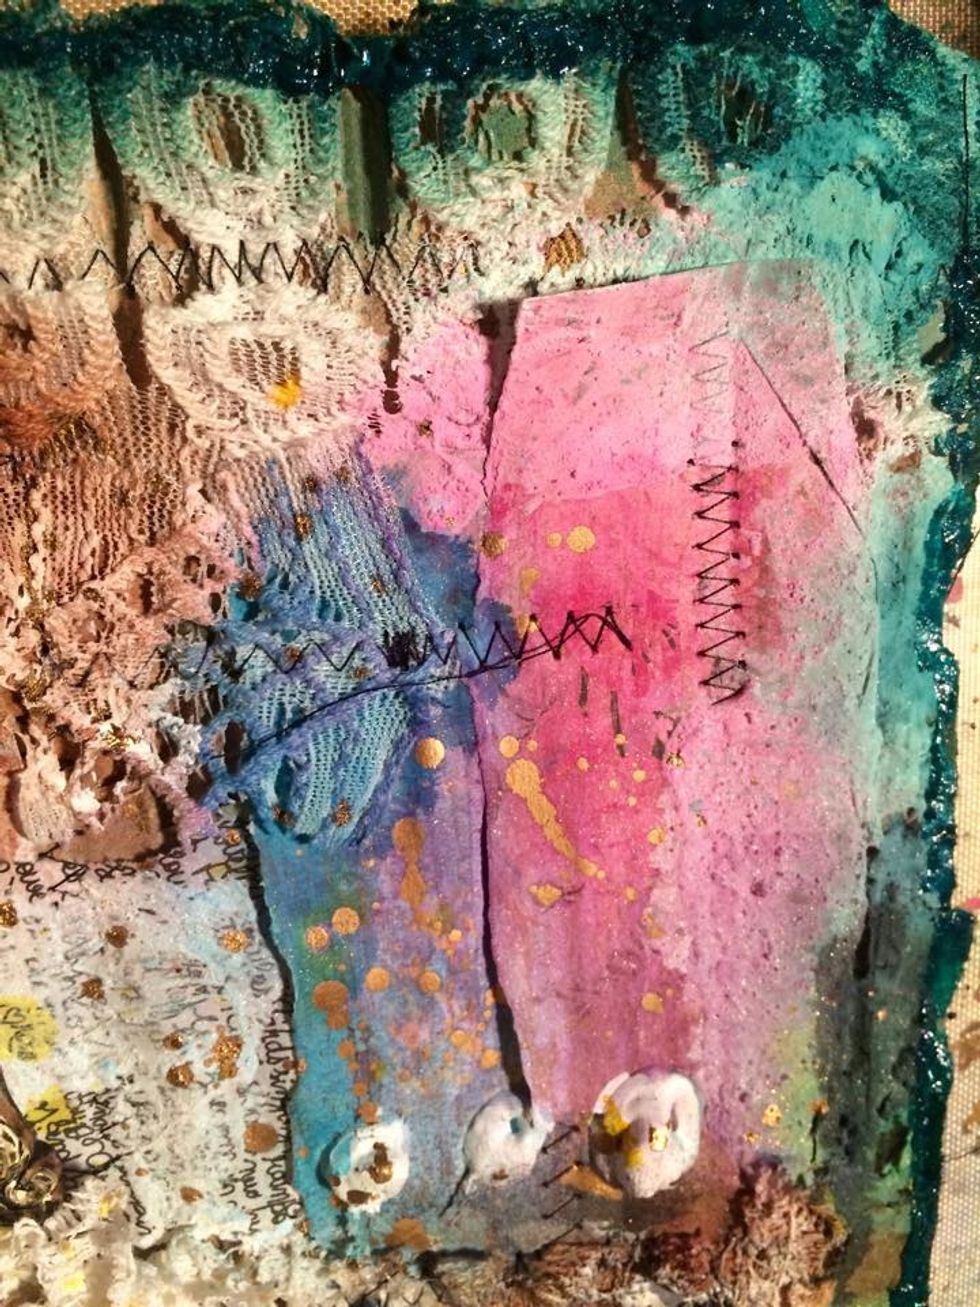
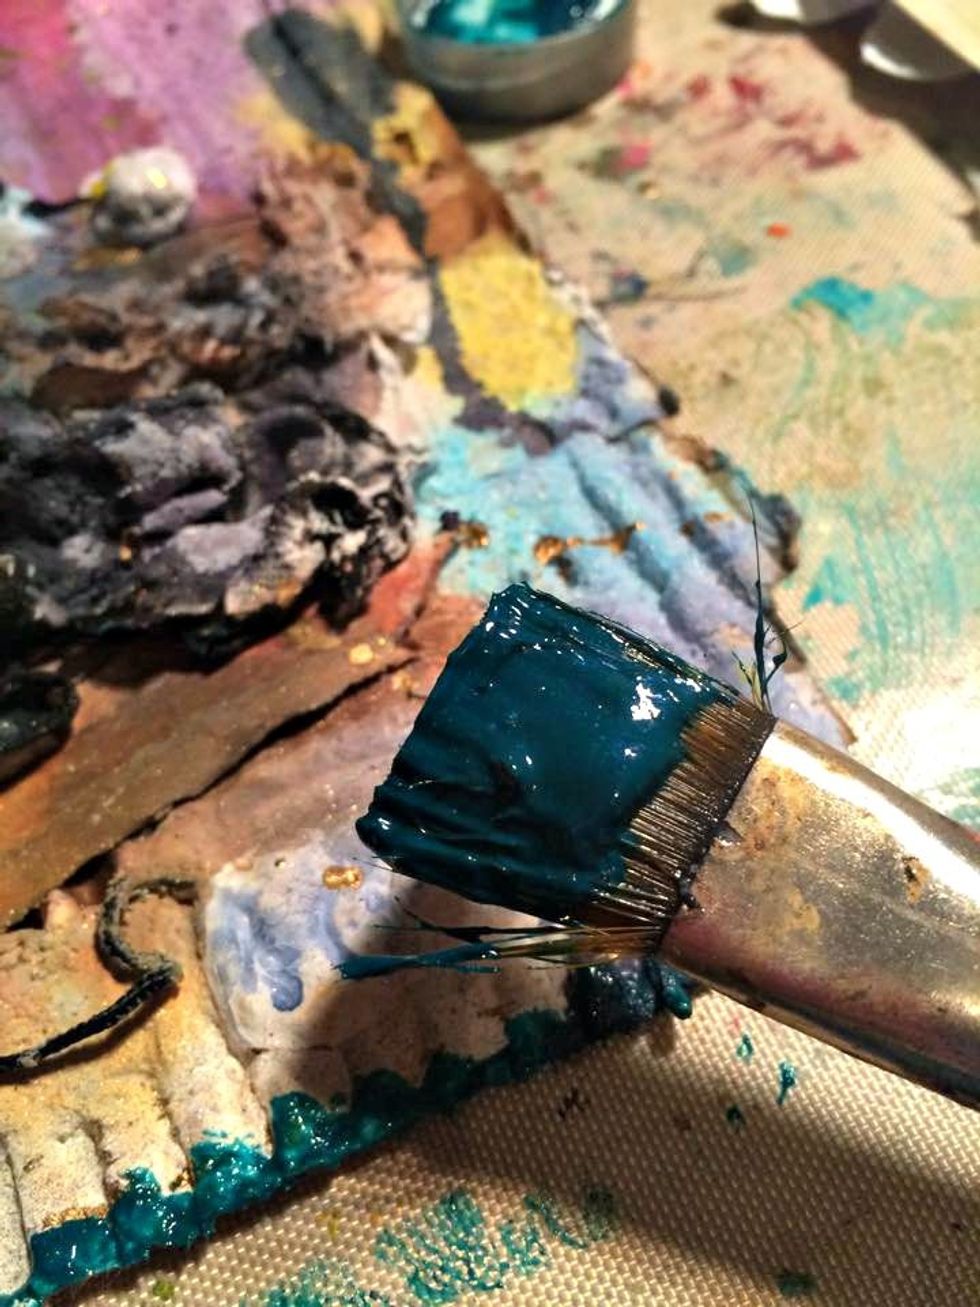
In this picture you see Ink Spot, Waimea Bay, Patience, Hottie, and Peacock Feathers. I am misting lightly to create layers of color. Don't forget to mist some of that AA Gold also.
This is the gathered fabric, covered in Stucco, then misted with Waimea Bay, and Gold. See how the color is different on top of the Stucco. I love how it looks so creamy.
Here I am bringing the color in from the outside edge onto the edges of the flowers. Ink Spot, Waimea Bay, Peacock Feathers, and some splatters of Glorious. It's like an Ombre affect. Light blending
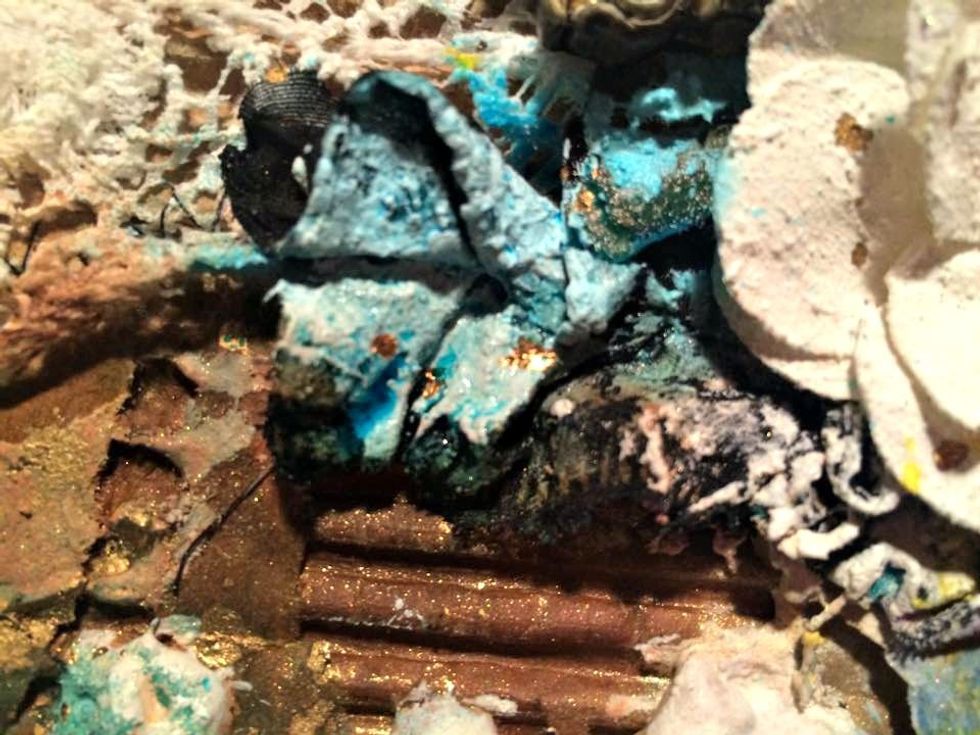
Be sure and let your misting dry between layers so things don't become muddy in color. I use my heat gun because I don't like to wait. It makes layering of colors and product much faster and easier.
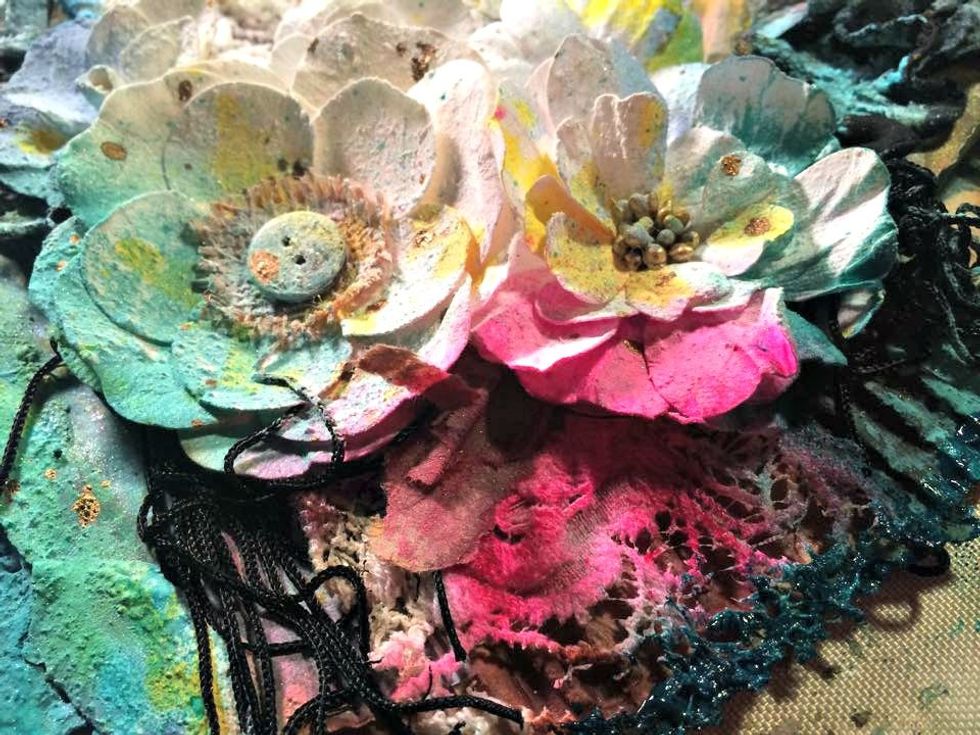
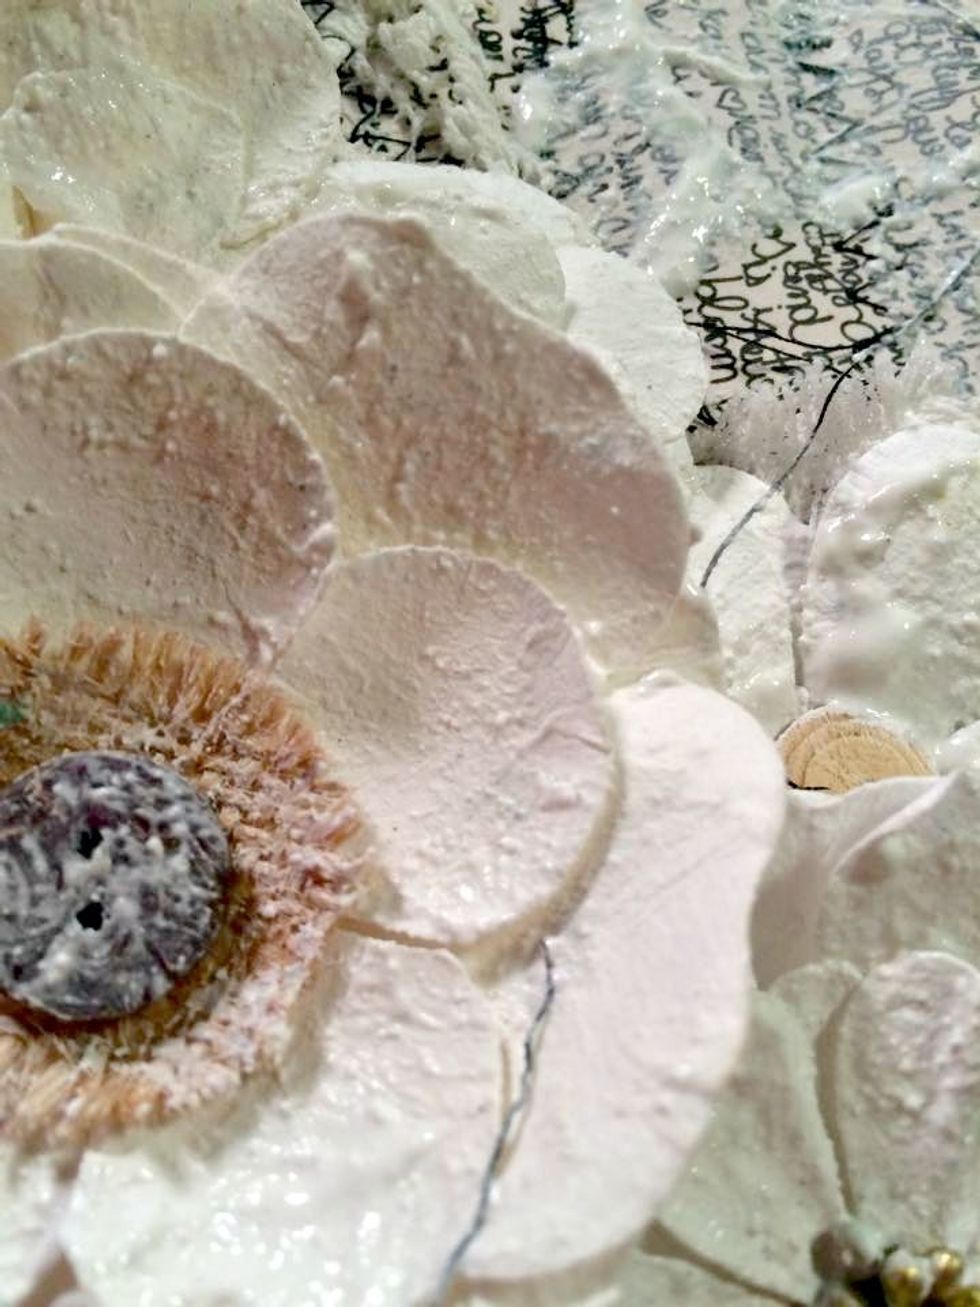
Just a close up of how I am misting and blending the colors together. Keeping the inside edges of the flowers white though. I wanted the contrast of the white against the color
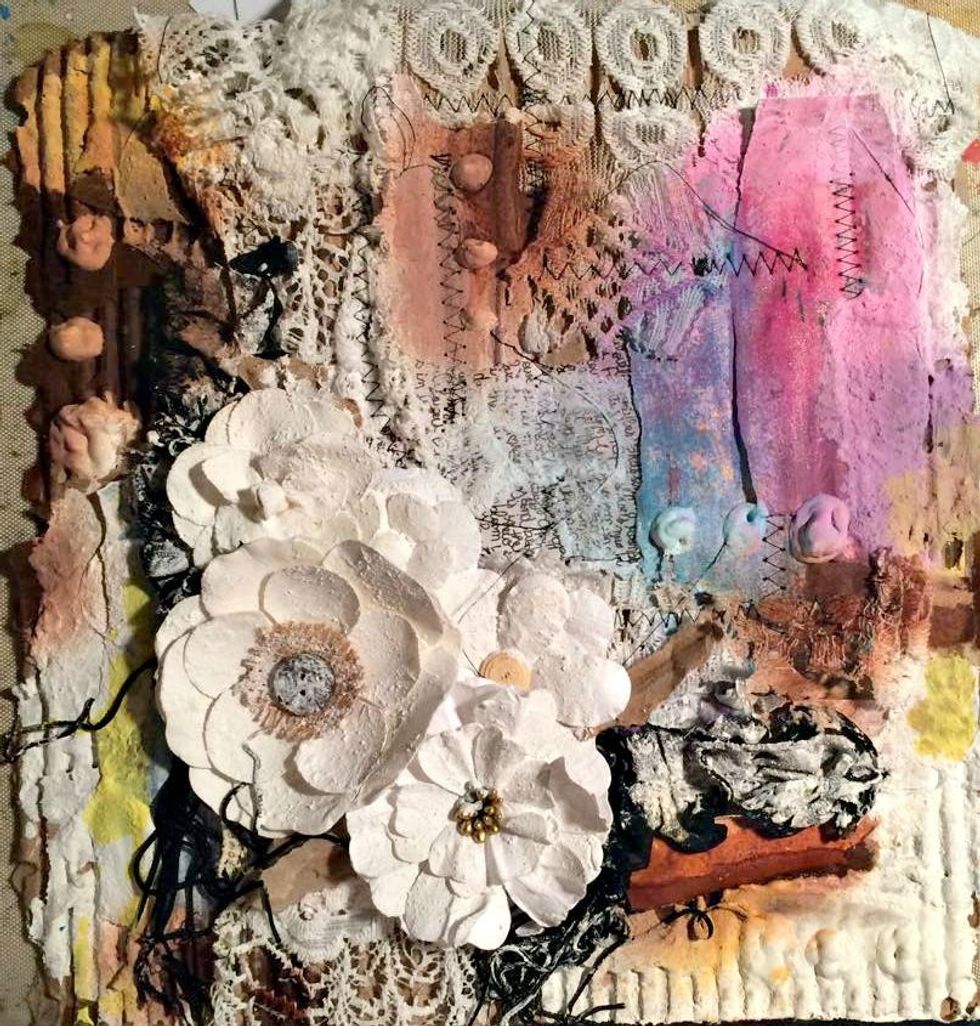
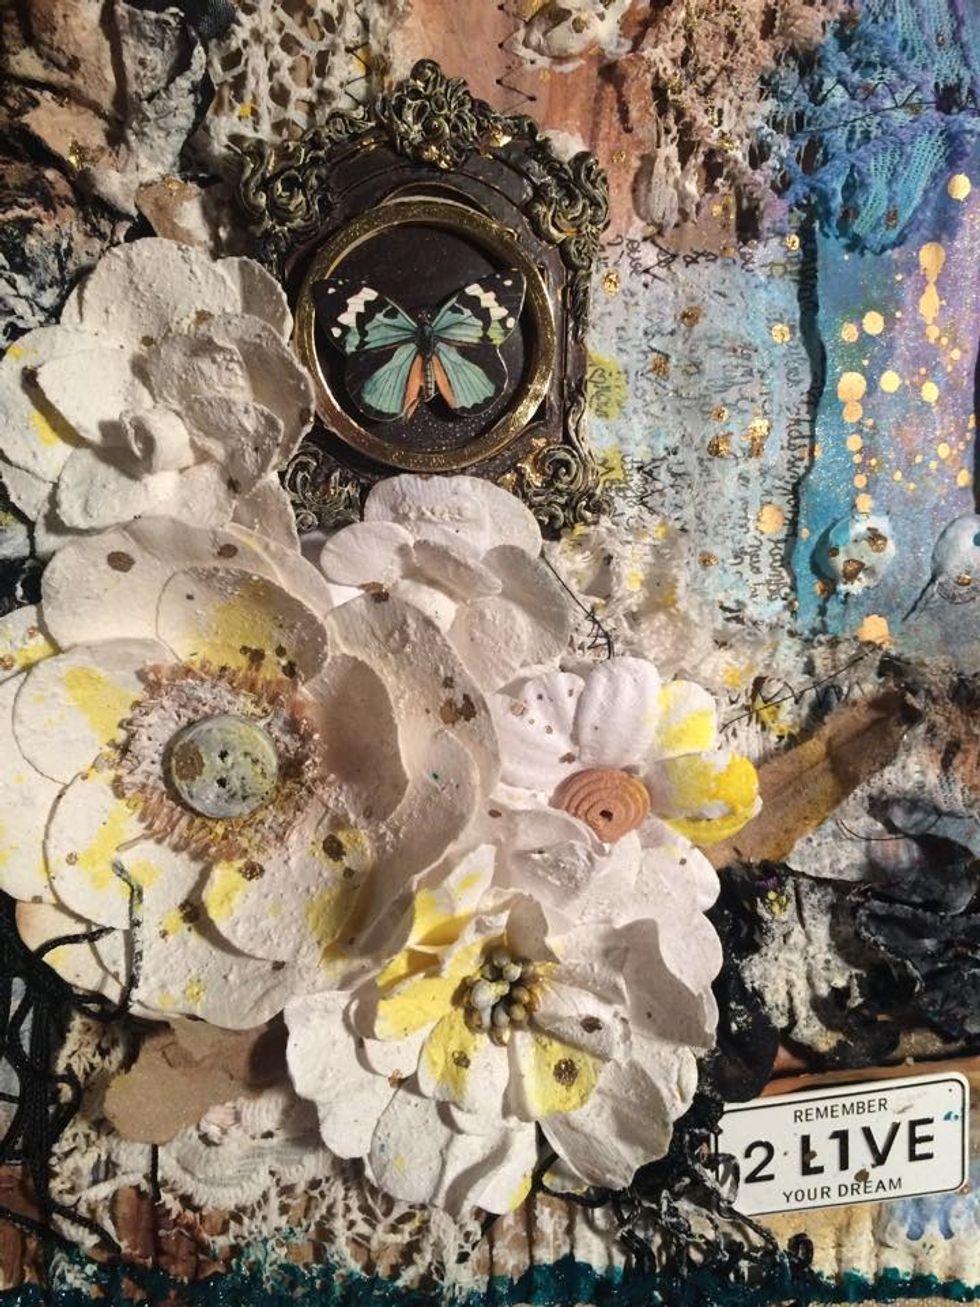
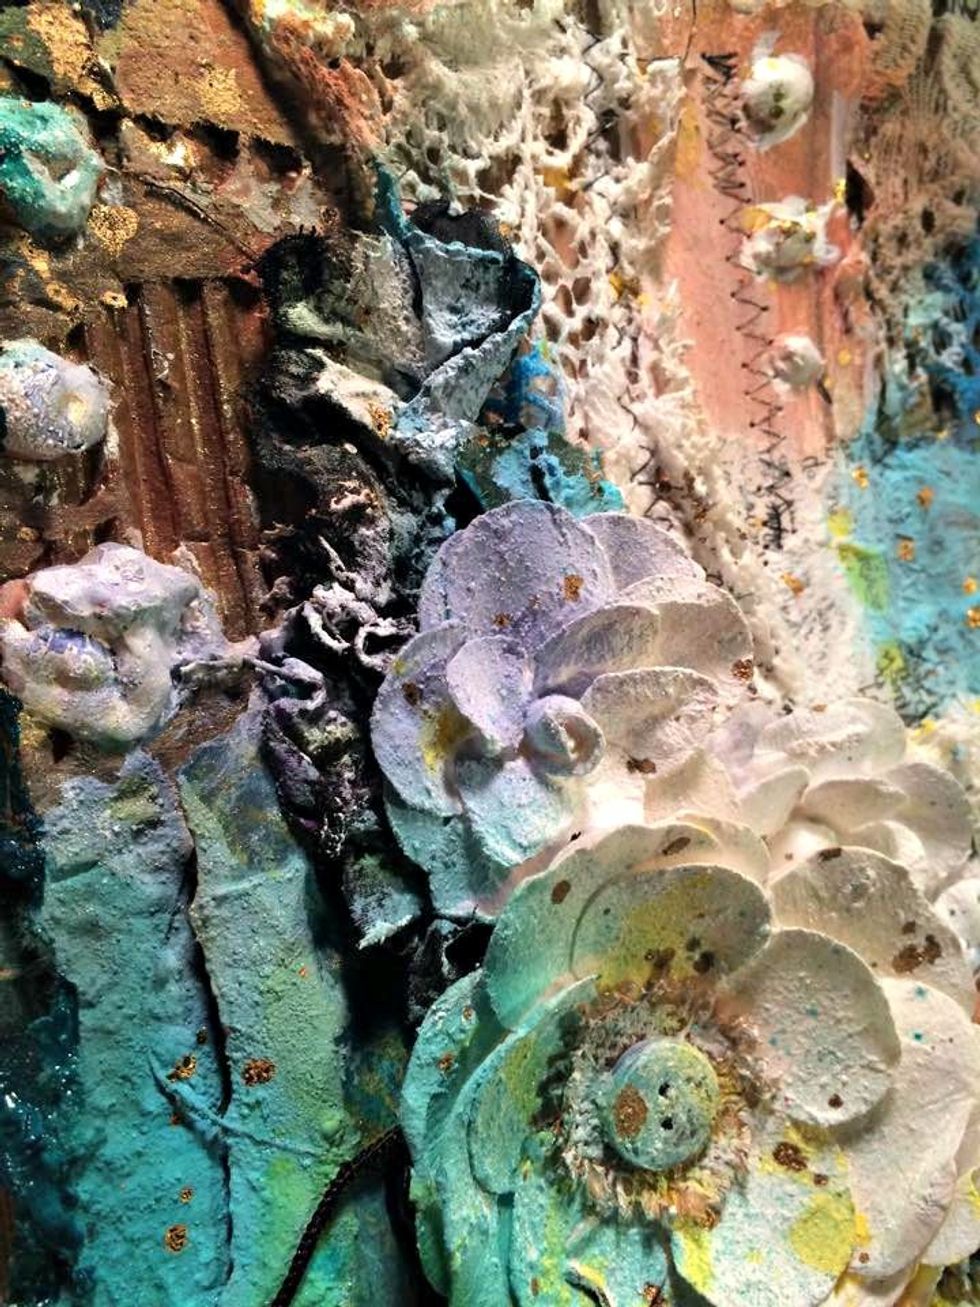
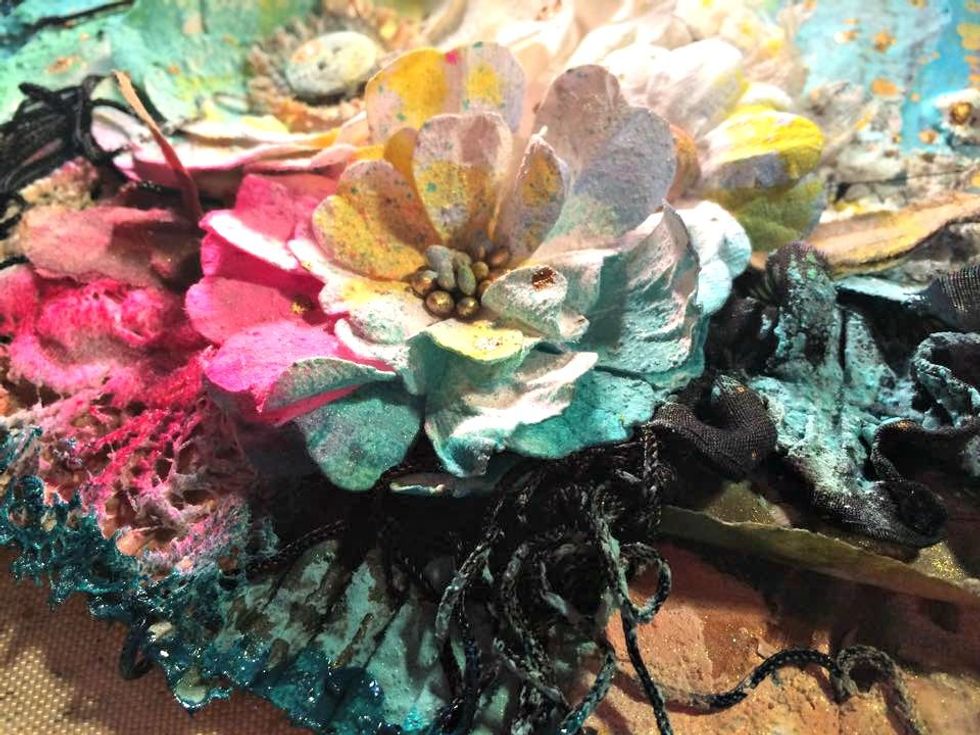
Here you can see all of the layers of color I have added. My embellishments are not glued down yet because I have stamping to do. I used butterfly stamp, white ink, and embossing powder
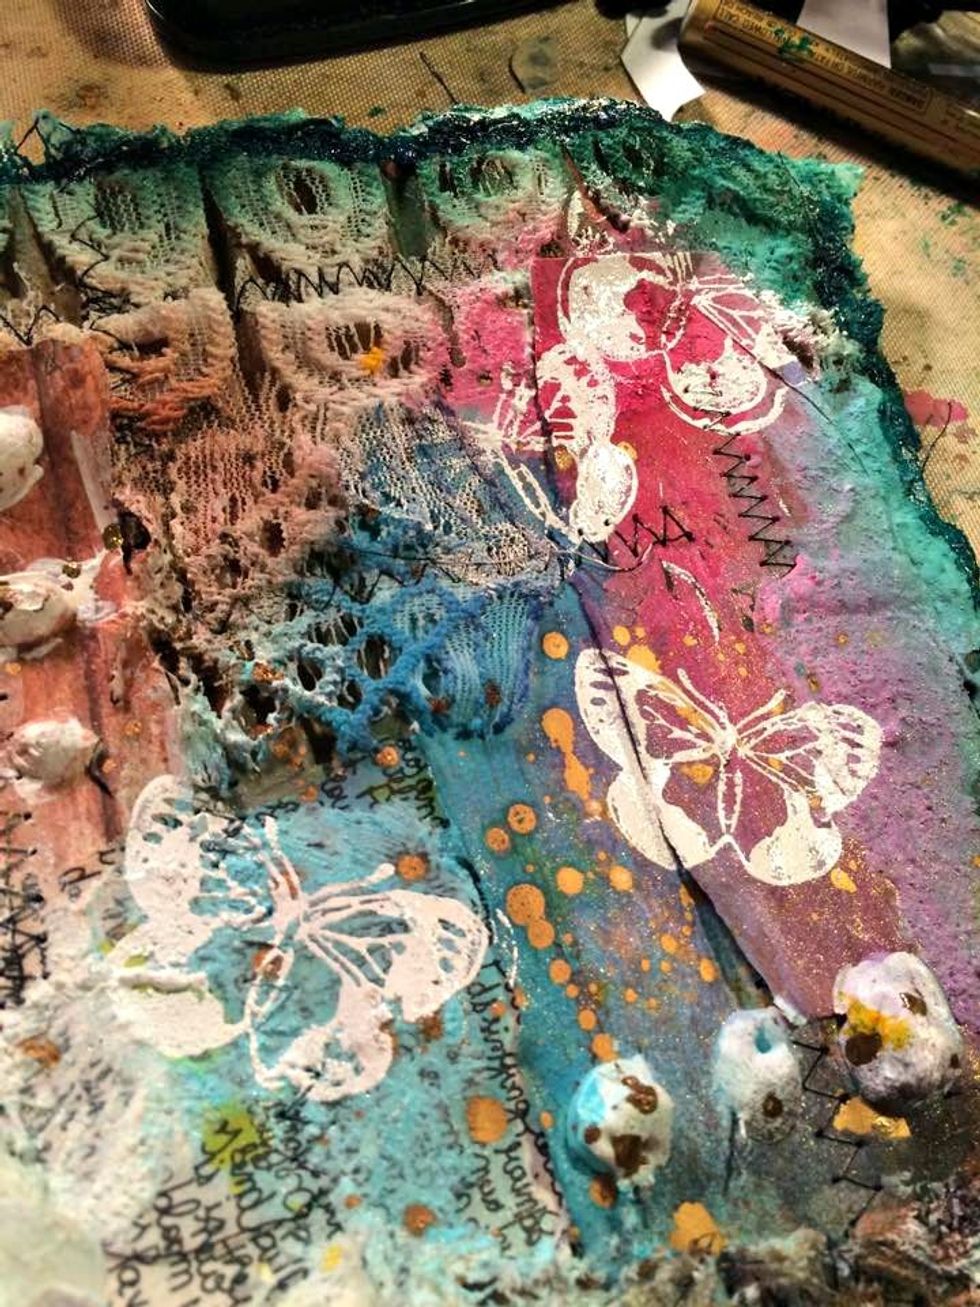
I stamped them so they looked like they were flying away from the flowers. Another layer on top of what we have already done. You can still see all the layers that have been created .
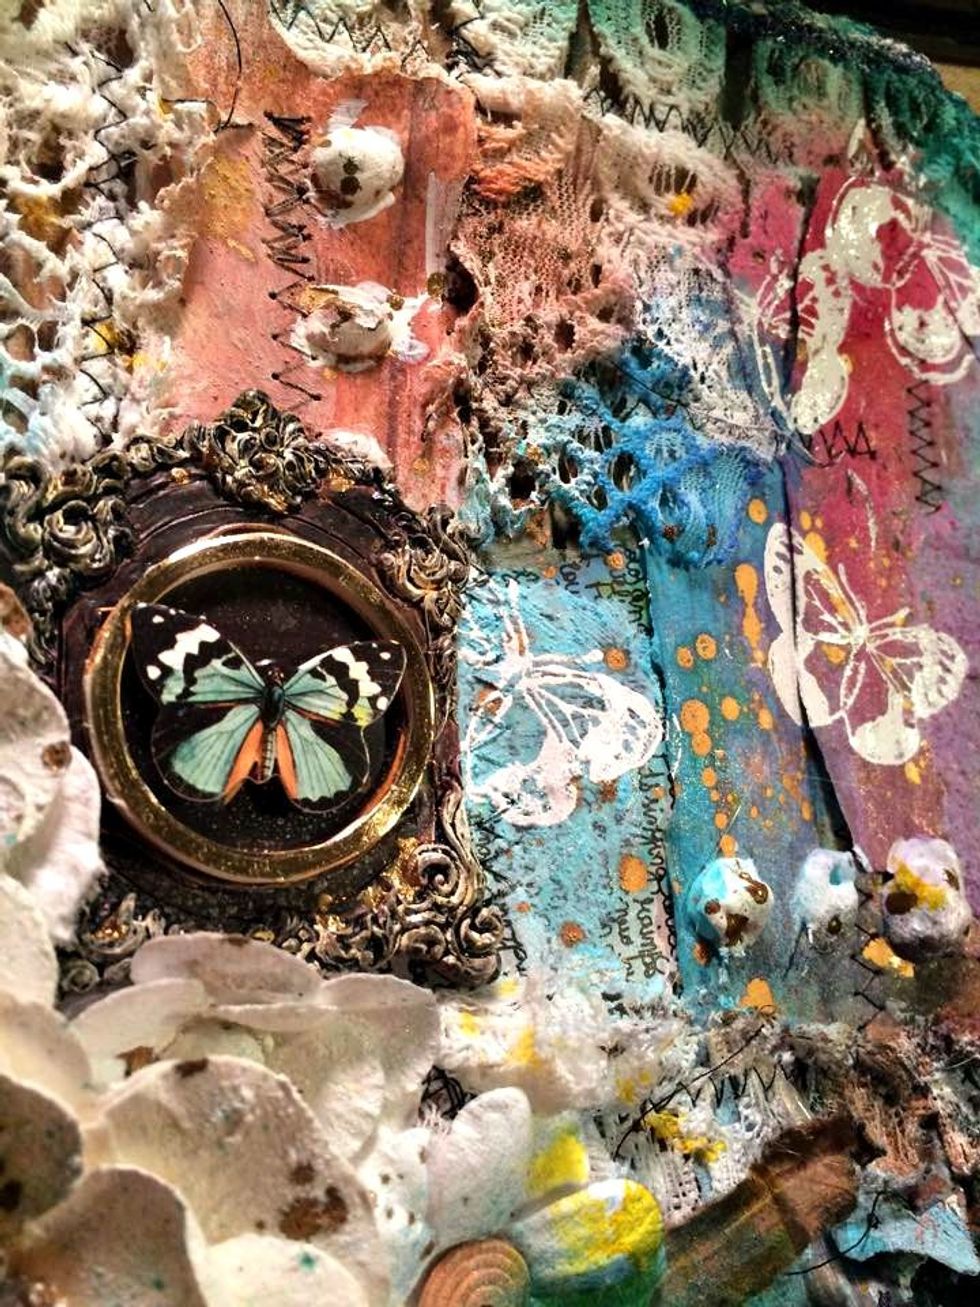
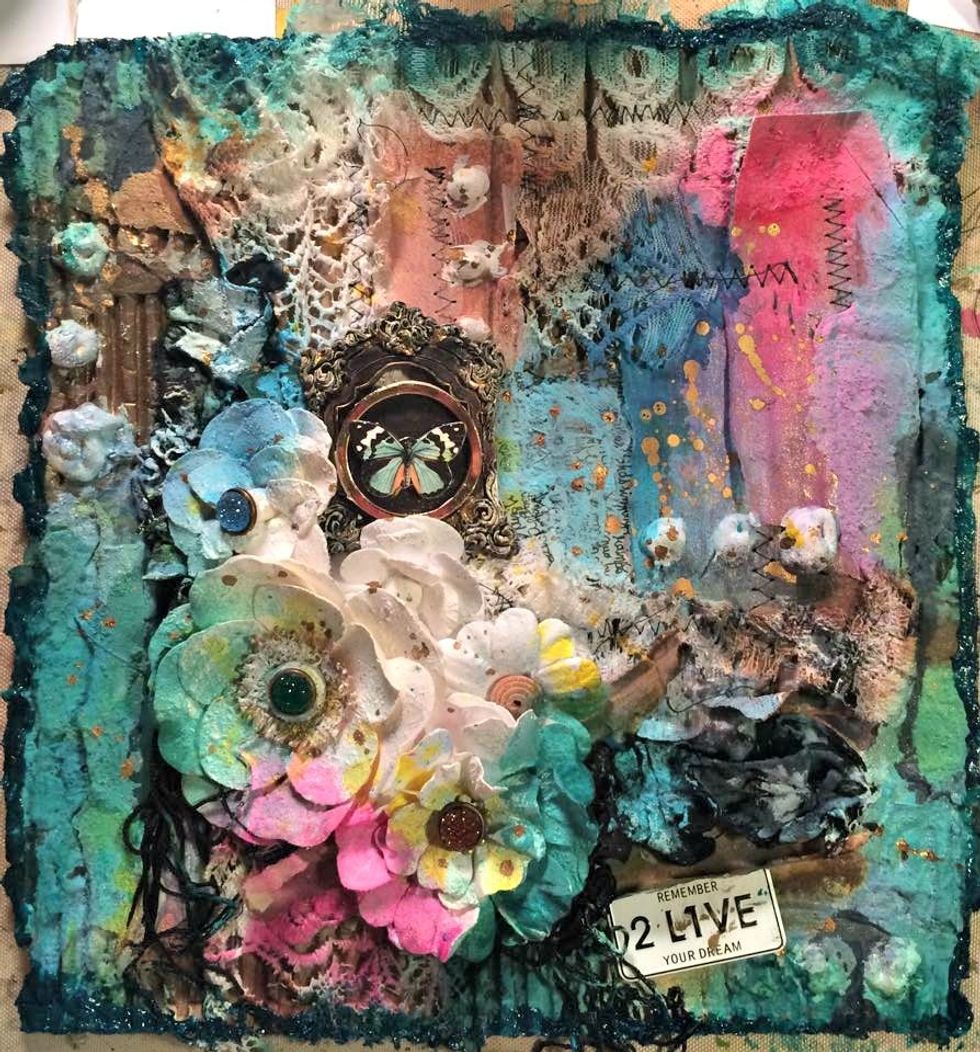
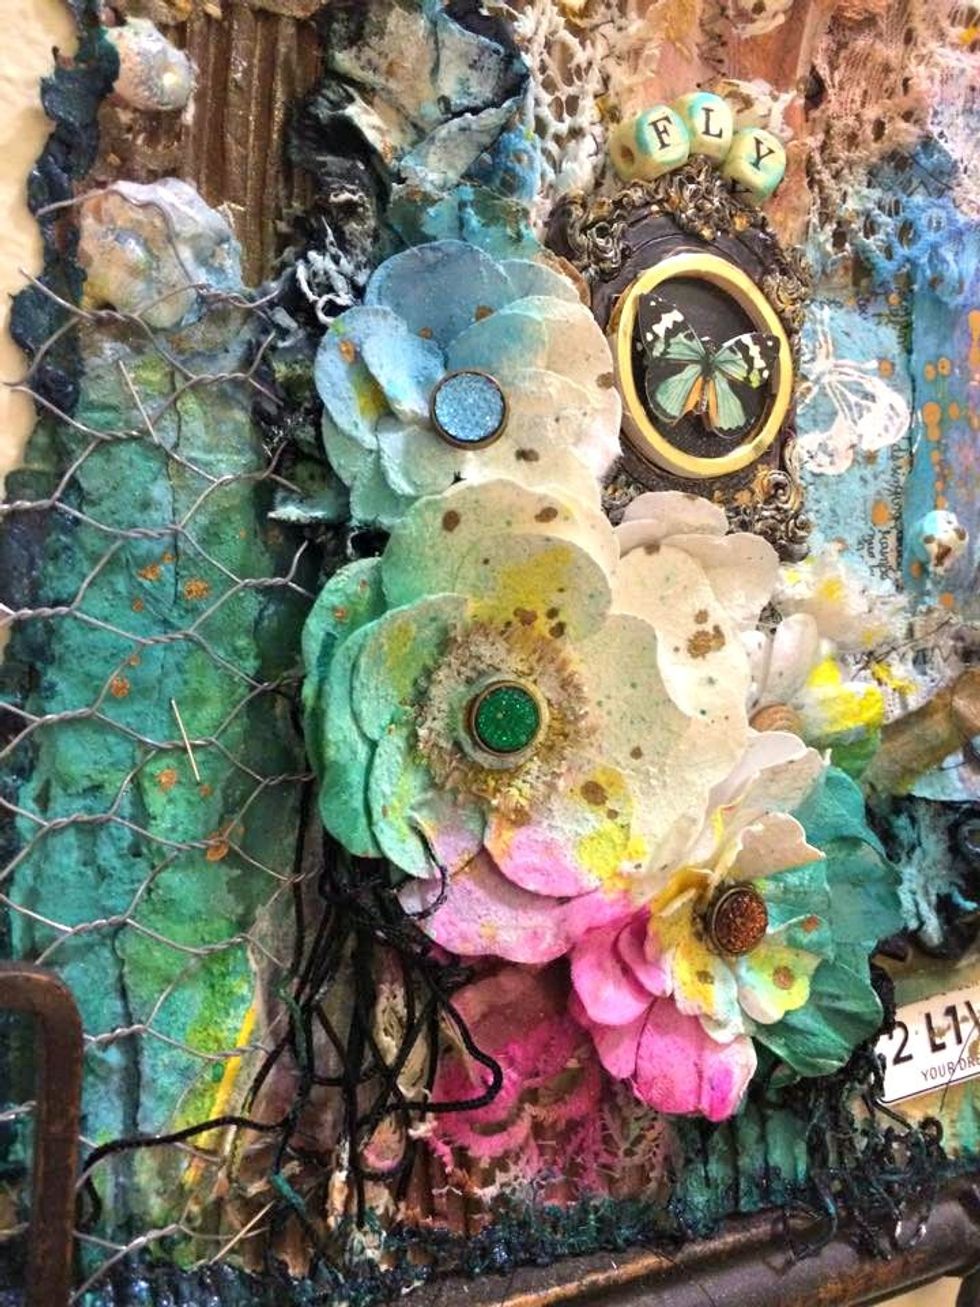
Now I glued down my ornate frame and glued a dimensional butterfly sticker on top of that. I also glued down the little license plate that says Remember 2 Live Your Dream
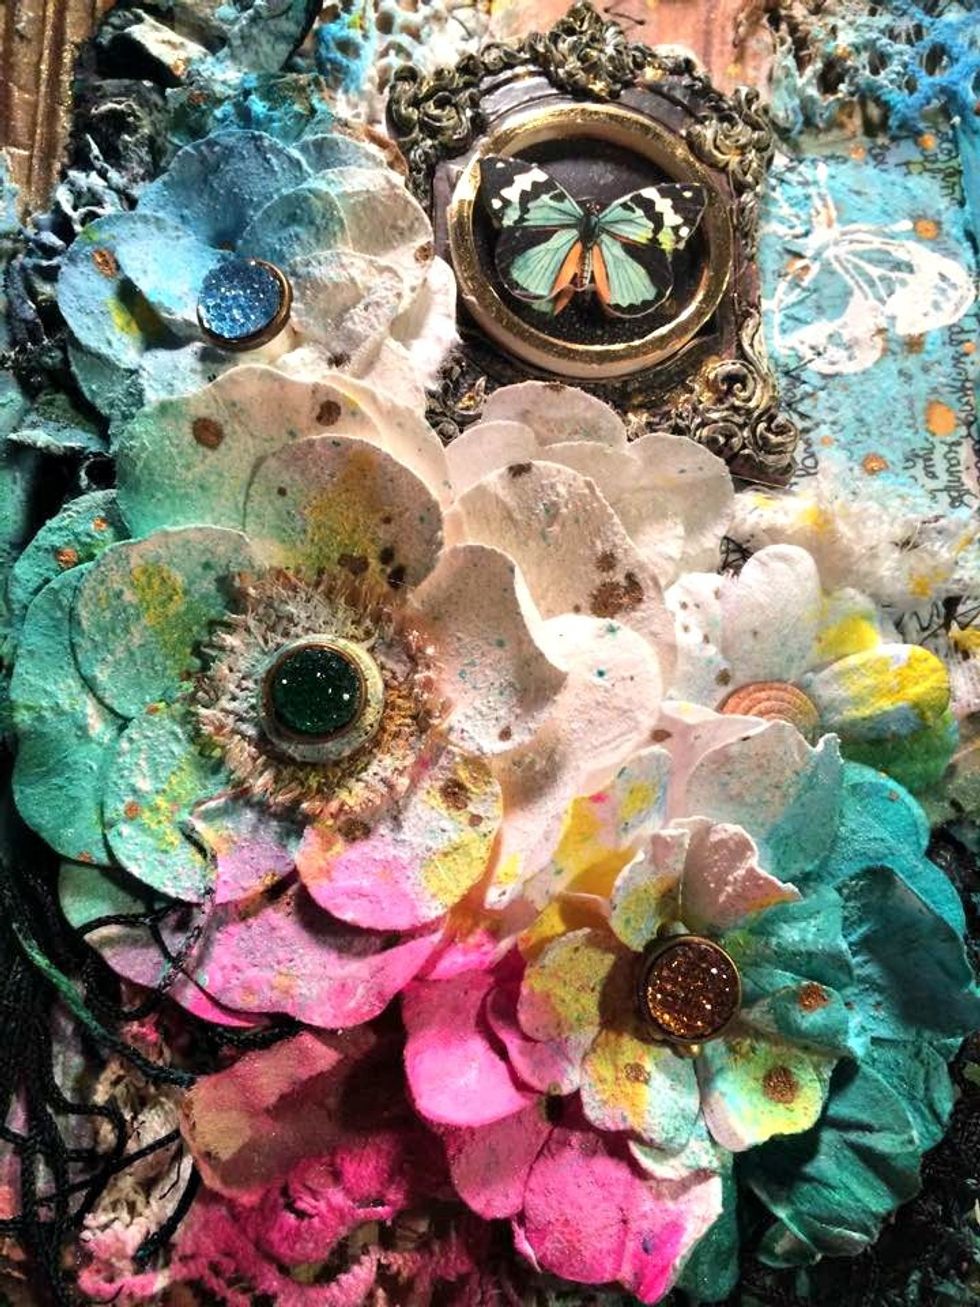
I also added jeweled centers to the flowers. Look at all the layers of texture and color. I wish you could feel it as well as see it in person. The gold shimmers and the colors are so beautiful
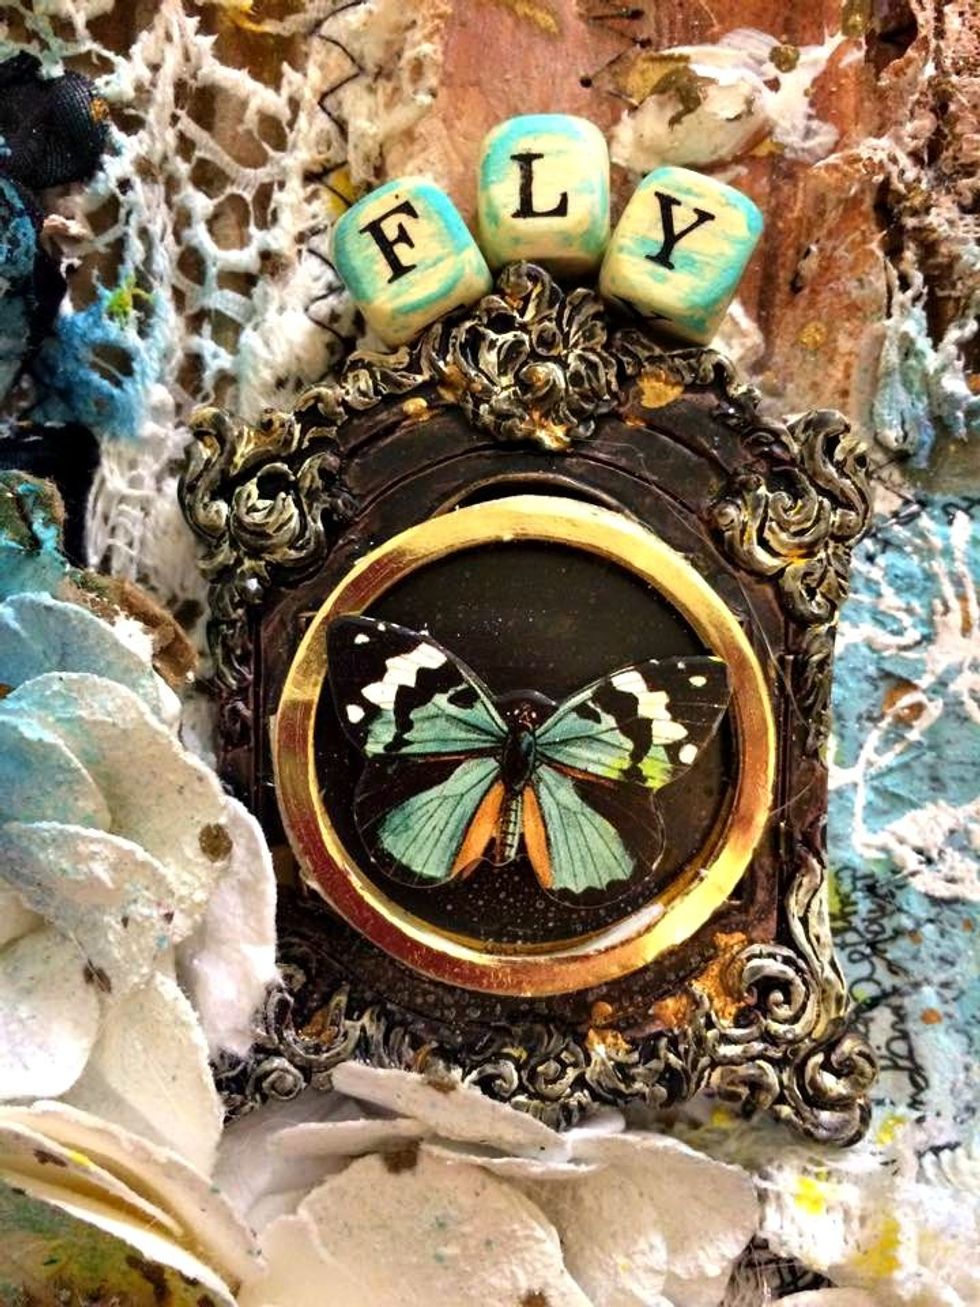
I got these little letter beads at Hobby Lobby in the jewelry section and they worked perfect. I misted them with Waimea Bay to give them a little color then glued them down with my glue gun
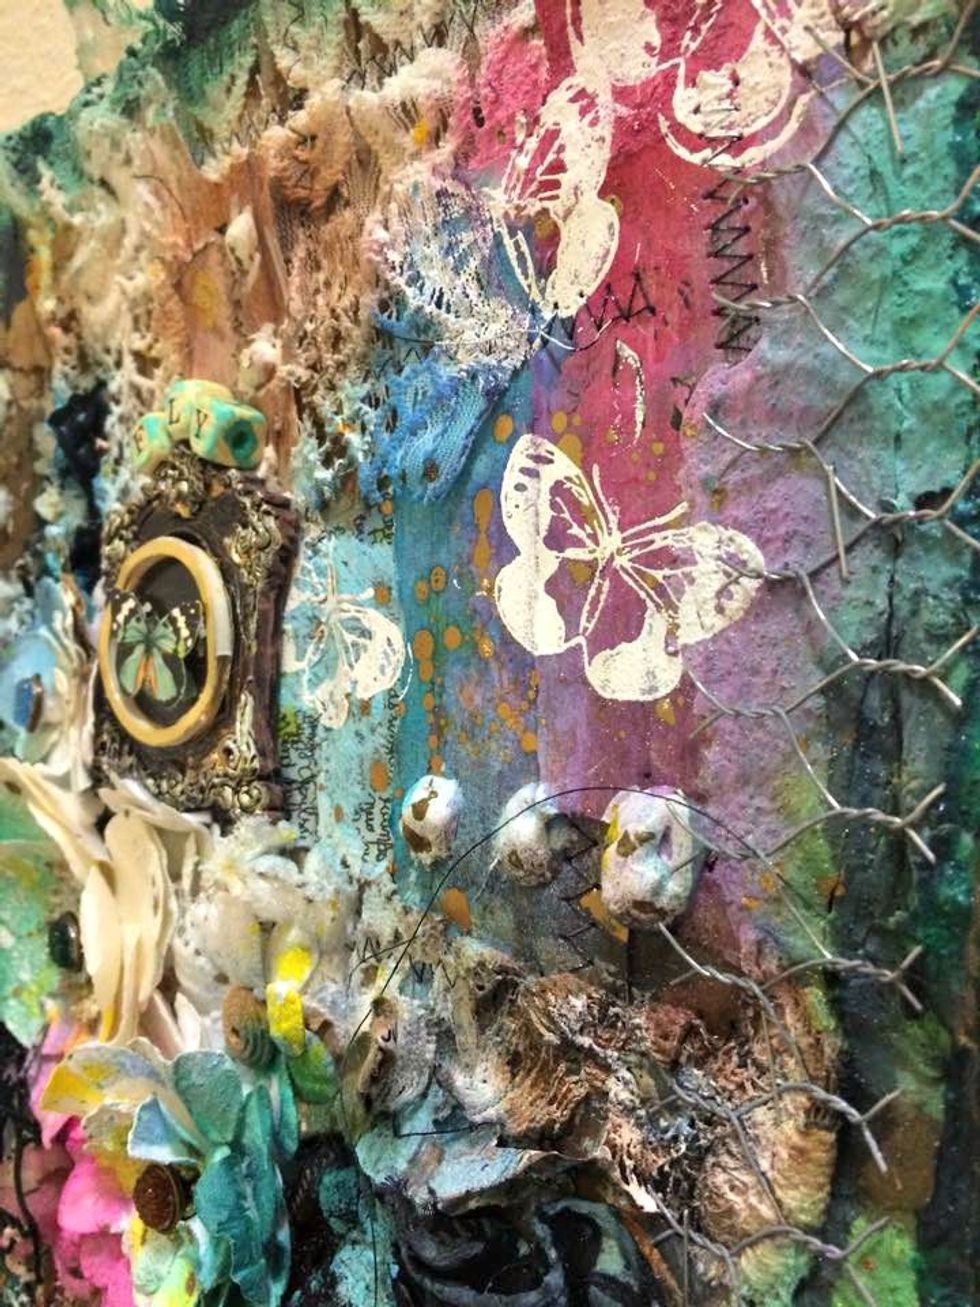
So I decided I wanted one more layer. I had some chicken wire and cut a piece for the right and left edge and stapled it down to the base. It was the final layer and I love how it looks
Here is the chicken wire on the left side of the project. I love all of these layers and after adding all of the AA Mists and products it looks so different than when I started. BEAUTIFUL...
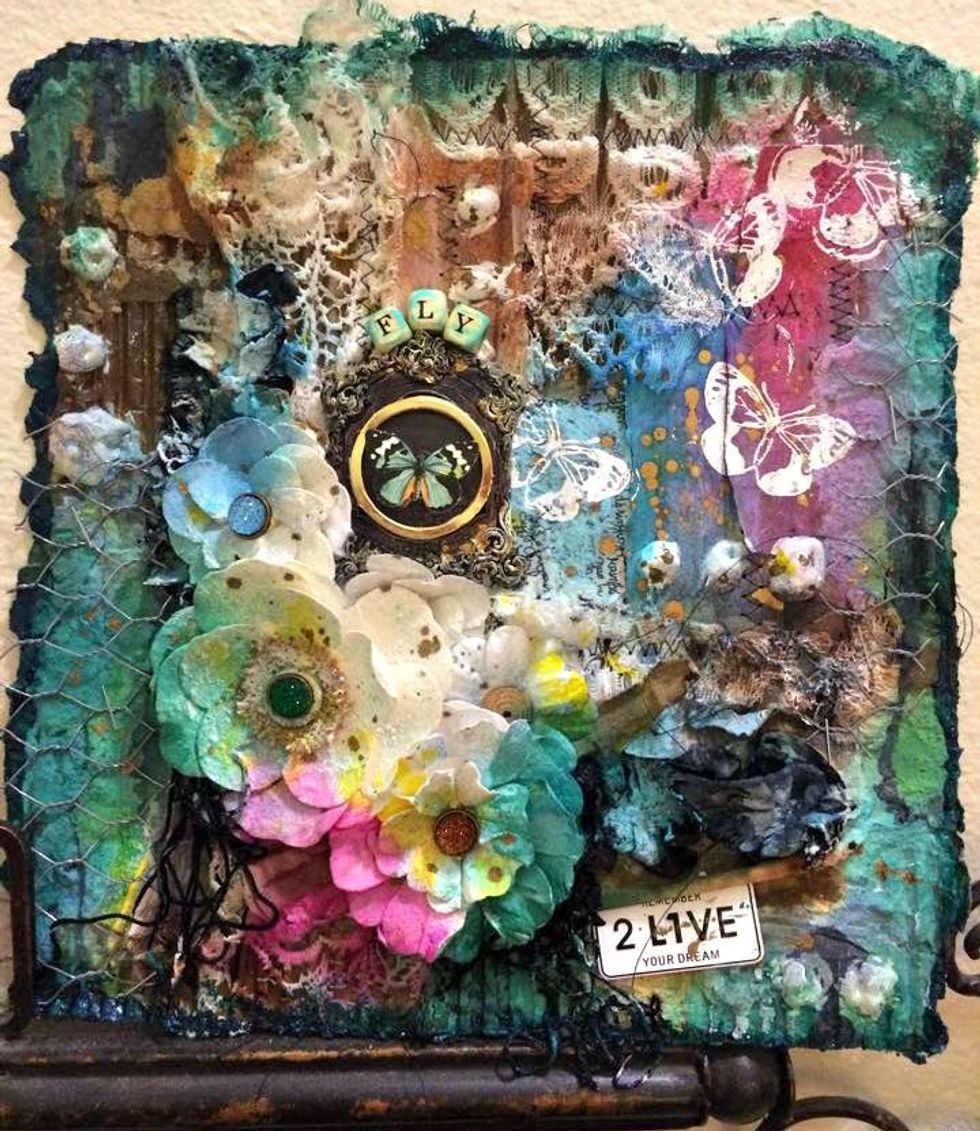
Here is the completed Piece. I think I am going to add a lace and ribbon hanger to it and take it to work and hang it up in my office. Hope I've inspired you to make a layered project. x0x0x Monica.
Be sure and check out the Art Anthology Blog http://artanthologyinc.com/blog/ for our other projects and links to the snapguide. Have a beautiful Everything.