The Conversation (0)
Sign Up
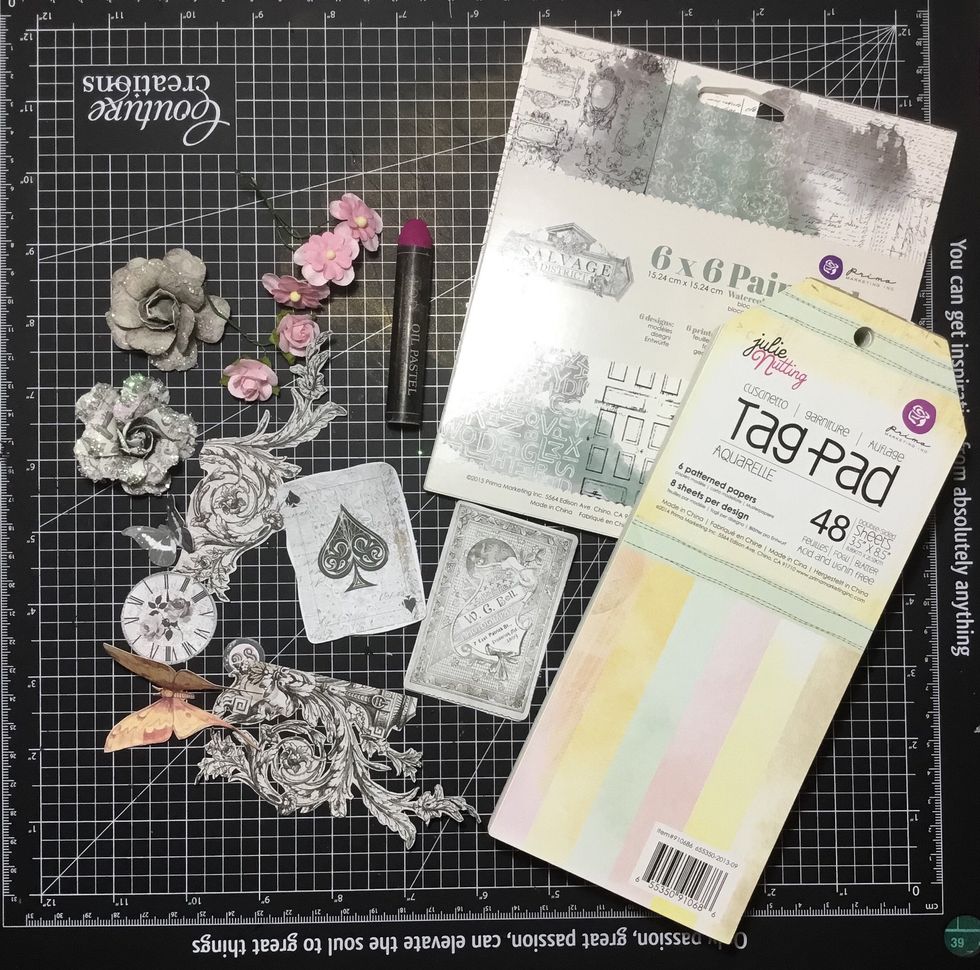
These are the materials you will need to complete the tag. The butterfly was fussy cut from Tales Of You & Me paper and the other fussy cut floral images were cut from the 6x6 Salvage District paper.
To create this tag I have cut one of the Julie Nutting tags in half. I then used this tag to to roughly cut another tag from the Salvage District Paintable Pad for layering.
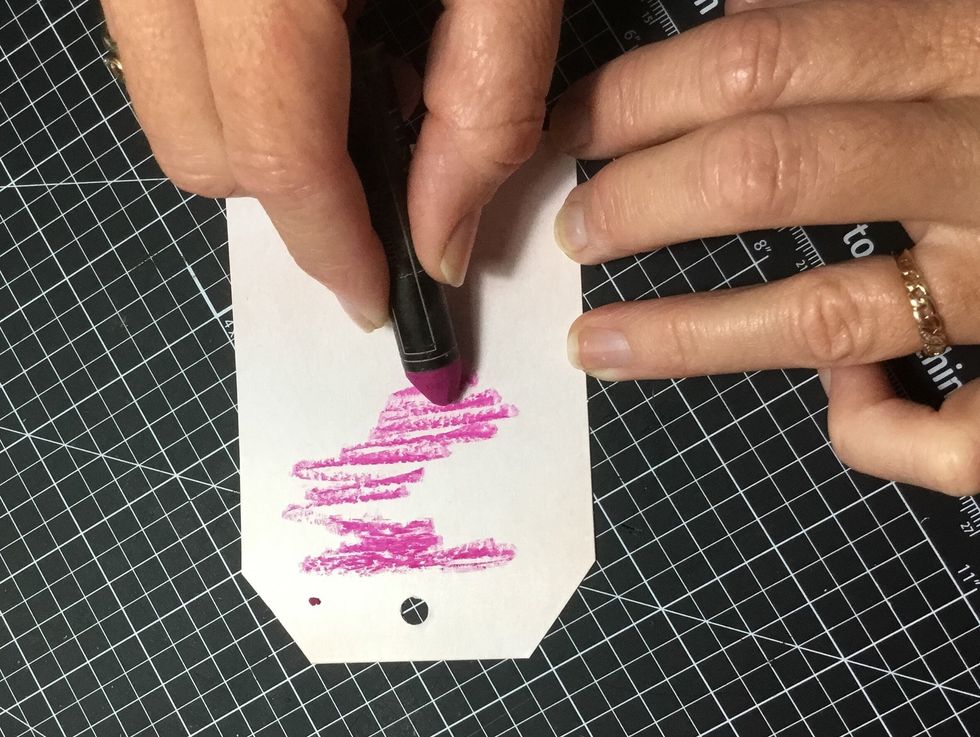
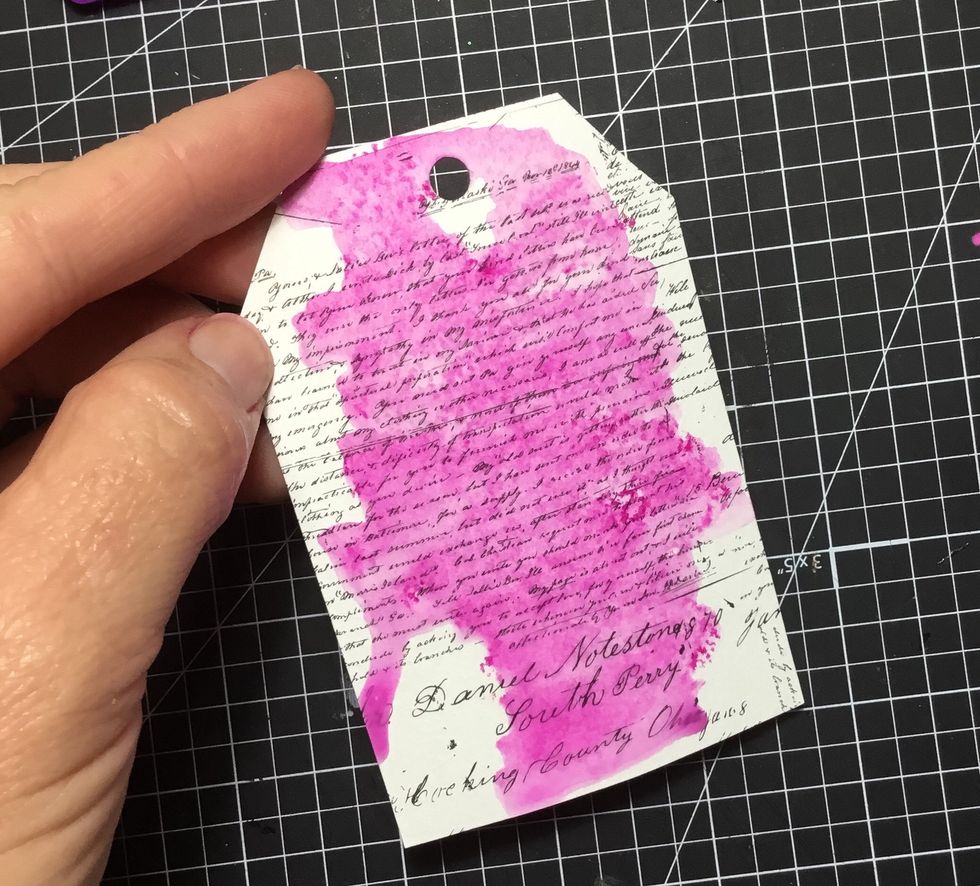
Apply the Magenta watercolour oil pastel to the backing tag as shown.
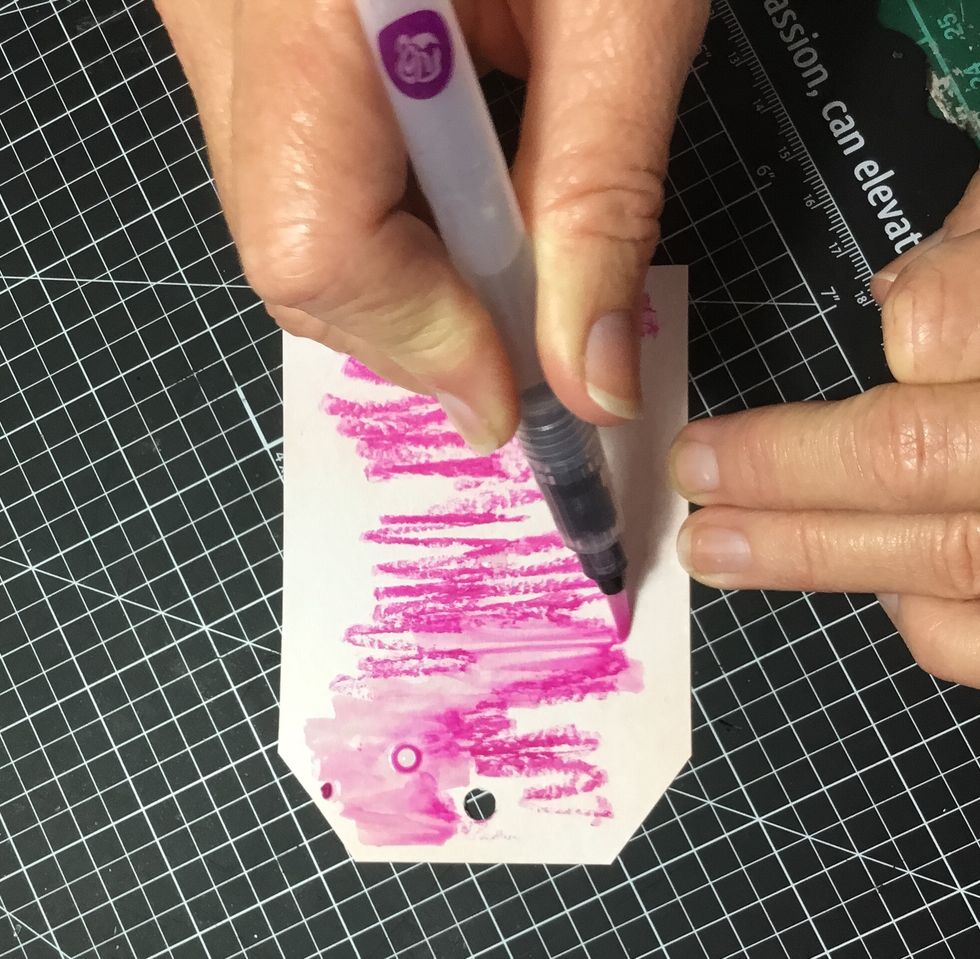
Using a watercolour pen, start blending the watercolour oil pastel.
Keep blending until tag is covered.
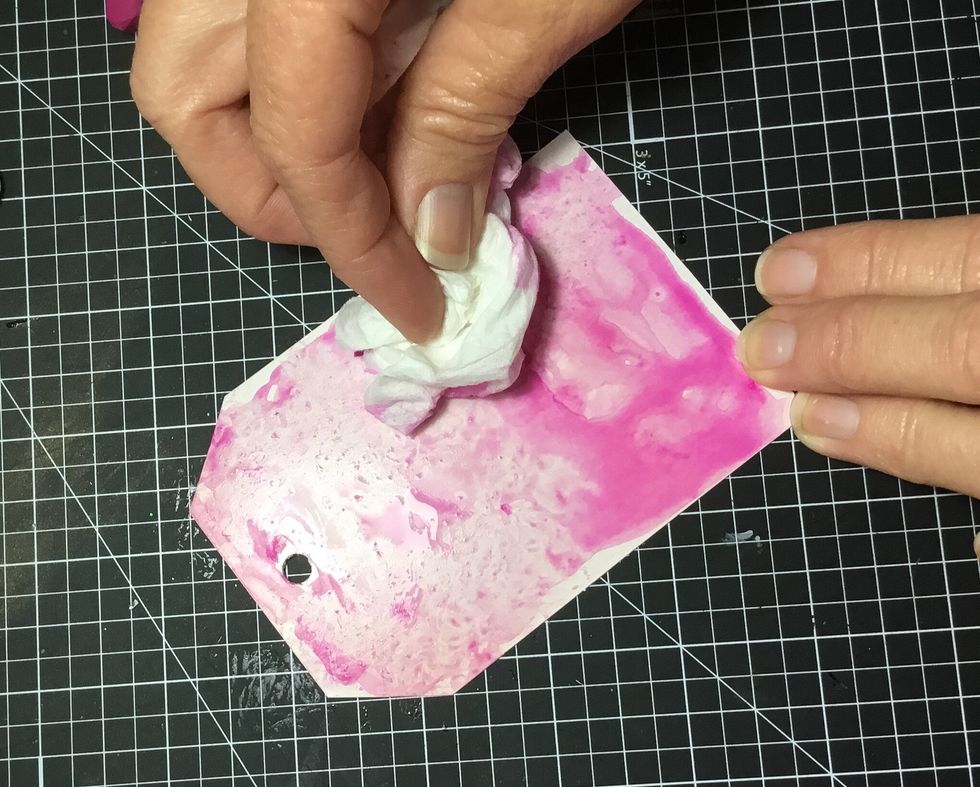
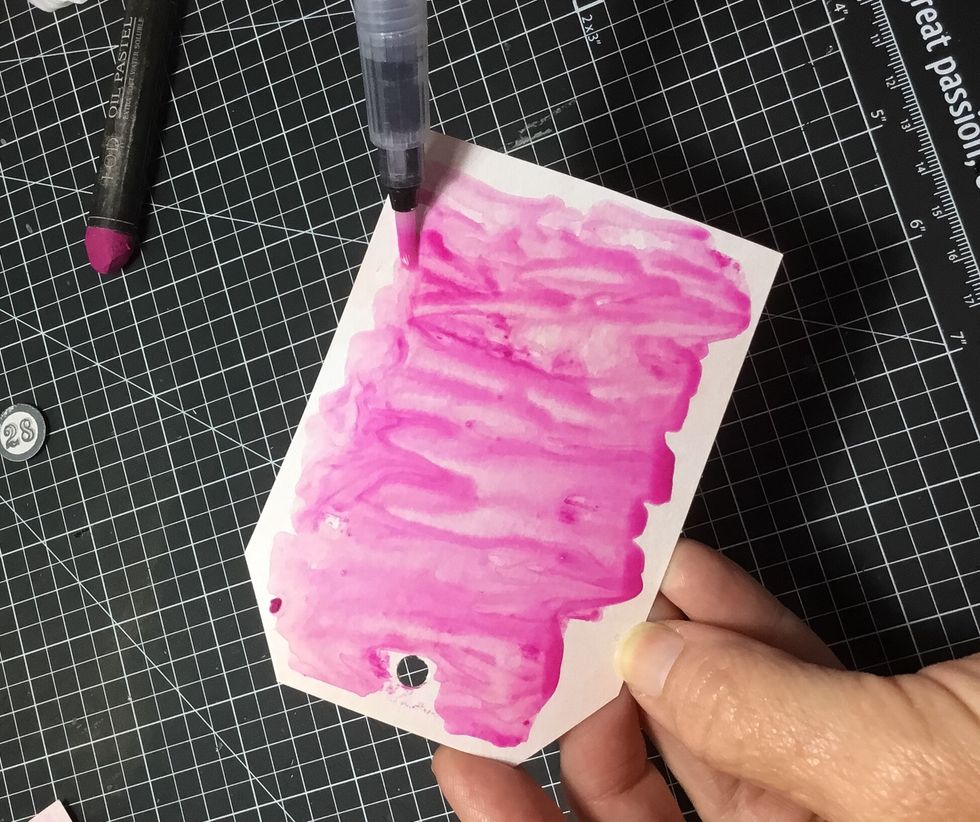
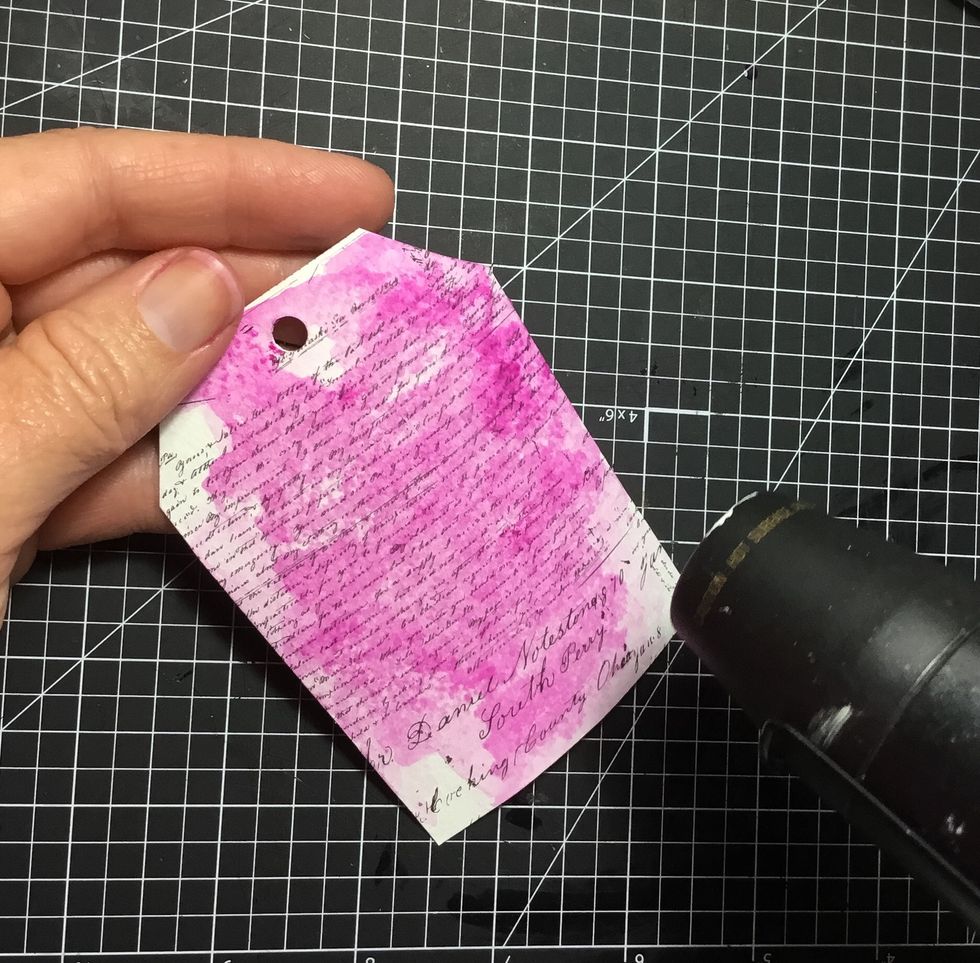
To give a mottled effect, dab off excess colour with a tissue.
Dry with heat gun.
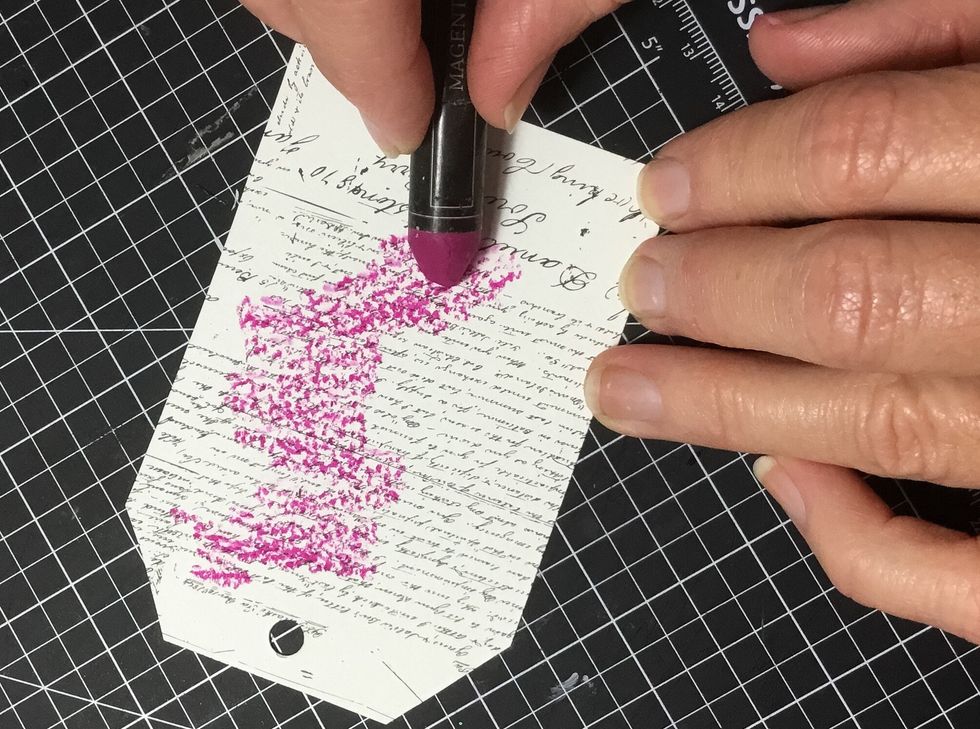
Now apply the watercolour oil pastel to the watercolour Salvage District paintable tag.
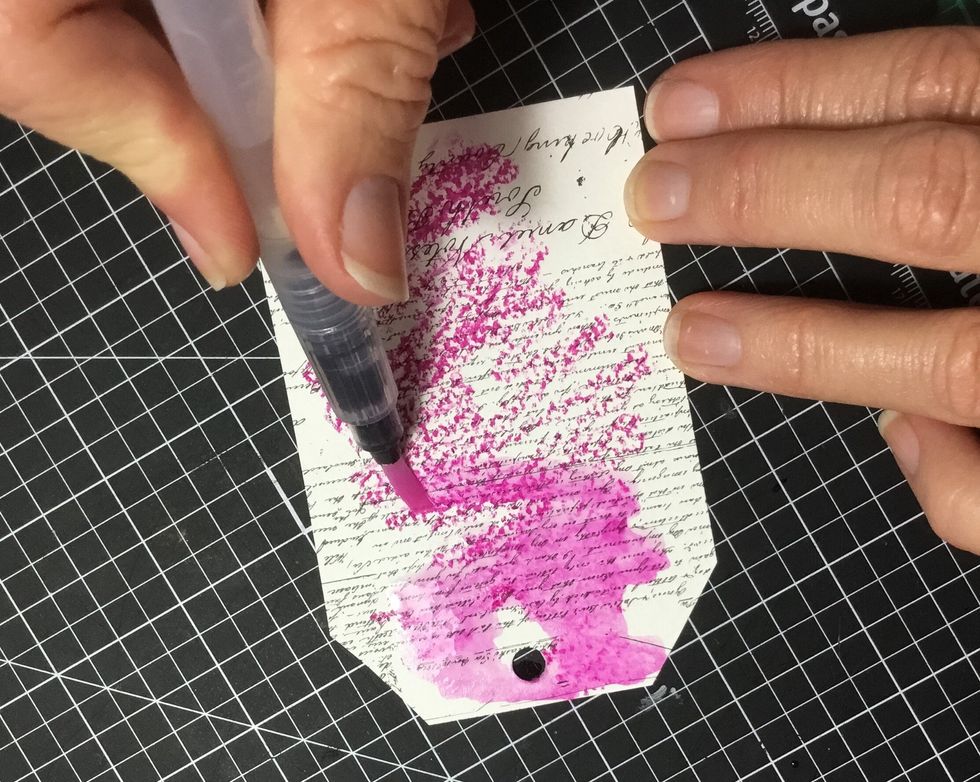
Again, blend the oil pastel.
Apply more water to allow the colour to run.
Once happy with the colour and blending, dry with heat gun.
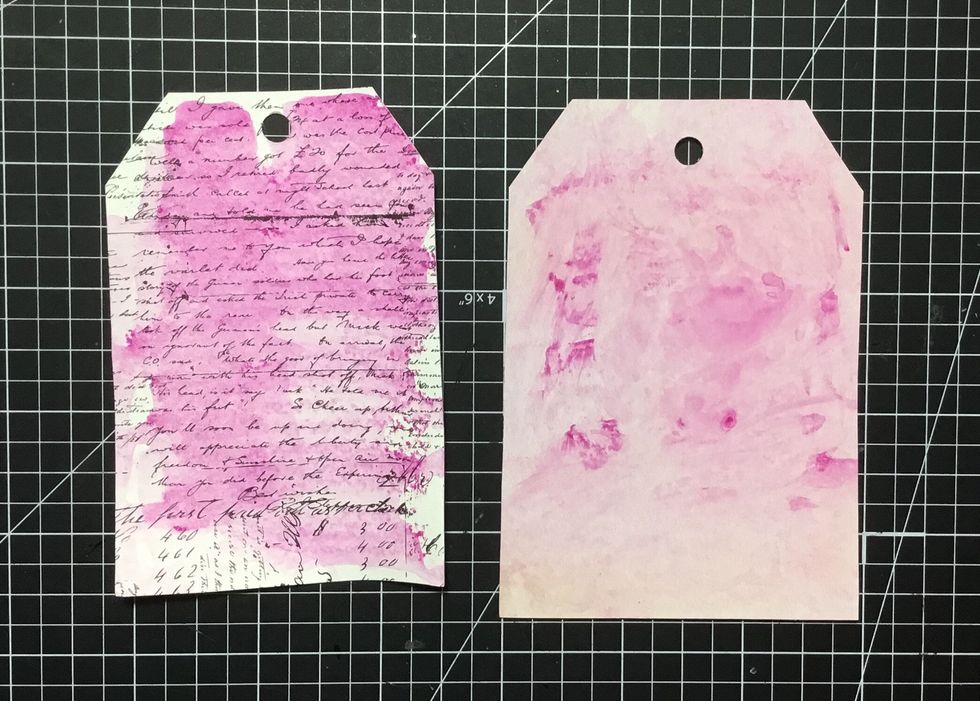
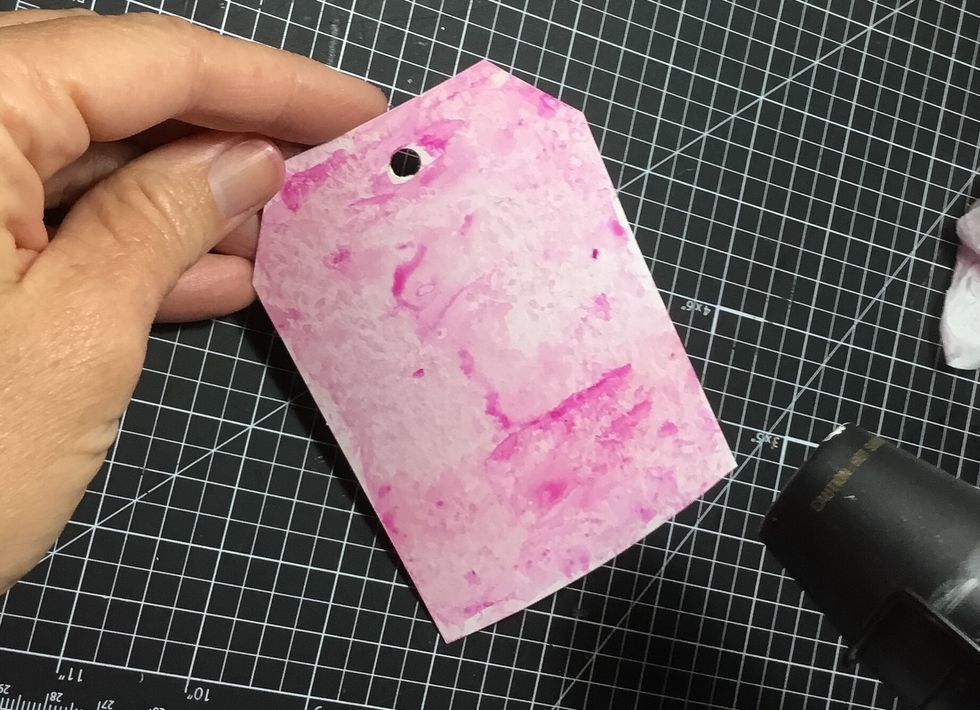
These tags are dry and ready for layering.
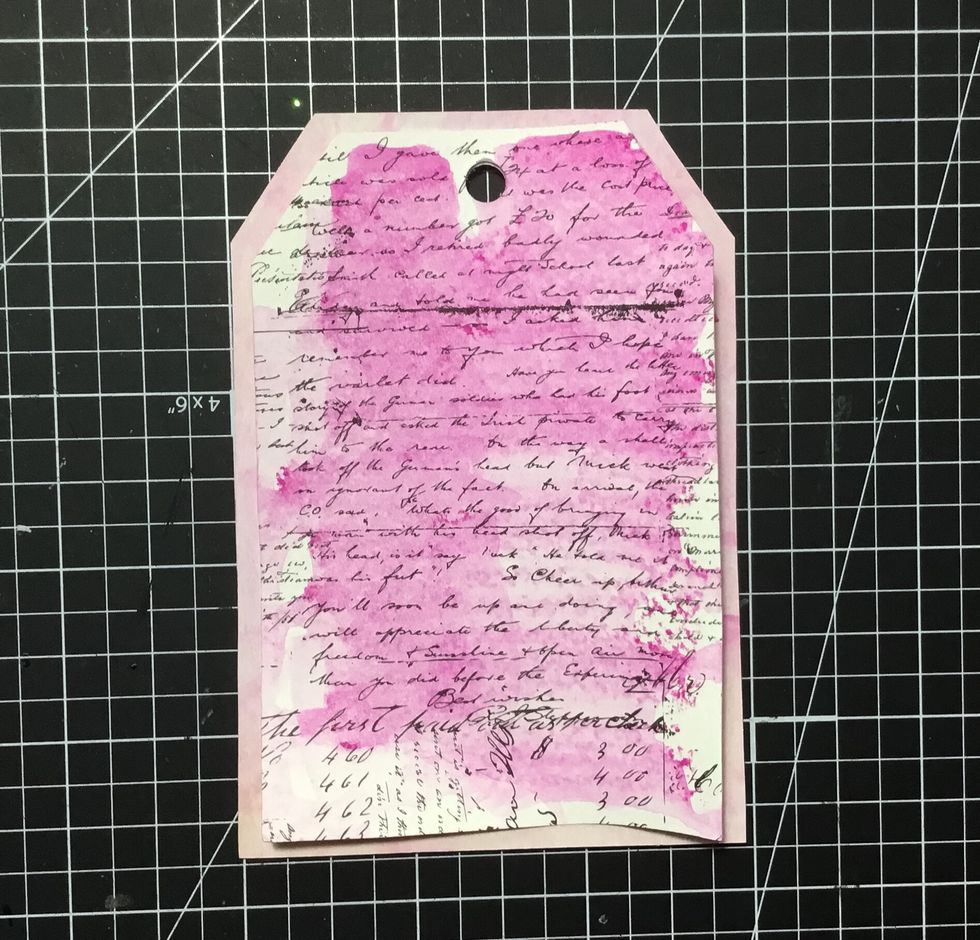
Layer tags as shown.
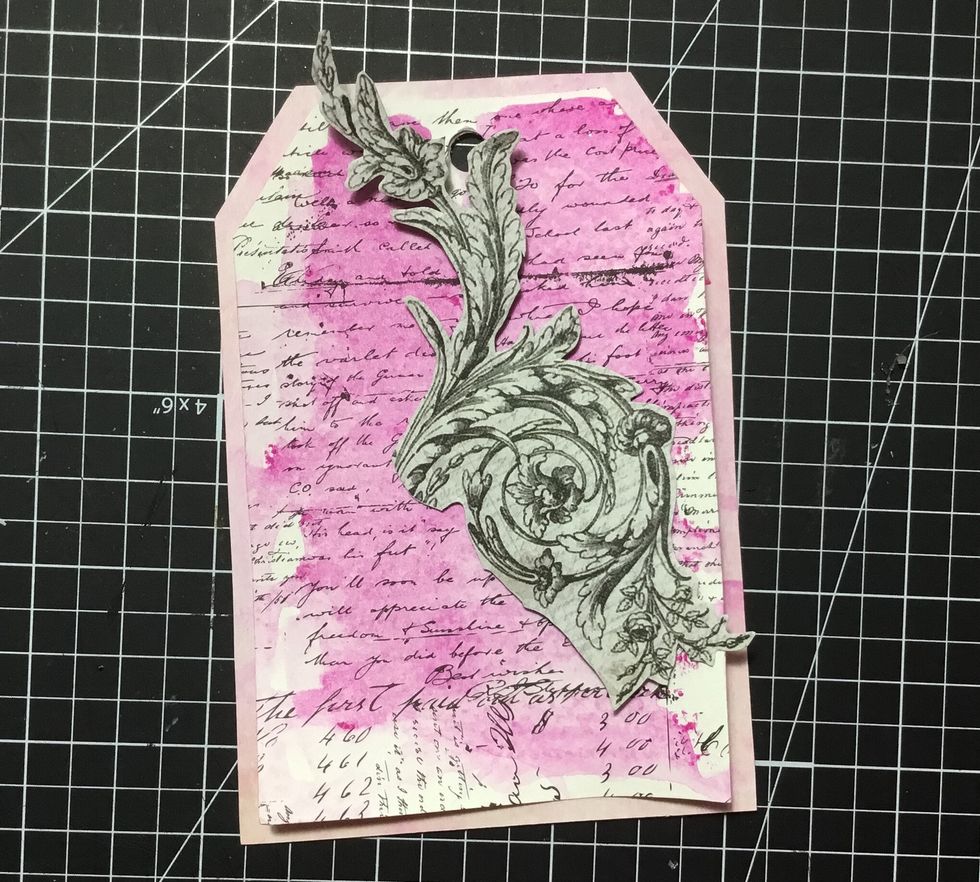
Start layering fussy cut pieces as shown.
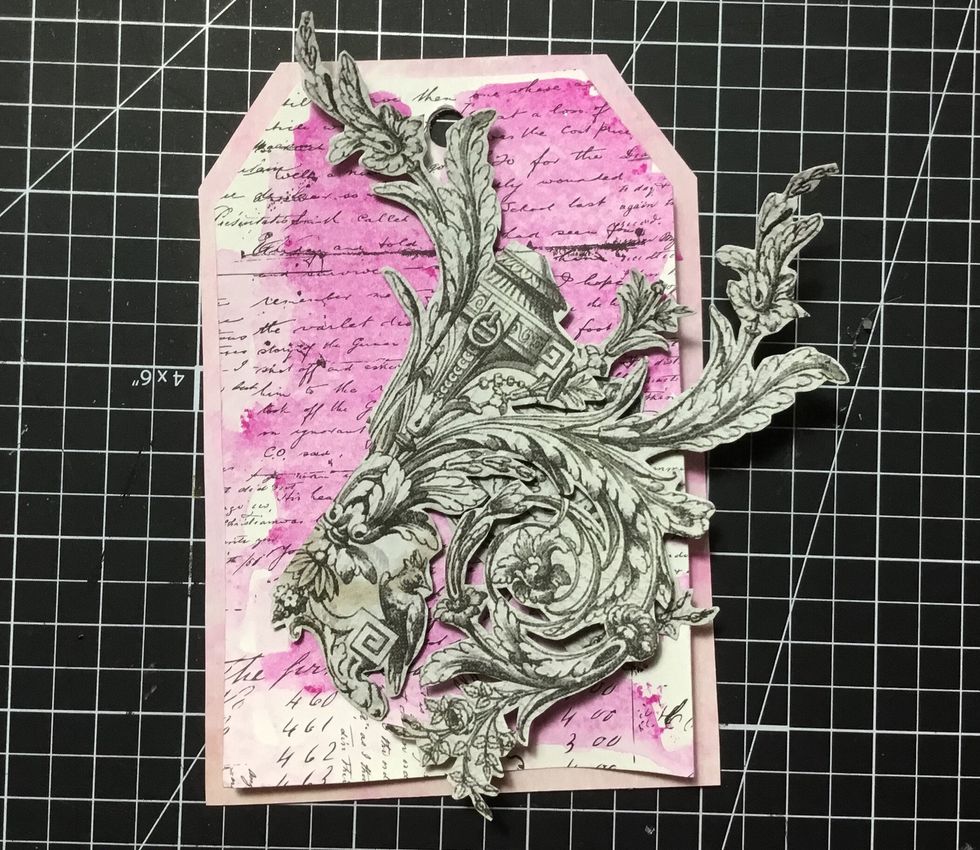
Layer next fussy cut piece as shown. To create extra dimension, I have used 3D foams dots to attach.
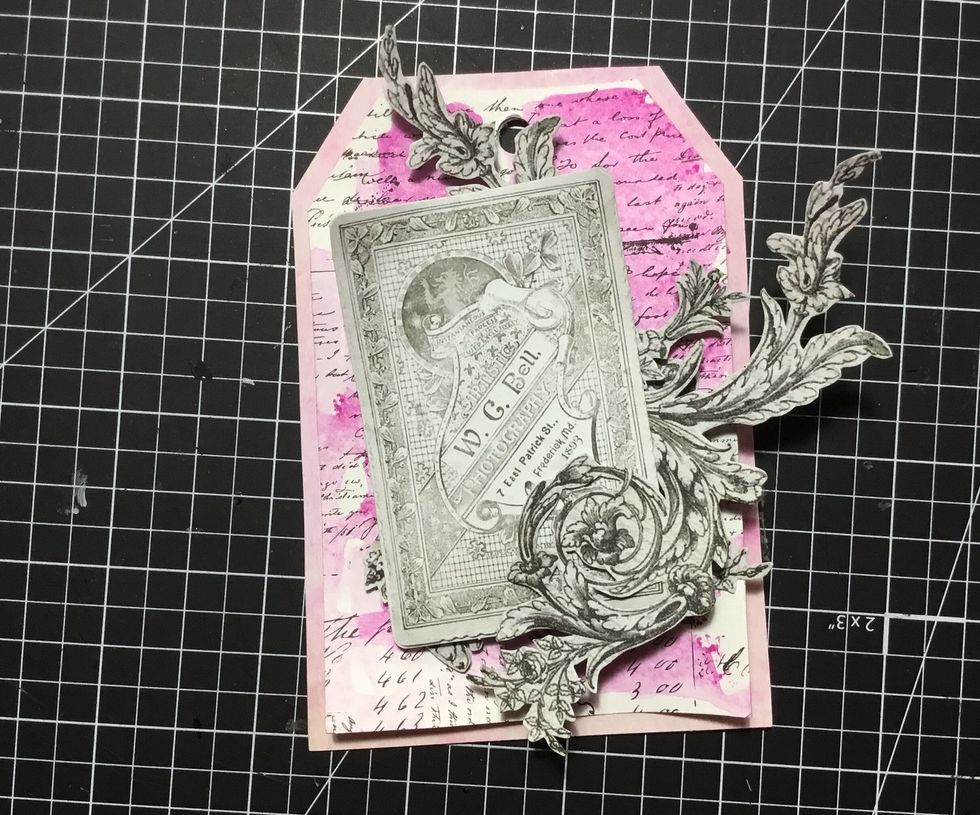
Attach card image from Salvage District Ephemera pack as shown.

Attach other card image from Salvage District Ephemera pack as shown.
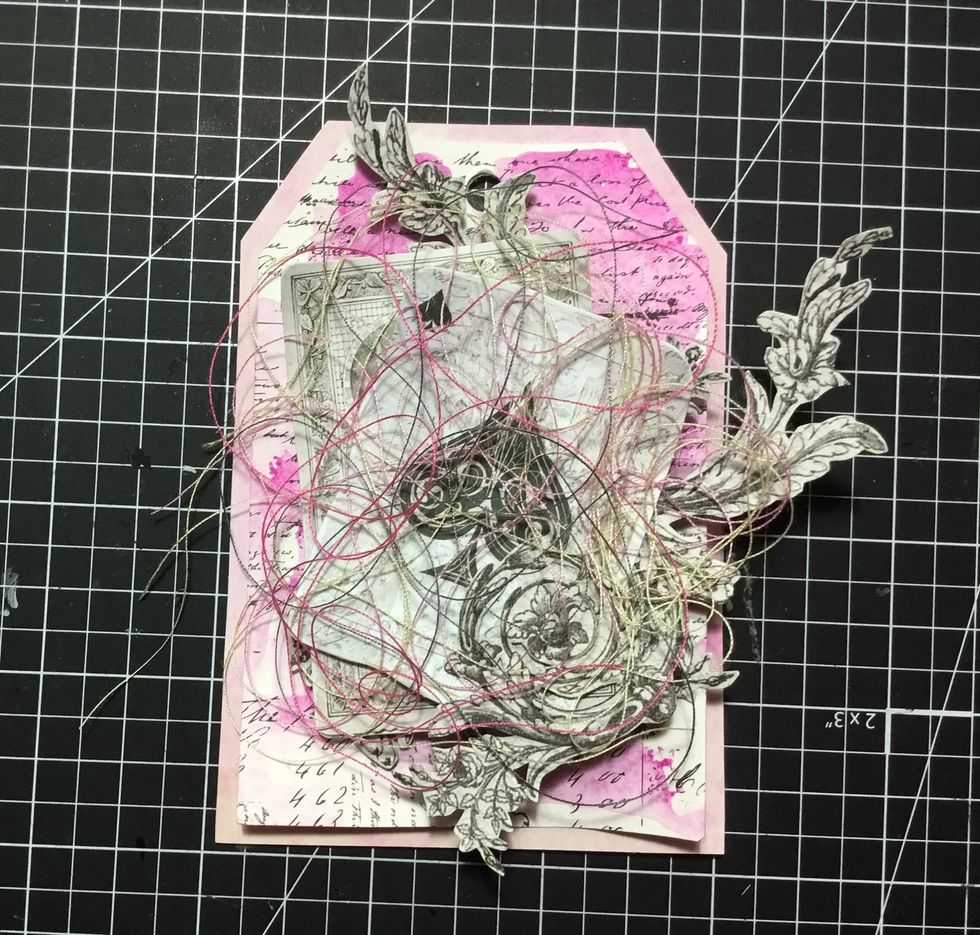
Add cotton thread for added texture.
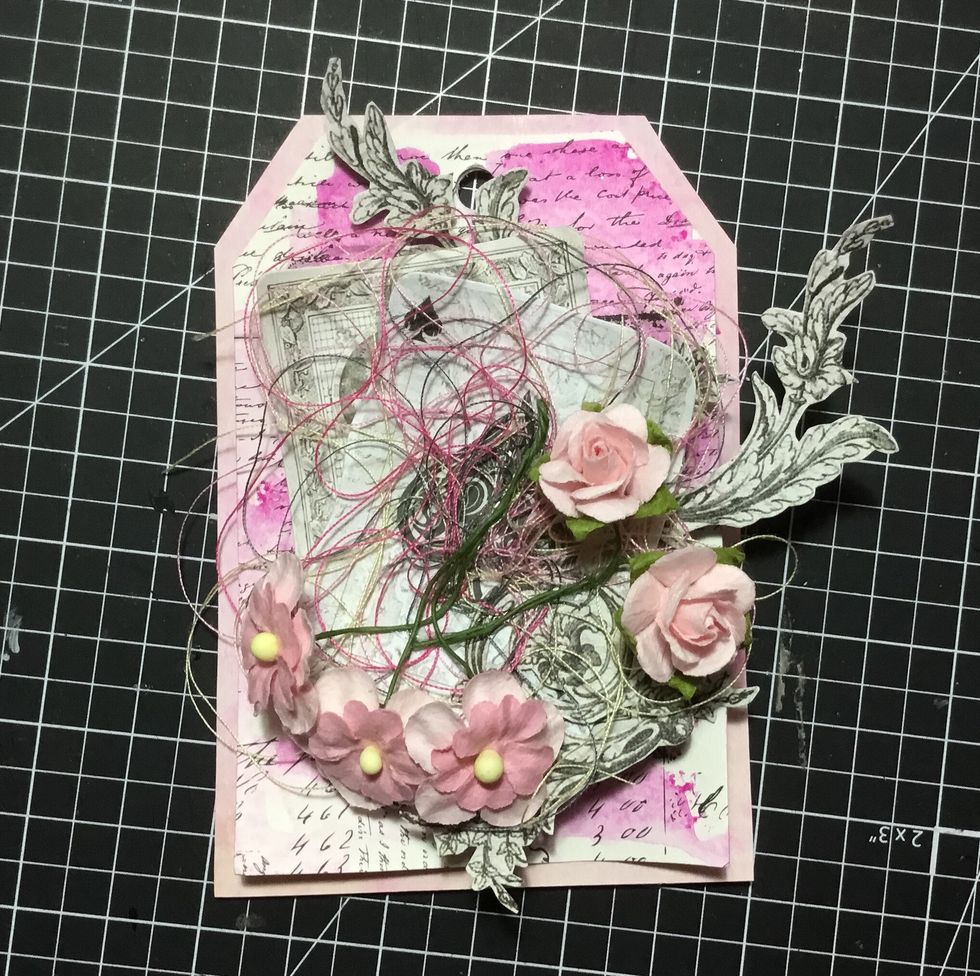
Attach smaller flowers as shown.
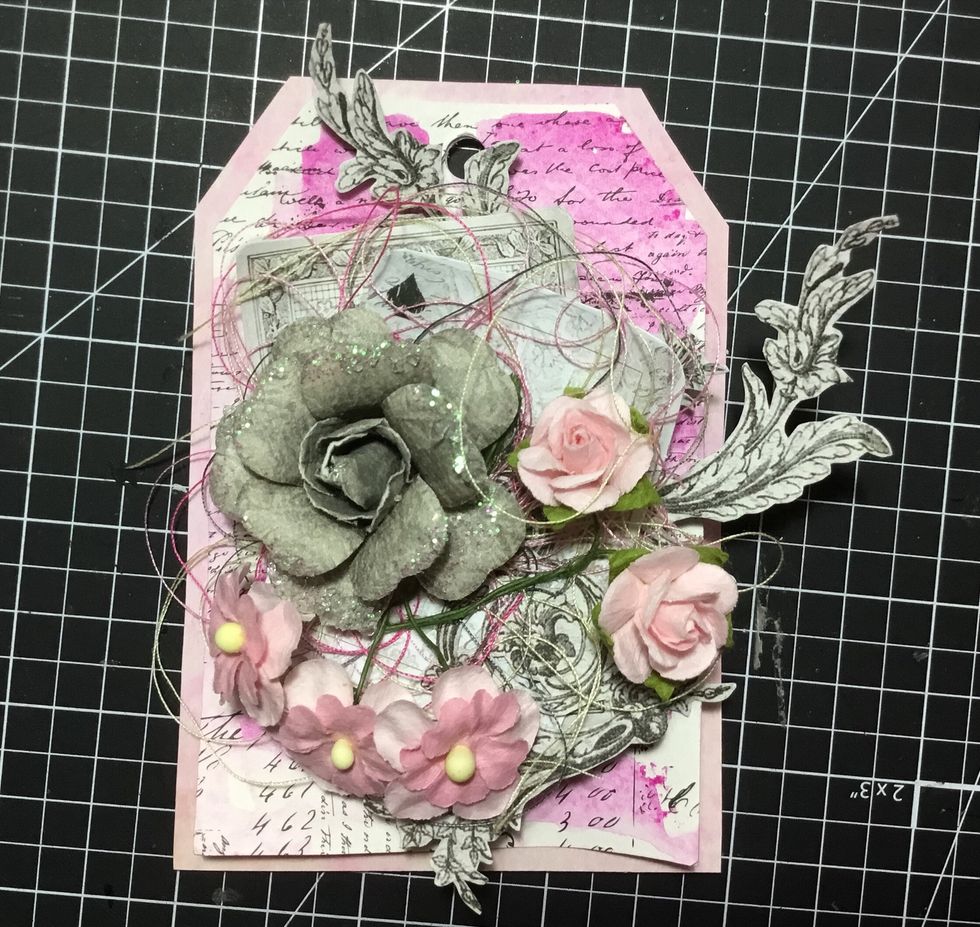
Add larger grey flower as shown.
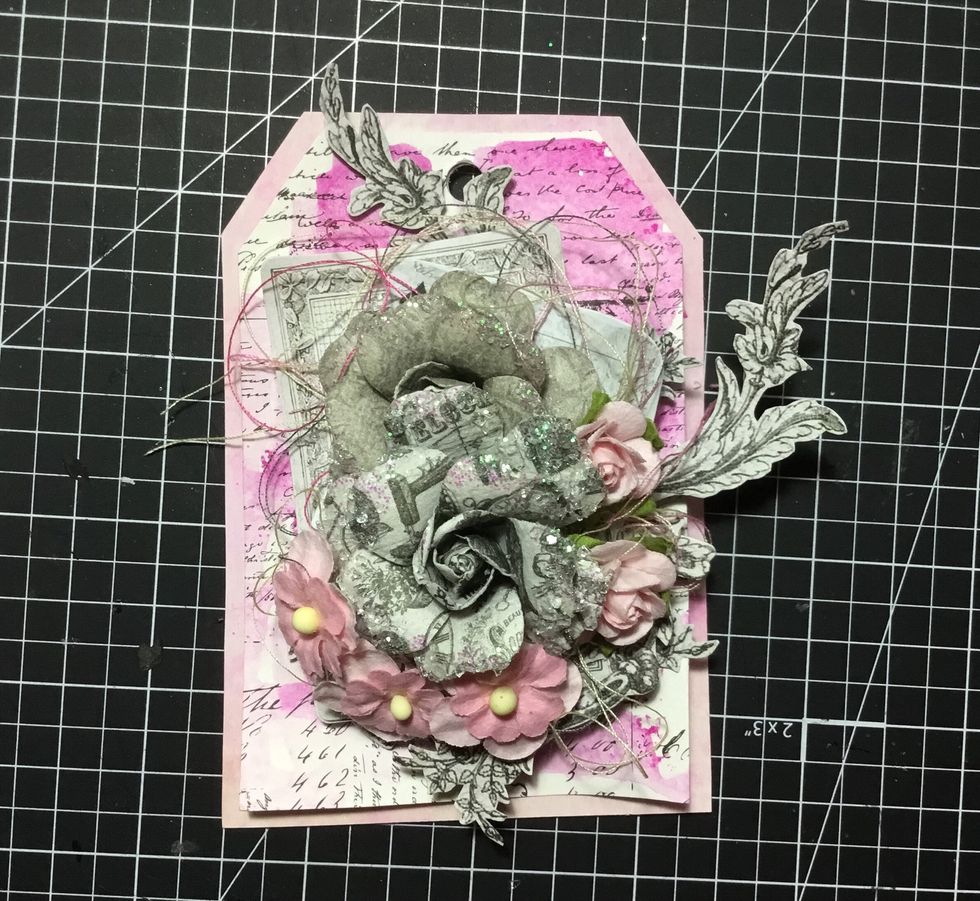
Add next grey flower as shown.
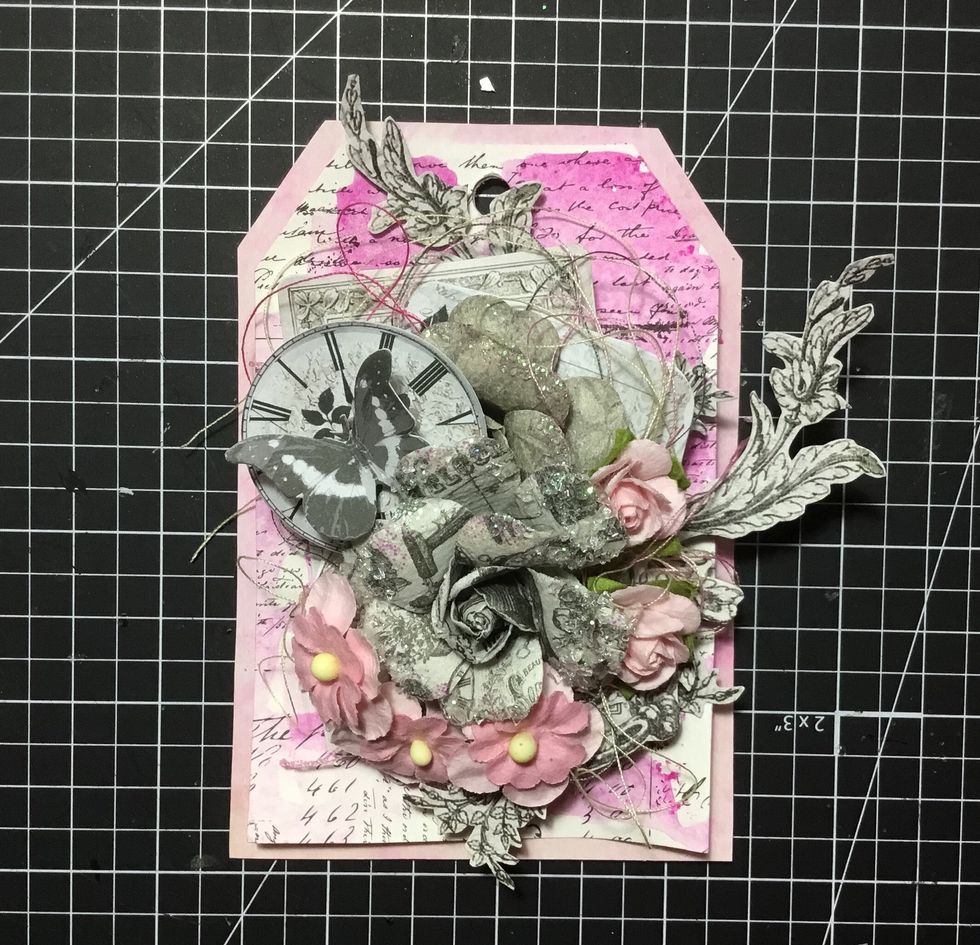
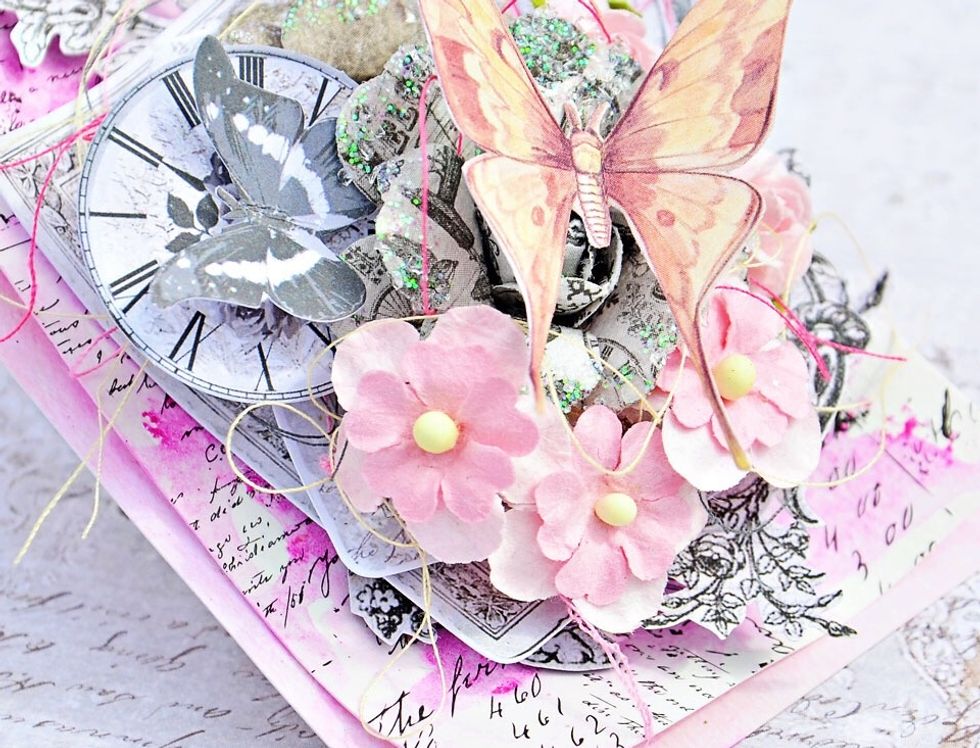
Attach clock and small butterfly from Salvage District Ephemera pack as shown.
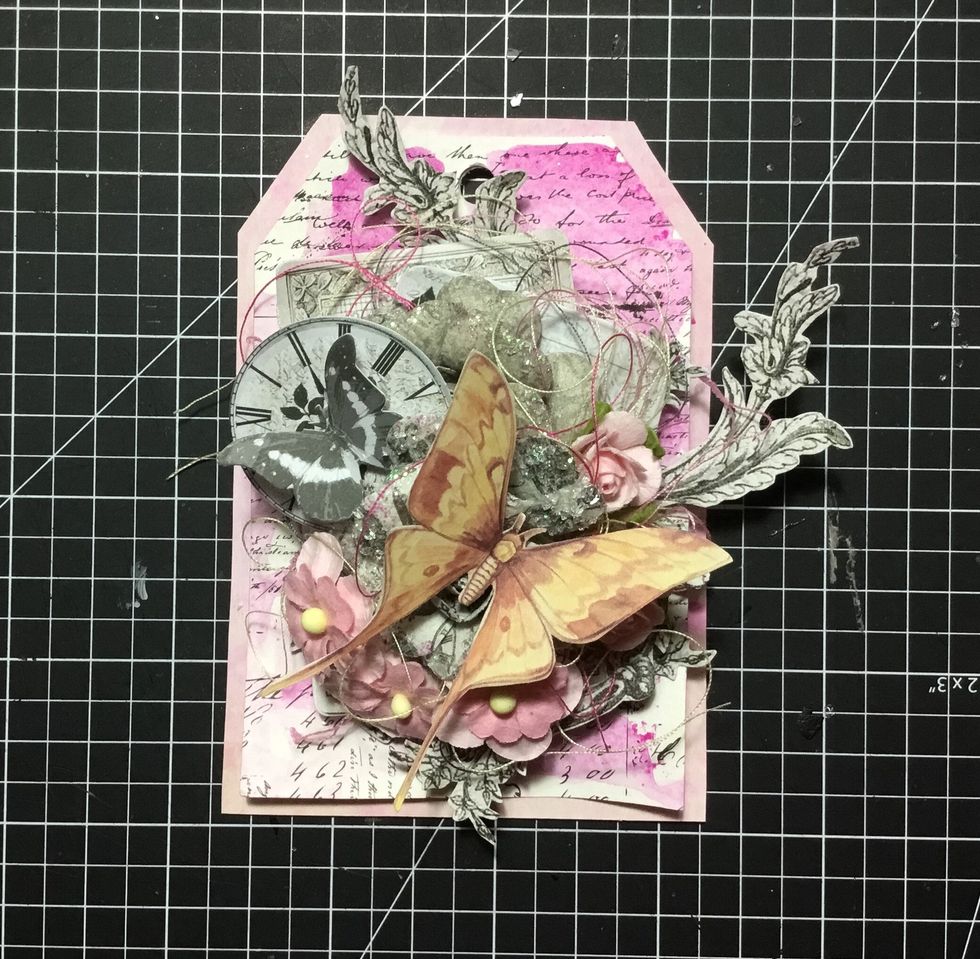
Attach fussy cut yellow butterfly as shown. Your tag is now finished!
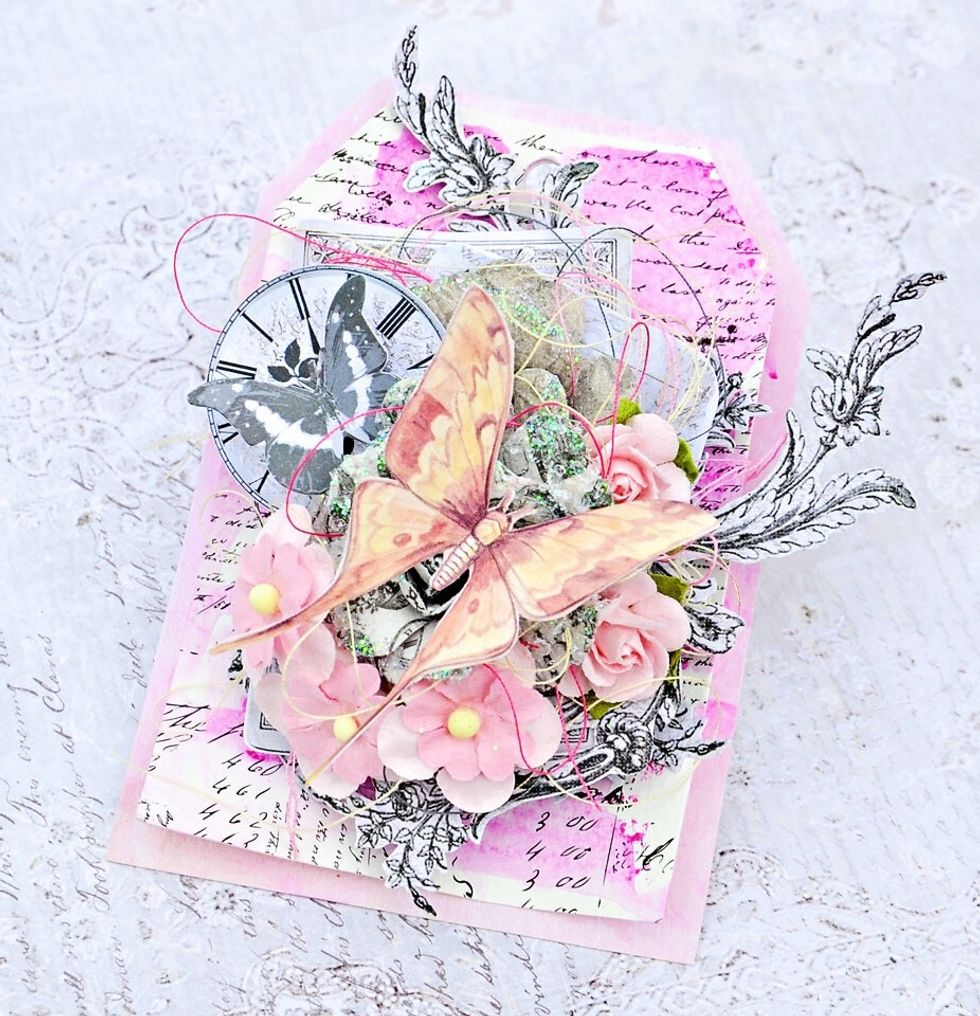
The finished tag! :)
I hope you enjoyed this tutorial. If you would like to see more of my projects please drop my my blog - www.scrappinforme.blogspot.com.au