The Conversation (0)
Sign Up
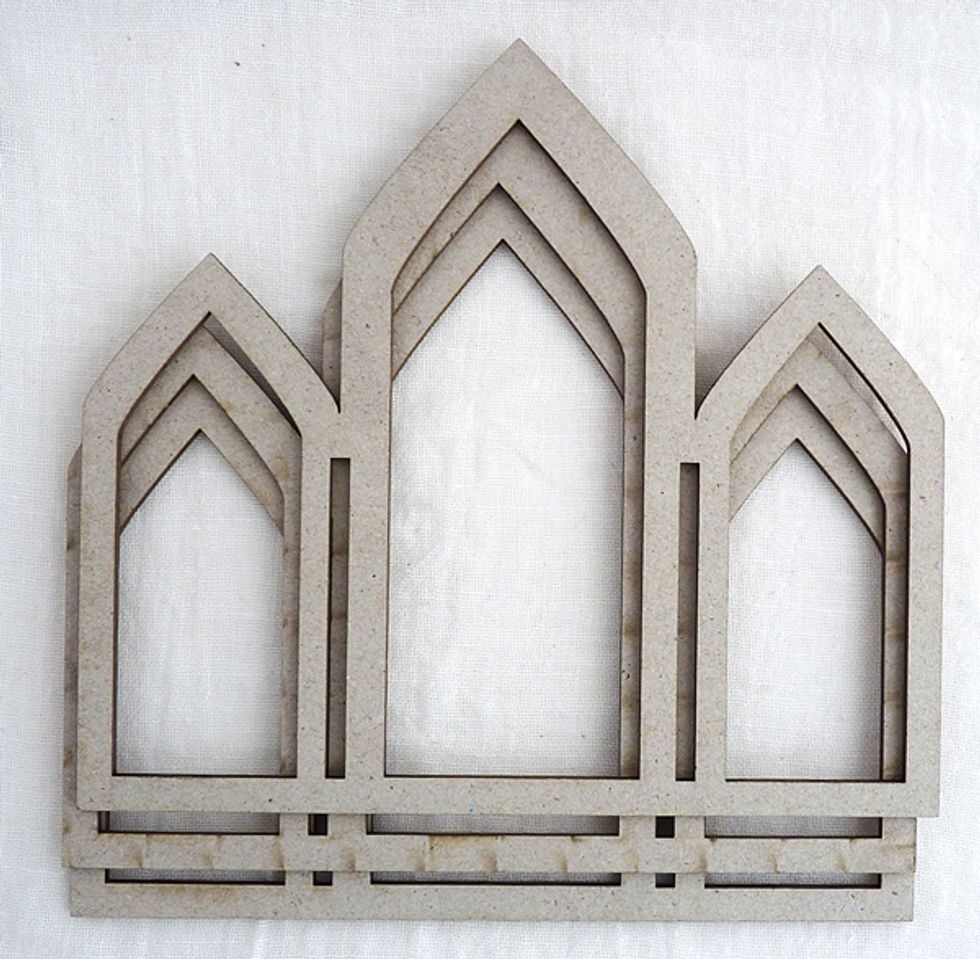
This is a Tando triple arch layered frame and in this kit the arched frame comes in three pieces.
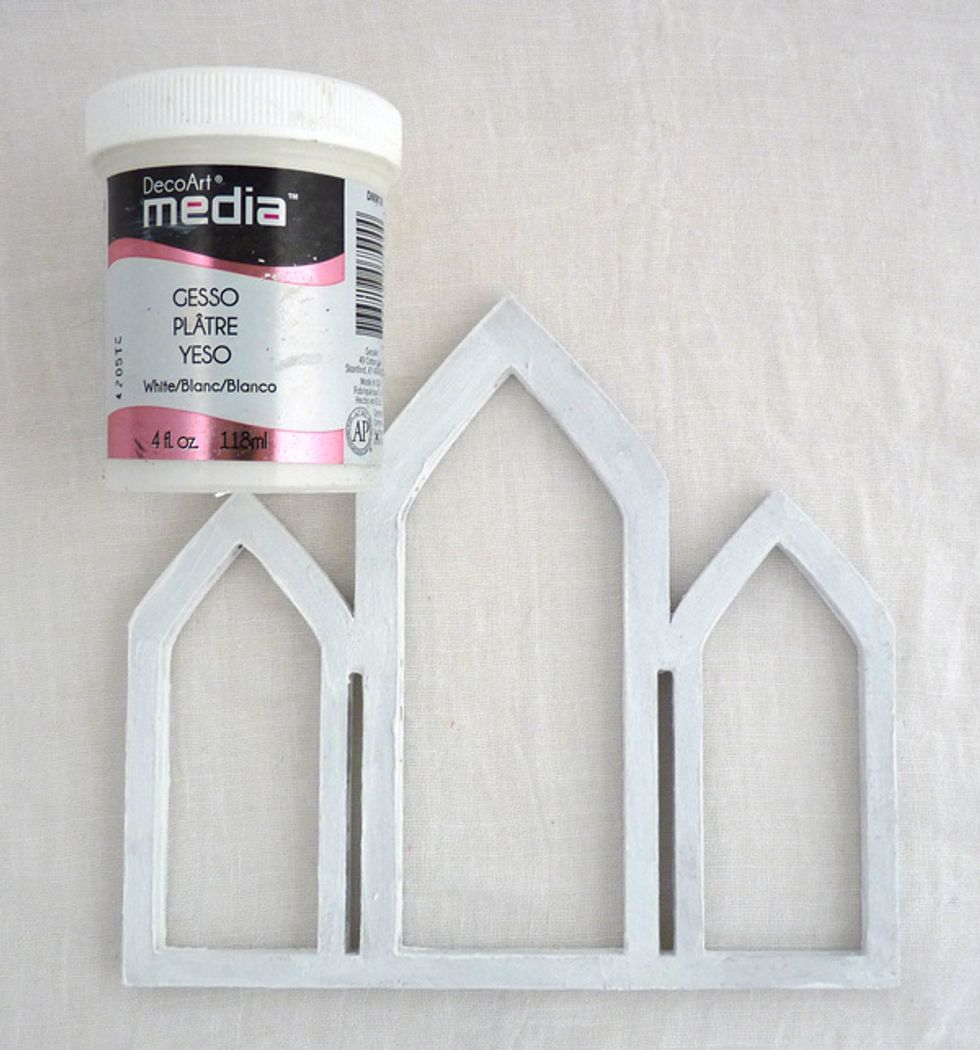
Glue the pieces of the frame together and paint it with gesso to seal the chipboard and preventing it from getting too wet with the additional layers of paint that are going to be added to it.
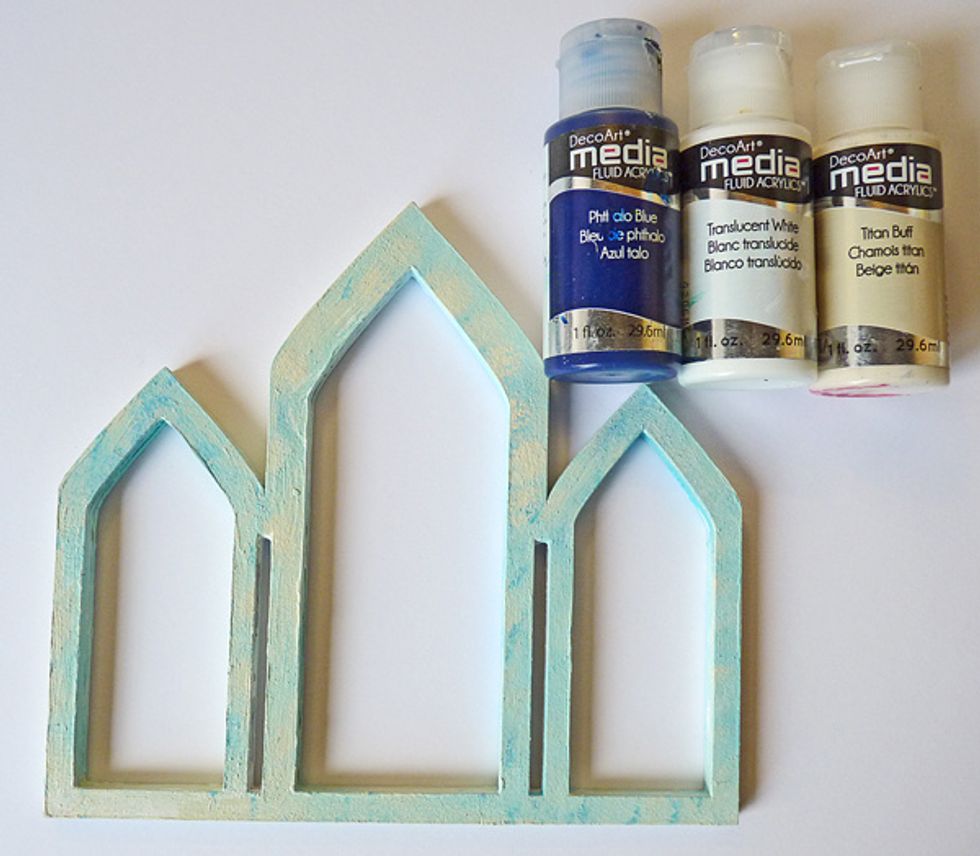
With a piece of sponge blend some media acrylic paints over keeping them light in colour, I used Phthalo Blue, Translucent White and Titan Buff.
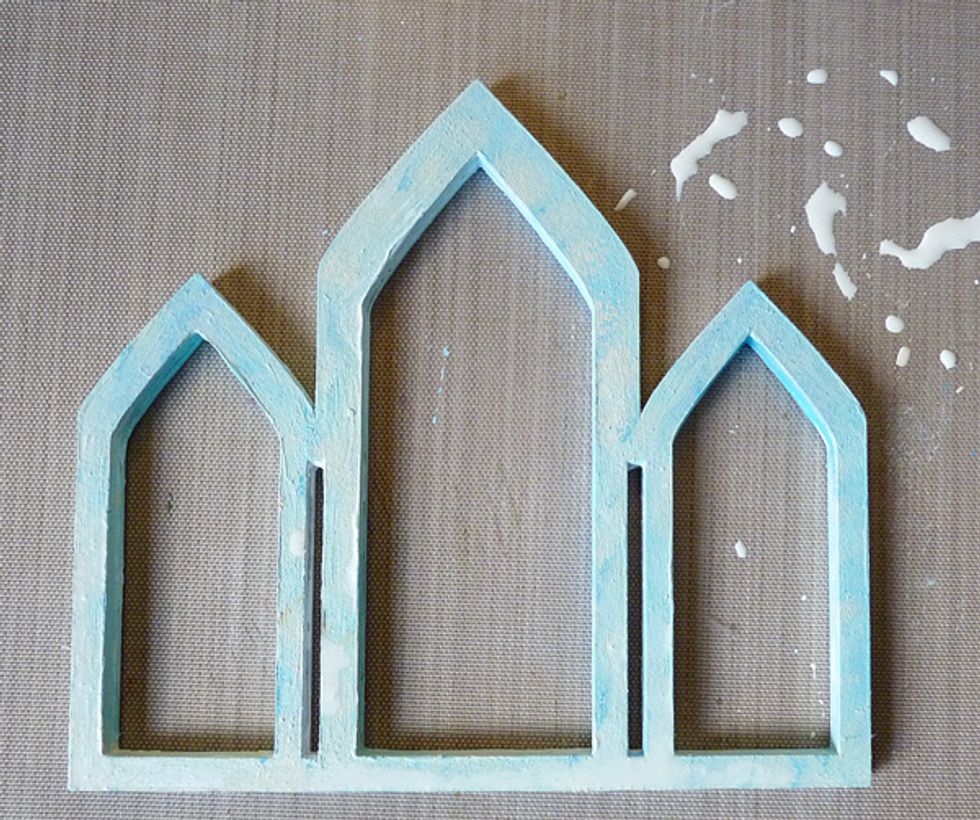
Create a watery wash of Titan Buff on your craft mat and the do a process I call "dip and dry" several times until you have a mottled creamy effect.
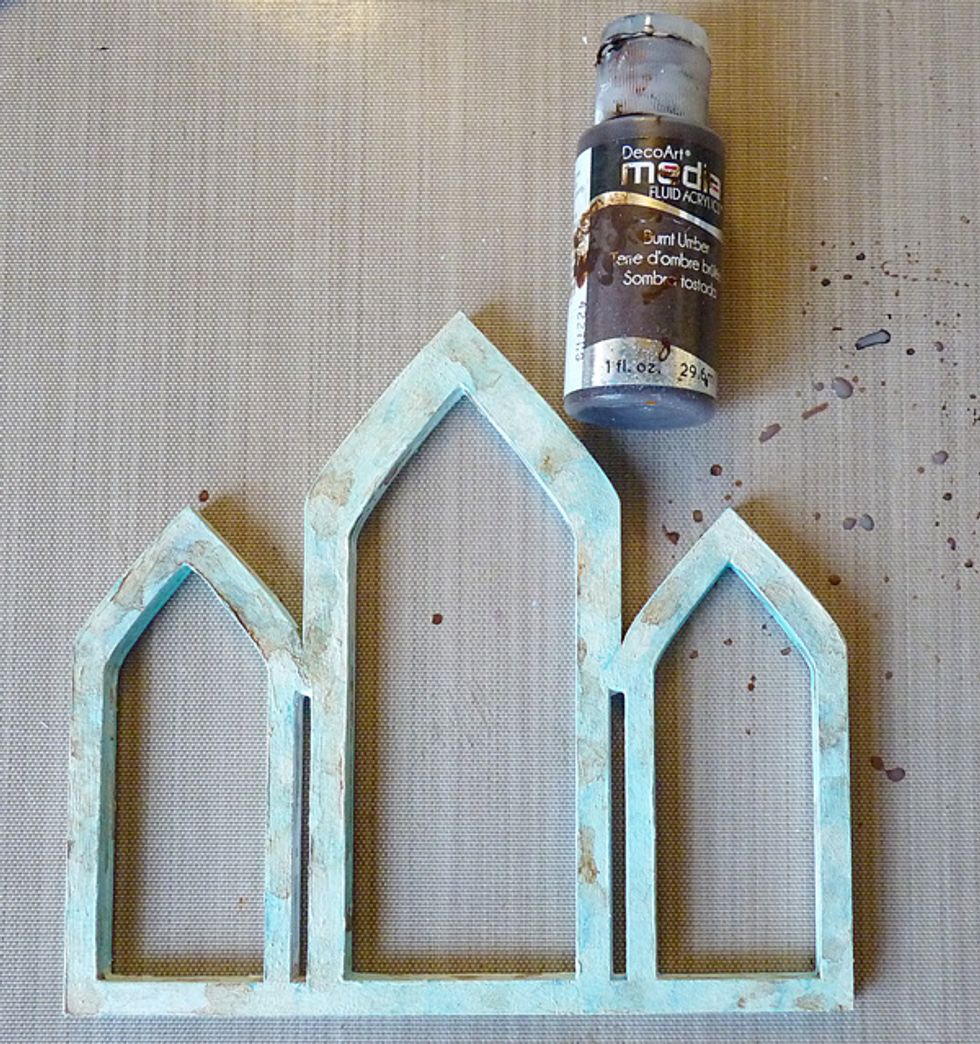
Repeat the dip and dry process with a watery wash of Burnt Umber.
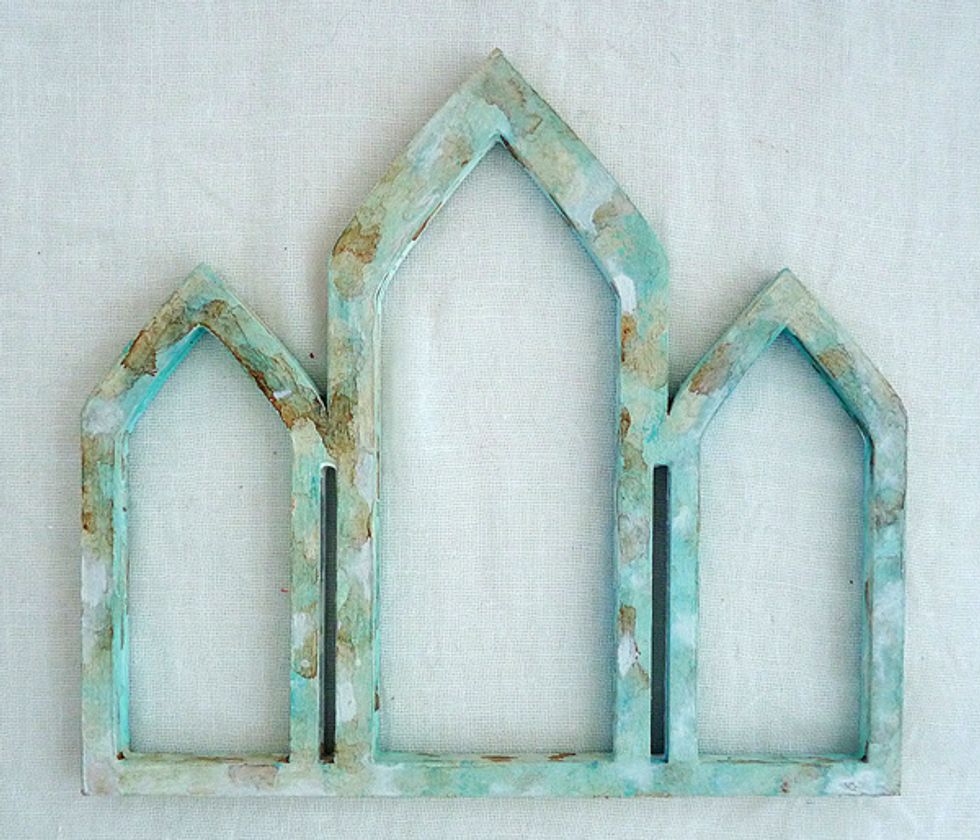
Repeat the dip and dry process with a watery wash of Translucent White
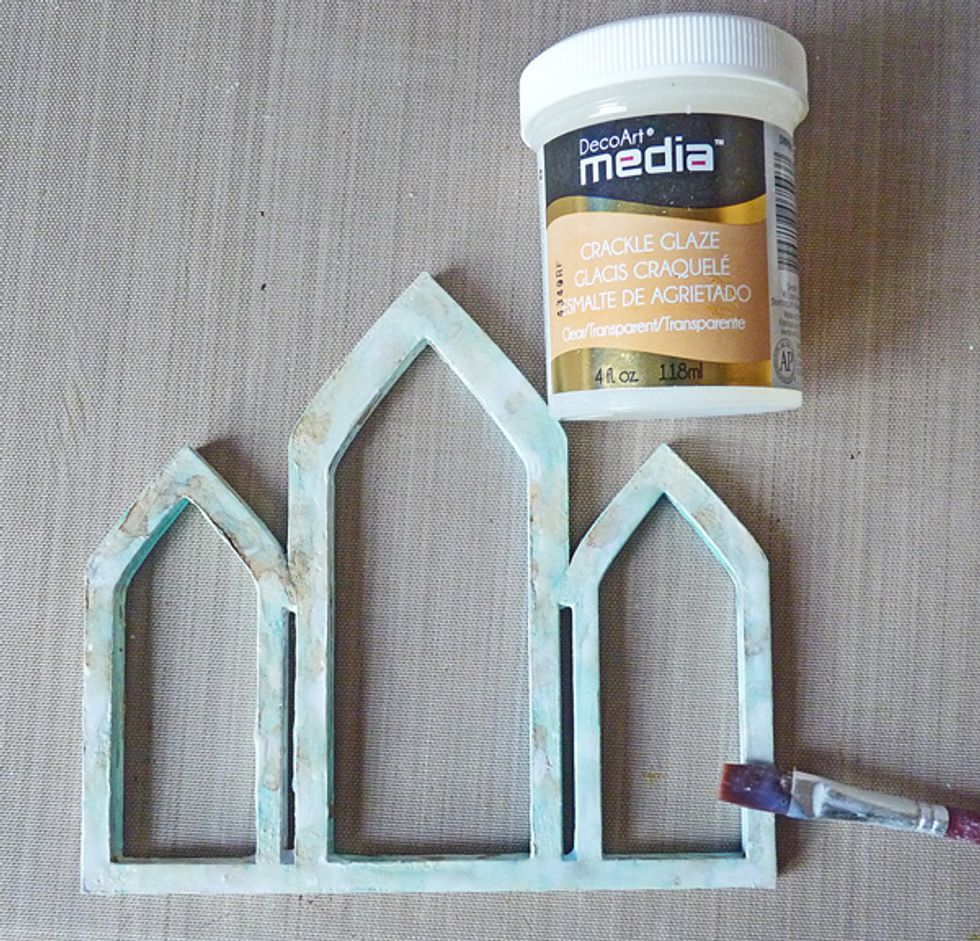
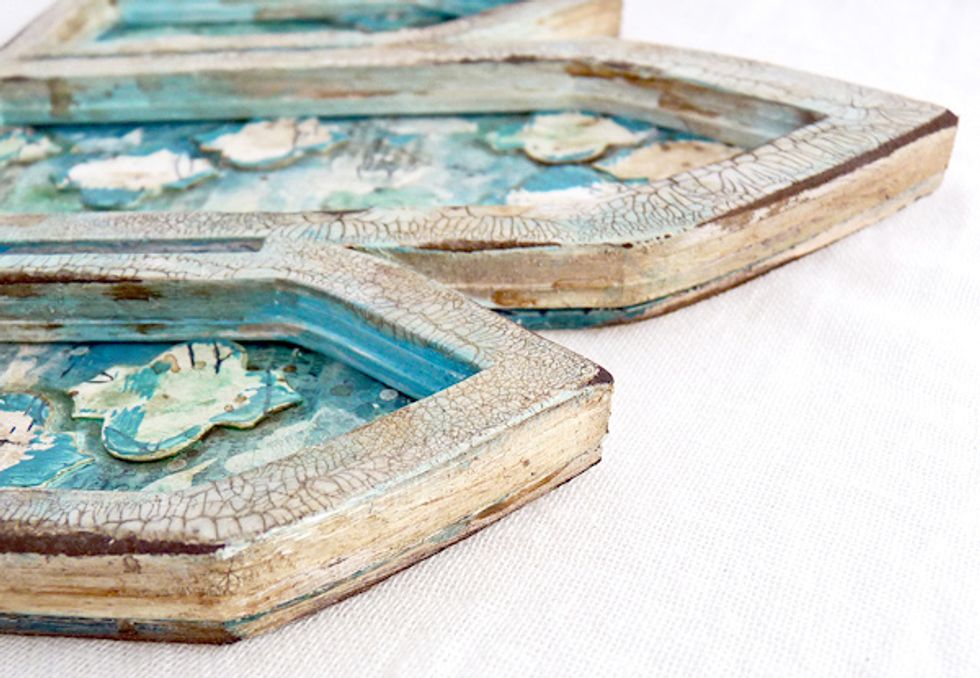
Now you have created a translucent distress effect with the paints go over the surface with clear crackle glaze with an uneven coverage so you have some thick and some thinner areas of the medium.
You will see the cracks appear as it dries but make sure you leave it to dry thoroughly.
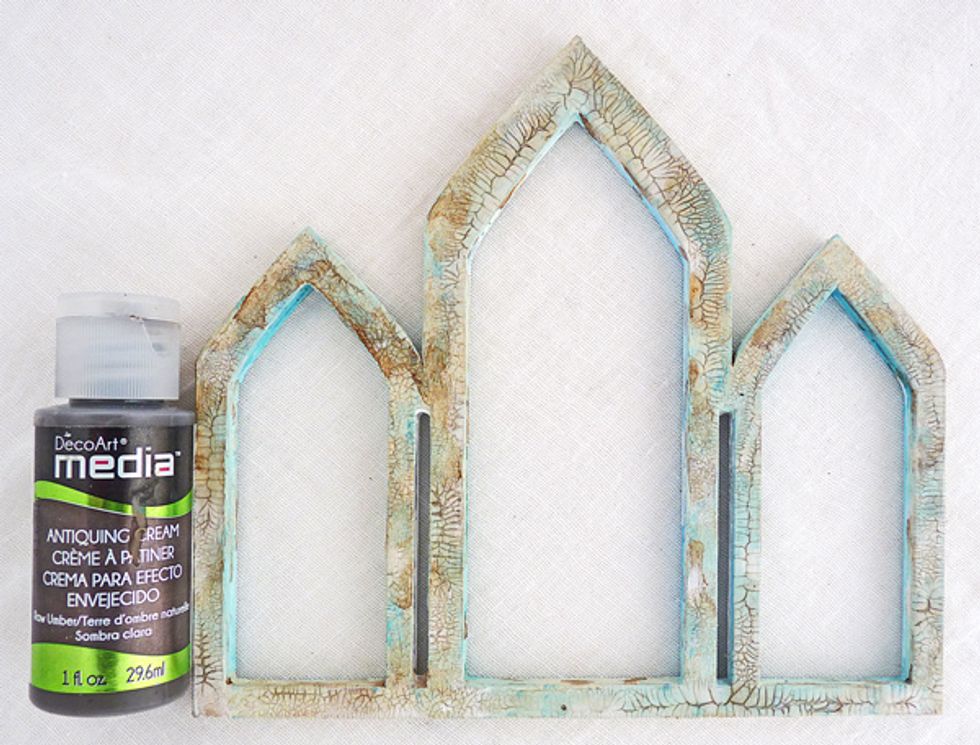
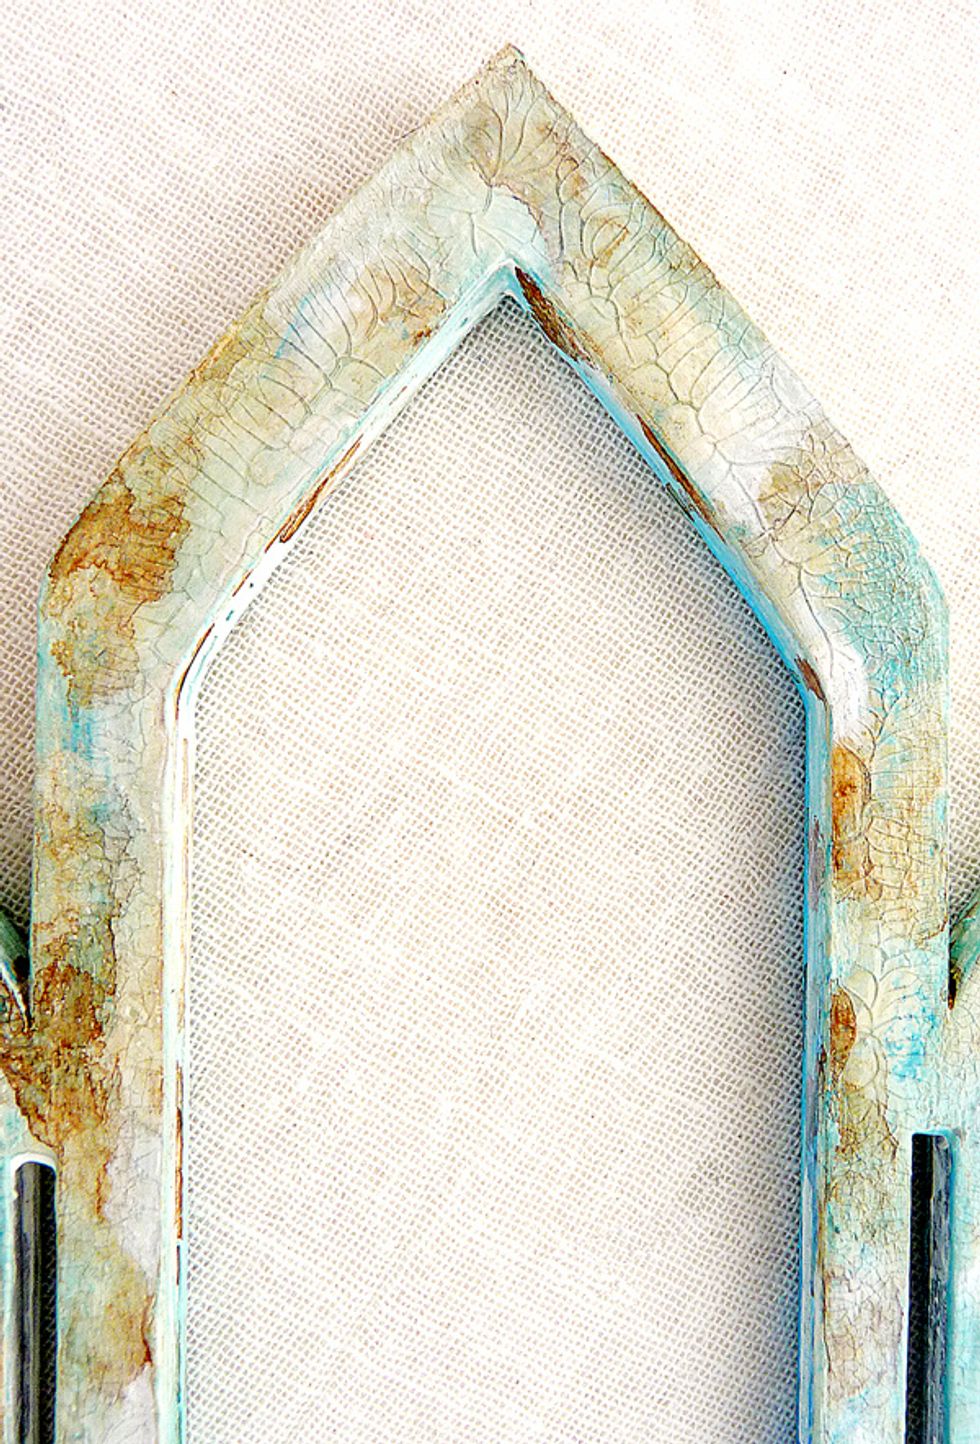
Take Raw Umber Antiquing Cream and rub a little over the frame and wipe back straight away with a babywipe so that the cracks are enhanced but not the rest of the wood.
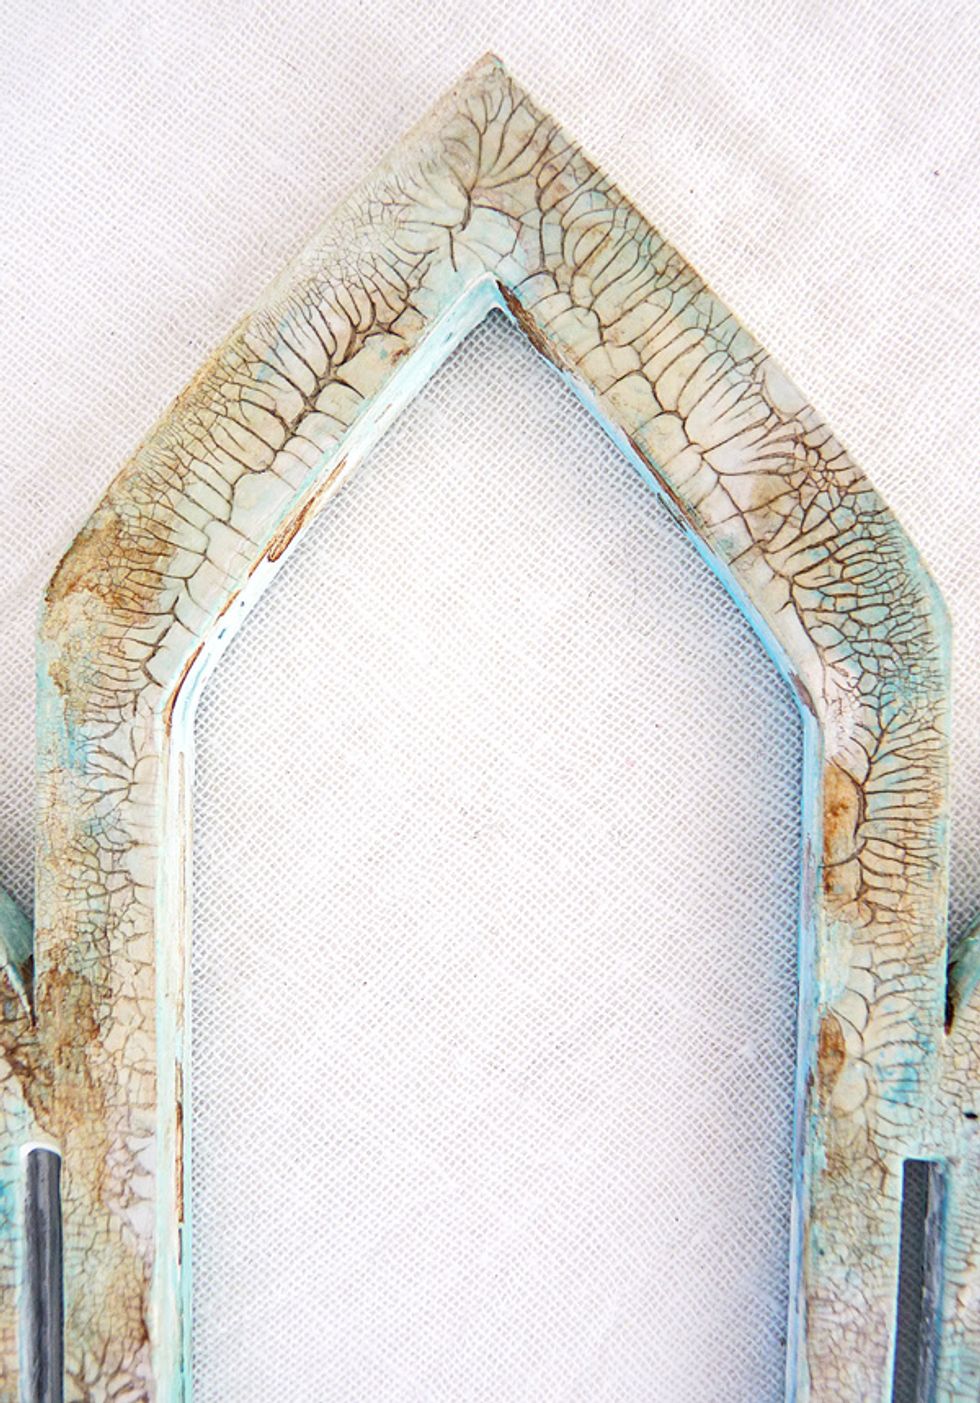
You can see how distinct the cracks have become.
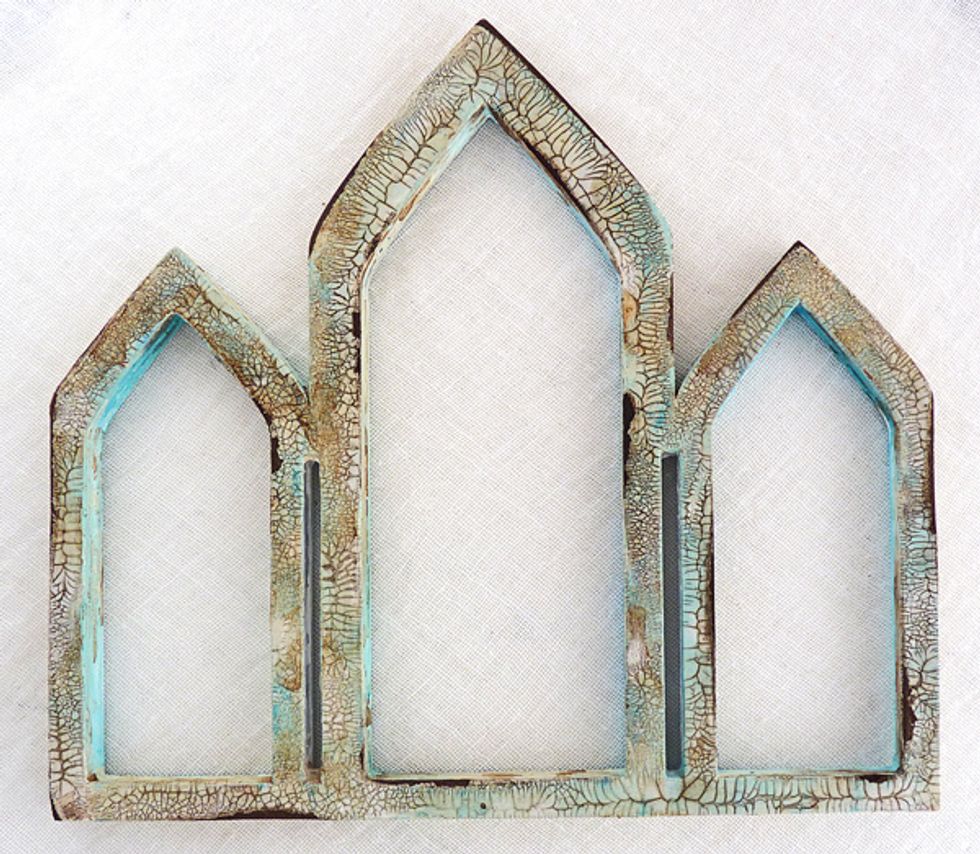
Use a sanding block and sand areas around the edges and then blend in ground espresso. Sand back to the original chipboard and this then soaks up the ink making it look very dark.
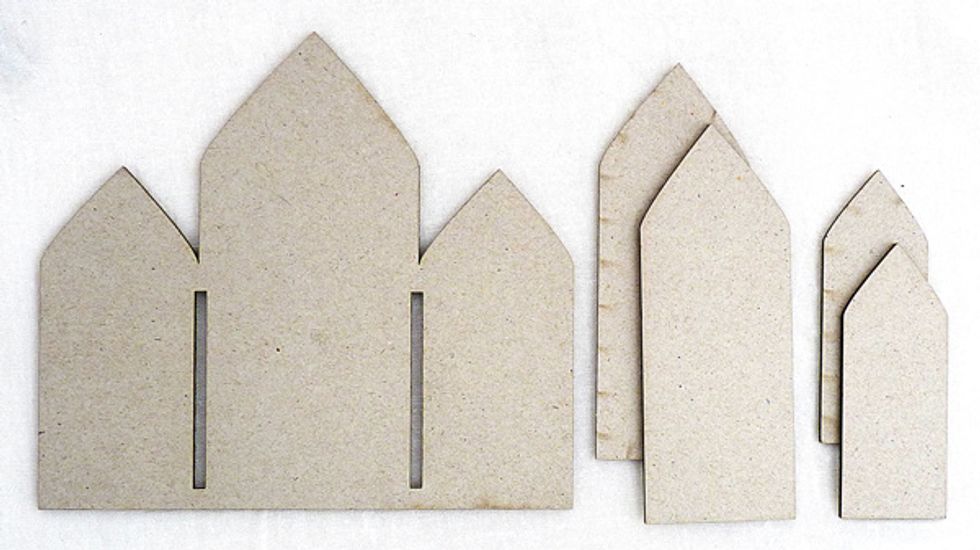
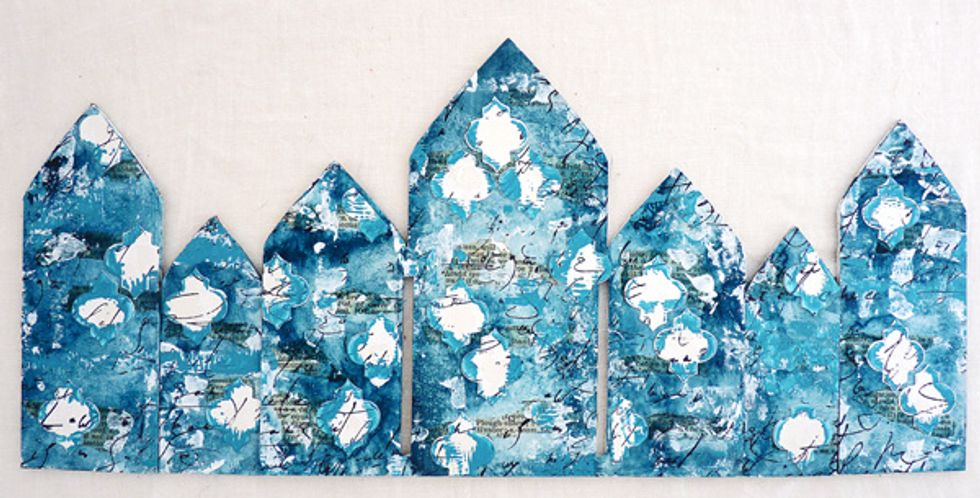
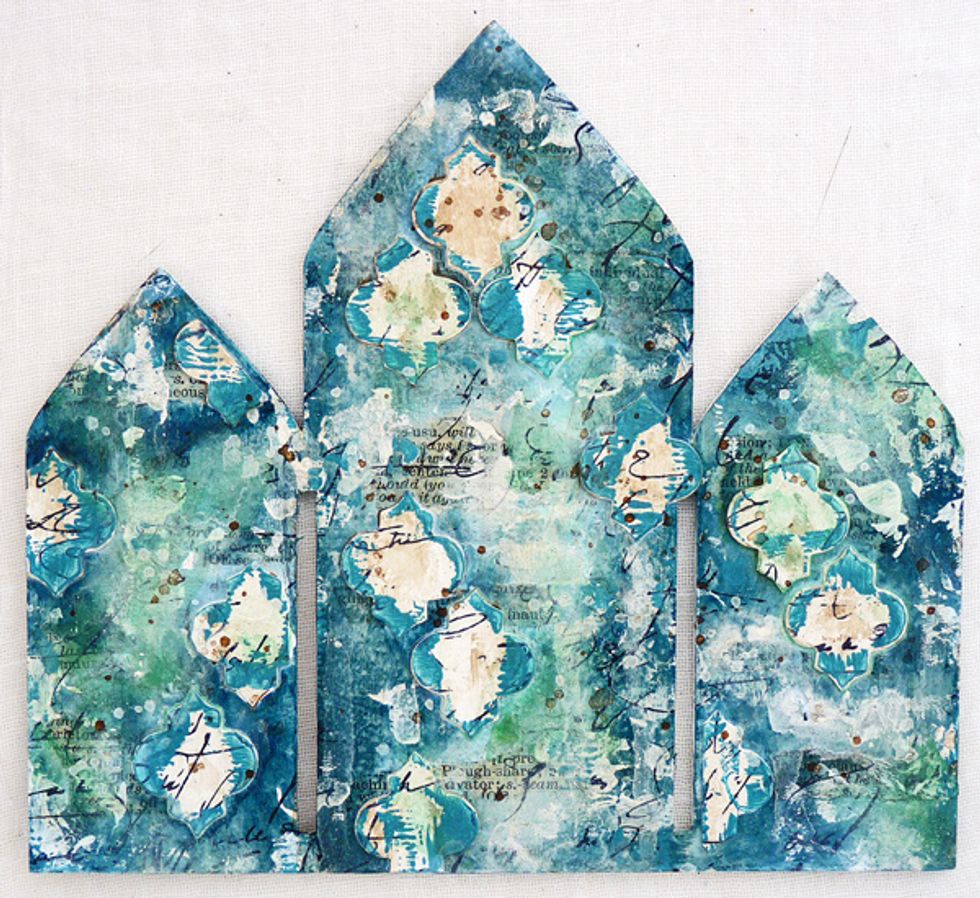
Take the back of the frame and four of the spare arched pieces.
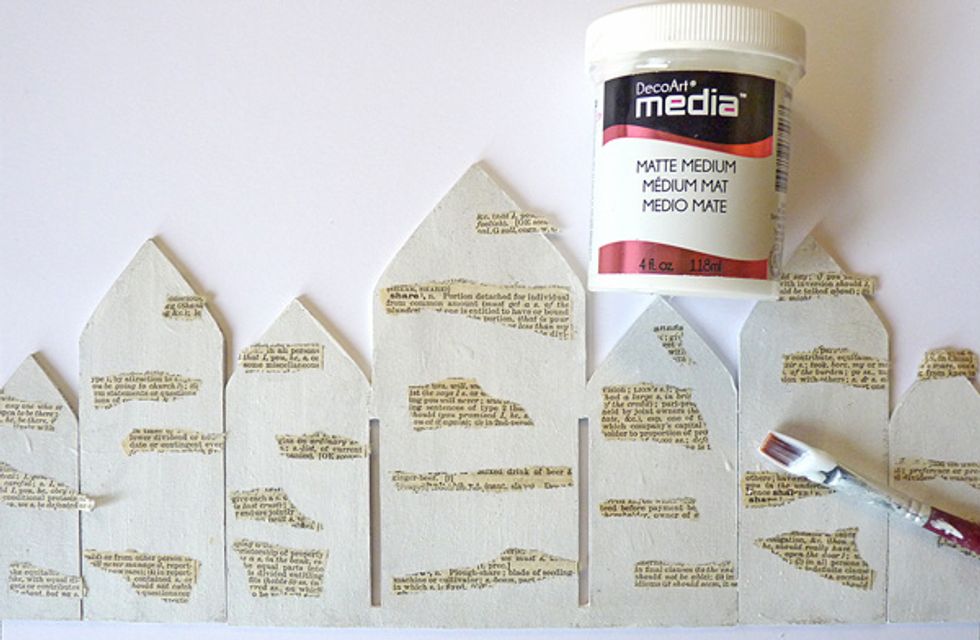
Glue a layer of gesso over them and then adhere torn pieces of dictionary paper using matte medium and seal everything over the top, leave to dry.
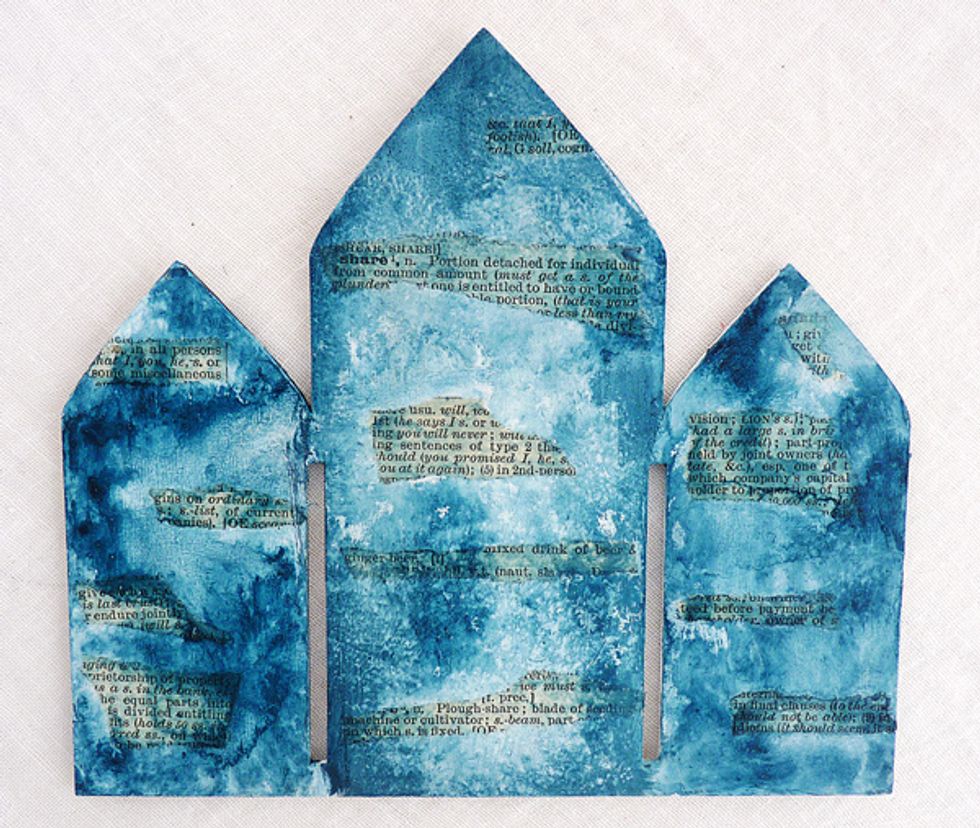
With a paintbrush, water spritzer and a piece of kitchen roll blend a darker tone of the colours you used on the frame and dry. I used Prussian Blue.
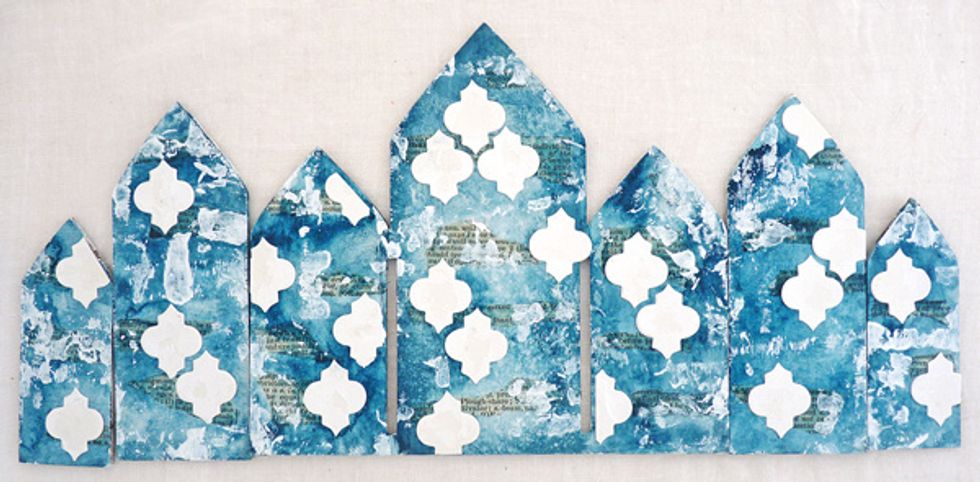
Adhere small die-cuts and brayer white paint lightly over the whole background. Dry. Note I am doing the same with the four small side panels as I am to the frame background.
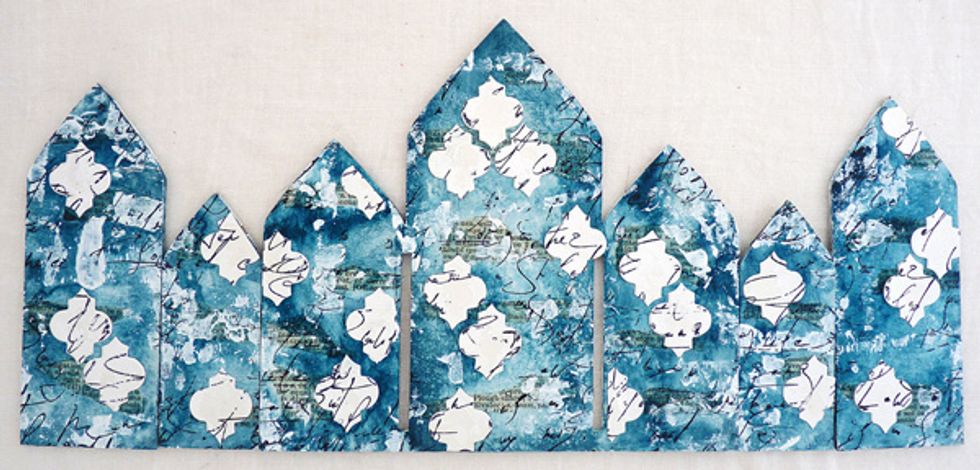
Stamp text with black archival ink. I used an old handwriting text stamp.
Bring the warmer shades of blue that are on the frame by mixing phthalo blue, titan buff, translucent white and burnt umber to give it a more vintage feel.
Lightly brayer the colour all over.
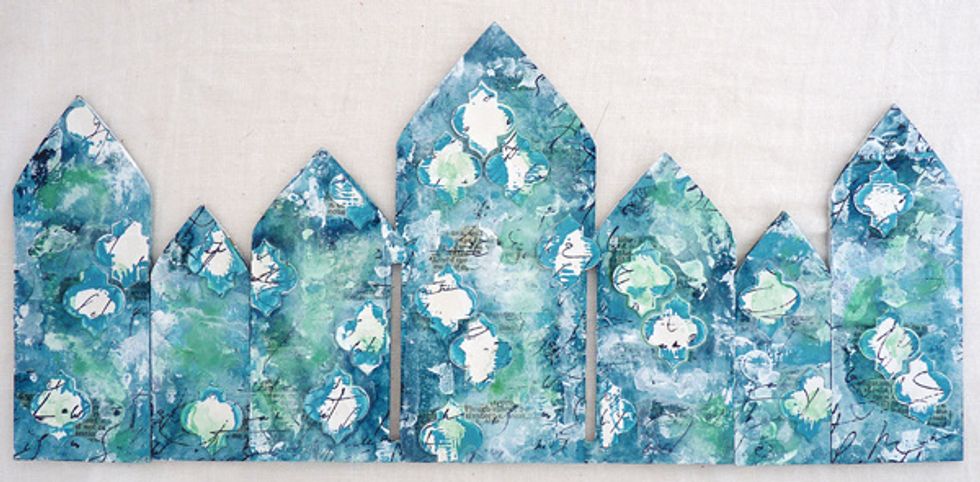
Daub a little white paint on top edge, spritz with water allow to run through the die-cuts - heat dry. Repeat as required. Mix a little Hansa Yellow Lightt to the blue, daub and spritz with that too.
Splatter Titanium White and dry. Do the same with Burnt Umber. To get the Burnt Umber looking more faded leave for a few seconds so that it has started to dry, dab excess off with dry kitchen roll.
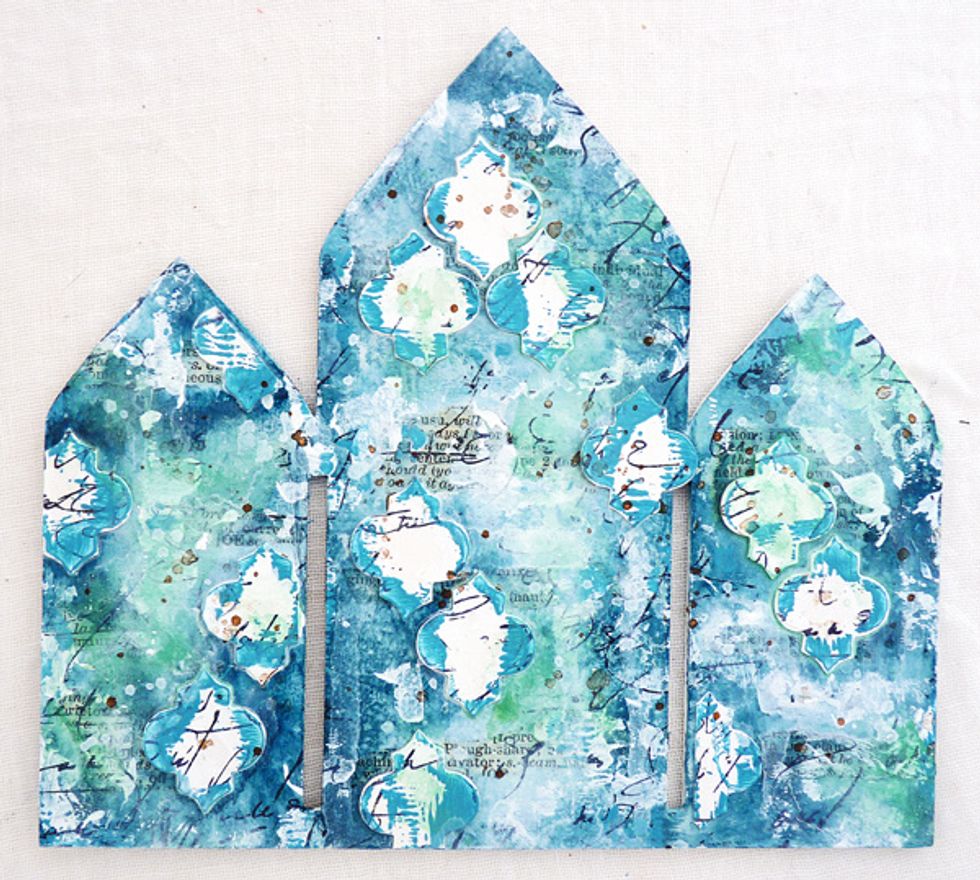
Mix vintage glaze using two drips of Burnt Umber, one drip of Quin Gold and a smaller drip of Paynes Grey to a tsp of Ultra Matte Varnish, mix together. Paint sparingly to achieve a more vintage look.
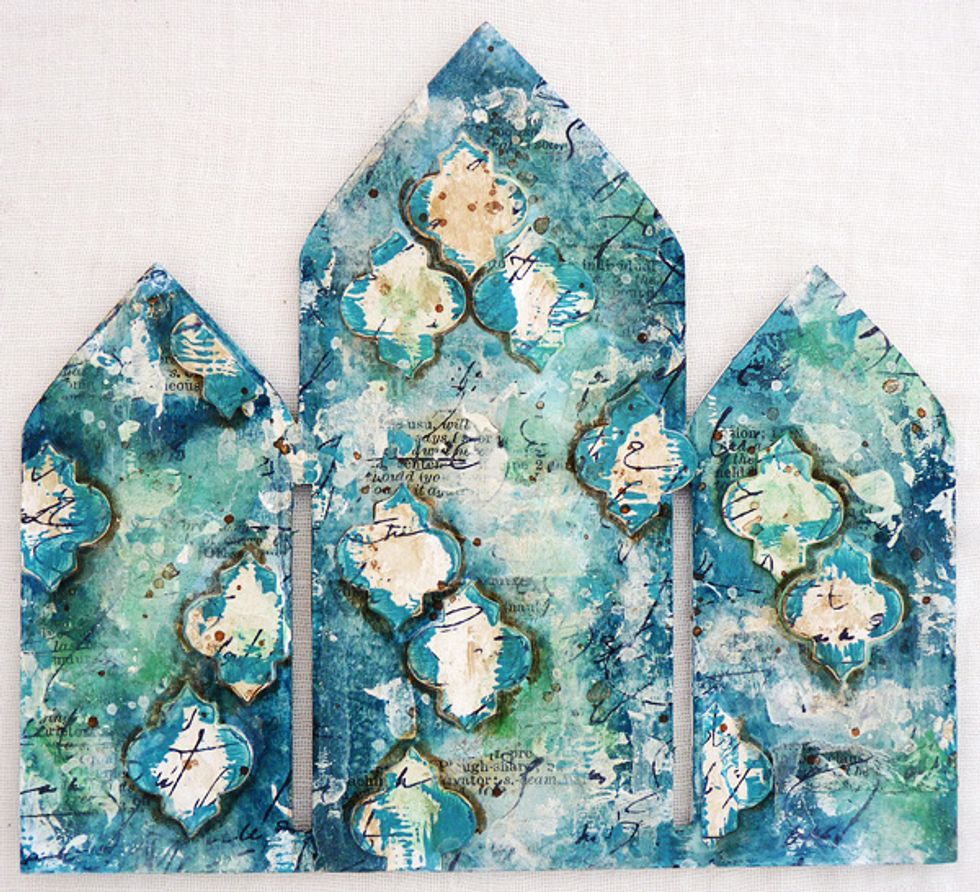
Use a brown distress marker and draw and blend with your finger around the die-cuts to create some shadow effect.
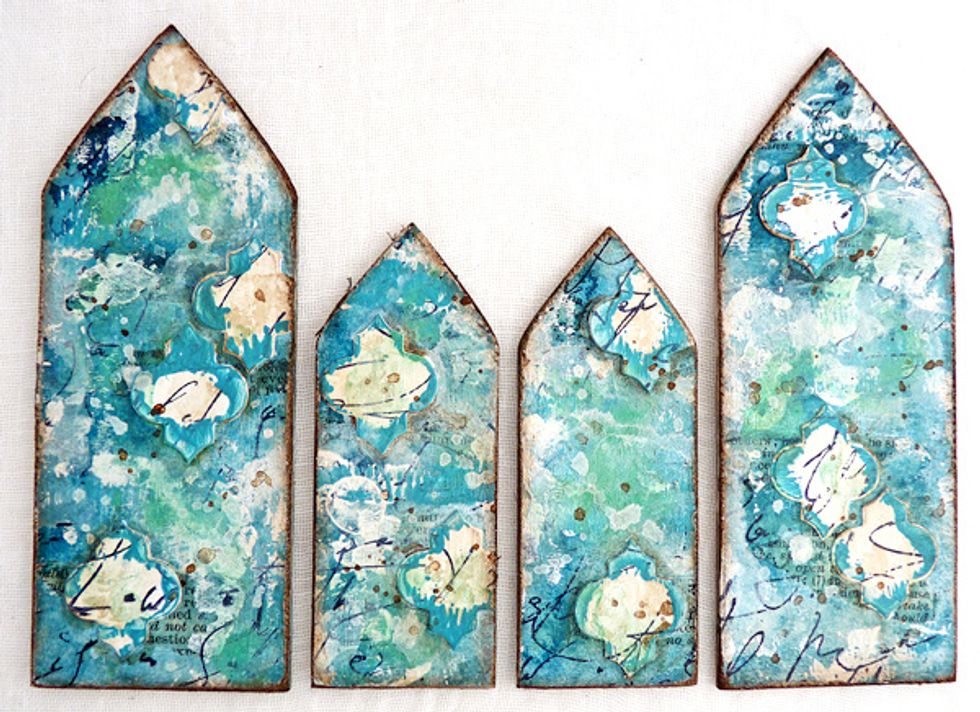
Distress the edges of the smaller pieces with a distressing tool or sanding block and blend in brown distress ink.
Adhere the frame onto it's background, sand the edges and blend in brown distress ink.
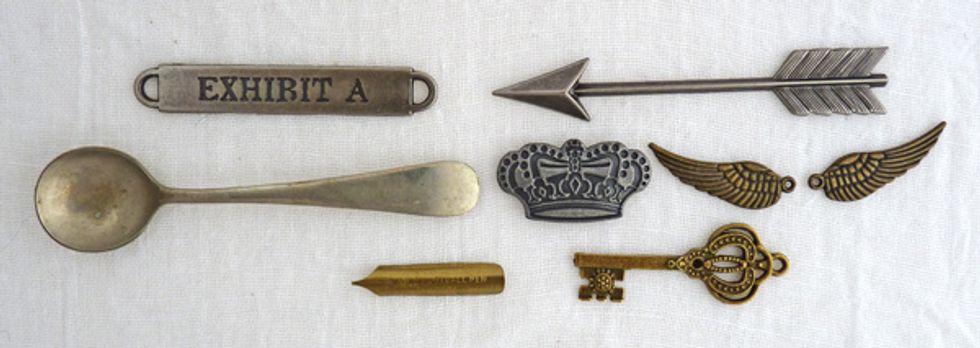
Collect together ephemera and embellishments to add to the frames. Some metal pieces.
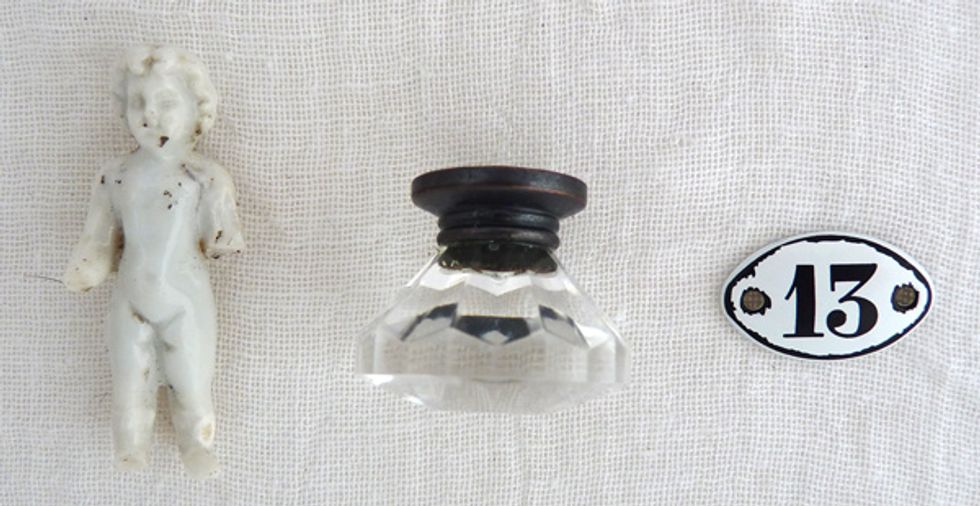
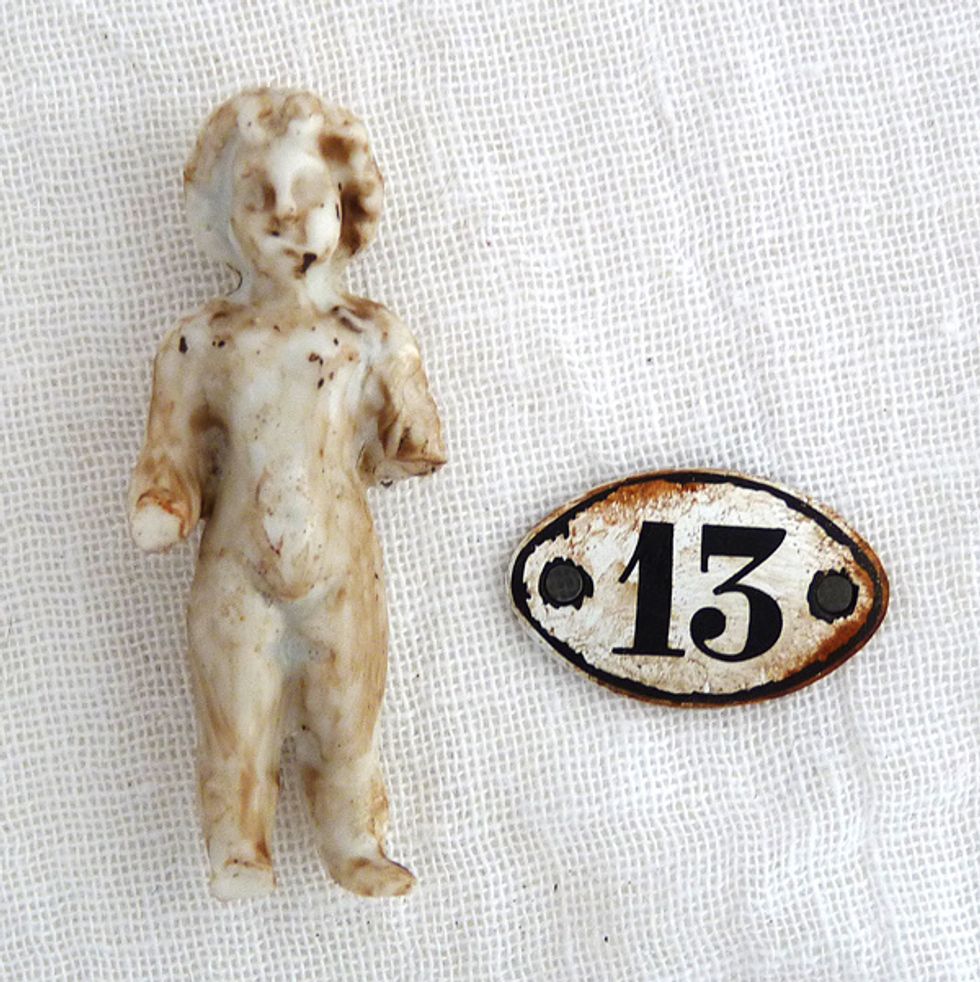
An original vintage Charlotte doll, a glass knob and a mini number plaquette.
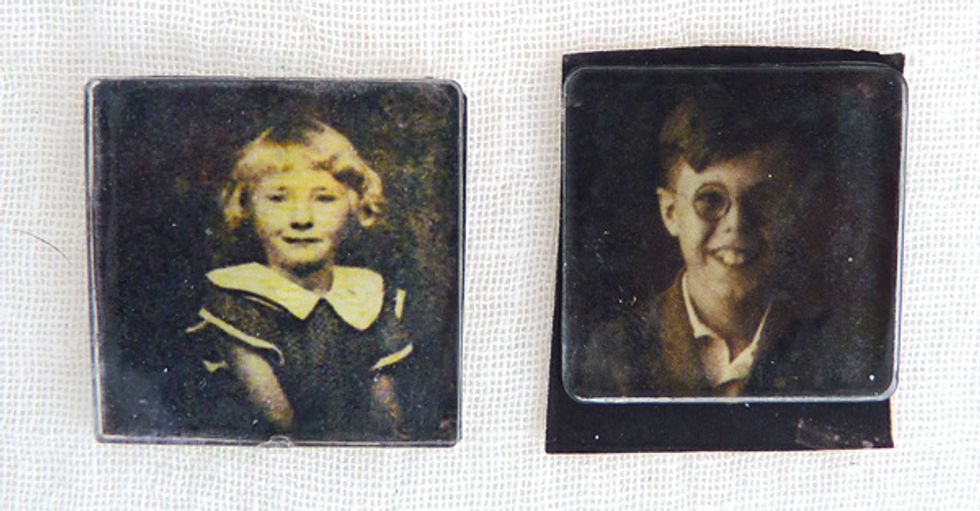
Two small vintage photos and square acrylic blocks.
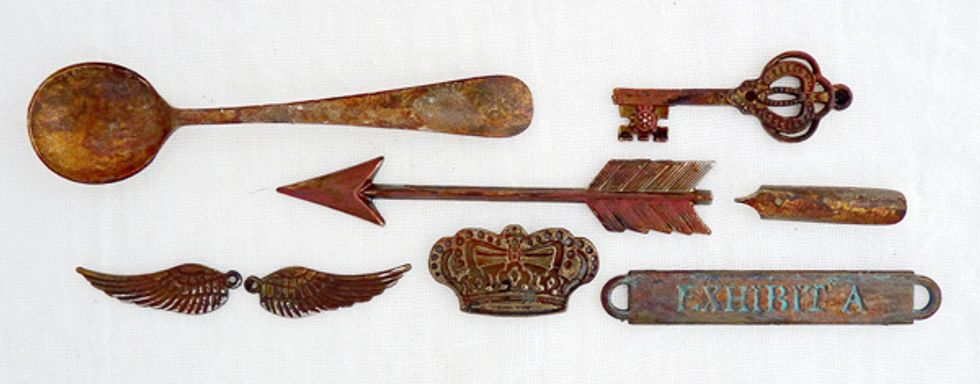
Make the embellishments look old and rusty using a quick technique using the media fluid acrylic paints. a) - take a piece of dry kitchen roll dab burnt sienna all over and heat dry. Be very careful.

b) - for next layer use burnt umber and dab over randomly leaving some of the burnt sienna showing - dry. c) - repeat the random dabbing with paynes grey - dry.

Following that use antiquing creams, lustres and archival ink to add more depth of colours and interest.
Add iced espresso metallic lustre to base of the knob and the vintage glaze from earlier to the mini plaquette and charlotte doll. Add a small random amount of coffee archival ink to the plaquette.
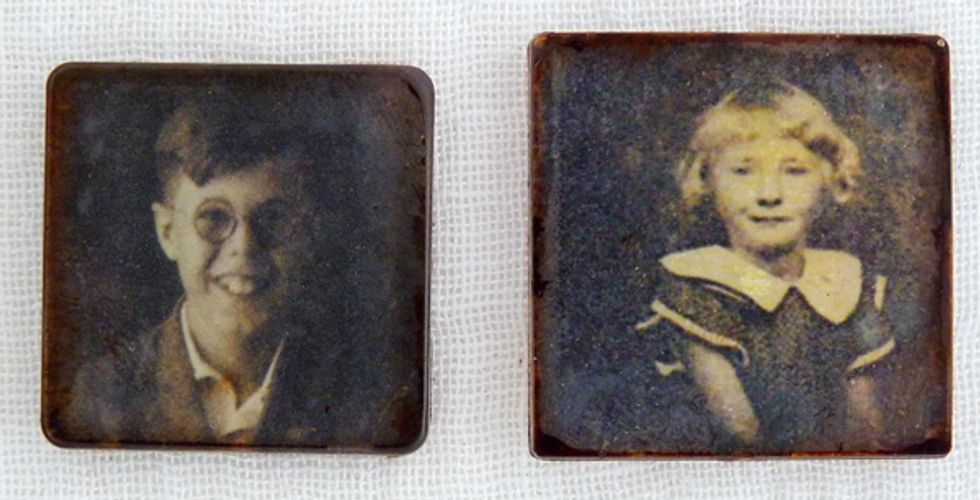
Rub the coffee archival ink pad around the acrylic blocks to create a more vintage look.
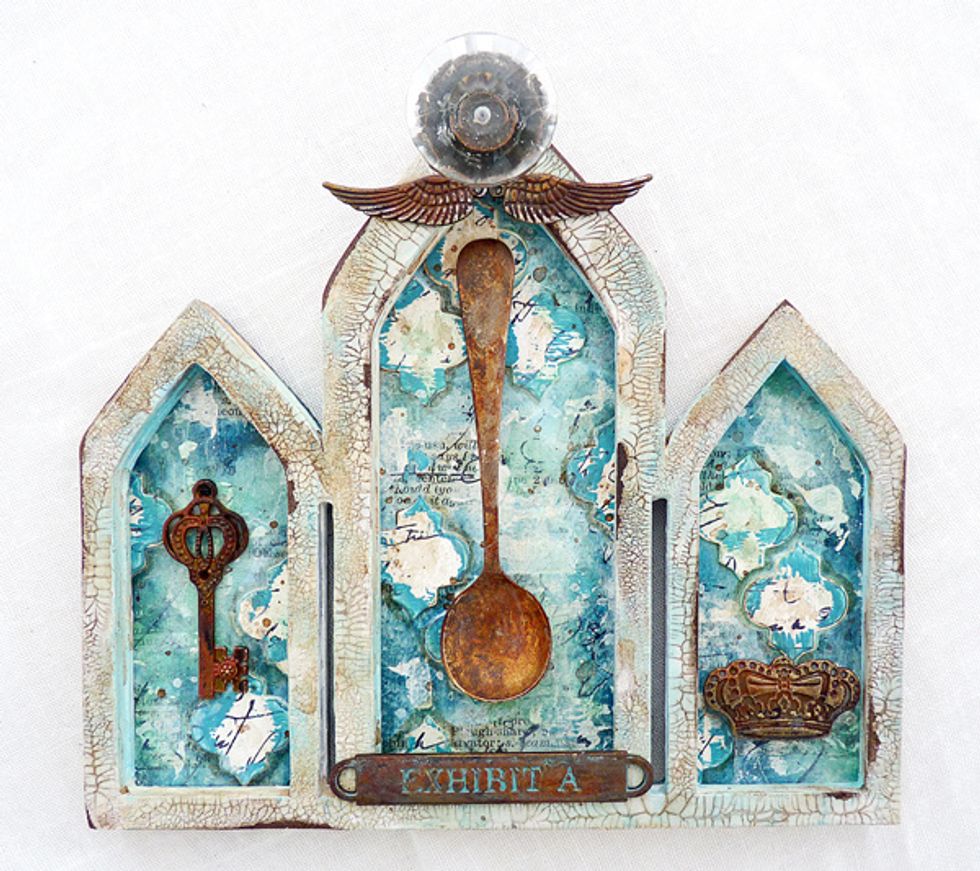
Adhere the elements onto the frames using matte medium.
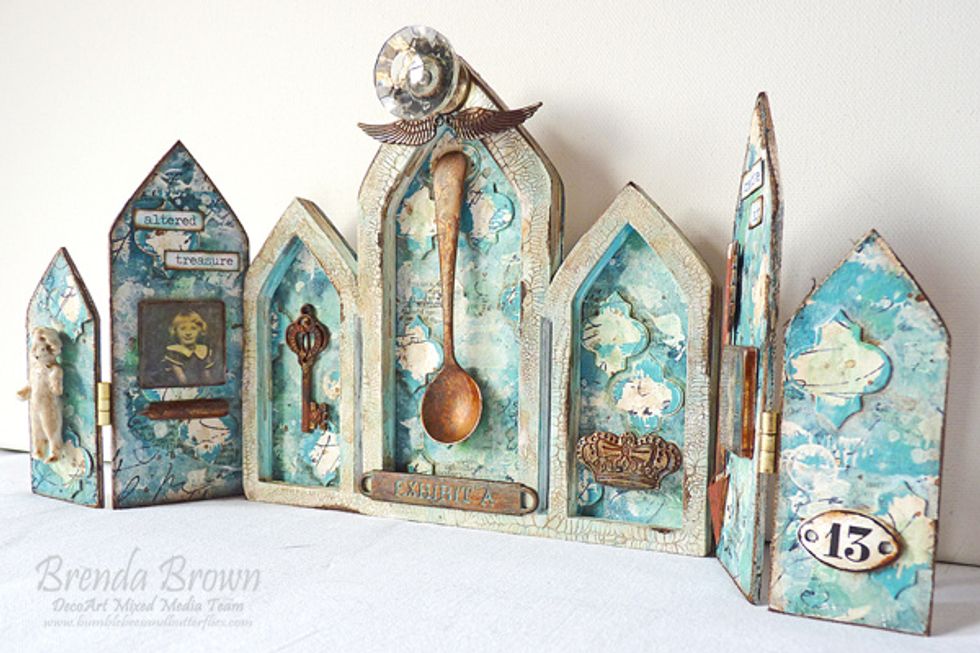
Glue mini hinges between the end pieces and onto the triptych frame to add the extra arches and make this a free standing arch layered frame.