The Conversation (0)
Sign Up
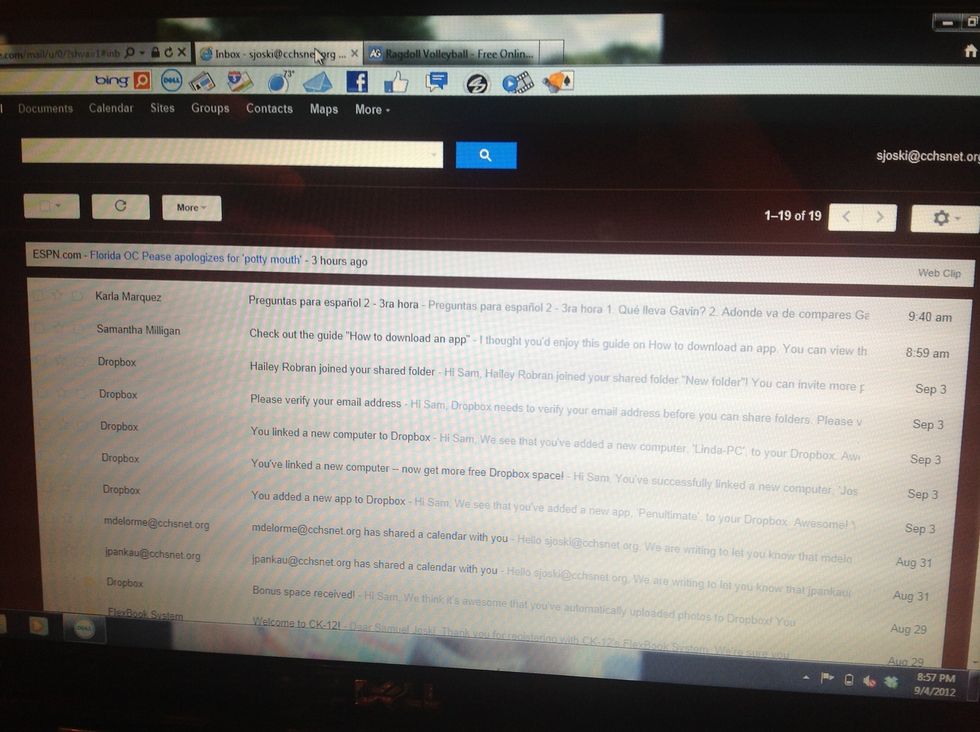
Go to your e-mail.
Click the wheel icon in the upper right hand corner.
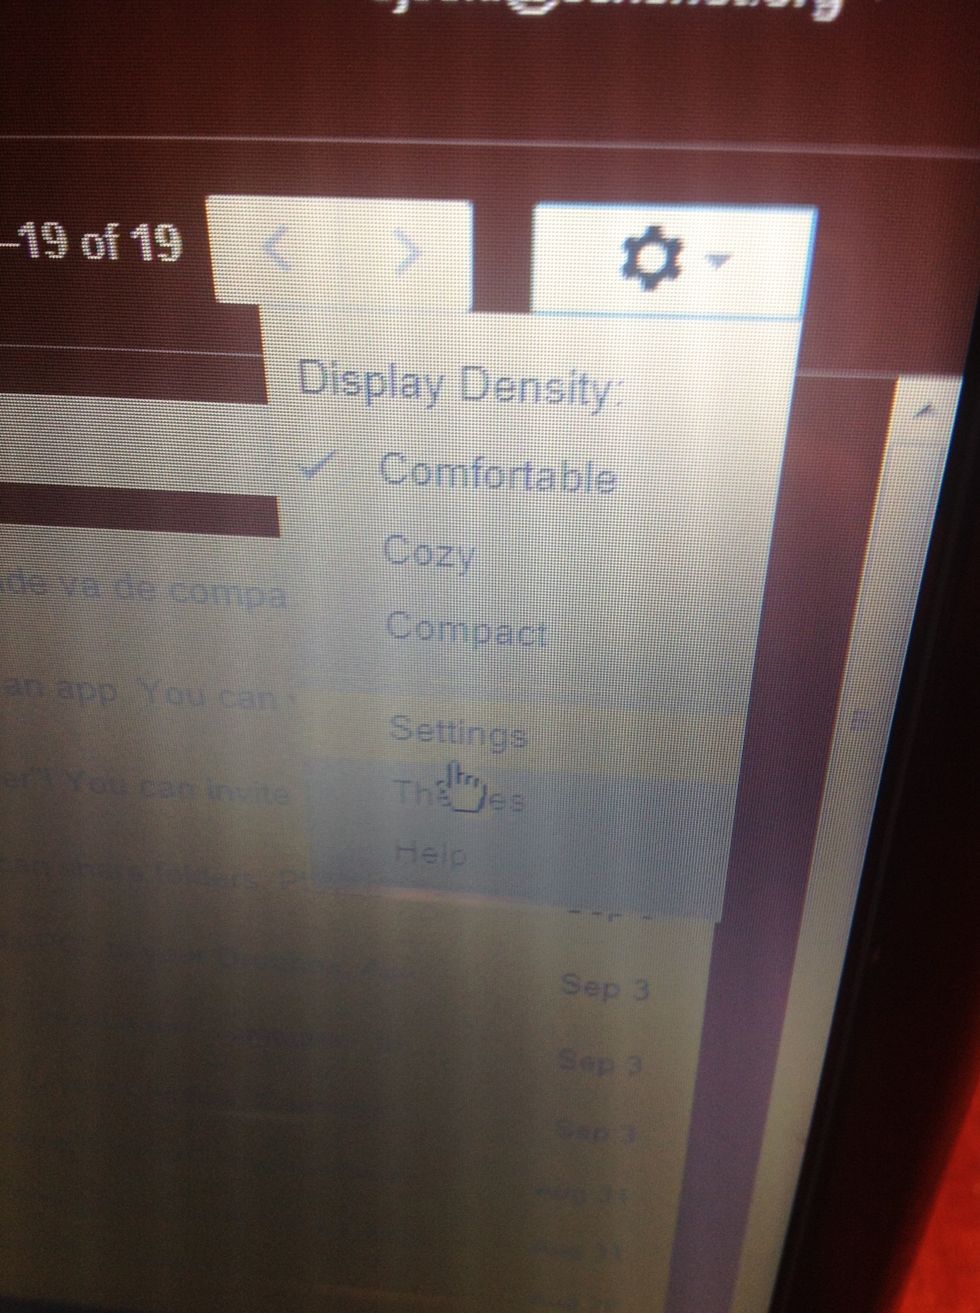
Click settings.
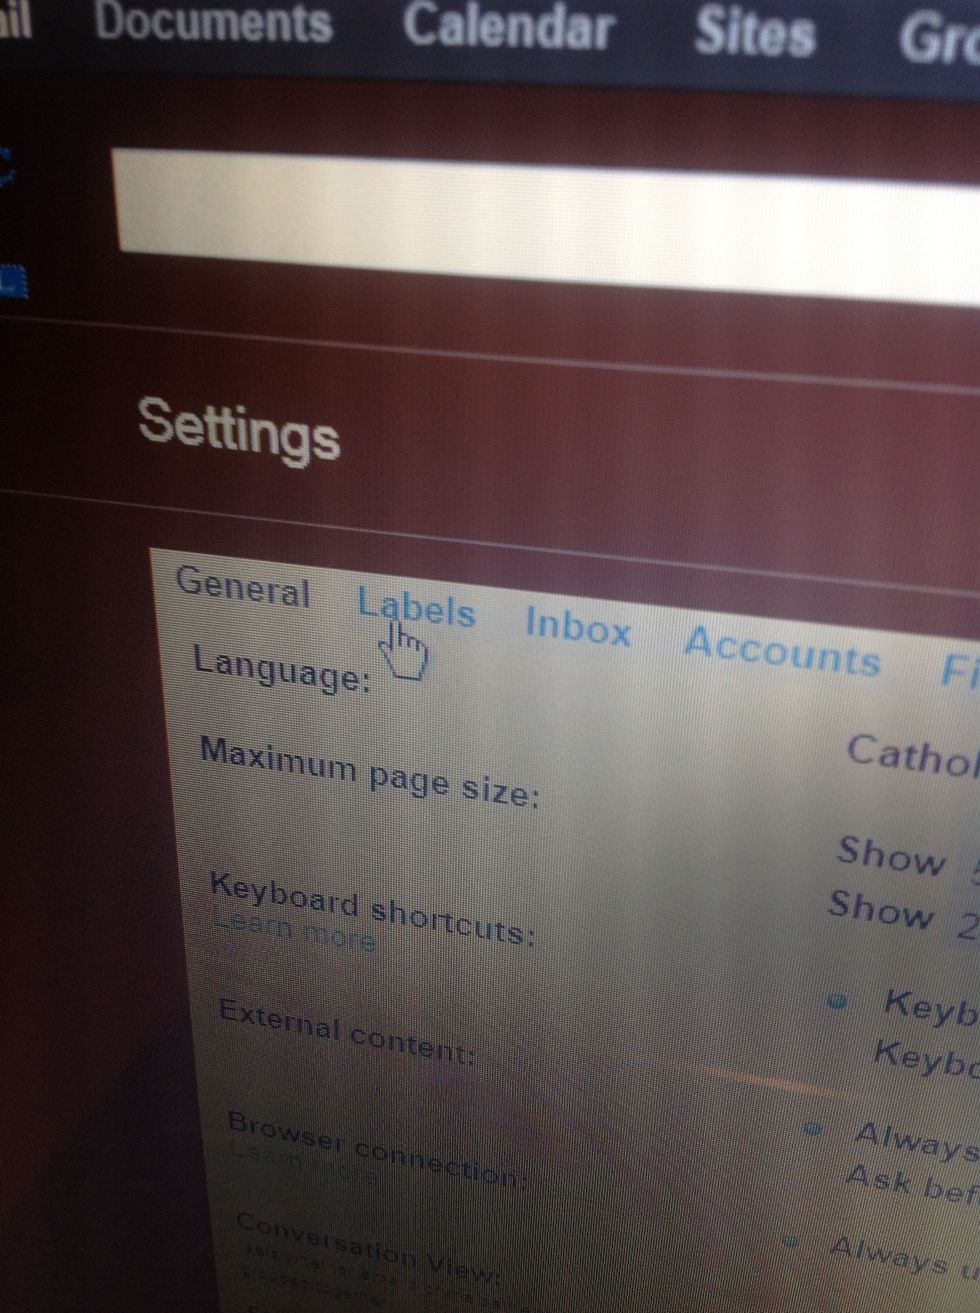
Once in settings, clicks "Labels" on the top.
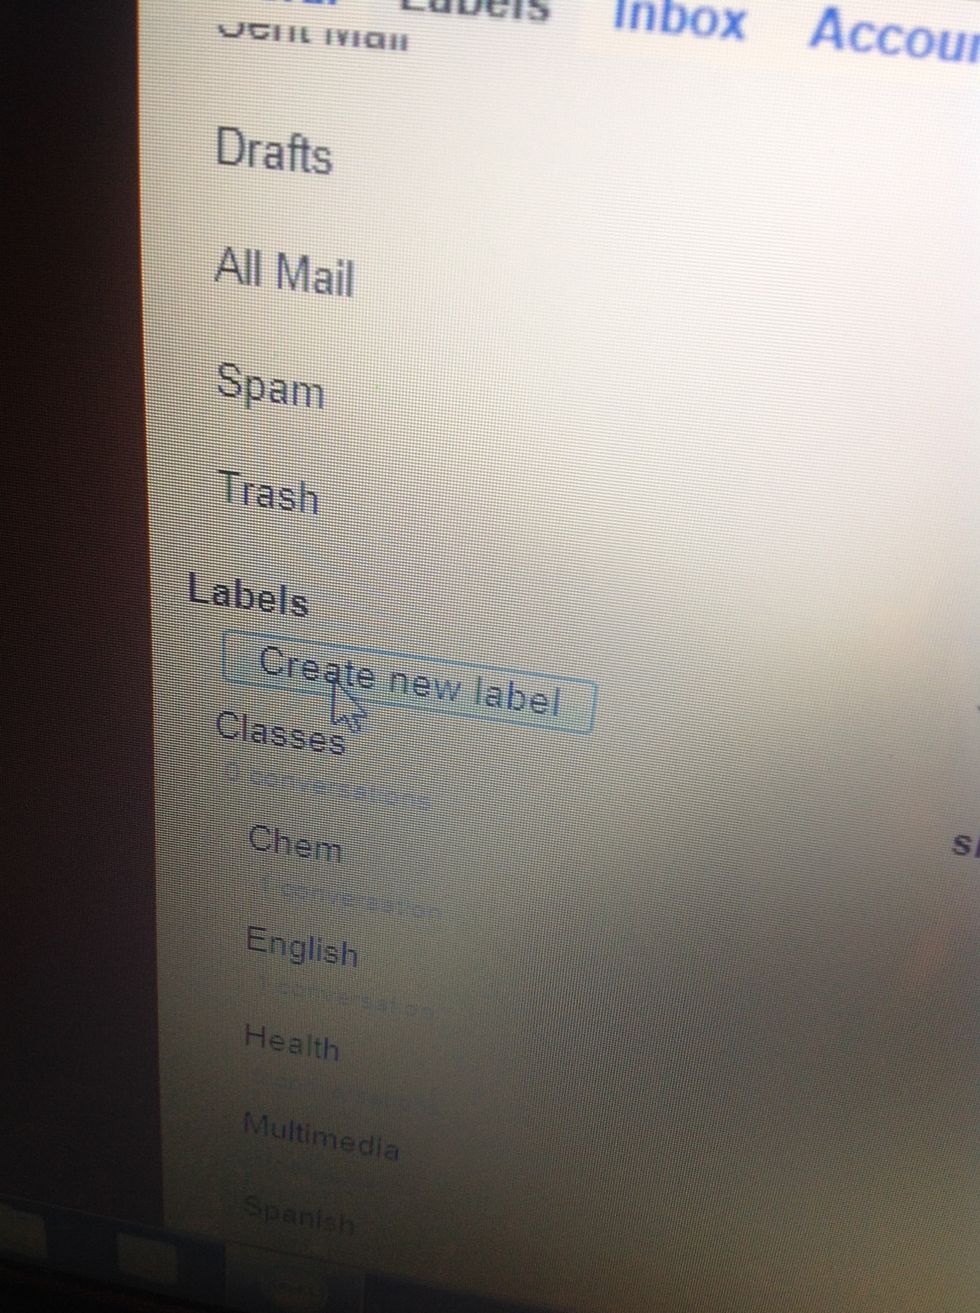
Once in labels, click create new label

You then must name the label with a category of mail you usually receive.
Now that you have created a new label, go to your inbox.

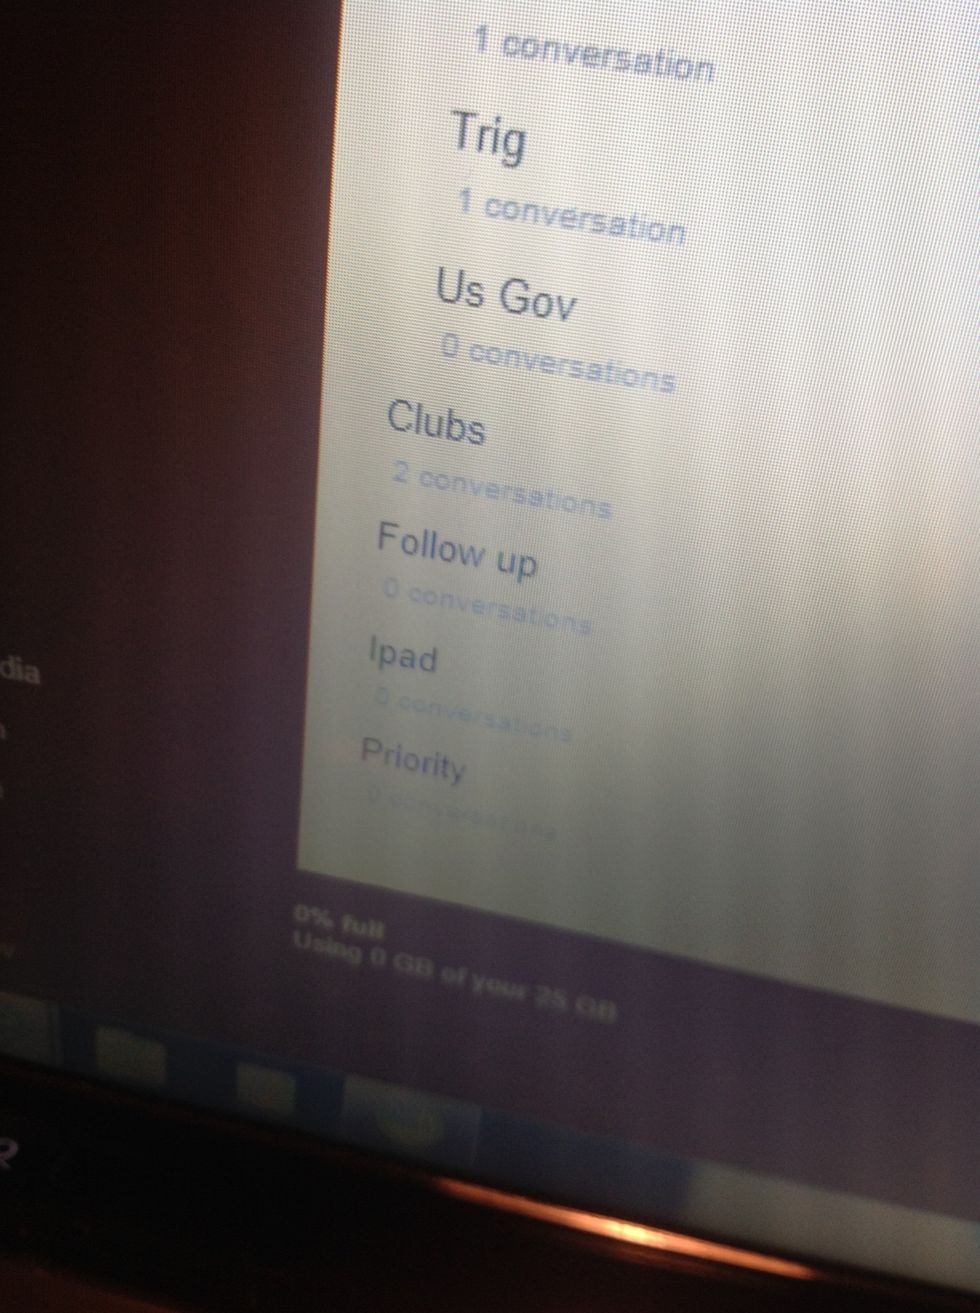
On the side of your inbox you can see that your new label is now displayed.

Next, check off an e-mail you would like to put into your label.
Click on the folder icon above your inbox and click on the label you would like and continue doing as much as you want until your entire e-mail is organized.