The Conversation (0)
Sign Up
Firstly, download the app Keynote, for approximately $10.49.
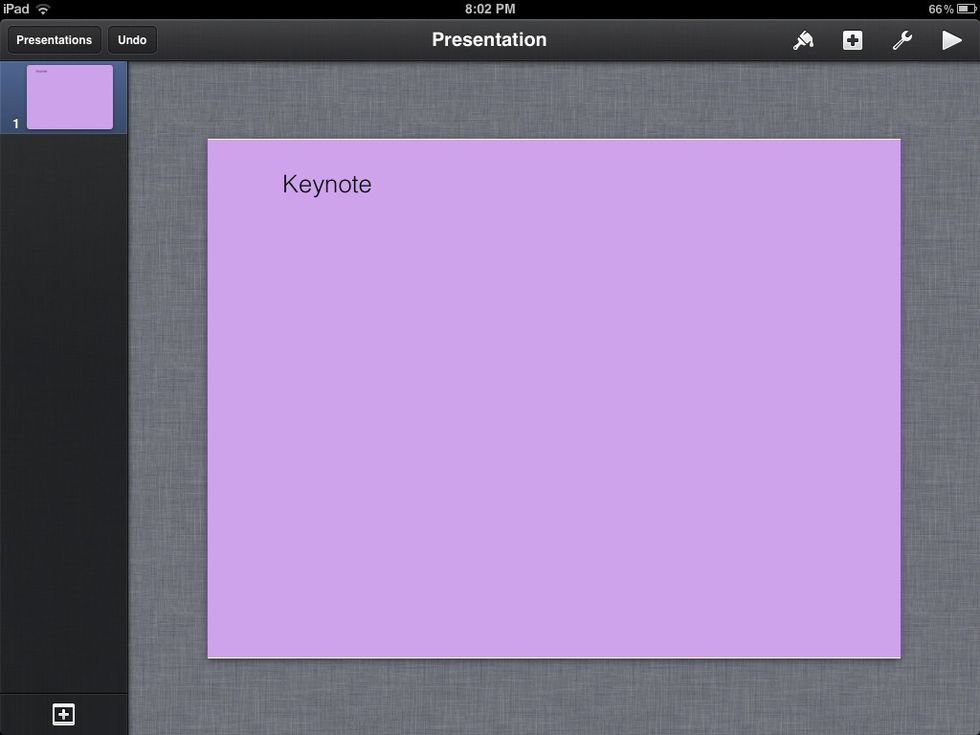
Once Keynote has downloaded, open the app, (If any advertisements pop up just close them straight away).
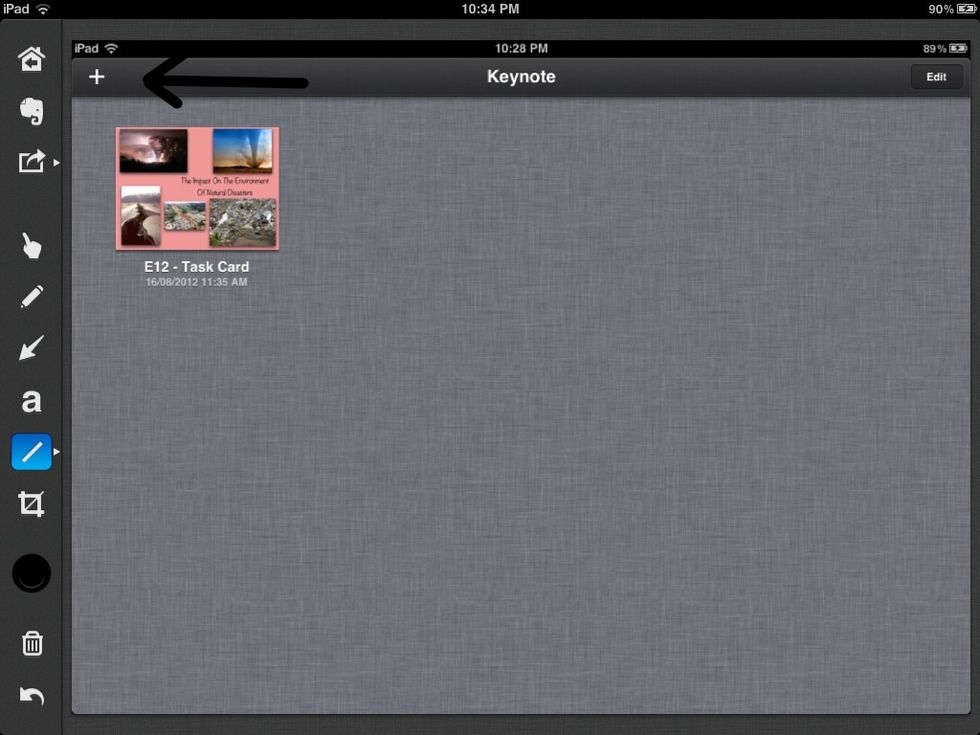
Click on the plus button (+) in the top left hand corner, and press create new presentation.

Next choose the theme for your presentation.
If you have chosen a theme skip to step 18 , if you want a coloured background continue to follow the steps
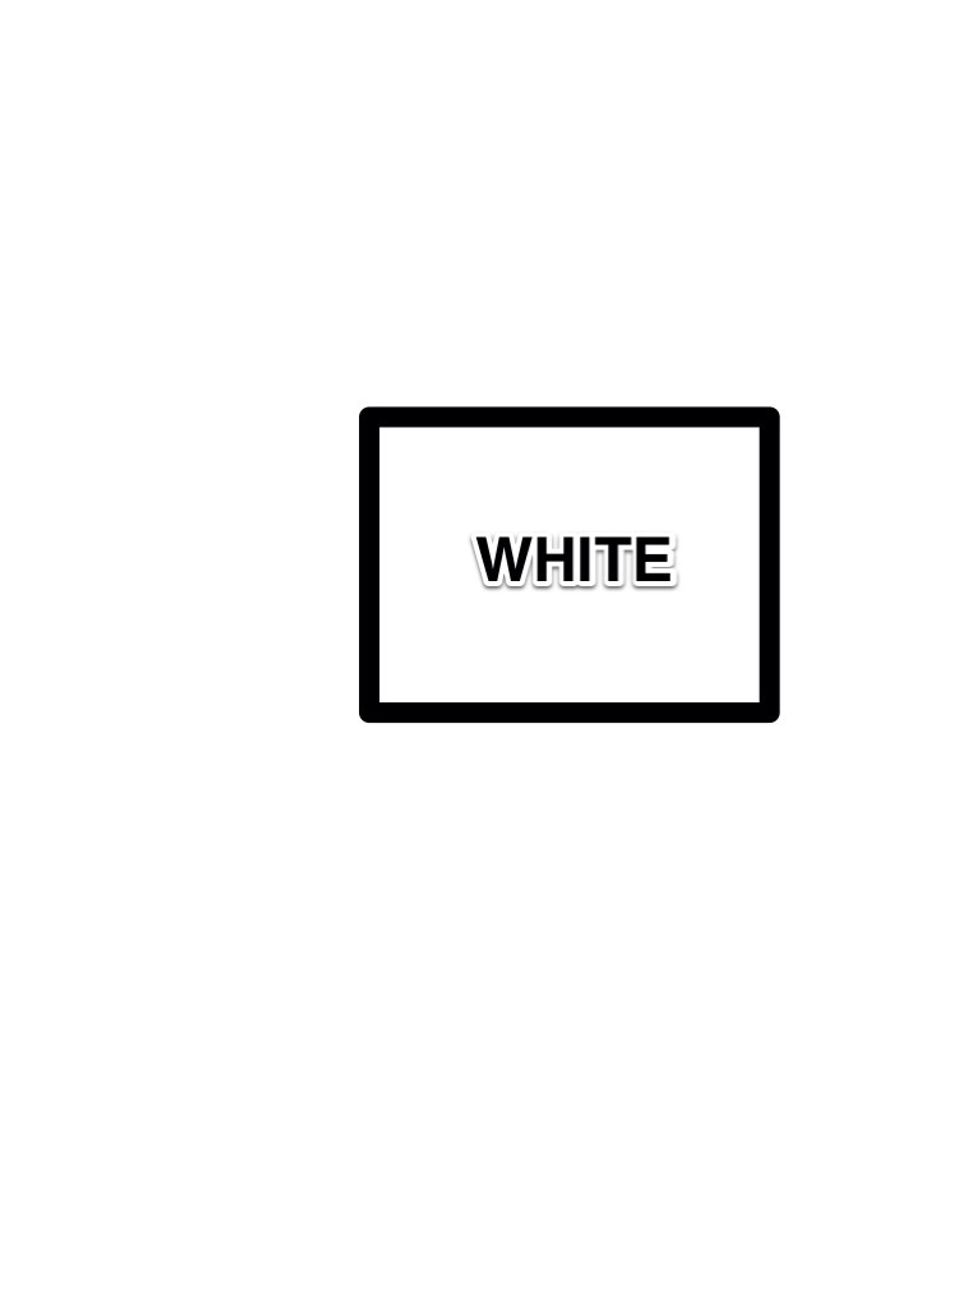
If you want a plain colour as your background, press on the white theme.
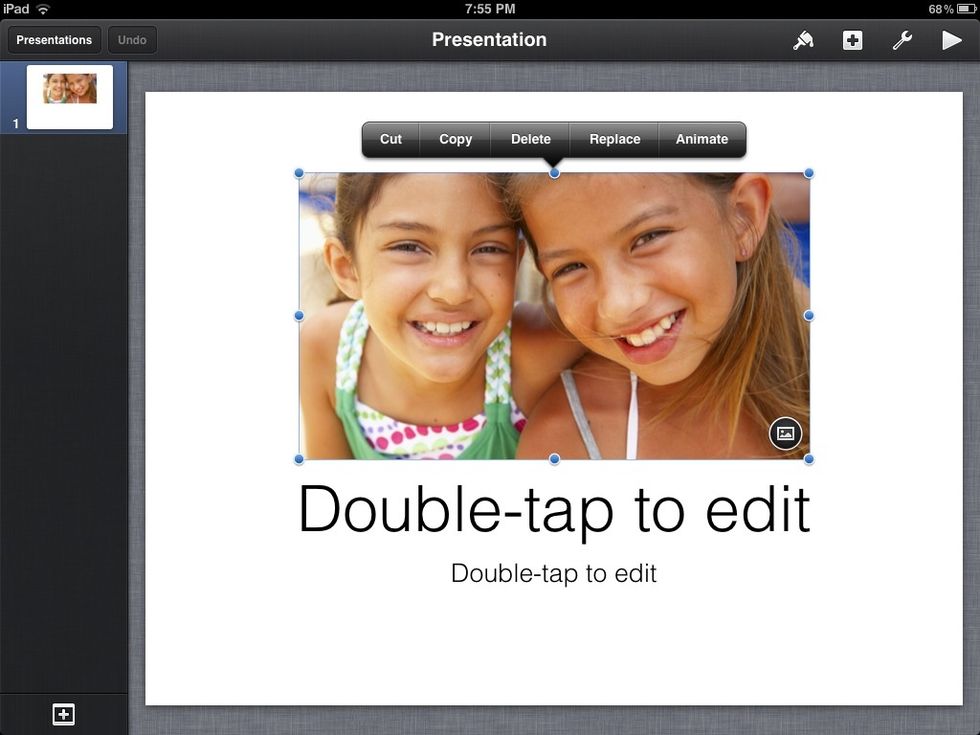
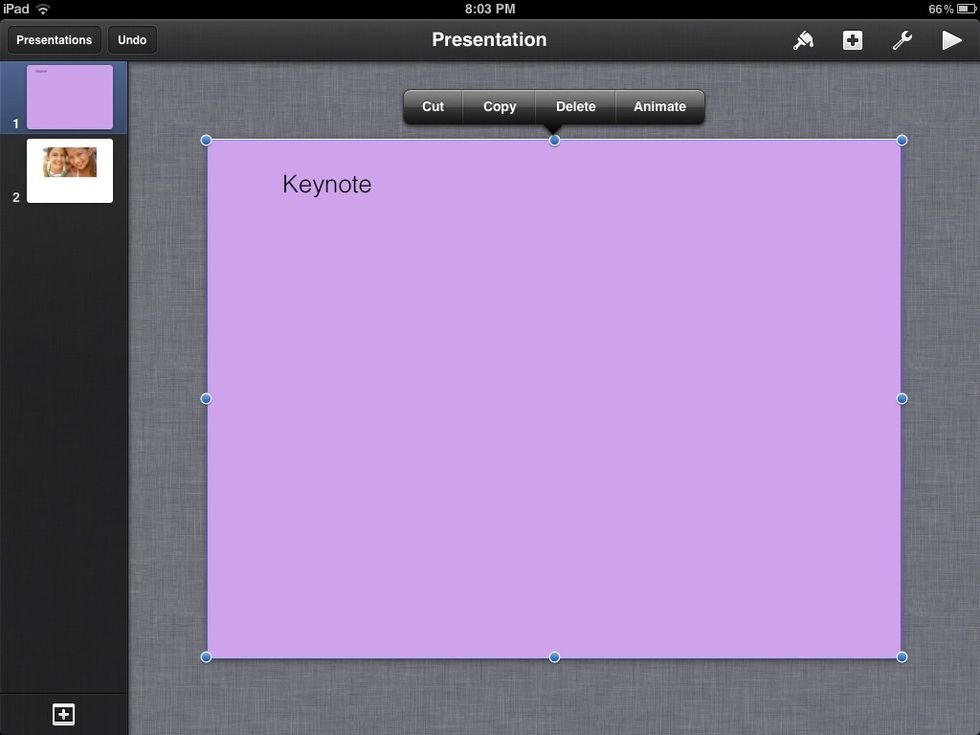
To make a coloured background, firstly click on the picture that is present and above that will appear a little toolbar, when that appears click on delete.
Repeat step seven with the two text titles on the first slide
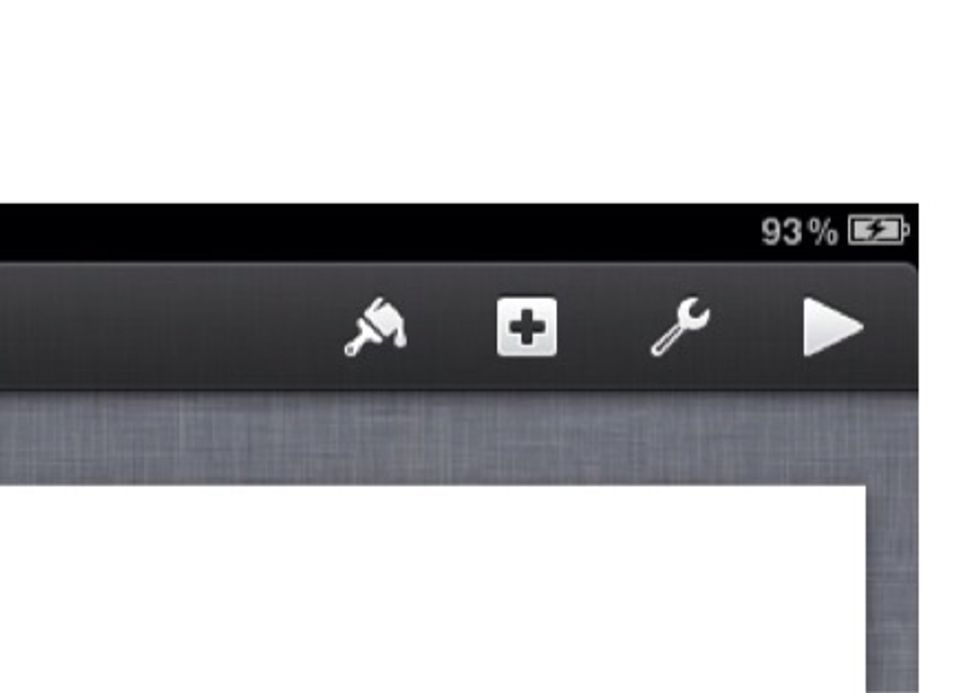
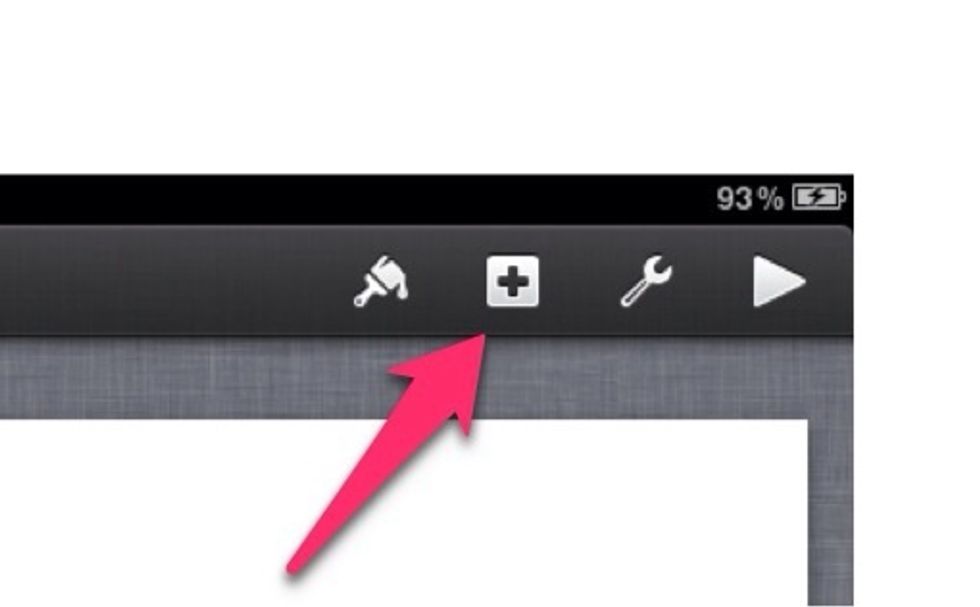
In the top right hand corner you will see four symbols / pictures , to add the coloured background

Click on the second symbol (the plus in the square) , then you will see four different sections at the top of the tool bar that appears , (Media - Charts - Tables - Shapes )
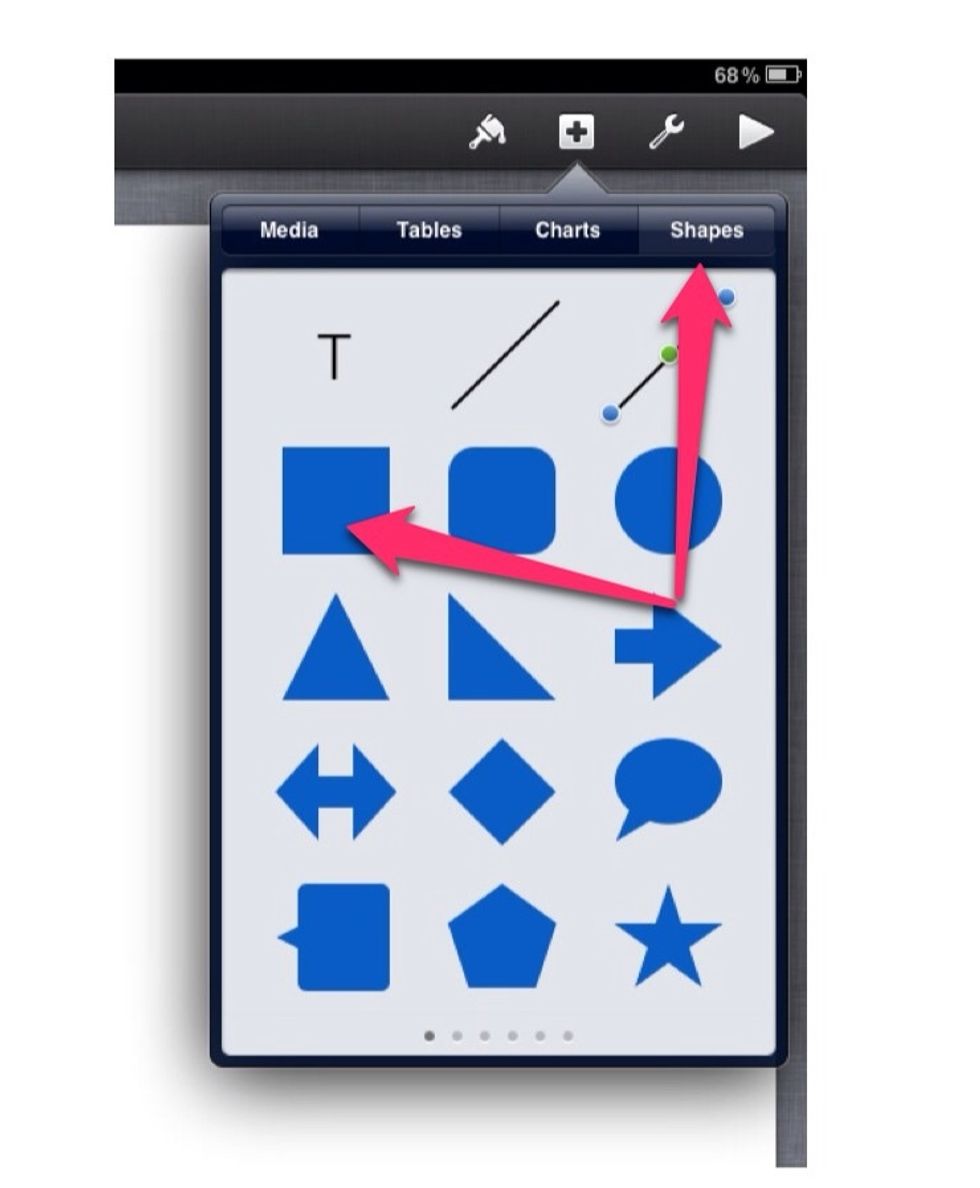
Click in shapes at the top of that tool bar and press on the square
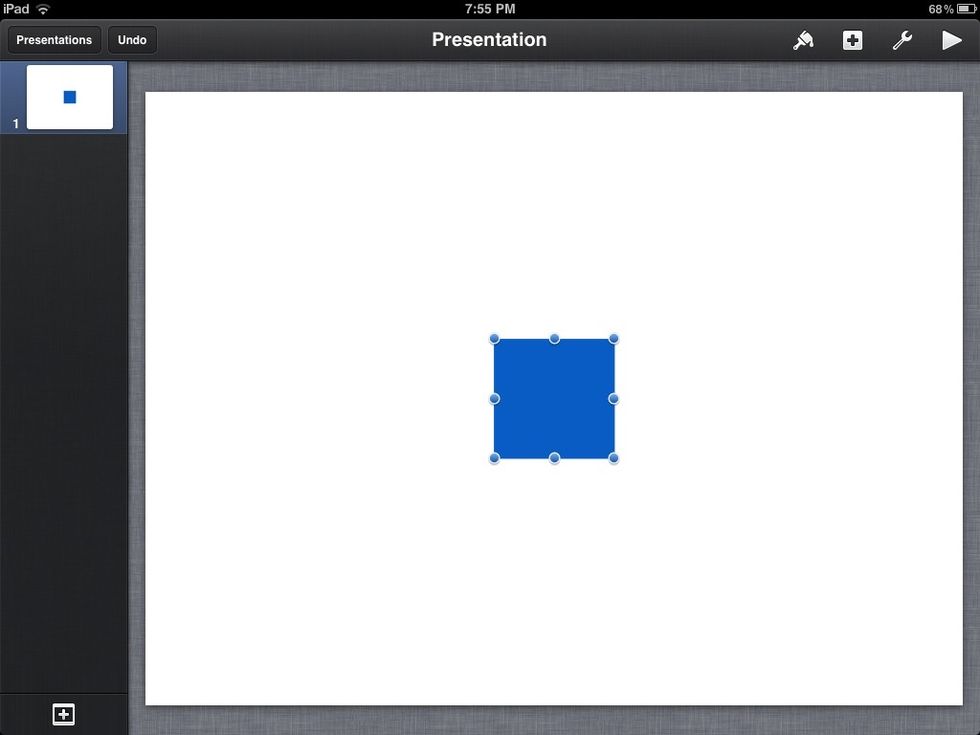
Using the blue dots in the corners of the square make it larger to fit the area you need to be covered , if the blue dots don't appear straight away just simply click on the square
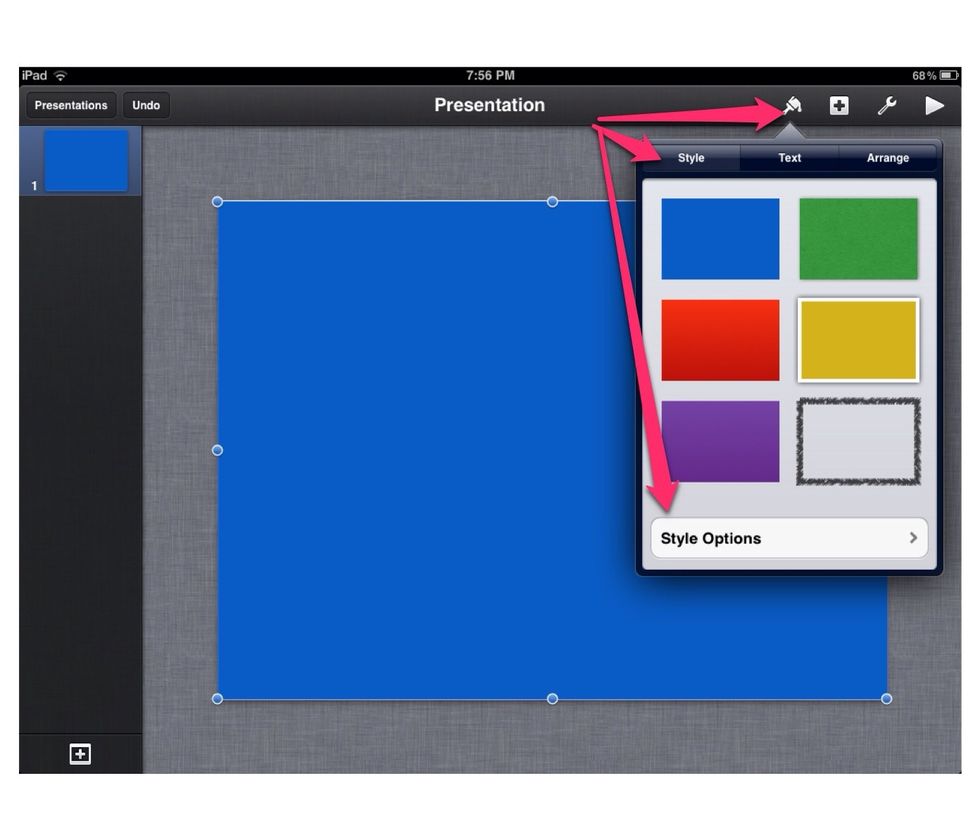
To change the colour click on the square, and in the top right hand corner where the symbols are, click on the one that is a paint brush, next make sure you are in 'style' then click on style options
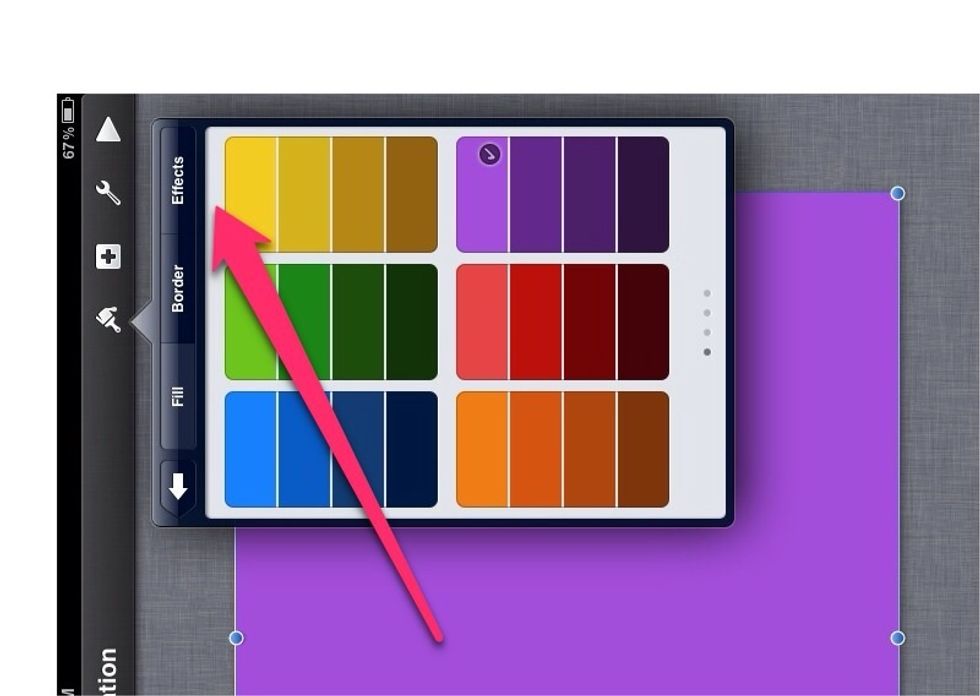
When you click on this , a table of options will appear , down the bottom you will see a bar with 'style options' click on that.

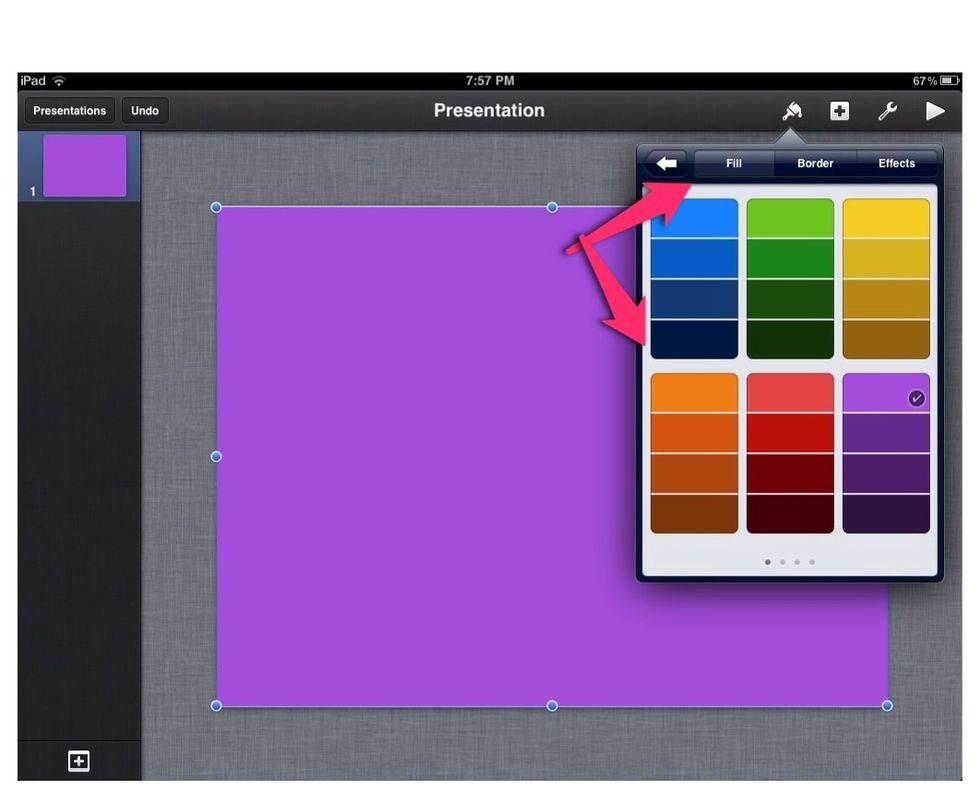
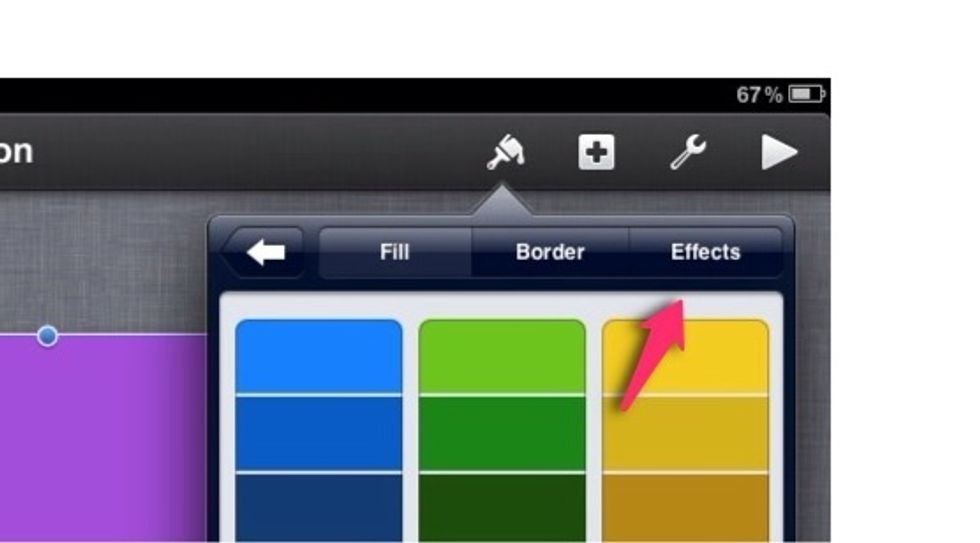
Across the top the click on 'fill' you can then choose the colour you would like to have as your background
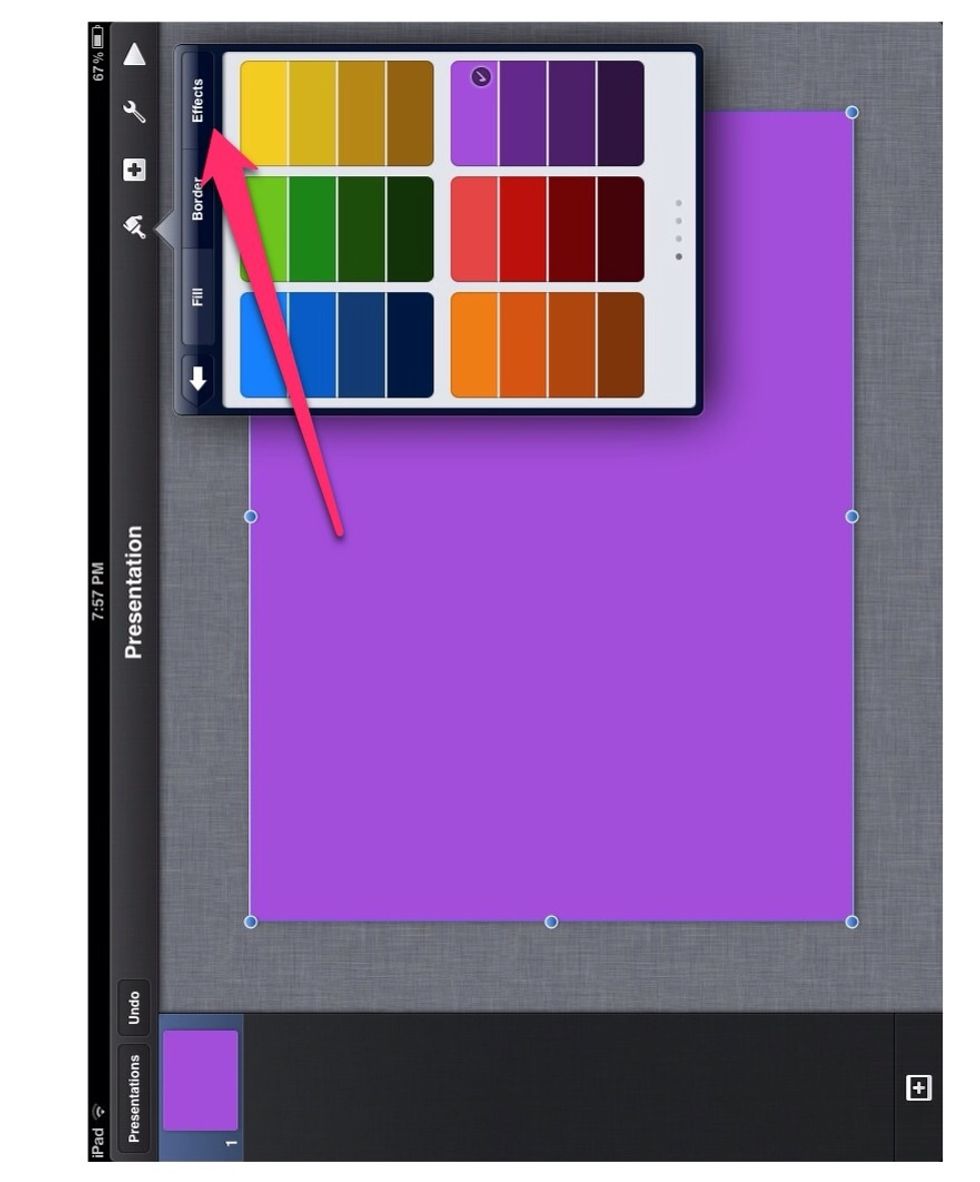
Once you have chosen your colour if you would like to change the strength of the colour click on effects , (still in style options)
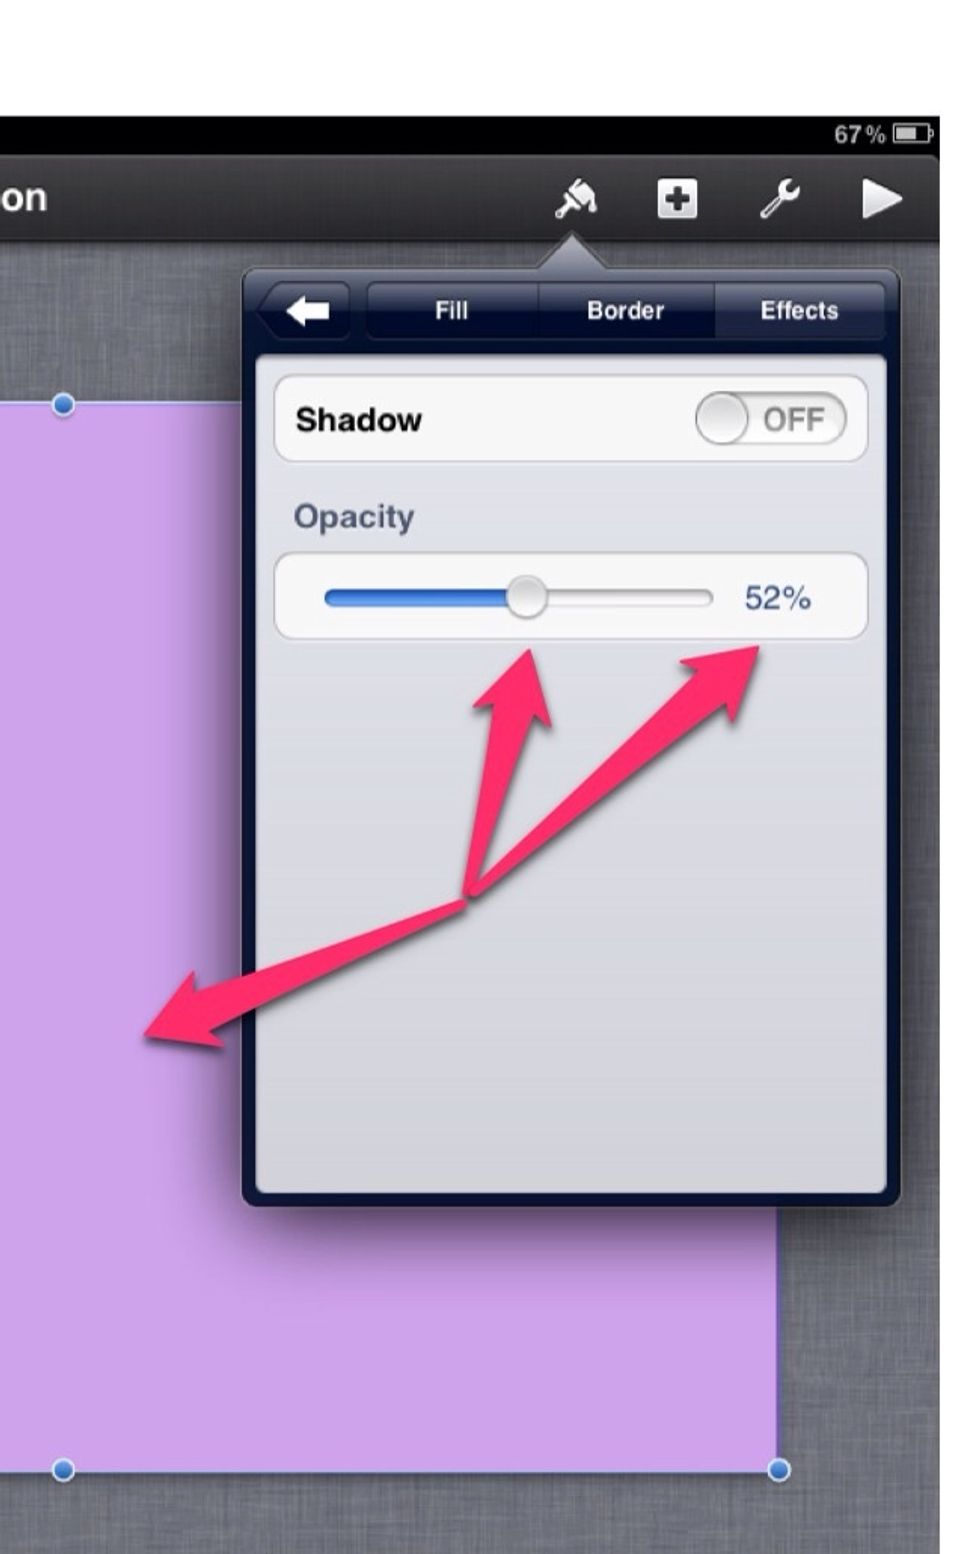
Using the opacity bar change the strength of your chosen colour
To add text boxes and pictures click on the plus (+) button in the top right hand corner
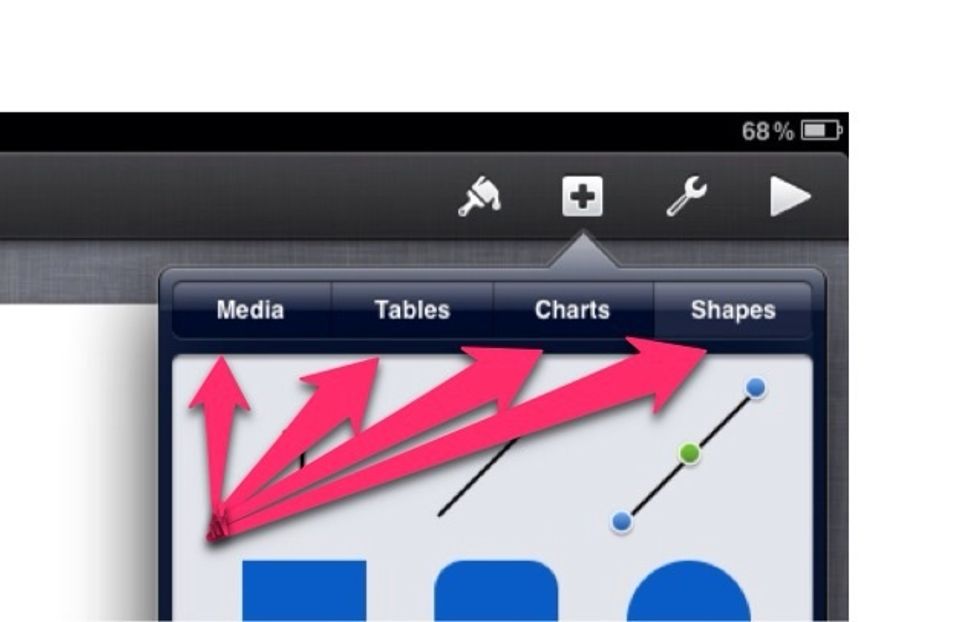
You will see a bar appear under that and there will be four options across the top , (Media - Tables - Charts - Shapes)
You can tell by the headings on which one you need to click on , as an example I will use a text box

Firstly click shapes , and then the 'T' in the top left hand corner
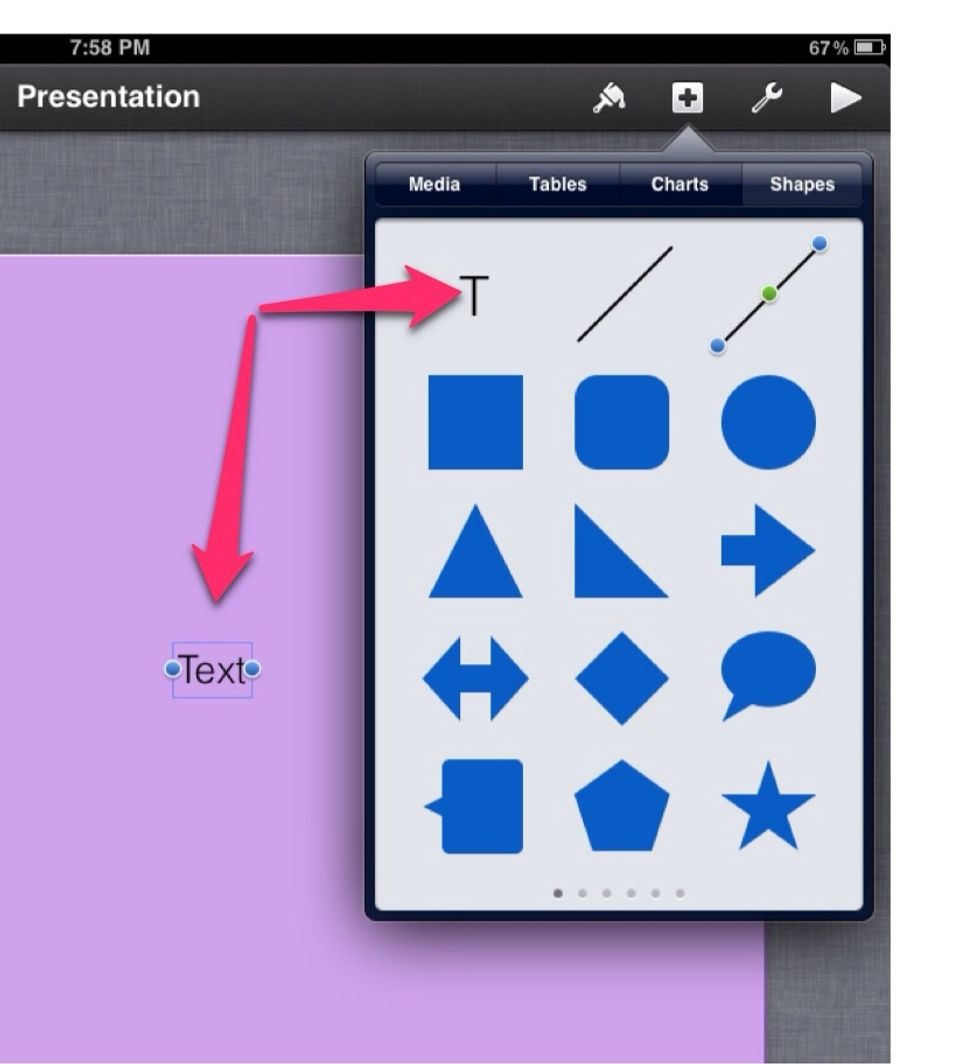
A text box will appear on your presentation , you can use the blue dots on the side to change the size of it
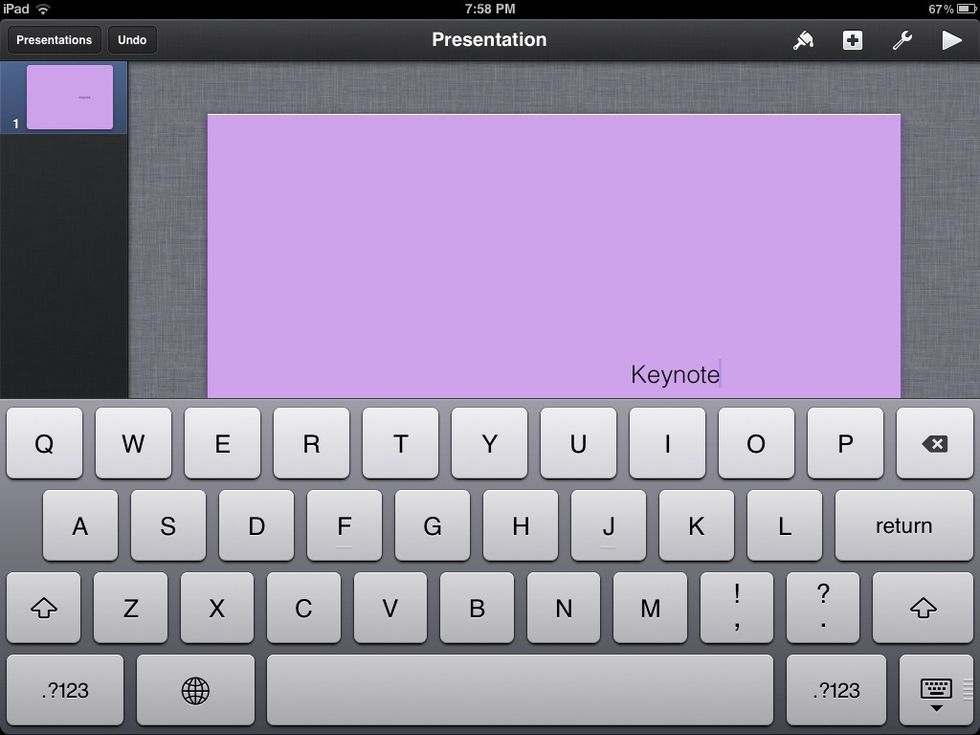
Place your text in the box and then click out of the box , (anywhere on the side)
Next you can move the text box around to suit your presentation
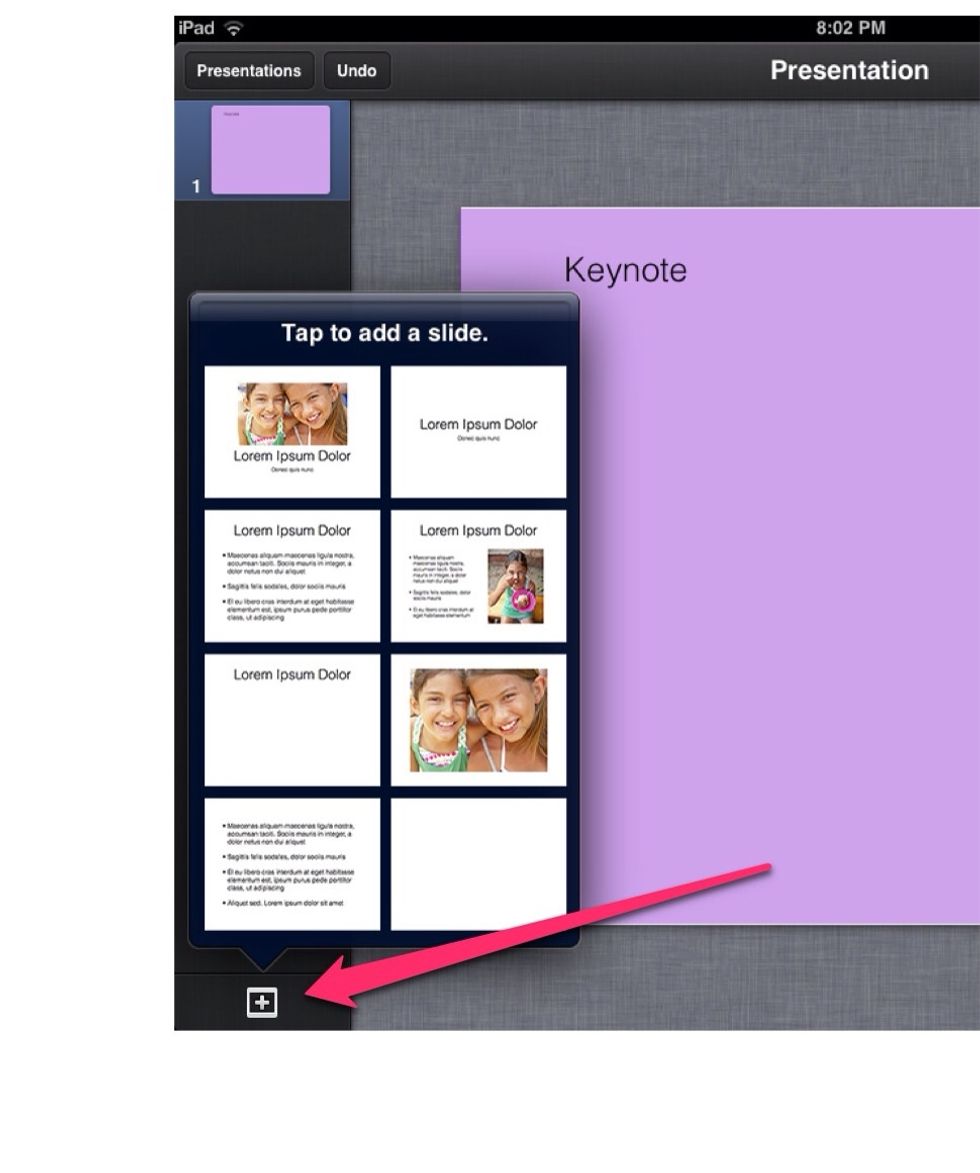
Now , to add a new slide simply click on the plus button on the left hand side along where the slides are shown
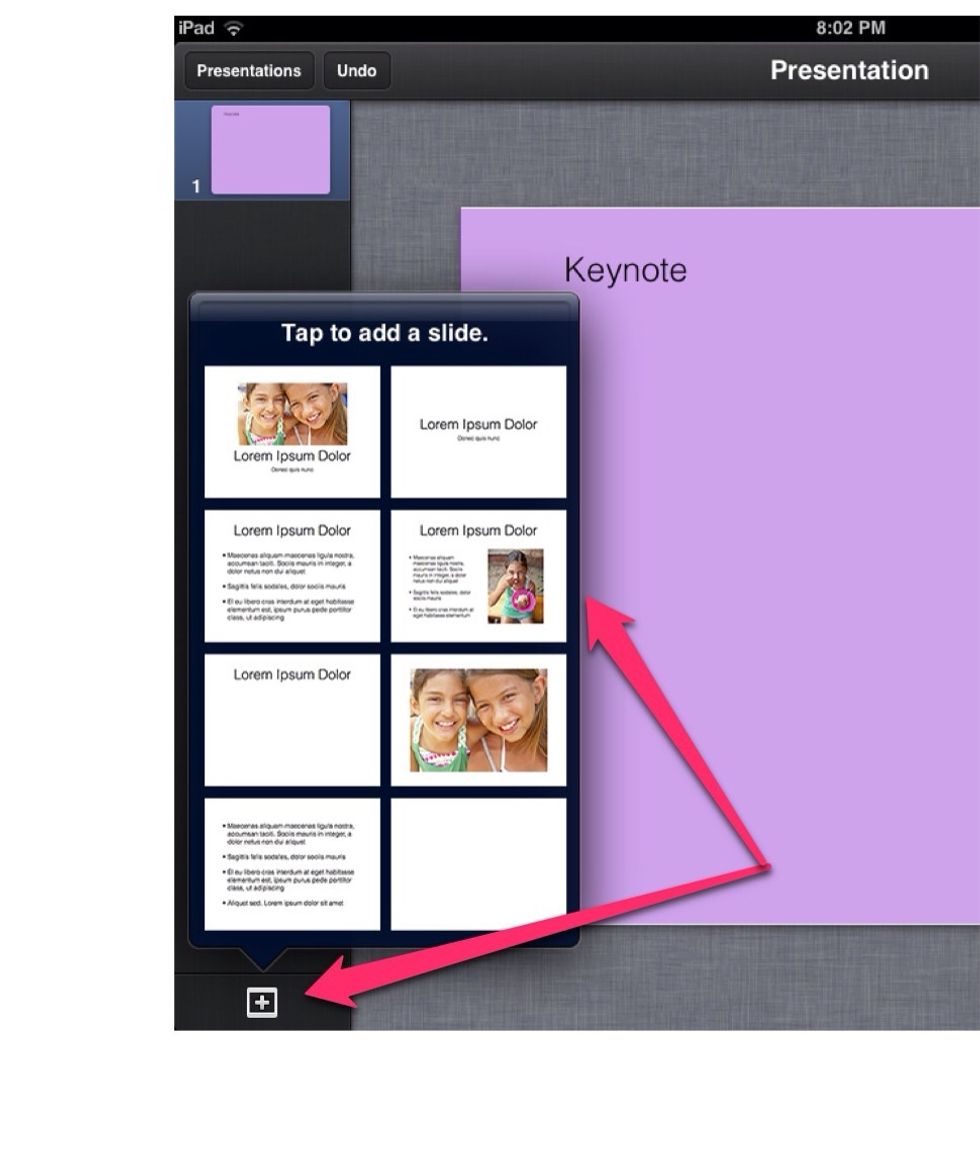
Choose the type of slide that you want
If you have done a coloured background you can just copy and paste your last colour instead of redoing all of it
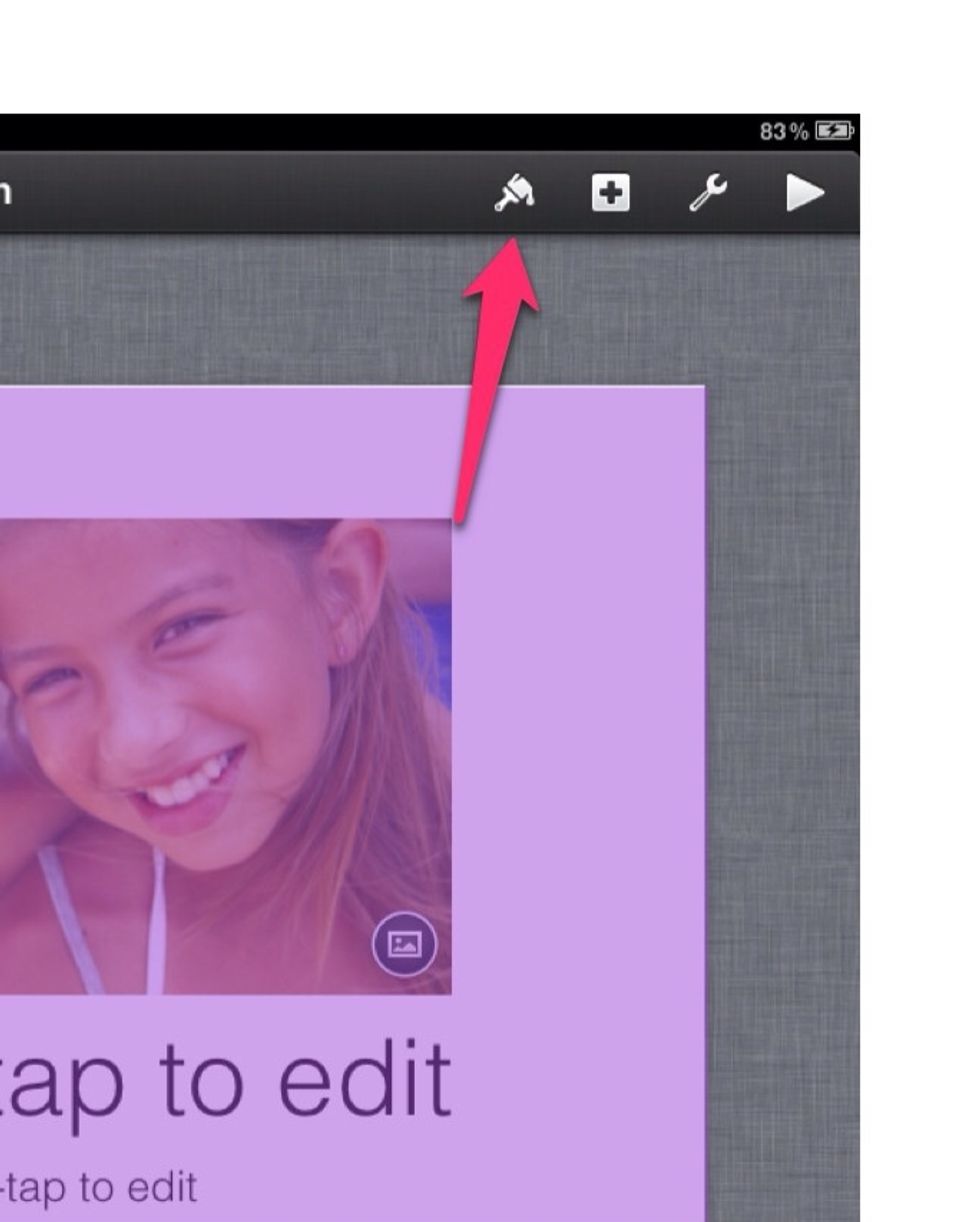
If your background covers the things that are on your slide click on the paint brush in the top right hand corner
Then click on style options again but instead of clicking on 'fill' up the top click on arrange
Next click arrange
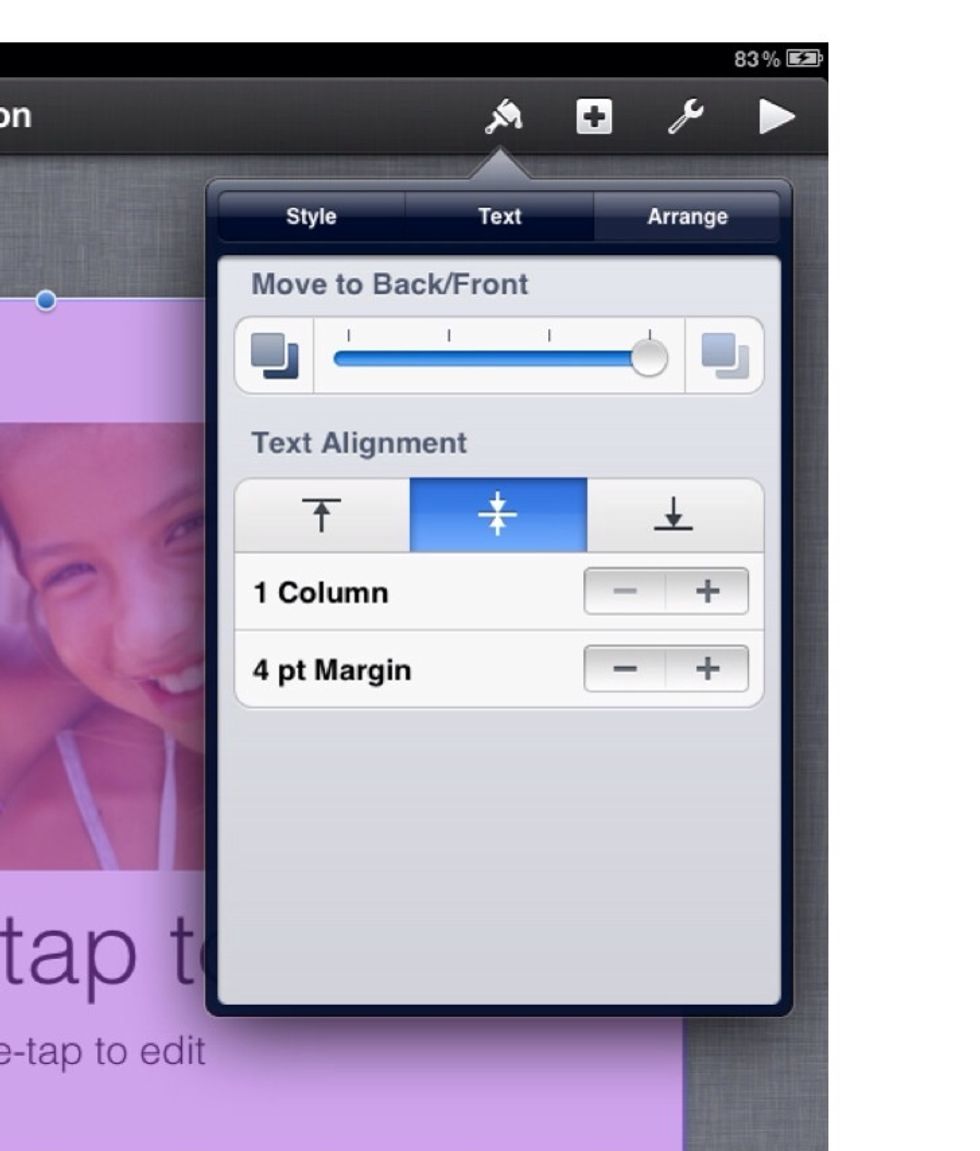
In the area of the box up the top of it you will see a sliding bar , move that bar all the way to the left
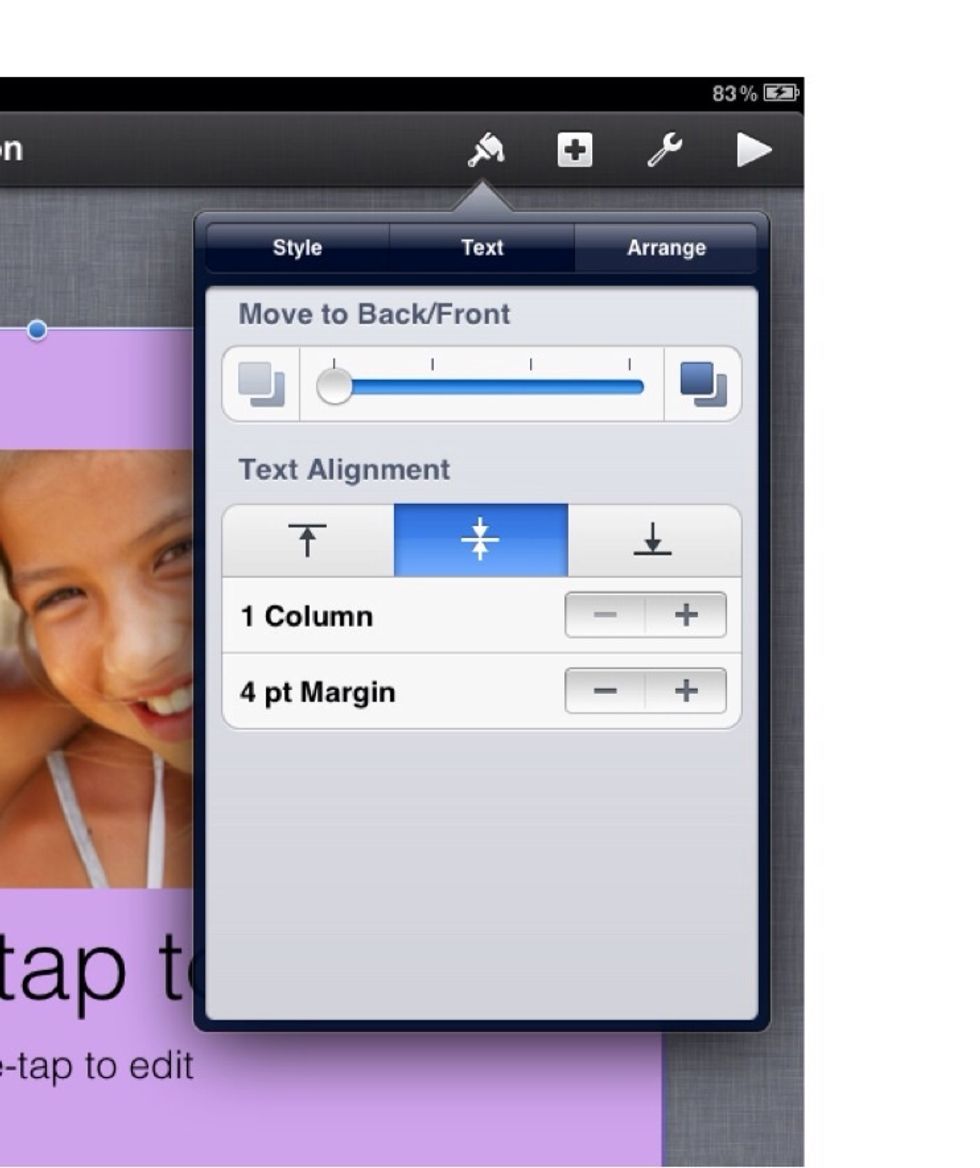
This will push the colour behind everything on your slide
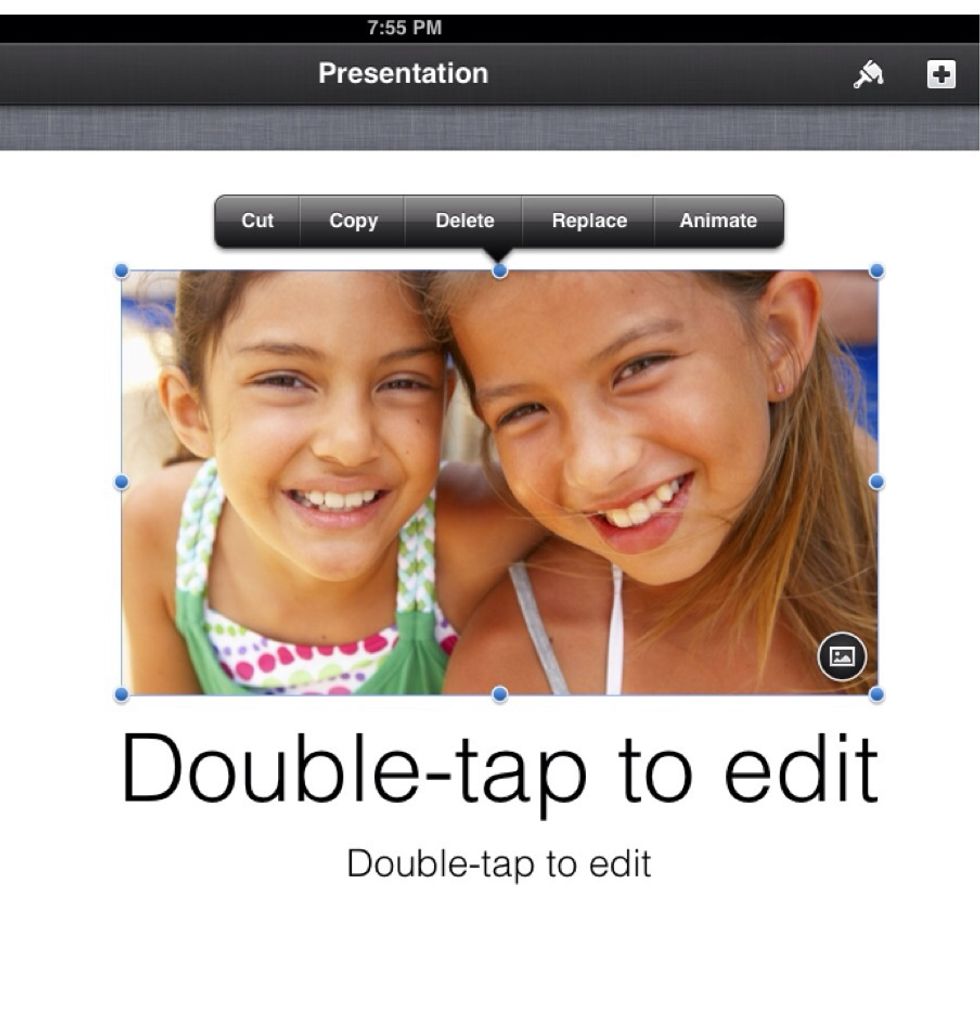
If there a things on the slide that you want to remove or change simply double click on the text boxes or pictures to change the text
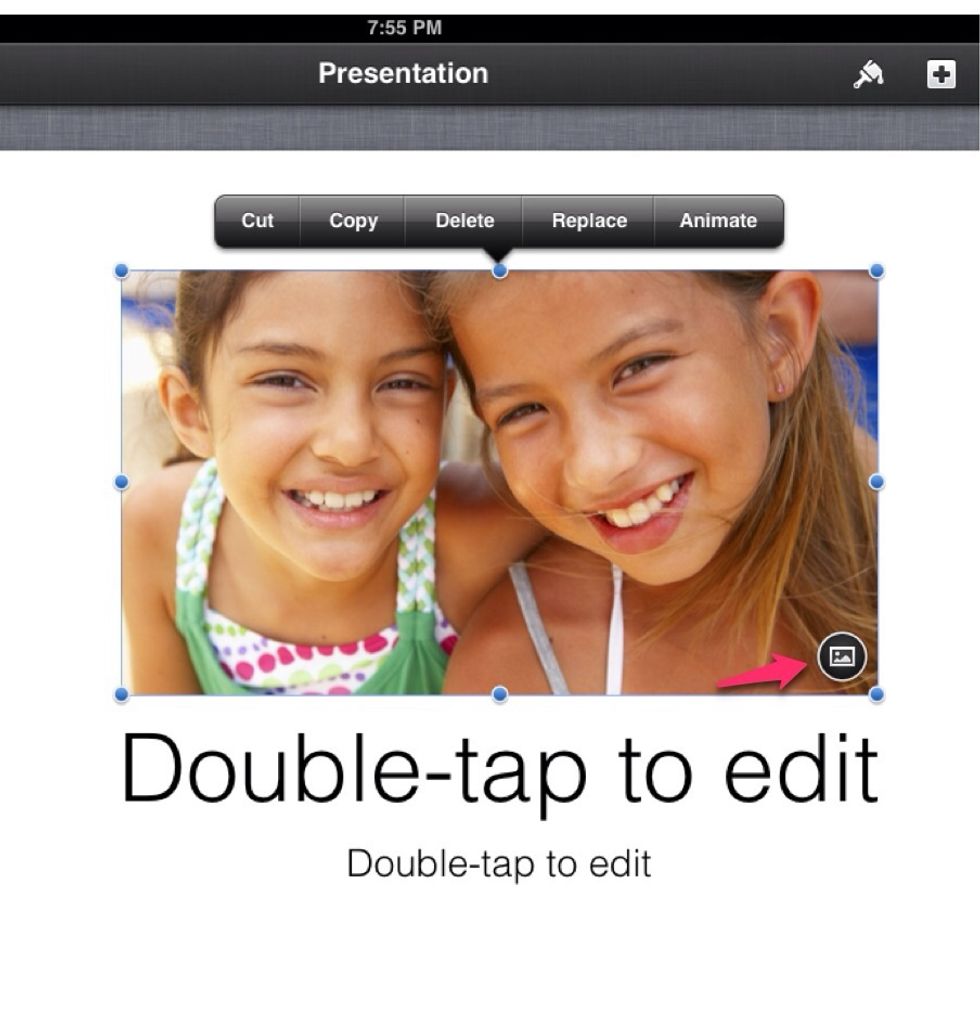
If you want to change a picture click on it once and a small symbol will appear in the the bottom right hand corner of the picture which will allow you to choose a picture from your gallery
Complete step 21 when you want to add in another text box or a shape , this will allow you to complete your keynote presentation