The Conversation (0)
Sign Up
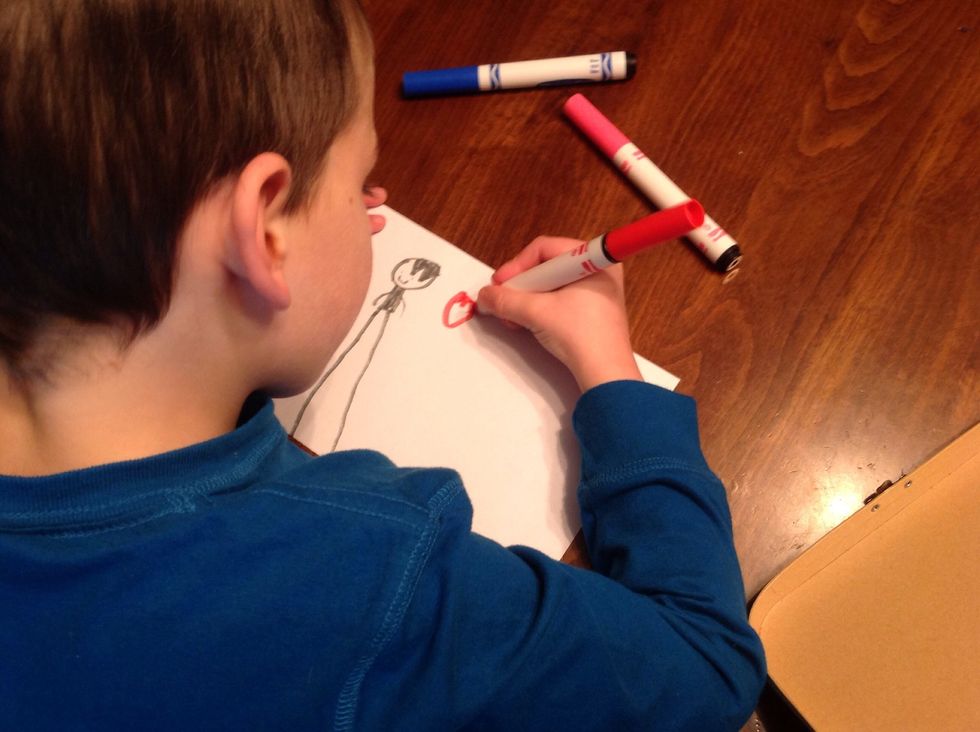
Draw a picture or use existing picture. *NOTE: Drawings done in marker will smear when Mod Podge is applied.
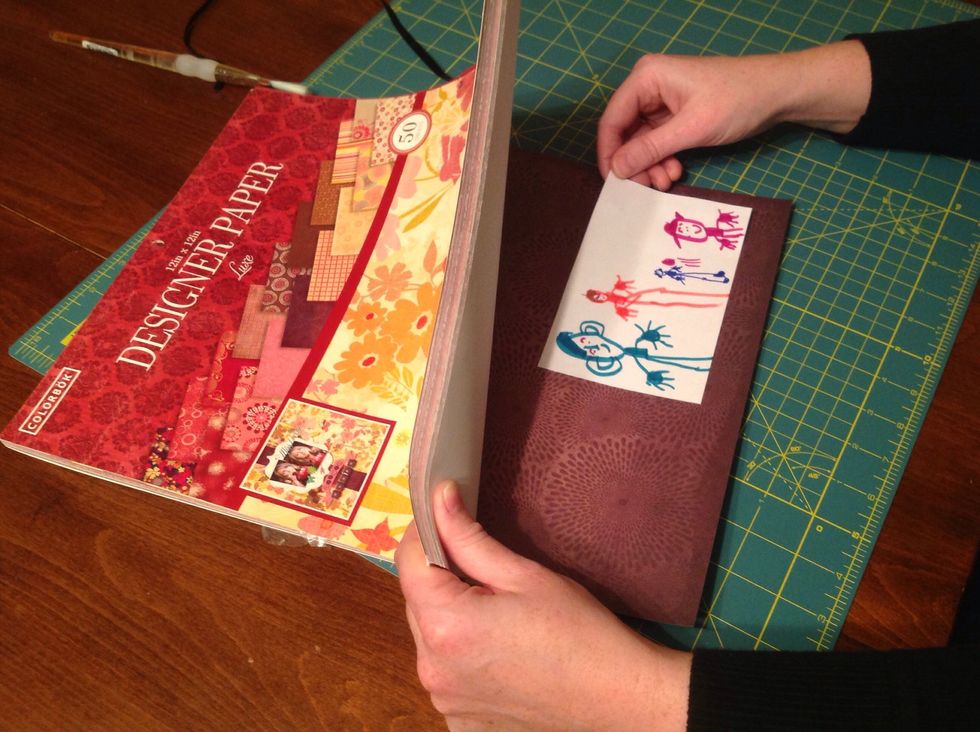
If using, choose a background color/paper for border.

Cut the paper so there is a 1/2 inch border around the picture.
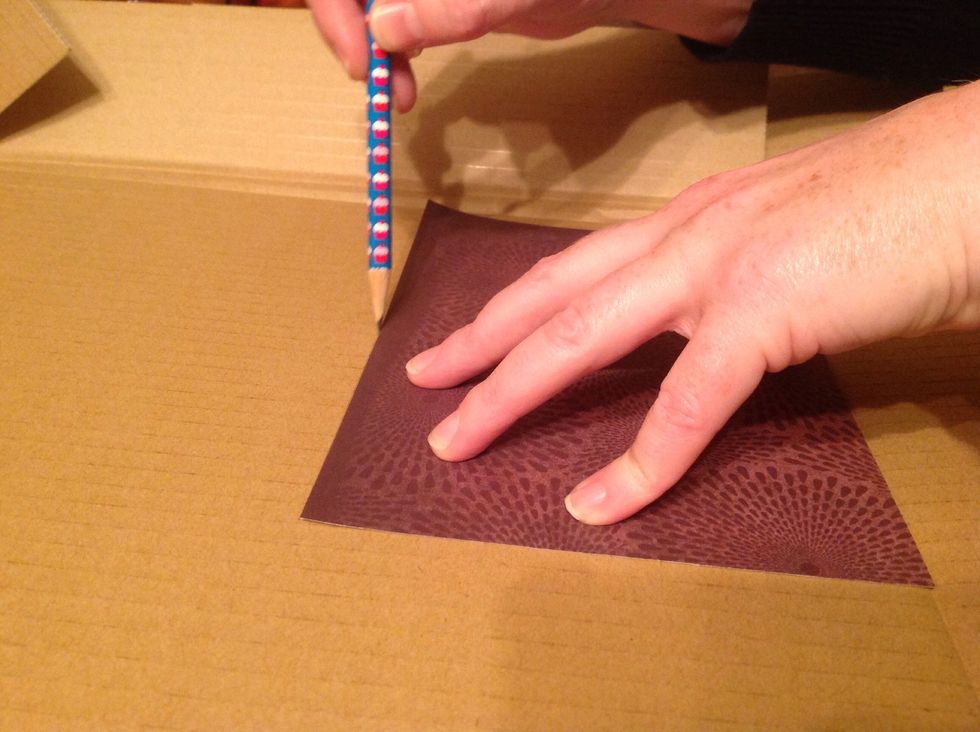
Outline the background over cardboard or foam board.

Carefully cut the cardboard with a scissors. *NOTE: Foam board may need to be cut by an adult with an X-Acto knife or razor blade.

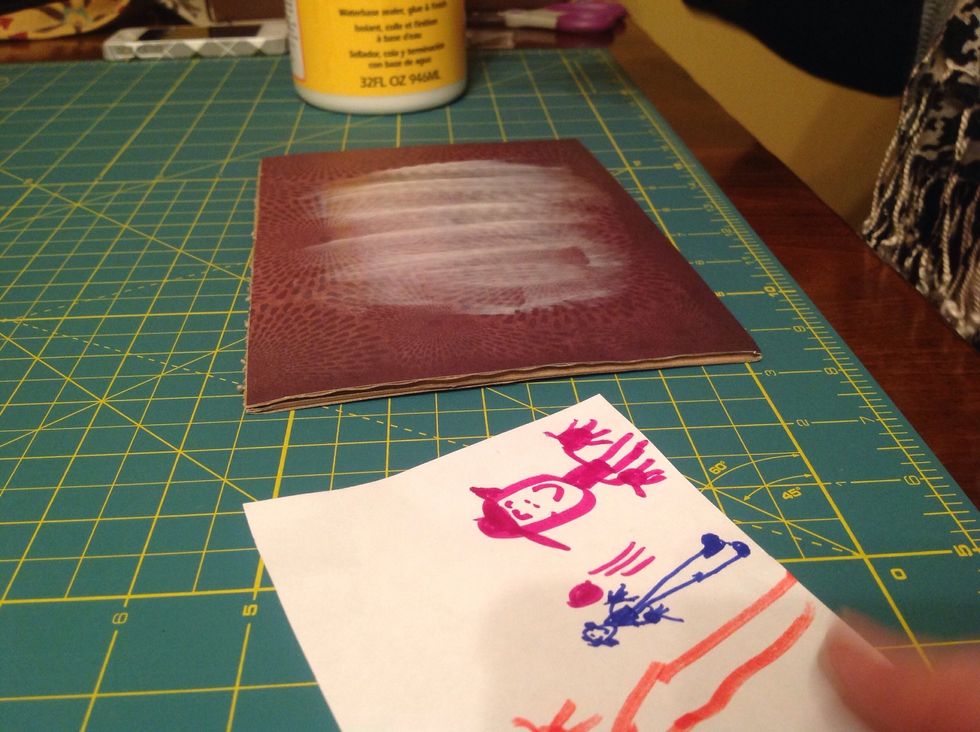
Coat the cardboard/foam board background with a thin layer of Mod Podge.

Press and smooth out your background color on the cardboard/foam board. Trim the edges and add additional Mod Podge along the edges if needed.
Add another thin layer of Mod Podge in the center of the background where the picture will go. Don't worry if you go outside of this, because you will add a layer covering everything next.
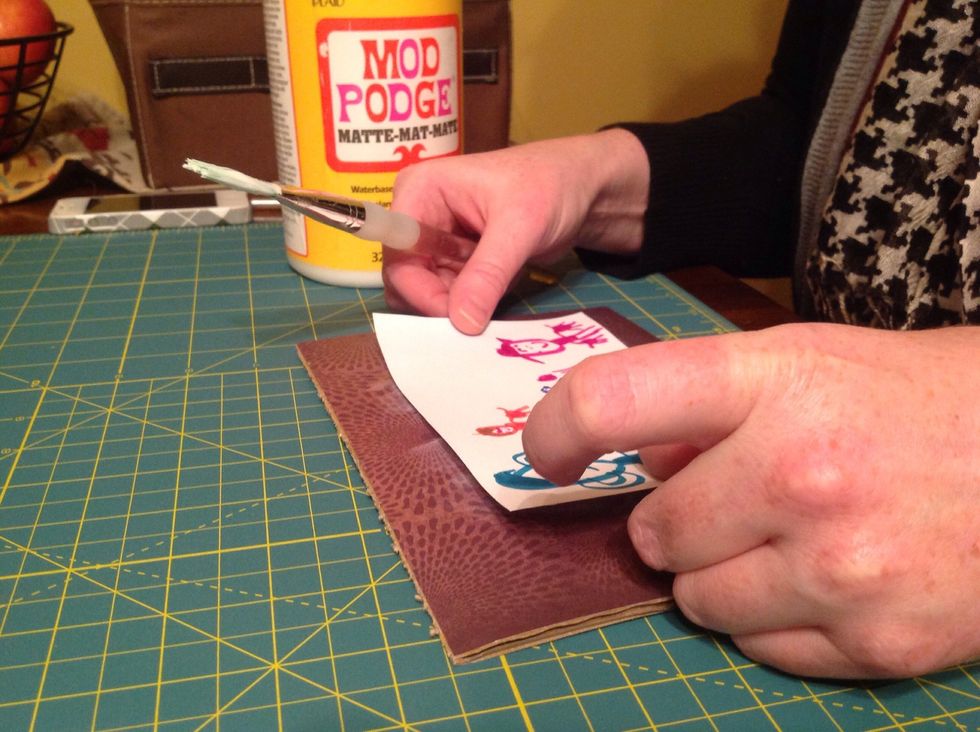
Place the drawing on the background leaving room for the keyboard letters.
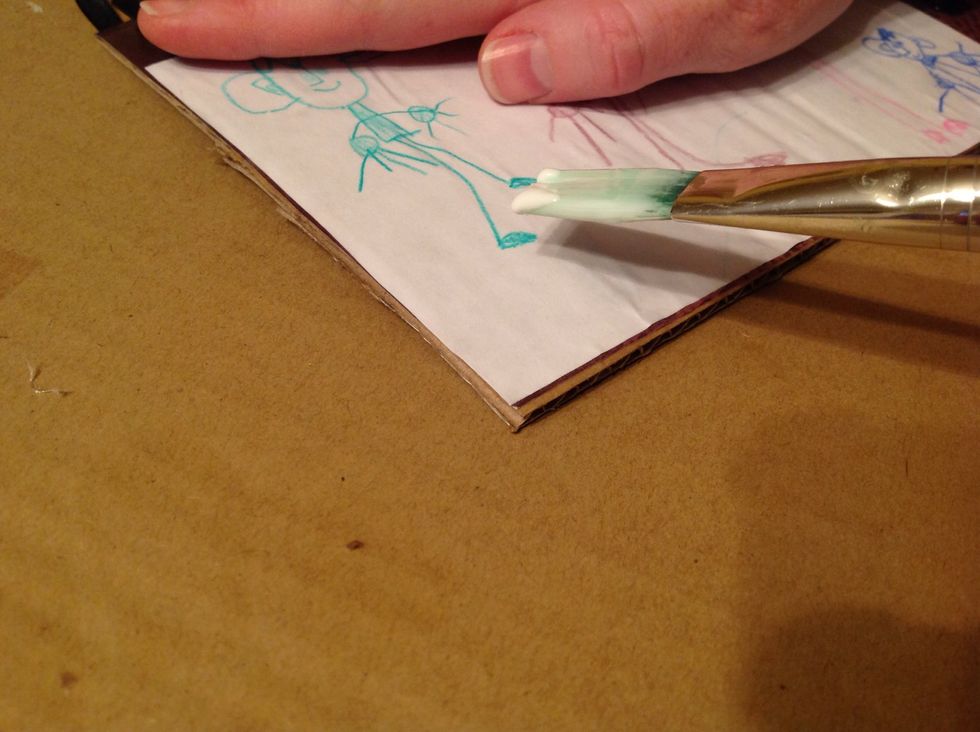
Coat the picture and background with Mod Podge and let dry.

Using a needle nose pliers, remove the letters you will be using for your message.
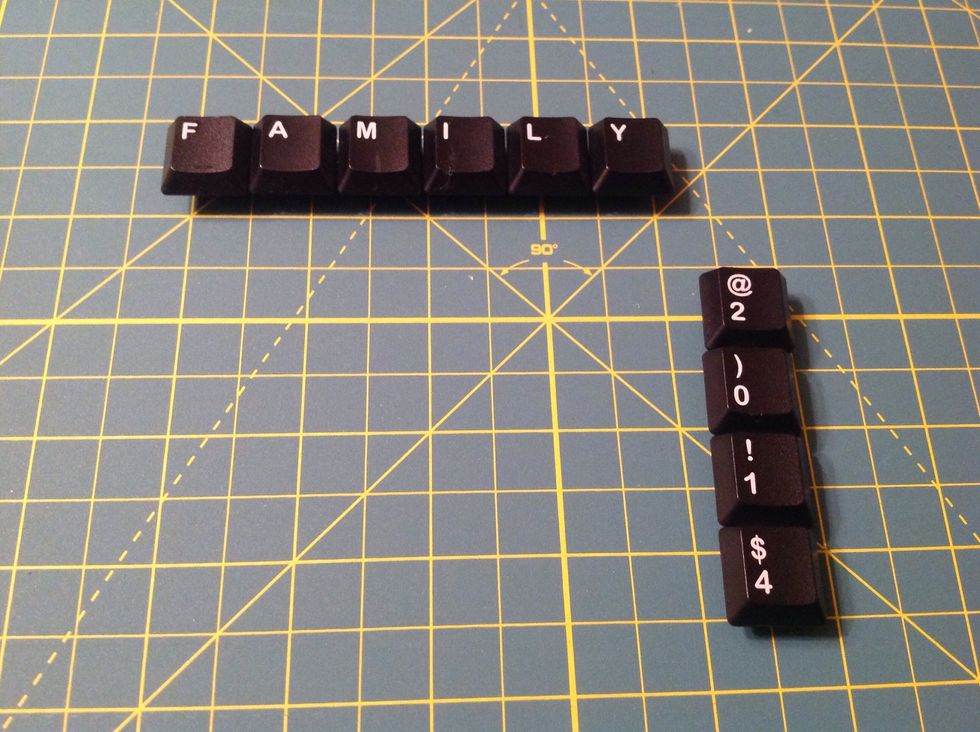
Arrange the letters however you would like to appear on your picture.
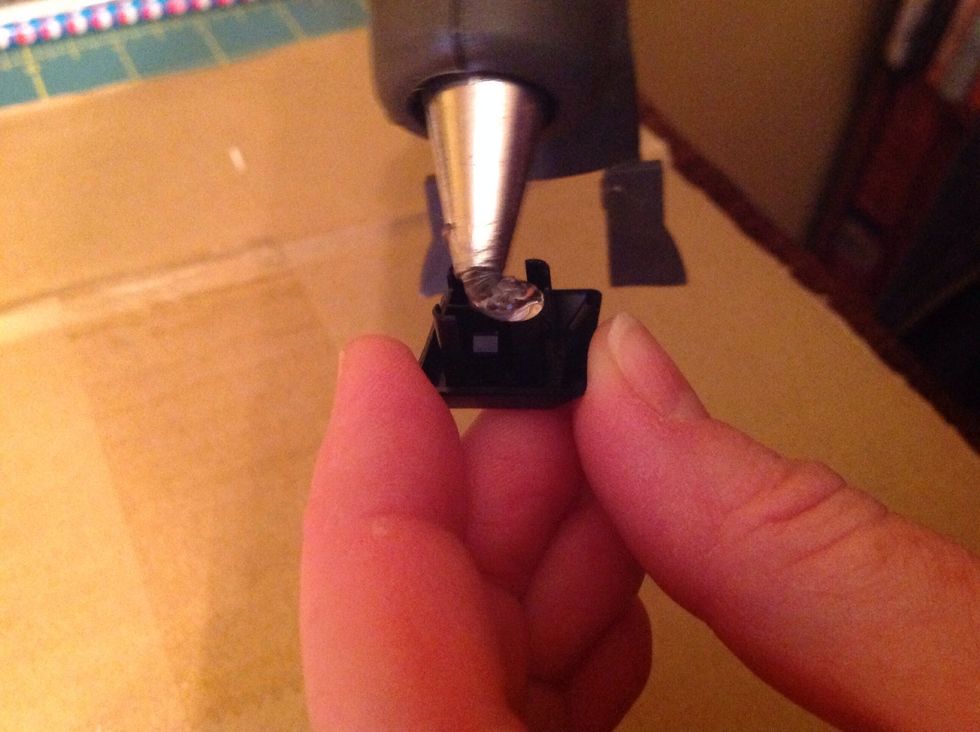
Add enough hot glue to assure a good hold.
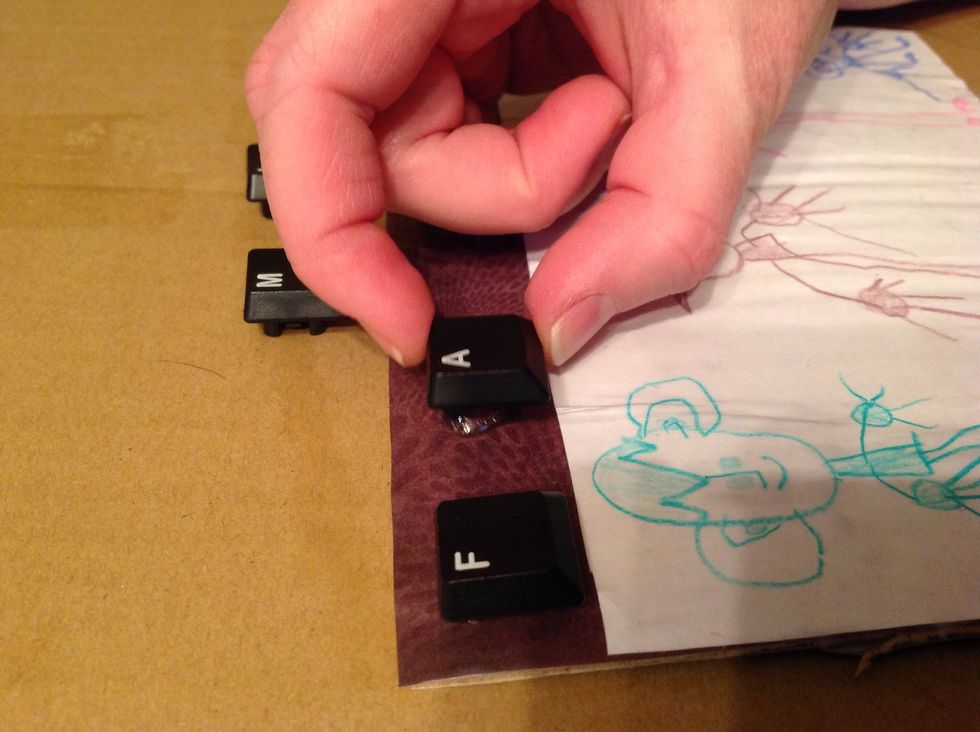
Place your letters on the frame/picture.
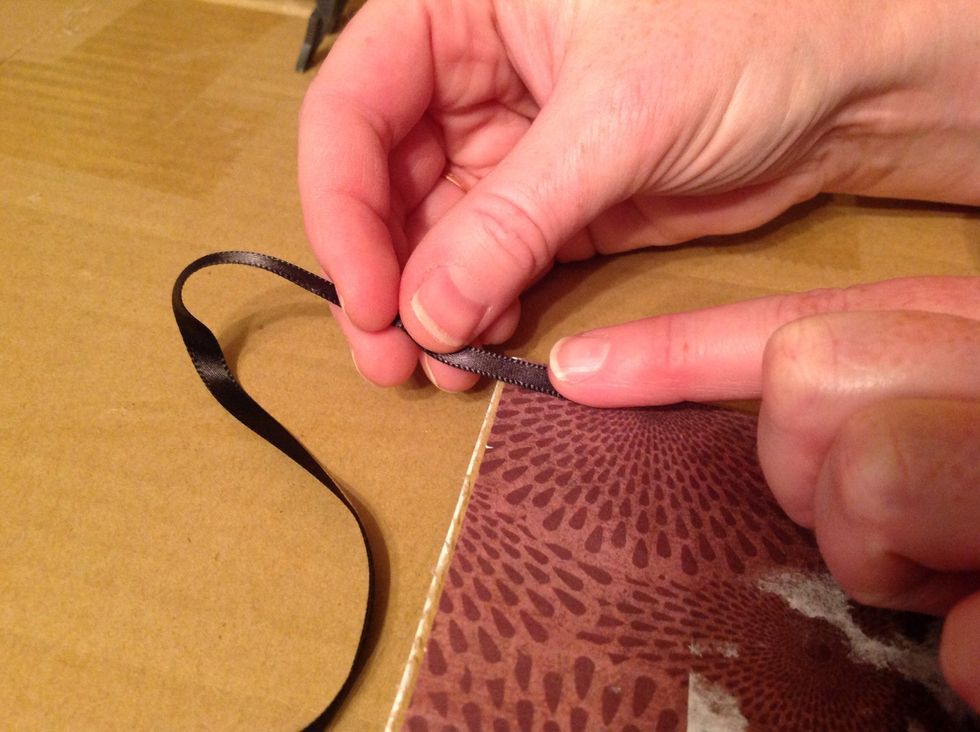
Use hot glue to affix ribbon on the back.
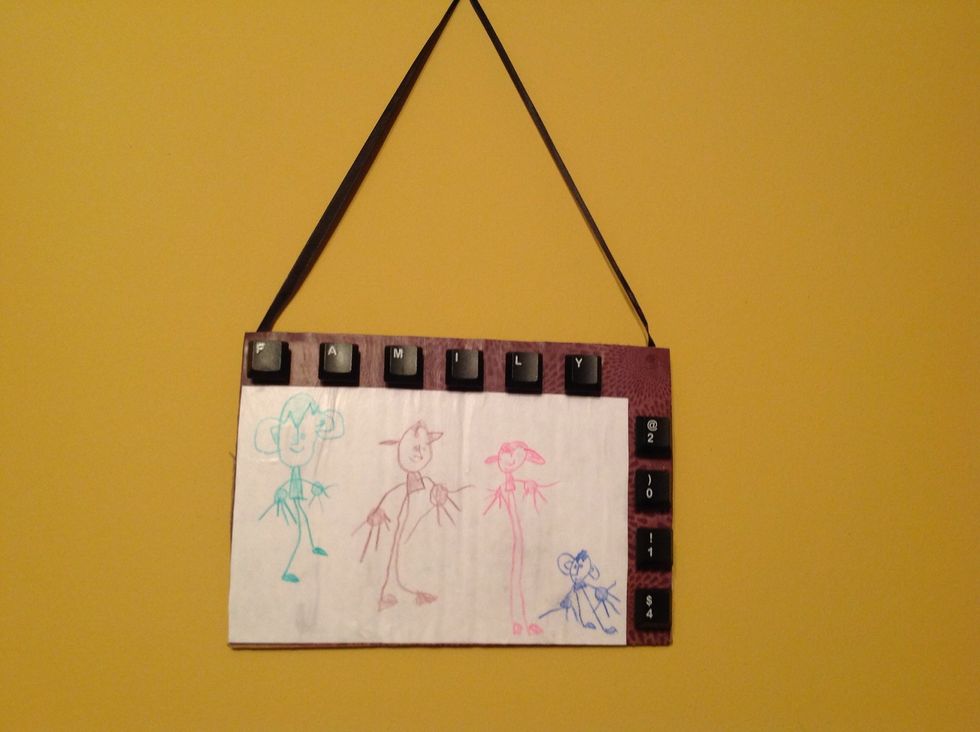
Hang your masterpiece for all to see!