The Conversation (0)
Sign Up
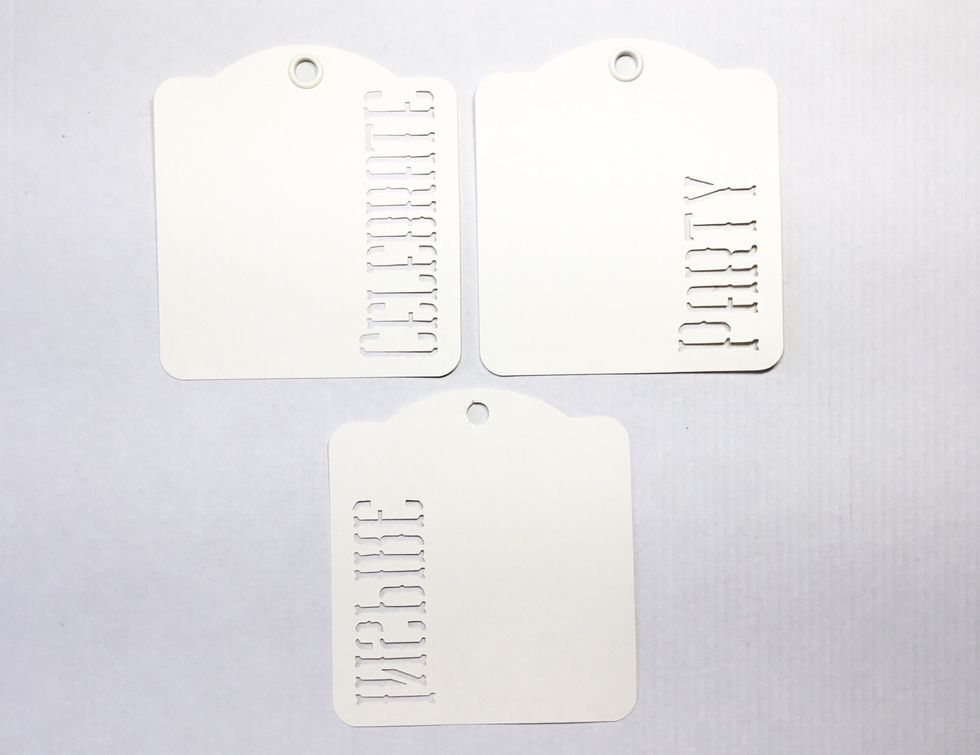
You will need three tags, these can be any size. I chose to use Graphic 45 Ivory Square Tags.

Cut one side off of one of the tags about 3.5 cm wide.
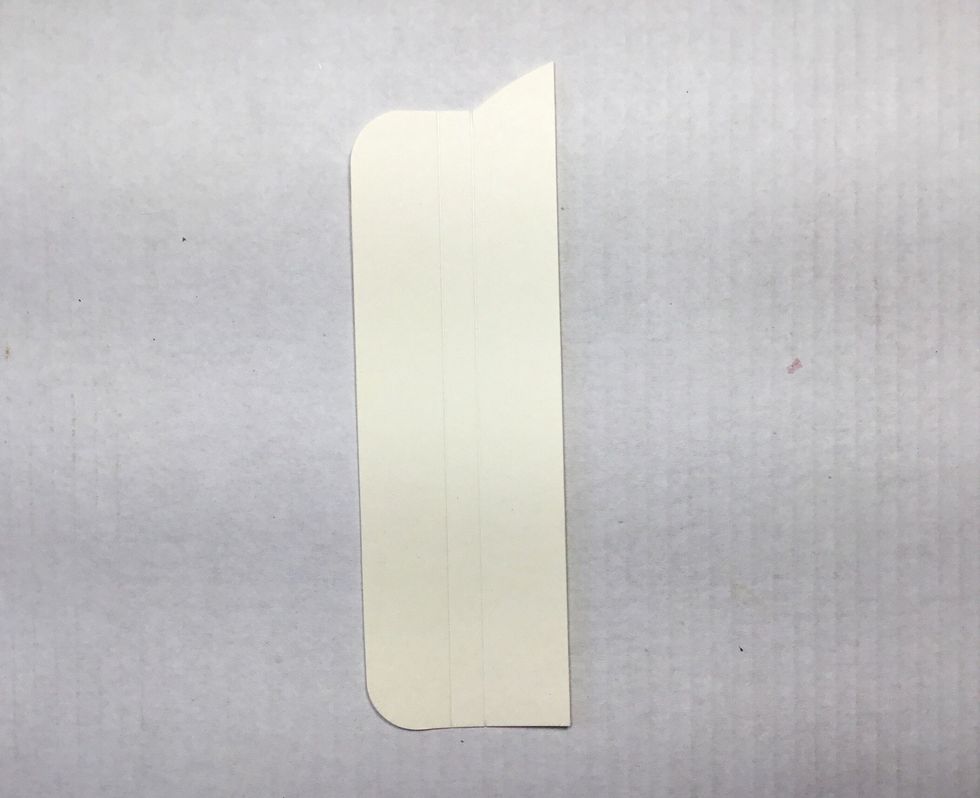
Measure 1.5cm from edge and score. Measure 1.5cm form other edge and score. You should now have 2 score lines about .5cm apart like picture shown. This piece will become the spine of the card.
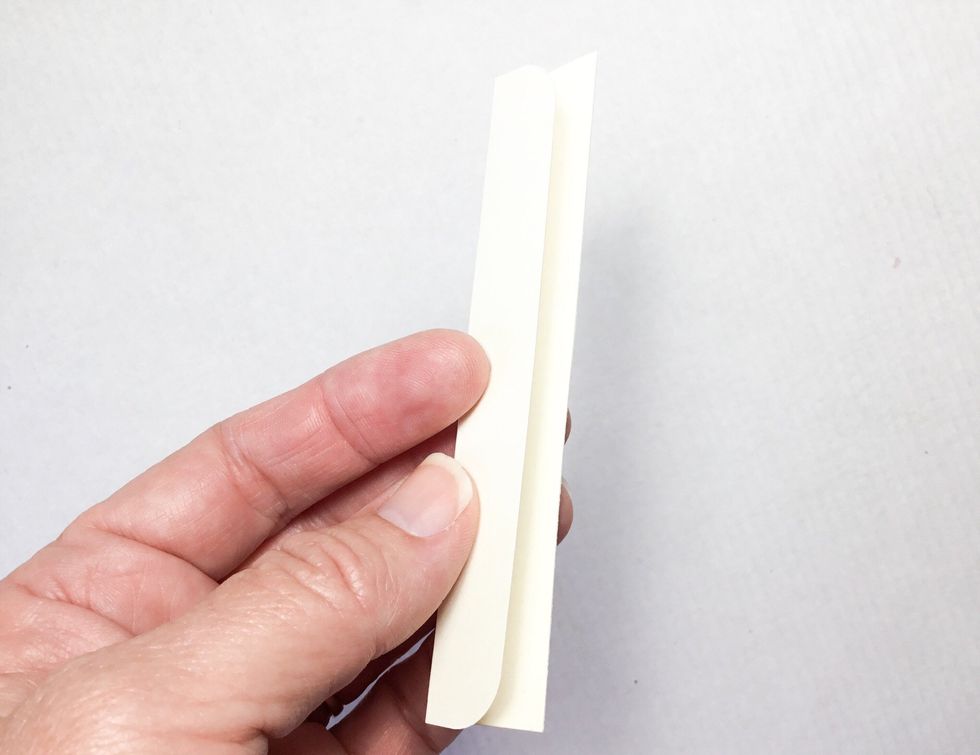
Fold on score lines as shown.

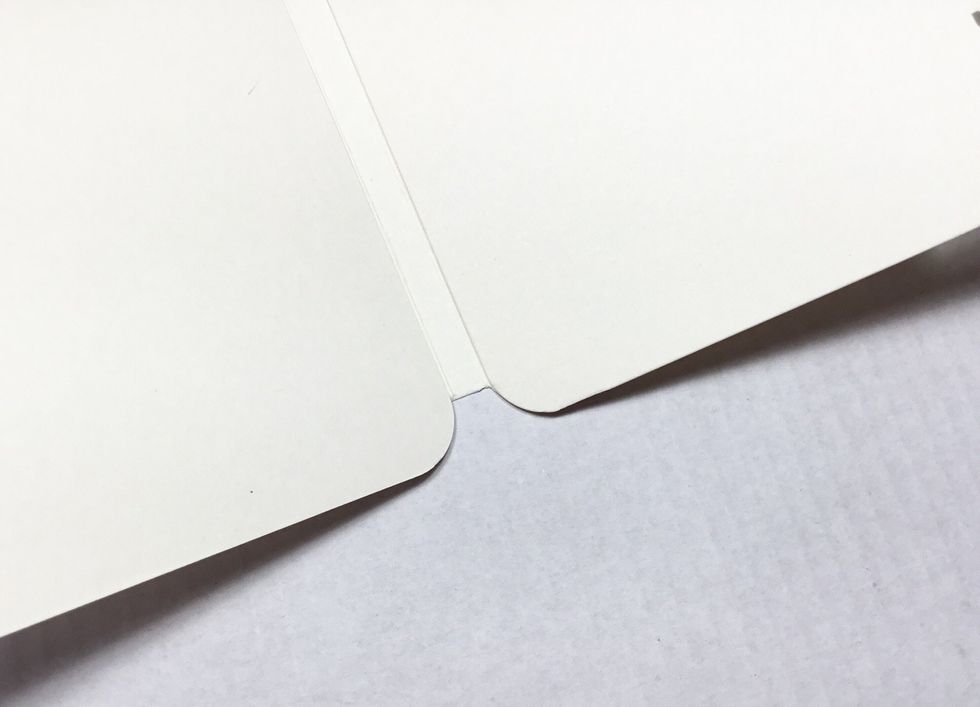
Score detail.
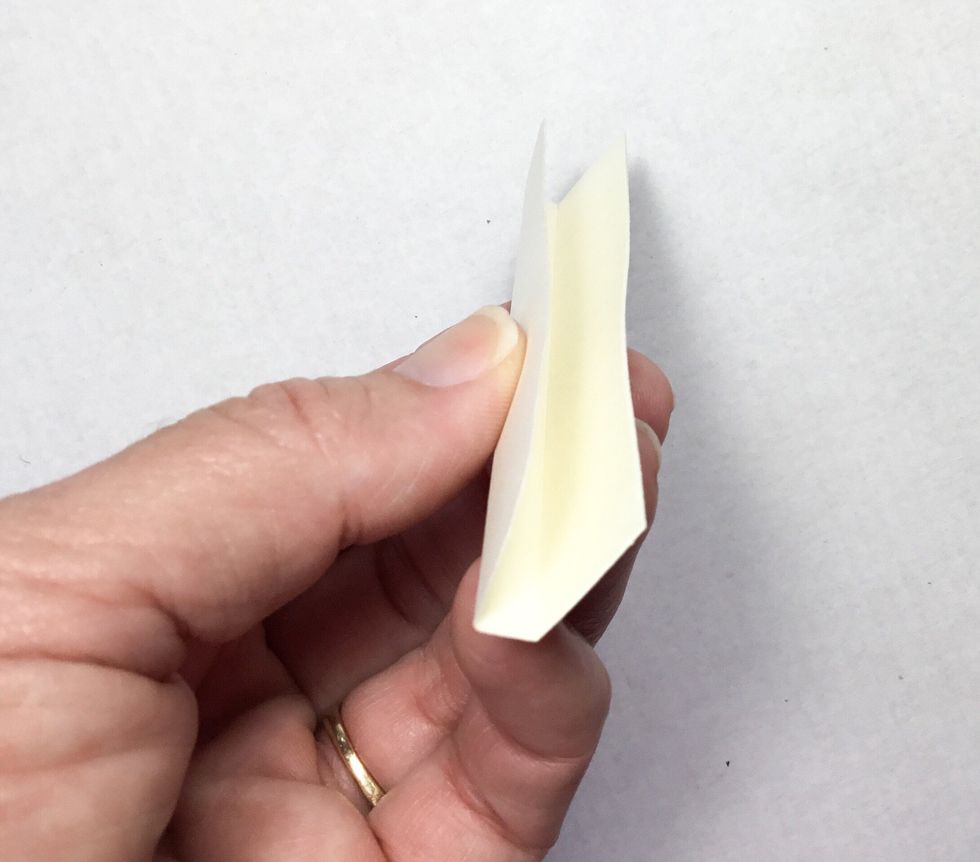
Score detail.
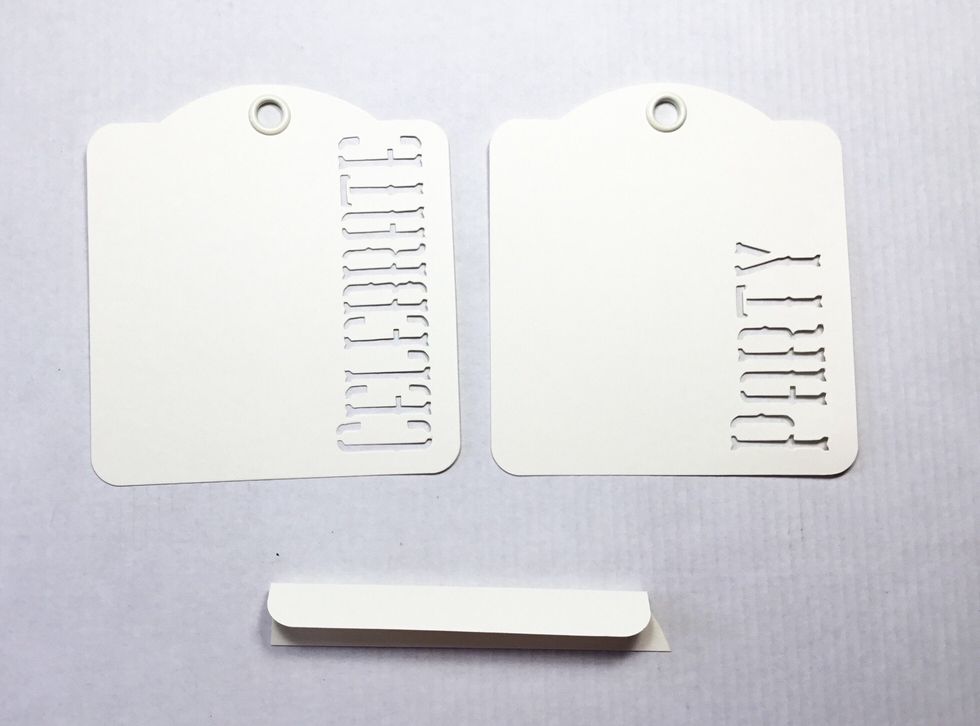
Now get your other tags for the front and back. I have chosen to use Graphic 45 Cheers, Party, Celebrate Ivory Square Tags.
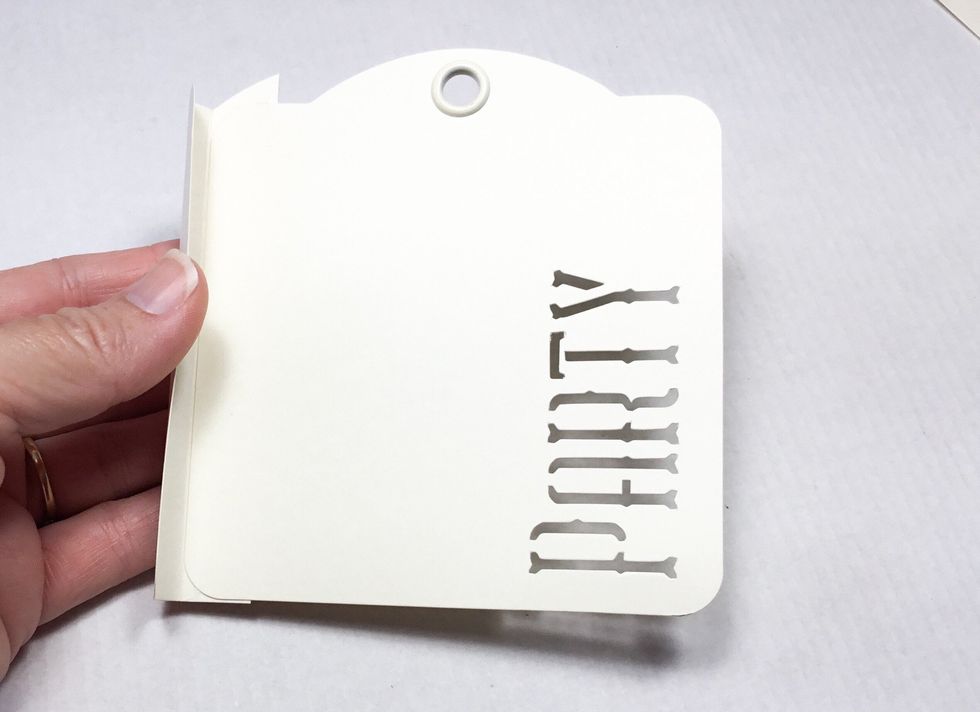
Attach back tag to the inside of the scored piece as shown.

Back page detail.
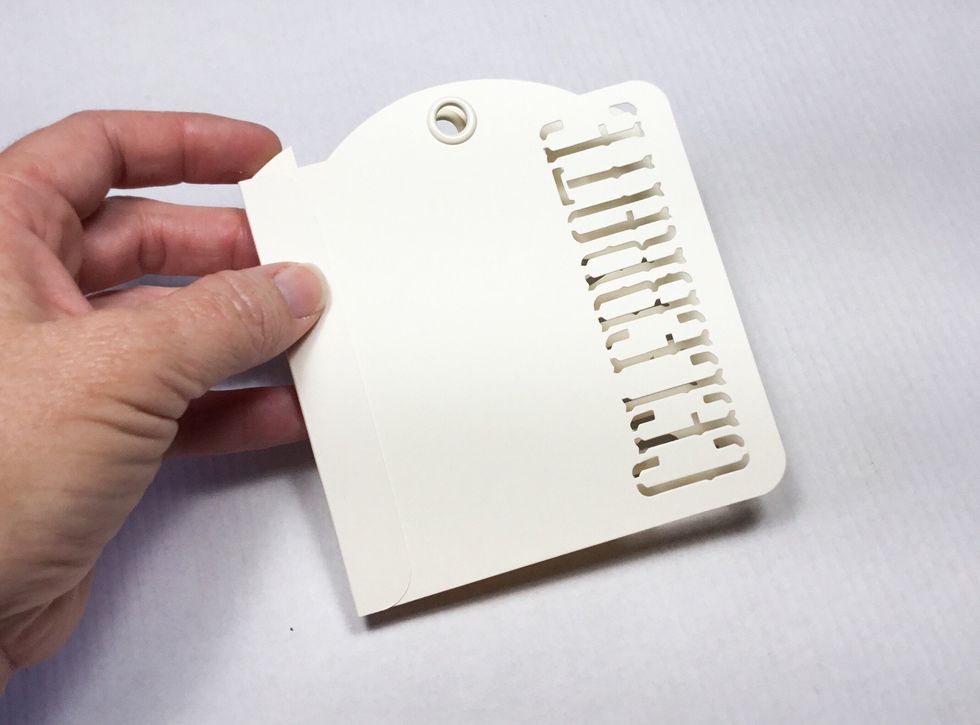
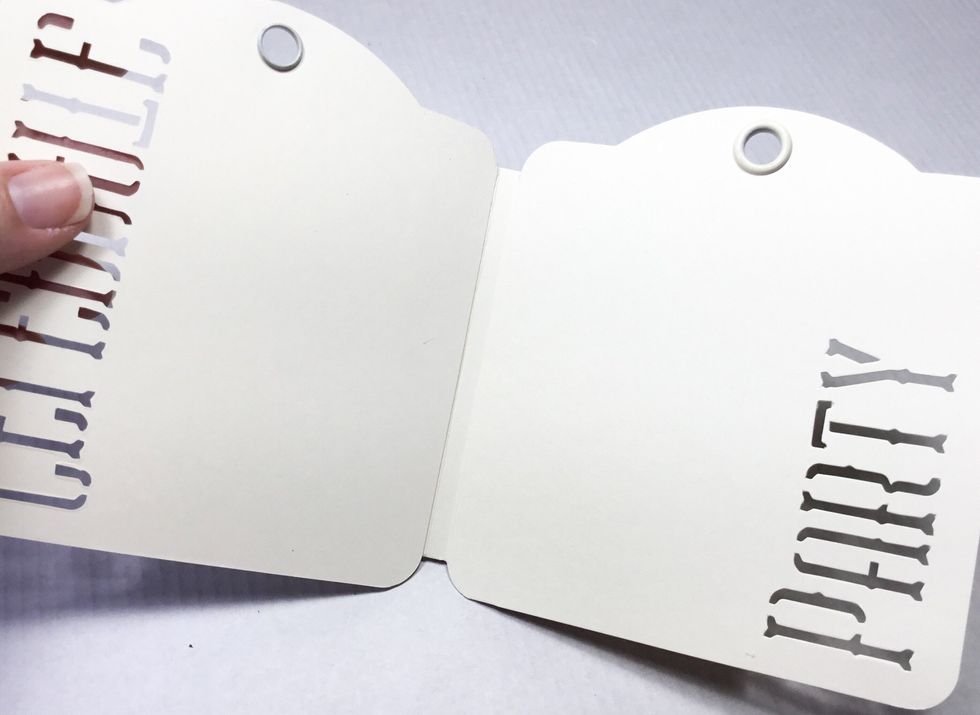
Attach the front tag to the inside of the scores spine as shown.
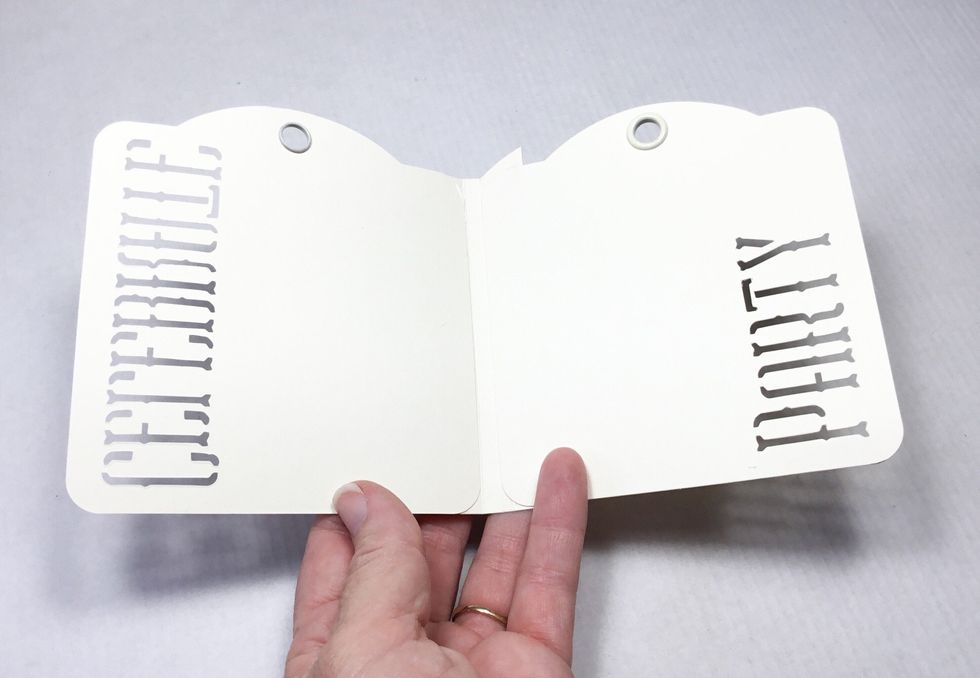
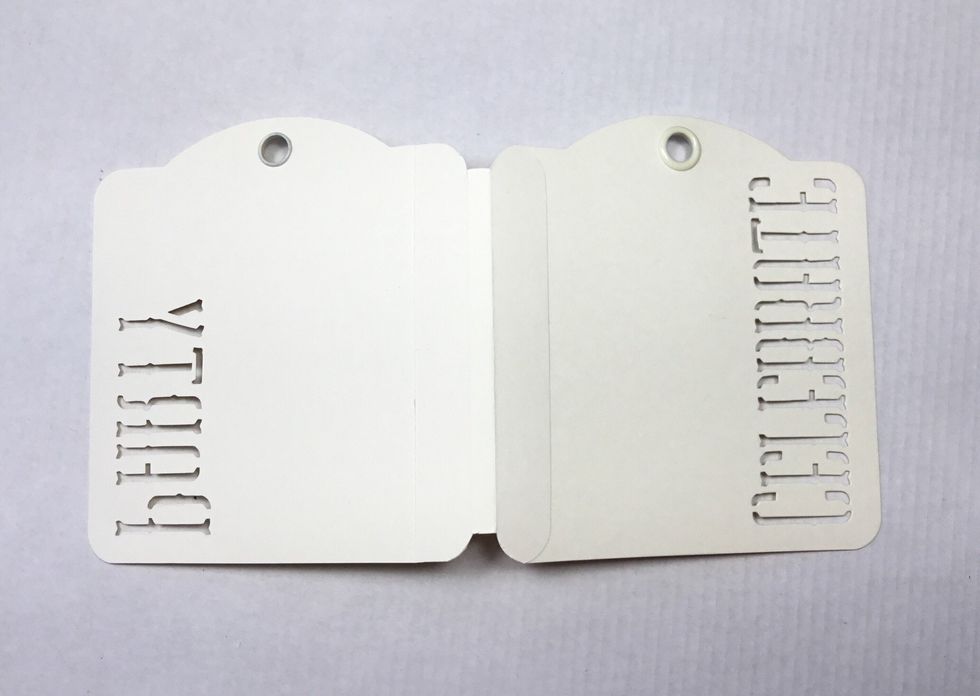
All joined together now.
Trim around the top and bottom of the spine as shown.
All trimmed up looks nice and neat now.
Detail.
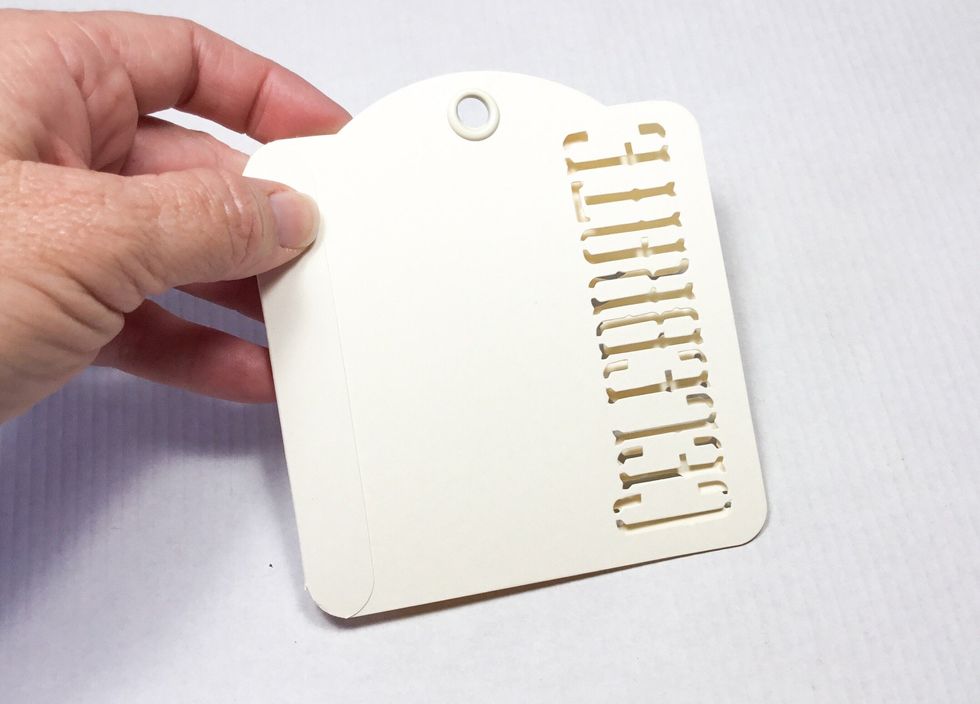
Card base is finished if you have chosen to use plain tags.
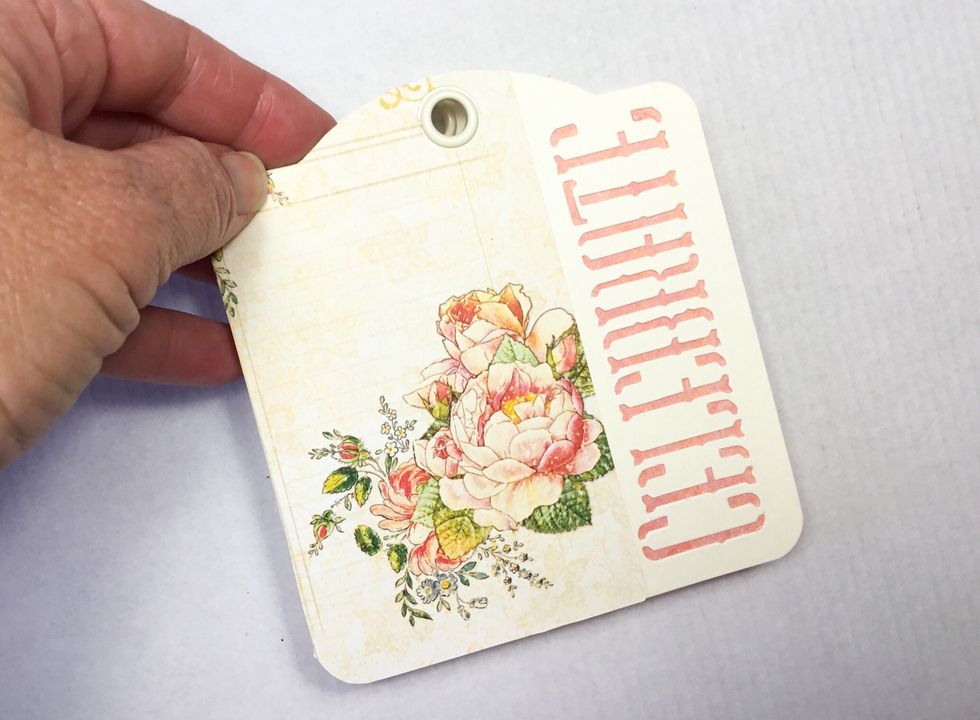
If you have used the same tags I have attach your choice of pattern paper to the front and behind the word on the front. Make sure to trim the pattern paper to be a nice snug fit around the word.

Attach the Graphic 45 Antique Door Pull to the top front of the card as shown.
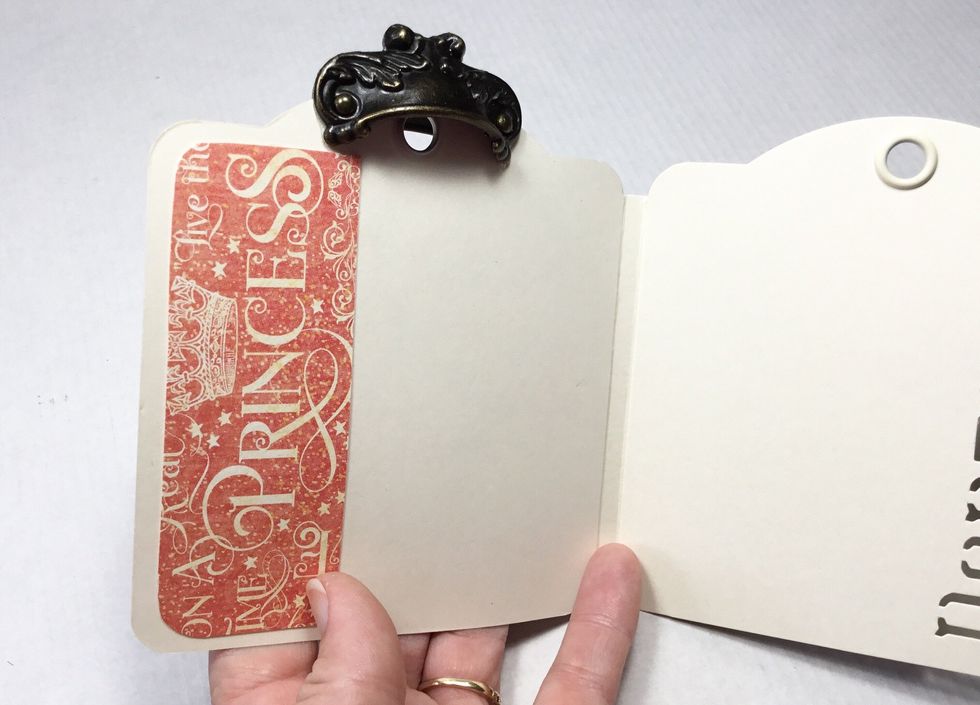
Attach a second Graphic 45 Door Pull behind the other as shown.
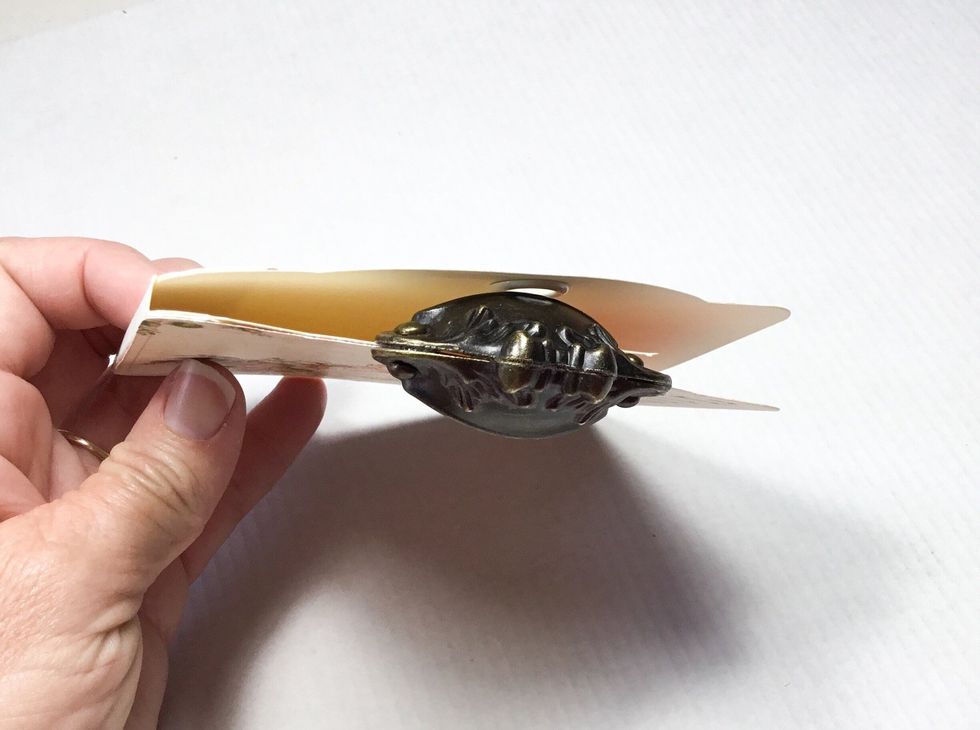
Detail shown.
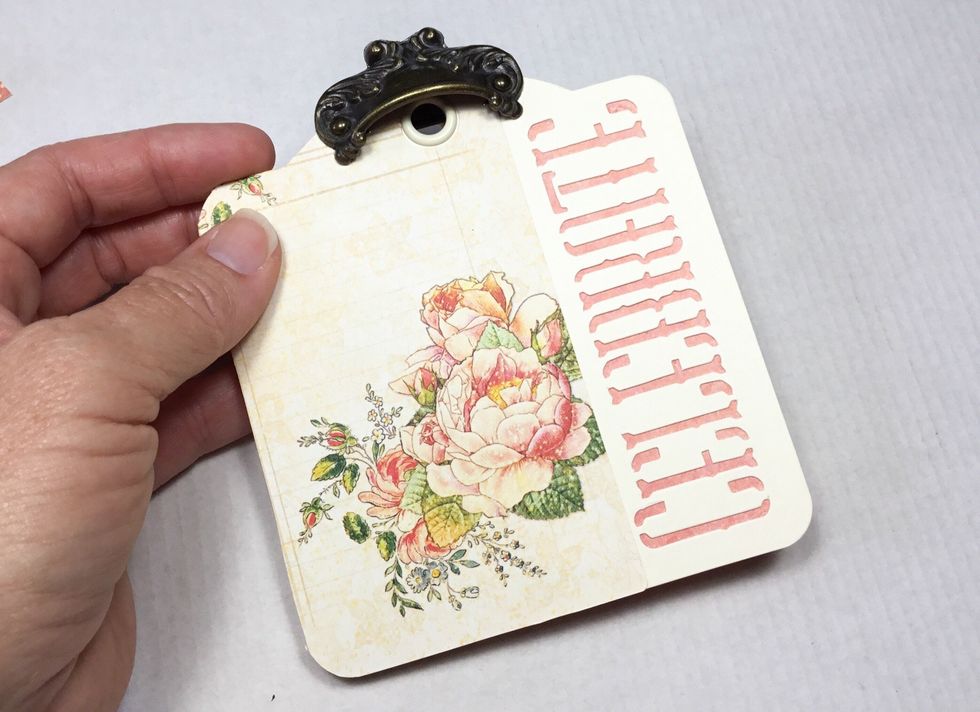
The base of your card is now finished ready for you to decorate with your choice of collection. I chose to used the Princess Collection for mine.
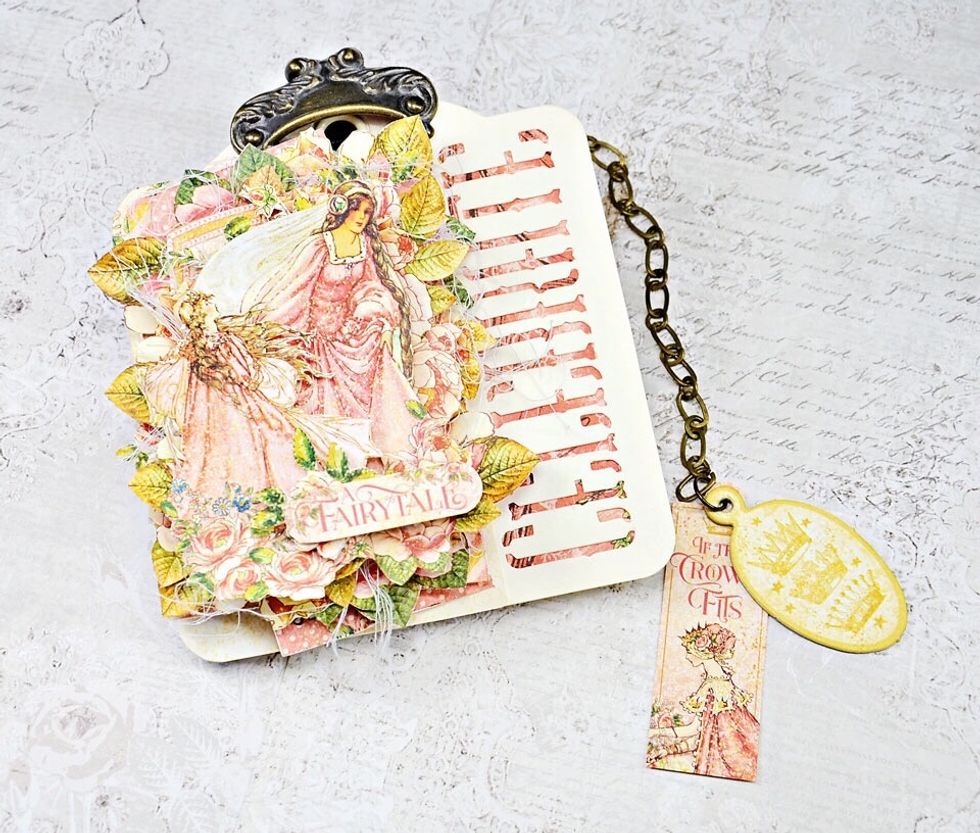
Close ups of how my keepsake card turned out.
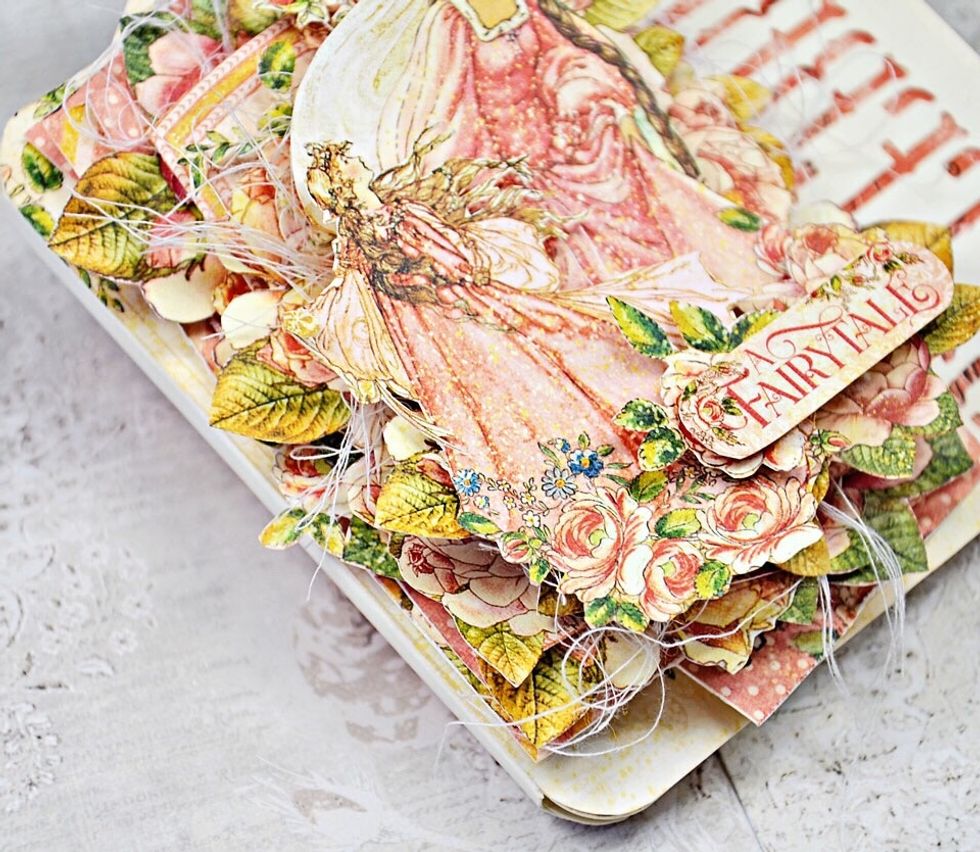
Lots of fussy cut layers added to the front.
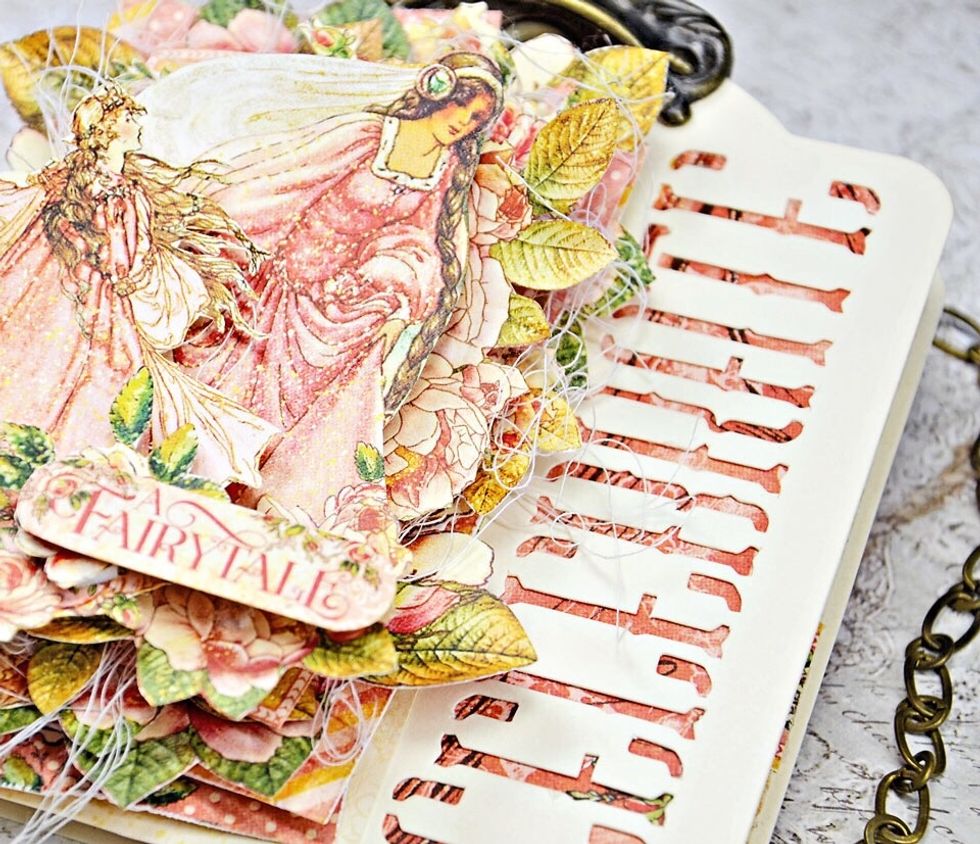
More details.
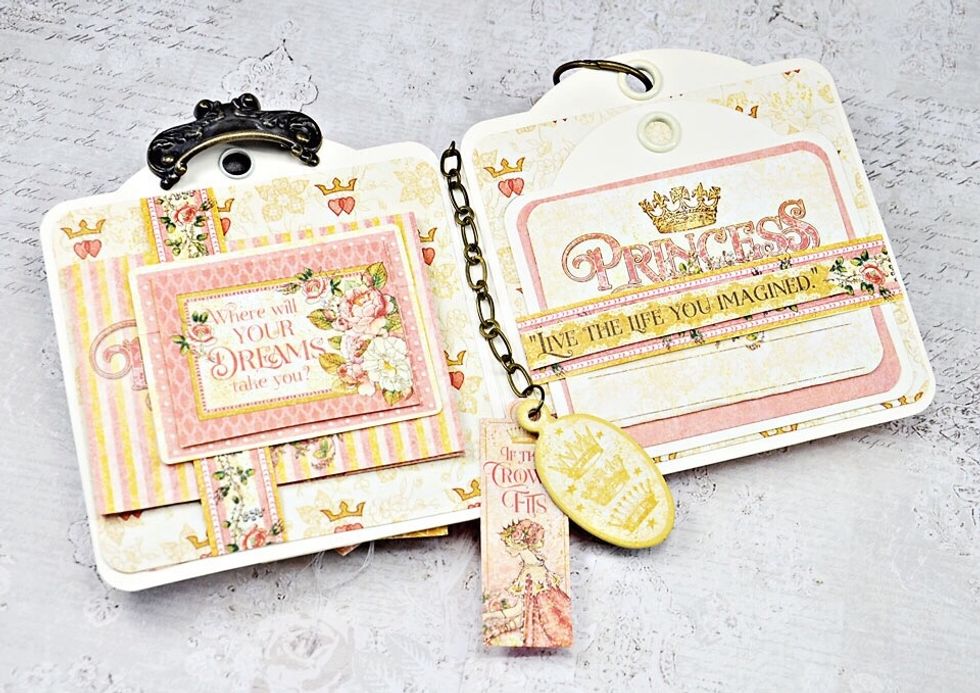
Inside I added more tags and a small covered envelope to slip a gift card into.

Hope you enjoyed my tutorial. Please visit my blog - www.scrappinforme.blogspot.com.au