The Conversation (0)
Sign Up
In the centre of chosen background paper I scribbled 3 long & 1 short line of zig-zag chevrons with the peeled paint Distress Crayon. I then smudged these lines with a water pen to blend into paper.
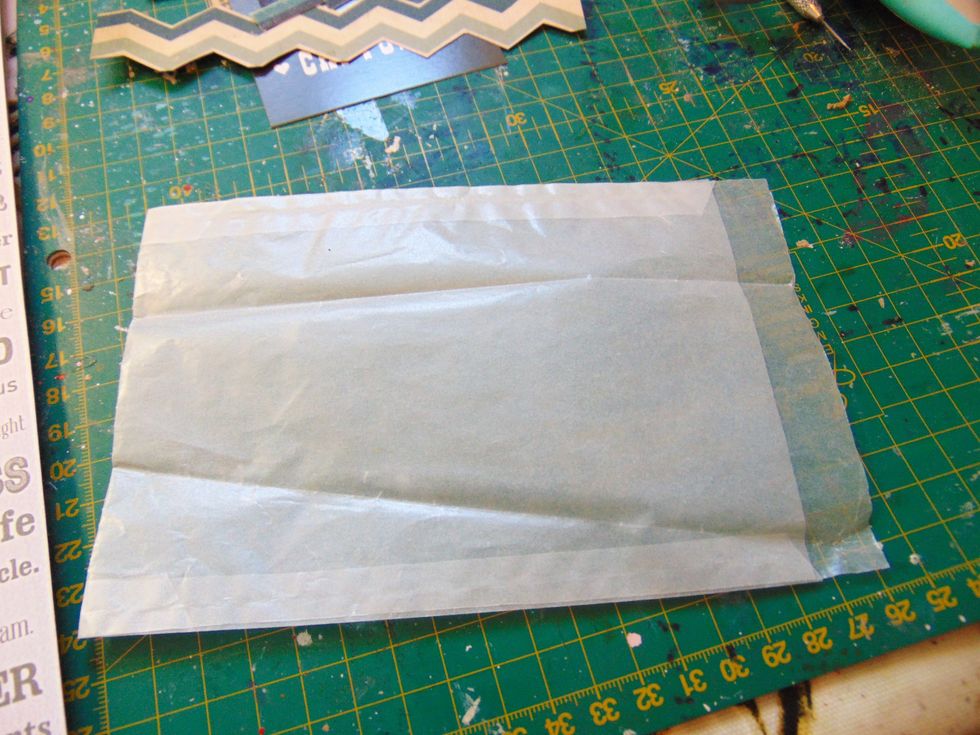
This is the Glassine envelope I used. It measures 4.5 x 6 inches. The main part of my layout is built on top of the envelope which I then stuck on the background paper as follows in next steps.
With the envelope opening at the top, I started the layering of patterned papers with this strip of chevron zig-zags across the envelope.

Next up is the 2 bingo cards set at angles. I used double sided tape to stick them on but only put tape in the centre not around the edges, to allow things to be added underneath later on.
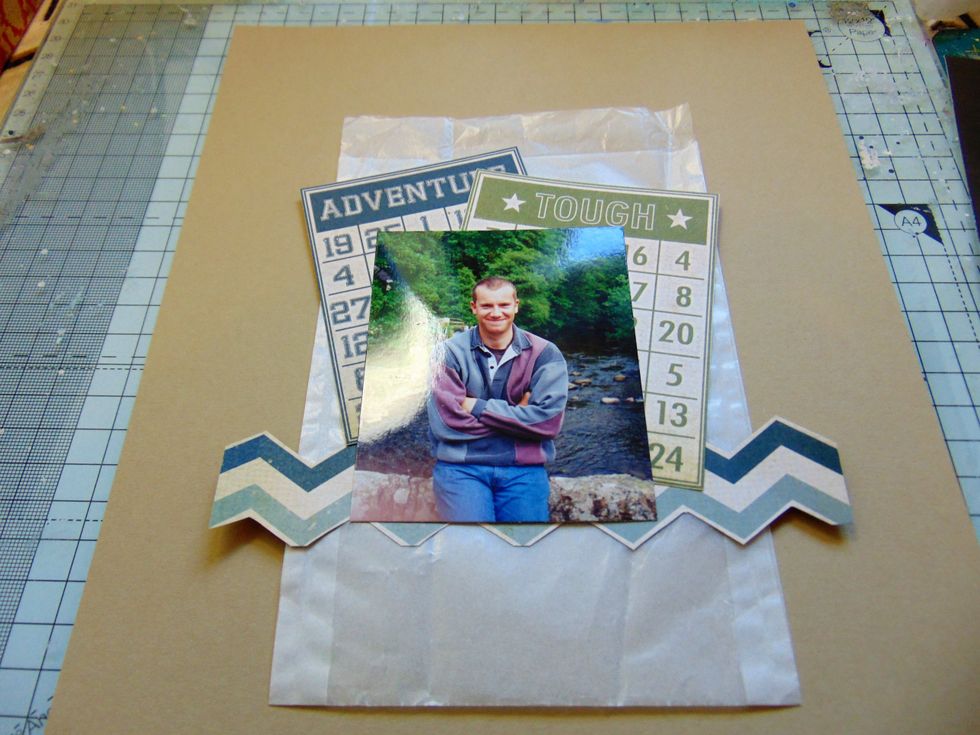
Now I added my photo...
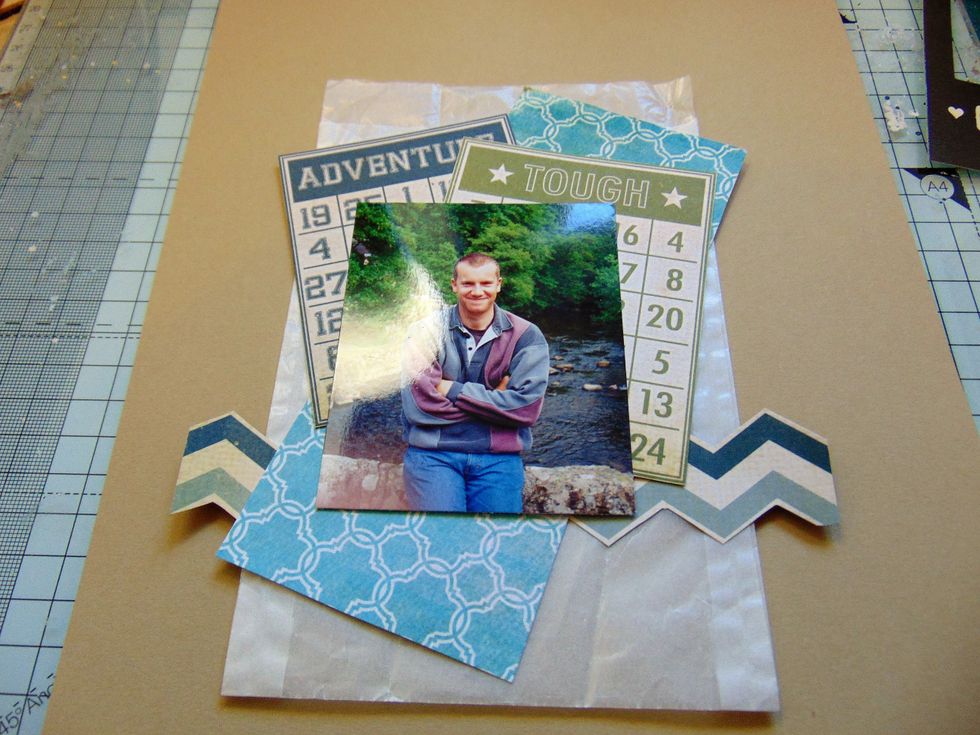
and slipped 2 small oblongs of arabesque patterned paper under the bottom left of photo and top right of bingo cards.

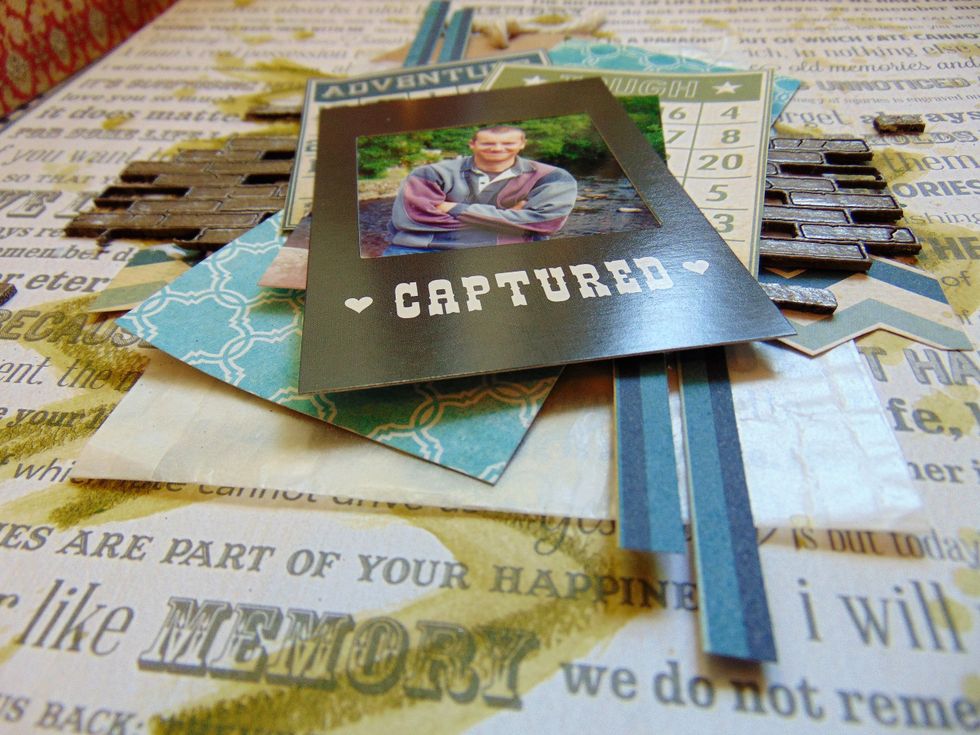
Now I added the photogram frame at an angle over my photo.

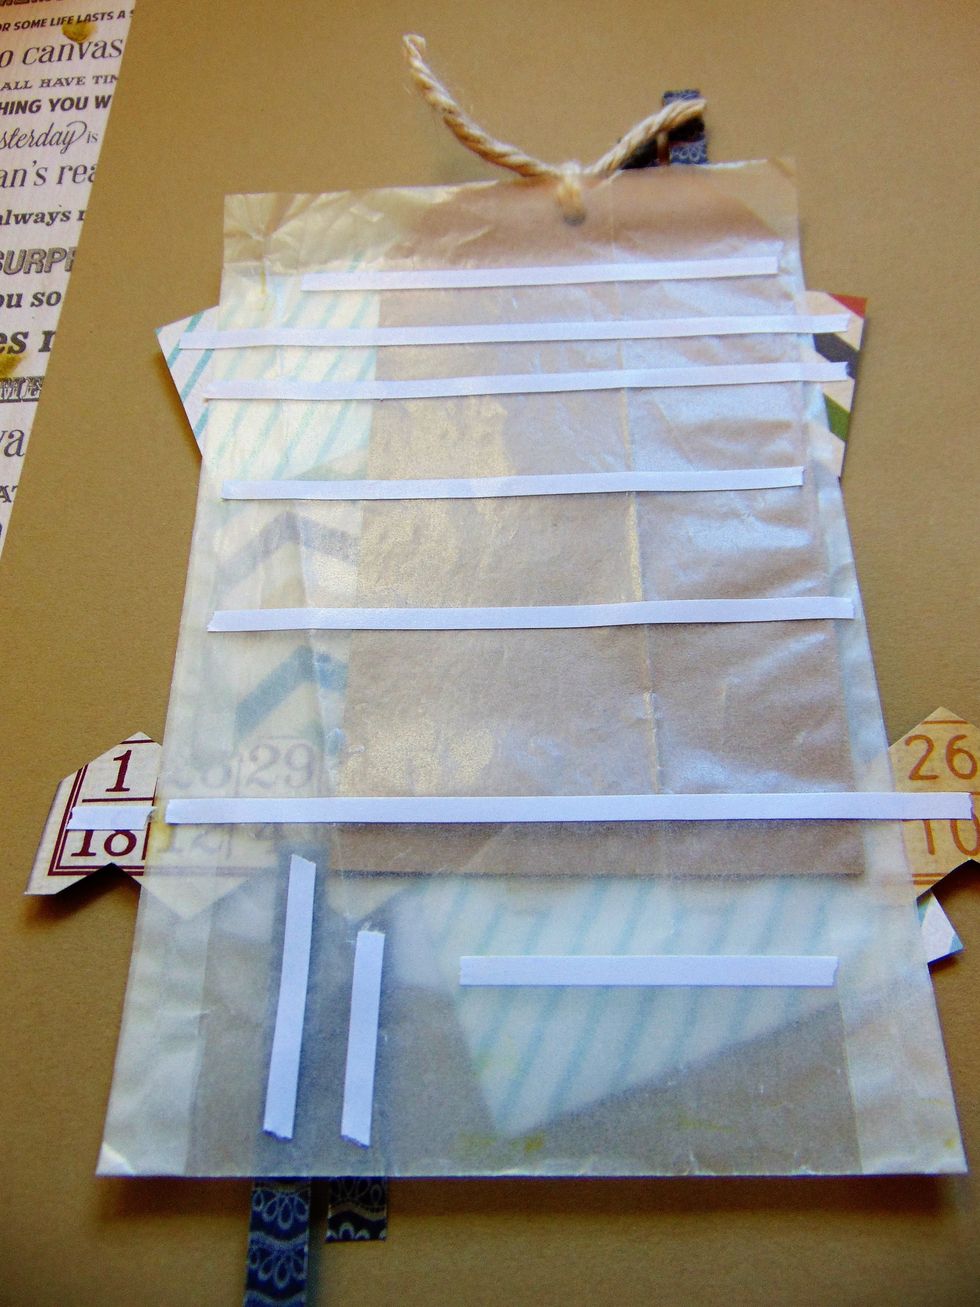
The strips are slotted underneath the layers with double sided tape on one end. Don't put tape the whole way along on the top ones otherwise you will close off the envelope opening.

Add 2 strips to the top and bottom on opposite sides.
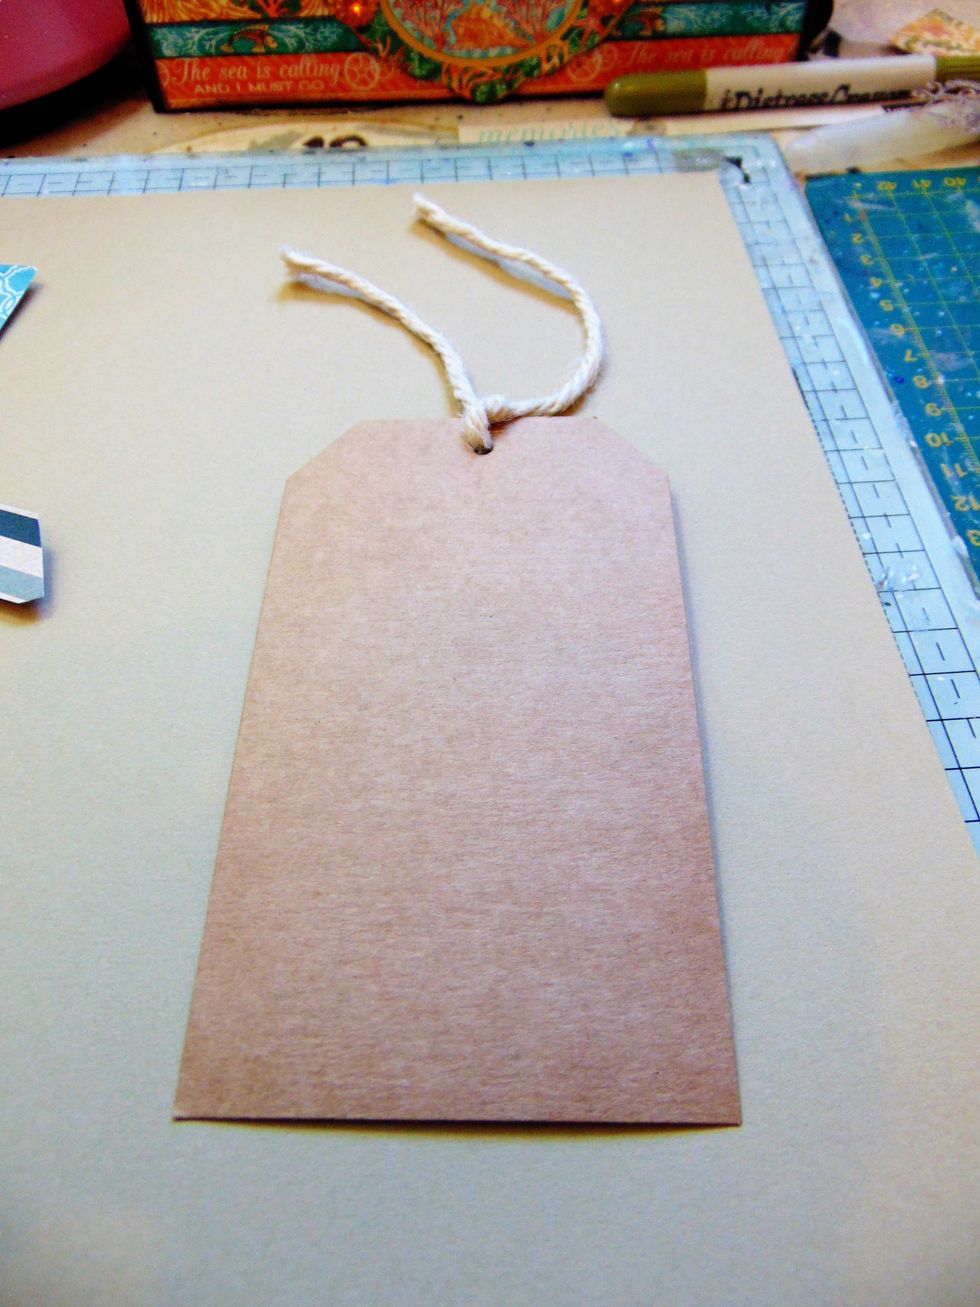
Either make a tag or use a tag die like I did out of Kraft card. Mine measures 5.5 x 3.25 inches, and most important write your journaling on it! Add some string through the hole.
It then slots nicely into the glassine envelope behind all your layers.
Add the envelope to the background paper I used double sided tape. Make sure you only put tape where it is hidden by your design on the reverse otherwise it will show through the see through envelope
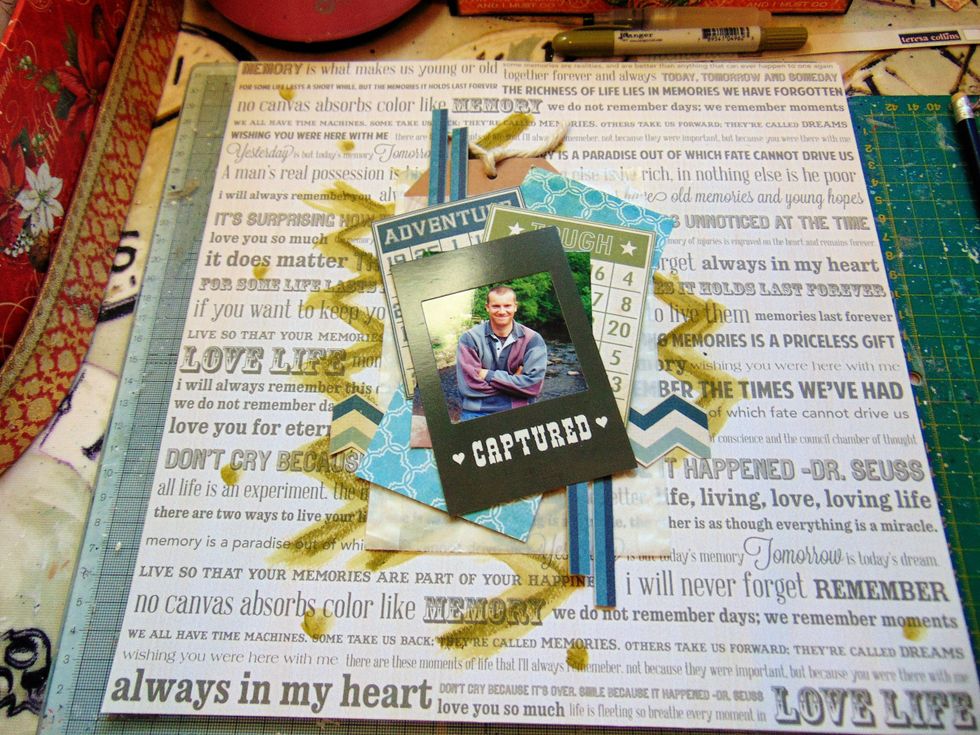
Stick the envelope centrally over your zigzag design.
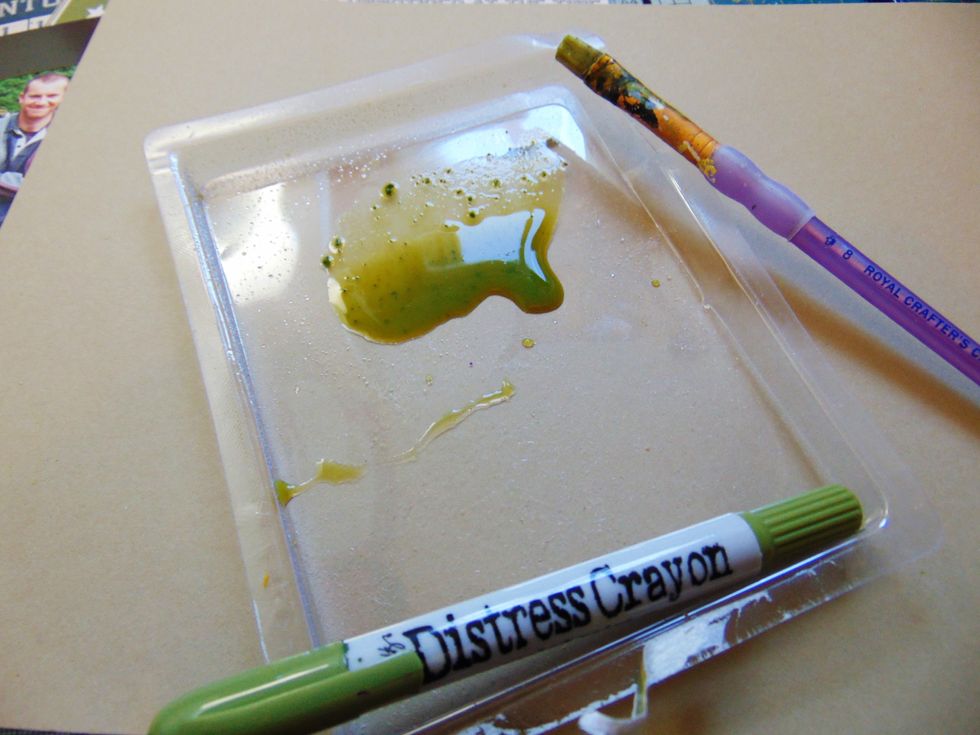
Next I made a wash with the distress crayon and water...
...and using a paint brush splashed some splats over the layout. Don't forget to cover your photo up when doing this!
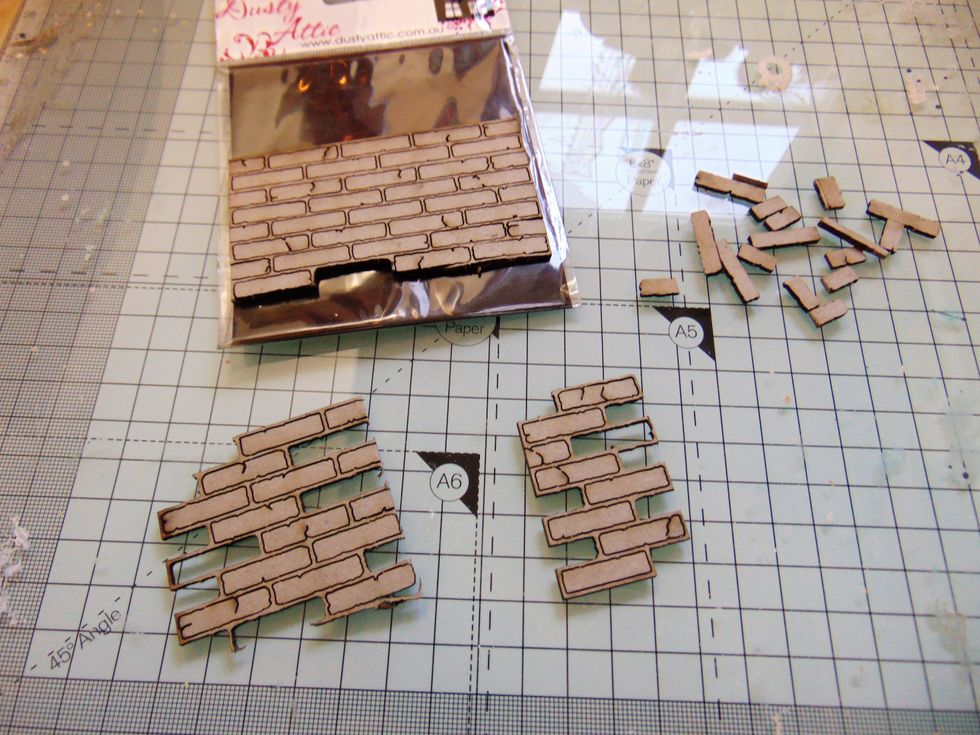
Now for the brick chipboard. I cut 2 chunks out & removed some of the solid bricks.
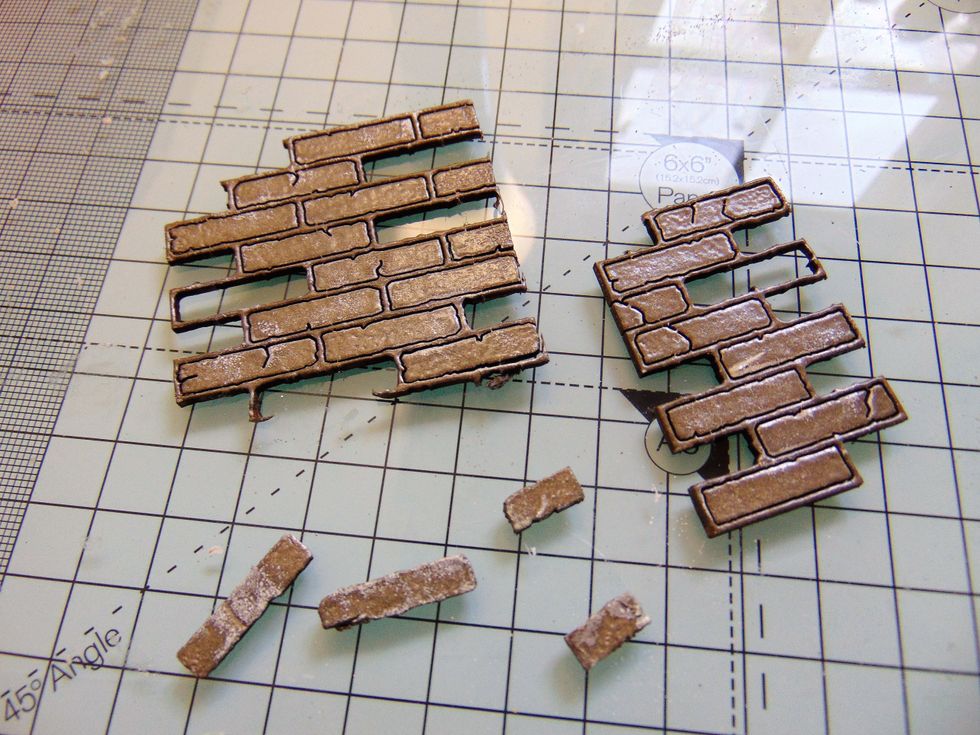
I covered the bricks with a greyish coloured embossing powder.
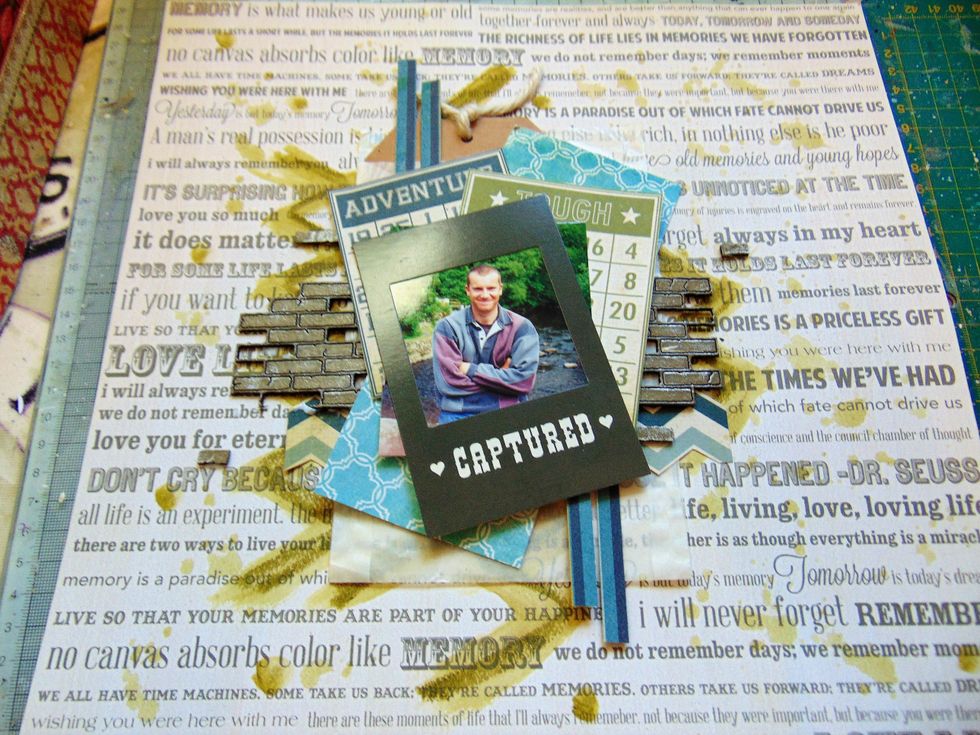
I added a piece either side of the design, under the bingo cards and glued down.
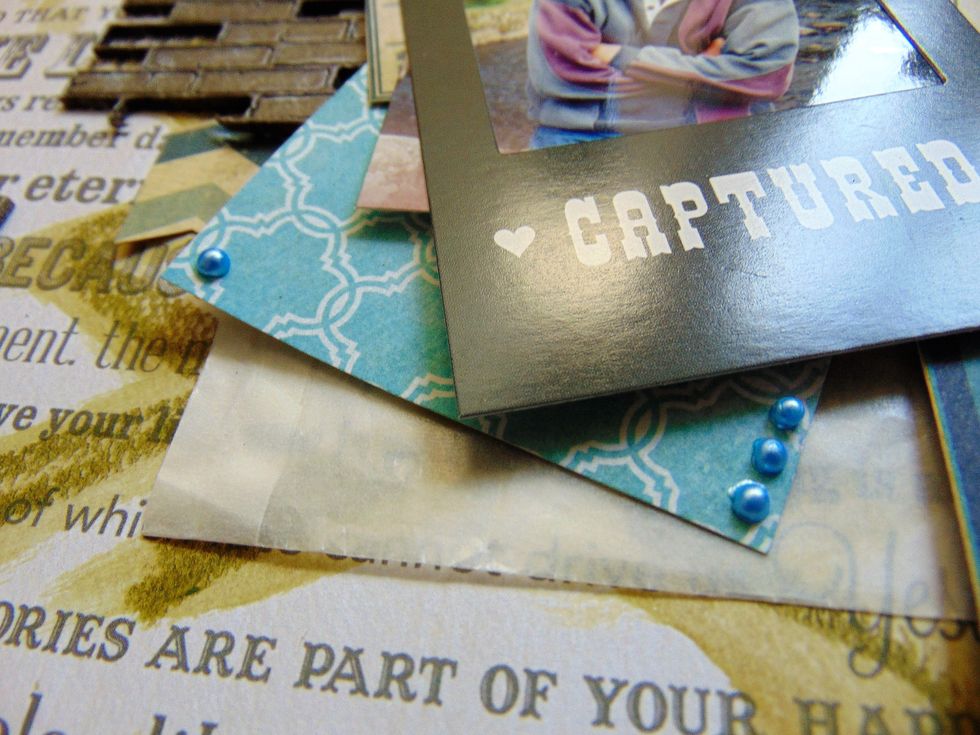
Lastly I added some Baby Blue Liquid pearl drops to the corners of the arabesque patterned papers & splattered some Color Bloom mist over the layout (Cover photo up for this)
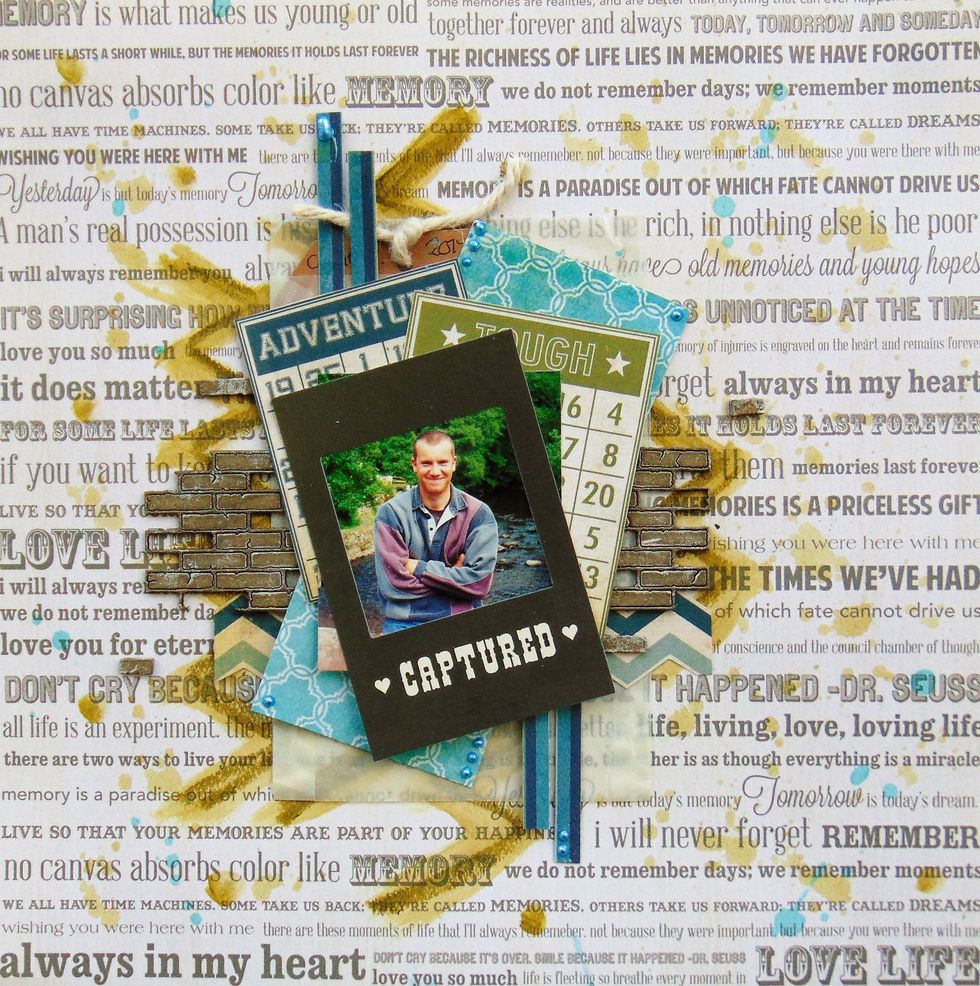
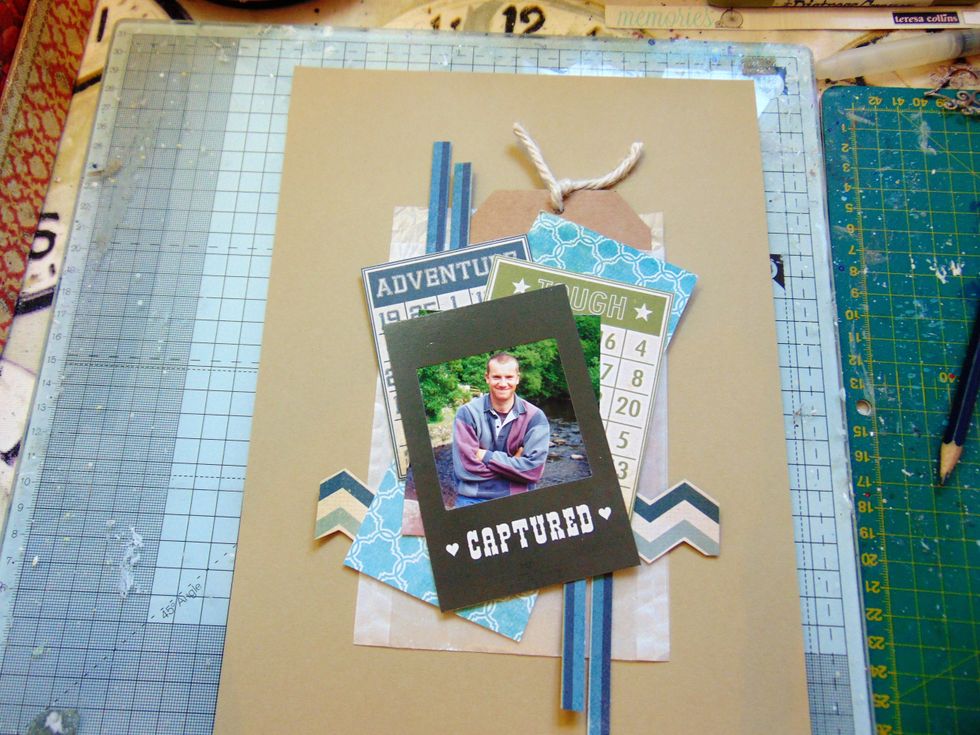
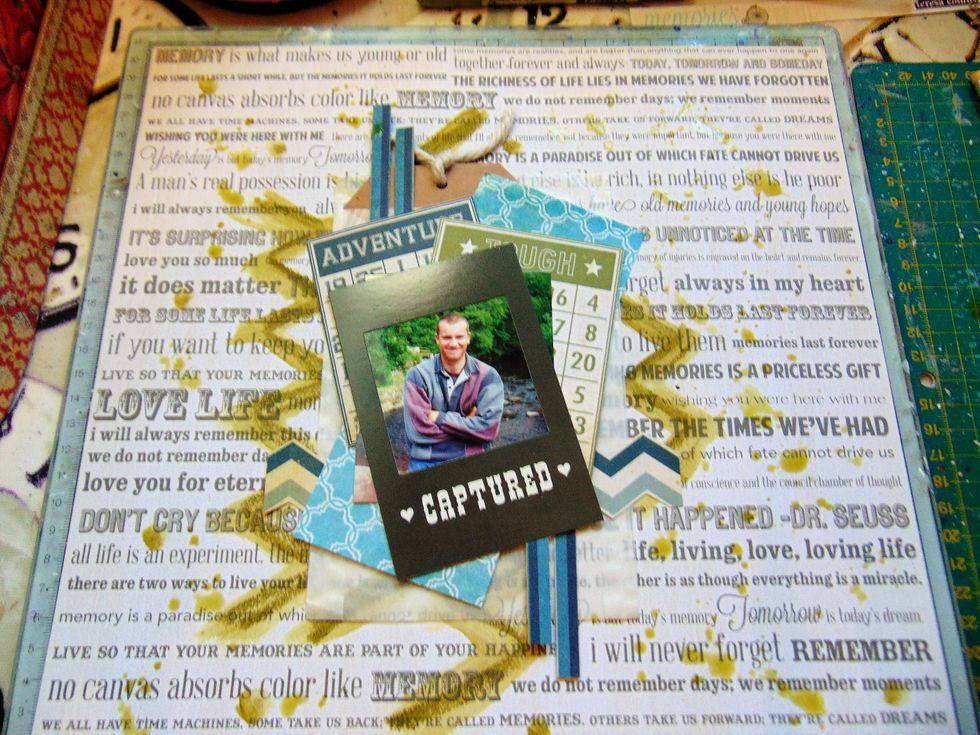
Voila! All done. A masculine page that can easily be converted into a girly page with plenty of hidden journaling space! Thank you for visiting. Please follow me on Snapguide.
This is a design team project created for CSI- Color Stories Inspiration Case File 228, more details are here http://csichallenge.blogspot.co.uk/ and on my blog http://shabbypapers.blogspot.co.uk/