The Conversation (0)
Sign Up
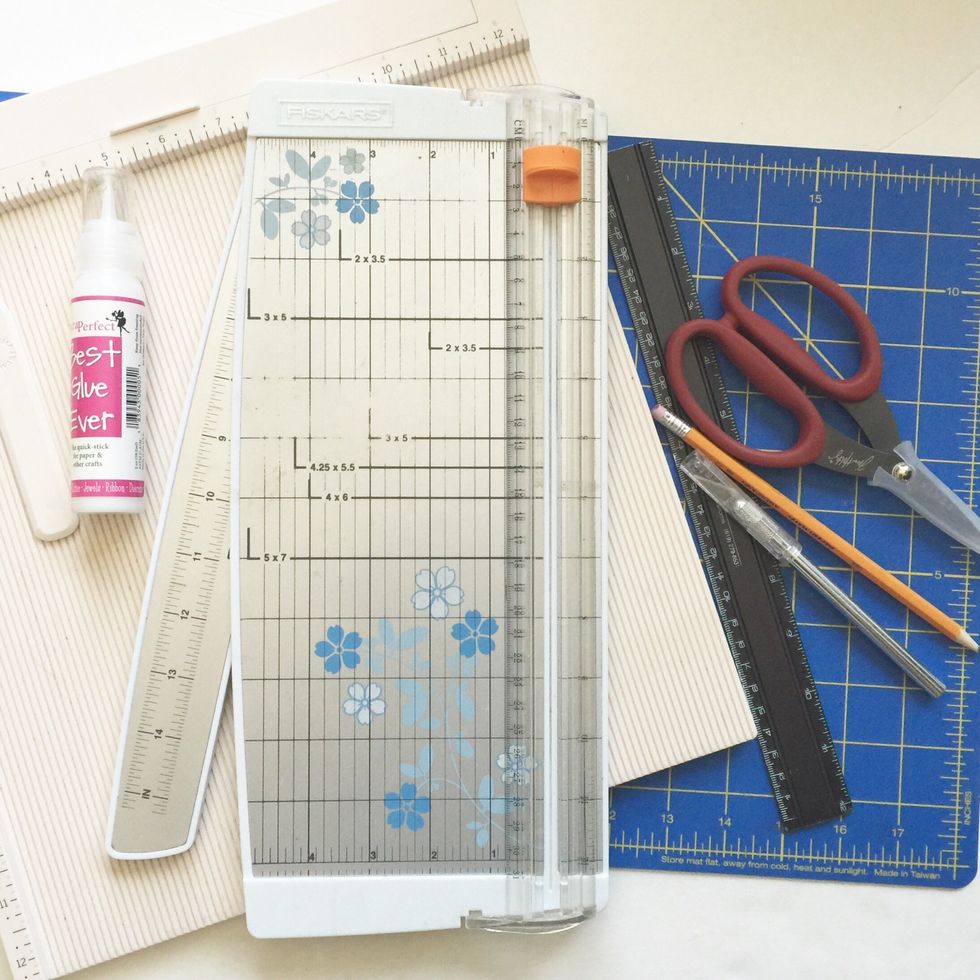
Gather your supplies and get ready for some fun crafty time!
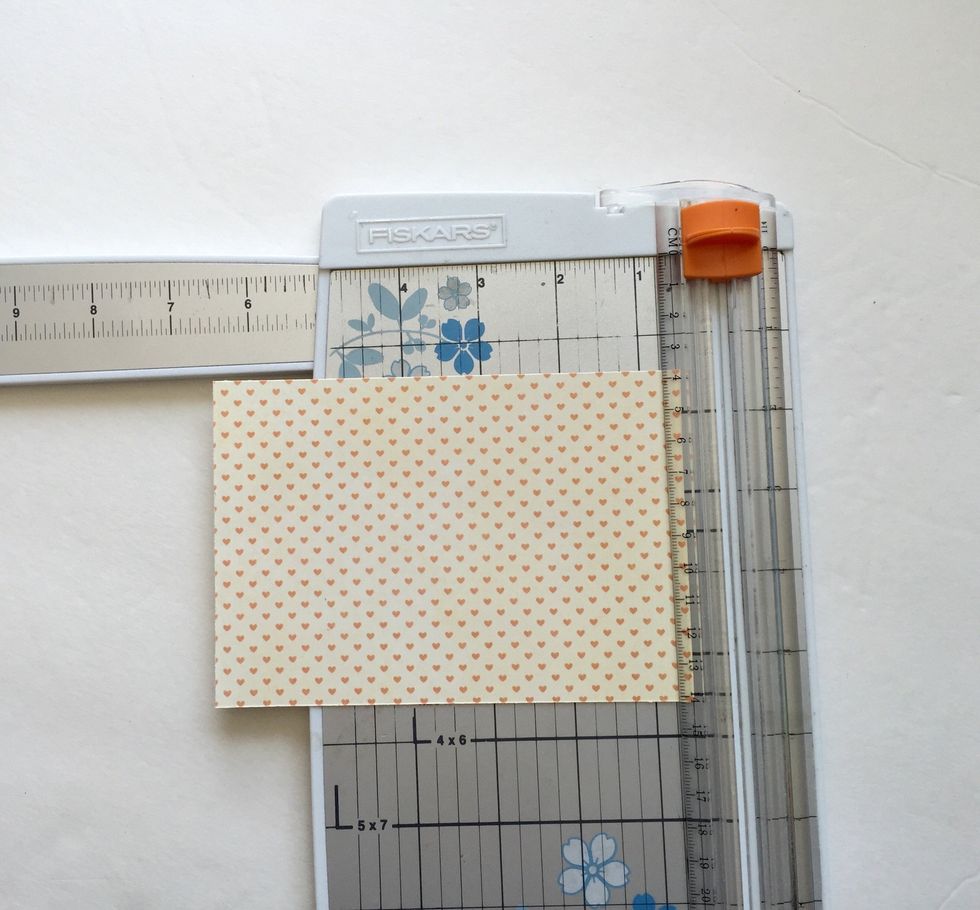
Decide what design paper you'll attach your waterfall to & cut it to the desired size. (Ex. If adding this to cover a 7x5 album page, cut design paper just under that to allow for a small border.).
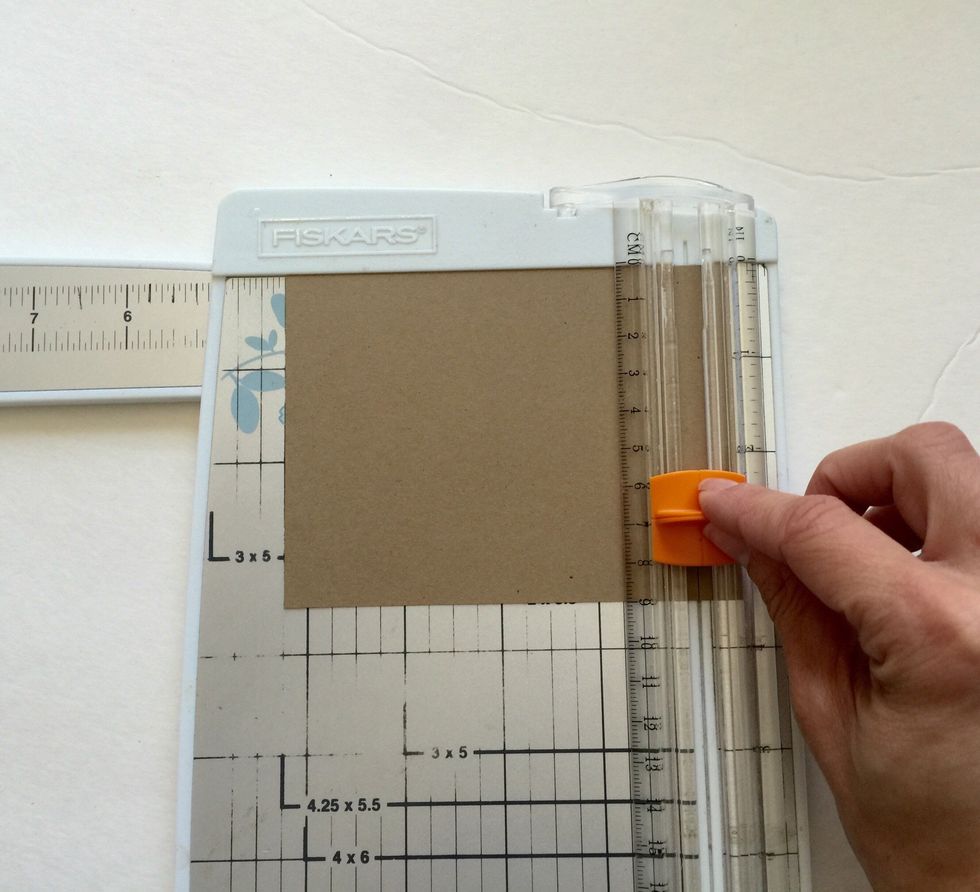
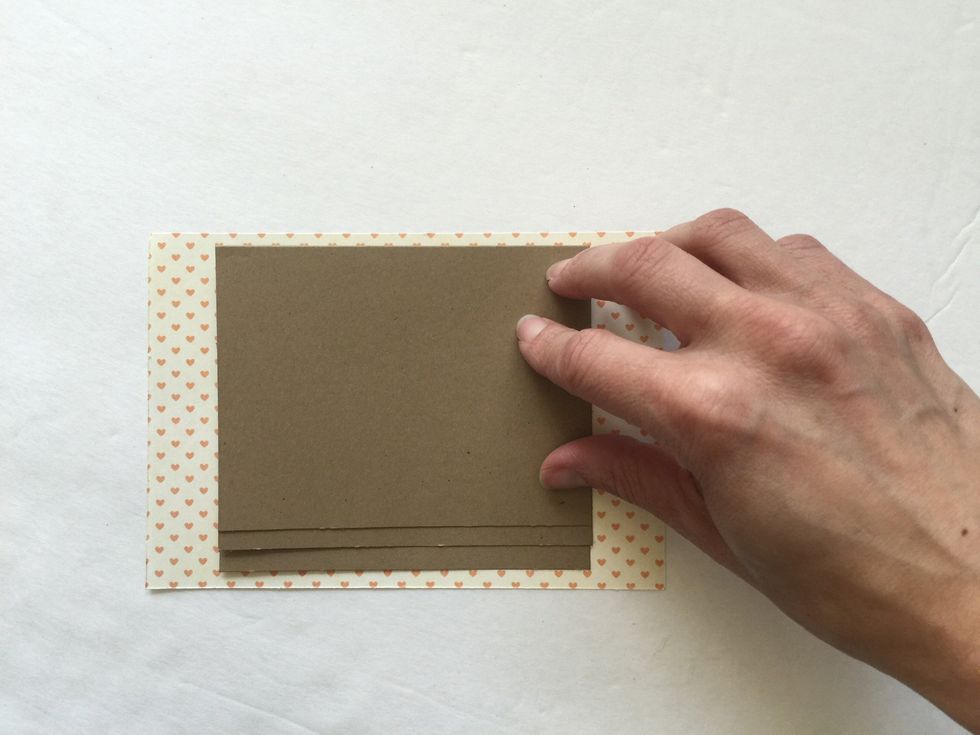
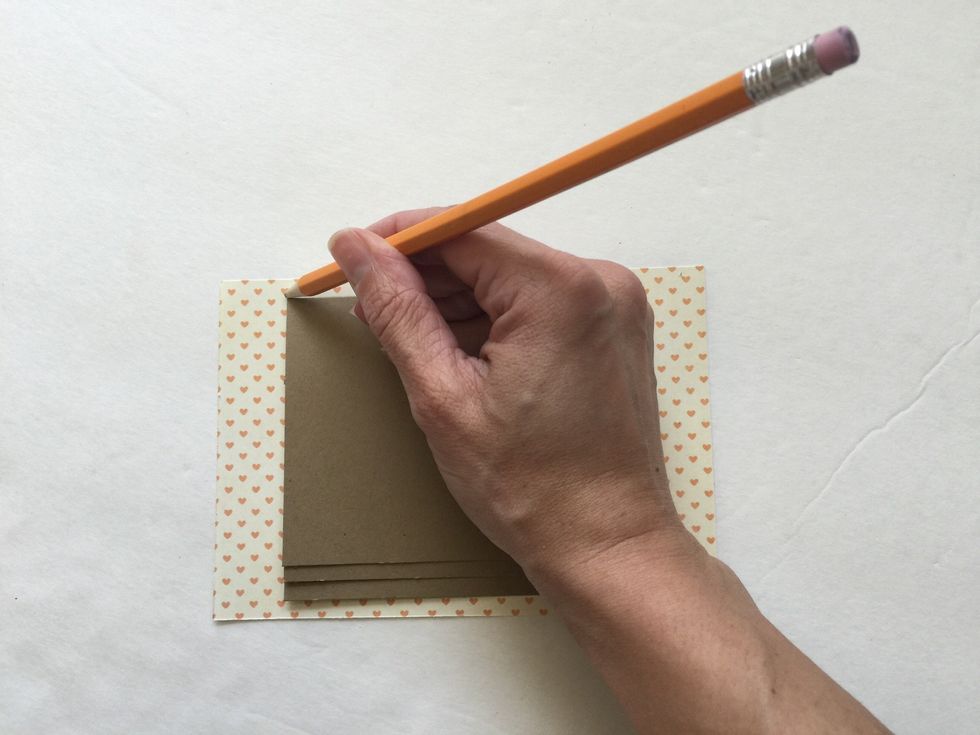
Determine the size of the photo flap you would like for your waterfall. Add 1/4" to the side that will attach to the design paper. (I want to fit 3x4 photos, so I cut my cardstock at 3.5x4.25") Cut 3.

Place your cardstock on the scoreboard with the 3 1/2" length along the top. Score cardstock at 3 1/4, so there is a 1/4" flap.

Taper your 1/4" flap by snipping the corners.

Fold the flap over and burnish the fold. Repeat for the other two cardstock pieces.
With the 1/4" flaps on top and folded under, place them on your design paper to determine where you would like them. Allow a 1/4" spacing (minimum) between the tops of each photo flap.
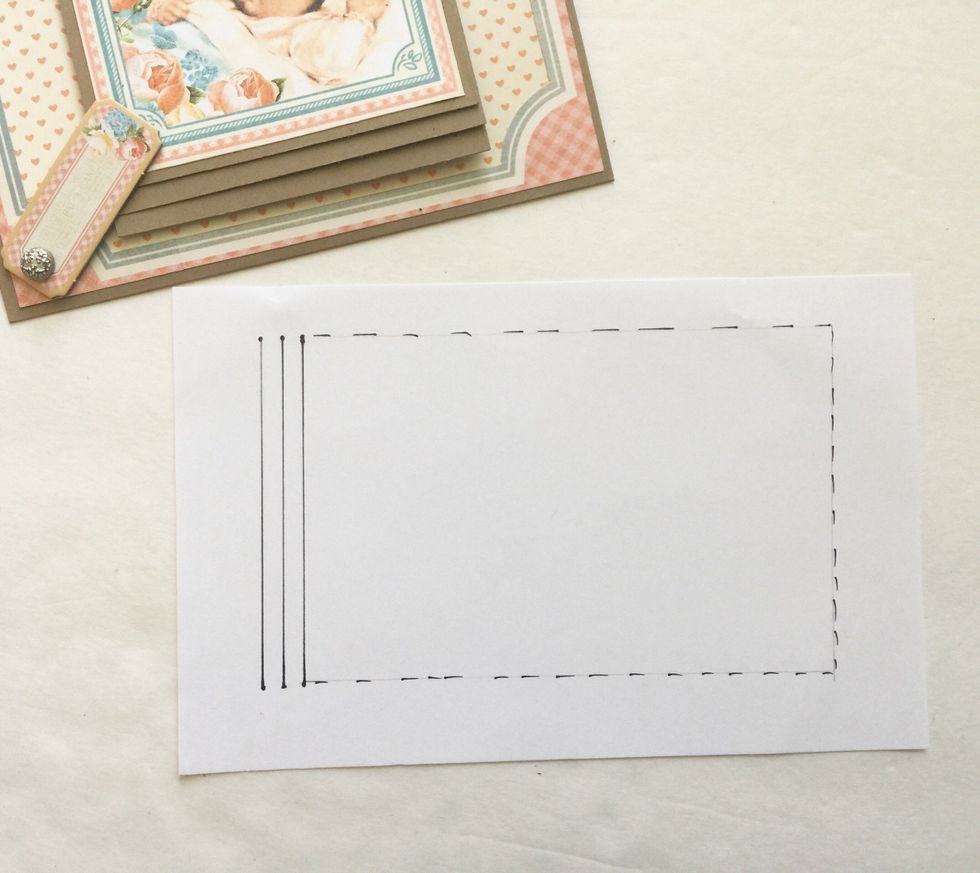
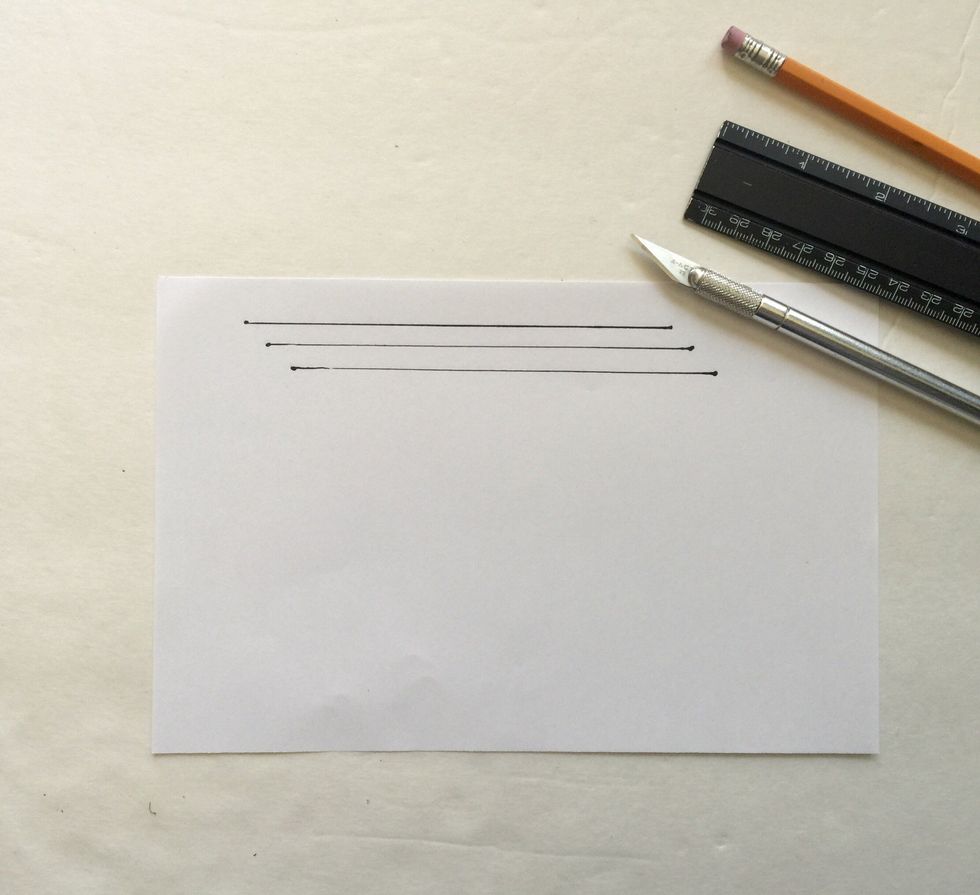
Trace a line lightly in pencil to mark the top edge and full length of your top waterfall flap. (You can mark the backside of the paper instead to ensure there are no lasting pencil marks once erased)
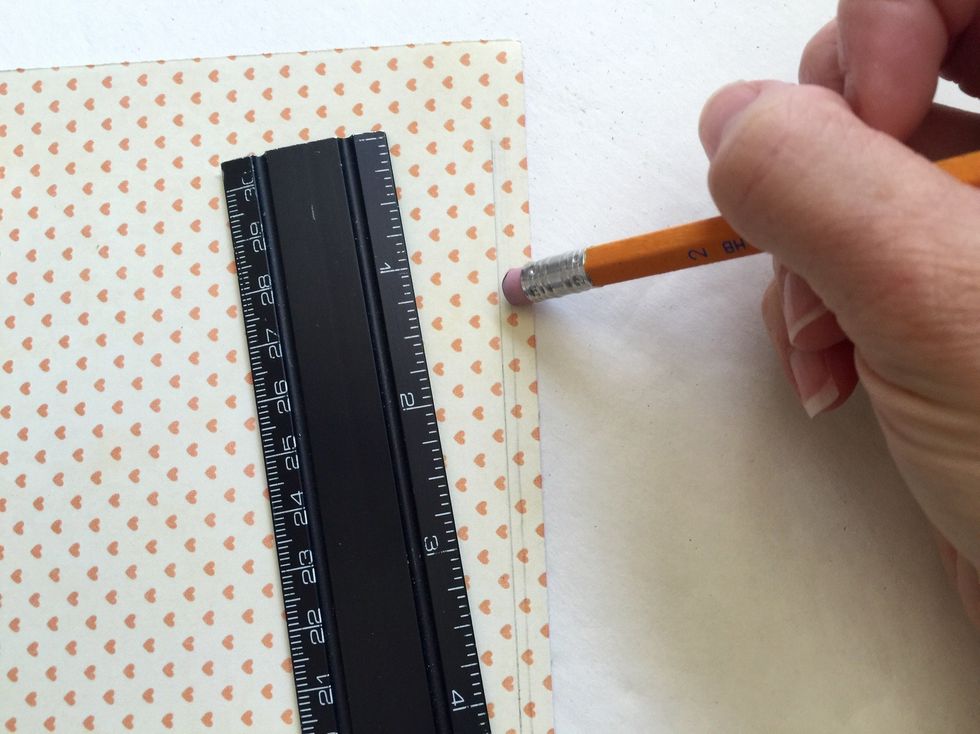
Using a ruler, lightly draw a second line about 1/16- 1/8" below your original line to more accurately mark where the flap will lay once attached. Then, erase your original line.
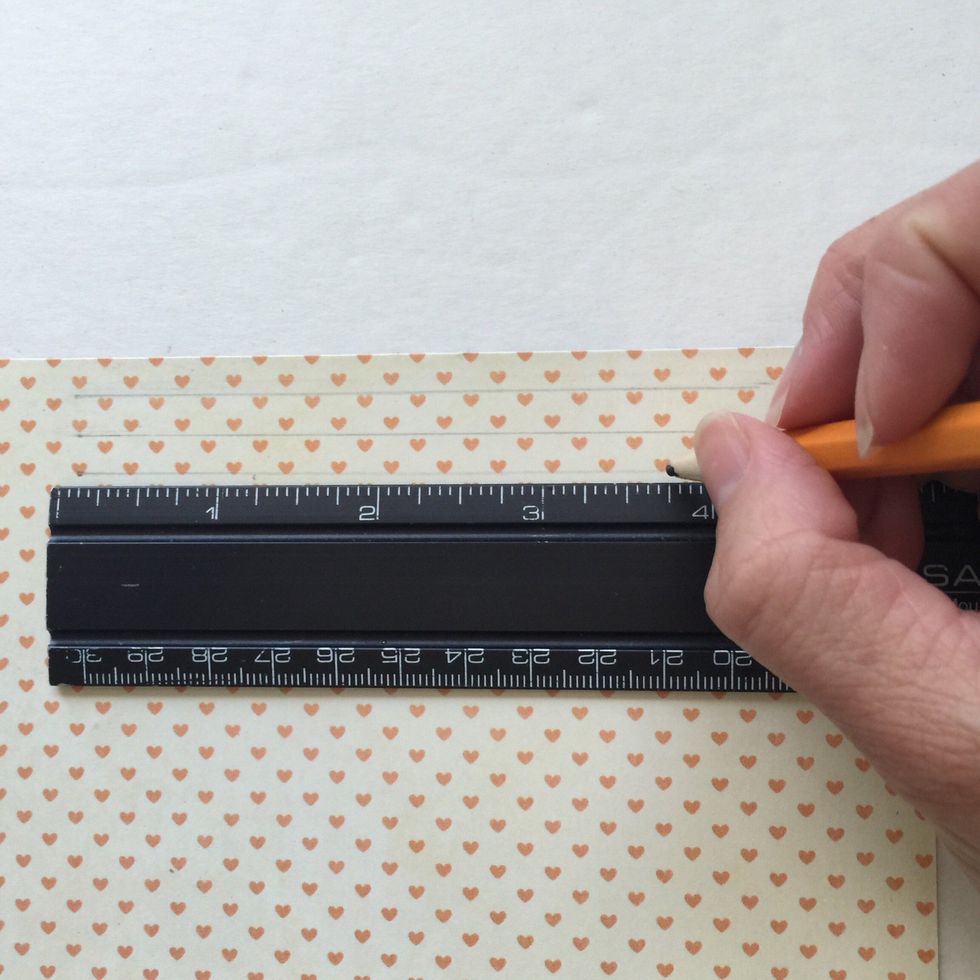
Using you new line, draw two more lines directly below it. Space these lines 1/4" apart. (Or, however far apart you determined you wanted your waterfall flaps to be in step 7.)
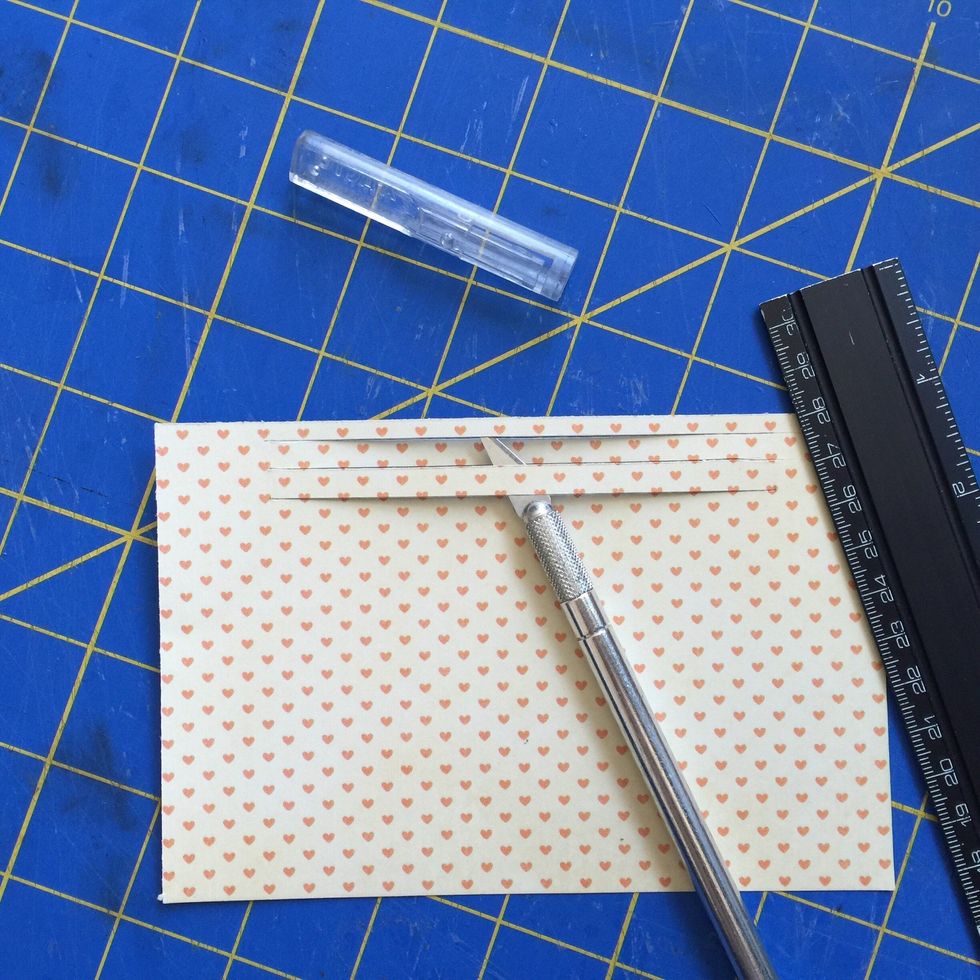
Use your ruler, craft knife and cutting mat to cut along the lines you just drew.

Insert your waterfall flaps to ensure that the slits fit your 1/4" flaps.
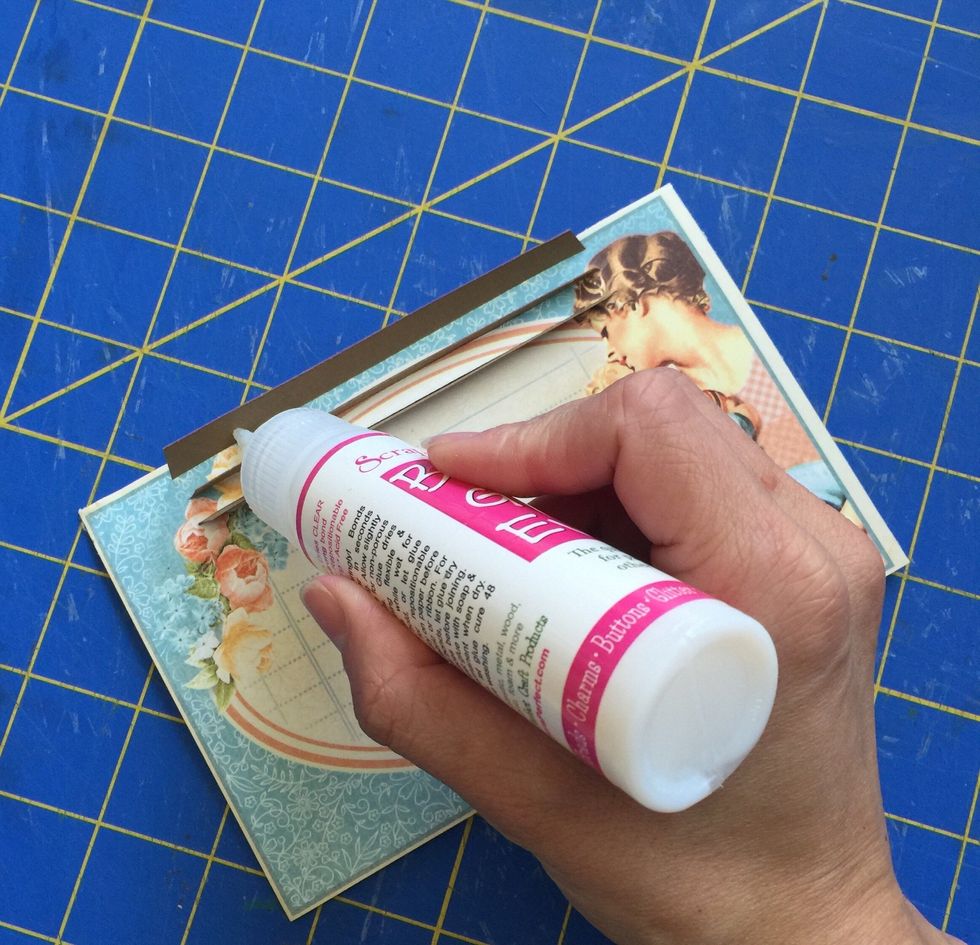
Turn your page over w/ the waterfall flaps inserted. Adhere one flap down at a time. (Best to start with the bottom flap first)

Turn over & check before the glue dries that the waterfall flap is lined up parallel with the slit & that each waterfall lines up w/ the previous one.

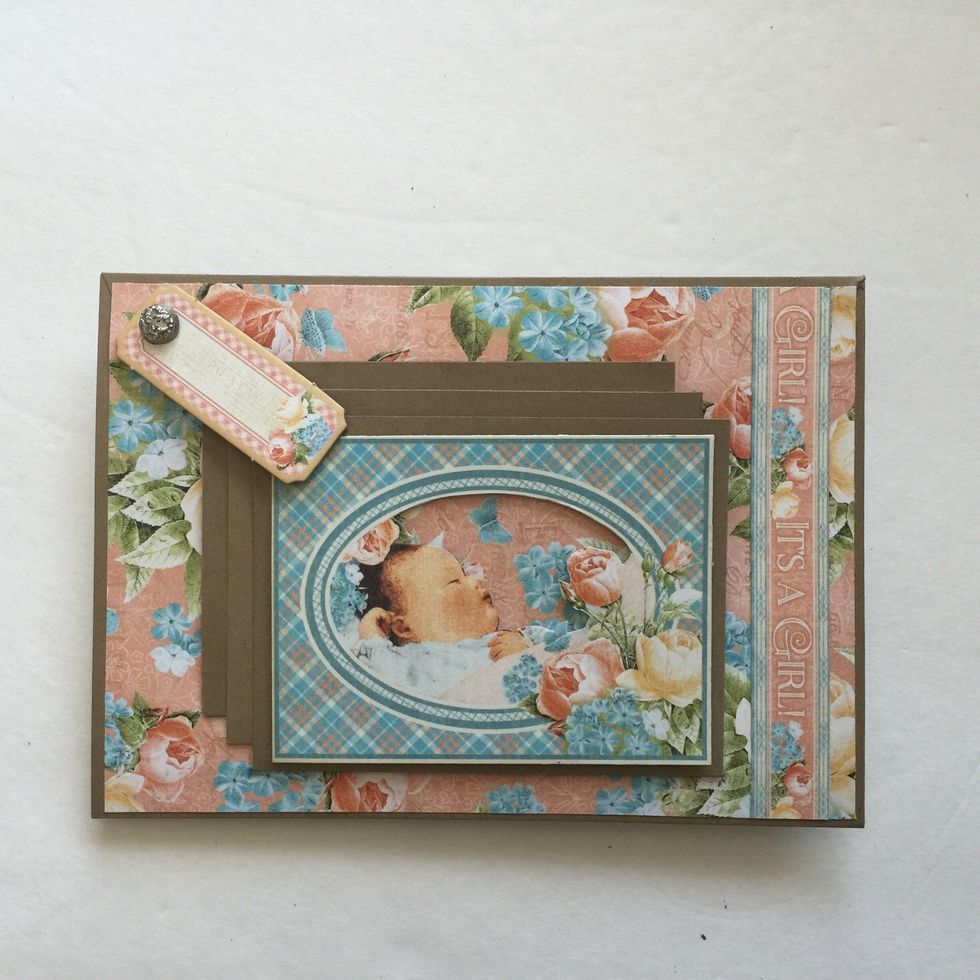
Once all three waterfall flaps are adhered you can add design paper to the waterfall flaps or a cut-apart like this one from Graphic 45's Precious Memories or leave it plain for photos.
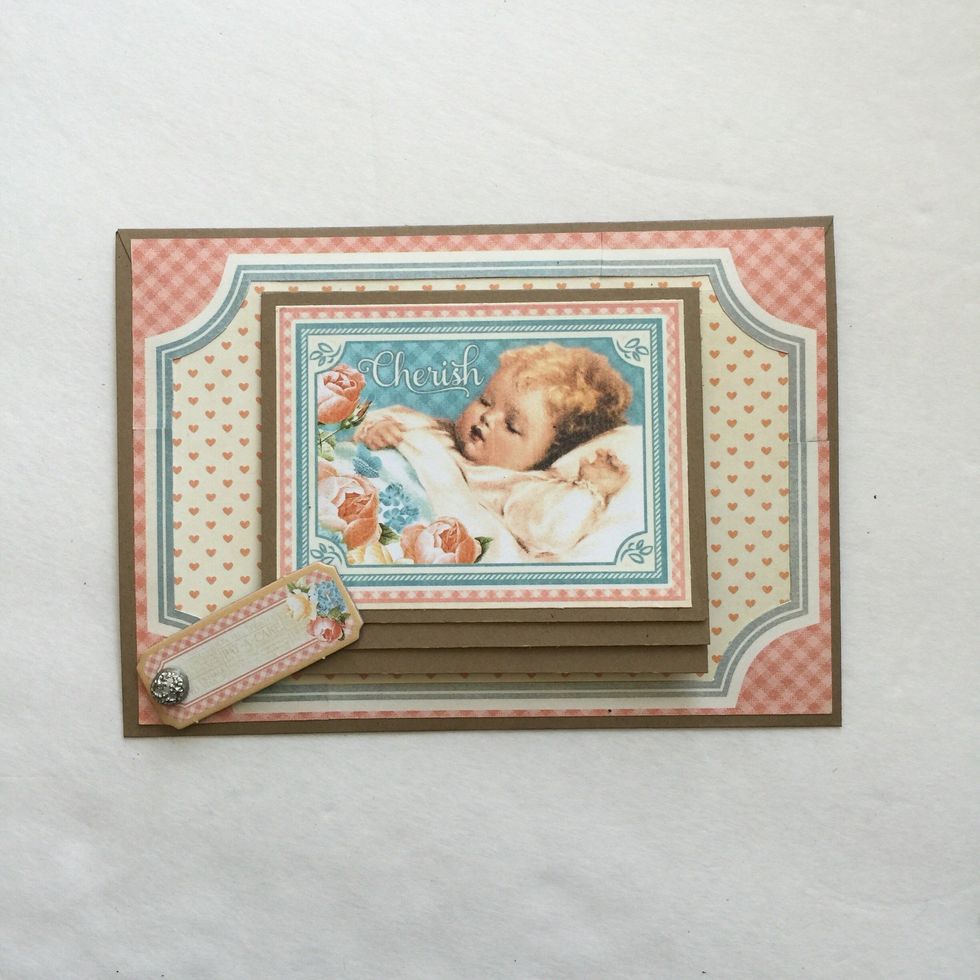
For this one, I have added a brad and chipboard piece to use as a closure to hold my waterfall closed before attaching my waterfall page to my album page. Other options could be magnets, ribbon, etc.
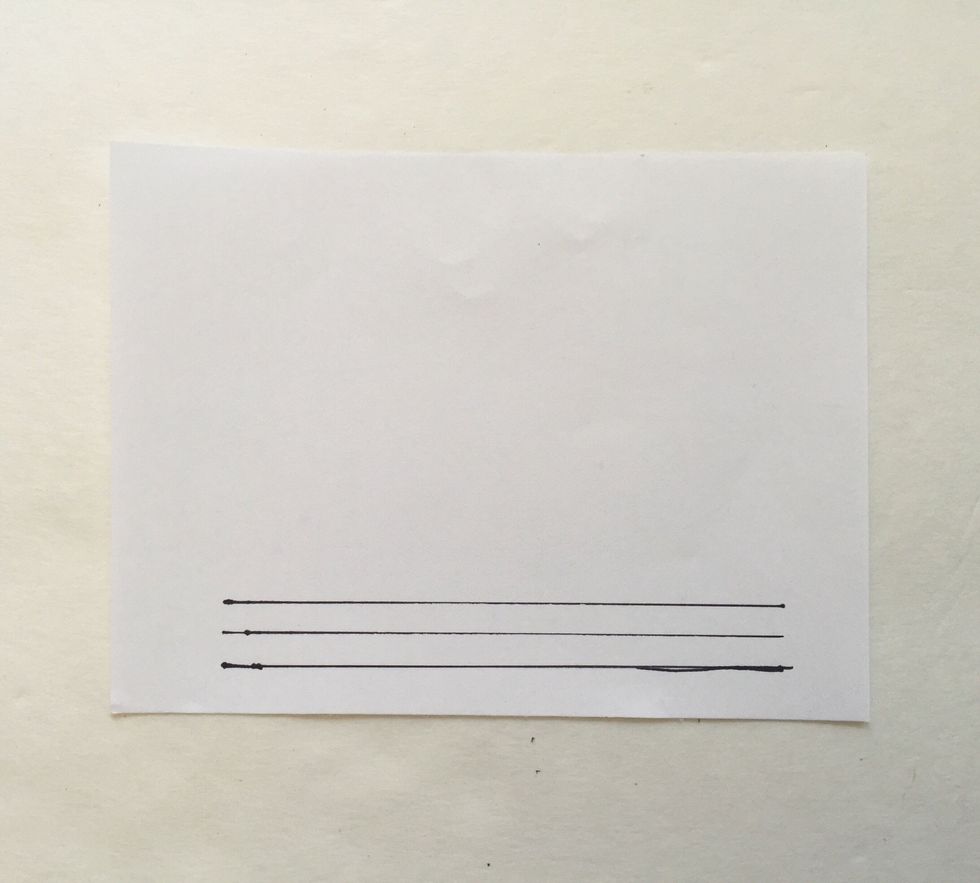
Waterfall Variations: Cut your slits on the side and have your waterfall horizontal. In the photo the solid lines represent the cuts and dashed line represents where your waterfall would lay.
A second variation is to have your waterfall in reverse. Cut you slits at the bottom of your page and insert your flaps so that the waterfall opens downwards.
A third variation is to offset your waterfall. Here I have drawn my lines for my waterfall so each waterfall flap starts 1/4" over to the right of the one before it.
Here is a sample using the reverse variation and the offset variation together.

Have fun and mix it up to create a delightfully interactive mini album!