The Conversation (0)
Sign Up

Start with a piece of off-white card stock measuring 8 1/2 x 11" and cut it down to 5 1/2 x 11", then score it at 5 1/2 inches to create the card BASE.
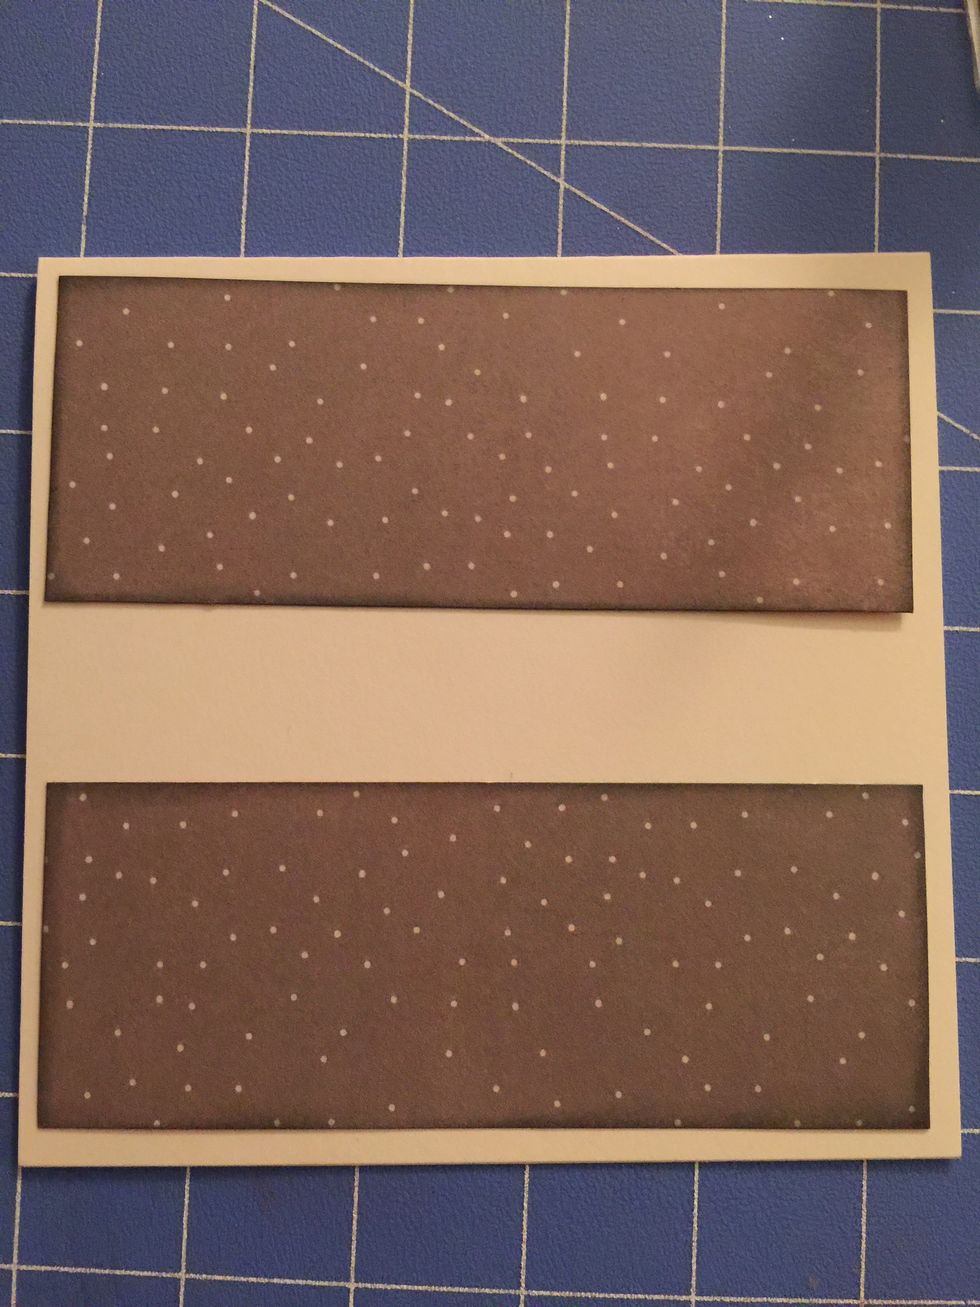
Cut 2 strips of the grey paper with the white dots, and cut them at 2" x 5 1/2. Distress Edges. Adhere to card at the top and bottom of the card, leaving an 1/8 inch of the card base showing.

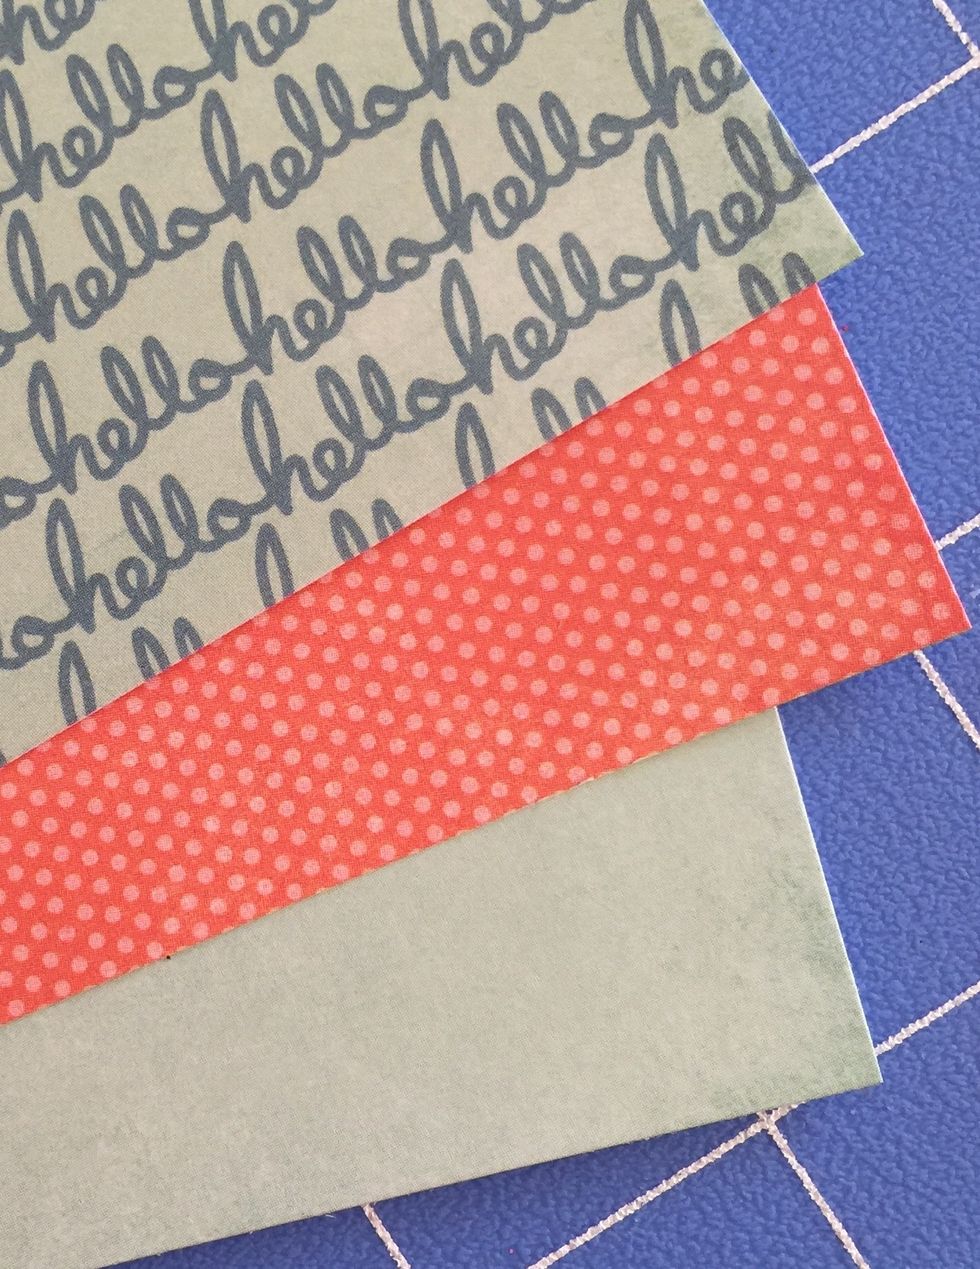
Select these papers for the next few steps. Cut a strip measuring 5 1/2 x 2 inches from the orange polka dot paper. Distress Edges and set aside.
Cut a strip measuring 1 1/4 x 5 1/2 from the blue "hello" paper. Distress Edges. Adhere to the top edge of the orange paper. Adhere it so that one inch extends from the orange paper.
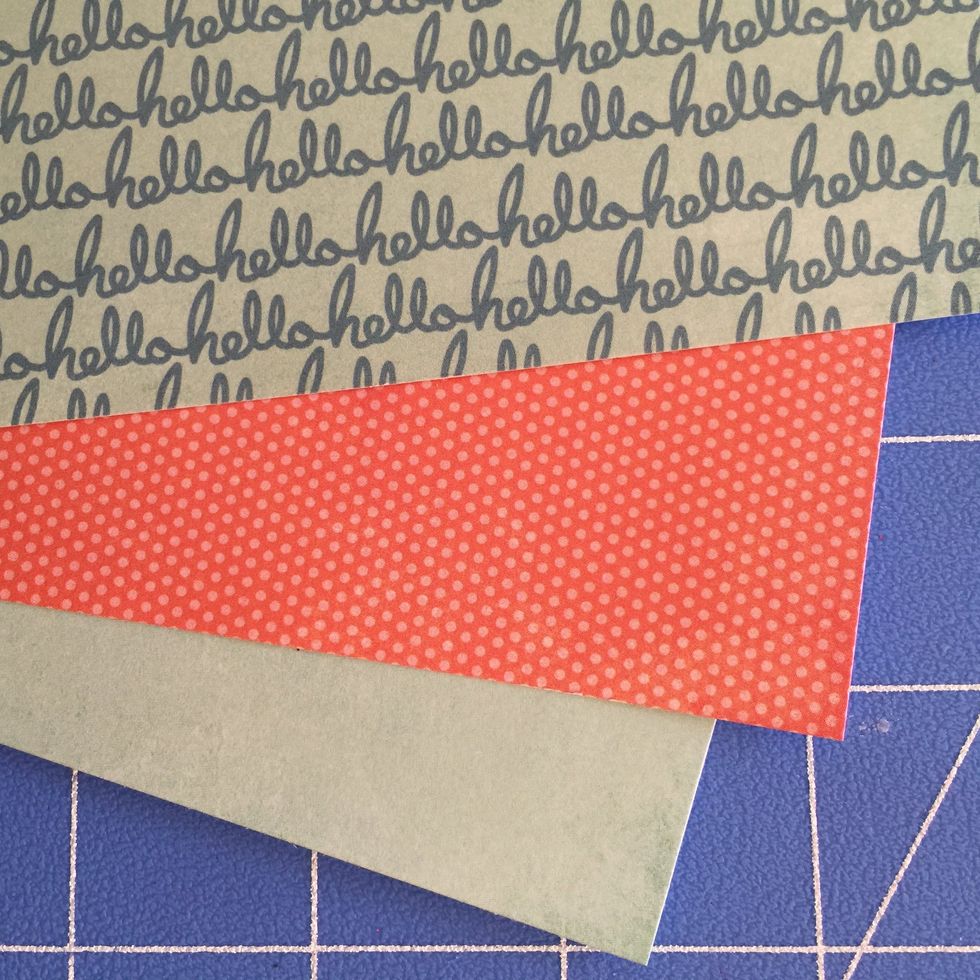
Cut a strip of plain blue paper measuring 1 " x 5 1/2. Punch scallops using an edge punch. Adhere to bottom of orange strip so that the scallops extend from the edge.

Adhere entire piece to card base, in center of the card so grey paper is covered at edges. Adhere only top and bottom, not sides (this allow you to run baker's twine through the papers later)
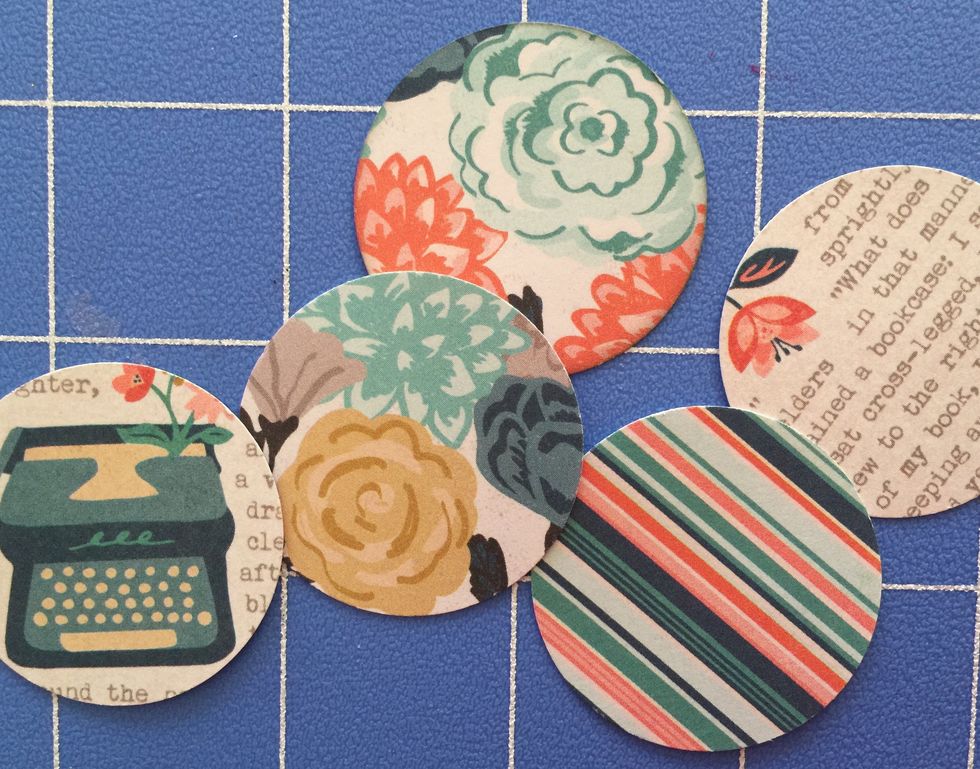
Punch 3 circles using the circle punch, and adhere them side by side on the orange strip of paper. You can find circle punches at www.FotoBella.com
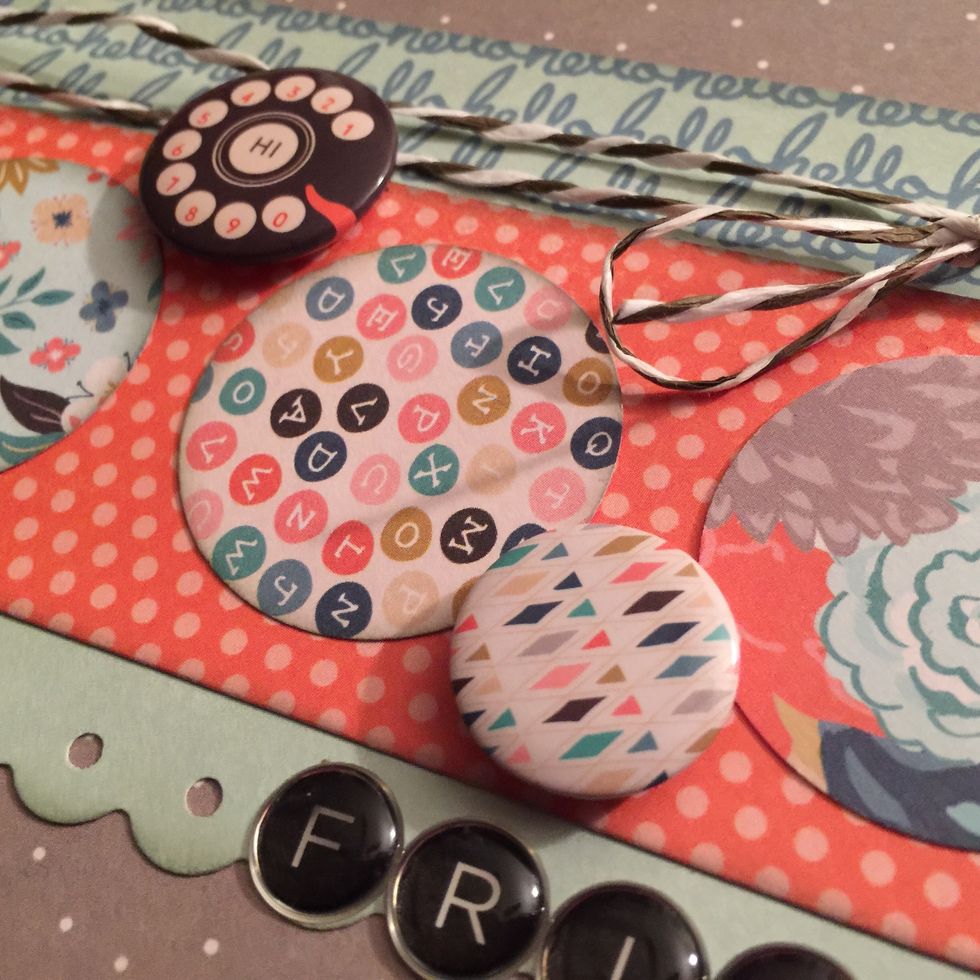
Remove two flairs stickers from the Flairs pack in your bundle and place as shown.
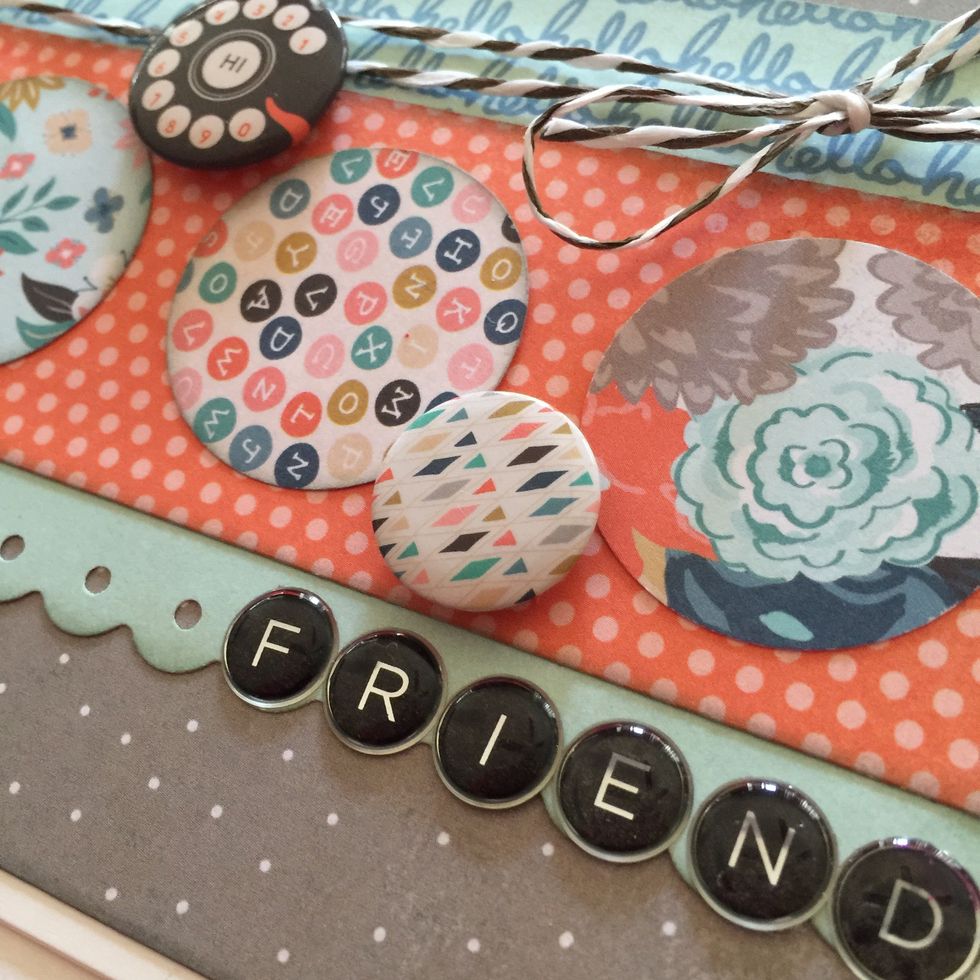
Remove the letters FRIEND from the epoxy alpha sticker sheet and adhere to the card on the right side of the scallops.
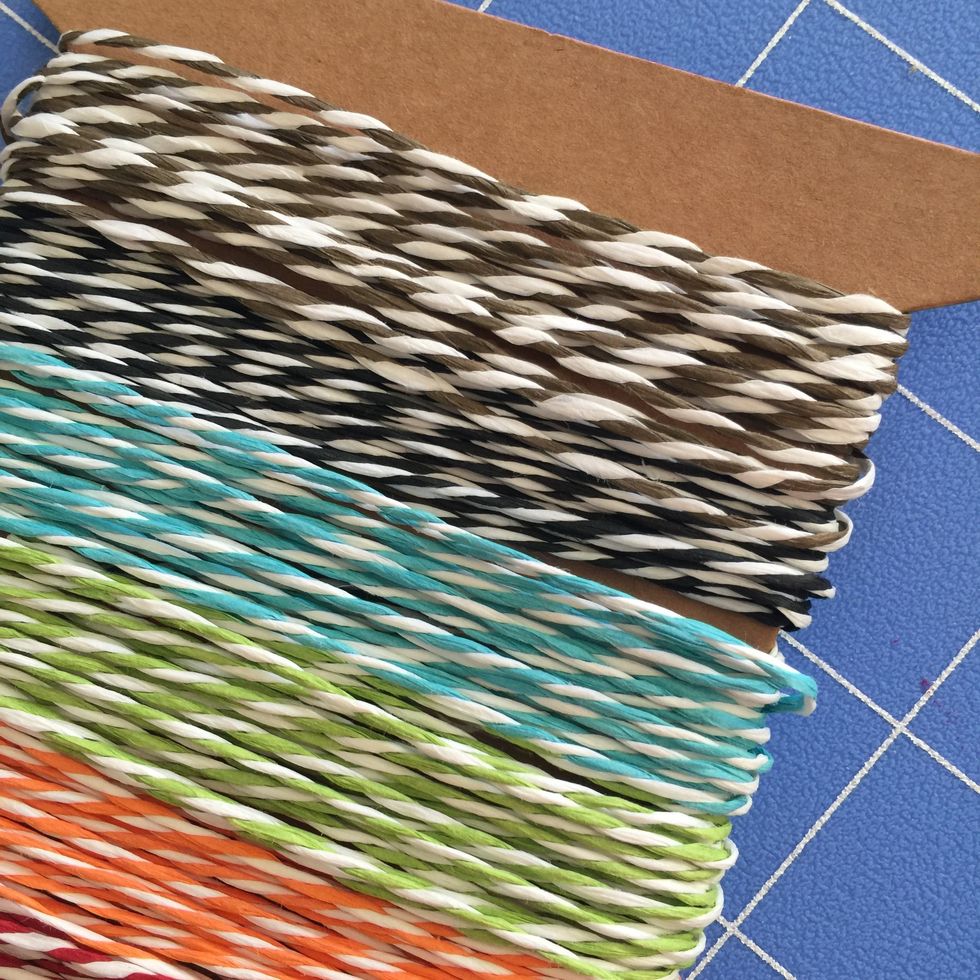
Cut an 18 " length of baker's twine in Grey/white or Black/white and run through the two layers of paper on card front.
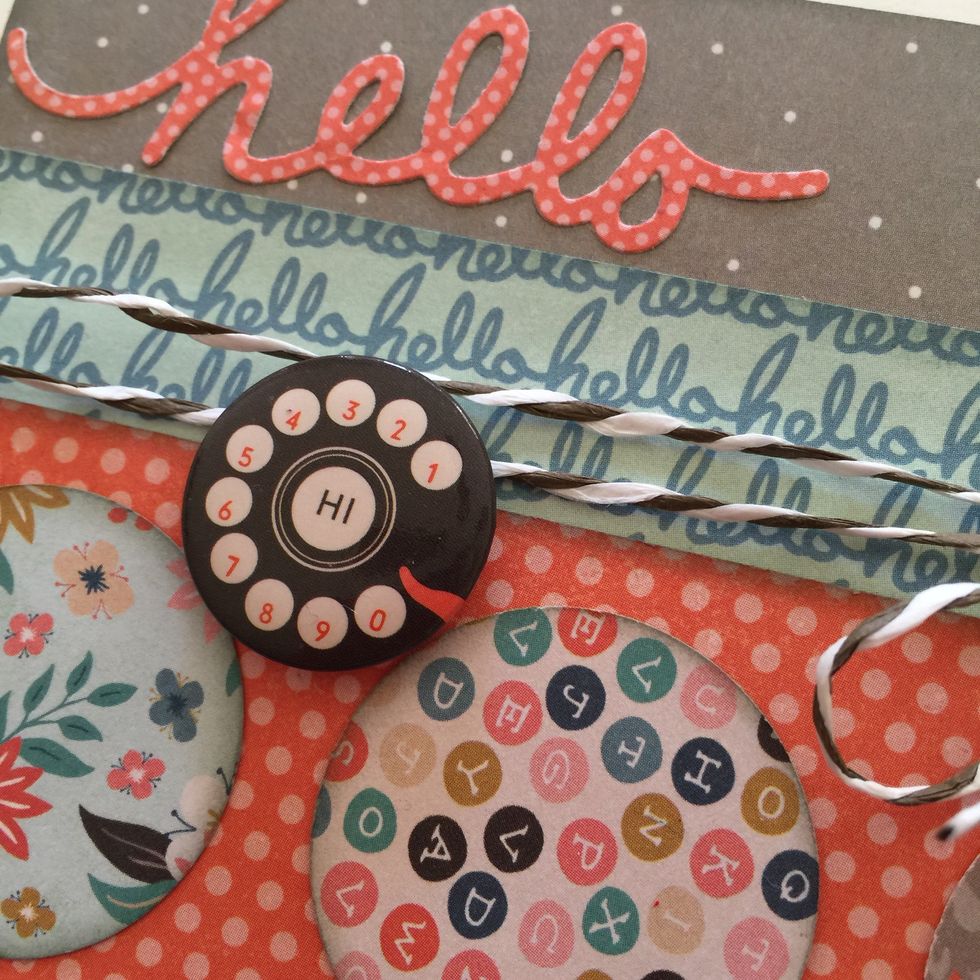
Push twine towards top of card and tie a bow on the right hand side.
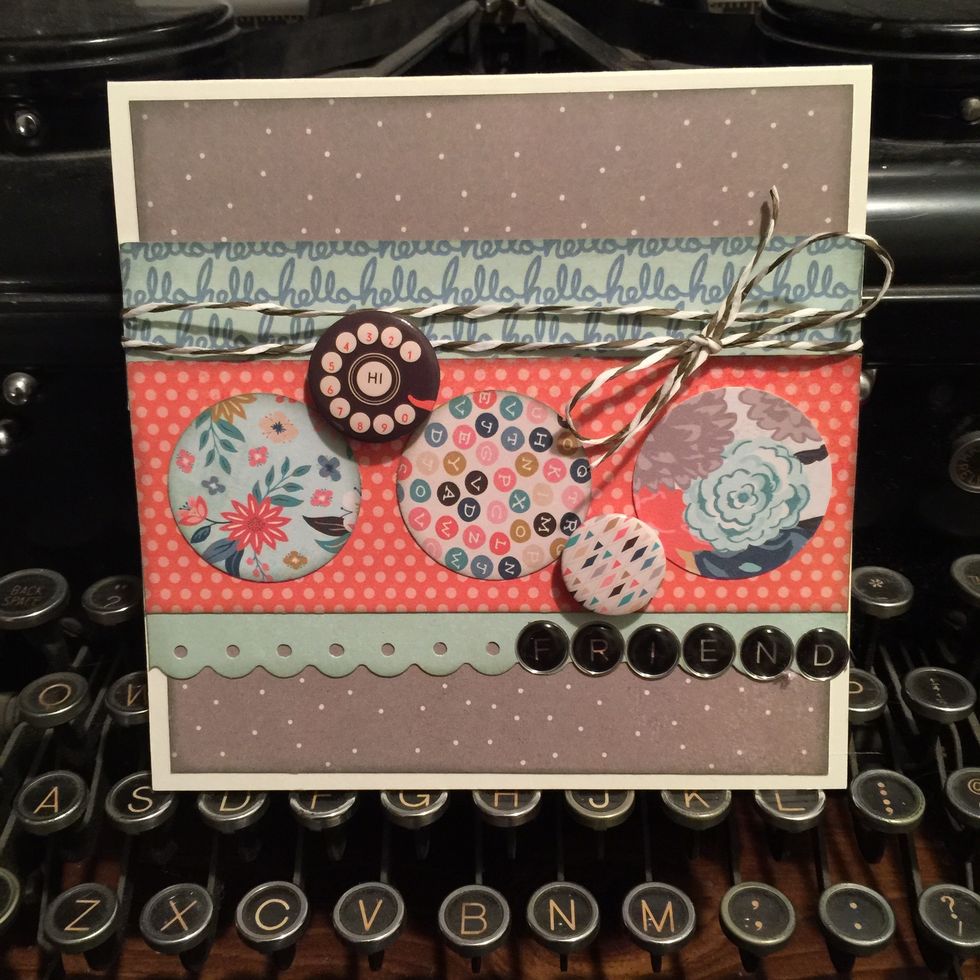
And that's it! This is the finished card without the "hello" die cut
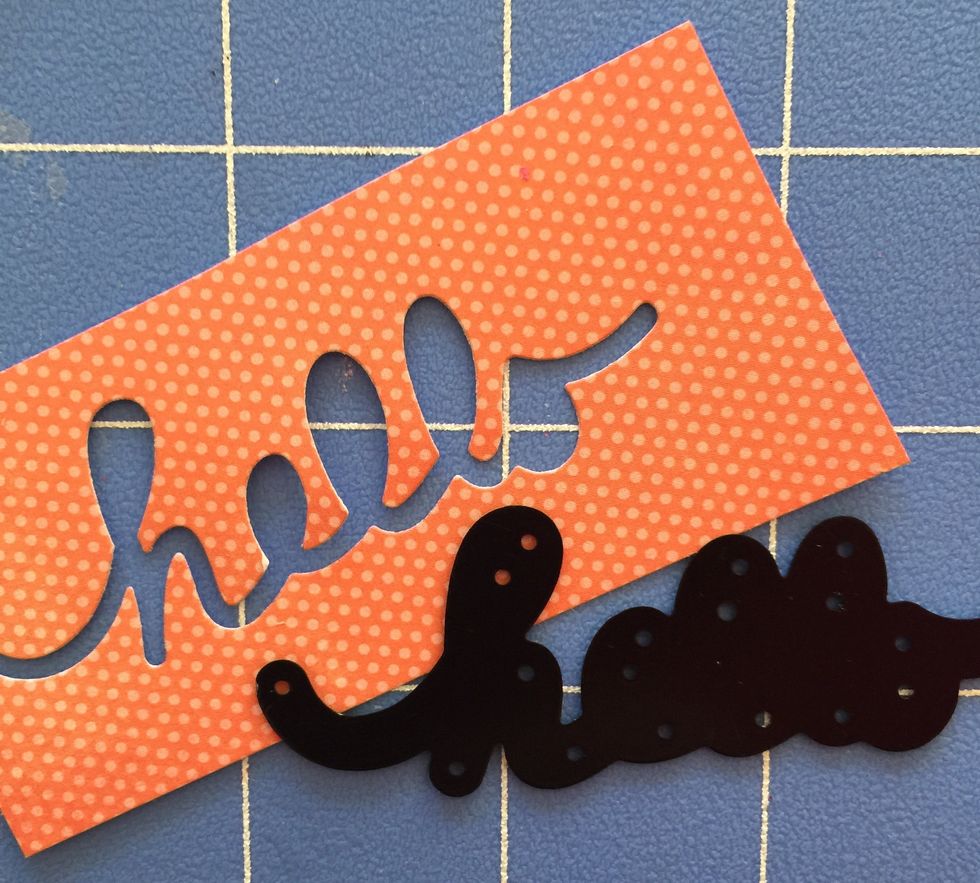
Optional: Cut a die cut "Hello" from the orange polka dot paper and adhere to top left side of card.
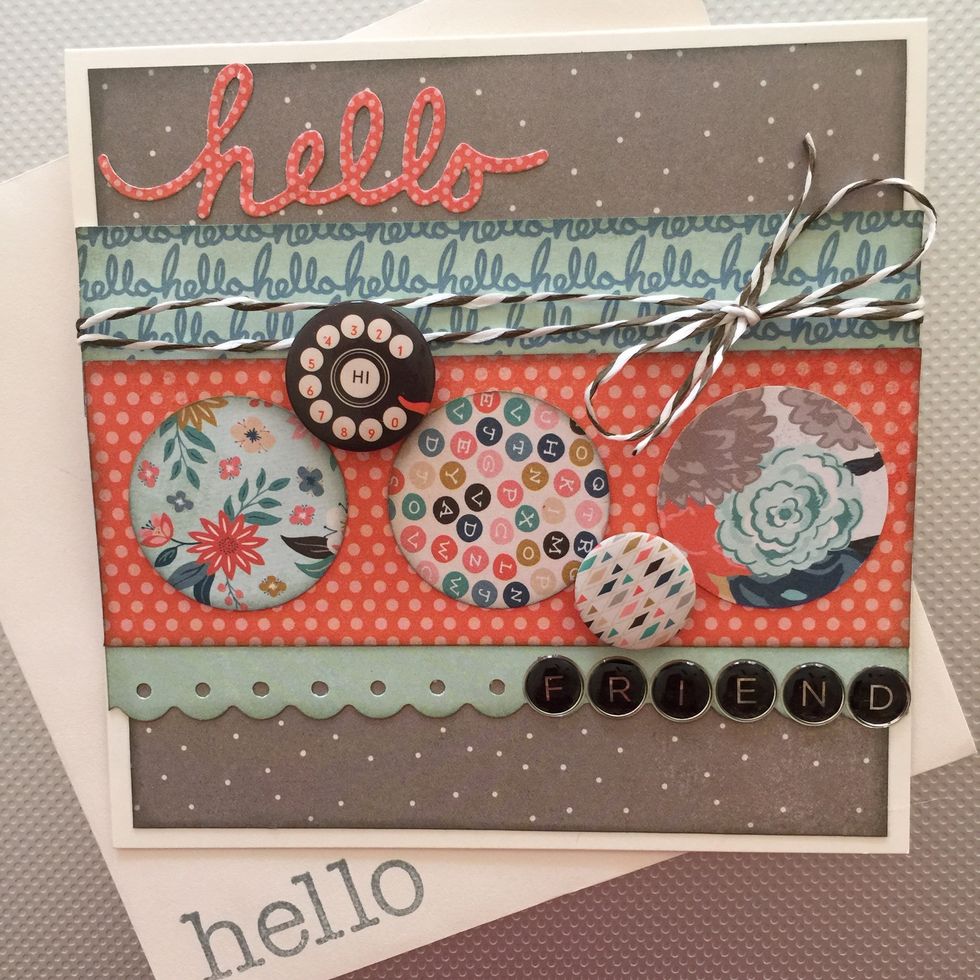
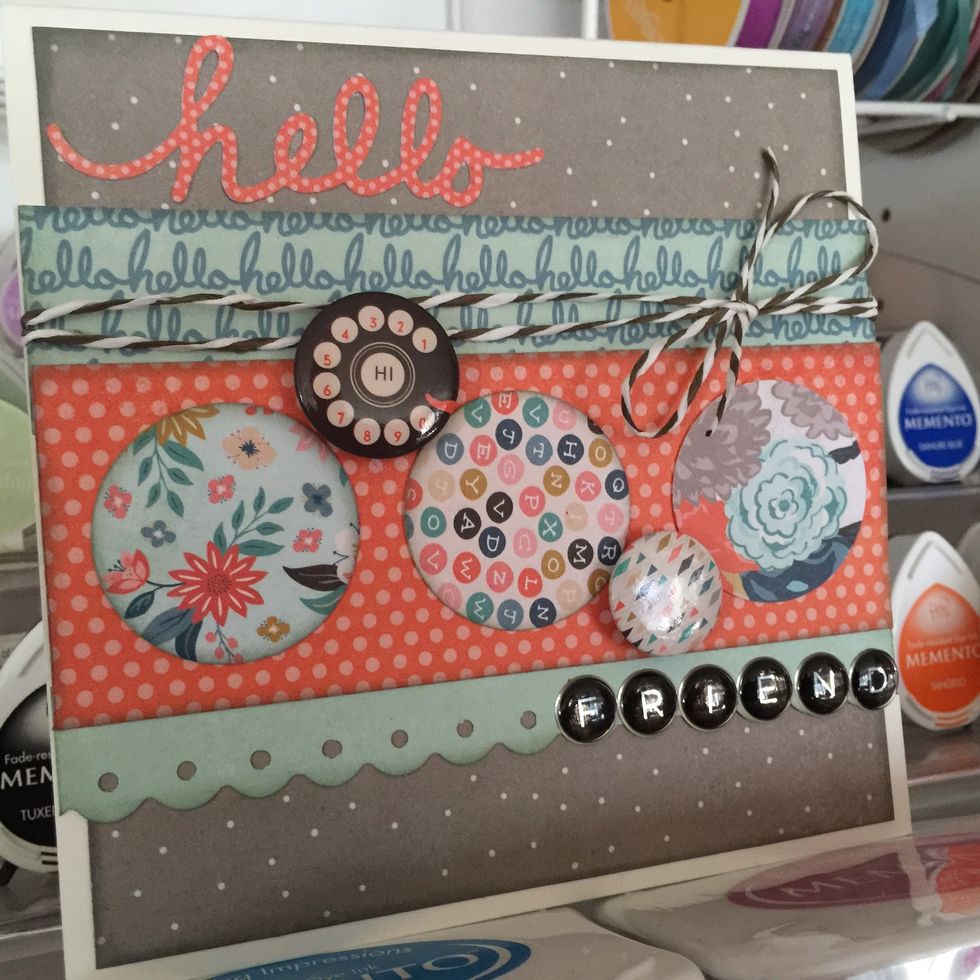
This is the finished card with the "hello" die cut. For fun I stamped the envelope with a hello stamp I had in my stash.
This card is so easy to make and would be cute for almost any occasion so please give it a try! You can find all of your supplies at www.FotoBella.com. This tutorial is by Design Team Member ReNae