The Conversation (0)
Sign Up
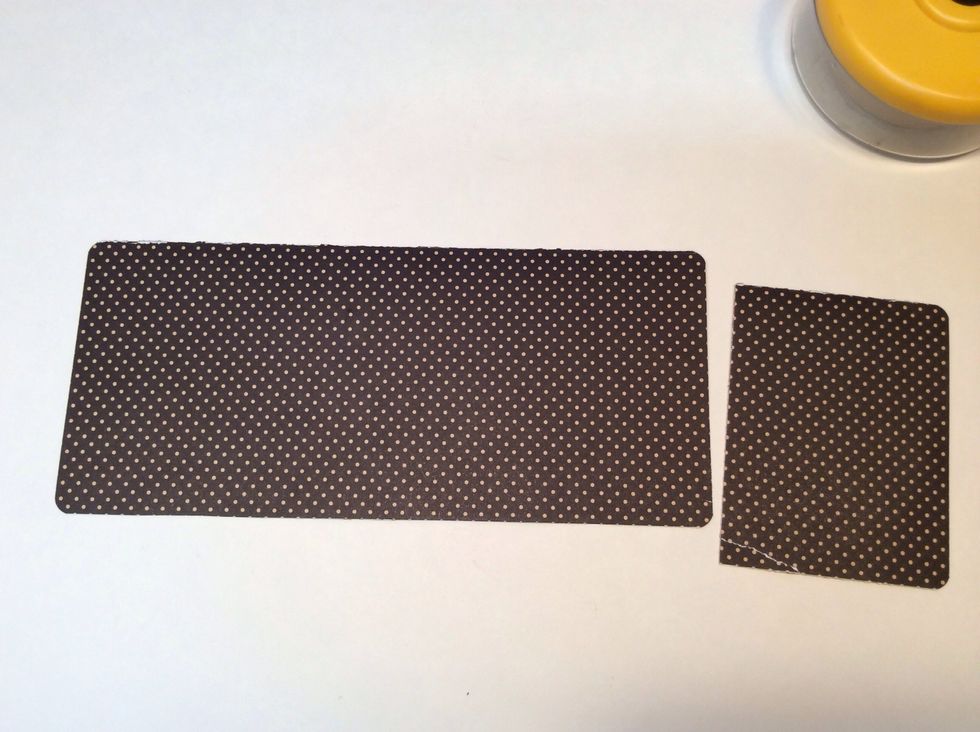
Start with a 4" x 9" double-sided paper. This will be our cover.
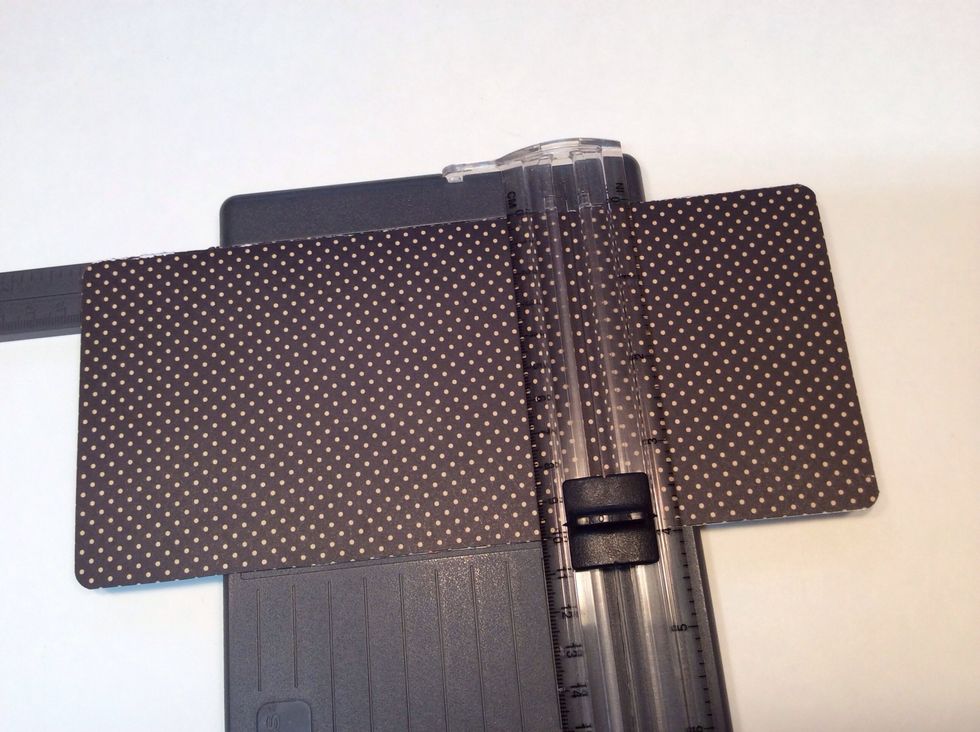
Score cover at 3" and 6".
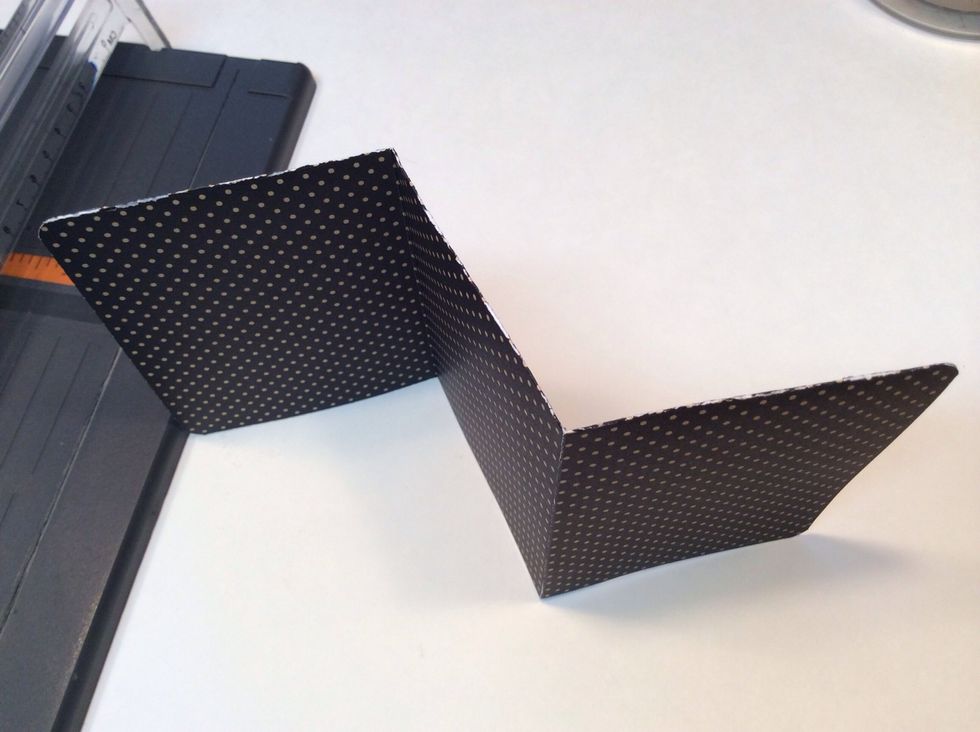
Fold cover as shown.
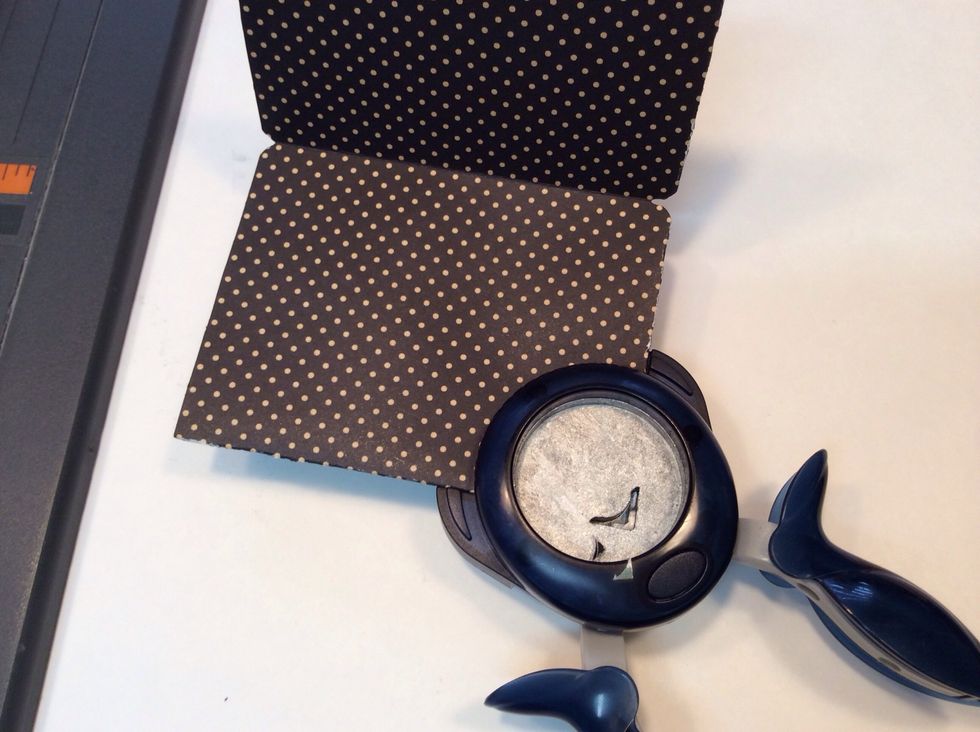
Use a corner rounding tool to round all corners.
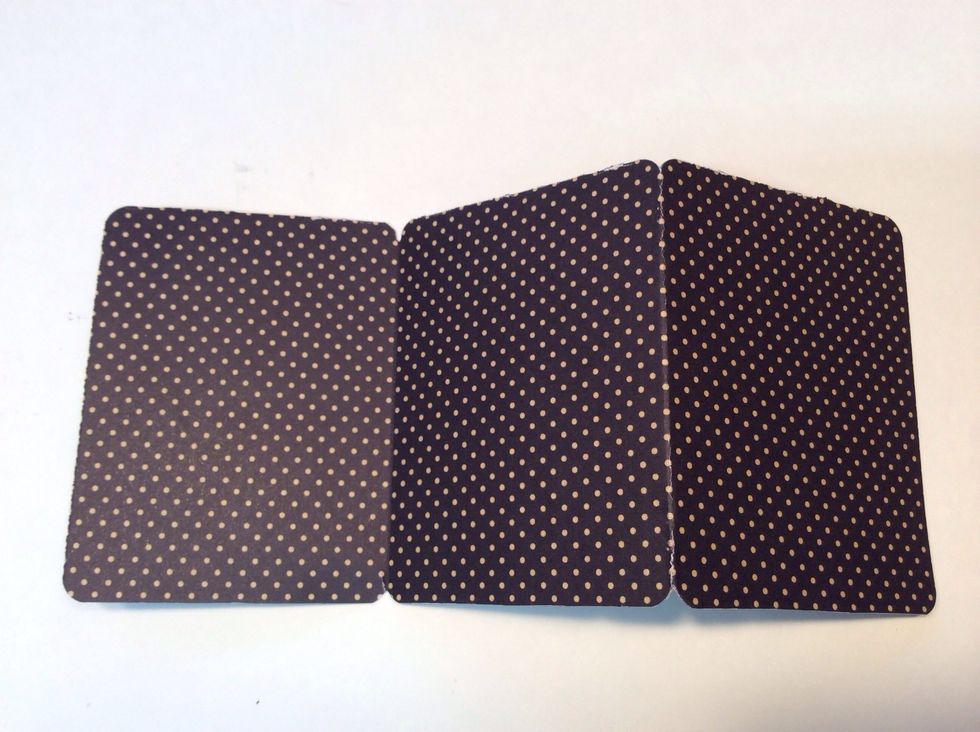
...Like this!

Cut 4 pieces of paper for inside pages. (Cut them all 3.5" x 5.75"). Round the corners.
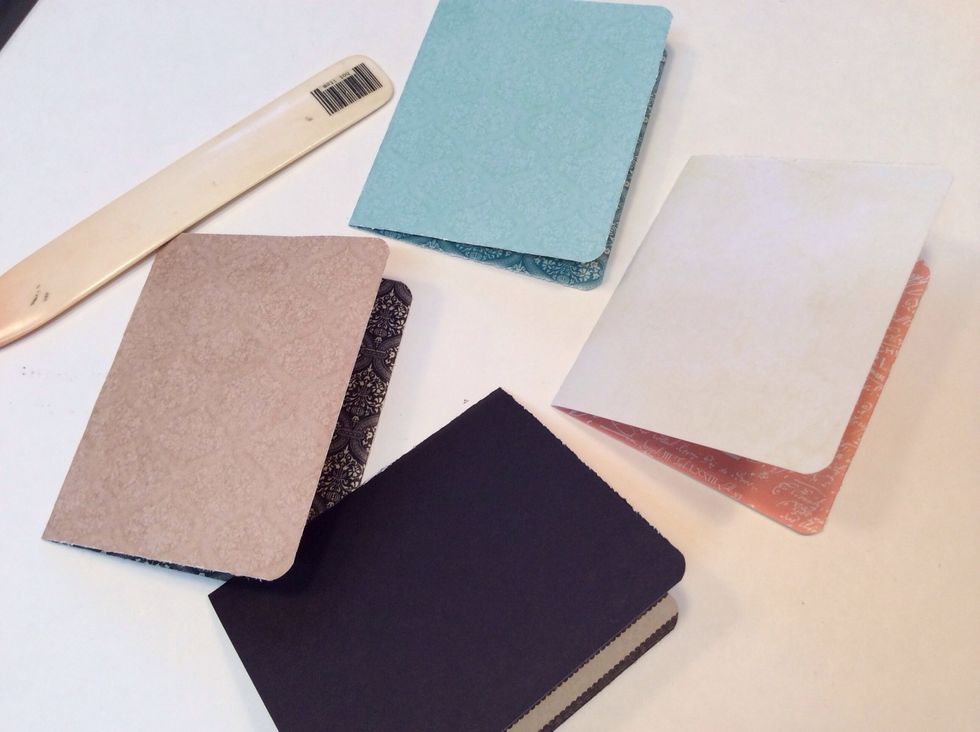
Fold each page in half.
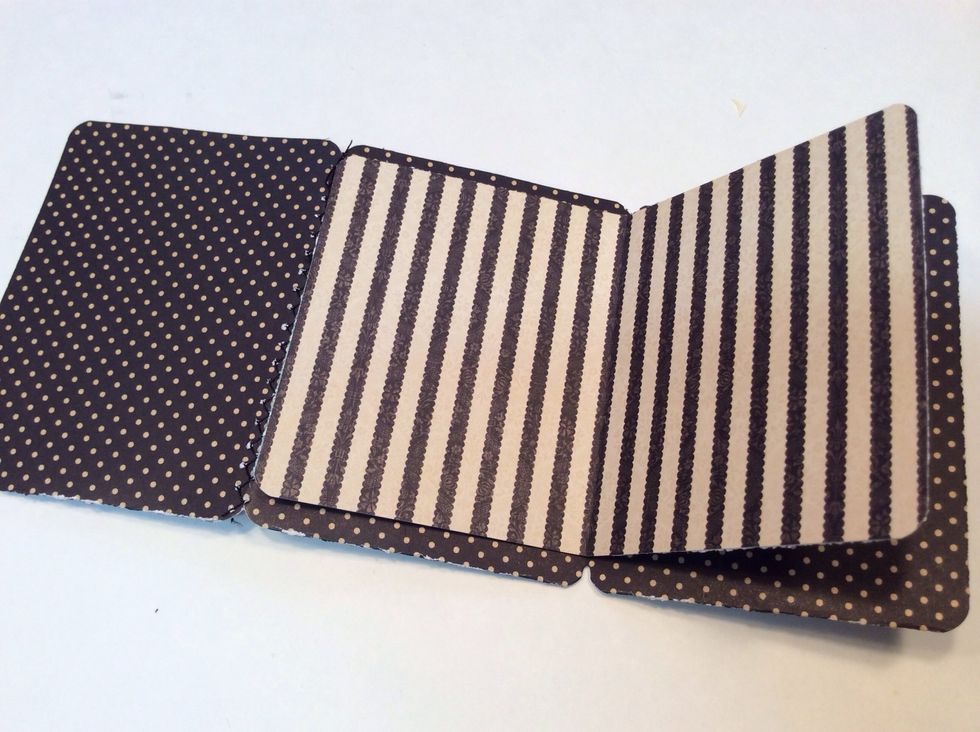
Stack 2 pages together and lay inside one side of cover.
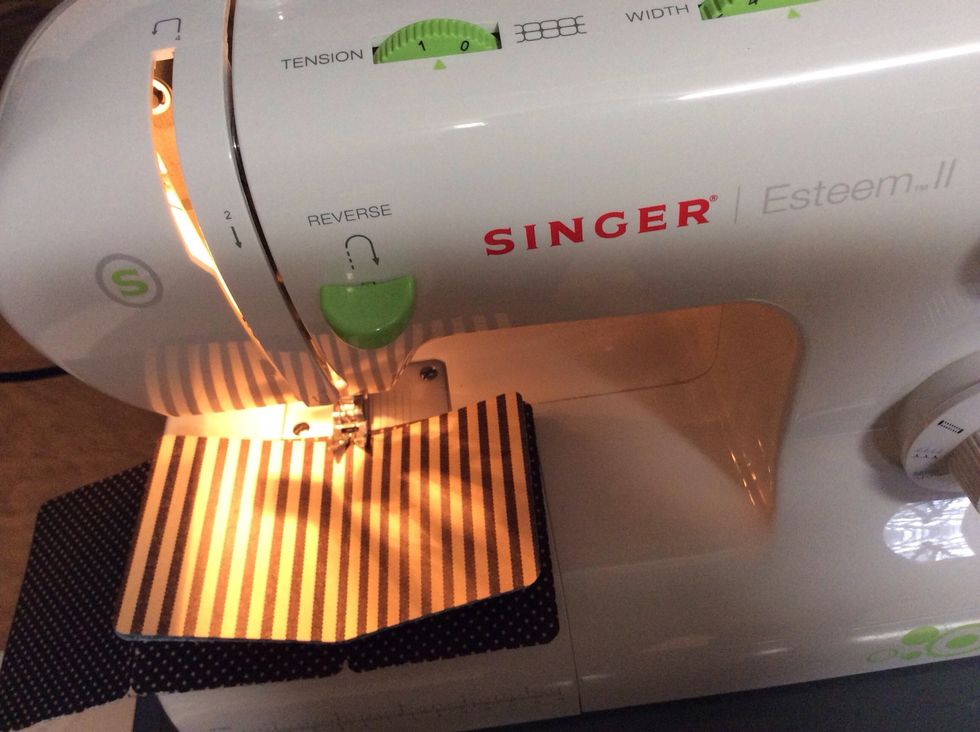
Using a zig-zag stitch, stitch down the middle of pages ( stitching pages to cover).
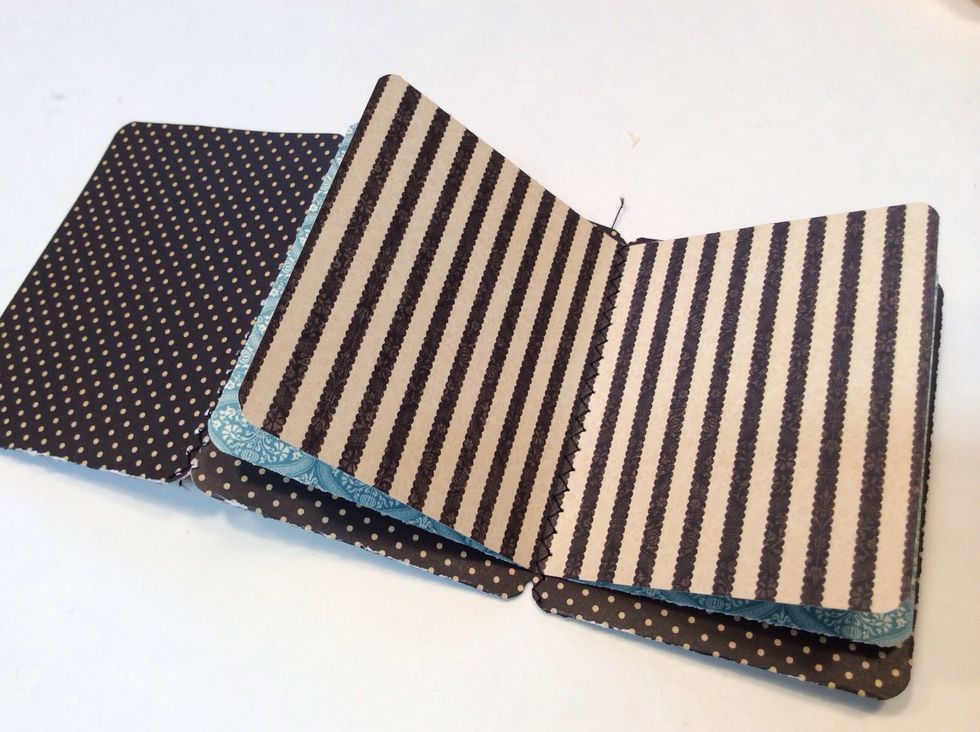
...like this!
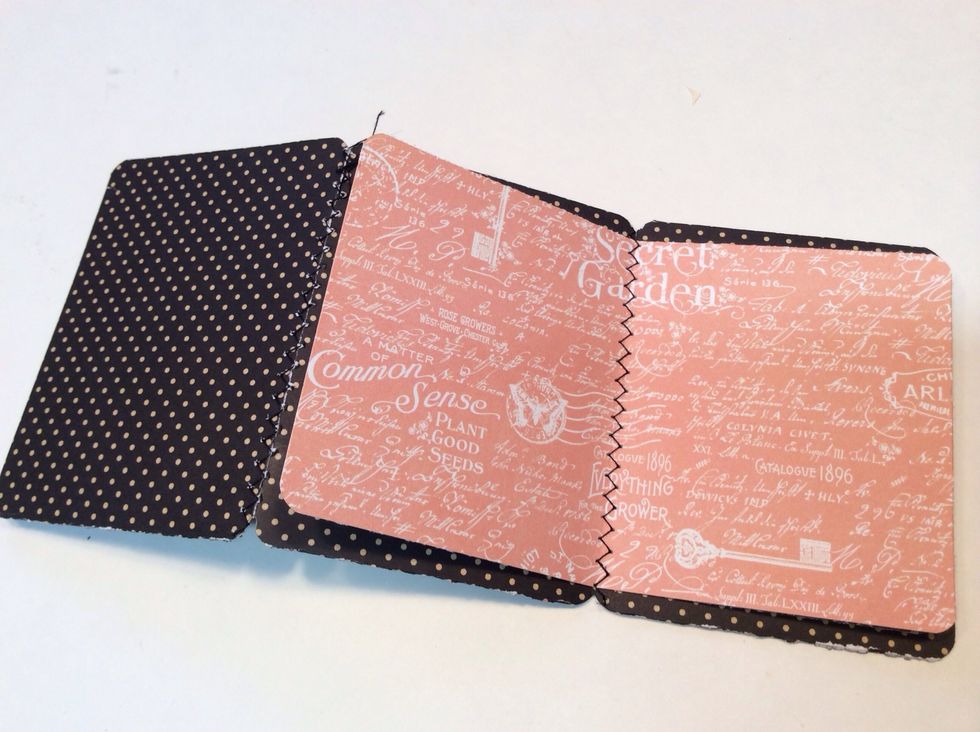
Flip book over, set the remaining 2 pages on the other side and stitch like we did previously.

Stitched together book...top view.
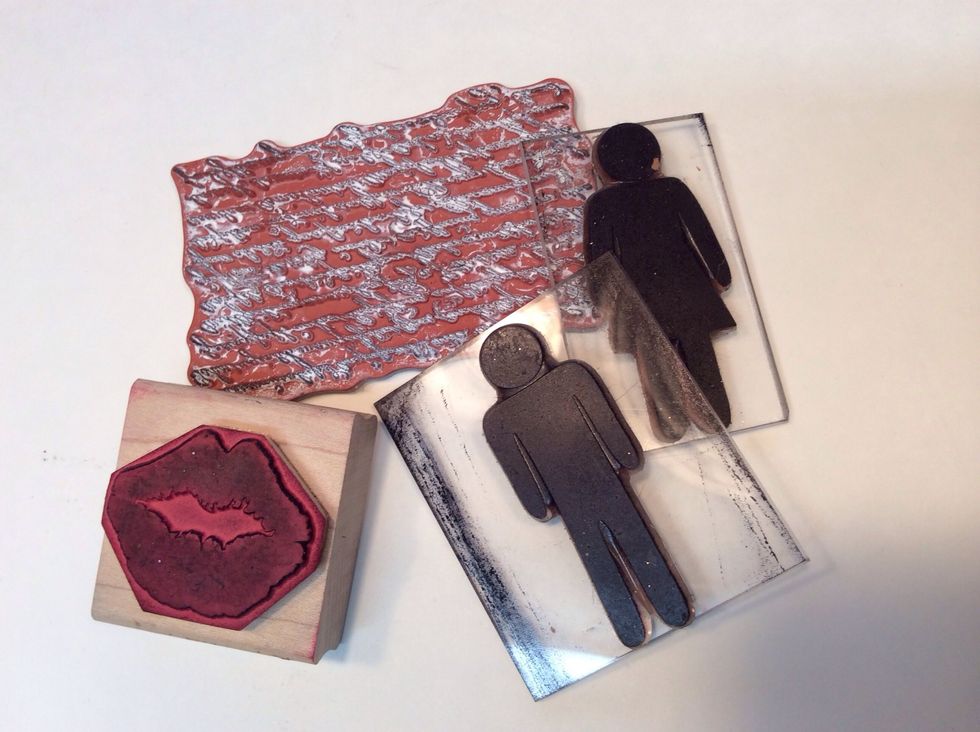
Gather your favorite "love" stamps.
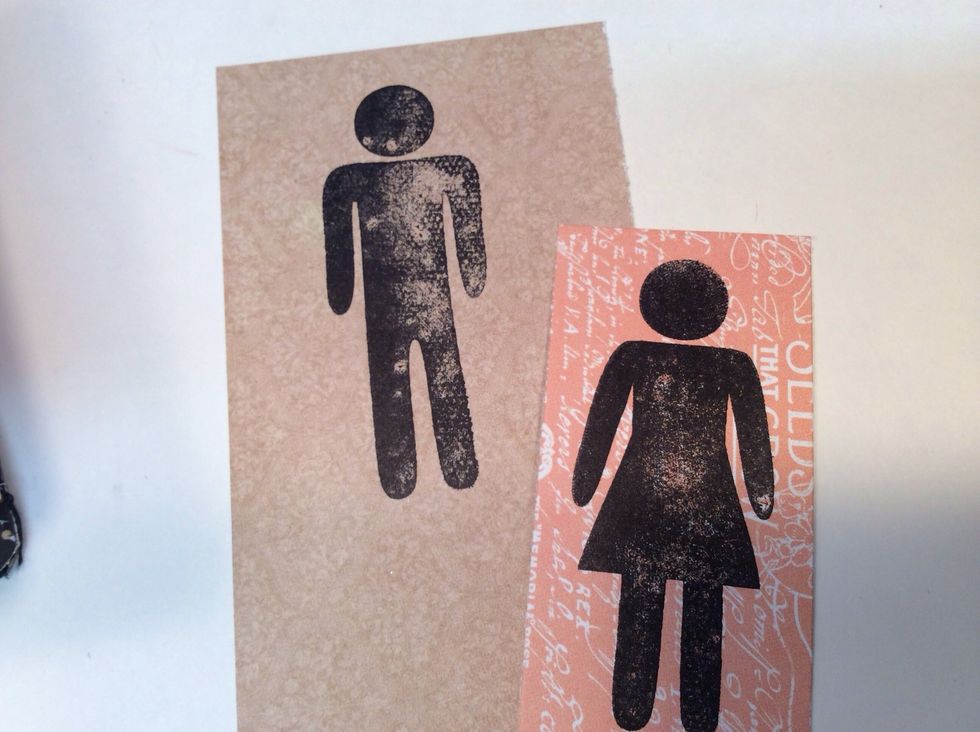
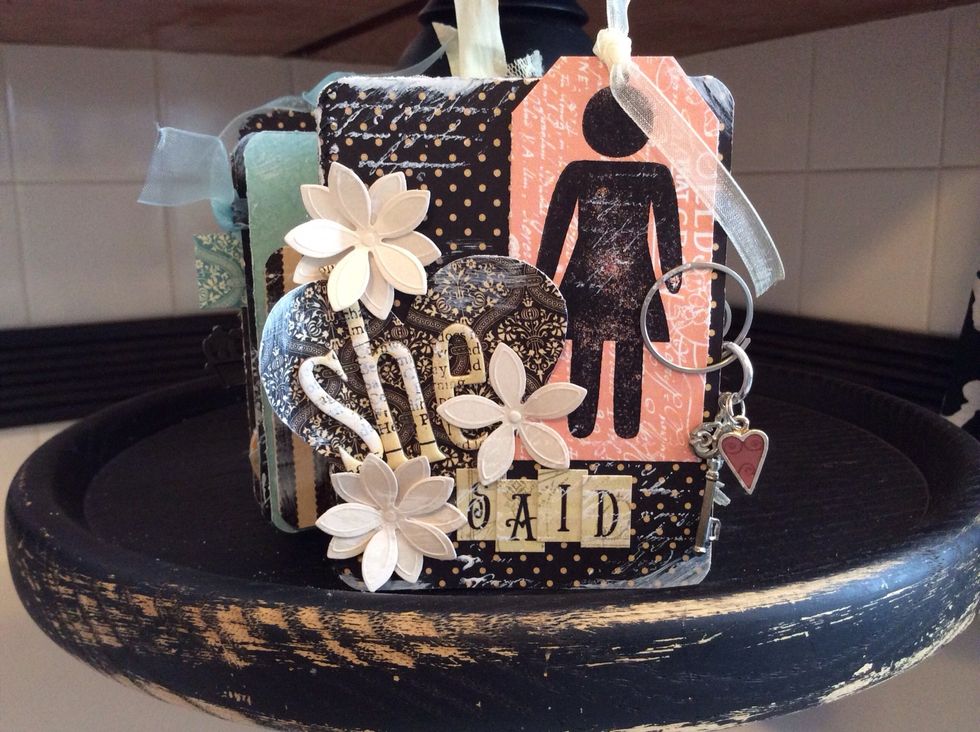
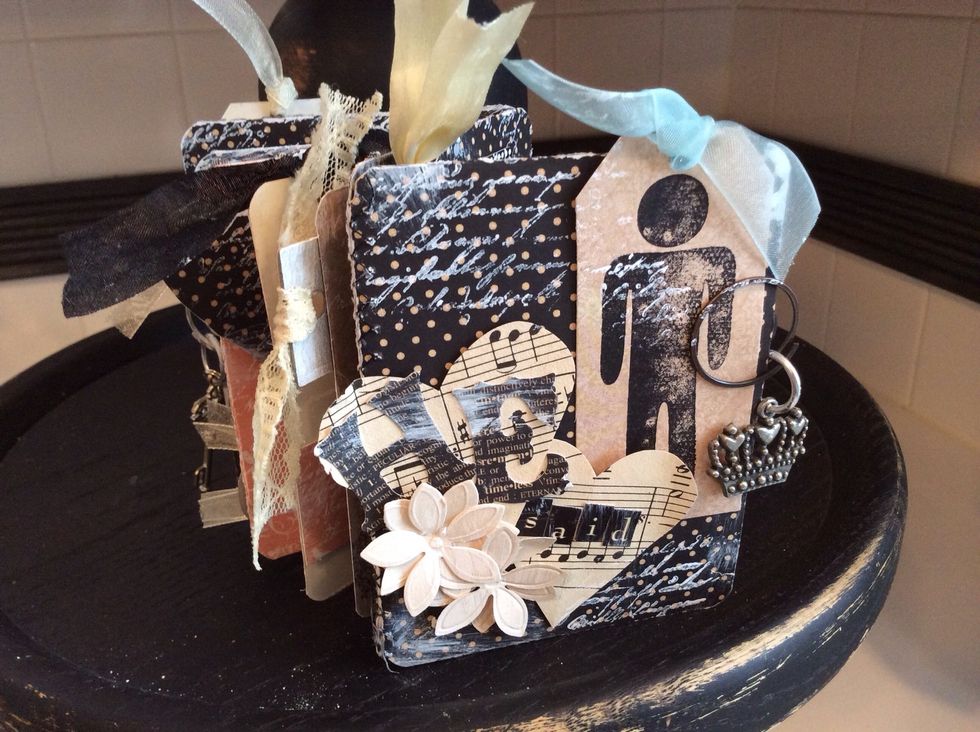
Stamp one image for the "he said" side and another image for the "she said" side. Cut into tag shapes.

Punch hole in tag, attach ribbon then clip tags to covers. he said...
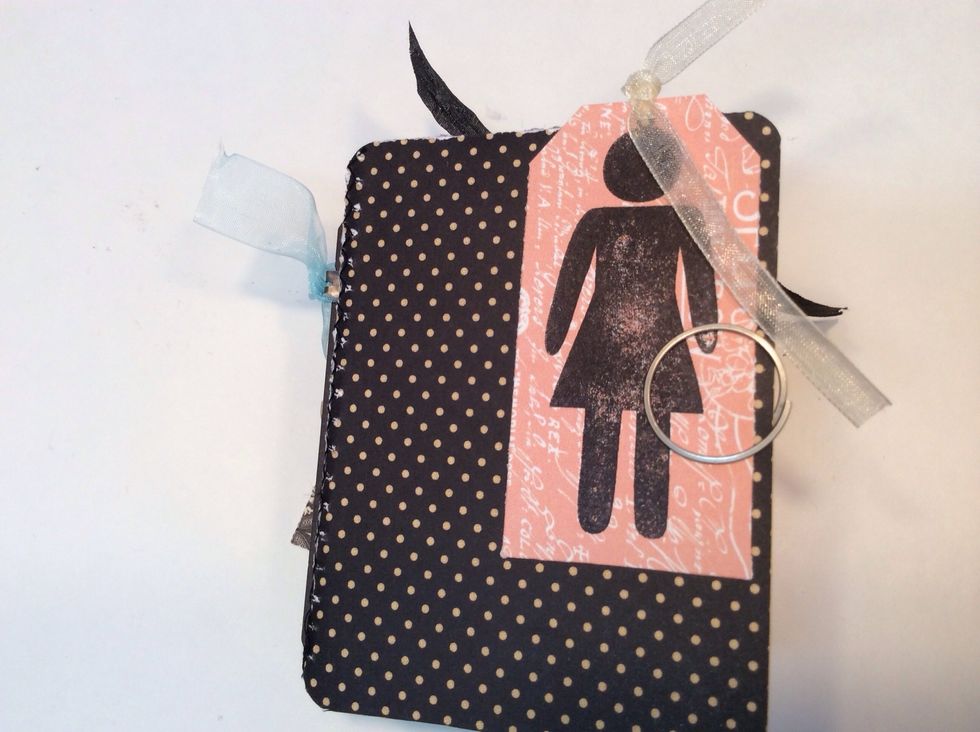
...she said.
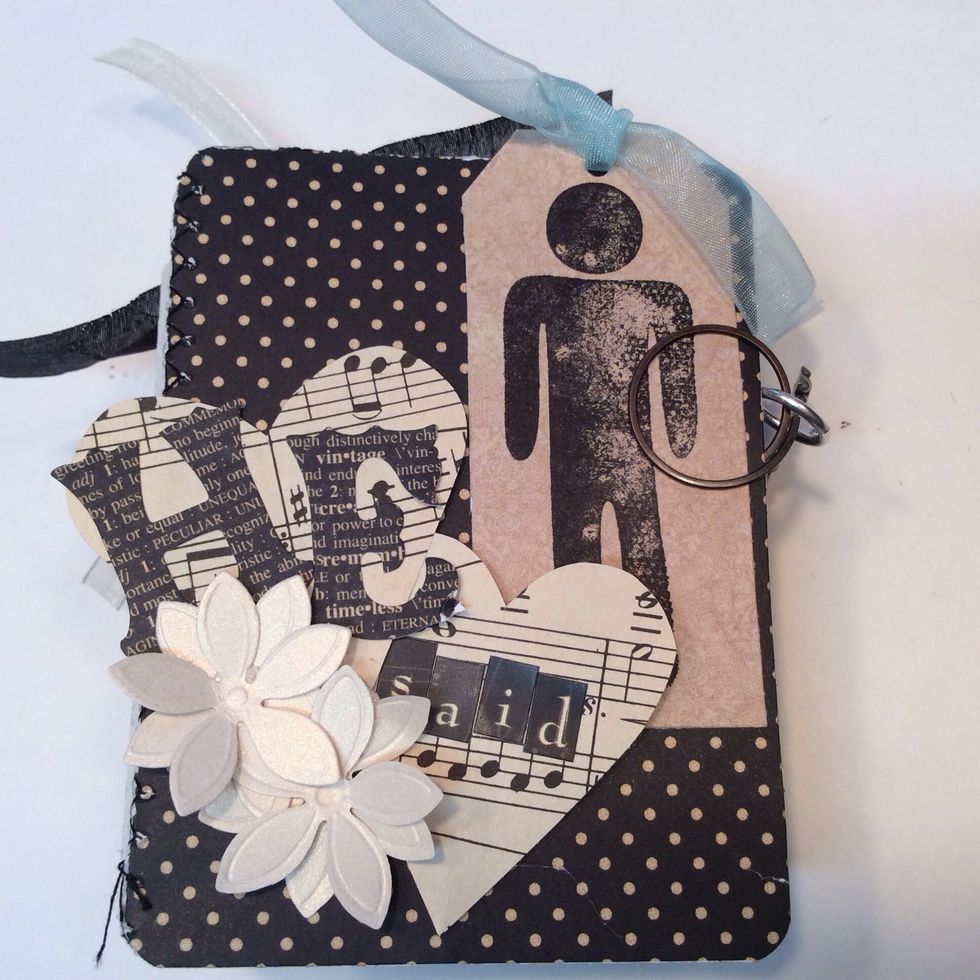
Cut heart shapes, apply alphabet stickers and paper flowers.
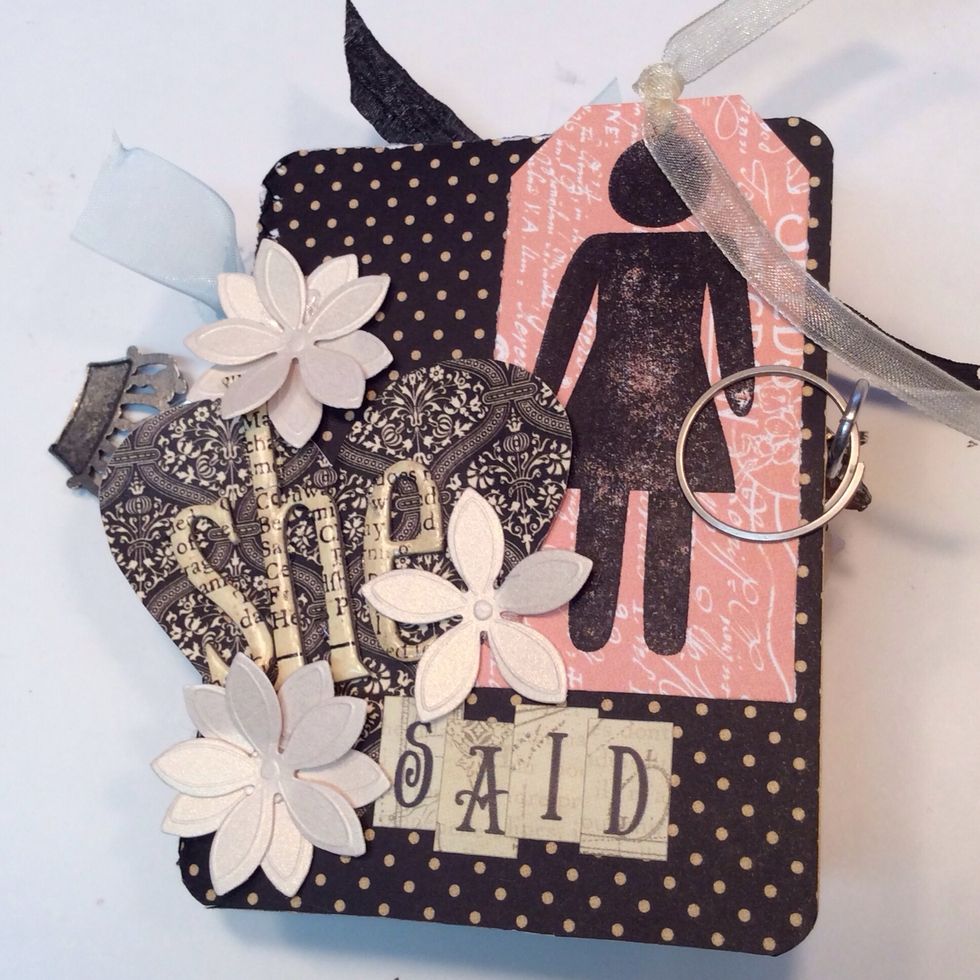
Mix & match letters, a great way to use up leftover sticker letters!
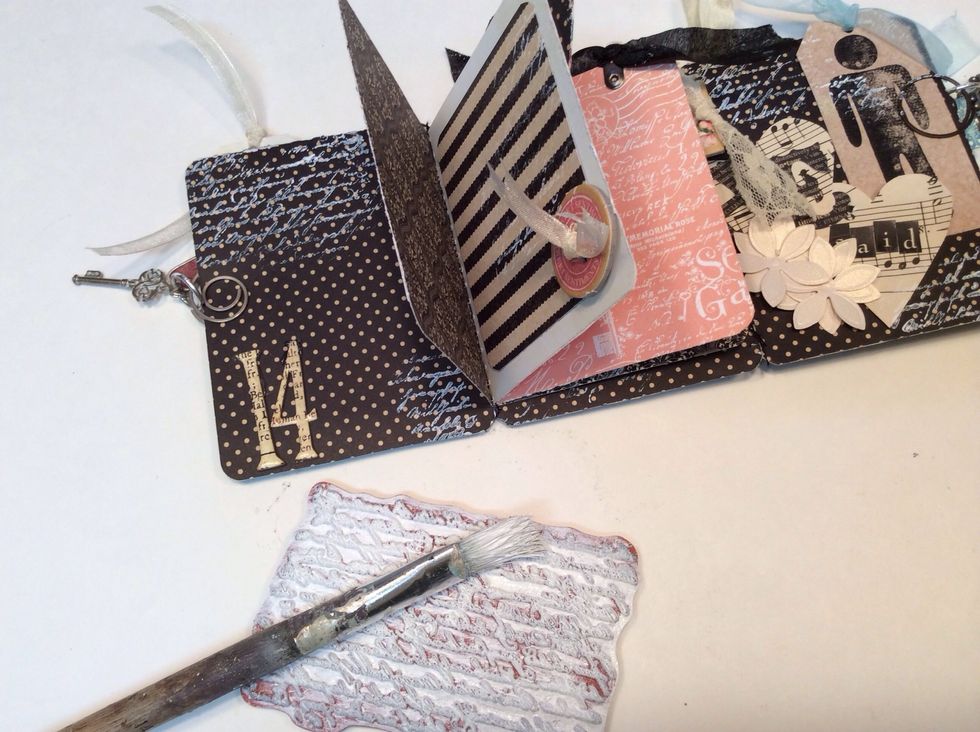
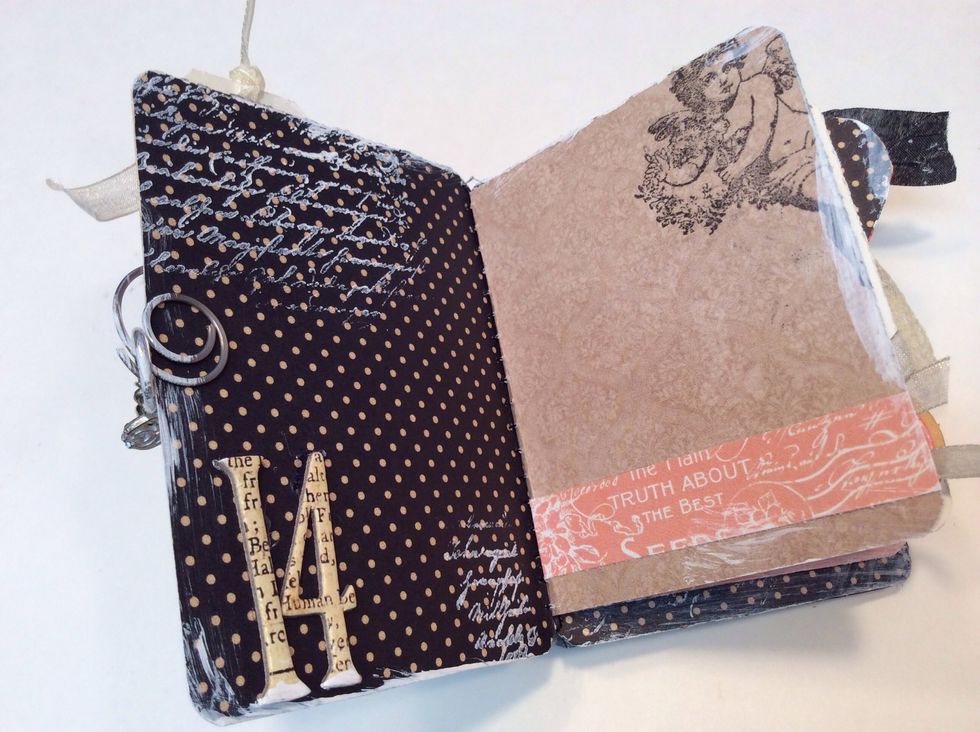
Dry brush white paint onto script stamp...apply here and there throughout book.

Use hand cut hearts and paper flowers to embellish the inside pages.
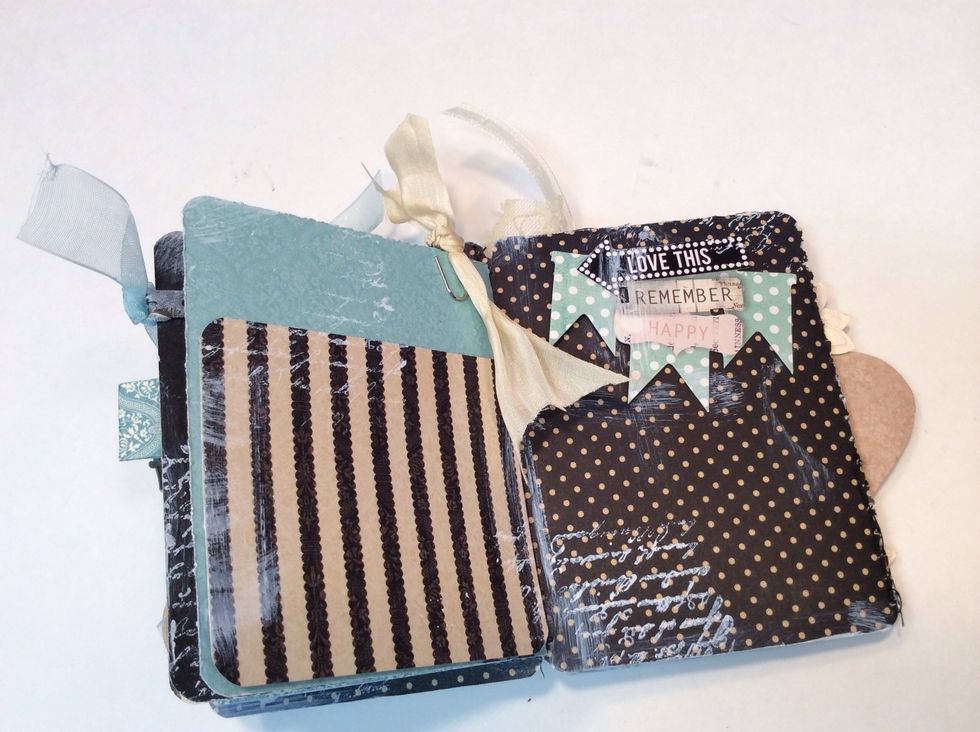
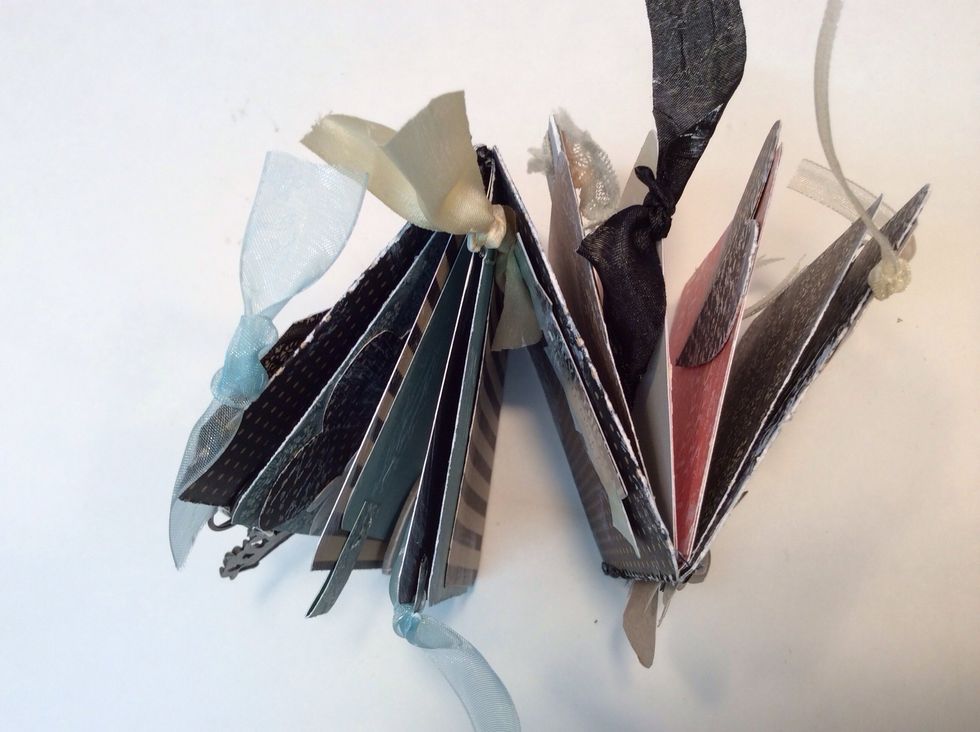
Add scraps of ribbon and misc clips to each page.
Add charms w/jump rings to each cover clip.

Chipboard accents with ribbon scraps add even more dimension.

Don't ya just LOVE all the texture and layers!
She can fill in her story...
Then he can fill in his....
Oh the Possibilities... How you met? What you love about each other? Favorite dates? What will your Valentine story be??